 11
11
BitFenix Pandora Review
A Closer Look - Inside »A Closer Look - Outside
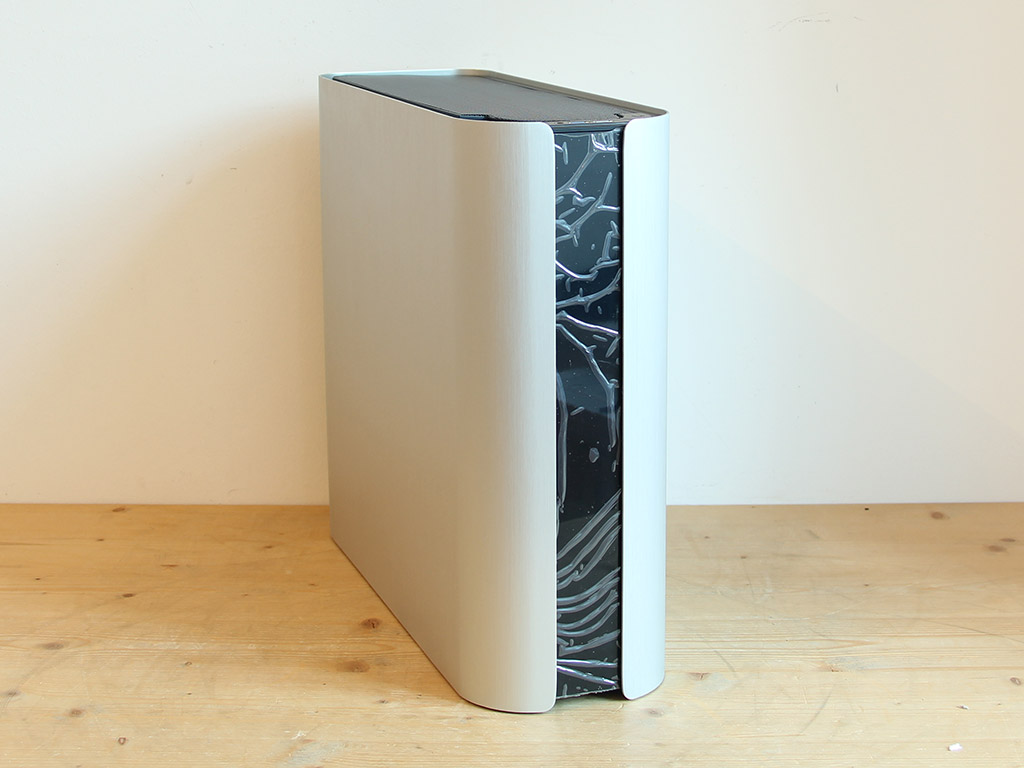
The first thing of note is the Pandora's slimness. It is one of the narrowest mATX towers we have had the pleasure of reviewing in recent times. The smooth and shiny front has been lined with a plastic piece, as it easily scratches up otherwise.
Due to the lack of an optical drive bay, BitFenix was essentially able to slim the chassis down to the width of the widest component, which is the PSU. The two 2 mm thick aluminum panels wrap around the front, leaving about two visible inches inside of which the LCD panel has been put. A separate aluminum frame in the rear adds to the chassis' overall design. As you can see, the interior of the Pandora is all-black, and the PSU bay is in the bottom of the interior.
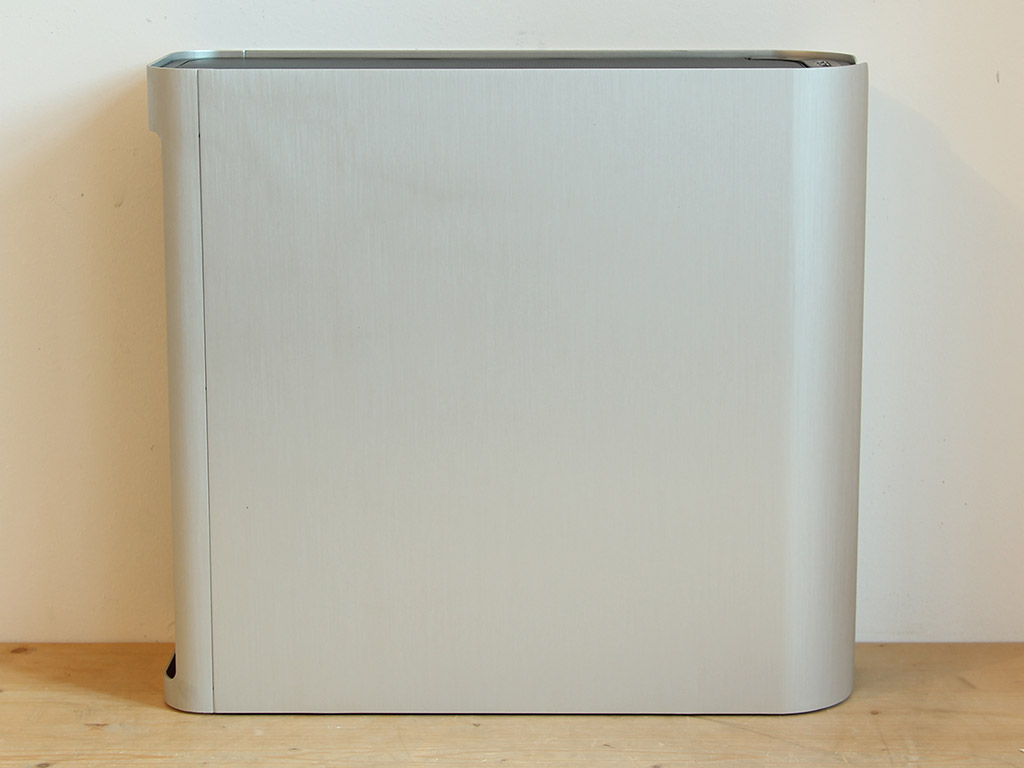
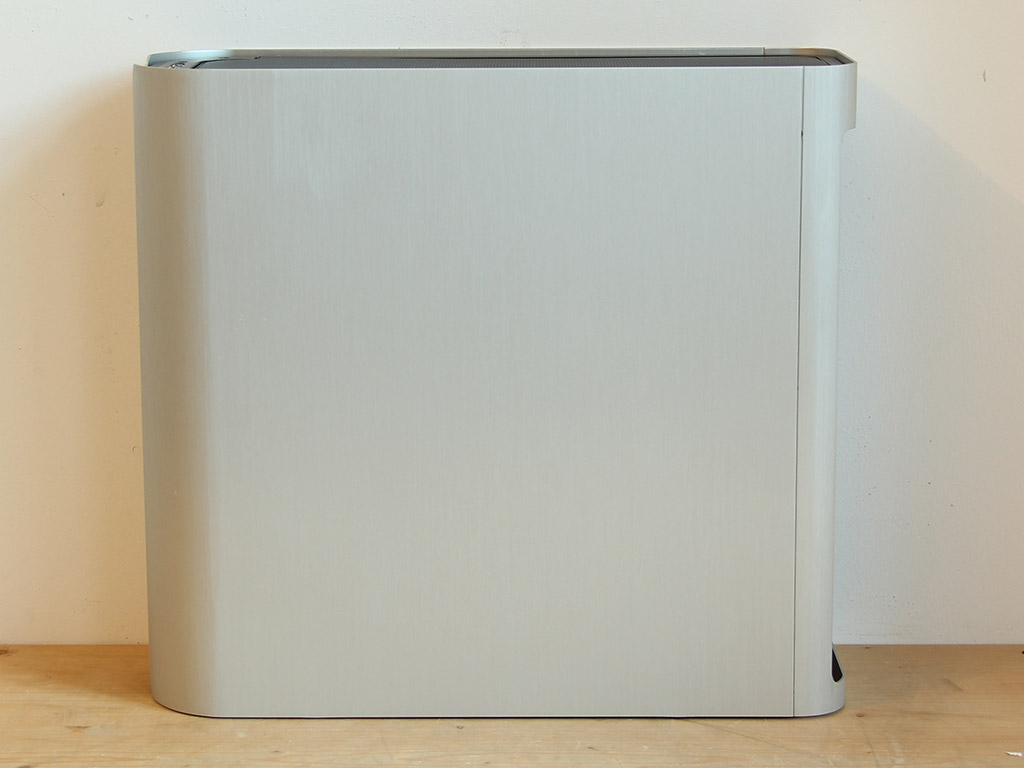
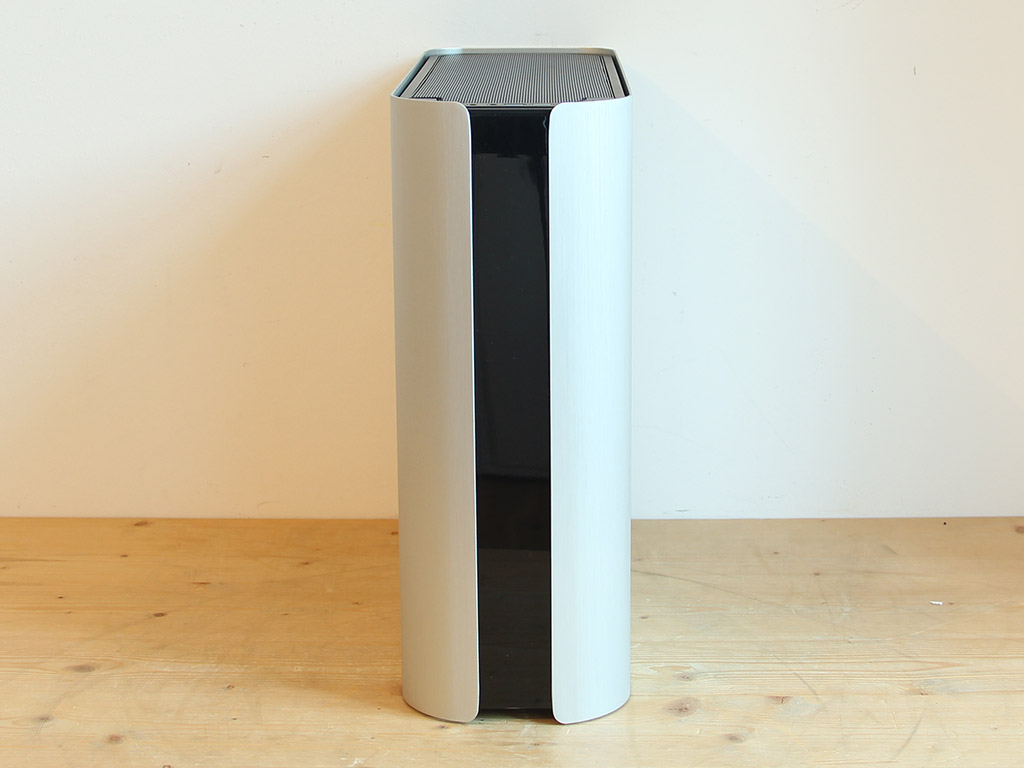
Out of the box, both sides are completely solid. In terms of quality, the brushing of the aluminum is very well done, but the first panels we received with the chassis had a lot of blemishes and dents along their edges. Upon letting BitFenix know, the company actually went out of its way to ship me the final production panels, which are of the quality one would expect.
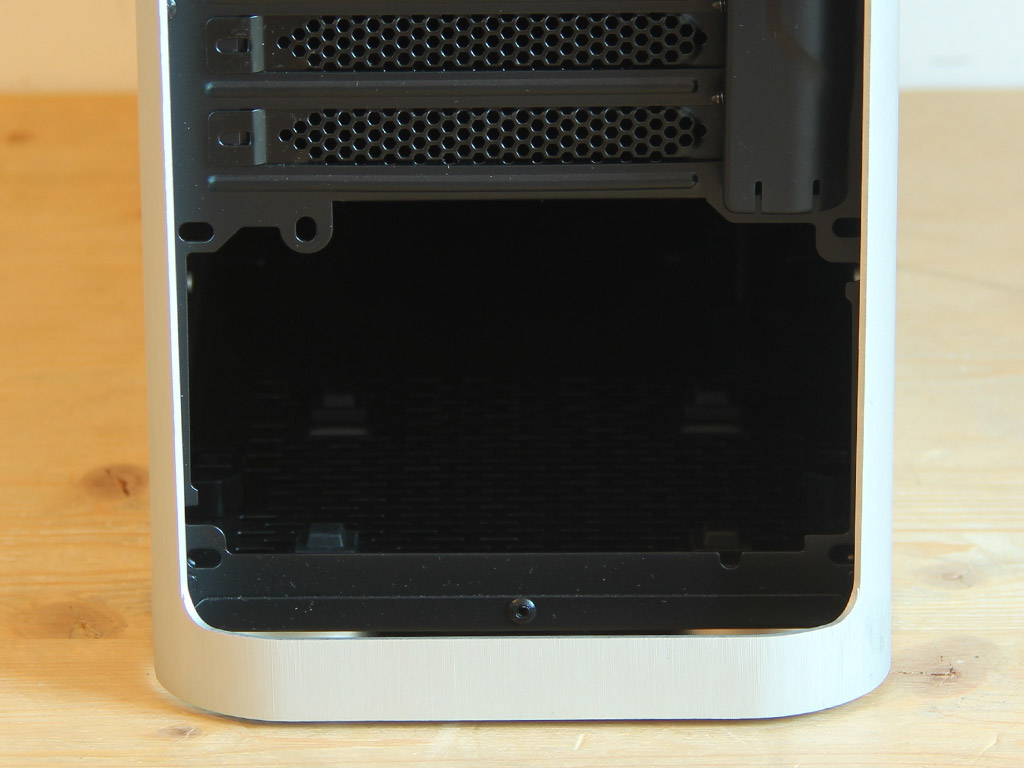
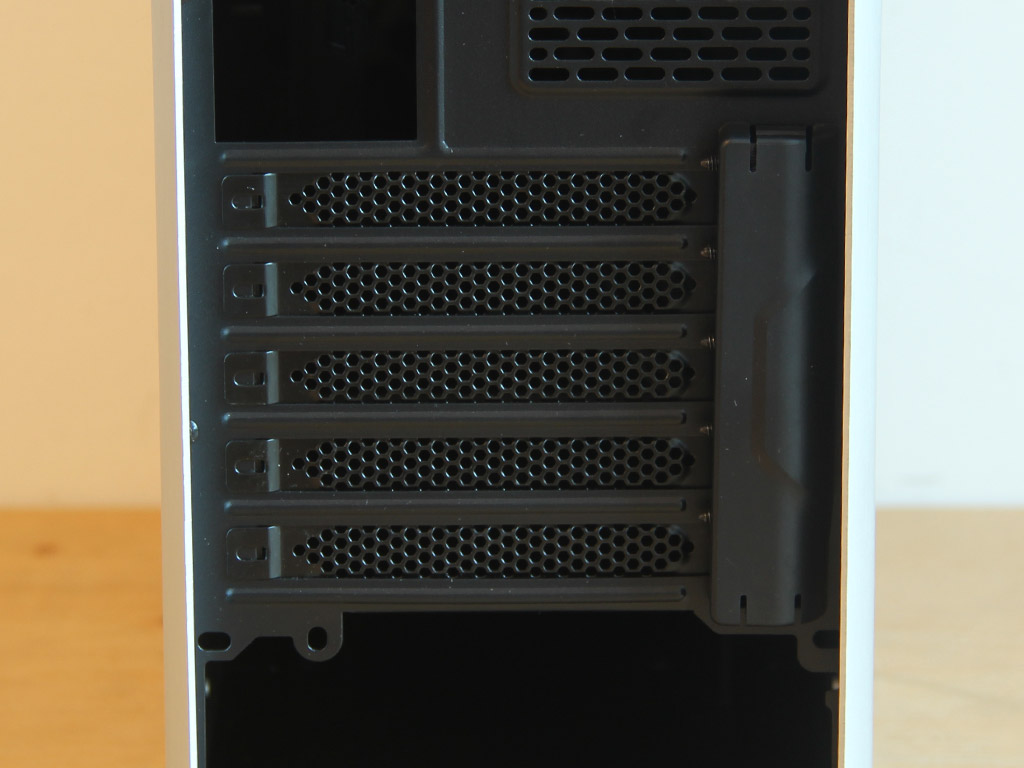
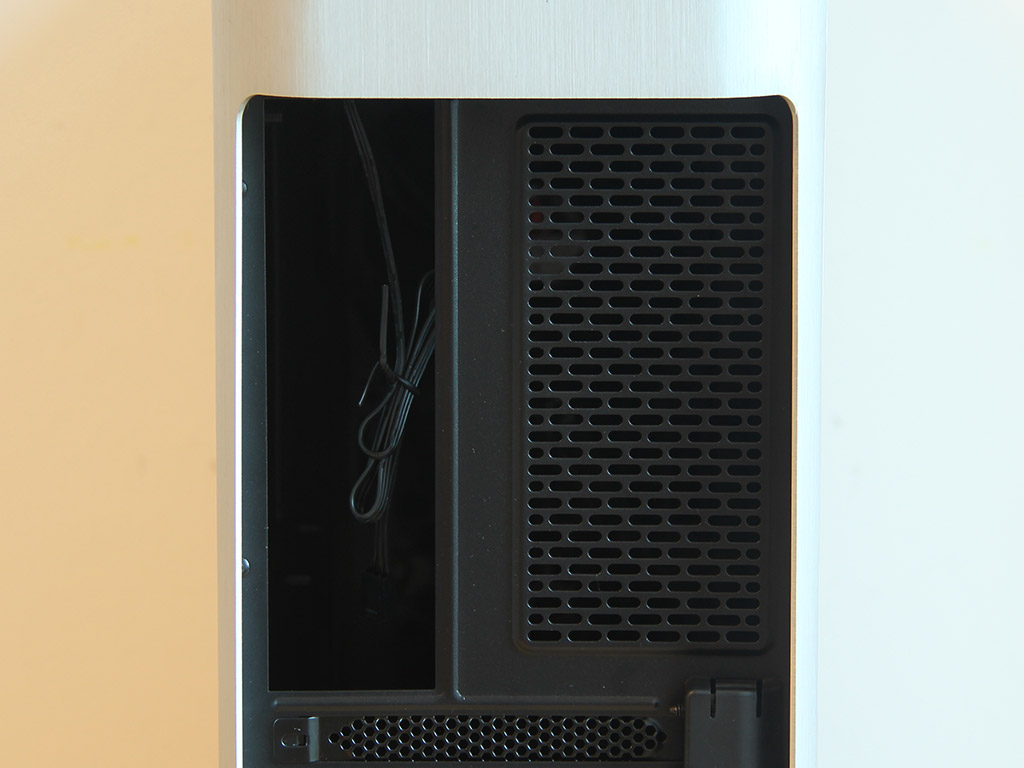
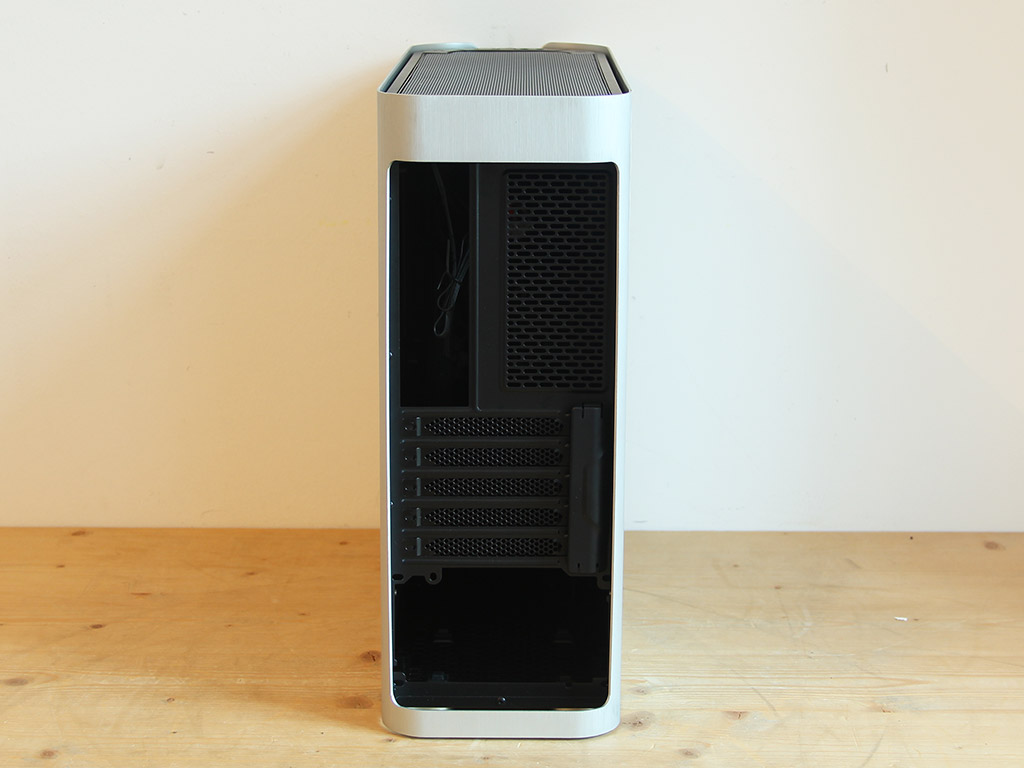
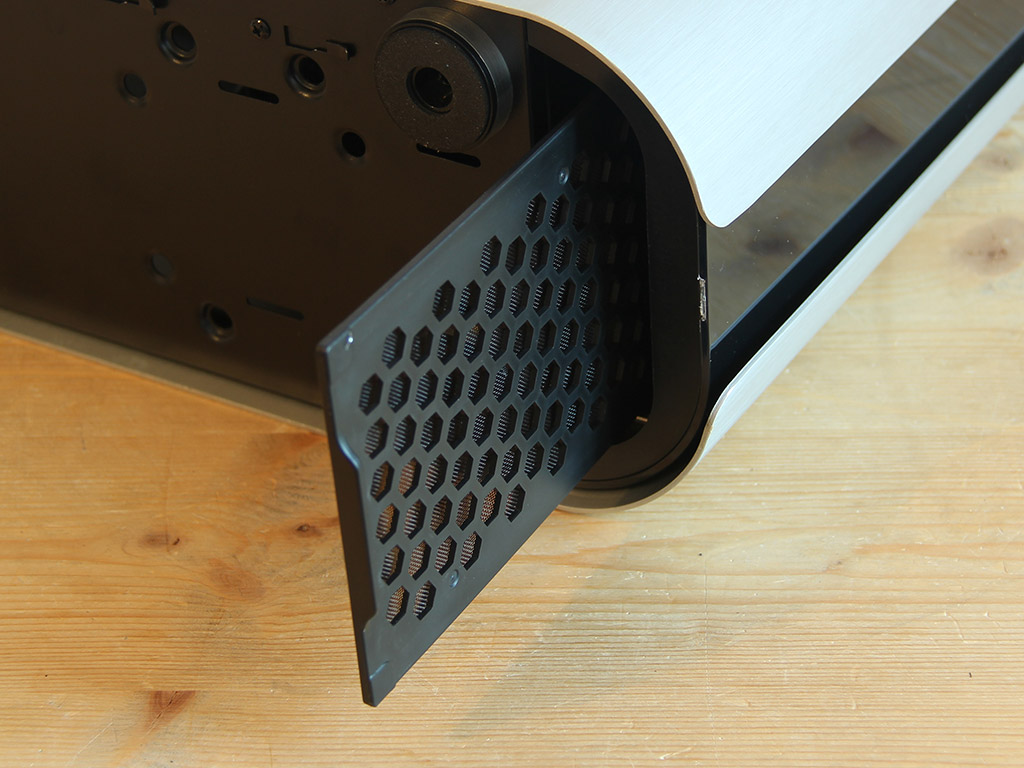
As there is nothing of interest in the front while the system is turned off, let us focus on to the rear of the Pandora. The PSU bay in the bottom comes with two sets of mounting holes. Considering how slim the chassis is, you will need a narrow screwdriver to get the right angle. It would have been nifty of BitFenix to include the same hexagonal screws they advertise to secure the expansion cards. Speaking of which, those are covered by a plastic cover next to the five expansion slots, so you have one extra slot for such things as a fan controller or other PCI brackets. All the way in the top are an opening for the motherboard backplate and an air vent, next to it.
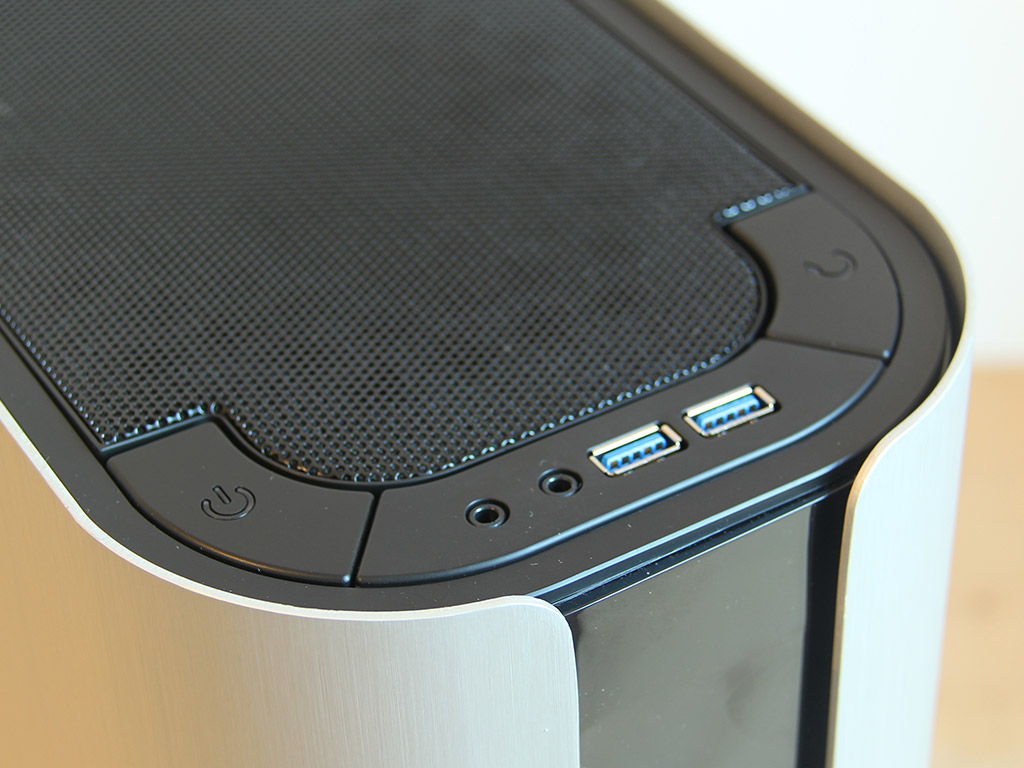
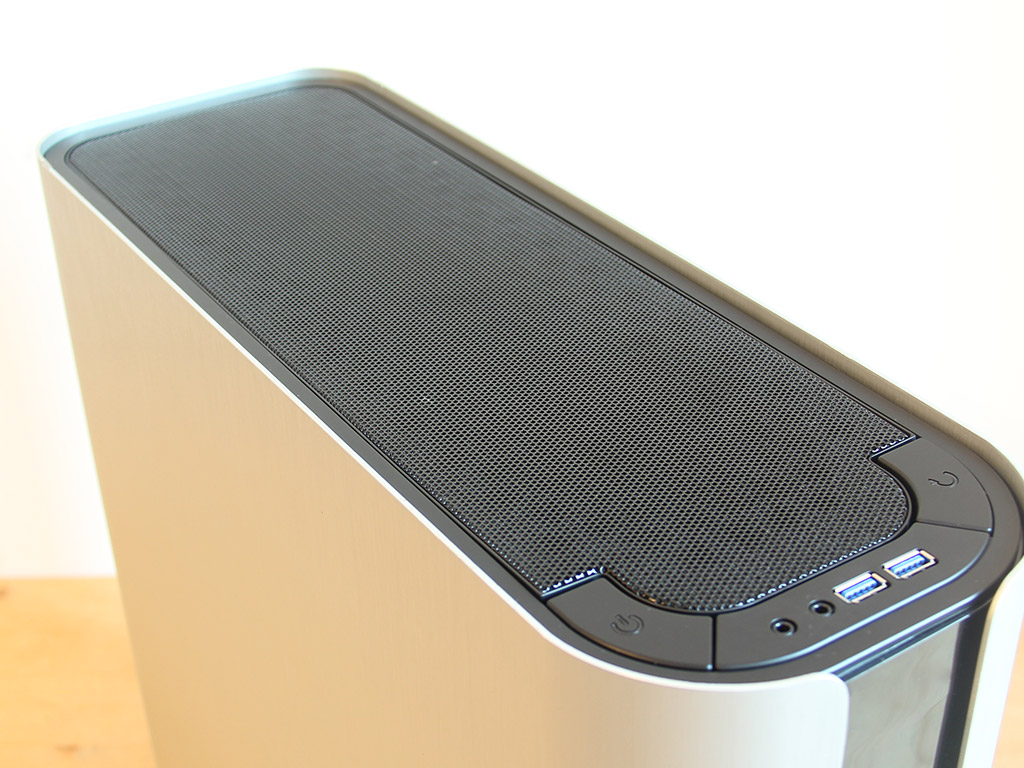
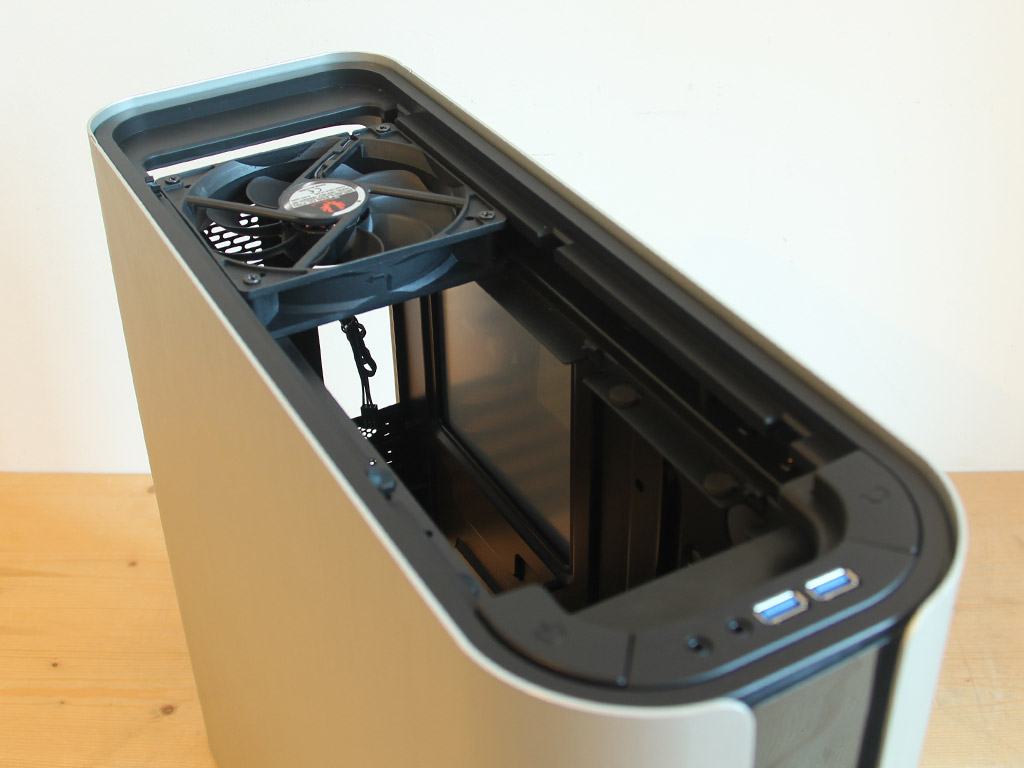
BitFenix placed the I/O into the top of the case. It consists of two USB 3.0 and the usual audio plugs. To the left and right are the power and reset buttons - both of which are rather large. A metal-mesh panel covers the rest of the top. It is easily removed since you will not have to unscrew any screws. Doing so reveals the single 120 mm fan mount in the rear and the 3.5" HDD placement possibility in the front.
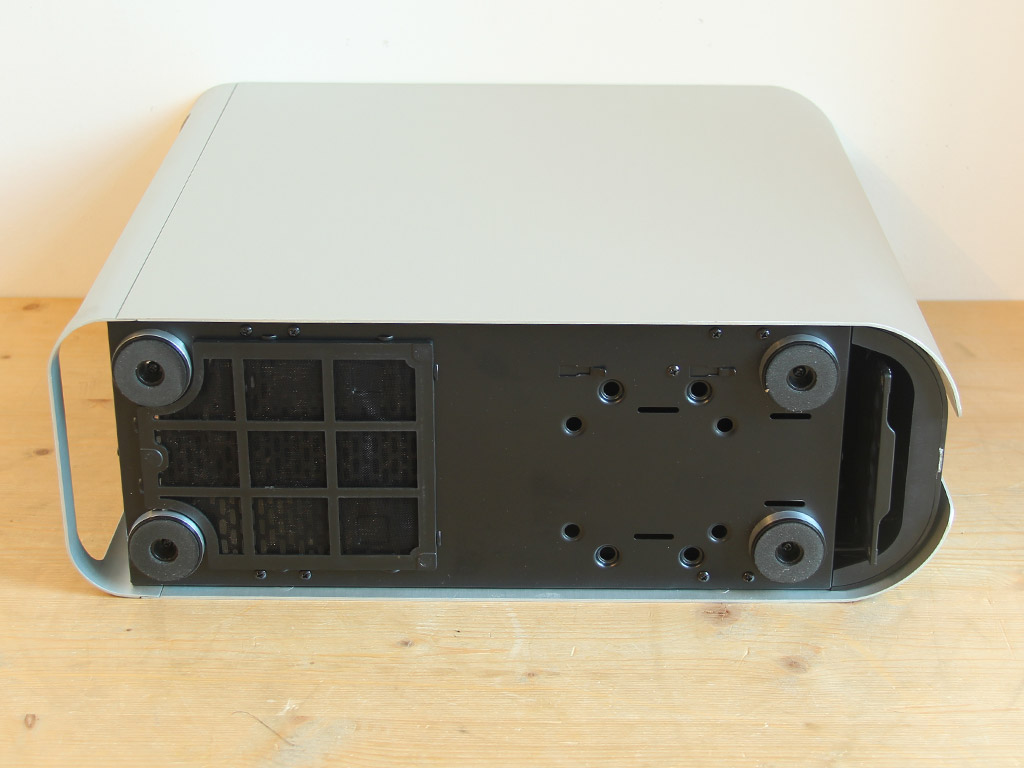
Tipping the chassis over, there is not only a dust filter that protects the PSU bay's intake vent, but also another for the front. Unfortunately, the dust filter in the front is not held in place properly, so it may come loose if you move the chassis around quickly, or forcefully.
Jul 5th, 2025 18:01 CDT
change timezone
Latest GPU Drivers
New Forum Posts
- EVGA XC GTX 1660 Ti 8GB ROM (11)
- How do you view TPU & the internet in general? (With poll) (79)
- What are you playing? (23893)
- Do you use Linux? (677)
- Optane performance on AMD vs Intel (58)
- Frametime spikes and stuttering after switching to AMD CPU? (521)
- Stalker 2 is looking great. (187)
- b550m aorus elite not posting with new ram (7)
- Gigabyte graphic cards - TIM gel SLIPPAGE problem (131)
- Can you guess Which game it is? (203)
Popular Reviews
- NVIDIA GeForce RTX 5050 8 GB Review
- Fractal Design Scape Review - Debut Done Right
- Crucial T710 2 TB Review - Record-Breaking Gen 5
- ASUS ROG Crosshair X870E Extreme Review
- PowerColor ALPHYN AM10 Review
- Sapphire Radeon RX 9060 XT Pulse OC 16 GB Review - An Excellent Choice
- Upcoming Hardware Launches 2025 (Updated May 2025)
- AMD Ryzen 7 9800X3D Review - The Best Gaming Processor
- Sapphire Radeon RX 9070 XT Nitro+ Review - Beating NVIDIA
- NVIDIA GeForce RTX 5060 8 GB Review
TPU on YouTube
Controversial News Posts
- Intel's Core Ultra 7 265K and 265KF CPUs Dip Below $250 (288)
- NVIDIA Grabs Market Share, AMD Loses Ground, and Intel Disappears in Latest dGPU Update (212)
- Some Intel Nova Lake CPUs Rumored to Challenge AMD's 3D V-Cache in Desktop Gaming (140)
- NVIDIA GeForce RTX 5080 SUPER Could Feature 24 GB Memory, Increased Power Limits (115)
- Microsoft Partners with AMD for Next-gen Xbox Hardware (105)
- NVIDIA Launches GeForce RTX 5050 for Desktops and Laptops, Starts at $249 (105)
- AMD Radeon RX 9070 XT Gains 9% Performance at 1440p with Latest Driver, Beats RTX 5070 Ti (102)
- Intel "Nova Lake‑S" Series: Seven SKUs, Up to 52 Cores and 150 W TDP (100)