 11
11
BitFenix Pandora Review
Assembly & Finished Looks »A Closer Look - Inside
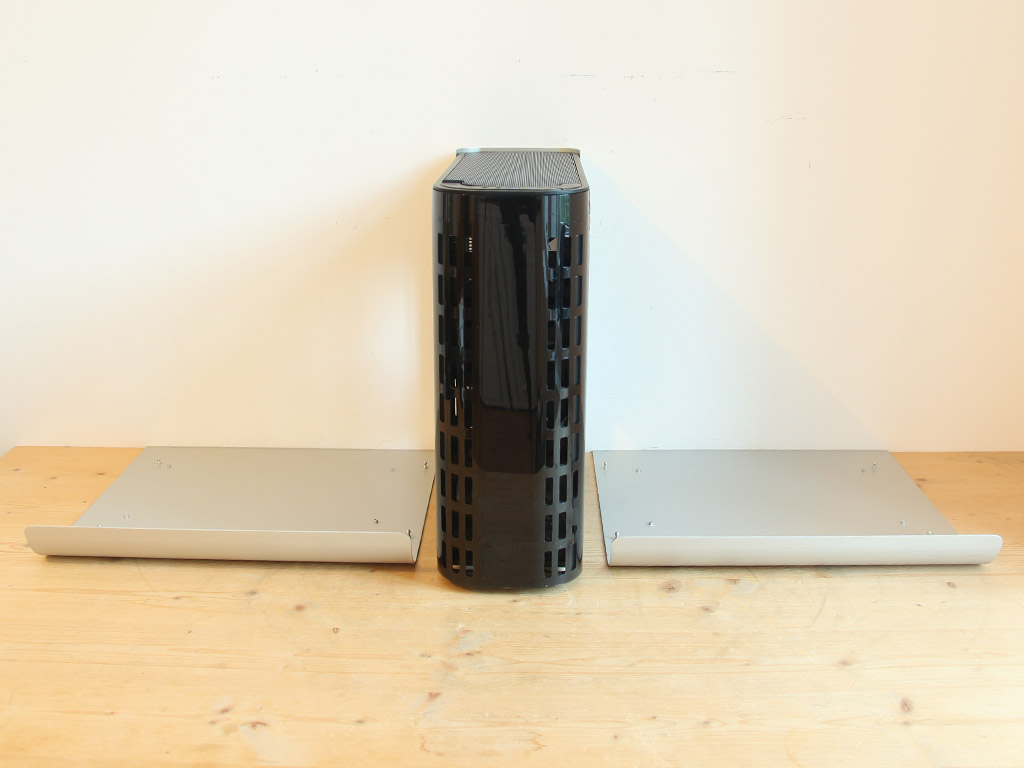
To access the interior, simply pull the side panels off the case. Each of these is held in place by four pins, which works, but also means that you really have to watch out for any cables behind the motherboard tray. The pins are not strong enough to squeeze the panel up against bulky cables with enough force for the panel to stay in place properly.
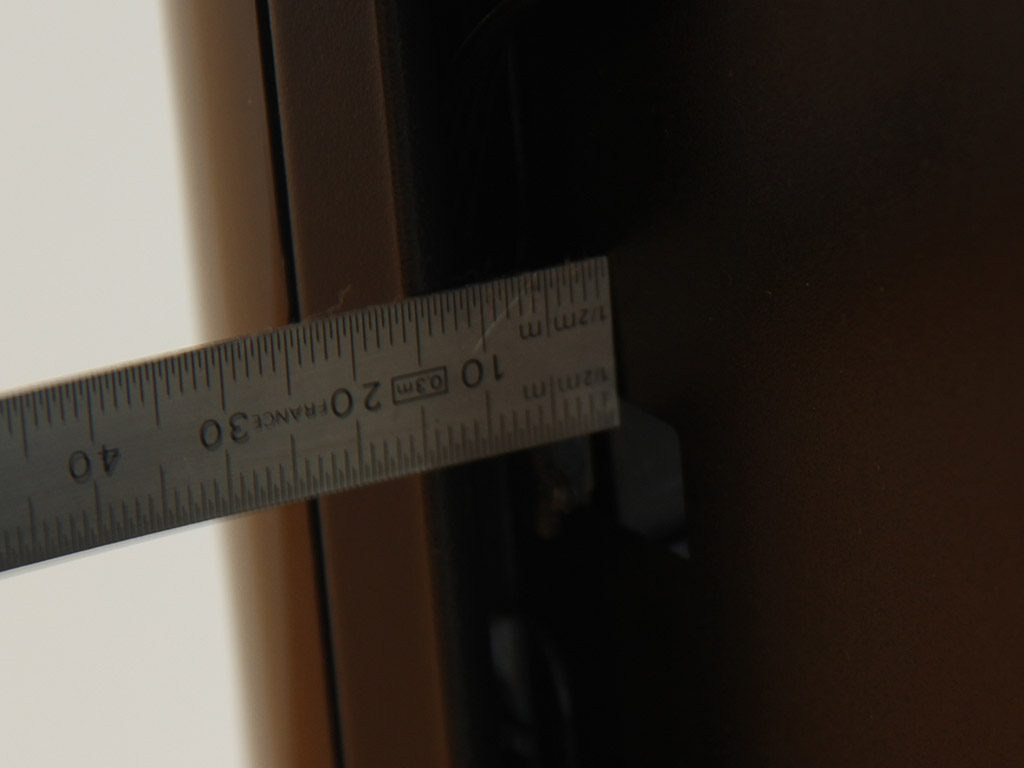
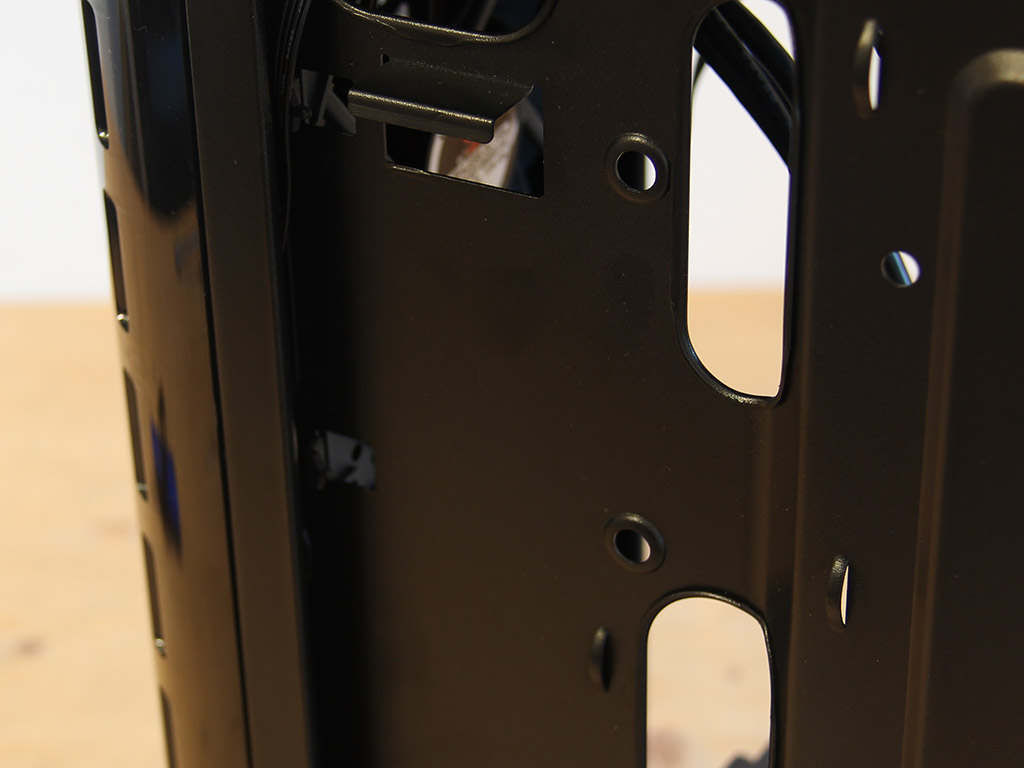
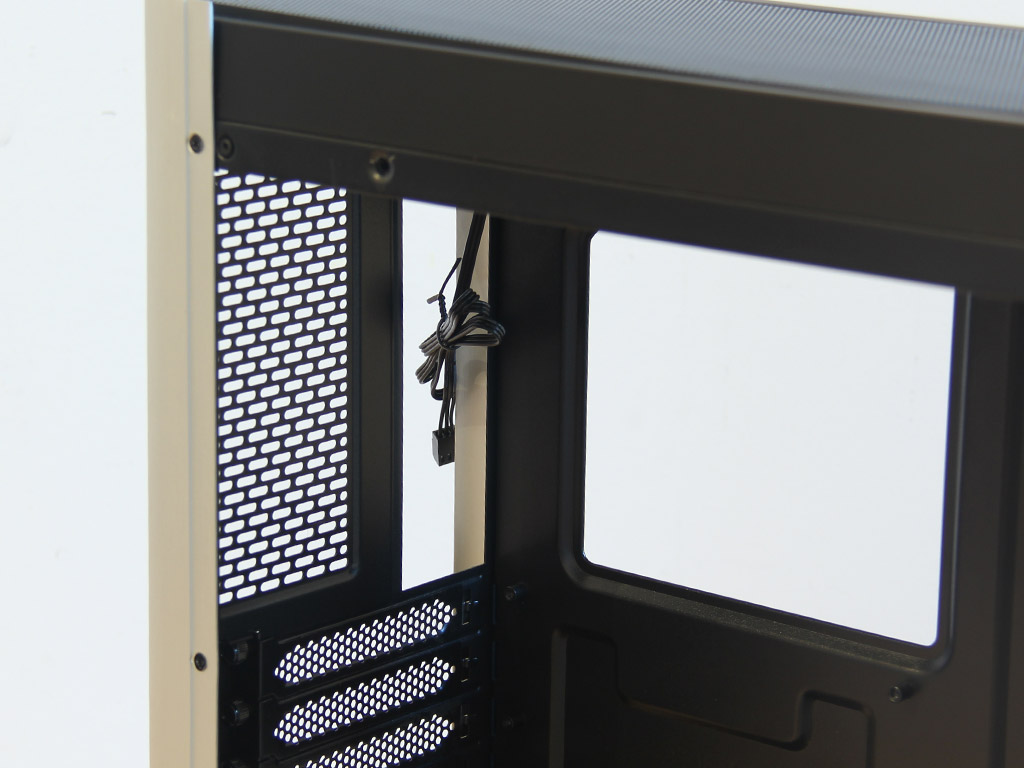
To make matters a bit more complicated, there is also no room between the motherboard tray and the side panel due to the Pandora's slim design, with the exception of the front where you only have 15 mm of play, which is barely enough to accommodate the 2.5" drive bay slot on this side. Overall, the interior is actually really simple, as there is essentially nothing there.
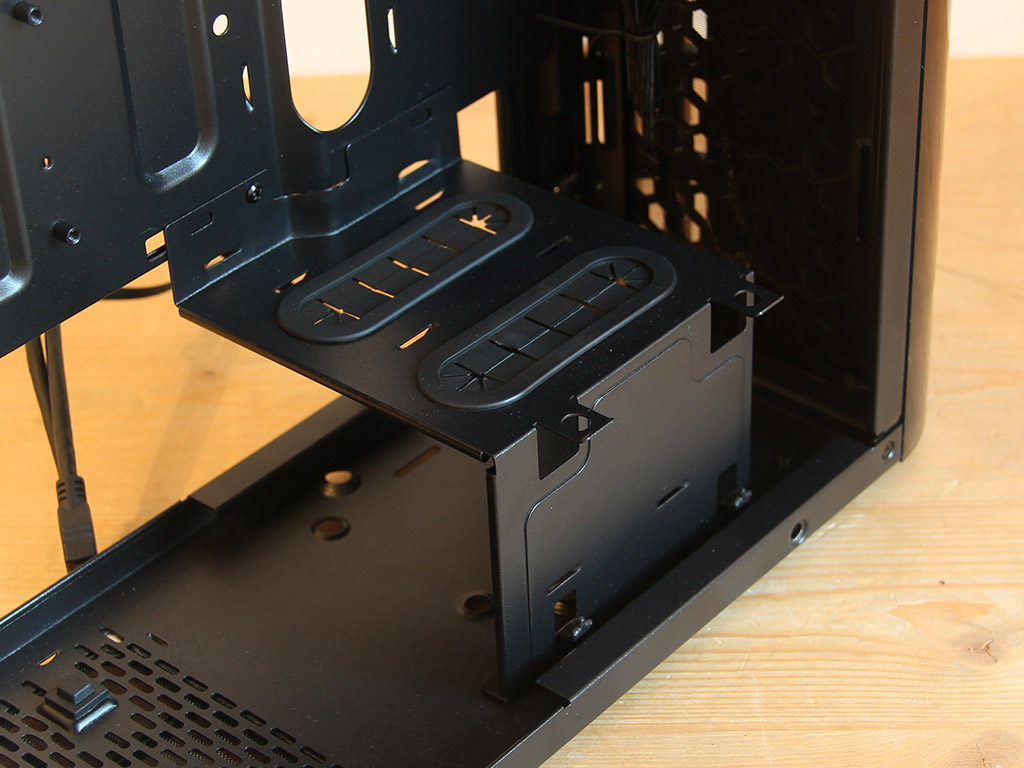
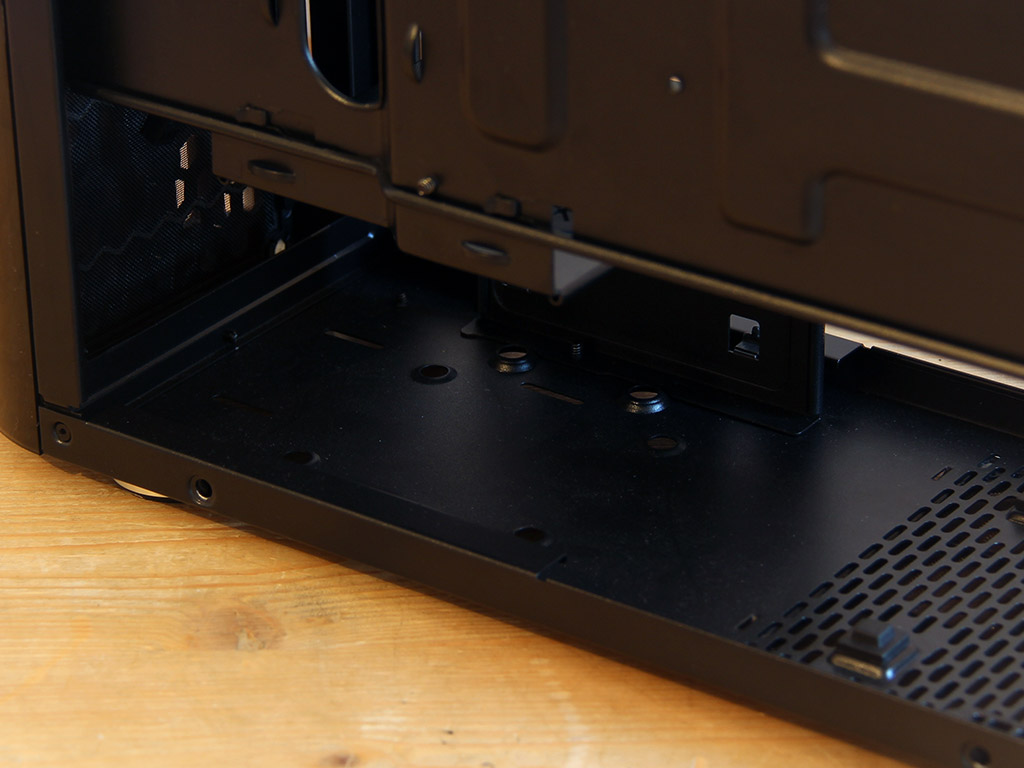
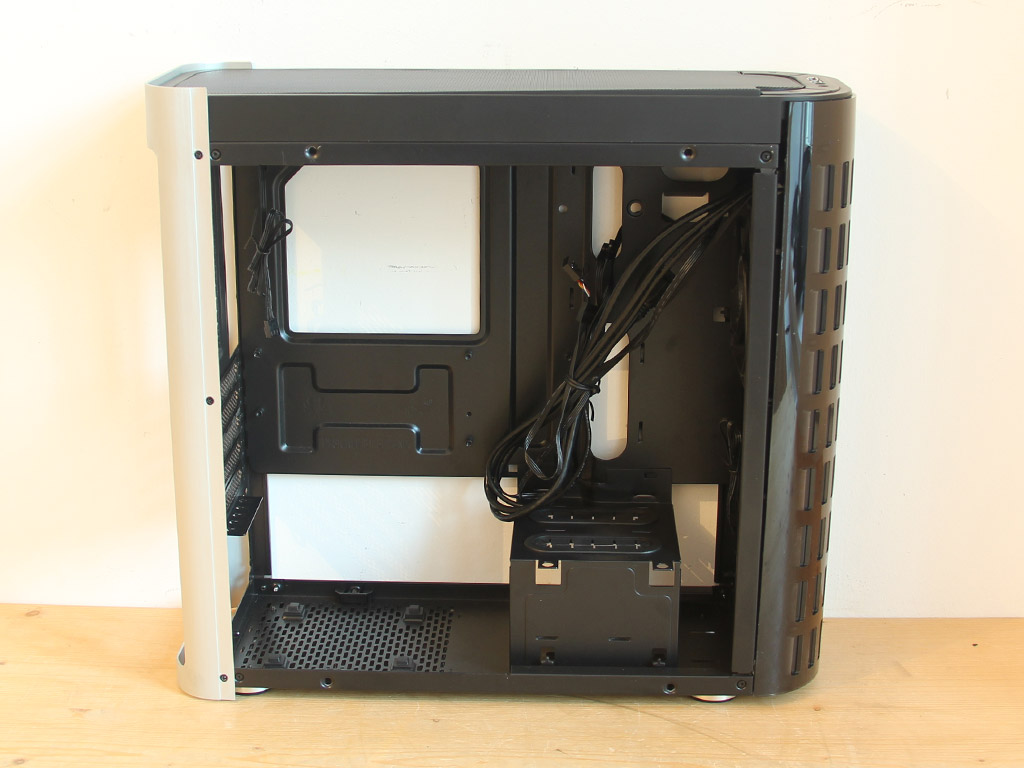
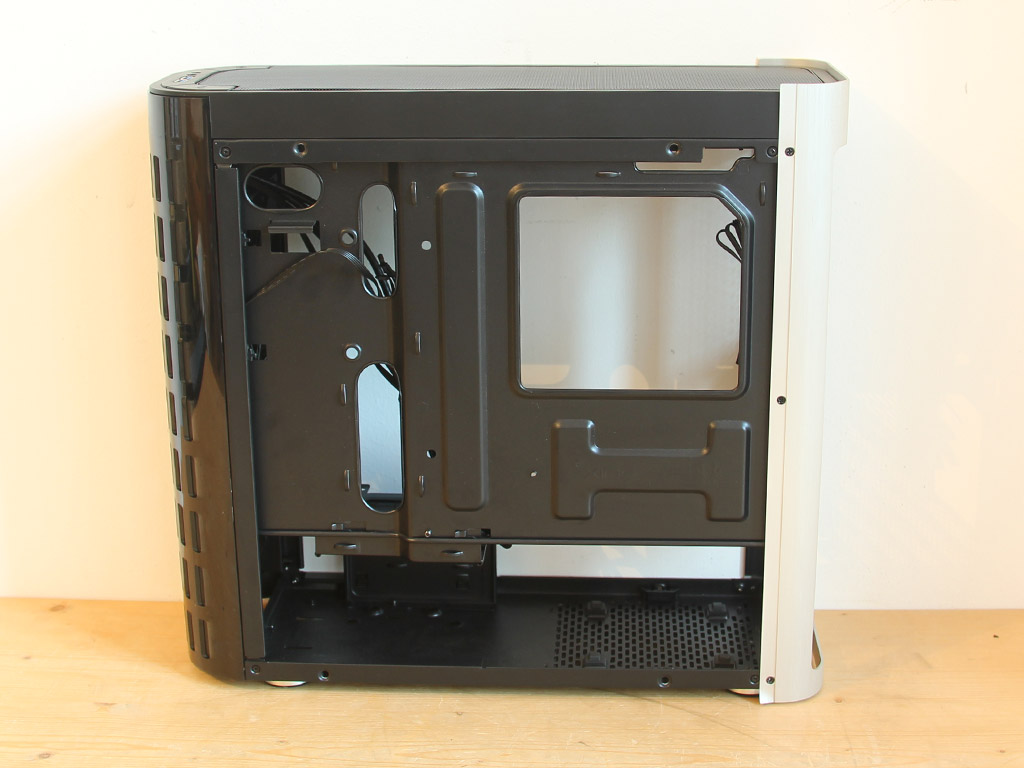
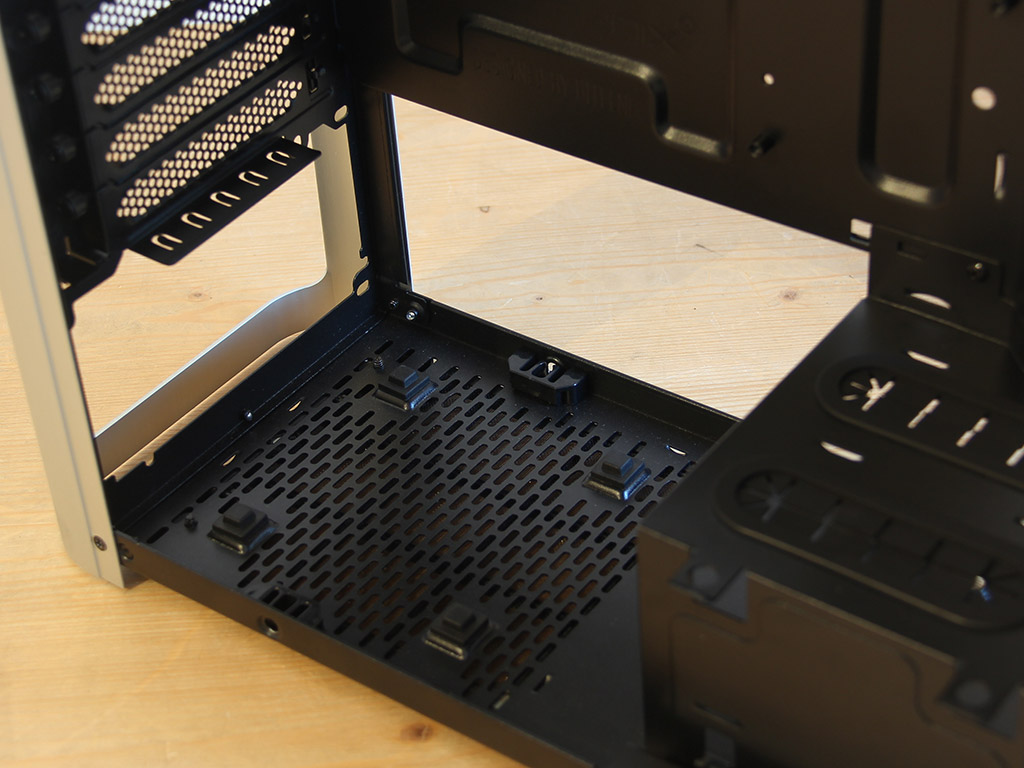
You will find another hard-drive mounting possibility, of another type, in the lower part of the front. The cover is supposed to hide PSU cables, but also offers a second mount for a 2.5" drive on its side. On the floor, underneath the cover, is another spot for either a 2.5'' or 3.5" drive. Unfortunately, BitFenix markets the Pandora with 2x 3.5" and 3x 2.5" drive bays, which makes it sound as though the chassis can hold up to five drives. In reality, the spot on the floor can only be used by one or the other, resulting in a maximum of four drives within. The entire front may be used for two fans or a liquid-cooling rig of up to 240 mm, but doing so will cut the maximum length of a graphics card down.

Things are a lot more traditional in the rear, with the PSU bay on the bottom featuring four rubber mounts on with the power supply will sit. These are glued on, and I actually managed to move one while uninstalling the PSU after the review, so you should pay close heed to not loose any of them while doing so yourself. Above the bay are the five expansion slots, each protected by an individual cover that is held in place by a thumbscrew. BitFenix will offer special thumbscrews with an Allen key in the retail version. There is nothing interesting or new inside the top of the chassis.
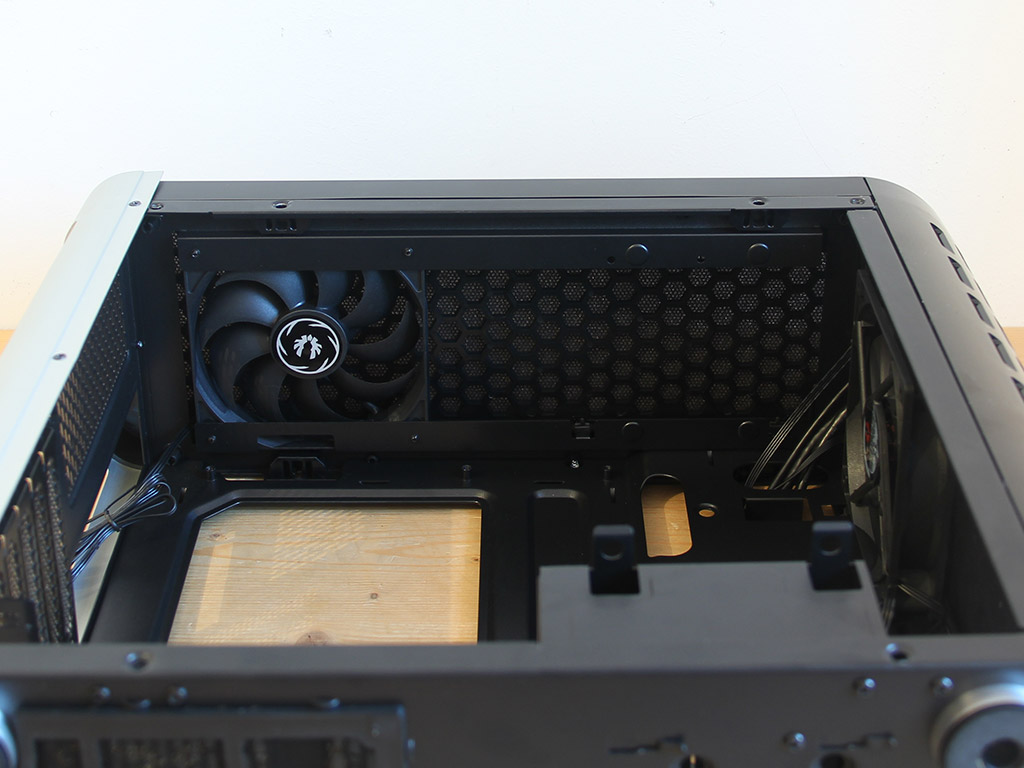
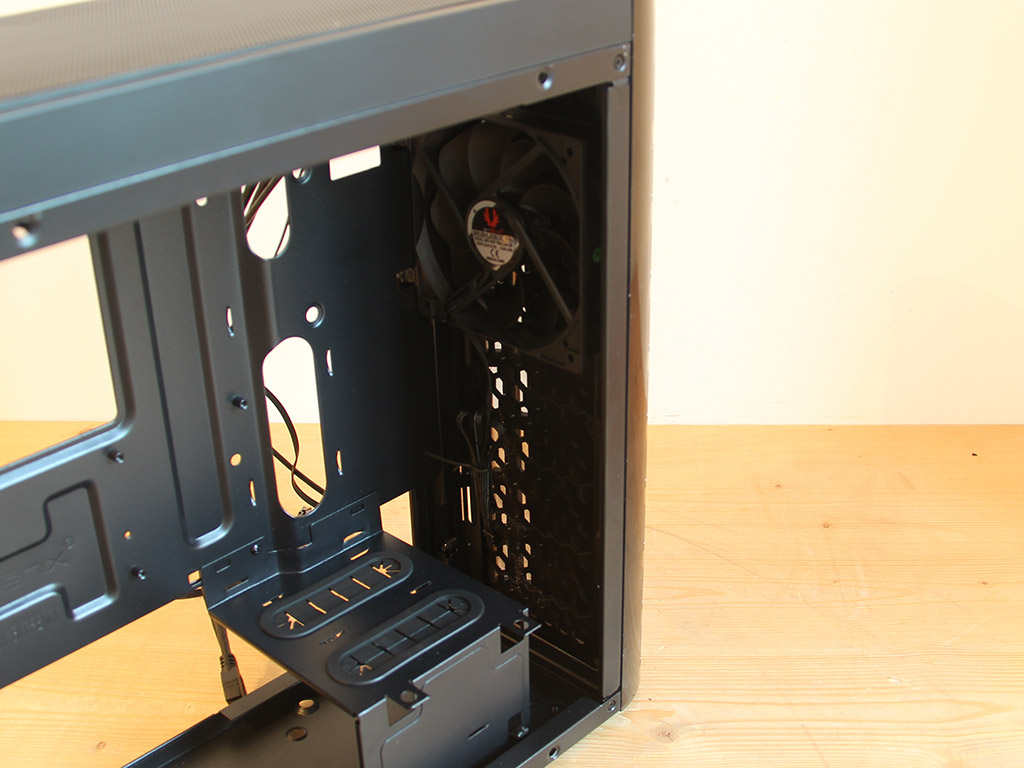
Looking at the top, you can clearly see the top 120 mm fan, lining up nicely with the chassis' CPU socket and the area surrounding it.


While you may not see it with the system turned off, there is a built-in 2.4" TFT 240 x 320 pixel display in the front panel. For those who avoid such a gimmick, BitFenix also offers the Pandora as a Pandora Core variant for 20 bucks less. The LCD display is readily visible once you pull the front of the chassis off to inspect it separately, which also reveals the front intake fan.
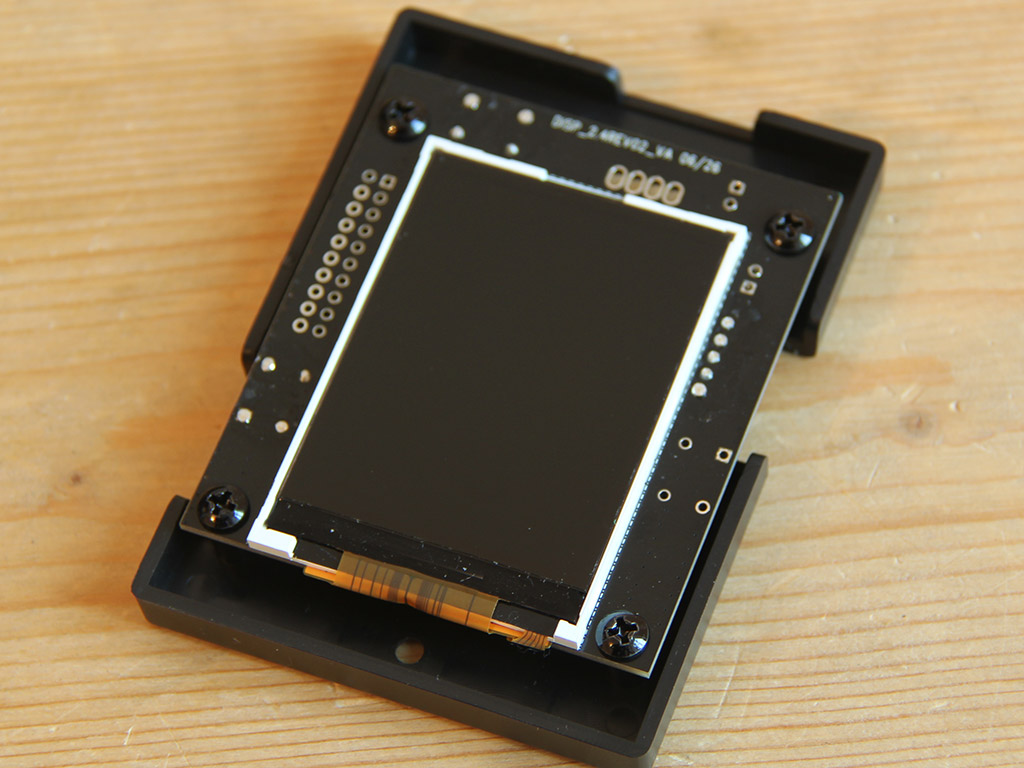
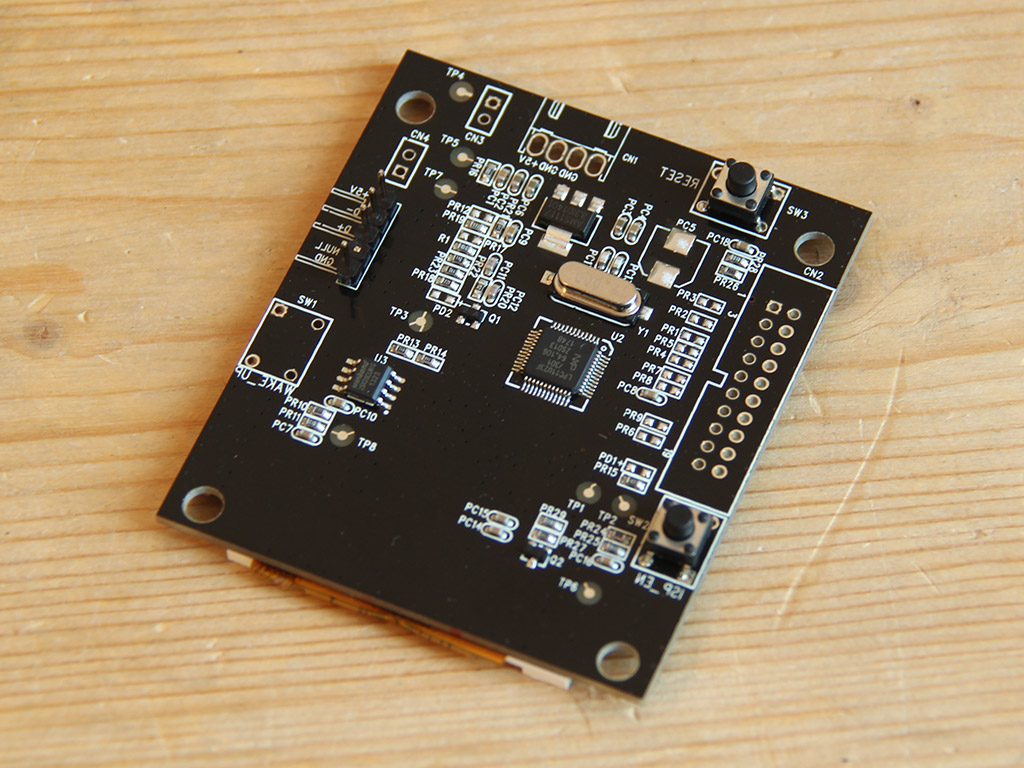
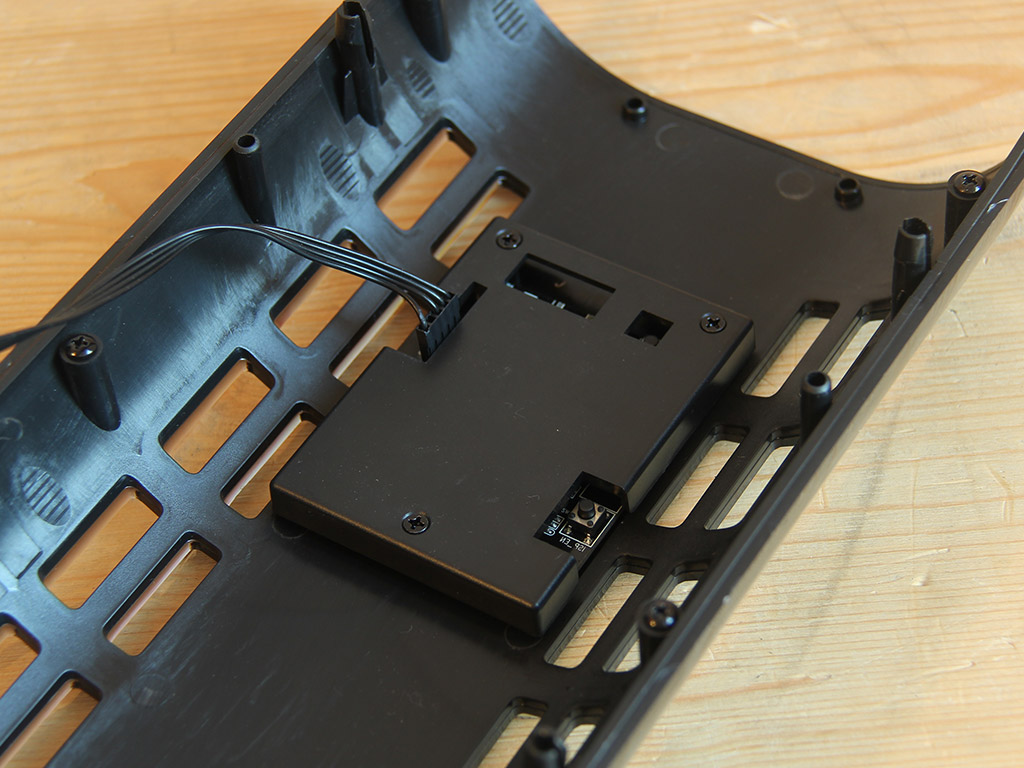
The display is completely USB powered and requires a USB 2.0 header on your motherboard. It is embedded into a plastic frame, so you won't have to worry about damaging it while assembling your system. Taking a look at the PCB, it looks very clean, with all its components on the rear of the display. Interestingly enough, the labels on the backside of our sample, "reset" included, were put on the PCB in mirrored font.
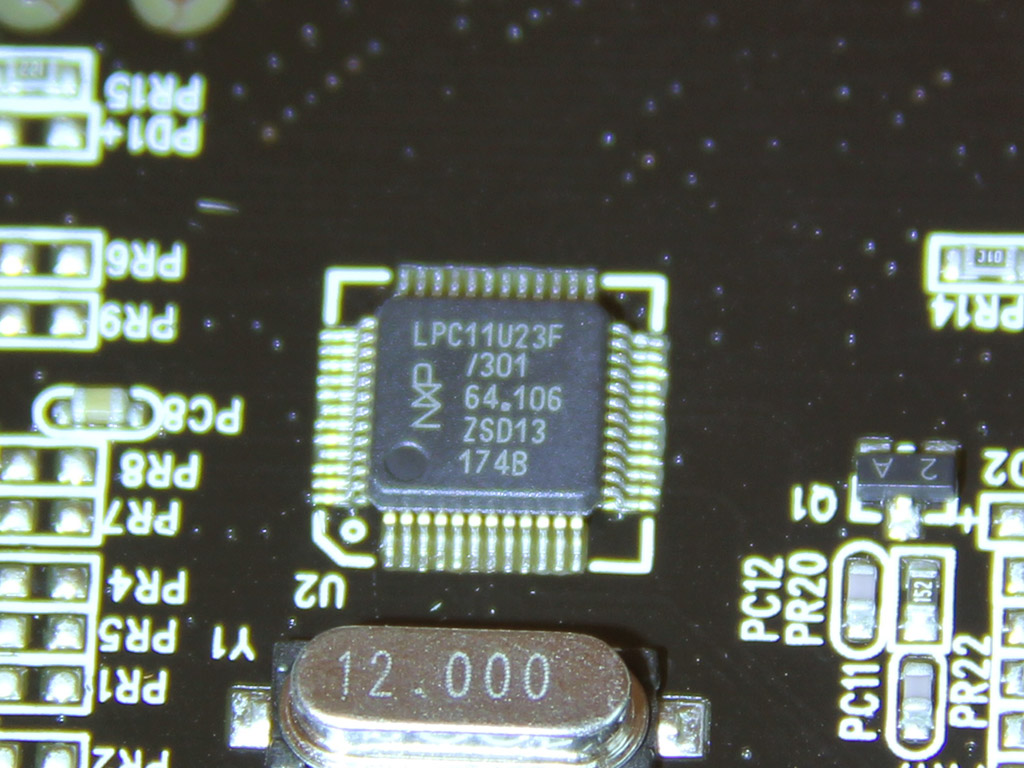
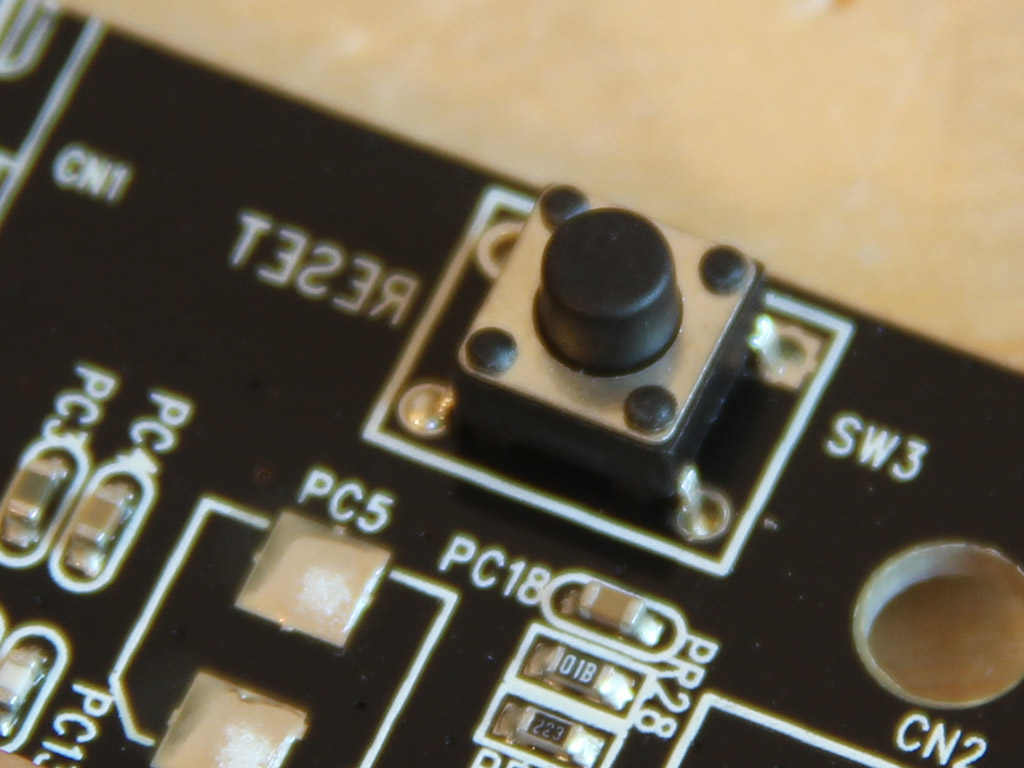
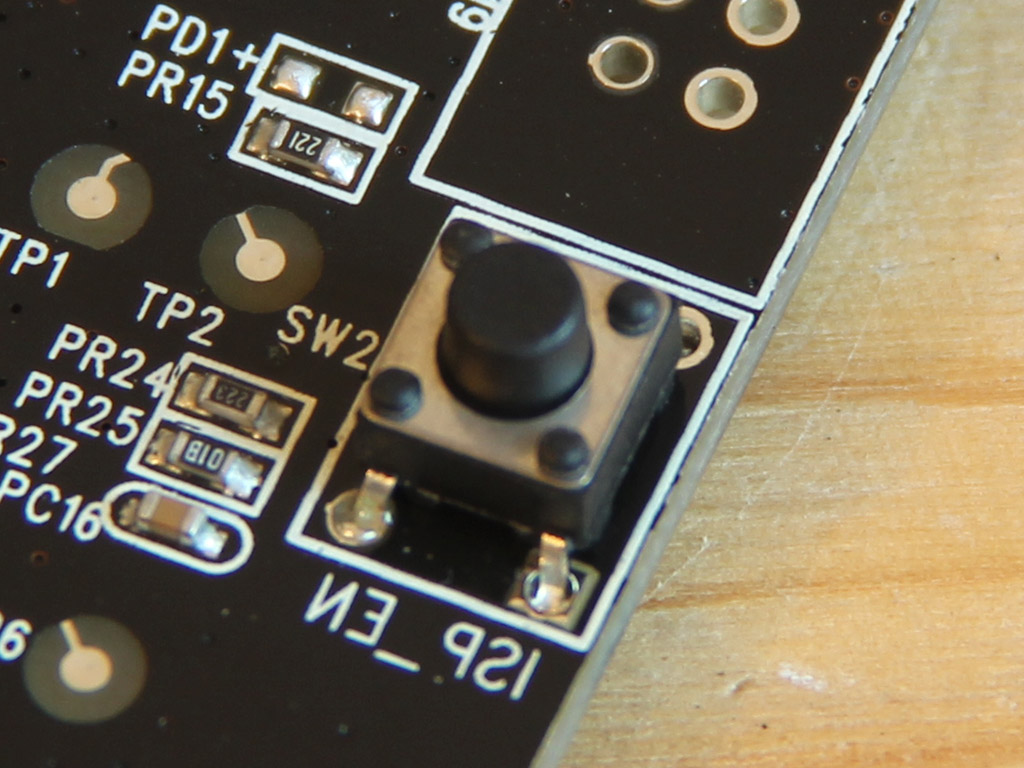
The display is powered by a NXP LPC11U23F IC, which is a low-cost 32-bit ARM Cortex-M0 microcontroller. It comes with 32kb of on-board flash. There are also two buttons on the PCB - one labeled "reset" and the other "ISP_EN". Don't ask me what the latter is for as there is no documentation available for this display.
Jul 14th, 2025 15:39 CDT
change timezone
Latest GPU Drivers
New Forum Posts
- Stupid things one has done with hardware (47)
- No offense, here are some things that bother me about your understanding of fans. (109)
- AMD 7Ghz? This keeps popping up on my feeds! (5)
- Best motherboards for XP gaming (151)
- Which CPU to Choose for a 7900 XT? Ryzen 7 7700 or Ryzen 5 9600X? (43)
- Bent pins on an AM5 mobo, any way to test them and also find which ones were on the schematic? (6)
- i7 2860QM how to raise power limit? (20)
- Arc 770a 16gb money pit (9)
- Frametime spikes and stuttering after switching to AMD CPU? (572)
- What's your latest tech purchase? (24265)
Popular Reviews
- Lexar NM1090 Pro 4 TB Review
- Our Visit to the Hunter Super Computer
- MSI GeForce RTX 5060 Gaming OC Review
- Fractal Design Epoch RGB TG Review
- NVIDIA GeForce RTX 5050 8 GB Review
- Corsair FRAME 5000D RS Review
- Sapphire Radeon RX 9060 XT Pulse OC 16 GB Review - An Excellent Choice
- Chieftec Iceberg 360 Review
- AMD Ryzen 7 9800X3D Review - The Best Gaming Processor
- Upcoming Hardware Launches 2025 (Updated May 2025)
TPU on YouTube
Controversial News Posts
- Intel's Core Ultra 7 265K and 265KF CPUs Dip Below $250 (288)
- Some Intel Nova Lake CPUs Rumored to Challenge AMD's 3D V-Cache in Desktop Gaming (140)
- AMD Radeon RX 9070 XT Gains 9% Performance at 1440p with Latest Driver, Beats RTX 5070 Ti (131)
- NVIDIA Launches GeForce RTX 5050 for Desktops and Laptops, Starts at $249 (122)
- NVIDIA GeForce RTX 5080 SUPER Could Feature 24 GB Memory, Increased Power Limits (115)
- Microsoft Partners with AMD for Next-gen Xbox Hardware (105)
- Intel "Nova Lake‑S" Series: Seven SKUs, Up to 52 Cores and 150 W TDP (100)
- NVIDIA DLSS Transformer Cuts VRAM Usage by 20% (97)