 10
10
Chieftec Stallion 3 Review
Thermal Stress Test »Review System
| System Parts for Case Reviews | |
|---|---|
| Processor: | Intel Core i5-12600K Provided by: Intel |
| Motherboards: | ATX: ASUS ROG Strix Z690-E Gaming WiFi mATX: ASUS TUF Gaming B660M-PLUS WiFi D4 ITX: ASUS ROG STRIX Z690-I Gaming WiFi Provided by: ASUS |
| Graphics Card: | Gigabyte Radeon RX 6600 Eagle Provided by: Gigabyte ZOTAC GAMING GeForce RTX 3060 Ti Twin Edge OC Provided by: Zotac |
| Memory: | 32 GB XPG LANCER RGB DDR5 6000 MHz 32 GB XPG CASTER DDR5 6400 MHz 32 GB XPG HUNTER DDR5 5200 MHz Provided by: ADATA |
| HDD: | Toshiba MG08ADA400E 7200 RPM SATA III Provided by: Toshiba |
| SSD: | ATX:XPG GAMMIX S70 BLADE 1 TB mATX: ADATA LEGEND 840 512 GB ITX: XPG SPECTRIX S20G 500 GB ADATA Ultimate SU800 512 GB ADATA Ultimate SU720 500 GB Provided by: ADATA |
| Power Supply: | ATX: Fractal Design ION+ 650W 80 Plus Gold SFX: Fractal Design ION SFX-L 650W 80 Plus Gold Provided by: Fractal Design |
| Cooling: | be quiet! Pure Loop 120 / Pure Loop 2 FX 240/280/360 Provided by: be quiet! |
Assembly
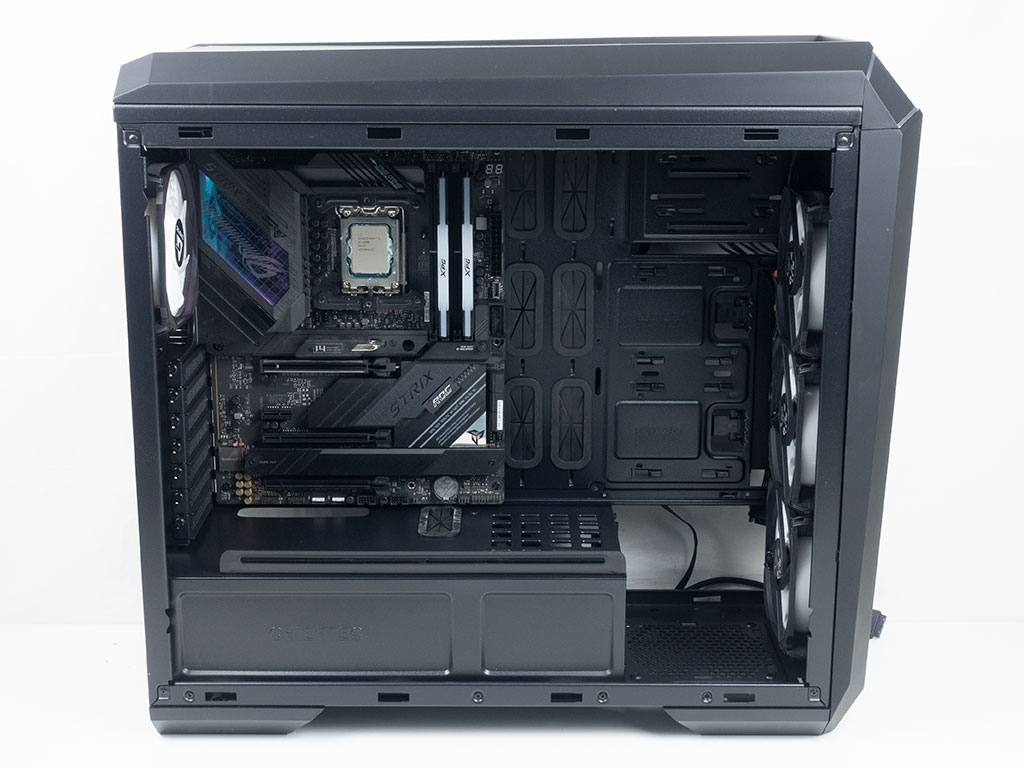
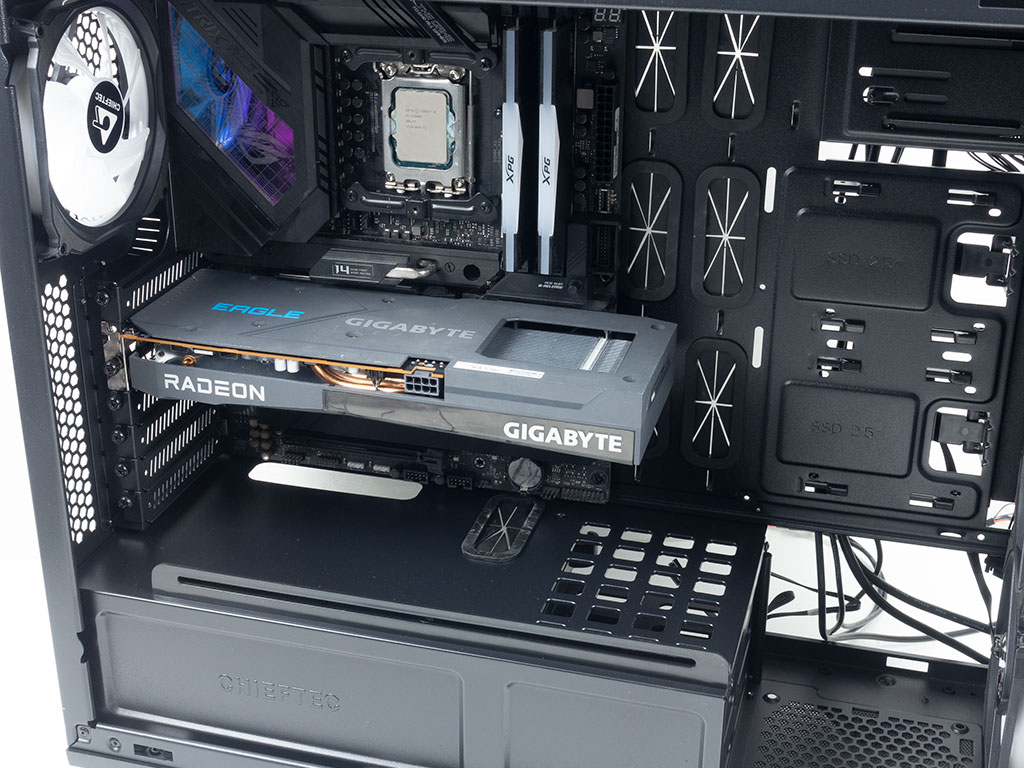
Installing the motherboard is done by traditional means using spacers and screws. Noteworthy, is that Chieftec does not pre-install any of them, which means that you will have to do so yourself. While the board sits against the shroud, the openings there should be quite useful for cable management - especially that grommet equipped one will allow you to route the PCIe power lead nicely. This is further underscored when you install your GPU, which has loads of room, even if you opt for elaborate cooling in the front of the Chieftec Stallion 3.
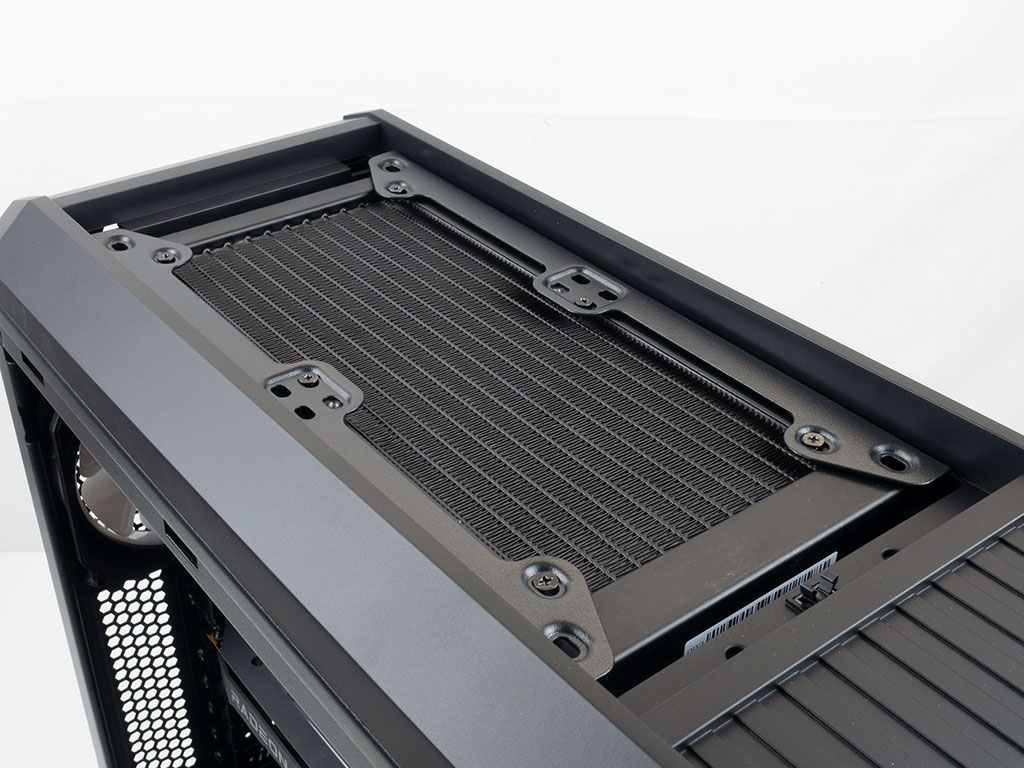
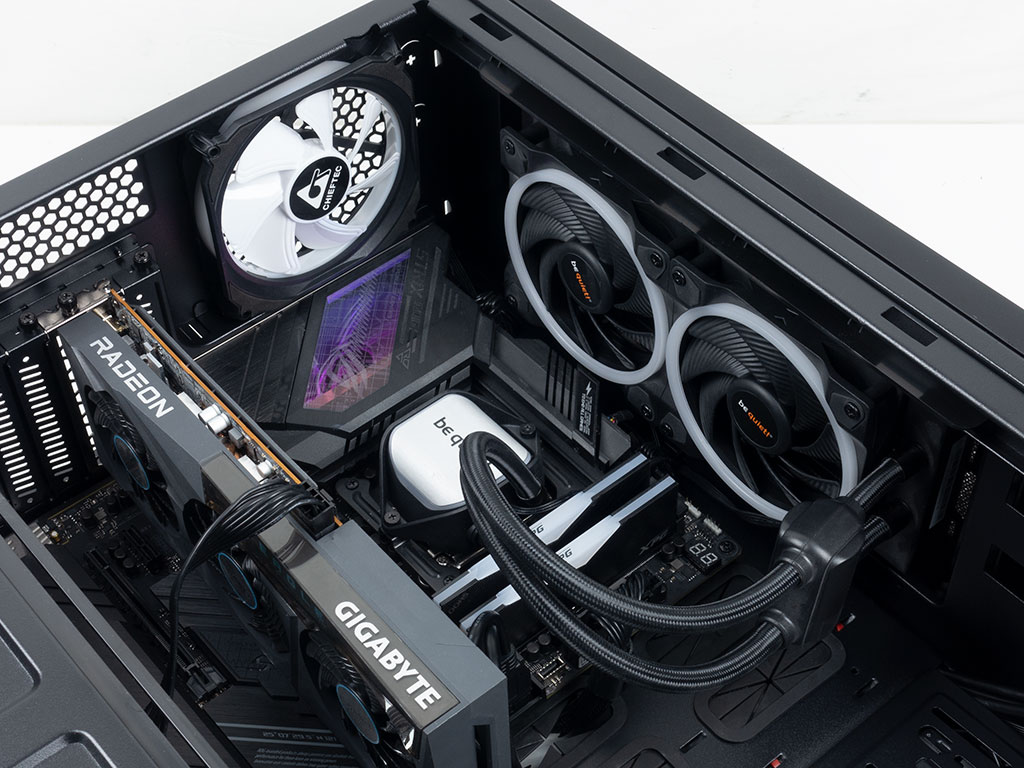
Installing a 240 mm AIO in the top is straight forward. The recessed element provides you with enough room to keep the connectors at the top edge of your board accessible, which is a nice touch. Naturally, the downside of this design is the limit in AIO size. Where other brands offset the mounting holes, the ones in the Stallion 3 are in the center. If they had been offset, Chieftec could have probably done away with the recess and as such provided a bit more flexibility in size, while not colliding with the motherboard.
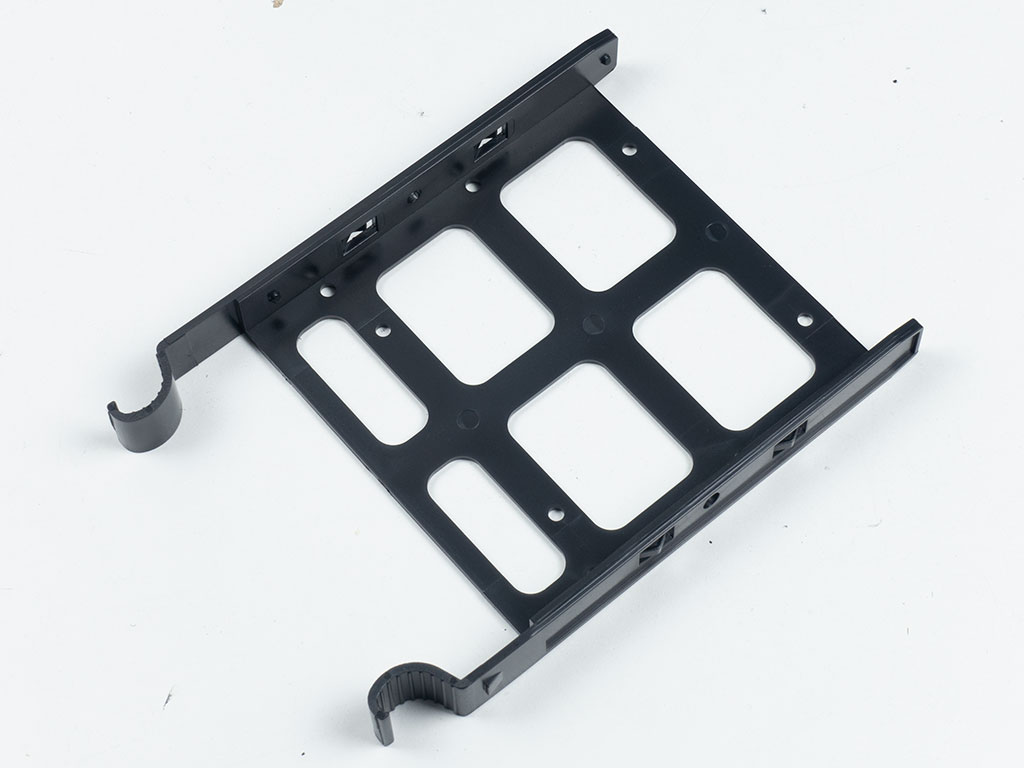
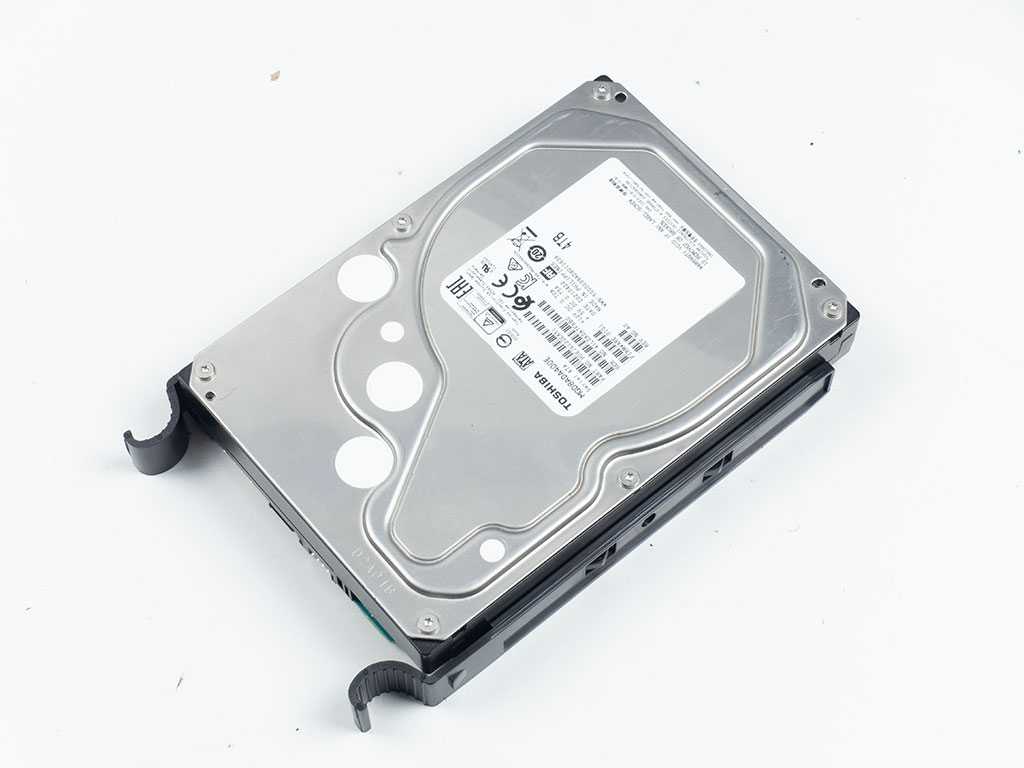
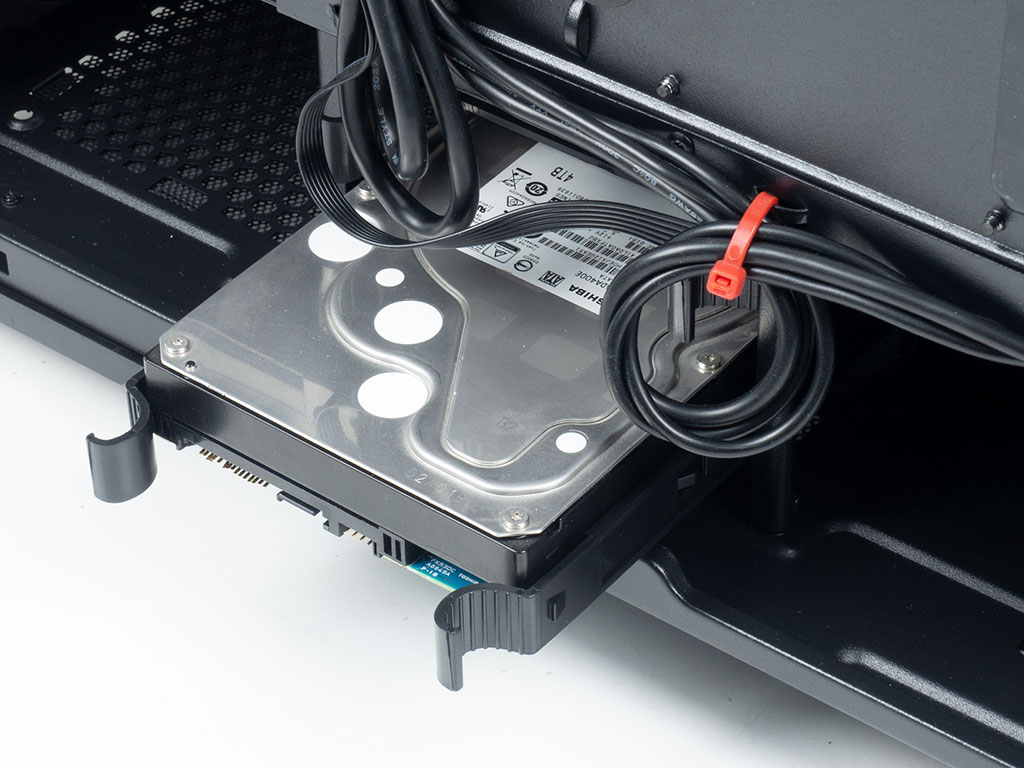
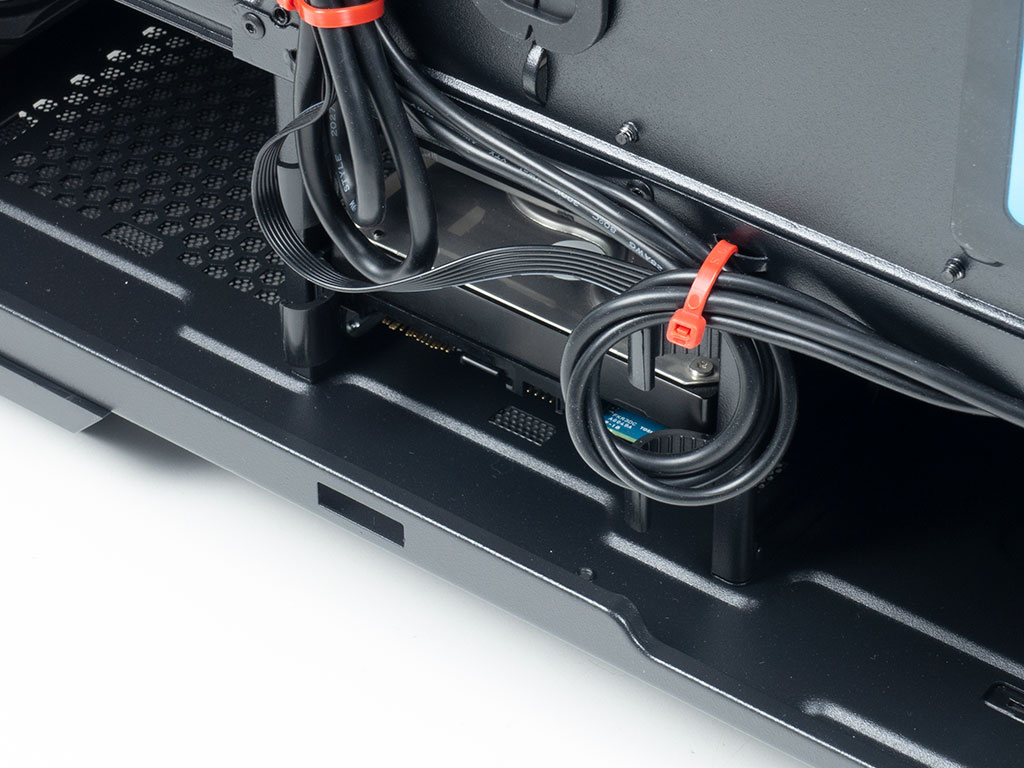
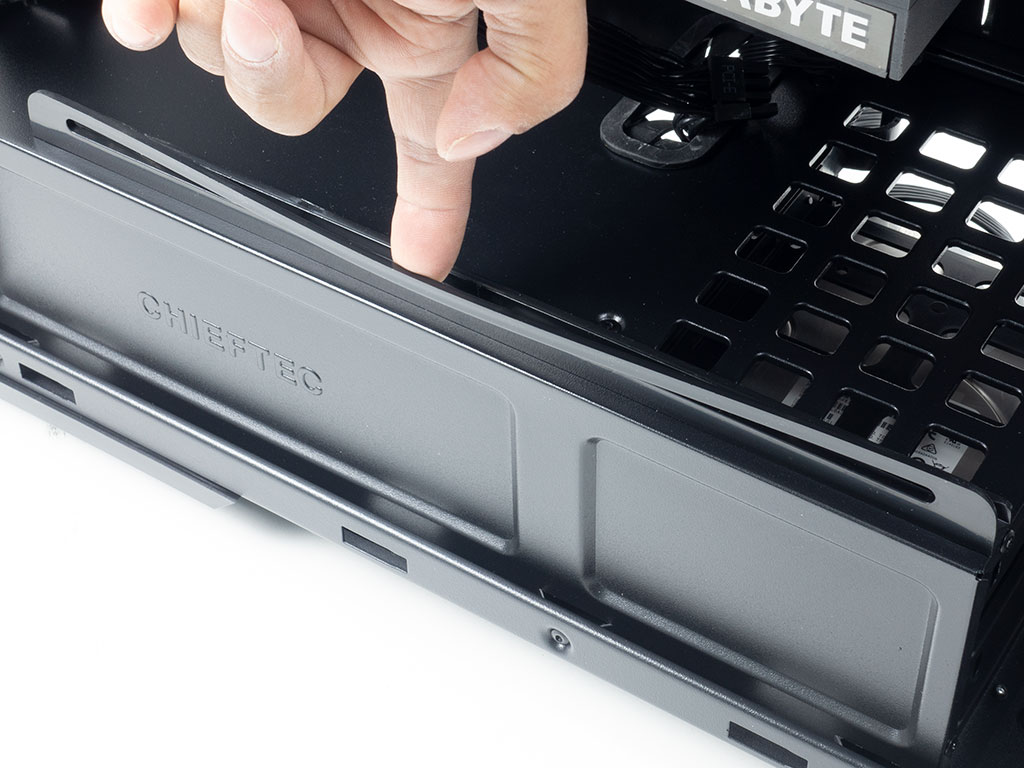
Installing the 3.5" drives does not require any tools thanks to the pin equipped, snap on trays. Interestingly enough, each of these may also hold 2.5" drives. As such the Chieftec Stallion 3 could actually take on a total eight 2.5" drives, while the specification table communicates a mere four. Once your storage drive is secured, simply slide the tray into place until it snaps down inside the cage.
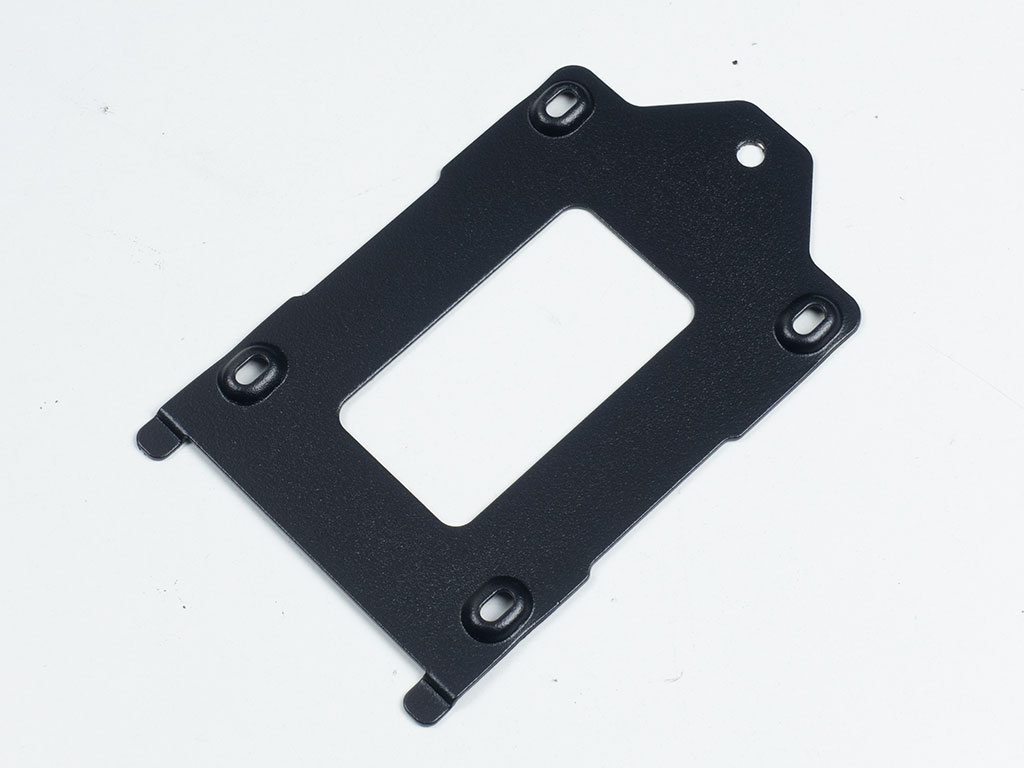
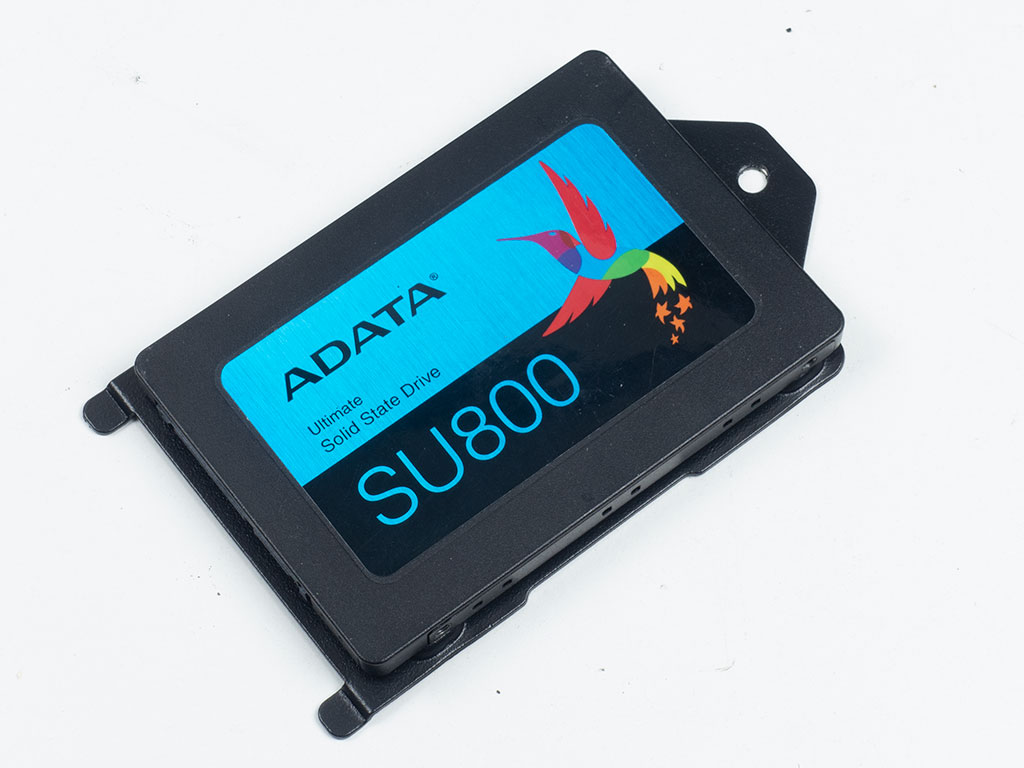
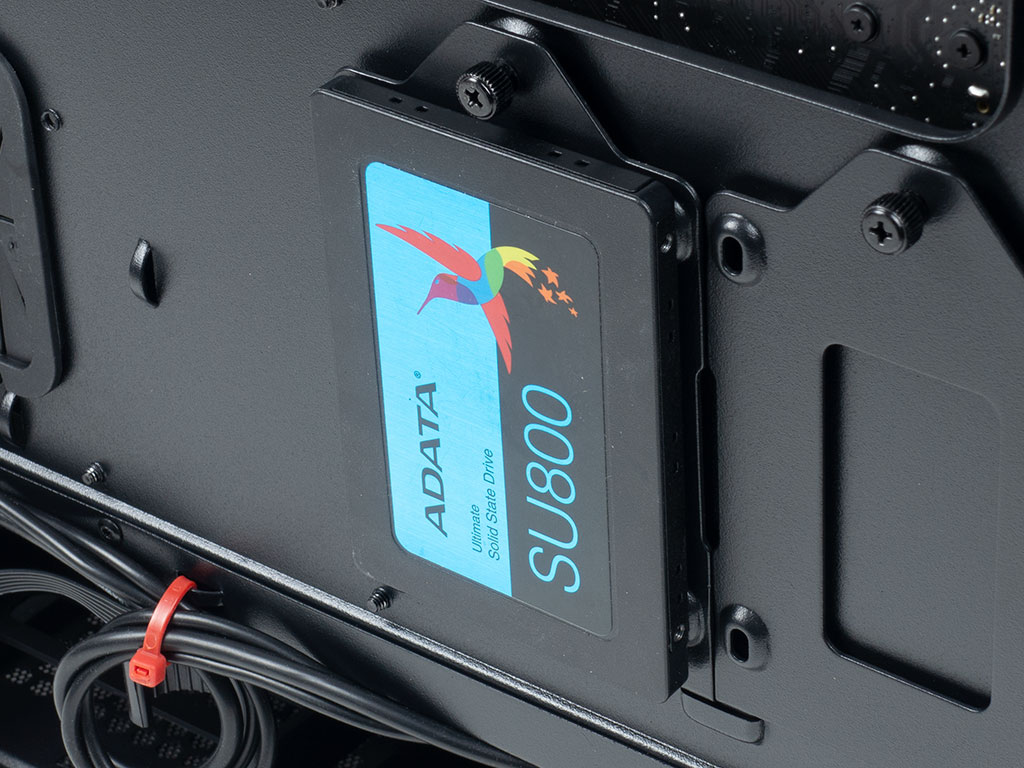
Adding an SSD using one of the two metal plates does require screws. It may then be put back unto the backside of the motherboard tray and secured by a thumb screw.
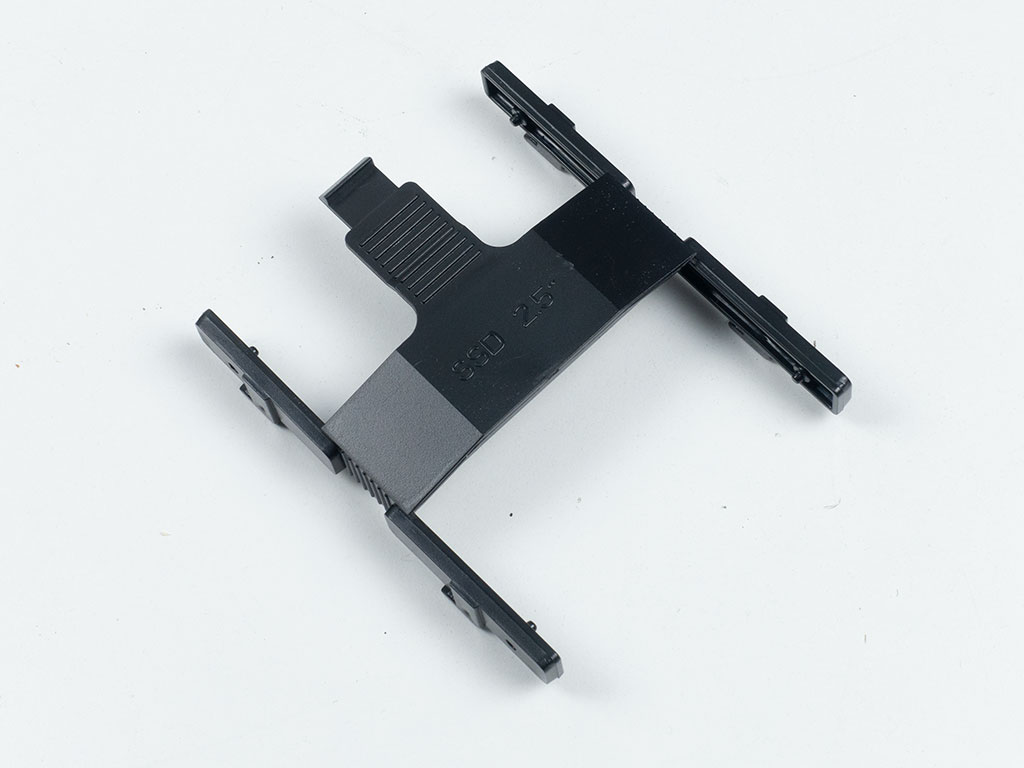
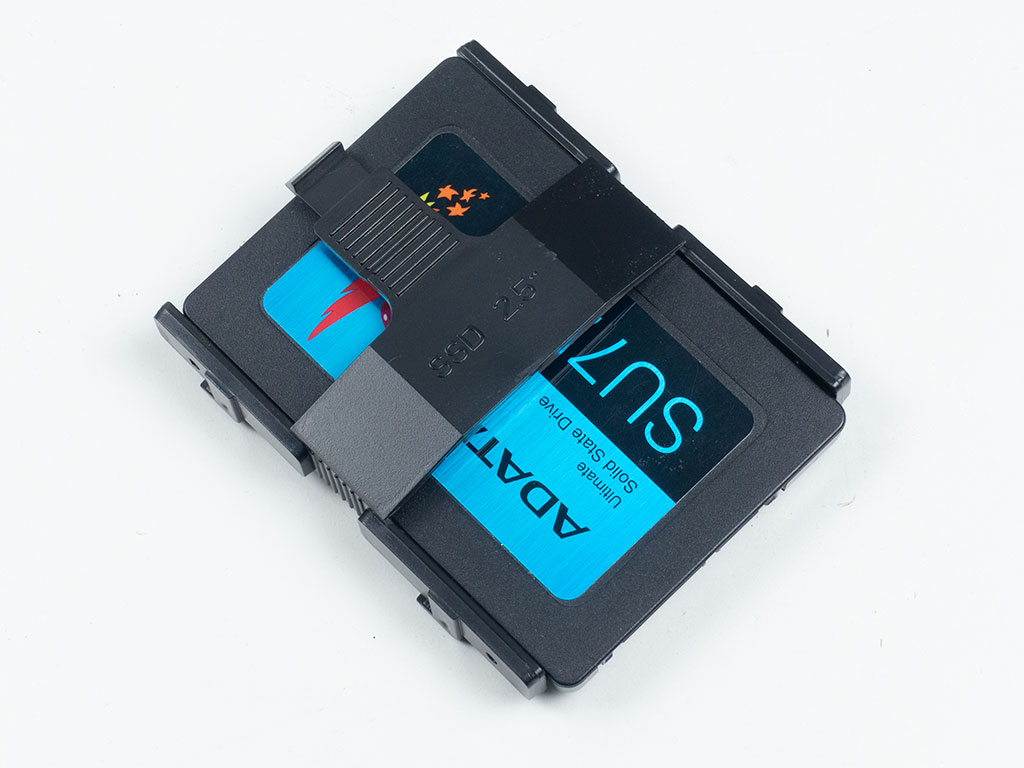
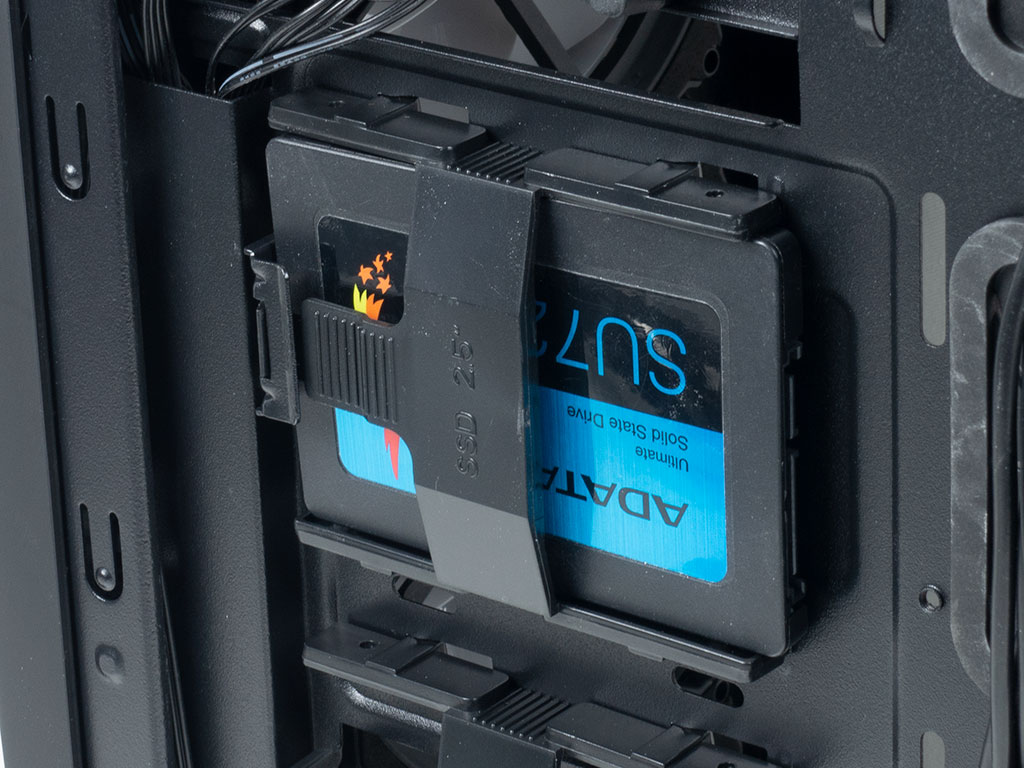
An alternative placement method is the use of the plastic clips towards the front of the chassis. These offer a tool-less method of adding 2.5" drives. Once the plastic frame is snapped onto the drive you can slide it back into place, where it pops into the chassis with a tension clip.
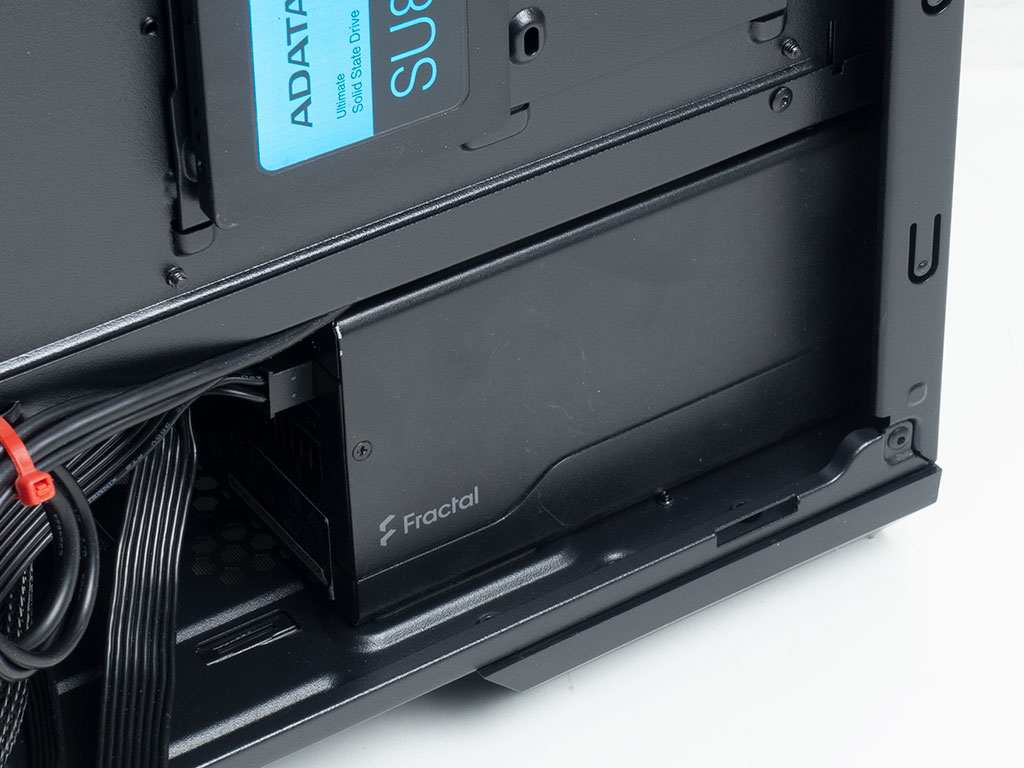
Adding a power supply is done by traditional means with screws. There is plenty of room, so you should easily be able to install potent units to power your rig.
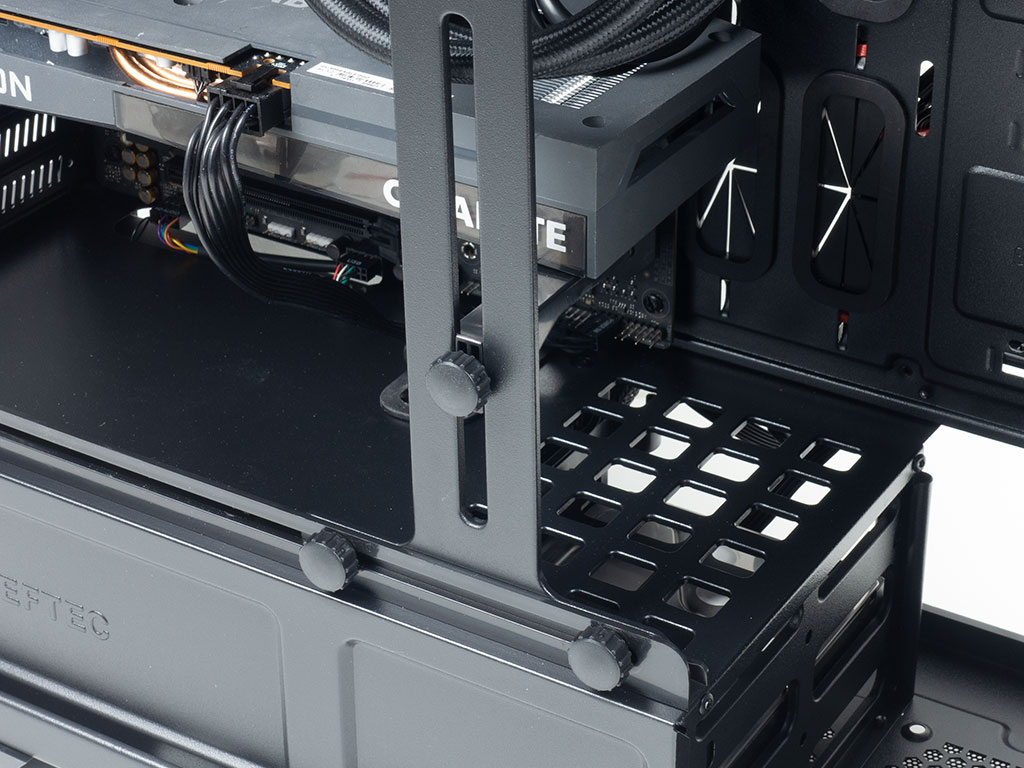
We noticed that the plastic elements of the GPU support bracket are extremely fragile and flex easily. This piece could have been designed with steel instead to avoid this issue. As is, there is a realistic likelihood that it may snap apart if you are not careful, which in turn would render the GPU bracket useless, a shame, since it works quite well in general.
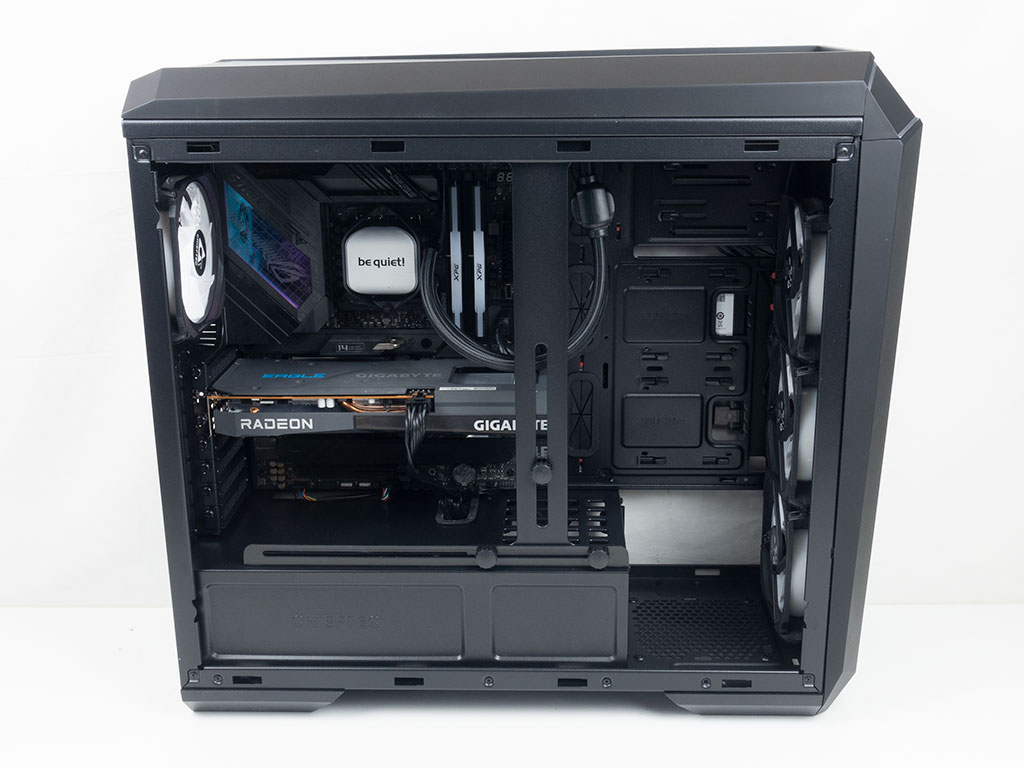
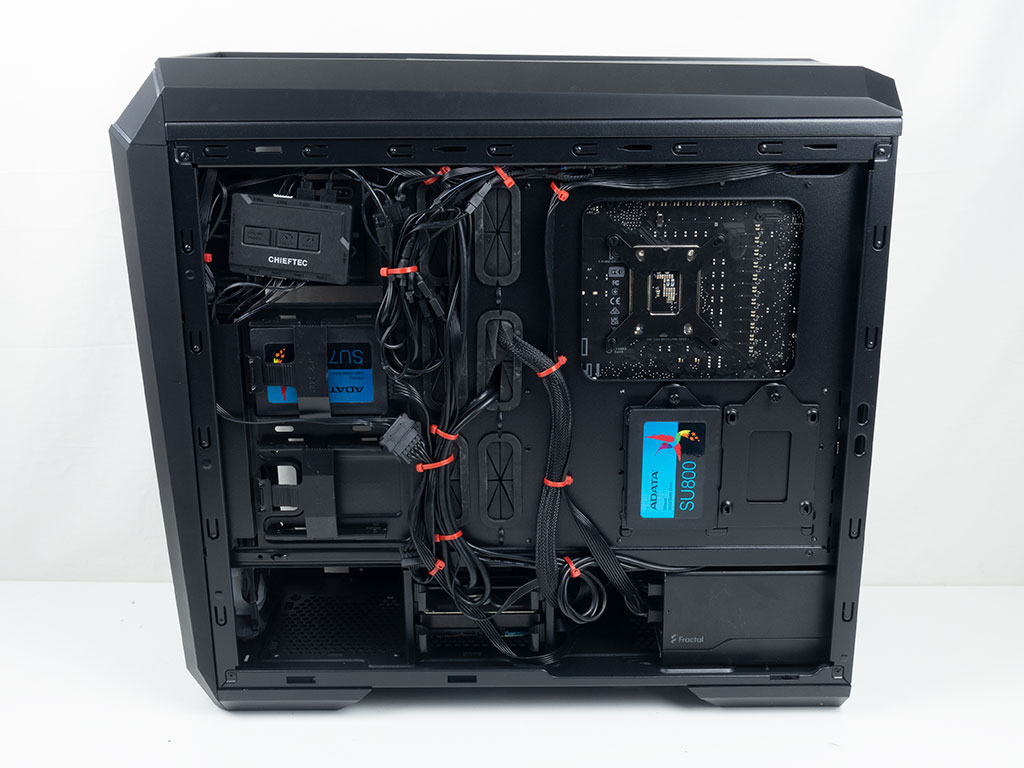
With everything installed, the Chieftec Stallion 3 turns out to be very clean on the interior thanks to the well placed, grommet equipped openings, when using an ATX board. Even compact E-ATX variants should still be able to utilize the secondary row of grommet covered holes, which is a relief. In the back, after considerable time invested and the controller relocated to an otherwise unused area of the chassis at the top left corner, the cable management becomes, well, manageable. You will require a lot more zip ties than Chieftec supplies, but the possible final result is quite good actually thanks to the useful amount of hooks present.
Finished Looks
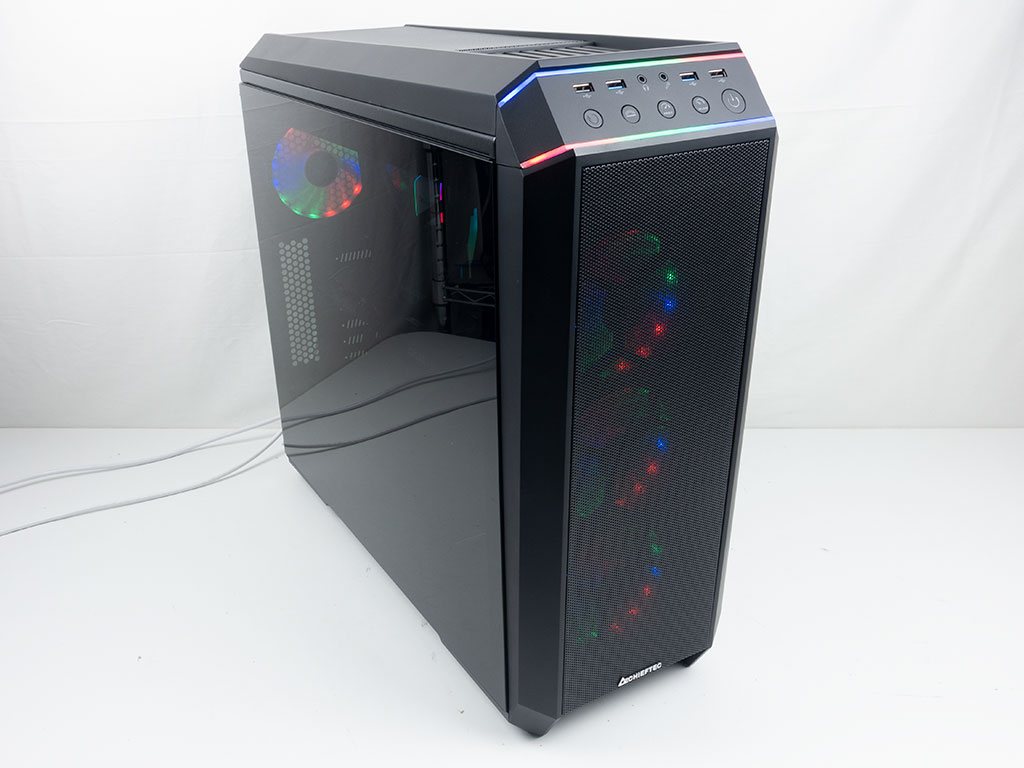
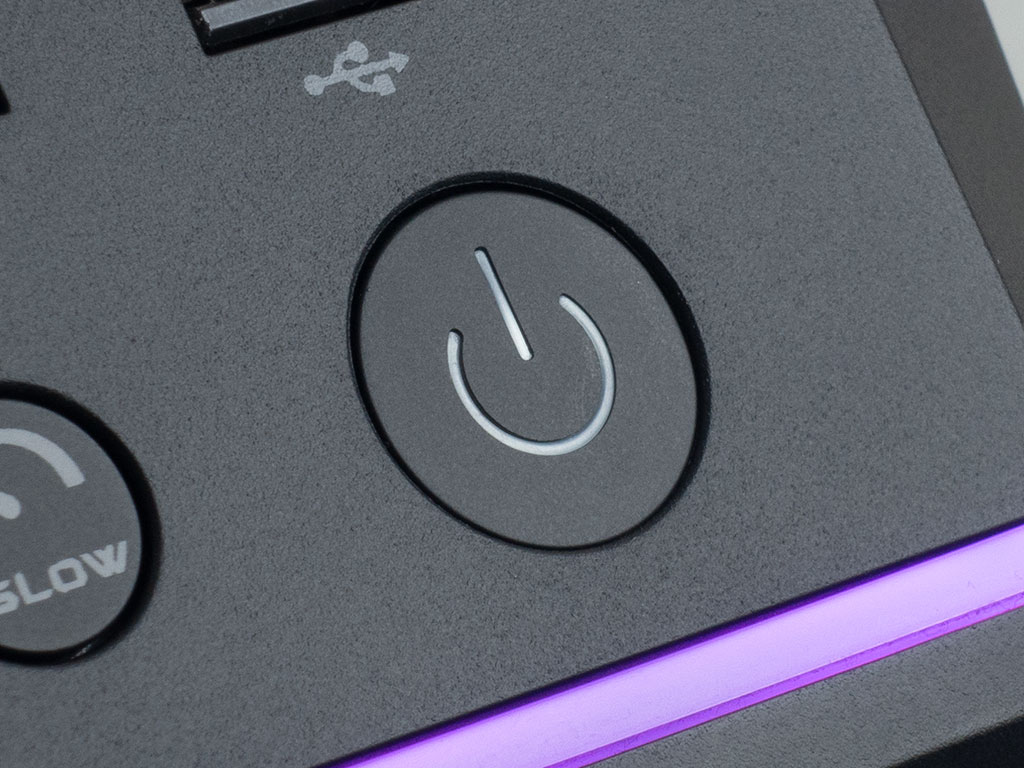
Turning the Chieftec Stallion 3 on, you are greeted by a slew of ARGB elements, which includes two strips at the top of the case as well as ring mounted LEDs inside the fans. the latter make things look rather different to the far more traditional hub mounted variants, especially as there are simply more LEDs and each individual one is clearly visible. A subtle white LED lights up underneath the circular power button to let you know your system is up and running as well.
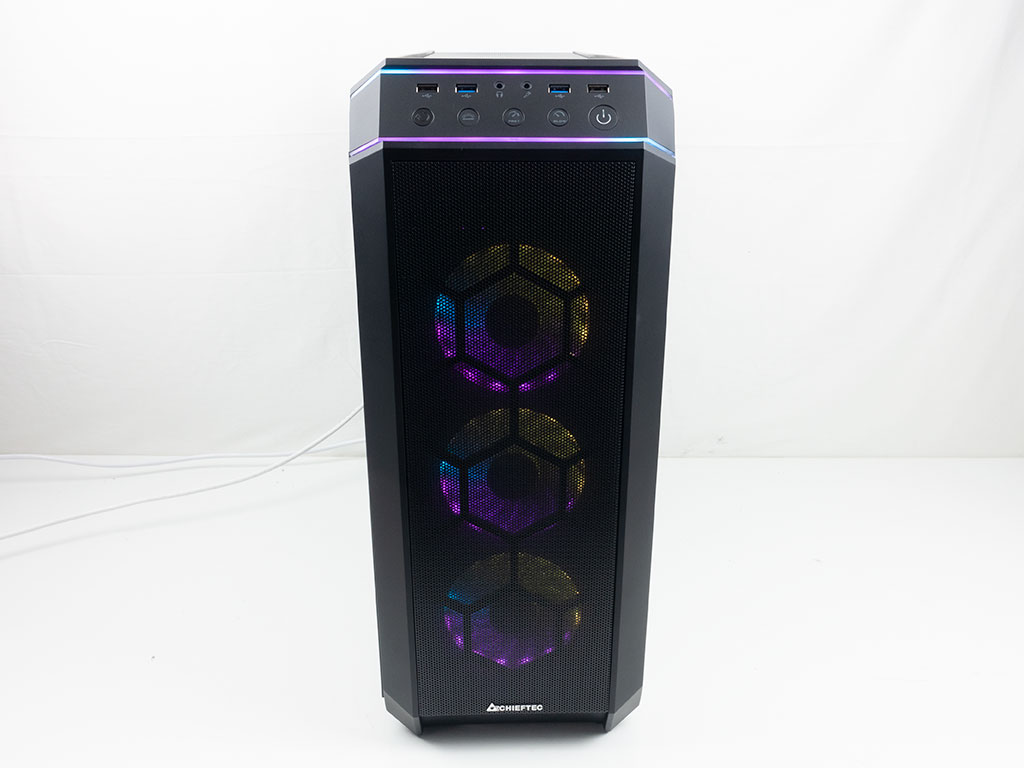
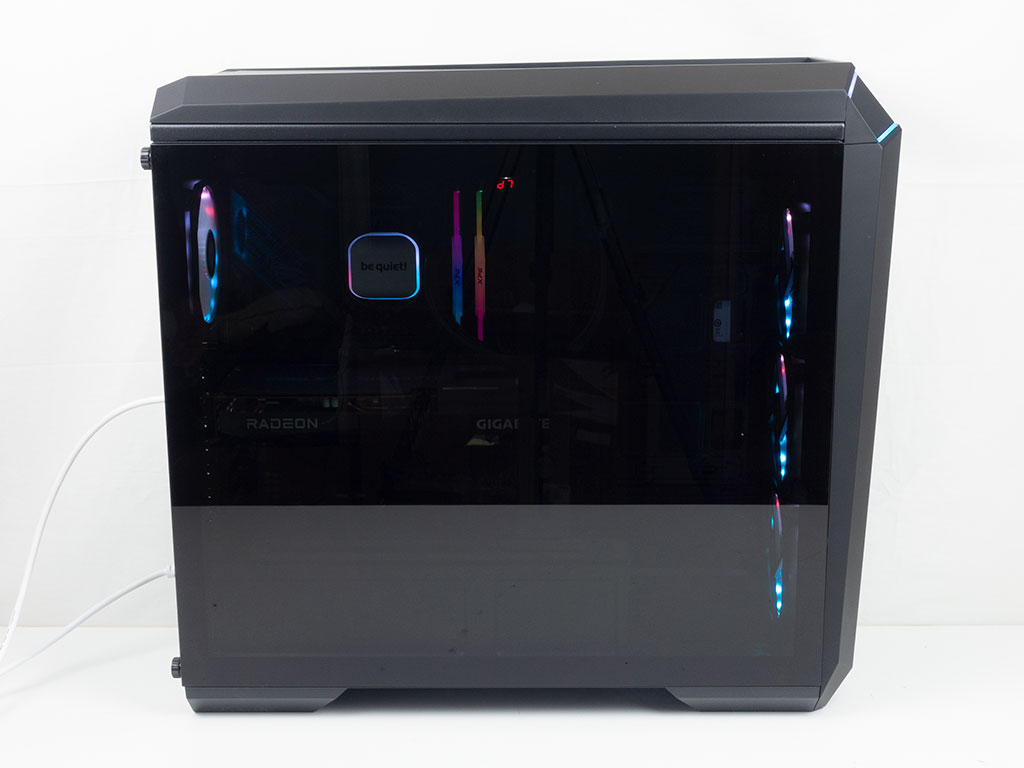
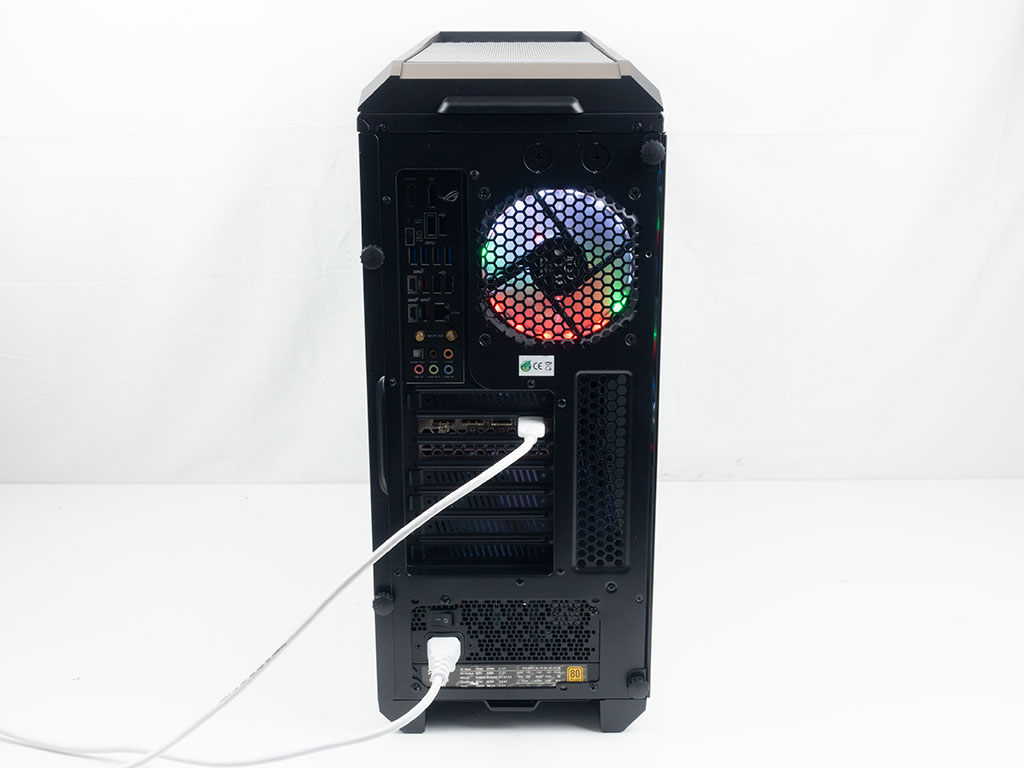
The RGB elements in the front are disturbed by the honeycomb support structure of the metal mesh cover, but you can still clearly see all of them. Looking through the glass, you can also view all the ARGB aspects, albeit in a muted fashion due to the heavy tint. If you look closely, you can see where the GPU support bracket covers the Gigabyte branding. As such, those with ARGB equipped GPUs will also notice that blockage. Lastly, looking at the rear of the chassis, everything is where you would expect to see it, with the bright LEDs of the rear exhaust fan shining bright.
Jul 12th, 2025 09:31 CDT
change timezone
Latest GPU Drivers
New Forum Posts
- No offense, here are some things that bother me about your understanding of fans. (36)
- Stupid buggy POS Realtek WiFi RTL8852BE (11)
- Swapping existing router w/ a replacement; any issues? (14)
- 'NVIDIA App' not usable offline? (13)
- Chrome has removed uBlock Origin 1.64.0 (remove google search suggestions) (12)
- Share your AIDA 64 cache and memory benchmark here (3097)
- The Official Linux/Unix Desktop Screenshots Megathread (778)
- [GPU-Z Test Build] New Kernel Driver, Everyone: Please Test (90)
- Gigabyte graphic cards - TIM gel SLIPPAGE problem (150)
- NVIDIA App (55)
Popular Reviews
- Fractal Design Epoch RGB TG Review
- Lexar NM1090 Pro 4 TB Review
- Corsair FRAME 5000D RS Review
- NVIDIA GeForce RTX 5050 8 GB Review
- NZXT N9 X870E Review
- Our Visit to the Hunter Super Computer
- Sapphire Radeon RX 9060 XT Pulse OC 16 GB Review - An Excellent Choice
- AMD Ryzen 7 9800X3D Review - The Best Gaming Processor
- Upcoming Hardware Launches 2025 (Updated May 2025)
- Chieftec Iceberg 360 Review
TPU on YouTube
Controversial News Posts
- Intel's Core Ultra 7 265K and 265KF CPUs Dip Below $250 (288)
- Some Intel Nova Lake CPUs Rumored to Challenge AMD's 3D V-Cache in Desktop Gaming (140)
- AMD Radeon RX 9070 XT Gains 9% Performance at 1440p with Latest Driver, Beats RTX 5070 Ti (131)
- NVIDIA Launches GeForce RTX 5050 for Desktops and Laptops, Starts at $249 (119)
- NVIDIA GeForce RTX 5080 SUPER Could Feature 24 GB Memory, Increased Power Limits (115)
- Microsoft Partners with AMD for Next-gen Xbox Hardware (105)
- Intel "Nova Lake‑S" Series: Seven SKUs, Up to 52 Cores and 150 W TDP (100)
- NVIDIA DLSS Transformer Cuts VRAM Usage by 20% (97)