 11
11
Cooler Master Centurion 590 Review
Assembly »A Closer Look - Inside

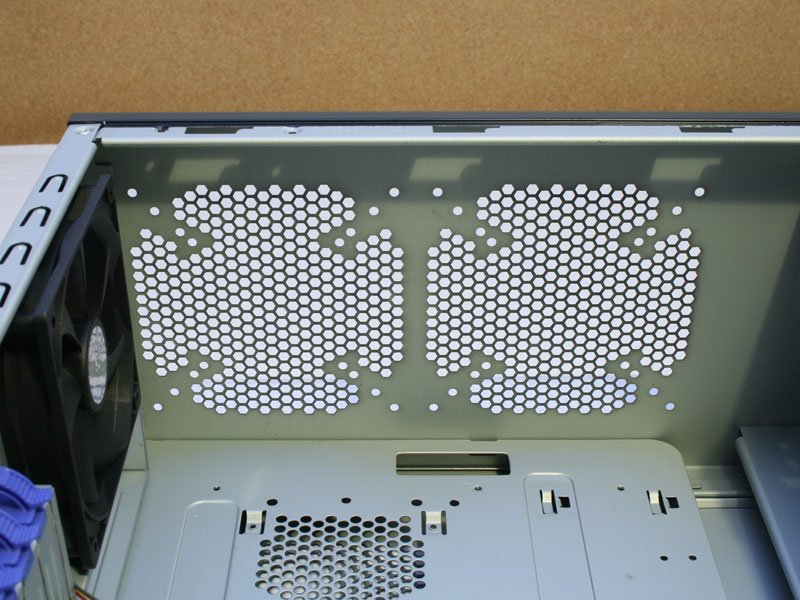
Opening the case is simply done by unscrewing two thumb screws on each side panel. The two large fan holes are of the exact same layout as the two found on the side panel. This means you may install any fan between 80 and 120 mm here as well.
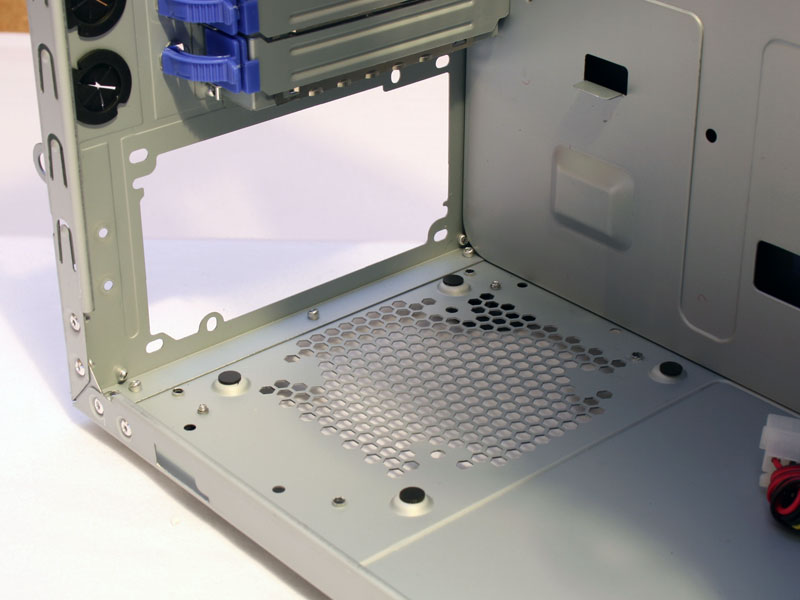
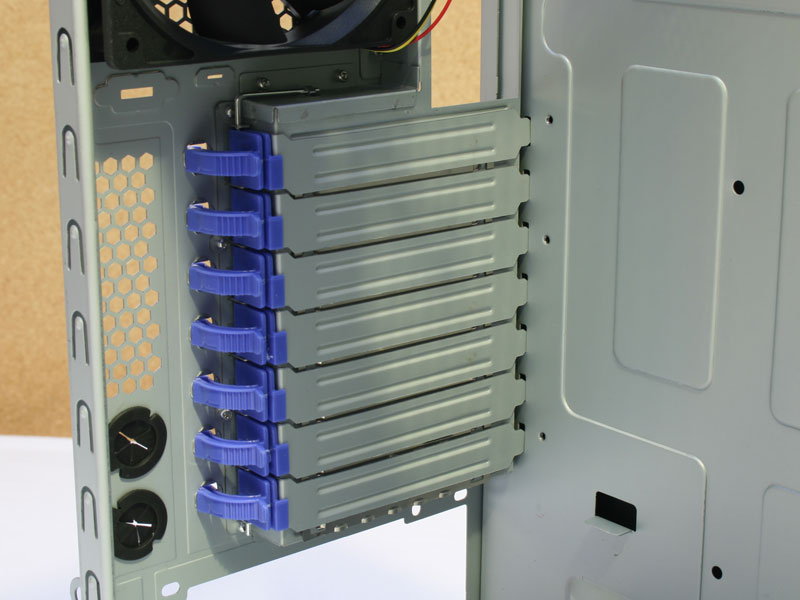
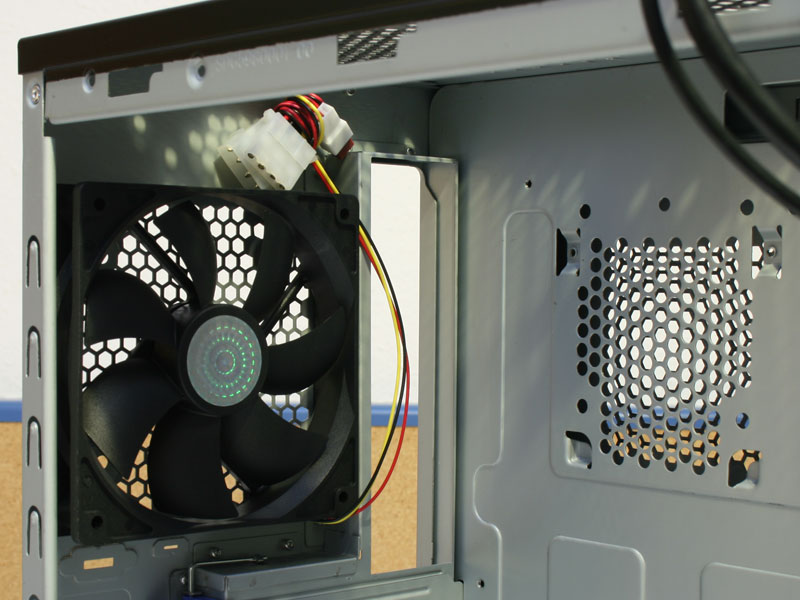
Taking a look at the rear part of the case, the PSU bay also has an air vent. There are four simple foam spacers to reduce any vibration from the PSU. The air vent does not have a dust filter and while it may not be of such importance in the upper areas of the chassis, it is amiss here. A power supply will collect dust particles incredibly fast in such an internal layout. This does mark the second big drawback of this case. The PCI brackets are secured by plastic clips. Time has taught us that such a system does not hold the expansion cards so well. The rear fan does hold a nice upside. It has a mainboard header and a Molex adapter as well.
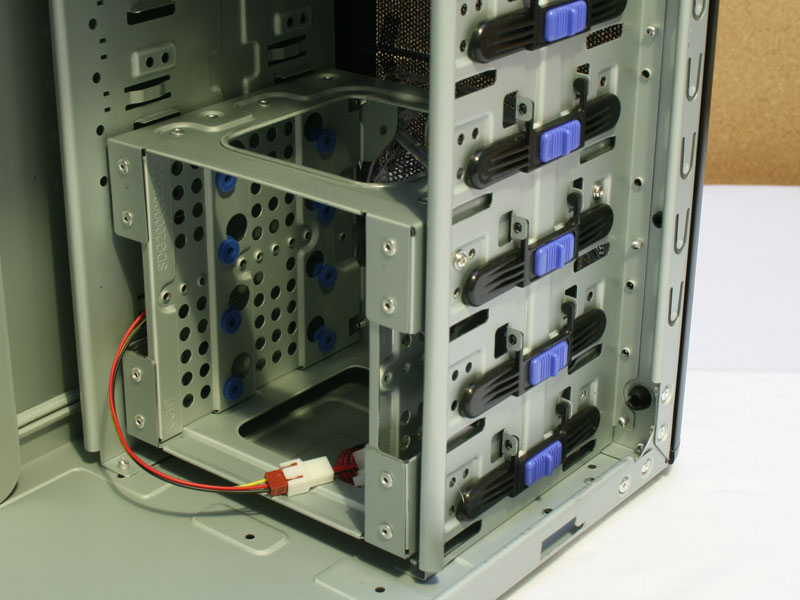
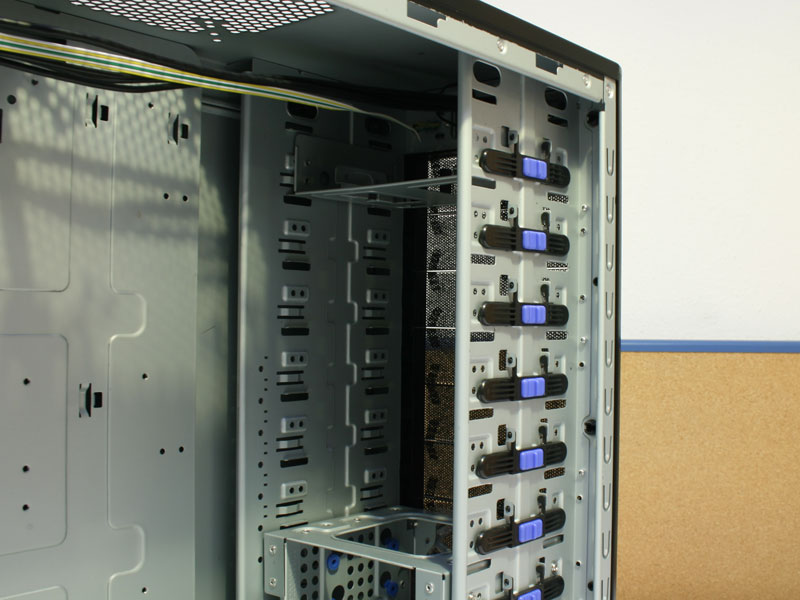
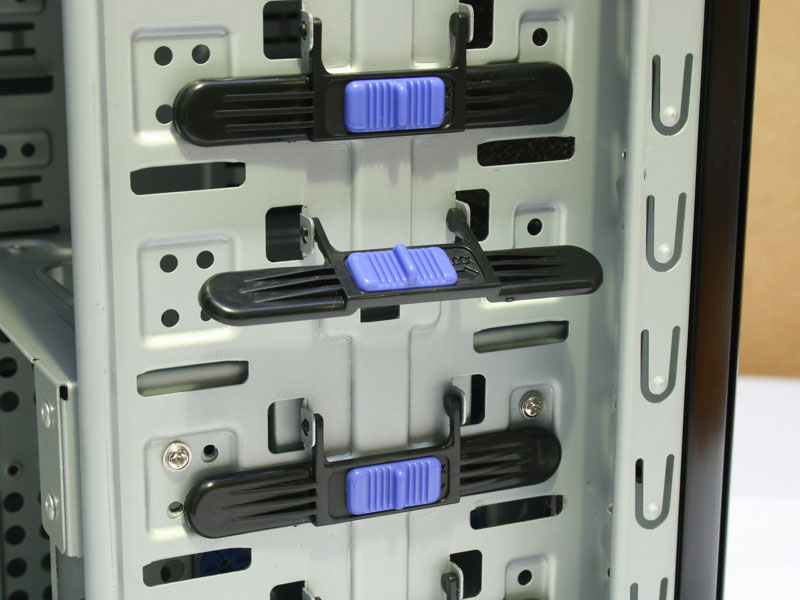
The front of the case is made up of drive bays. Cooler Master has placed a removable hard drive cage in the lower end. You may of course install the unit anywhere within the bays. Each of these have a plastic locking mechanism. Once again, we will see at a later point, if these hold well or not.

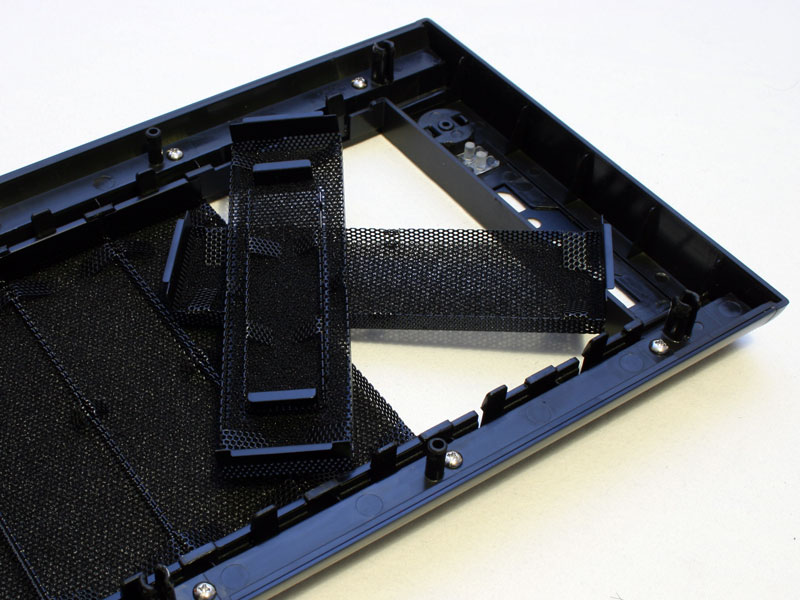

To install drives and to remove the hard drive cage, simply pull of the entire front of the case. There are no extra screws to remove and it holds quite well. The entire inner side of the front is lined with a dust filter and the covers are easily removable, but also hold quite well and do not have any play. Once all the components have been removed, the bare construction of the case becomes apparent. You should notice by now, that the case layout is completely different than any normal OEM chassis.

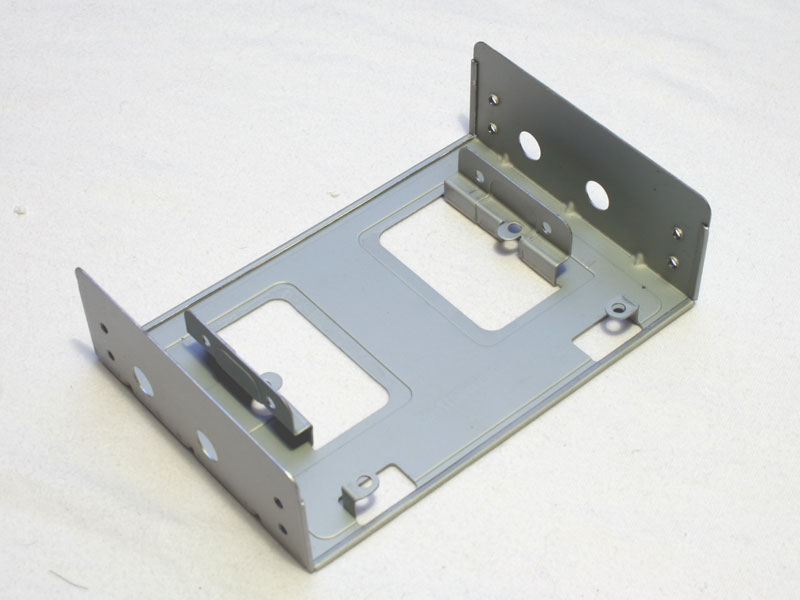
The hard drive cage holds a large 120 mm fan, which also has a mainboard header connected to a Molex adapter for complete choice of connectivity. An additional 3.5" to 5.25" adapter can be found within the top drive bay. This is intended for installation of smaller drives, but can also be used for an additional hard drive.
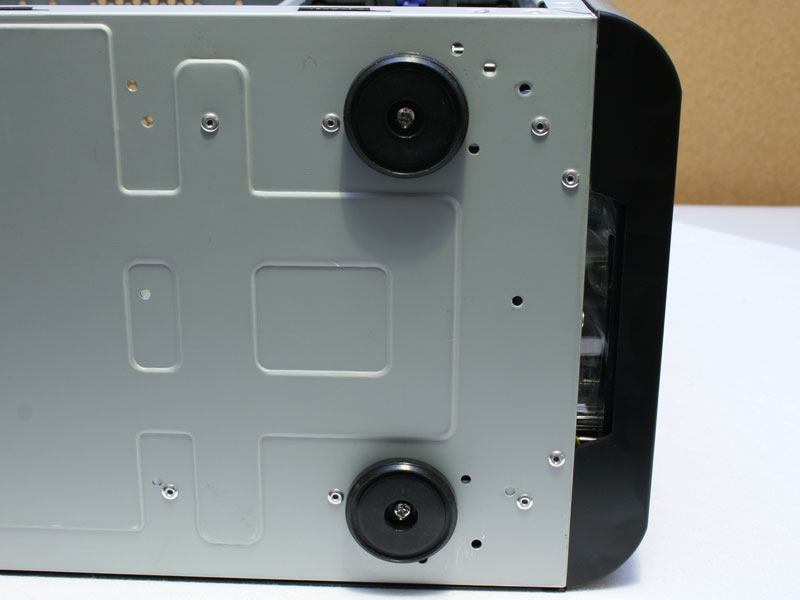
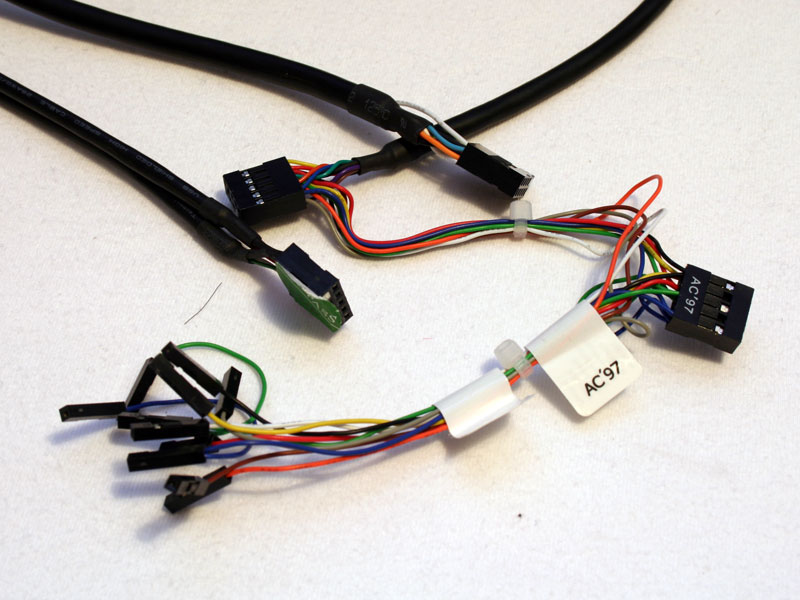
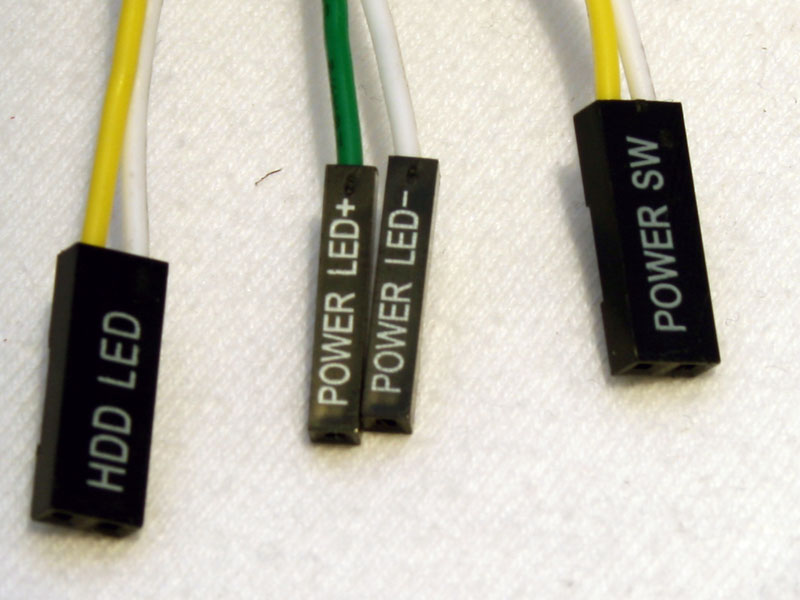
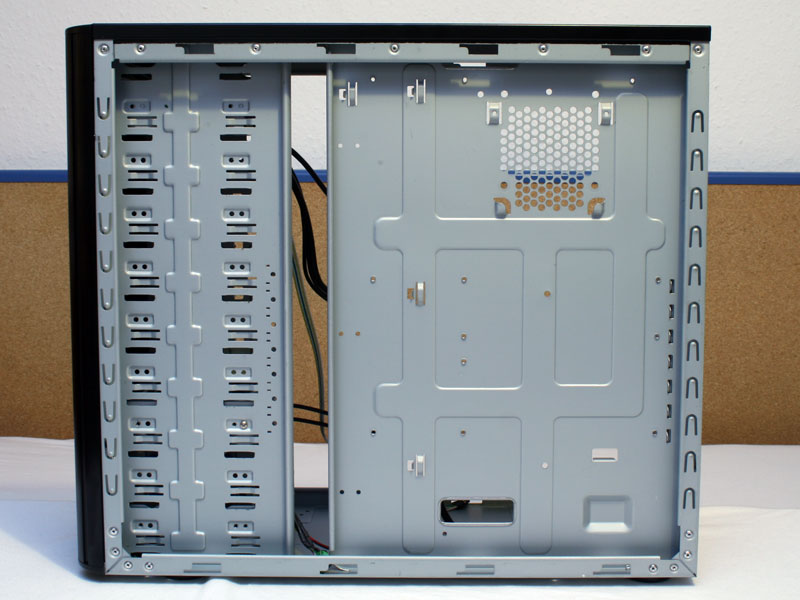
Taking a look at the underside of the Centurion 590, the feet are made of black plastic and secured by real screws. The I/O connectors for the mainboard are of the standard variety. The same goes for the front LED and power button cables.
Jul 5th, 2025 14:05 CDT
change timezone
Latest GPU Drivers
New Forum Posts
- What are you playing? (23892)
- How do you view TPU & the internet in general? (With poll) (72)
- AMD RX 9070 XT & RX 9070 non-XT thread (OC, undervolt, benchmarks, ...) (155)
- Are there others on TPU with a dual system (two pc´s in one case)? (12)
- FINAL FANTASY XIV: Dawntrail Official Benchmark (196)
- Help Watercooling my PC (1)
- TPU's Nostalgic Hardware Club (20484)
- GravityMark v1.89 GPU Benchmark (310)
- Optane performance on AMD vs Intel (57)
- EVGA XC GTX 1660 Ti 8GB ROM (8)
Popular Reviews
- NVIDIA GeForce RTX 5050 8 GB Review
- Fractal Design Scape Review - Debut Done Right
- Crucial T710 2 TB Review - Record-Breaking Gen 5
- ASUS ROG Crosshair X870E Extreme Review
- PowerColor ALPHYN AM10 Review
- Sapphire Radeon RX 9060 XT Pulse OC 16 GB Review - An Excellent Choice
- Upcoming Hardware Launches 2025 (Updated May 2025)
- AMD Ryzen 7 9800X3D Review - The Best Gaming Processor
- Sapphire Radeon RX 9070 XT Nitro+ Review - Beating NVIDIA
- NVIDIA GeForce RTX 5060 8 GB Review
TPU on YouTube
Controversial News Posts
- Intel's Core Ultra 7 265K and 265KF CPUs Dip Below $250 (288)
- NVIDIA Grabs Market Share, AMD Loses Ground, and Intel Disappears in Latest dGPU Update (212)
- Some Intel Nova Lake CPUs Rumored to Challenge AMD's 3D V-Cache in Desktop Gaming (140)
- NVIDIA GeForce RTX 5080 SUPER Could Feature 24 GB Memory, Increased Power Limits (115)
- NVIDIA Launches GeForce RTX 5050 for Desktops and Laptops, Starts at $249 (105)
- Microsoft Partners with AMD for Next-gen Xbox Hardware (105)
- AMD Radeon RX 9070 XT Gains 9% Performance at 1440p with Latest Driver, Beats RTX 5070 Ti (102)
- Intel "Nova Lake‑S" Series: Seven SKUs, Up to 52 Cores and 150 W TDP (100)