 8
8
Cooler Master ControlPad Review - Analog Control, 24 Keys
Software »Disassembly

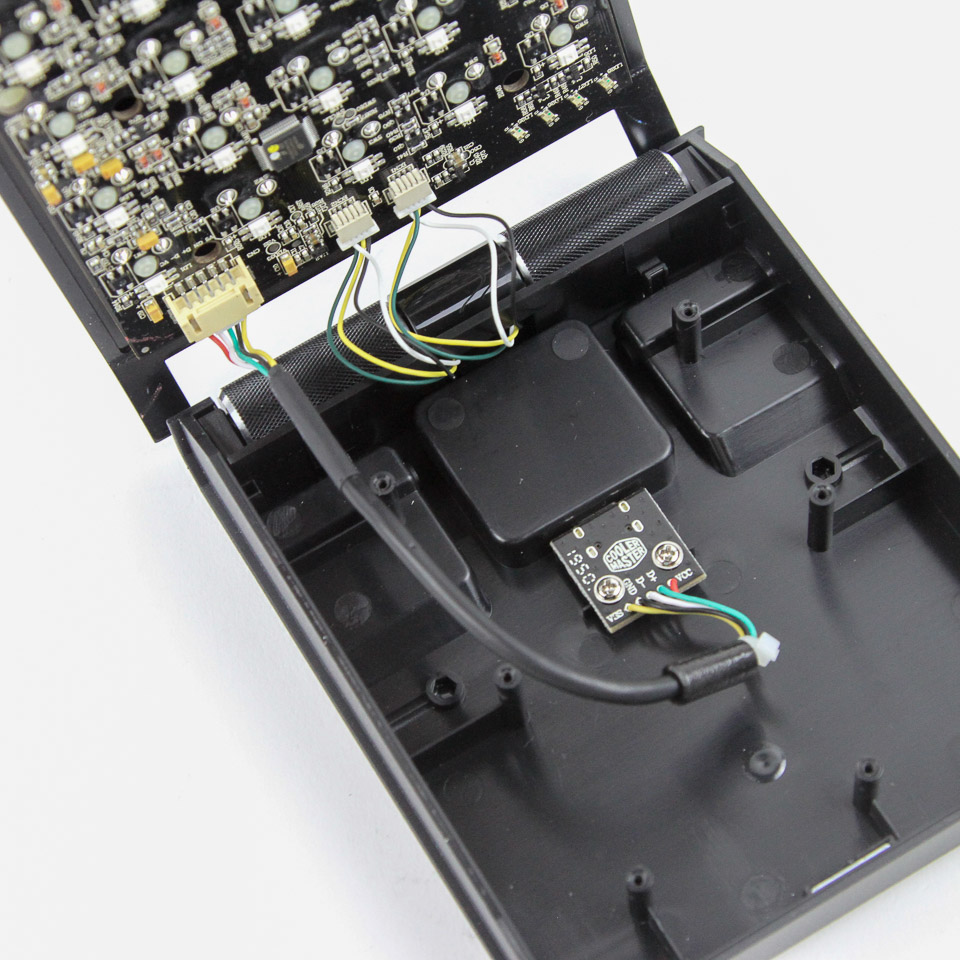


Most metal frame/case keyboards are easier to disassemble than plastic case variants. Taking apart the ControlPad is a piece of cake because of it and the smaller form factor. All you have to do is remove some of the keycaps as seen above to access six countersunk screws. A precision Phillips screwdriver comes in handy here, and you can then separate the two main pieces of the keypad to where you can reach three internal cables that connect them. There are two cables for the two wheels, and a third internal USB cable goes from the daughter PCB aboard the ABS plastic bottom case piece for the Type-C connector to the PCB itself. With all three cables dislodged, we get a better look at the black PCB, which has switches soldered through the aluminium frame and into it.
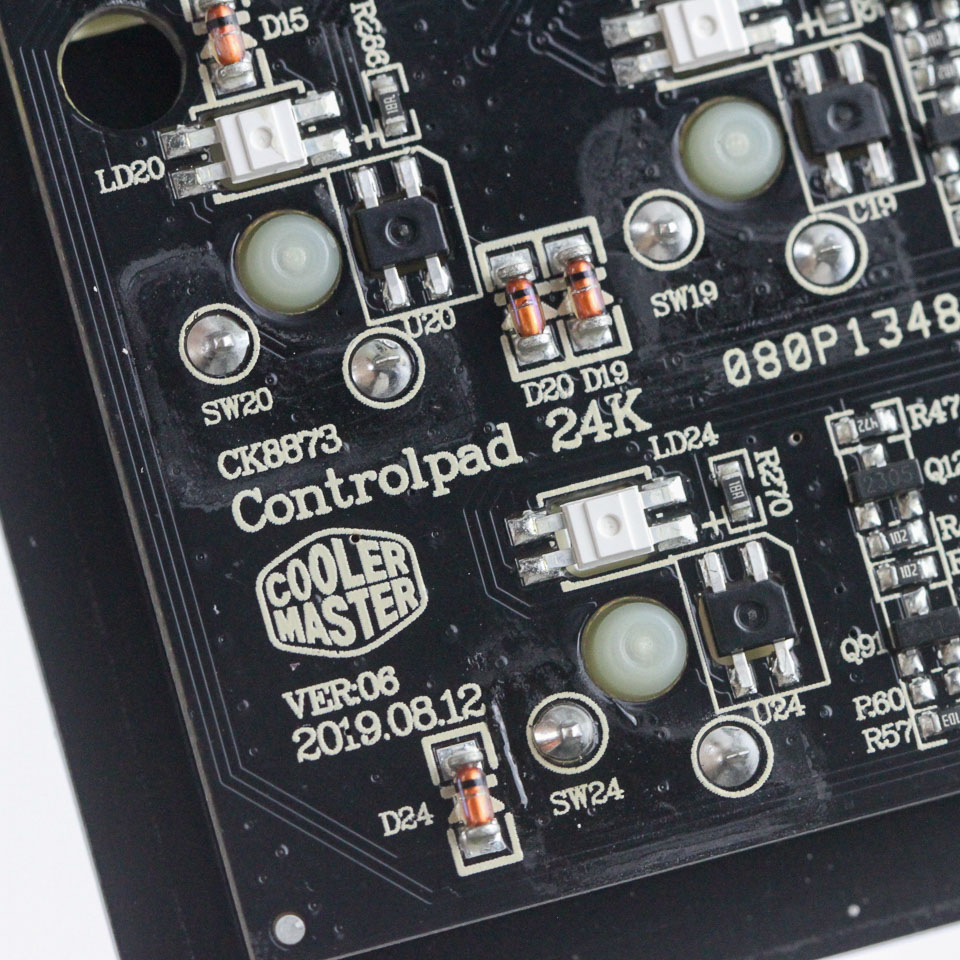


A note on the PCB tells us it was designed for the Cooler Master ControlPad, and interestingly, it is marked as "24K" for its 24 keys, possibly suggesting a different ControlPad in the future. The PCB design was also seemingly finalized late 2019, and solder quality is generally very good. Powering the keypad is a Holtek HT50F52352 USB microcontroller; a data sheet of it was not available online. I have seen it used with other backlit keyboards from Ducky, Vortex, and even Cooler Master, all to good effect. It is likely a special version of Holtek's HT32F ARM Cortex-M0/+ USB microcontroller and works fine as far as the ControlPad is concerned. All the components, including the switches, LEDs, and capacitors, are soldered to a multi-layered PCB.
Before we move on, be advised that disassembly may void the warranty and that TechPowerUp is not liable for any damages incurred if you decide to go ahead and do so anyway.
Jul 15th, 2025 16:35 CDT
change timezone
Latest GPU Drivers
New Forum Posts
- Adding distilled water to ups batteries really work ? (0)
- Stupid things one has done with hardware (66)
- No offense, here are some things that bother me about your understanding of fans. (145)
- RTX 5070 discussion (11)
- I would give anything for Valve's Steam to have an option to disable the Big Picture Mode button. How many times have I accidently clicked it, fml (52)
- Choosing the right motherboard (6)
- Solidigm NVMe Custom Modded Driver for All NVMe Brands SSDs & Any NVMe SSDs (229)
- Recommend me a decent budget card :) (33)
- What's your latest tech purchase? (24278)
- TOS 6 on Ugreen NAS (0)
Popular Reviews
- MSI GeForce RTX 5060 Gaming OC Review
- Our Visit to the Hunter Super Computer
- Lexar NM1090 Pro 4 TB Review
- SilverStone SETA H2 Review
- NVIDIA GeForce RTX 5050 8 GB Review
- Fractal Design Epoch RGB TG Review
- Sapphire Radeon RX 9060 XT Pulse OC 16 GB Review - An Excellent Choice
- AMD Ryzen 7 9800X3D Review - The Best Gaming Processor
- Upcoming Hardware Launches 2025 (Updated May 2025)
- Corsair FRAME 5000D RS Review
TPU on YouTube
Controversial News Posts
- Intel's Core Ultra 7 265K and 265KF CPUs Dip Below $250 (288)
- Some Intel Nova Lake CPUs Rumored to Challenge AMD's 3D V-Cache in Desktop Gaming (140)
- AMD Radeon RX 9070 XT Gains 9% Performance at 1440p with Latest Driver, Beats RTX 5070 Ti (131)
- NVIDIA Launches GeForce RTX 5050 for Desktops and Laptops, Starts at $249 (122)
- NVIDIA GeForce RTX 5080 SUPER Could Feature 24 GB Memory, Increased Power Limits (115)
- Microsoft Partners with AMD for Next-gen Xbox Hardware (105)
- Intel "Nova Lake‑S" Series: Seven SKUs, Up to 52 Cores and 150 W TDP (100)
- NVIDIA DLSS Transformer Cuts VRAM Usage by 20% (99)