 13
13
Cooler Master COSMOS C700P Review
Value & Conclusion »Test System
| System Parts for Case Reviews | |
|---|---|
| Processor: | Intel Core i5-7600K |
| Motherboards: | ATX: MSI Z270 Tomahawk mATX: MSI H270M Mortar Arctic mini-ITX: MSI Z270I Gaming Pro Carbon AC Provided by: MSI |
| Graphic Card: | Long: NVIDIA GeForce GTX 280 OEM Short: HIS Radeon 5350 HD |
| Memory: | 16 GB ADATA XPG Dazzle DDR4 2800 MHz CL17-17-17 1.25V 16 GB ADATA XPG Z1 DDR4 3000 MHz CL18-18-18 1.35V 16 GB ADATA XPG Z1 DDR4 2400 MHz CL16-16-16 1.20V Provided by: ADATA |
| HDD: | Western Digital 320 GB 7200 RPM |
| SSD: | ADATA Premier Pro SP920 MLC 256 GB ADATA Ultimate SU800 3D TLC 256 GB ADATA Premier SP550 TLC 240 GB Provided by: ADATA |
| Power Supply: | Fractal Design Integra M 450W Provided by: Fractal Design |
| Cooling: | Air Cooling: be quiet! Pure Rock Provided by: be quiet! |
Assembly
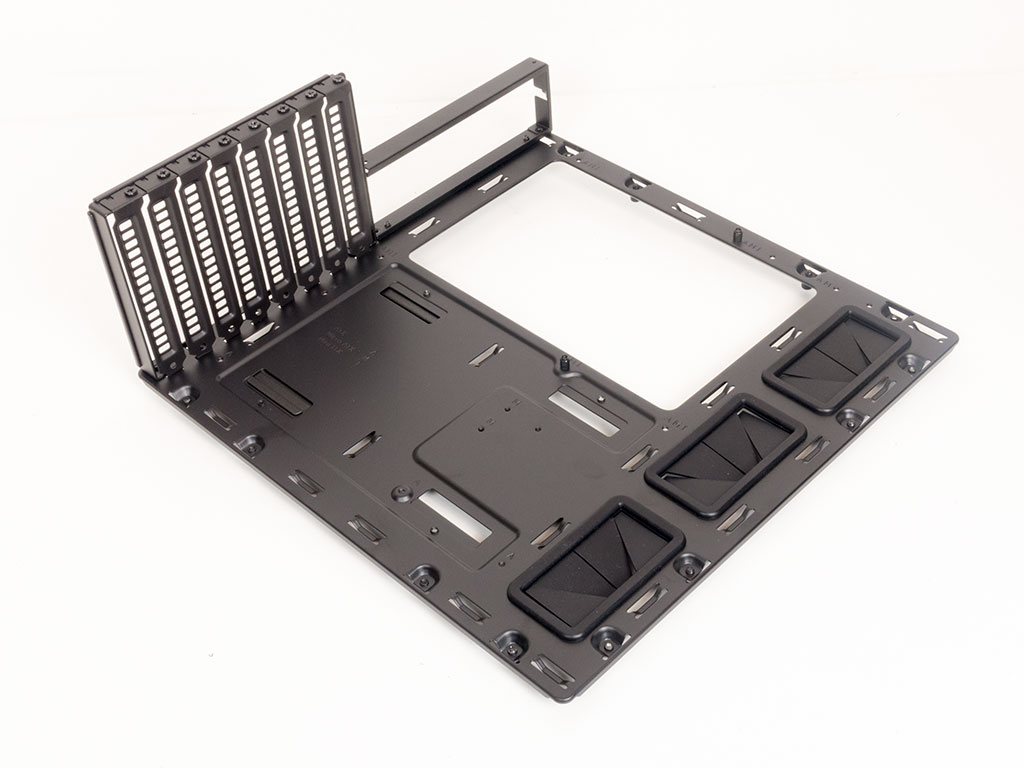
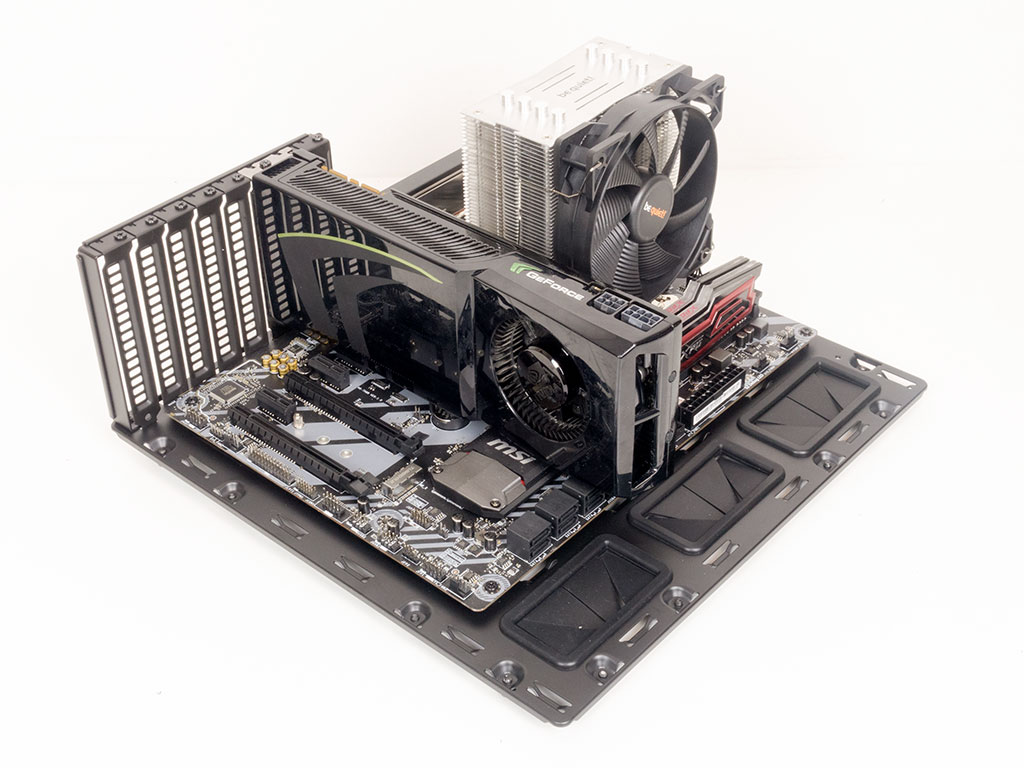

Now, back to our regular review rundown: adding hardware. With the motherboard tray outside of the case, you can easily fill it with the board, CPU cooler, and GPU before mounting it back inside the frame of the C700P. Even once inside, there is loads of space, and were it not for the ill-placed screws of expansion slots, you could have skipped taking the tray out in most build scenarios.

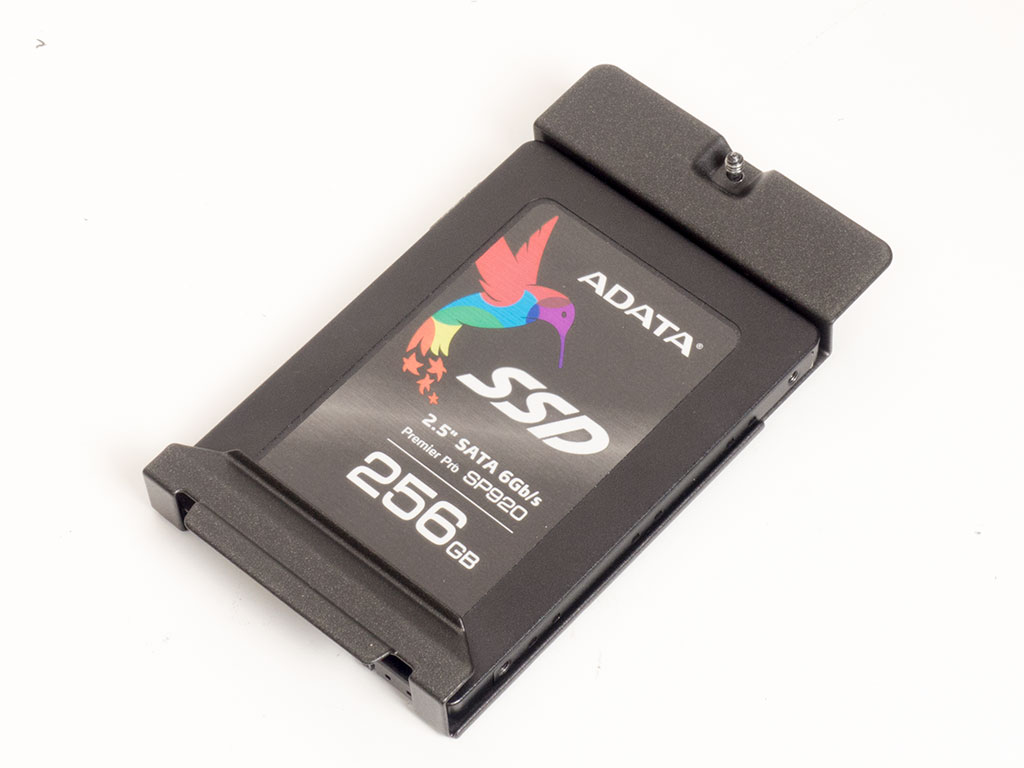

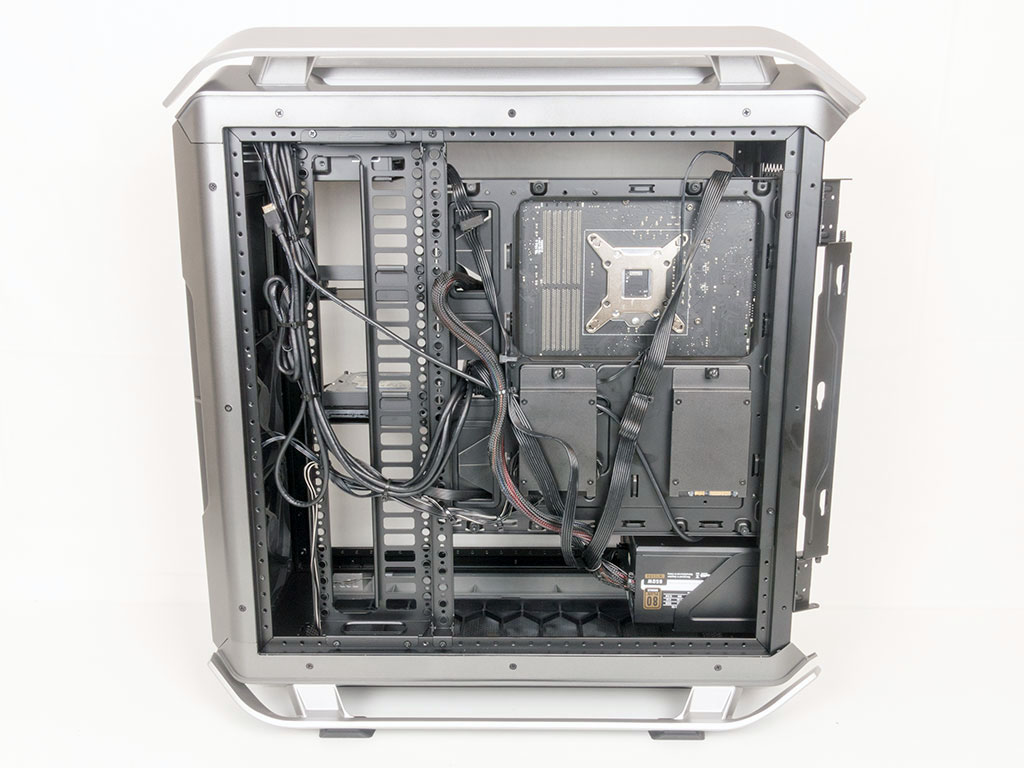
To add a 2.5" drive, you first have to pick where you want to place the unit: behind the motherboard, underneath the 3.5" tray, or on the metal shroud to show it off. I chose the more understated location behind the motherboard tray. Here, simply take the bracket off the motherboard tray, slide the drive into place, and screw it down. It sits behind the metal cover instead of on top, meaning you won't see the SSD once the bracket is back in place.
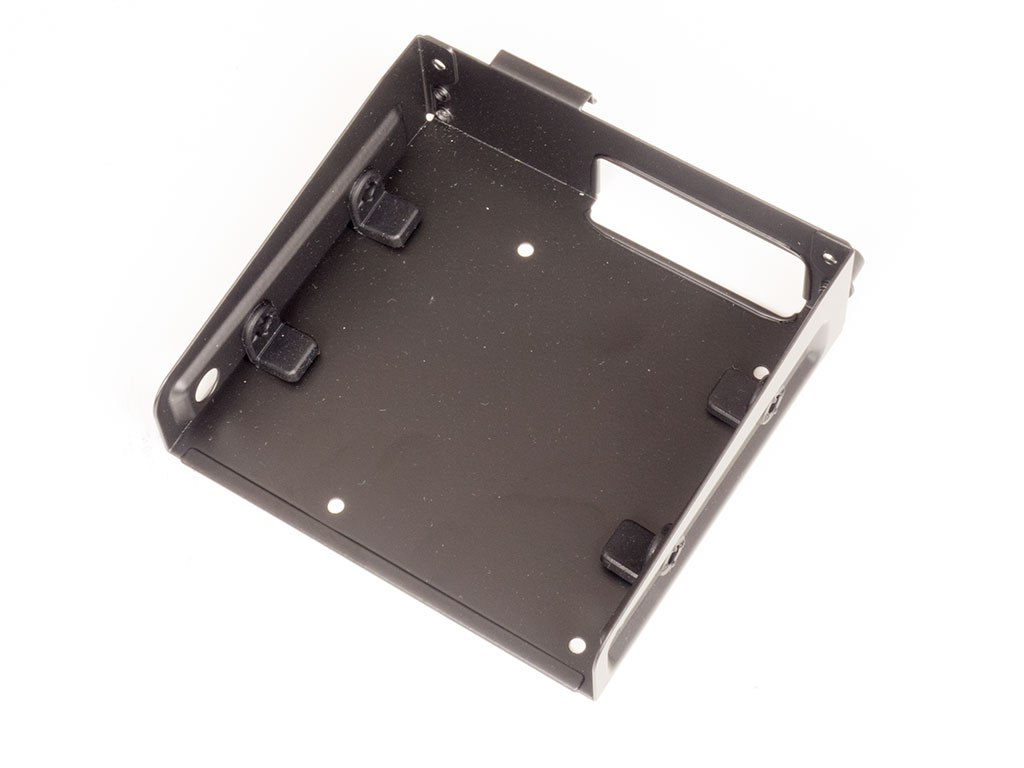
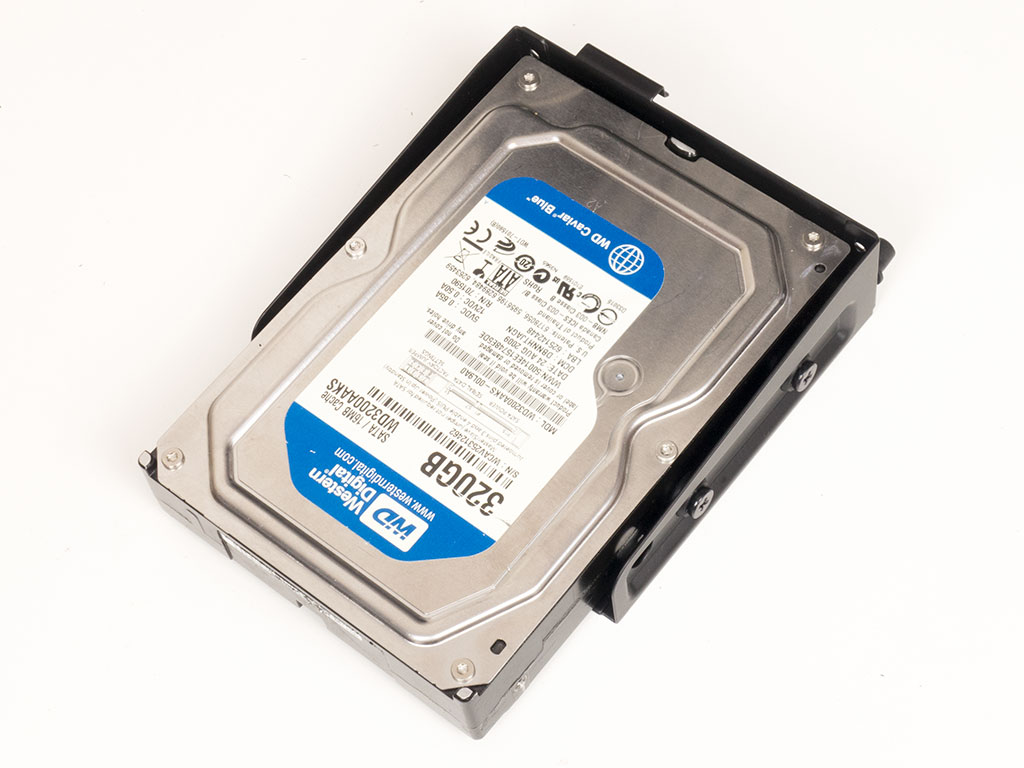
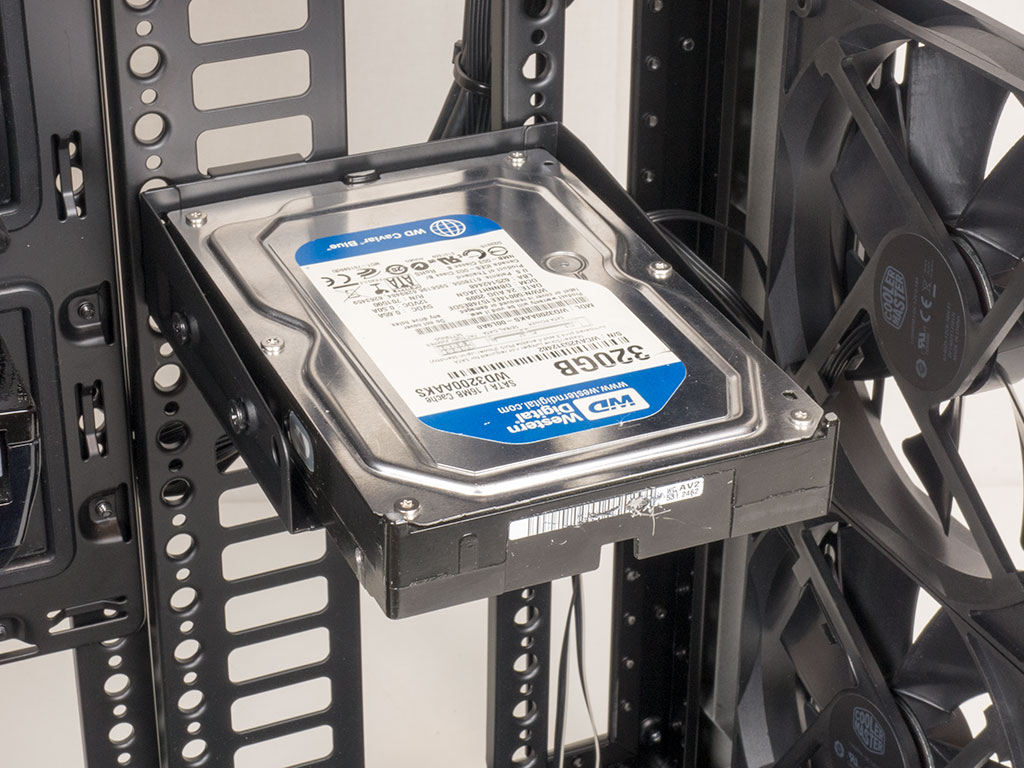
Adding a 3.5" drive to the tray is done with the use of special screws. Simply place the drive on the rubber cushions, secure it with the long screws and place the tray in any of the many possible positions on the hard-drive plate.

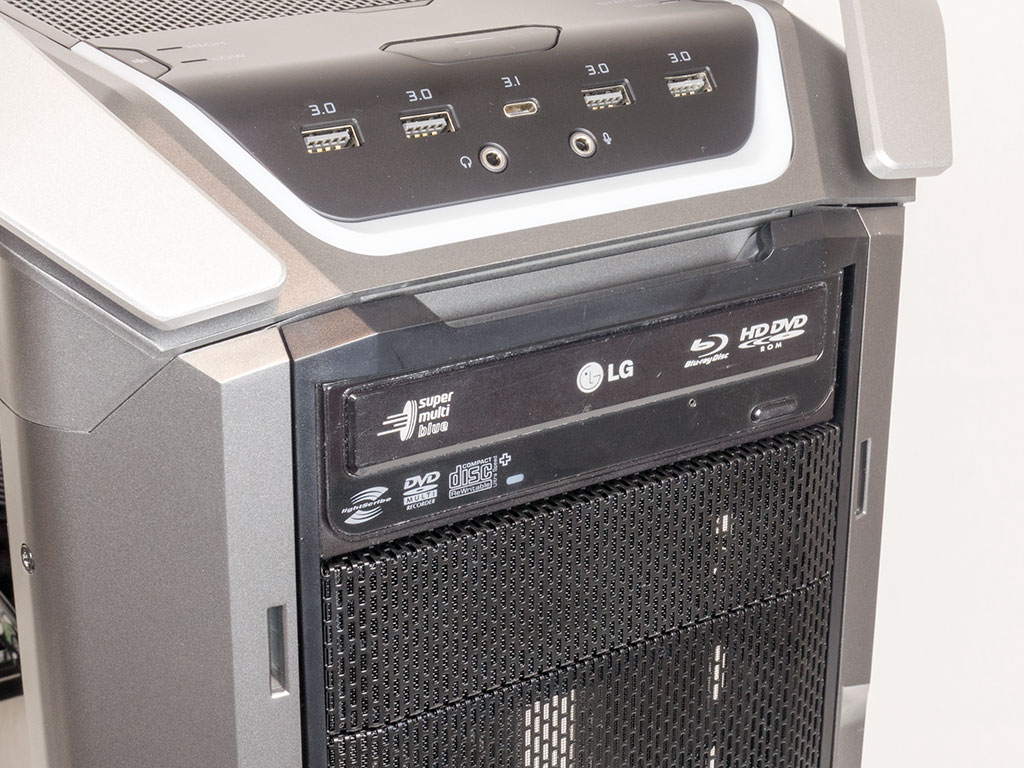
With all the innovation within the Cosmos C700P, the optical drive bay keeps things simple and traditional. Just take off the drive bay cover, slide the ODD in, secure it with two screws and you are done.
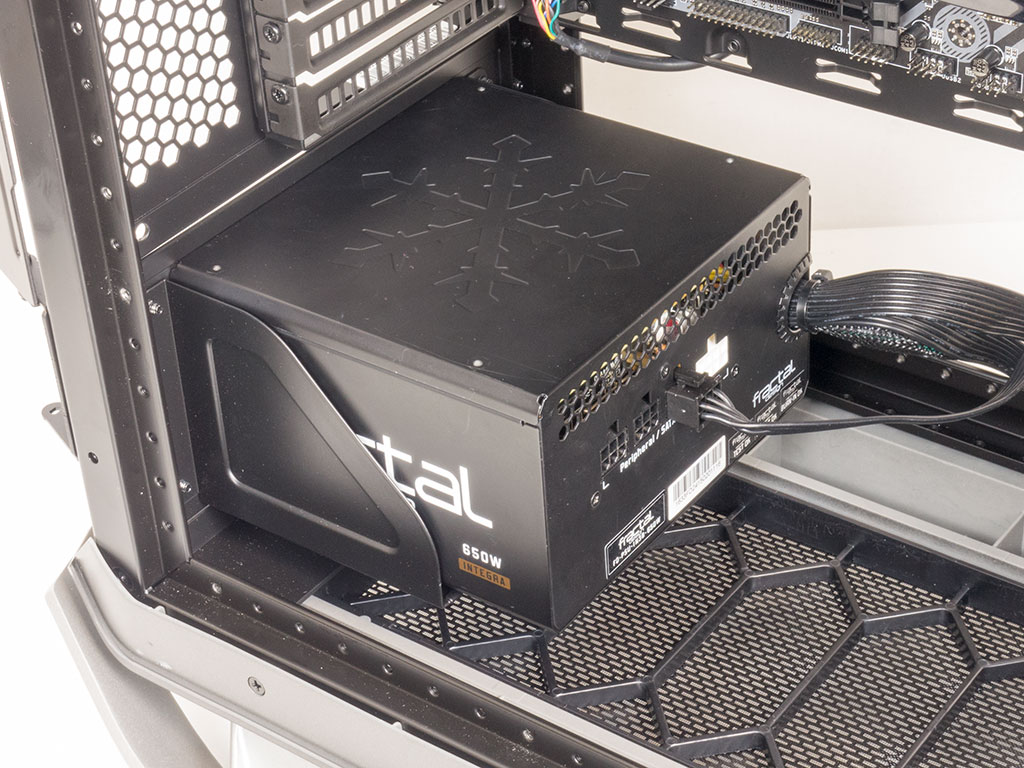
Due to the massive size, you are free to add any power supply of your choosing. It sits on the sturdy tray and is secured with four screws, just like in any other chassis out there. Once in place, you may put the shroud back over it if you like.
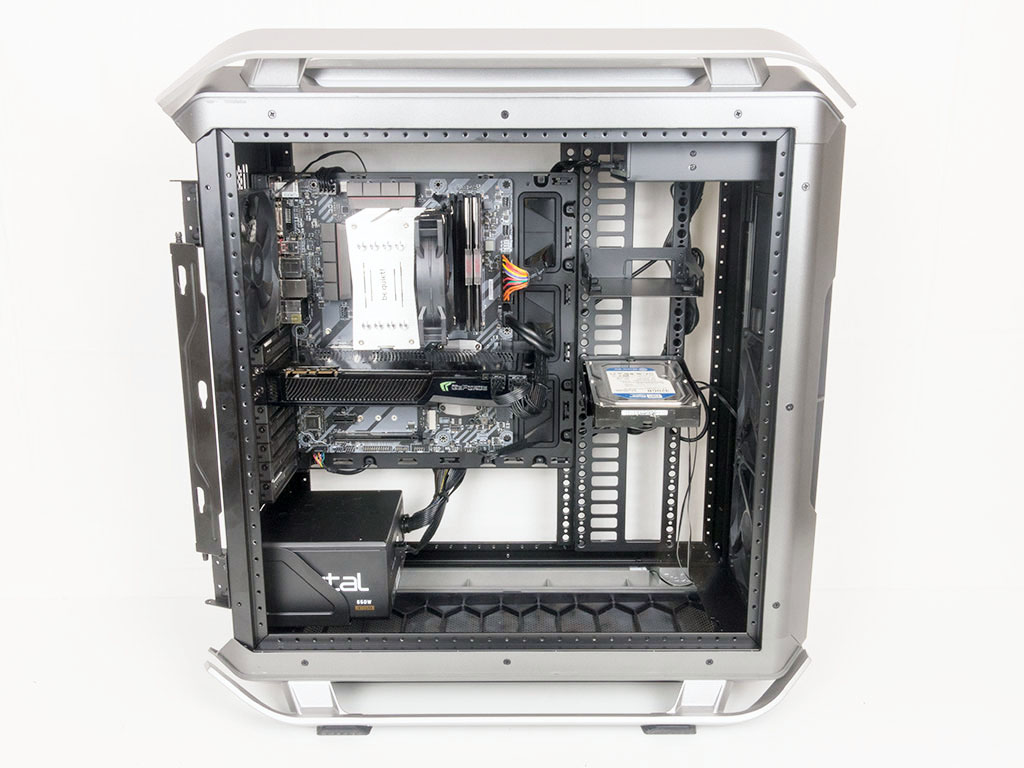
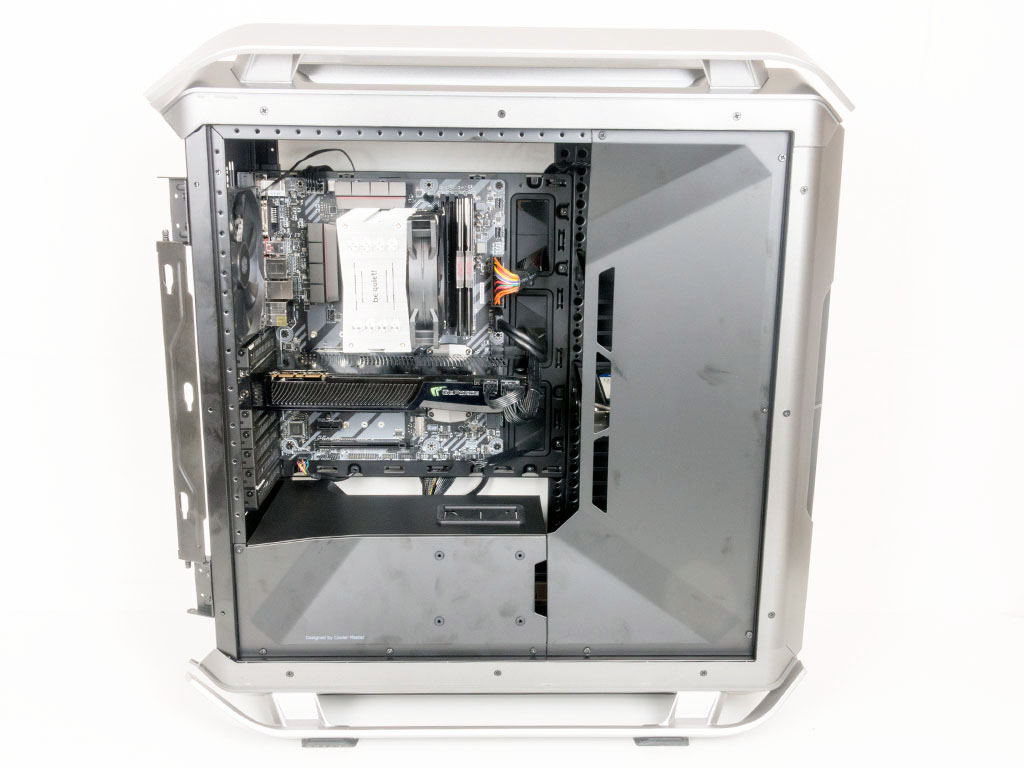
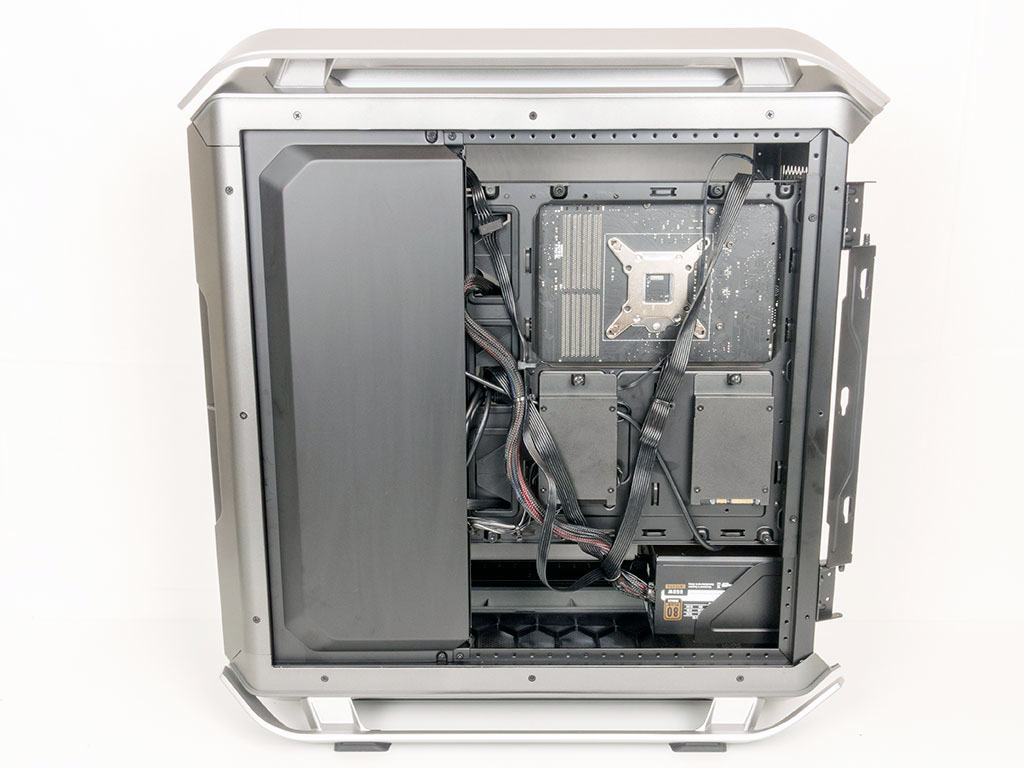
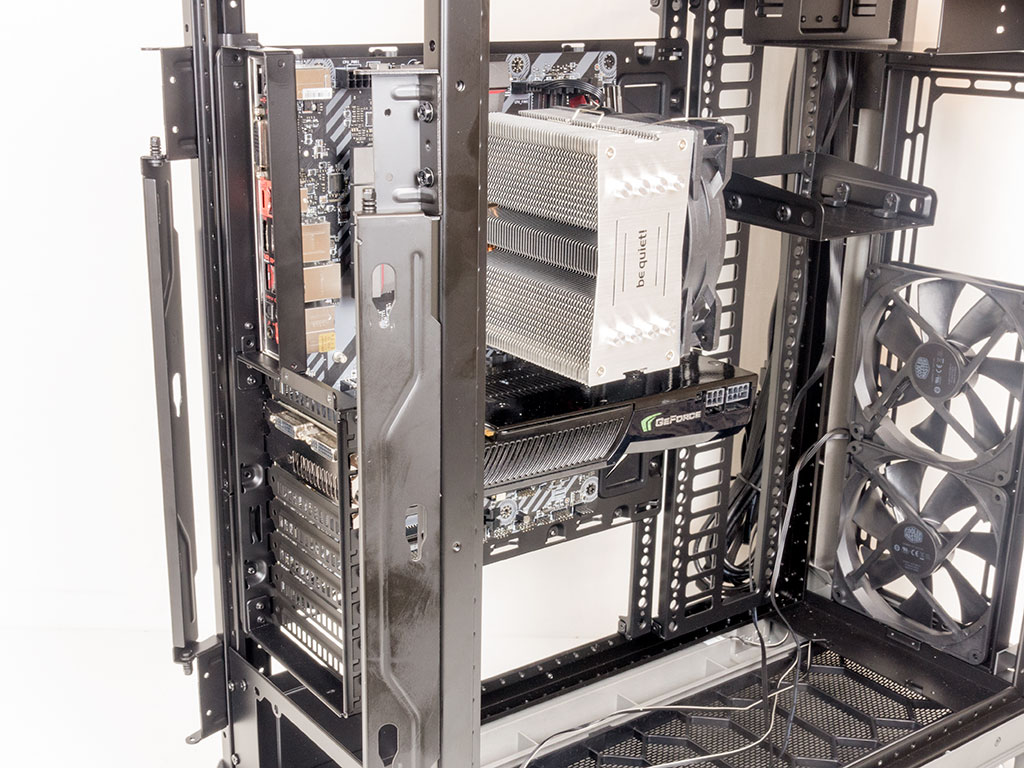
With all the parts installed, the case makes a bit of a messy impression without any of the covers. But once they are put in place, how important they are aesthetically is undeniable. Fully assembled, the C700P looks pretty darn sexy - albeit a bit empty due to its sheer size.
Finished Looks
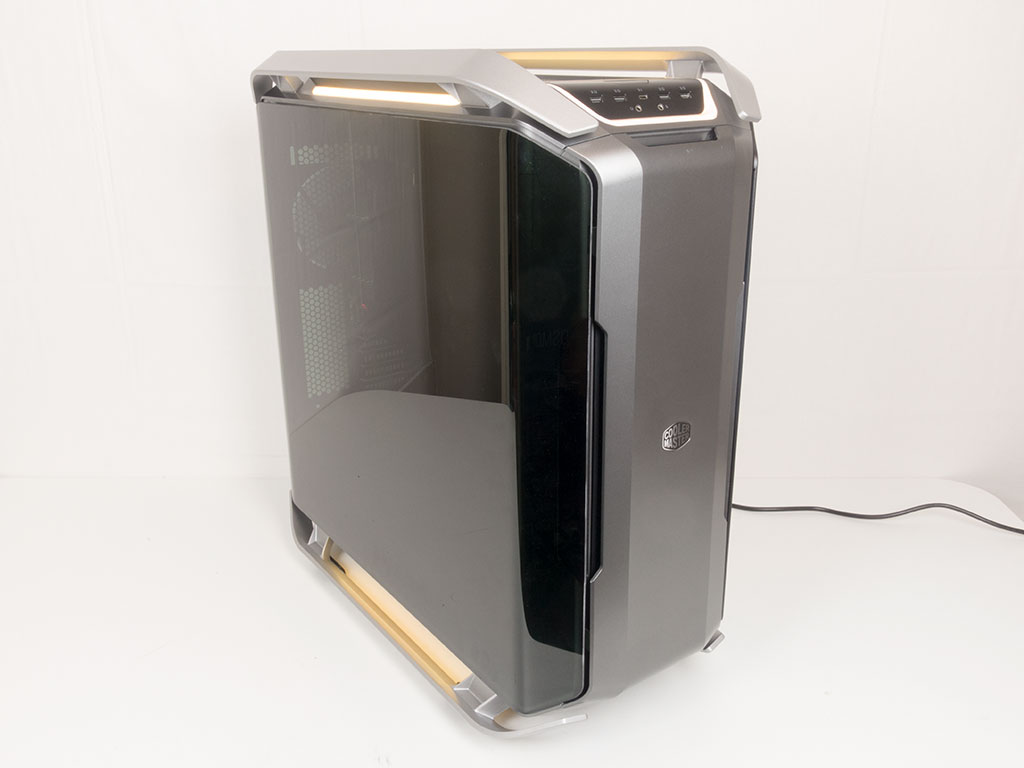
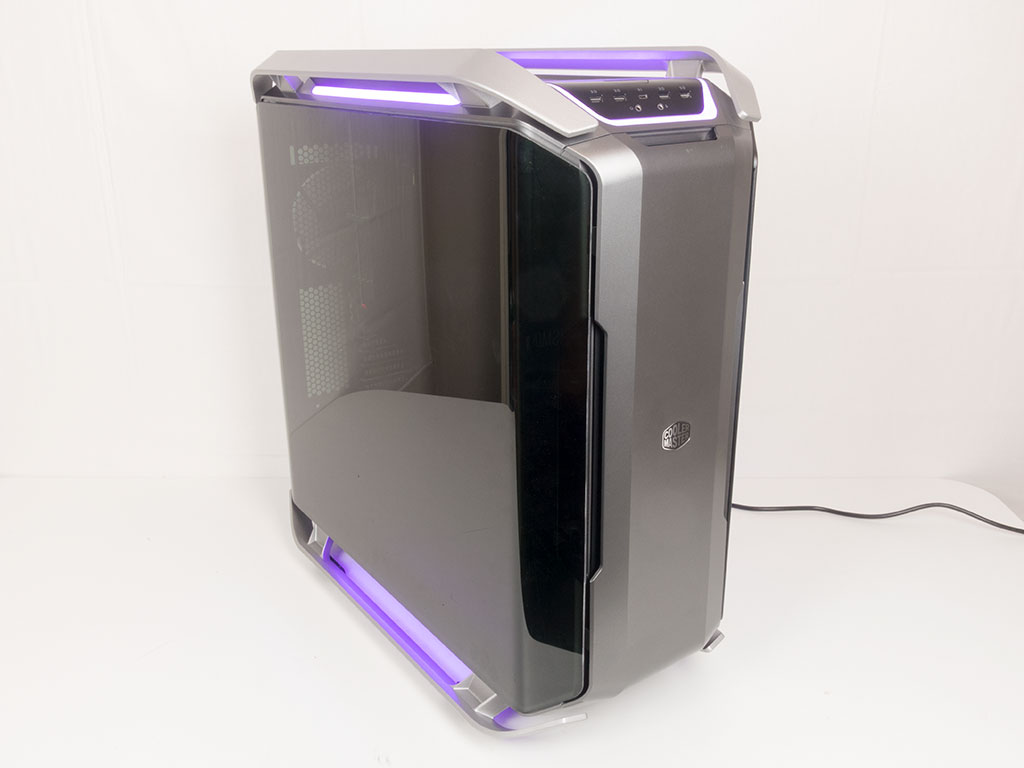
RGB Color Gallery
The Cooler Master Cosmos C700P does not only come with a built-in RGB controller as you may also use any motherboard with the appropriate functionality to sync up all the lights from the board, fans, strips, memory, and case. There are seven distinct colors without the built-in controller, or you may set the chassis to breathe through all the various hues. The third option with the button on the I/O panel is to simply turn the lights off completely.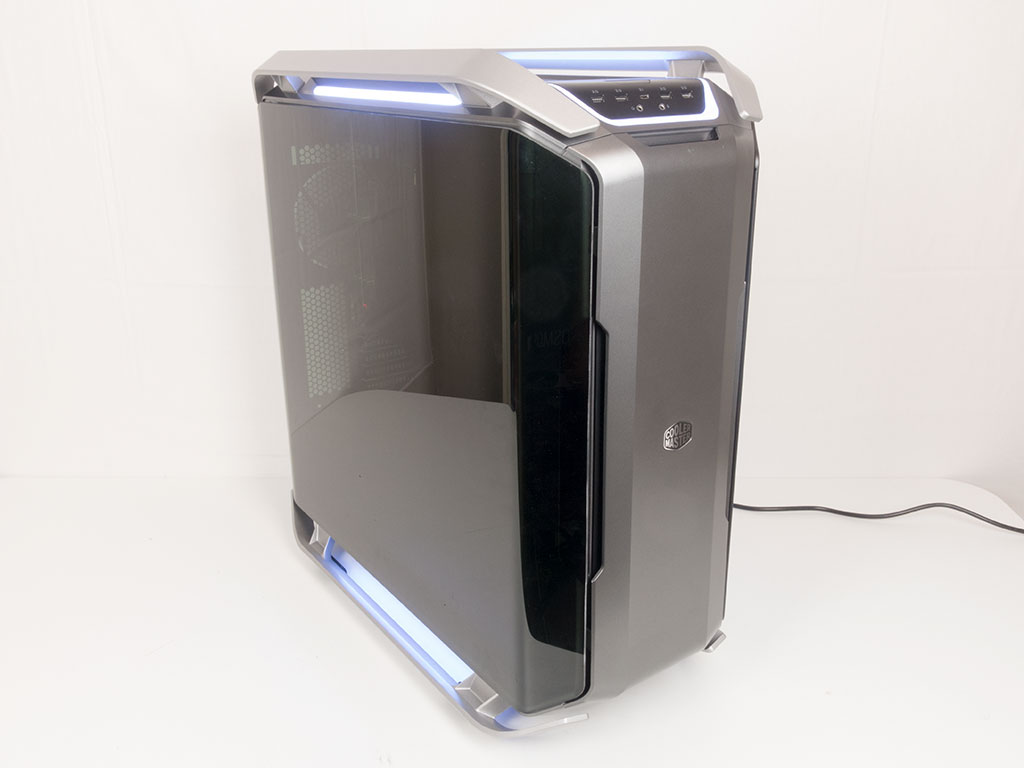
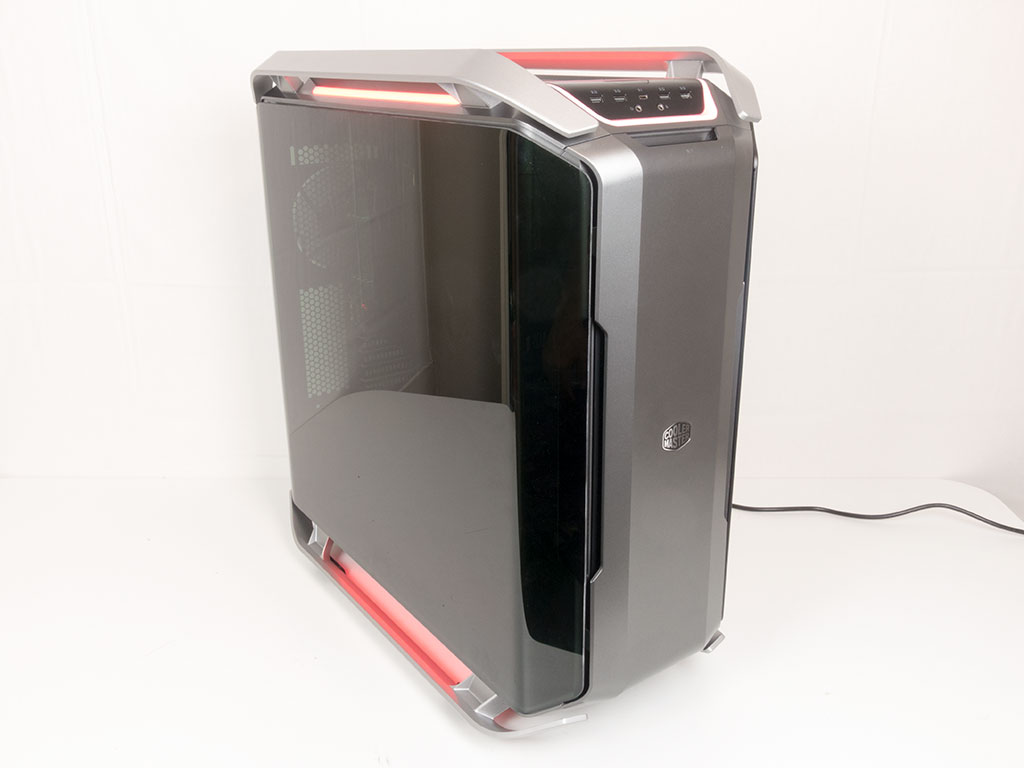

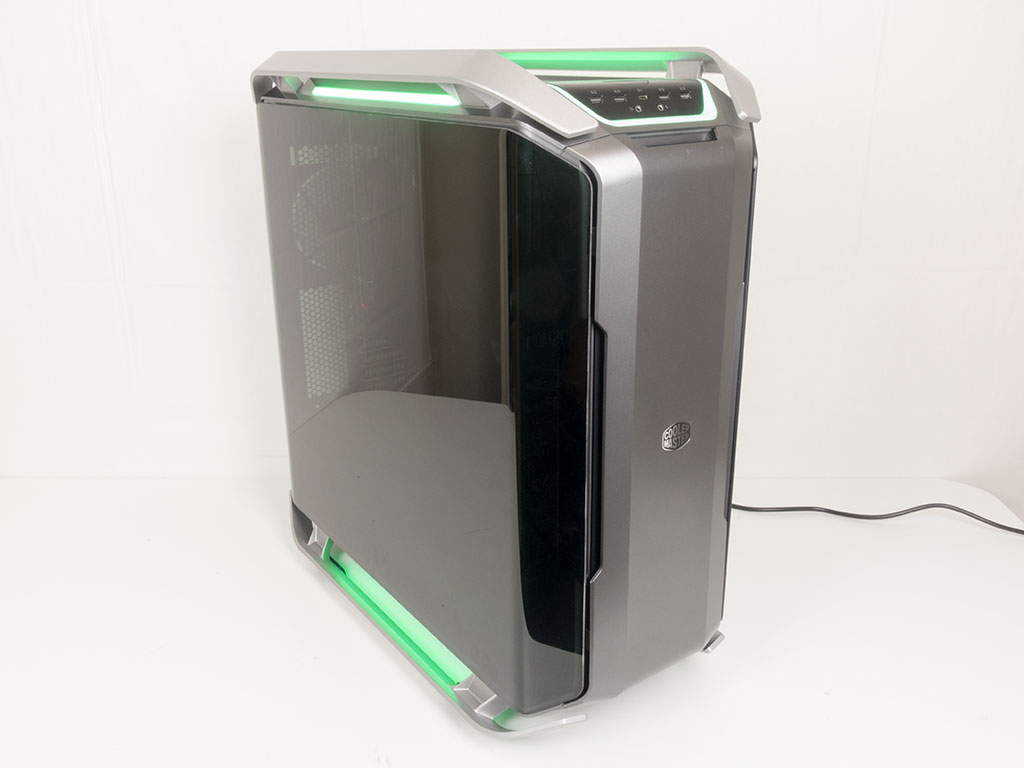
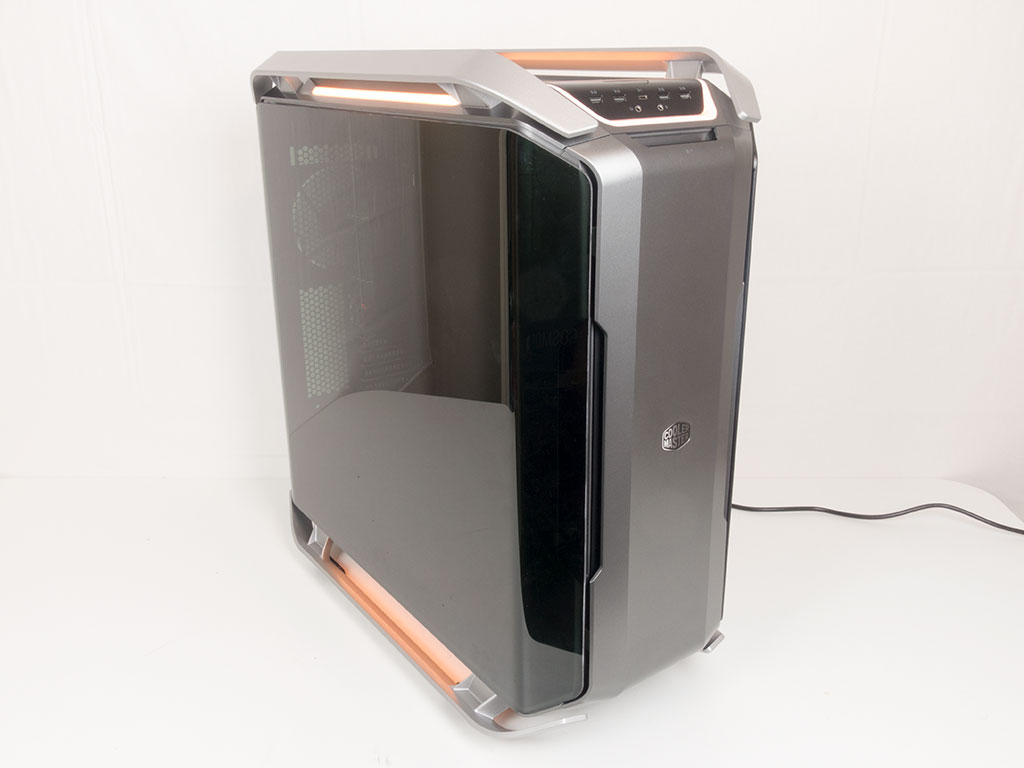
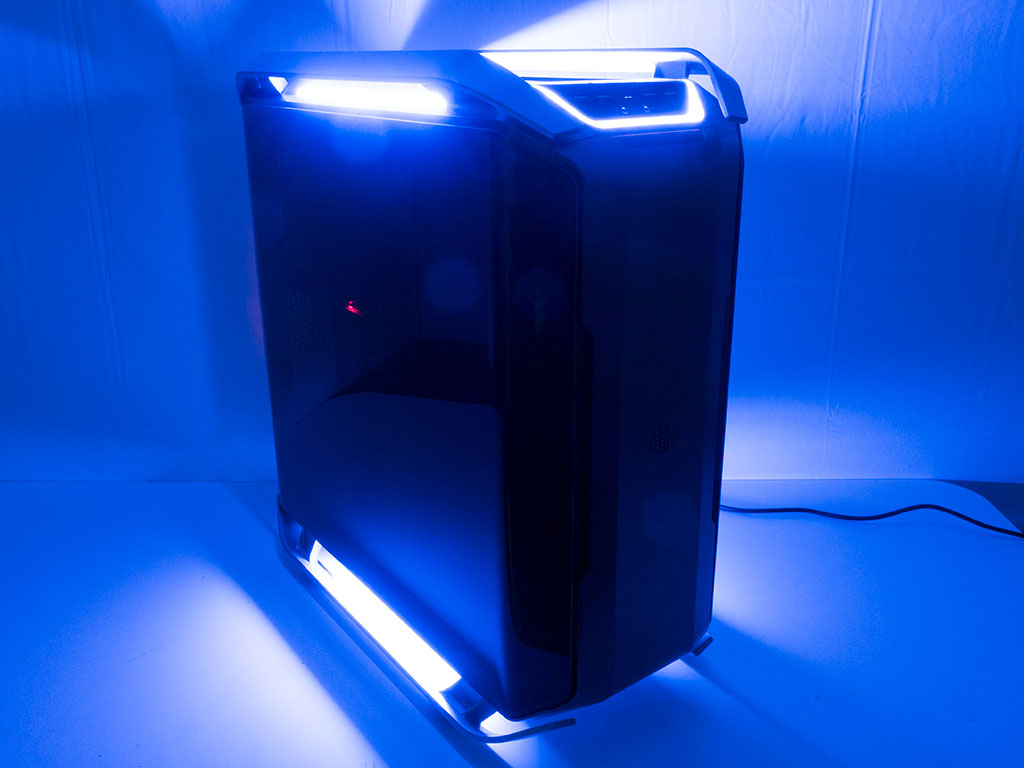
In a darkened room, it becomes apparent how bright the LEDs in the C700P are. This is pretty cool, but I can see how some may feel a bit overwhelmed after the initial phase of excitement has passed.
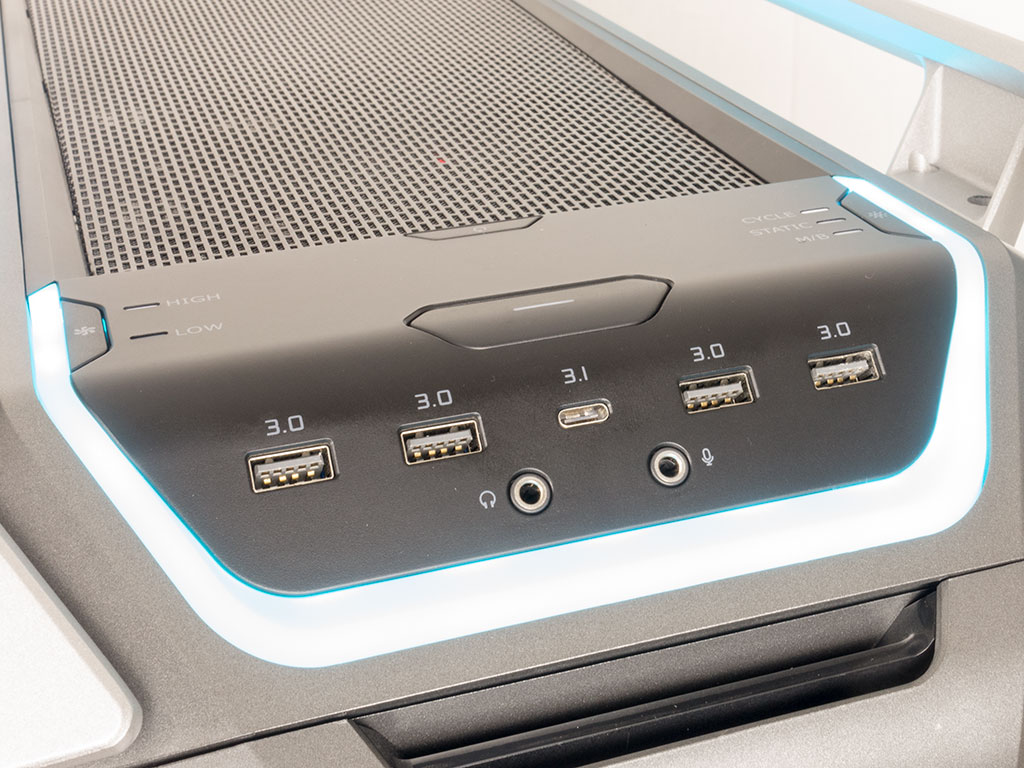
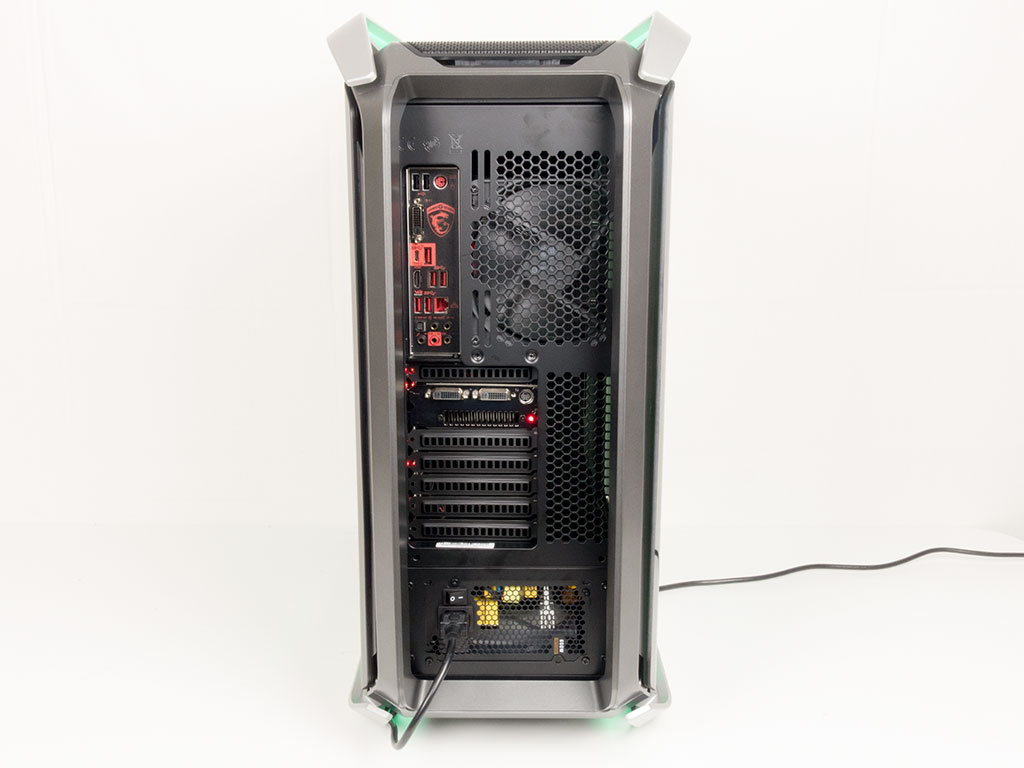
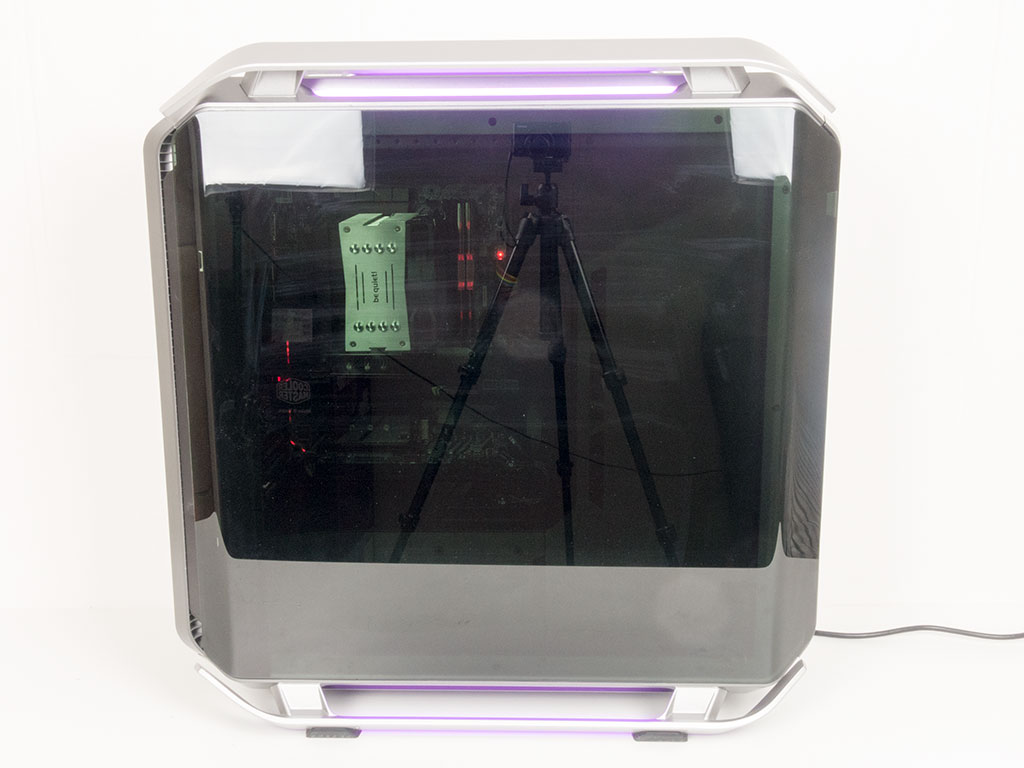
In the top, all the elements light up white. This includes the power and reset buttons as well as the fan controller and RGB switch settings. Looking at the rear, the Cosmos C700P makes a pretty normal impression, and you could forget for a second that this is one massive chassis. However, looking at the curved tinted glass panel, you are brought back to reality. The tint is pretty heavy, but without the studio lights shining that brightly in these pictures, you are able to see just enough to be able to brag about what is inside the system.
Jul 12th, 2025 01:12 CDT
change timezone
Latest GPU Drivers
New Forum Posts
- 'NVIDIA App' not usable offline? (8)
- Can you guess Which game it is? (222)
- What are you playing? (23920)
- RX 9070 XT freezing/locking up only on desktop, anyone else? (43)
- NVIDIA RTX PRO 6000 Workstation Runs Much Hotter Than 5090 FE (22)
- Quick charging your USB devicesUSB 3.2 Gen 2x2 Type-C® front-panel. (1)
- GTX 1050 GPU Owners Club (12)
- ASUS ProArt GeForce RTX 4060 Ti OC Edition 16GB GDDR6 Gaming - nvflash64 VBIOS mismatch (2)
- Will you buy a RTX 5090? (640)
- No offense, here are some things that bother me about your understanding of fans. (33)
Popular Reviews
- Fractal Design Epoch RGB TG Review
- Corsair FRAME 5000D RS Review
- Lexar NM1090 Pro 4 TB Review
- NVIDIA GeForce RTX 5050 8 GB Review
- NZXT N9 X870E Review
- Sapphire Radeon RX 9060 XT Pulse OC 16 GB Review - An Excellent Choice
- AMD Ryzen 7 9800X3D Review - The Best Gaming Processor
- Upcoming Hardware Launches 2025 (Updated May 2025)
- Our Visit to the Hunter Super Computer
- Chieftec Iceberg 360 Review
TPU on YouTube
Controversial News Posts
- Intel's Core Ultra 7 265K and 265KF CPUs Dip Below $250 (288)
- Some Intel Nova Lake CPUs Rumored to Challenge AMD's 3D V-Cache in Desktop Gaming (140)
- AMD Radeon RX 9070 XT Gains 9% Performance at 1440p with Latest Driver, Beats RTX 5070 Ti (131)
- NVIDIA Launches GeForce RTX 5050 for Desktops and Laptops, Starts at $249 (119)
- NVIDIA GeForce RTX 5080 SUPER Could Feature 24 GB Memory, Increased Power Limits (115)
- Microsoft Partners with AMD for Next-gen Xbox Hardware (105)
- Intel "Nova Lake‑S" Series: Seven SKUs, Up to 52 Cores and 150 W TDP (100)
- NVIDIA DLSS Transformer Cuts VRAM Usage by 20% (97)