 7
7
Cooler Master Cosmos RC-1000 Review
Value & Conclusion »Installation
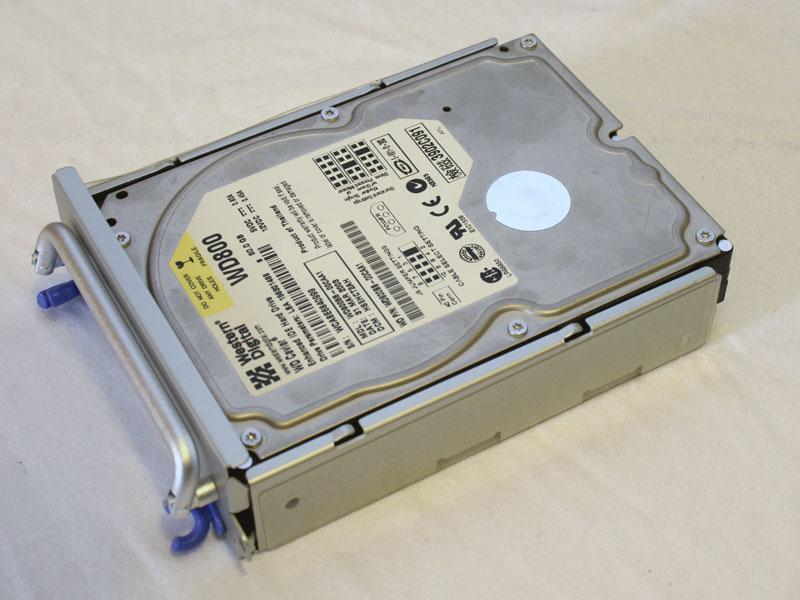
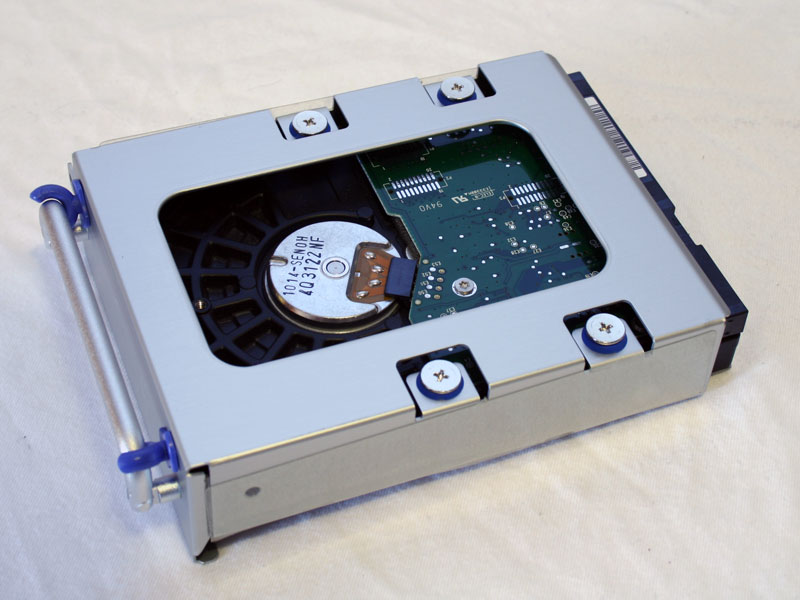
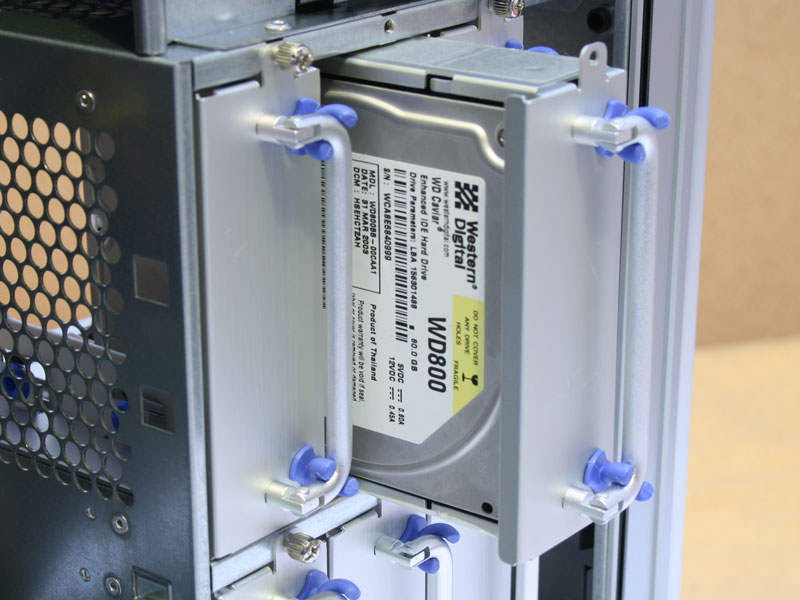
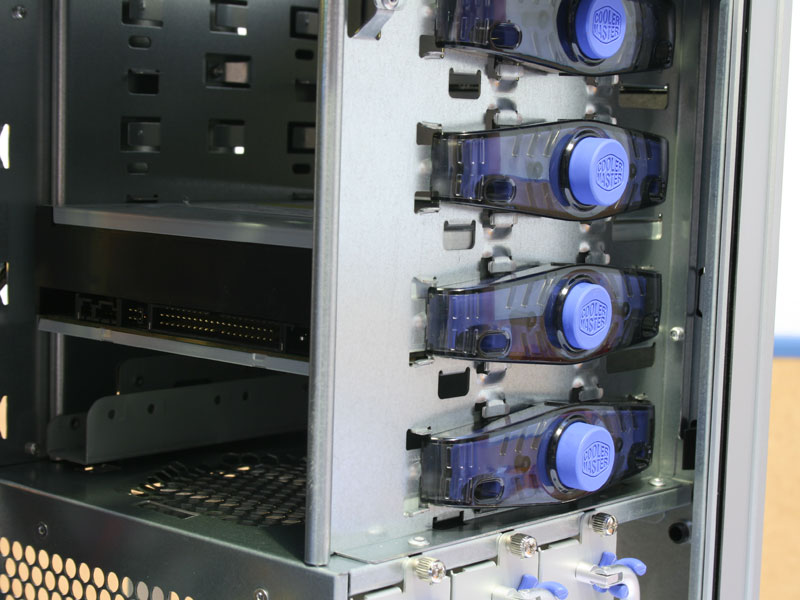
Installing the hard drive can be done easily outside of the chassis. Just place it into the drawer, secure it with the supplied screws and then slide it back into the case. It fits perfectly inside the case, but you can also secure it further with a small thumbscrew, To avoid vibrations of the handle, just clip it to the drawer itself.
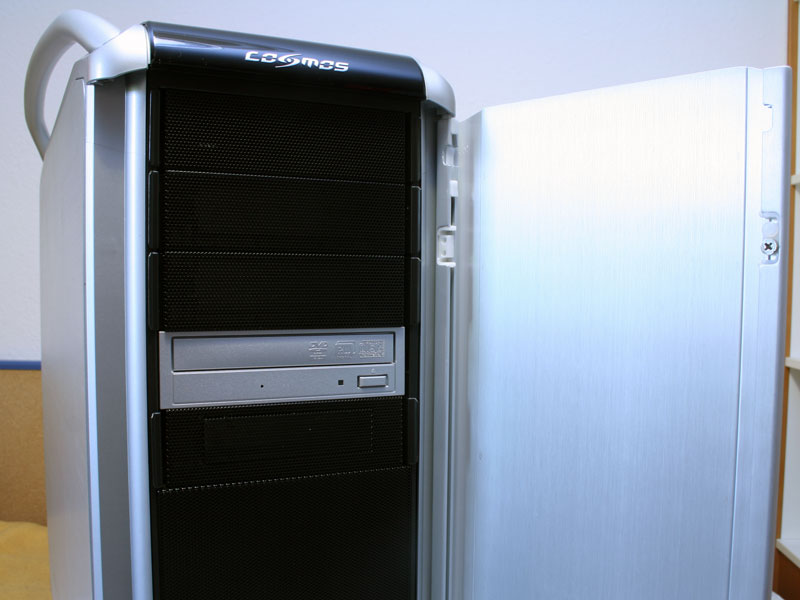
Installing the optical drive cannot be any easier. Slide it in, press the round button - done. This is by far the best screwless system I have seen so far. The drive is held in place perfectly fine, but the NEC drive needs to be pushed in about two milimeters toi far for the latch to work. While this does not pose any problem, it does not look perfect. You are also free to screw in the drive with normal screws if you wish.
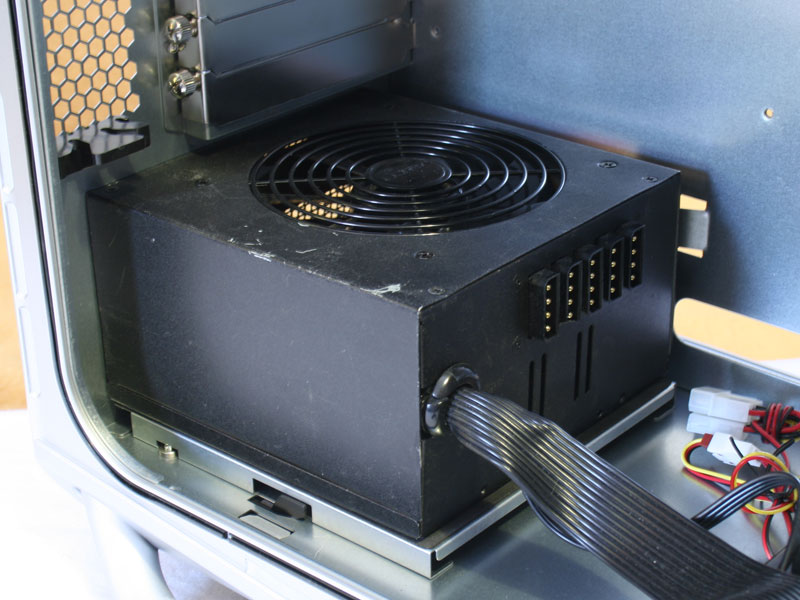
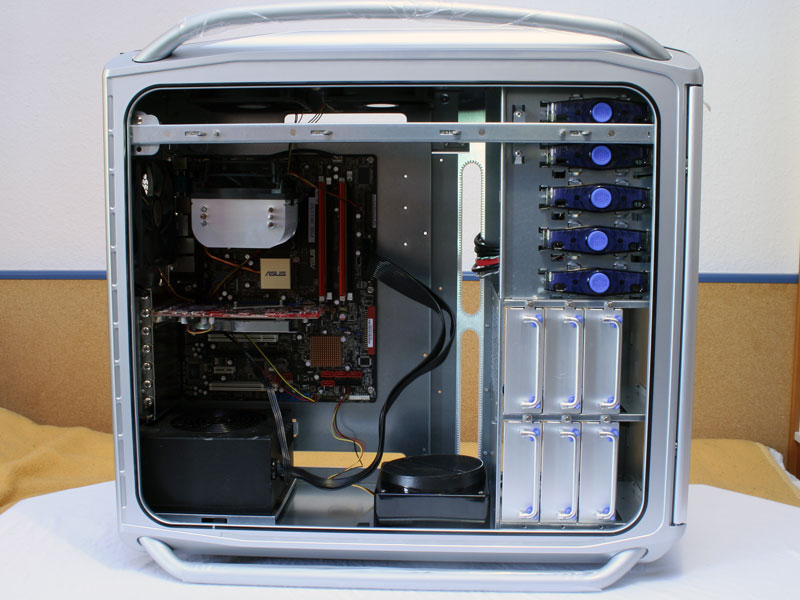
Installing the PSU is done traditionally. Just place it into the case and secure it with the normal screws from the outside of the case. Once all the major parts are installed, the sheer dimensions of the Cosmos become apparent. You should have more than ample room to install large coolers and huge graphic cards in SLI or CrossFire. This is where this new case really shines.
Finished Looks
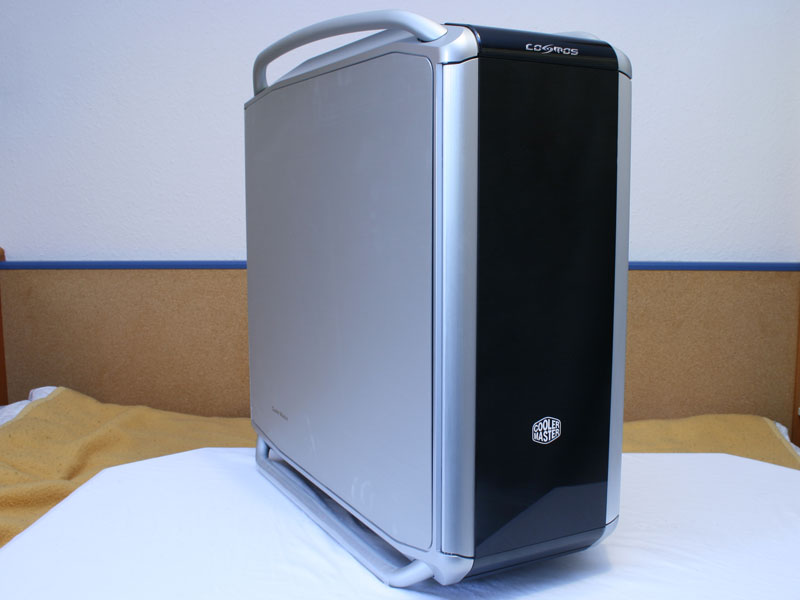
Once everything was installed, the doors were placed back unto the chassis. Cooler Master markets this case as being ultra quiet and it certainly is. While the fans could be a bit quieter, you can turn them down in the BIOS. The one very noticable fact - or the lack thereof - was the absence of vibrations You could not hear the hard drive access, fan vibrations and no graphic card fan noise. All that can be heard is an impressive clean "whooshing" sound of the case fans.
Apr 3rd, 2025 04:48 EDT
change timezone
Latest GPU Drivers
New Forum Posts
- Since all gpu's models perform the same, why review dozen of different models? (11)
- RX 9000 series GPU Owners Club (120)
- Help with System Recommendations (9)
- A slightly strange problem with a GPU (11)
- NZXT N9 X870E is out (despite their website still saying: coming soon) (9)
- Mllse 6600s that are locked at 500 mhz. (1)
- Is RX 9070 VRAM temperature regular value or hotspot? (298)
- TechPowerUp Screenshot Thread (MASSIVE 56K WARNING) (4266)
- Windows 11 General Discussion (5917)
- Montech KING 95 - your opinions? (14)
Popular Reviews
- DDR5 CUDIMM Explained & Benched - The New Memory Standard
- Sapphire Radeon RX 9070 XT Pulse Review
- SilverStone Lucid 04 Review
- PowerColor Radeon RX 9070 Hellhound Review
- Sapphire Radeon RX 9070 XT Nitro+ Review - Beating NVIDIA
- ASRock Phantom Gaming B850 Riptide Wi-Fi Review - Amazing Price/Performance
- Palit GeForce RTX 5070 GamingPro OC Review
- Pwnage Trinity CF Review
- AMD Ryzen 7 9800X3D Review - The Best Gaming Processor
- Samsung 9100 Pro 2 TB Review - The Best Gen 5 SSD
Controversial News Posts
- MSI Doesn't Plan Radeon RX 9000 Series GPUs, Skips AMD RDNA 4 Generation Entirely (146)
- Microsoft Introduces Copilot for Gaming (124)
- AMD Radeon RX 9070 XT Reportedly Outperforms RTX 5080 Through Undervolting (119)
- NVIDIA Reportedly Prepares GeForce RTX 5060 and RTX 5060 Ti Unveil Tomorrow (115)
- Over 200,000 Sold Radeon RX 9070 and RX 9070 XT GPUs? AMD Says No Number was Given (100)
- NVIDIA GeForce RTX 5050, RTX 5060, and RTX 5060 Ti Specifications Leak (96)
- Retailers Anticipate Increased Radeon RX 9070 Series Prices, After Initial Shipments of "MSRP" Models (90)
- China Develops Domestic EUV Tool, ASML Monopoly in Trouble (88)