 17
17
Cooler Master HAF 500 Case Review
Assembly & Finished Looks »A Closer Look - Inside
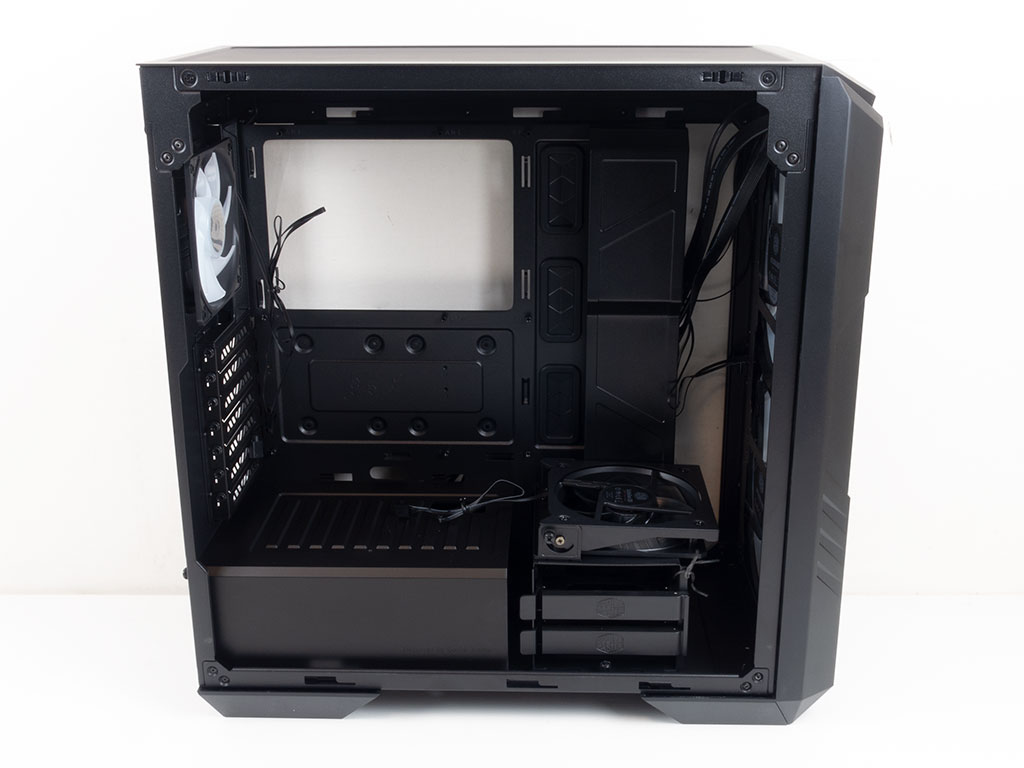
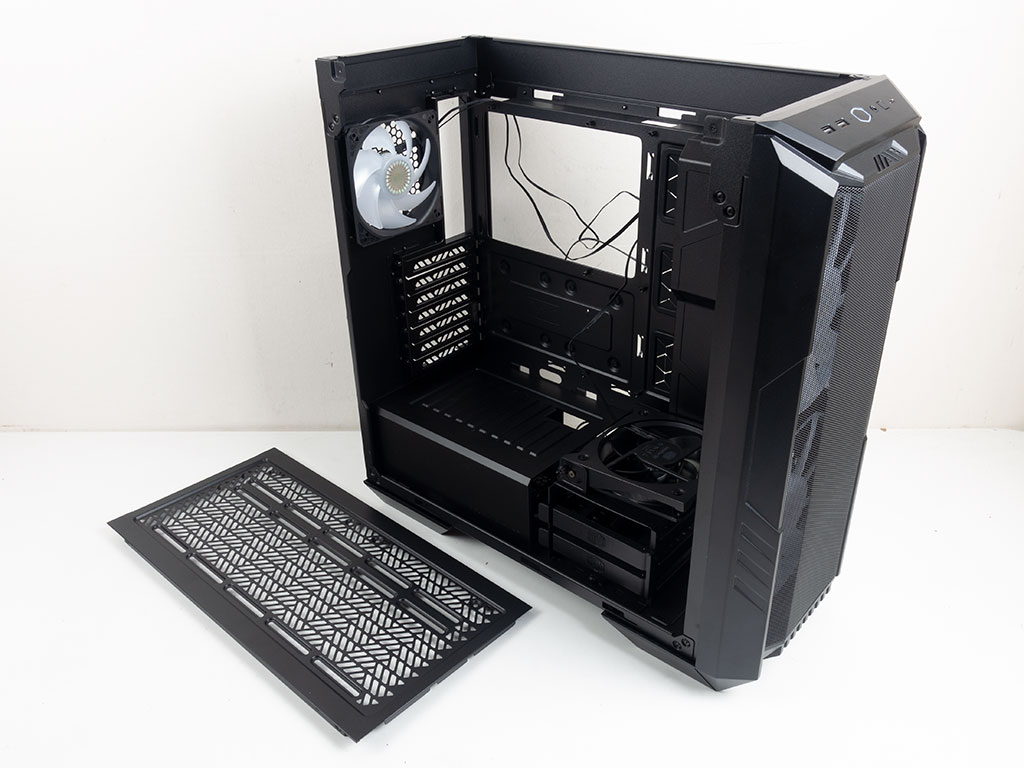
To access the interior, simply remove the thumb screw holding the 4 mm thick glass panel in place and pull it off. The opposite side out of steel sports captive thumb screws and may then be slid off instead. For all but the top elements, the interior of the HAF 500 has essentially been carried over from the H500. This means you have that gap between the front and motherboard tray, which seems a bit unsightly by today's standards. Cooler Master also markets the case as E-ATX capable. While this does hold true, you will be forced to remove the metal cable cover, and will loose access to the main cable management holes in the process. Had the motherboard been extended to close the gap to the front panel, Cooler Master could have improved things for that edge use case a bit.
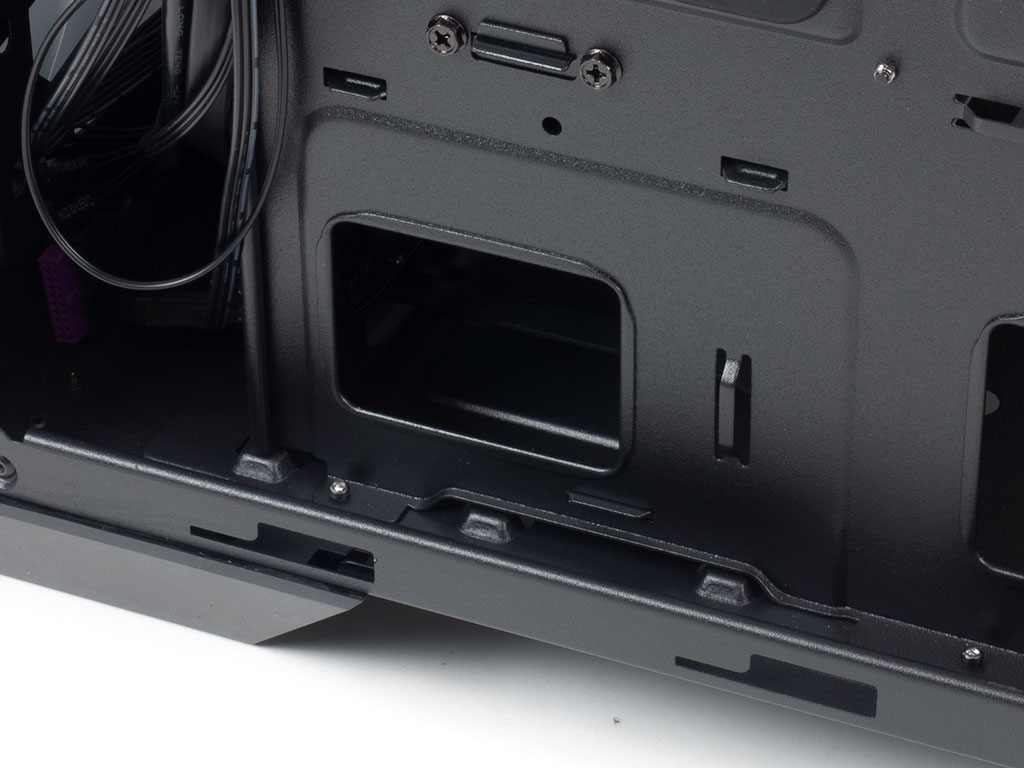
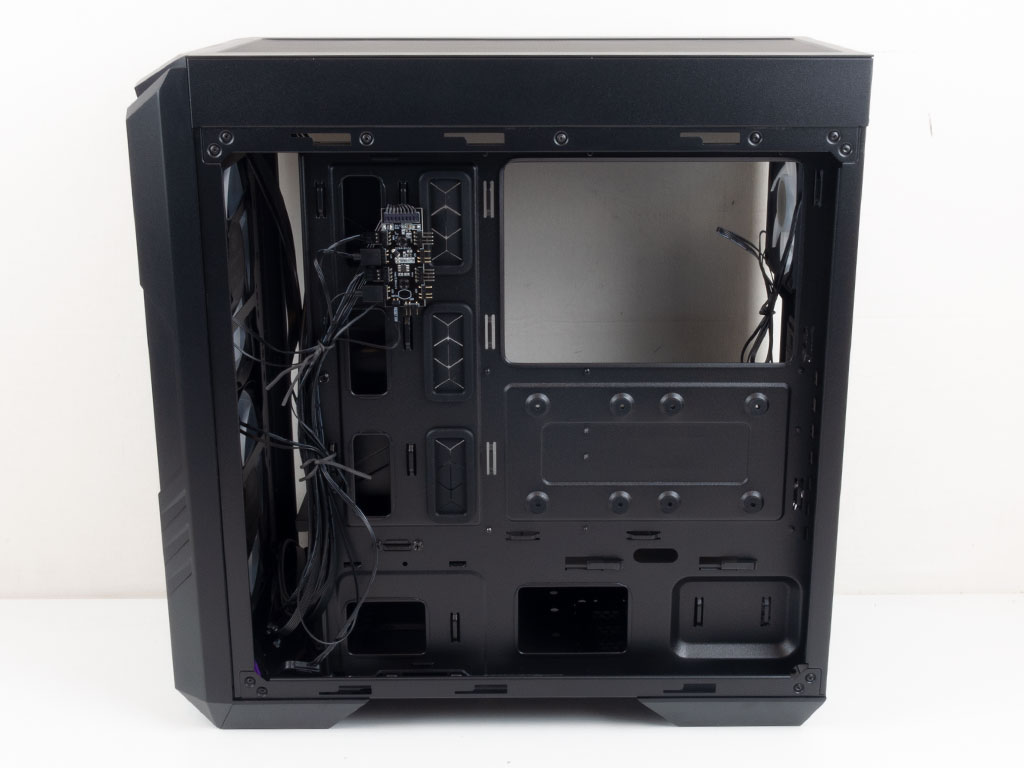
The edge of the motherboard tray towards the front of the case comes with two rows of cable-routing holes, with those hidden underneath the cover lacking grommets. There are some well-placed, large hooks for zip ties, so you should really be able to keep things nice and clean. At the bottom-left corner of the motherboard tray is that one opening for the HDD connectors, so you will have to access the drives from the other side of the chassis.

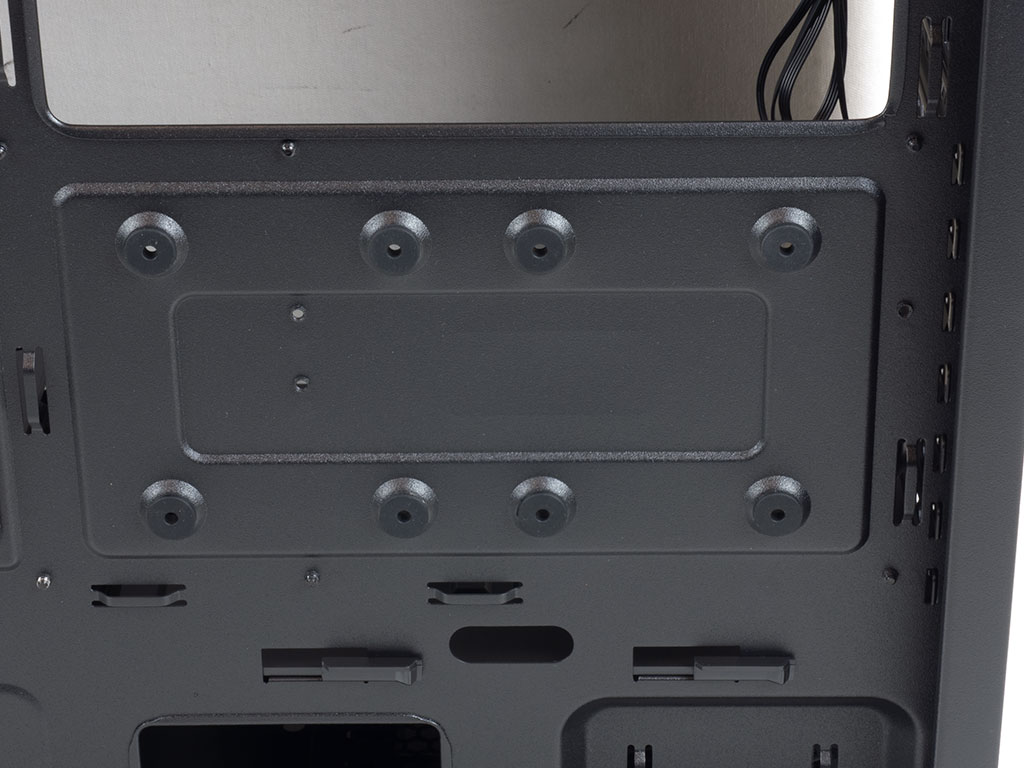
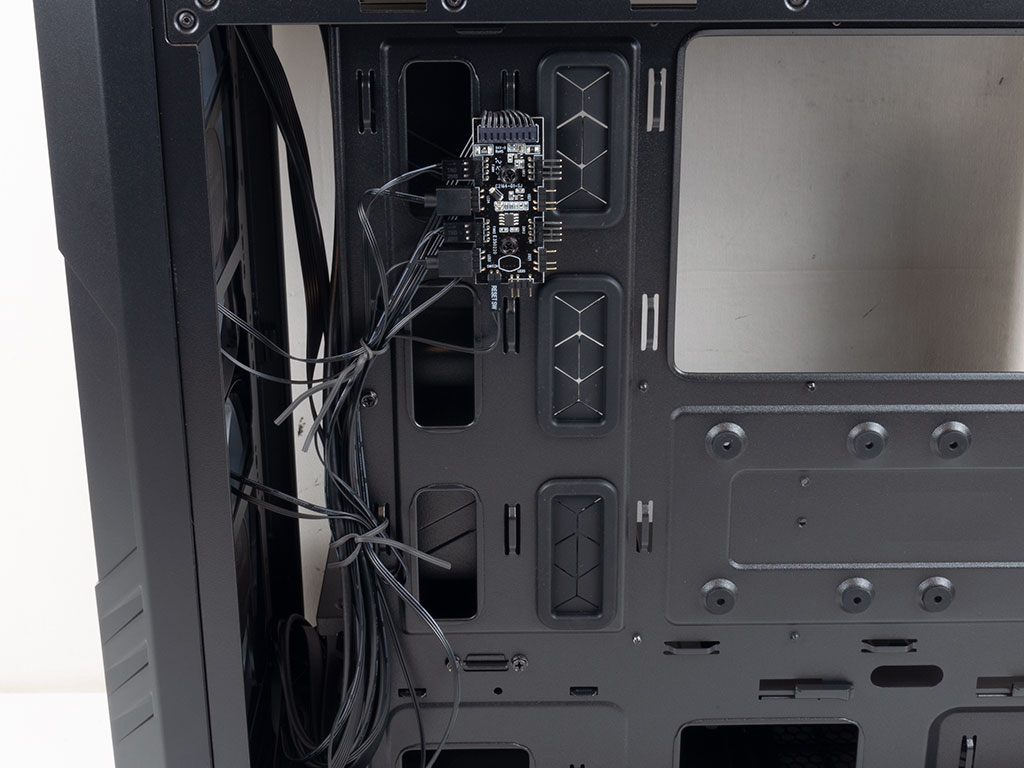
Cooler Master started including an ARGB controller and PWM hub PCB in most of their recently launched cases. It comes with four connectors for each. While a small drawback, it uses the reset button. Other offerings out there include a dedicate lead instead. The bigger issue is that the aging 200 mm fans still use 3-pin connectors. As such, those cannot use the PWM interface the hub has to your motherboard. Underneath the large opening for access to the CPU cooler base plate are two rubber-ring-equipped placement options for 2.5" drives.


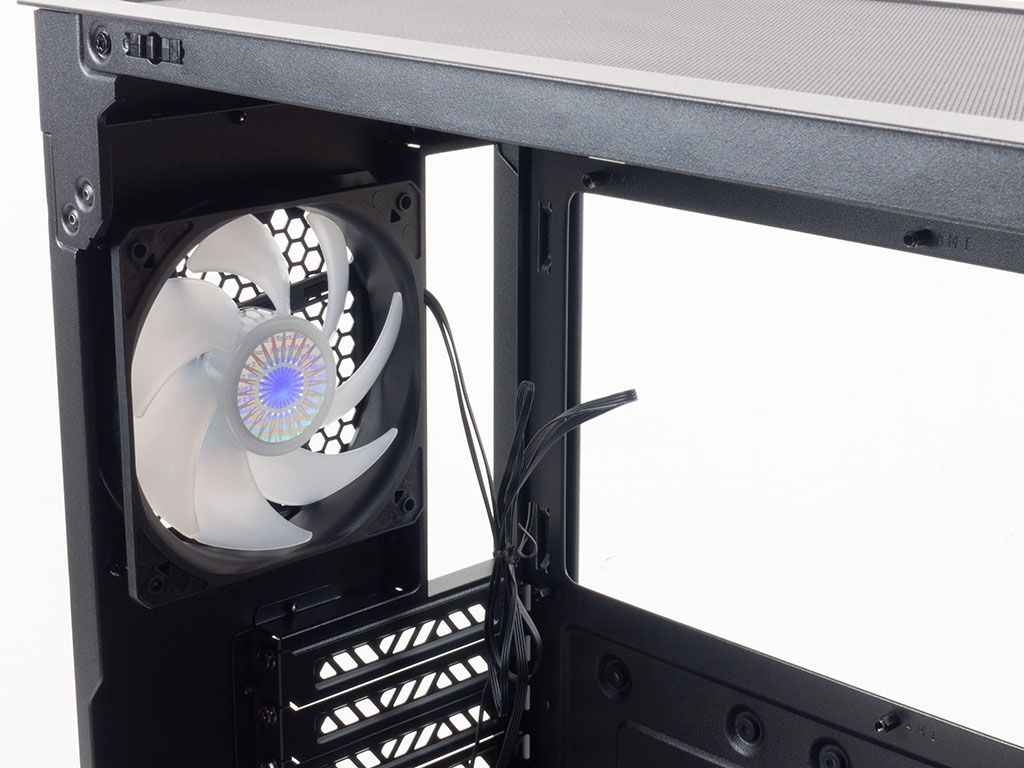
In the rear, the PSU bay is covered by a plastic shroud you need to remove to access this area. While the material choice is fine, steel would have been a welcome upgrade. Above the shroud, the seven expansion slots utilize standard screws, and considering the price point of the case, it would have been nice to have thumb screws instead, which we did critique in our review of the H500 over three years ago as well. In the very top is that 120 mm ARGB fan with a PWM connector set to push hot air out the back. Thanks to the generic ARGB plug, you may interface it directly with the controller PCB.
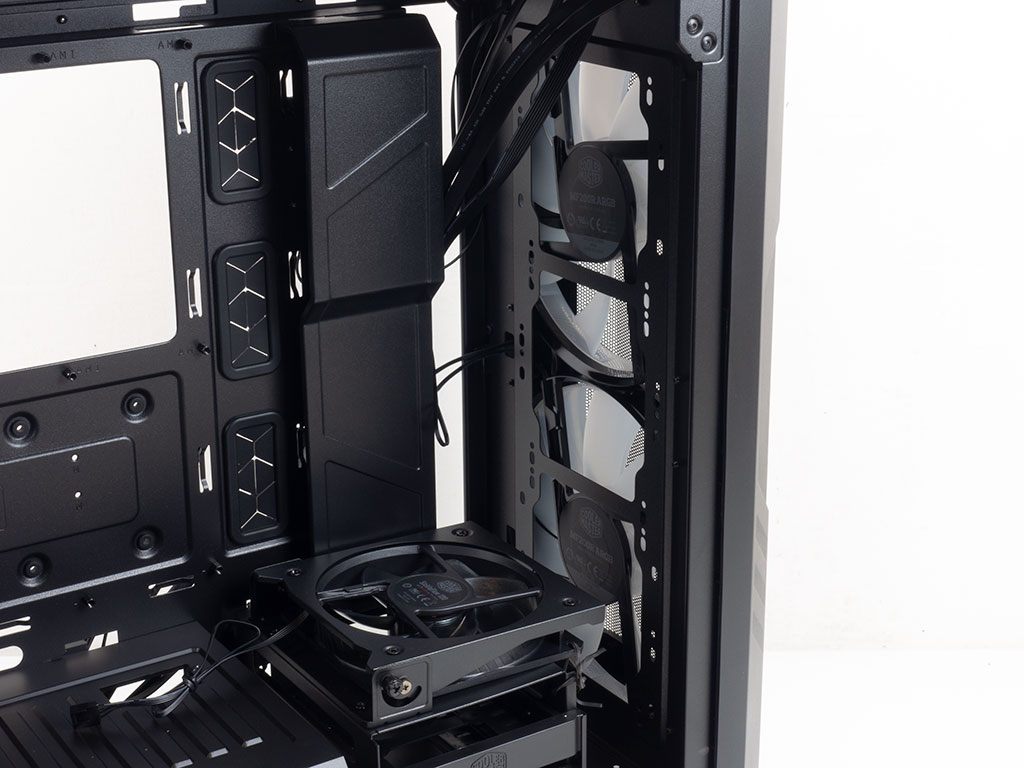

The two massive 200 mm fans in front are set to push air across the interior and towards the rear. Due to numerous mounting holes and plenty of room, you can easily add radiators of up to 360 mm here. You will find two 3.5" hard-drive trays in a cage, which is exposed by default. Here, Cooler Master now includes an internal 120 mm SickleFlow fan that can be angled to blow across the GPU.
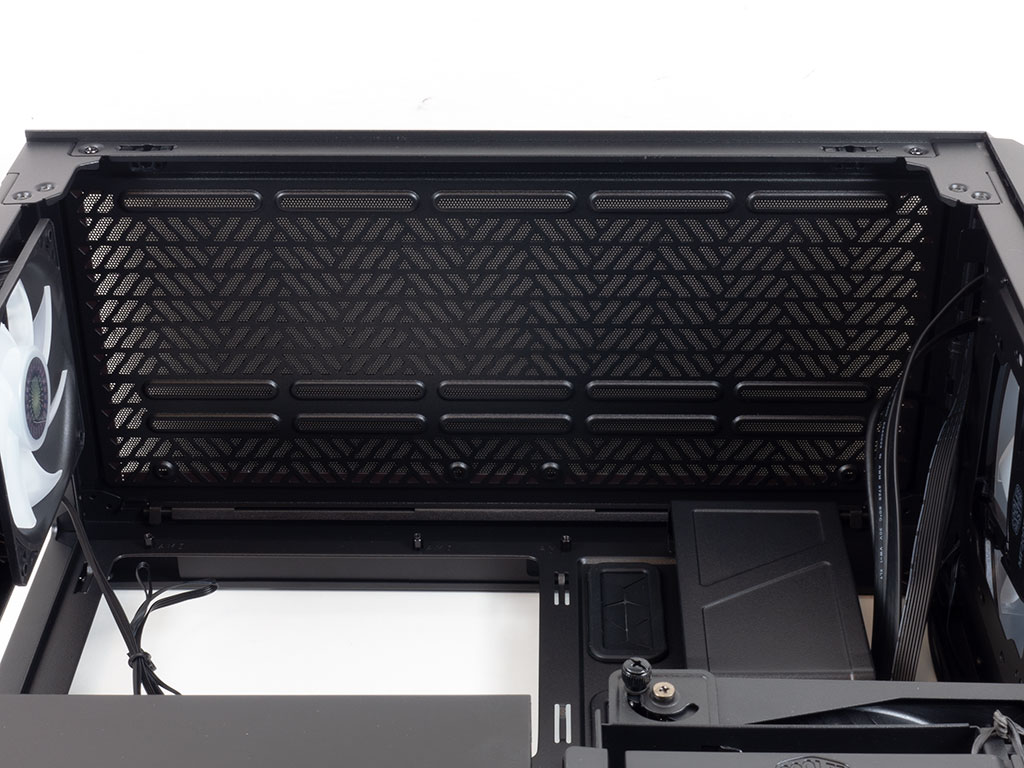
The raised ceiling results in loads of space for fans or an AIO without a worry about anything colliding with your motherboard, or tall memory. On top of that, Cooler Master engineered this updated area so that you may remove the whole top panel for easy access to the interior during the build process, while allowing you to prep your AIO outside of the confines of the enclosure.
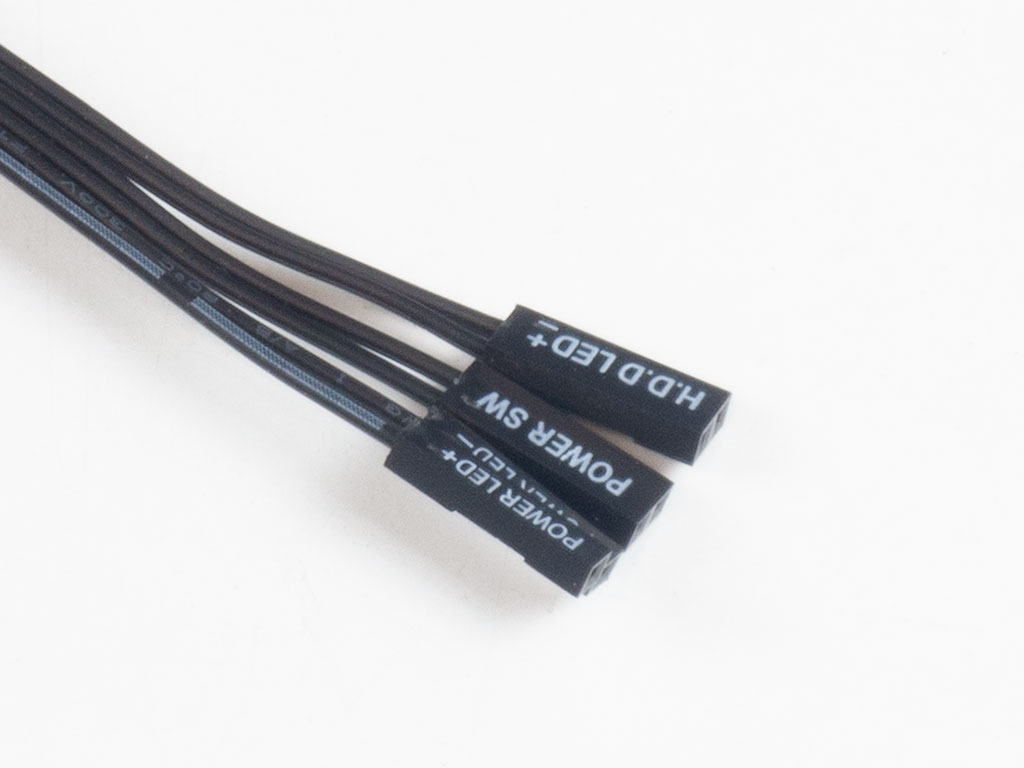
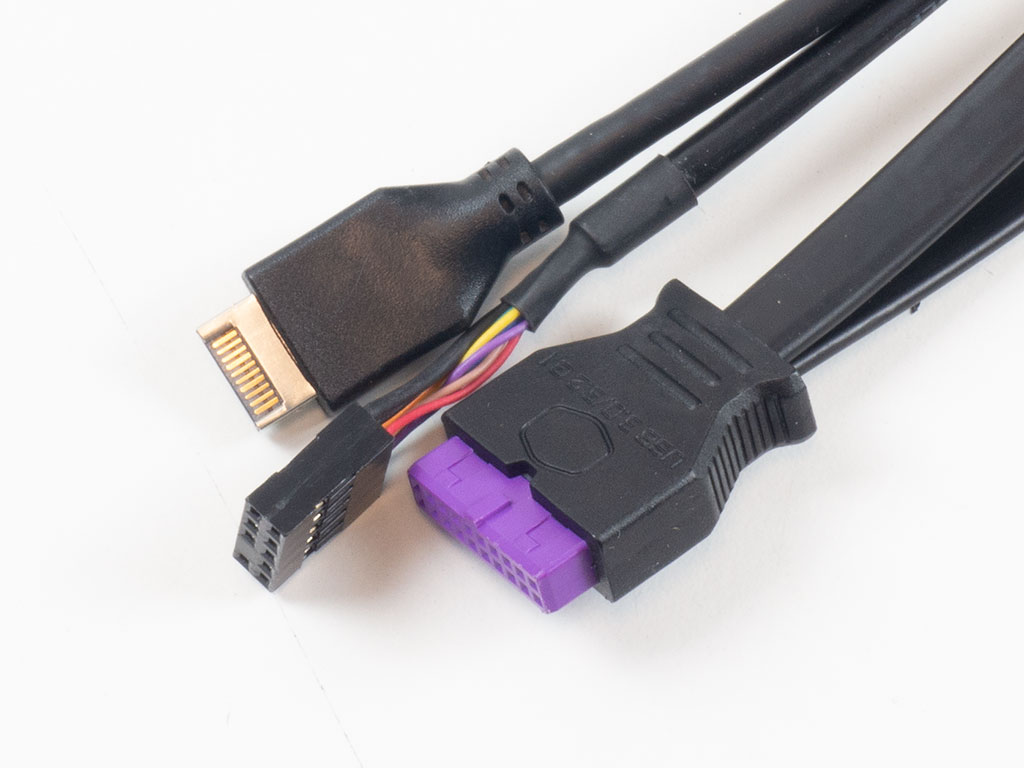
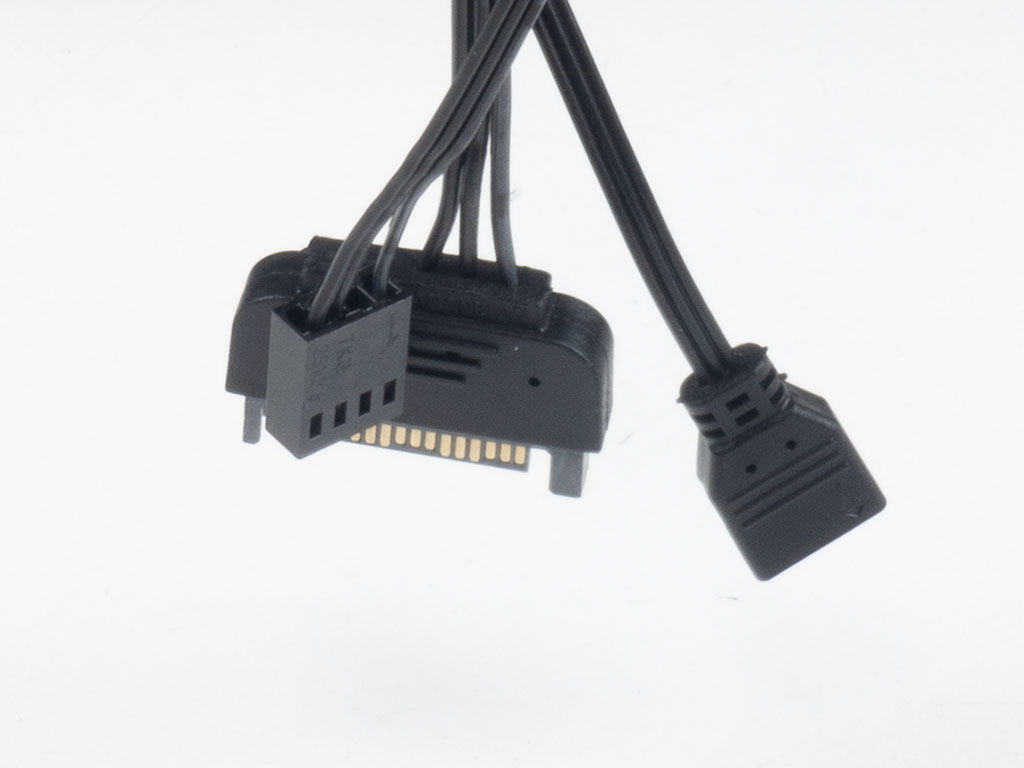
All I/O cables but for the USB 3.0 one with a bit of the company purple are of the standard variety. The PCB is powered by a SATA connector and comes with that PWM lead for motherboard fan-speed control, along with a 3-pin plug for the motherboard to control the ARGB lighting as well.
Mar 10th, 2025 22:08 EDT
change timezone
Latest GPU Drivers
New Forum Posts
- Biostar RX 6700 XT OC BIOS (8)
- Nvidia's GPU market share hits 90% in Q4 2024 (gets closer to full monopoly) (797)
- Mind If I Play Through? (11)
- ThrottleStop, mistake (4)
- ThrottleStop, auto-launching (1)
- Post your Old CDs, from back in the day thread. (3)
- AMD RX 9070 XT & RX 9070 non-XT thread (OC, undervolt, benchmarks, ...) (8)
- Wherein lies the difference (3)
- What's your latest tech purchase? (23279)
- CPU downclocks under any loads but it doesn't hit any limits (1)
Popular Reviews
- Sapphire Radeon RX 9070 XT Nitro+ Review - Beating NVIDIA
- XFX Radeon RX 9070 XT Mercury OC Magnetic Air Review
- ASUS Radeon RX 9070 TUF OC Review
- MSI MAG B850 Tomahawk Max Wi-Fi Review
- NVIDIA GeForce RTX 5070 Founders Edition Review
- Corsair Vengeance RGB CUDIMM DDR5-8800 48 GB CL42 Review
- AMD Ryzen 7 9800X3D Review - The Best Gaming Processor
- ASUS GeForce RTX 5070 Ti TUF OC Review
- MSI GeForce RTX 5070 Ti Gaming Trio OC+ Review
- MSI GeForce RTX 5070 Ti Ventus 3X OC Review
Controversial News Posts
- NVIDIA GeForce RTX 50 Cards Spotted with Missing ROPs, NVIDIA Confirms the Issue, Multiple Vendors Affected (513)
- AMD Plans Aggressive Price Competition with Radeon RX 9000 Series (277)
- AMD Radeon RX 9070 and 9070 XT Listed On Amazon - One Buyer Snags a Unit (261)
- AMD RDNA 4 and Radeon RX 9070 Series Unveiled: $549 & $599 (260)
- AMD Mentions Sub-$700 Pricing for Radeon RX 9070 GPU Series, Looks Like NV Minus $50 Again (248)
- NVIDIA Investigates GeForce RTX 50 Series "Blackwell" Black Screen and BSOD Issues (244)
- AMD Radeon RX 9070 and 9070 XT Official Performance Metrics Leaked, +42% 4K Performance Over Radeon RX 7900 GRE (195)
- AMD Radeon RX 9070-series Pricing Leaks Courtesy of MicroCenter (158)