 17
17
Corsair Crystal Series 460X RGB Review
Value & Conclusion »Assembly

To assemble everything, I started by removing the PSU cover; held in place by no more than two thumbscrews, it is easily removed - just slide the thumbscrews out through their tabs while pushing the tabs down at the back of the case. Obviously, you do not need to use these covers, but they do make the build look far cleaner.
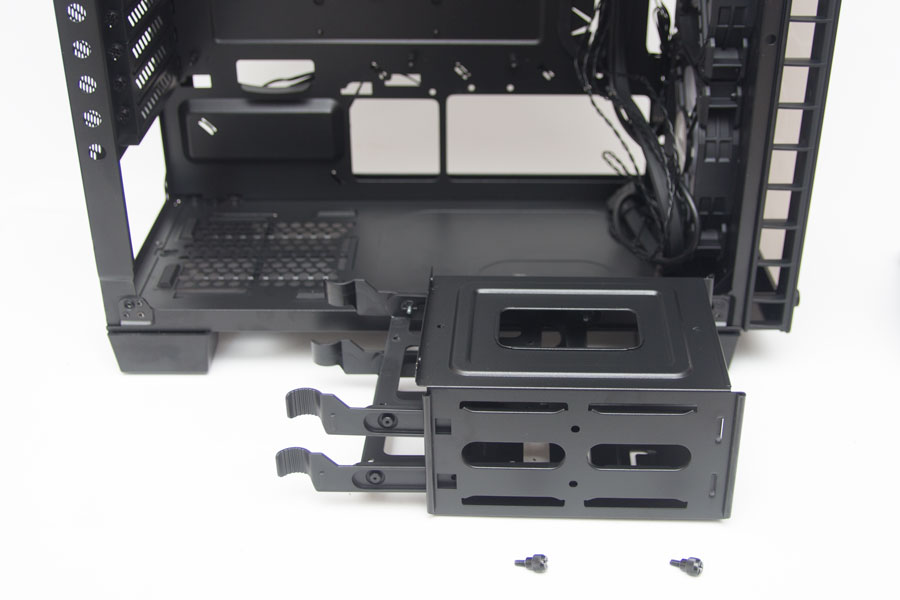
The drive bays are also removable; I pulled these out to give me more room. Again, they are removed by simply taking out the thumbscrews and sliding them forward.

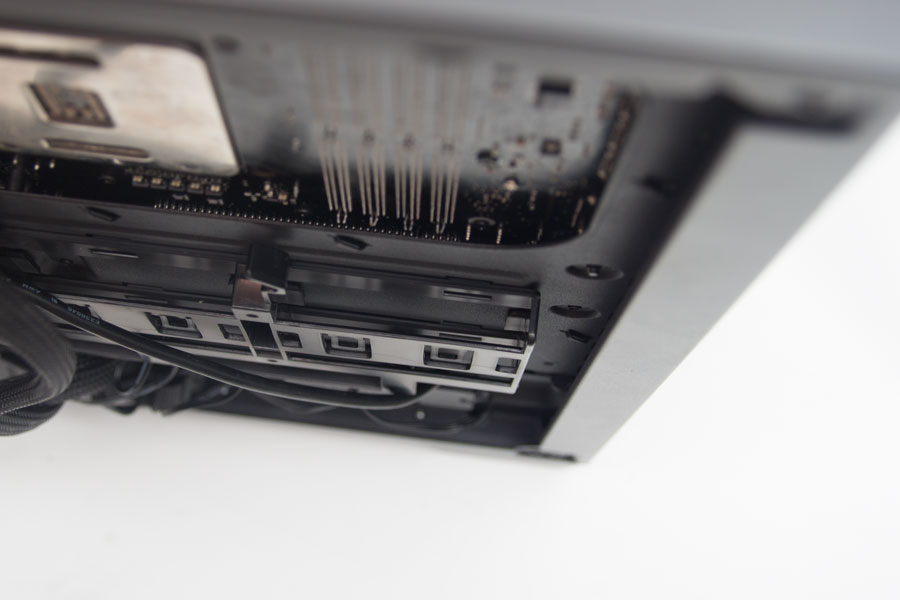
The SSDs simply slot into their holders, allowing their SATA leads to be plugged in easily. If you wish to remove an SSD, simply push the tab at the top left, which releases it.


There are multiple options for radiators in the Corsair Crystal Series 460X RGB. At the top is a space for up to 240 mm, the rear can hold 120 mm, and the front has room for up to a 360 mm radiator. If the radiator is at the top, do be careful of how large it is. Corsair's radiators will fit just fine, but anything wider or deeper could cause a problem. Unfortunately, I didn't have any other 240 mm or 120 mm radiators available, so I couldn't check. If you want to use an AIO for the CPU as well as the GPU, you are able to because of the elongated mounting holes.

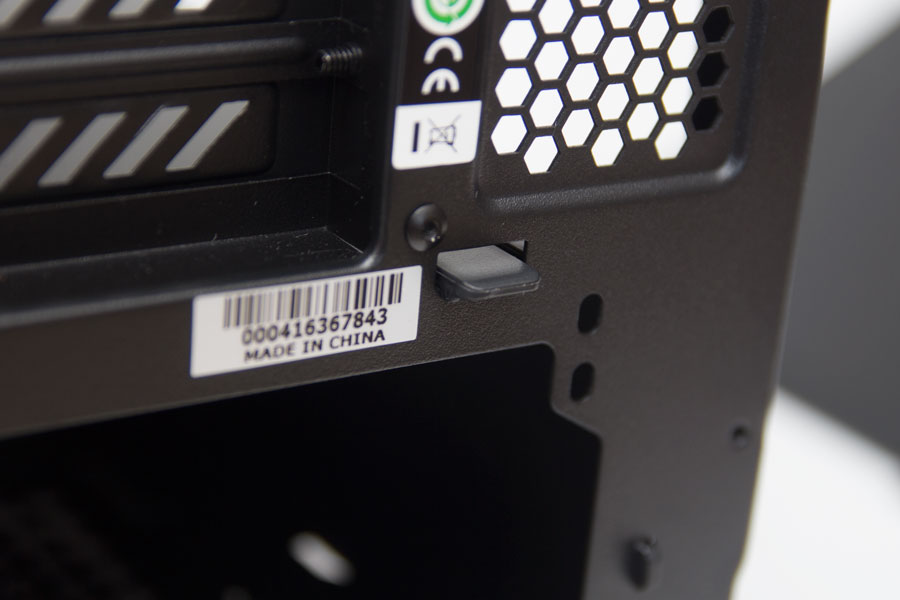
Whilst doing this very quick build, one thing I was very thankful for were these screwdriver holes. A few cases utilize these, but many don't. Although the holes were not quite big enough for my lucky ratchet screwdriver, a standard screwdriver slid through with plenty of room to spare. This makes it so much simpler to add or remove expansion cards.
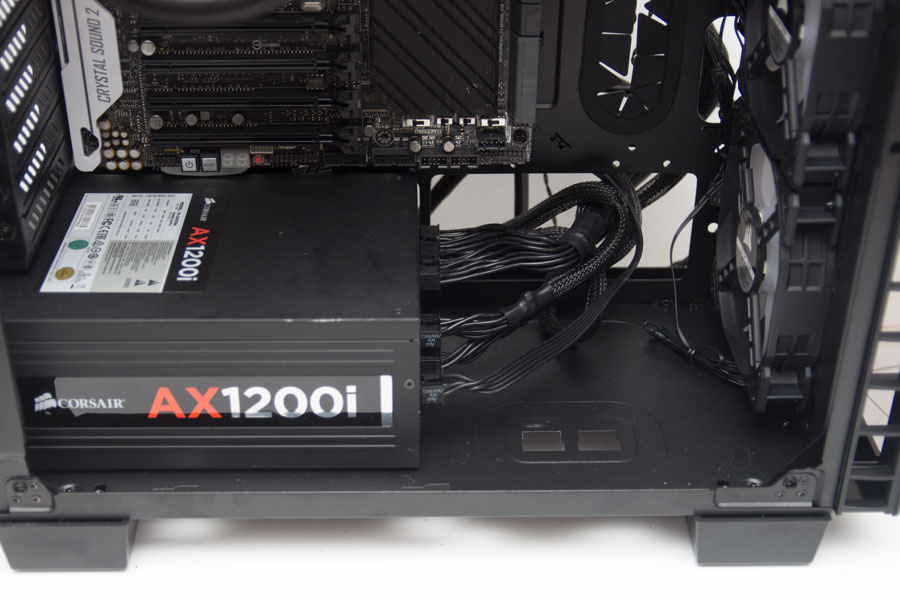
I only had an AX1200i spare to use for this review. If you are familiar with this PSU, you will know it to be one of the larger ones on the market. Using something like this means you will not be able to use the 3.5" bays even with all of the PSU's cables all bunched up. Not a huge issue as most PSUs are shorter, it is worth noting just in case you were hoping to build a super powerful machine.
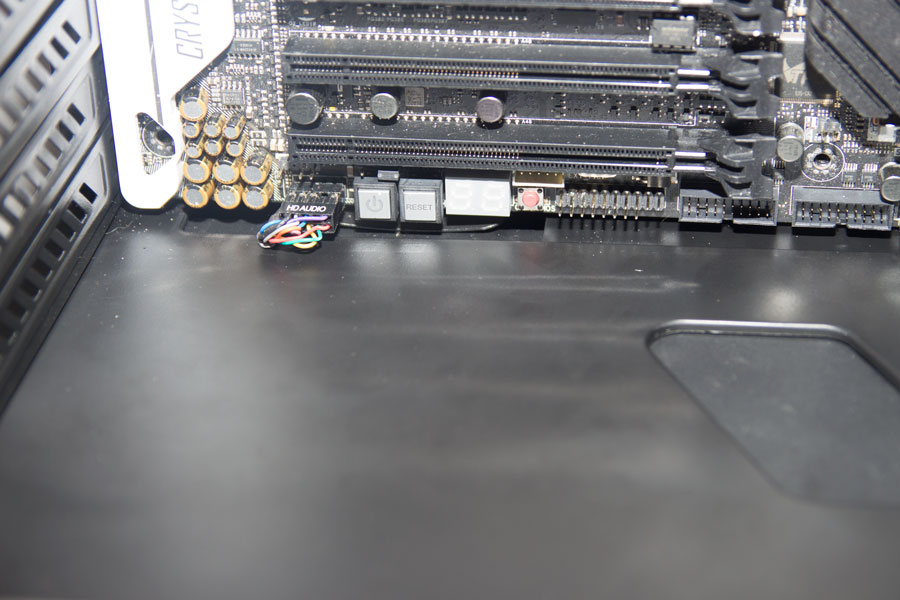
Something else worth noting is that once you have the motherboard and the PSU in, it is very hard to get the PSU cover back on, especially if you are using a large motherboard like the ASUS X99 Deluxe. You have a very small gap, and it did take a little bit of fiddling to get it back together. Also, I would suggest putting the audio cable in before the PSU and the cover. I did so unknowingly and am glad I did; I would not have had the space to feed the audio cable through afterward.
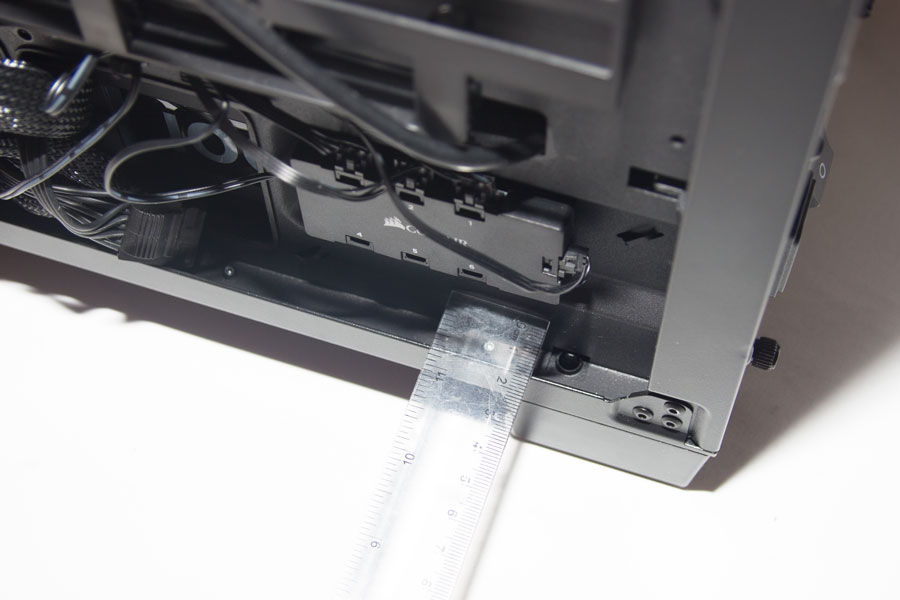
Again, I want to mention the cable-routing space behind the motherboard tray; there is around 15 mm available, but the SSD cages take up a lot of those 15 mm. You can route around these, but it does get a little crowded; it would have been nice to at least have a good 20 mm instead.
Finished Looks

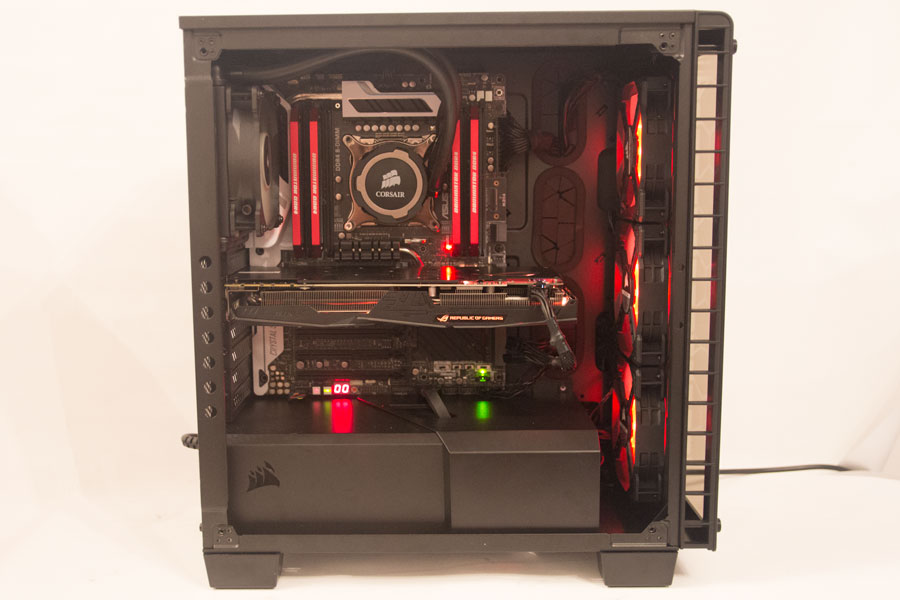
The completed build looks fine, especially considering how quickly it went together; the glass reflections are not as bad to the eye as they are on camera. I have to take my pictures in a room with very little natural light, which meant I had to either use a flash, longer exposure time, or drop the image quality. Unfortunately, it had to be the latter as the first two options showed more reflections.

Taking the glass off, we can again see that it looks far better once the reflections are out of the equation. Again, I will stress here that the case isn't as reflective as it looks in these pictures when seen with the naked eye.
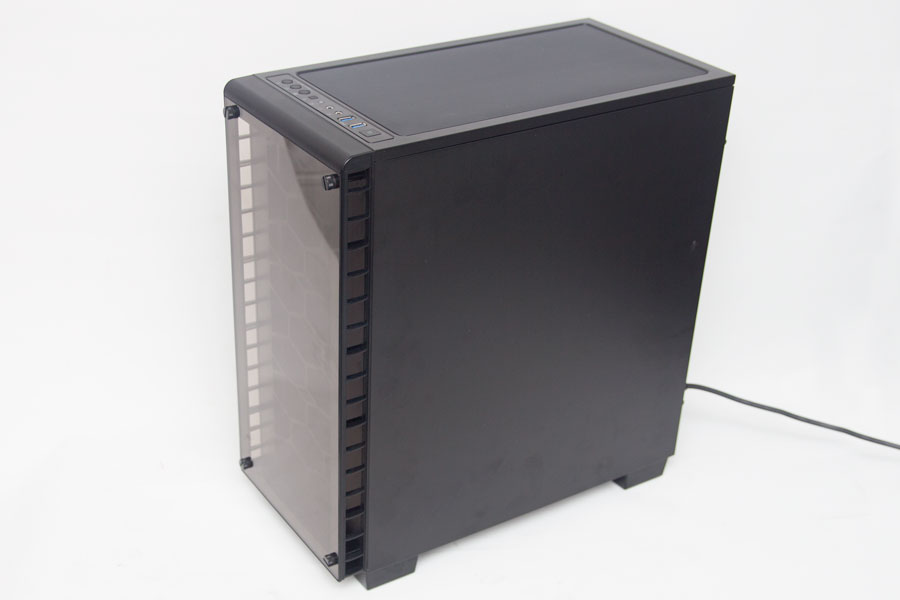
Even with the lack of space behind the motherboard tray, the side panel fit on with a bit of a struggle; it isn't too bad, though, and is definitely not going to make the case bulge out, which is the main thing.
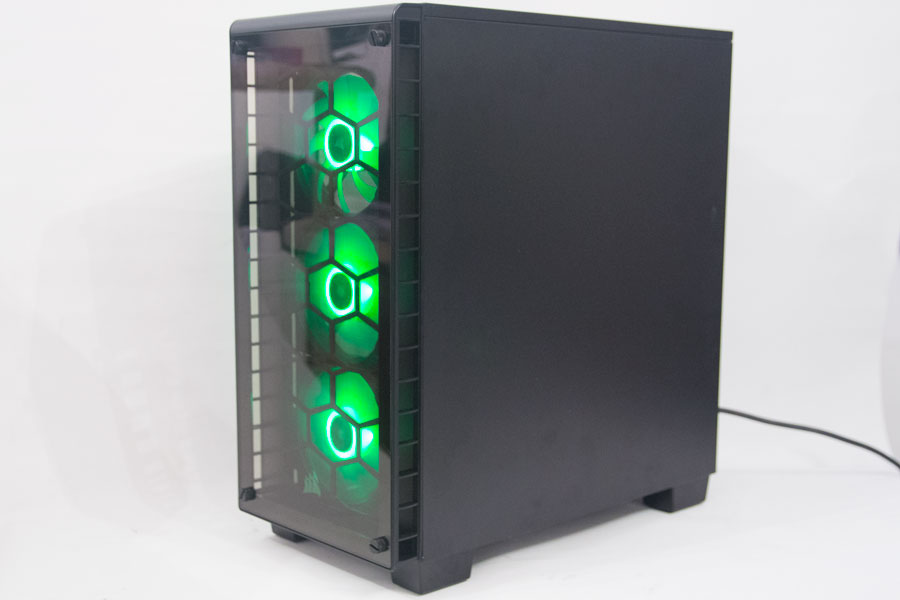

Just looking at the difference the RGB lighting makes is pretty crazy; just changing the lighting makes the case look different - you really can opt for a color that suits your build best.

Here is a gif of one of the RGB modes. Whilst wrestling with the cables at the back of the case, I knocked one of the fan cables out, which is why the top fan isn't spinning. I did plug it back in and it spun up instantly, but thought I would actually leave it off so that you could see the difference between the two.
Jul 15th, 2025 16:38 CDT
change timezone
Latest GPU Drivers
New Forum Posts
- I would give anything for Valve's Steam to have an option to disable the Big Picture Mode button. How many times have I accidently clicked it, fml (53)
- Adding distilled water to ups batteries really work ? (0)
- Stupid things one has done with hardware (66)
- No offense, here are some things that bother me about your understanding of fans. (145)
- RTX 5070 discussion (11)
- Choosing the right motherboard (6)
- Solidigm NVMe Custom Modded Driver for All NVMe Brands SSDs & Any NVMe SSDs (229)
- Recommend me a decent budget card :) (33)
- What's your latest tech purchase? (24278)
- TOS 6 on Ugreen NAS (0)
Popular Reviews
- MSI GeForce RTX 5060 Gaming OC Review
- Our Visit to the Hunter Super Computer
- Lexar NM1090 Pro 4 TB Review
- SilverStone SETA H2 Review
- NVIDIA GeForce RTX 5050 8 GB Review
- Fractal Design Epoch RGB TG Review
- Sapphire Radeon RX 9060 XT Pulse OC 16 GB Review - An Excellent Choice
- AMD Ryzen 7 9800X3D Review - The Best Gaming Processor
- Upcoming Hardware Launches 2025 (Updated May 2025)
- Corsair FRAME 5000D RS Review
TPU on YouTube
Controversial News Posts
- Intel's Core Ultra 7 265K and 265KF CPUs Dip Below $250 (288)
- Some Intel Nova Lake CPUs Rumored to Challenge AMD's 3D V-Cache in Desktop Gaming (140)
- AMD Radeon RX 9070 XT Gains 9% Performance at 1440p with Latest Driver, Beats RTX 5070 Ti (131)
- NVIDIA Launches GeForce RTX 5050 for Desktops and Laptops, Starts at $249 (122)
- NVIDIA GeForce RTX 5080 SUPER Could Feature 24 GB Memory, Increased Power Limits (115)
- Microsoft Partners with AMD for Next-gen Xbox Hardware (105)
- Intel "Nova Lake‑S" Series: Seven SKUs, Up to 52 Cores and 150 W TDP (100)
- NVIDIA DLSS Transformer Cuts VRAM Usage by 20% (99)