 3
3
CORSAIR iCUE 5000D RGB Airflow Review
Thermal Stress Test »Review System
| System Parts for Case Reviews | |
|---|---|
| Processor: | Intel Core i5-12600K Provided by: Intel |
| Motherboards: | ATX: ASUS ROG Strix Z690-E Gaming WiFi mATX: ASUS TUF Gaming B660M-PLUS WiFi D4 ITX: ASUS ROG STRIX Z690-I Gaming WiFi Provided by: ASUS |
| Graphics Card: | Gigabyte Radeon RX 6600 Eagle Provided by: Gigabyte ZOTAC GAMING GeForce RTX 3060 Ti Twin Edge OC Provided by: Zotac |
| Memory: | 32 GB XPG LANCER RGB DDR5 6000 MHz 32 GB XPG CASTER DDR5 6400 MHz 32 GB XPG HUNTER DDR5 5200 MHz Provided by: ADATA |
| HDD: | Toshiba MG08ADA400E 7200 RPM SATA III Provided by: Toshiba |
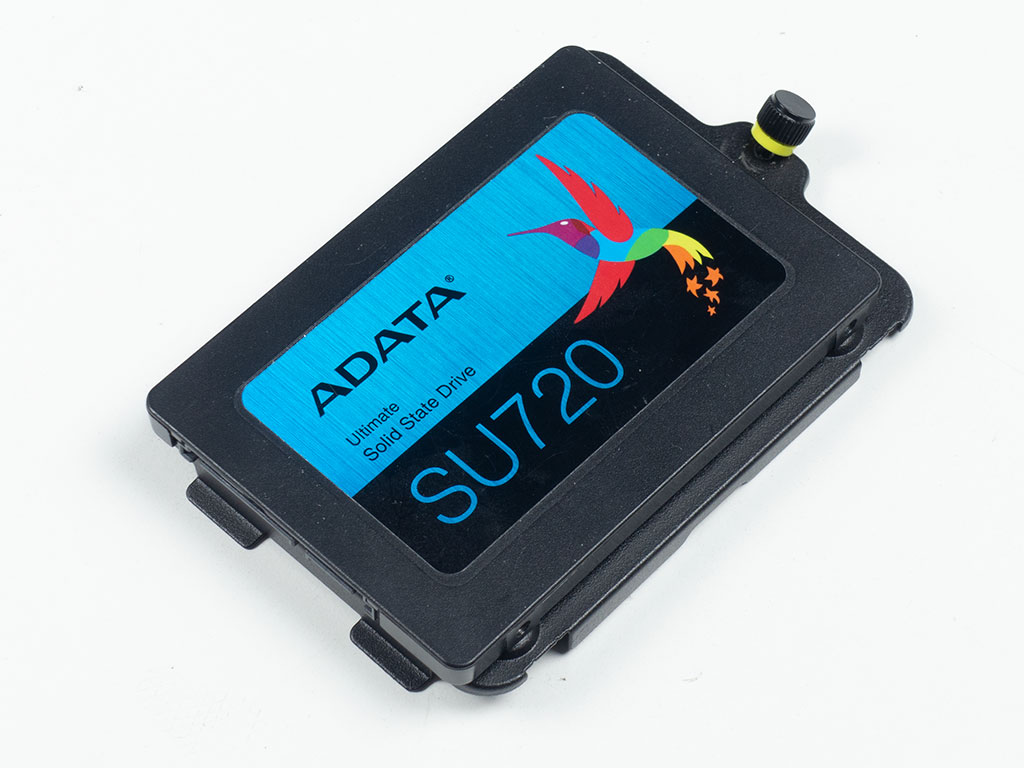
| SSD: | ATX:XPG GAMMIX S70 BLADE 1 TB mATX: ADATA LEGEND 840 512 GB ITX: XPG SPECTRIX S20G 500 GB ADATA Ultimate SU800 512 GB ADATA Ultimate SU720 500 GB Provided by: ADATA |
| Power Supply: | ATX: Fractal Design ION+ 650W 80 Plus Gold SFX: Fractal Design ION SFX-L 650W 80 Plus Gold Provided by: Fractal Design |
| Cooling: | be quiet! Pure Loop 120/ Pure Loop 2 FX 240/280/360 Provided by: be quiet! |
Assembly
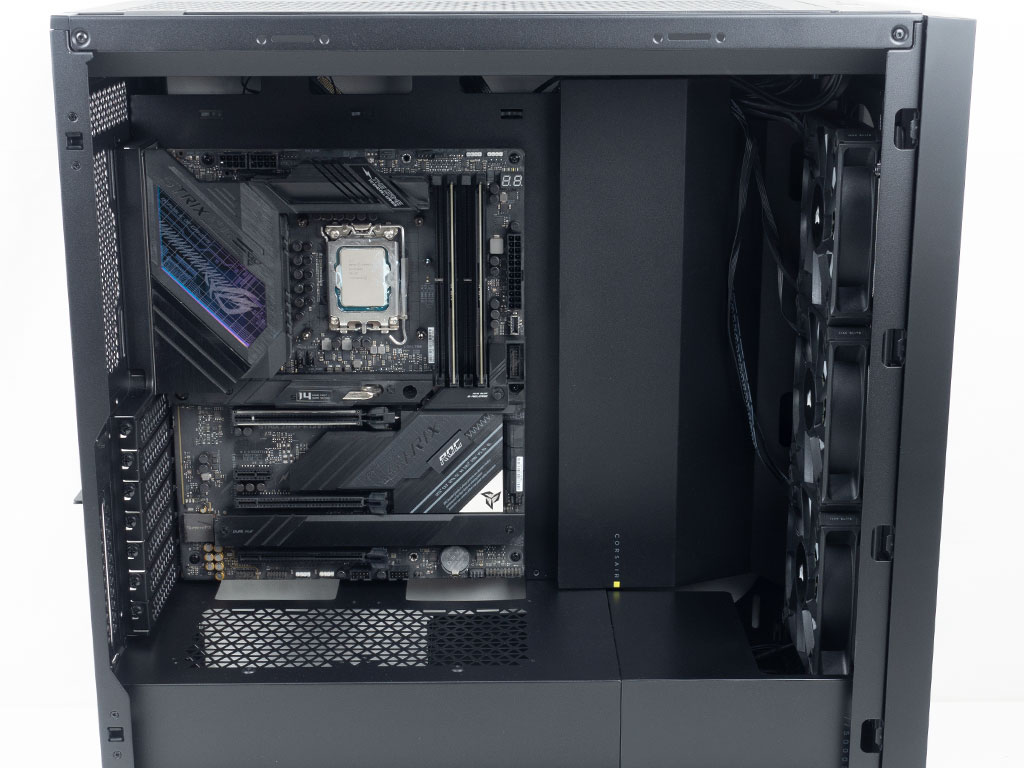
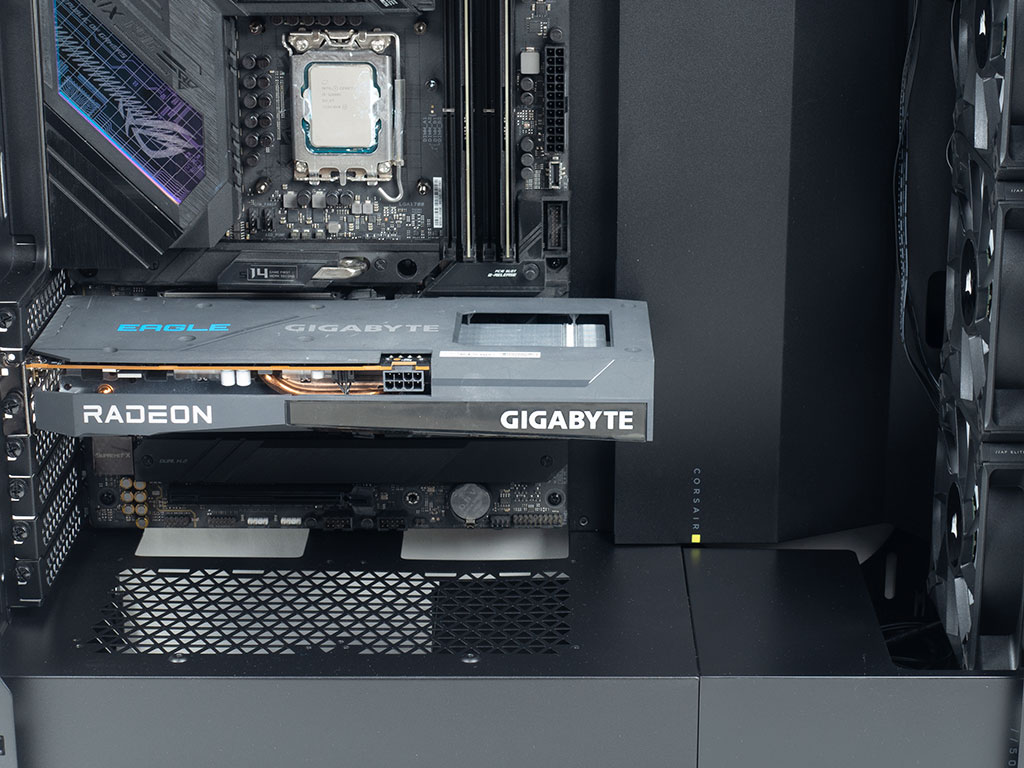
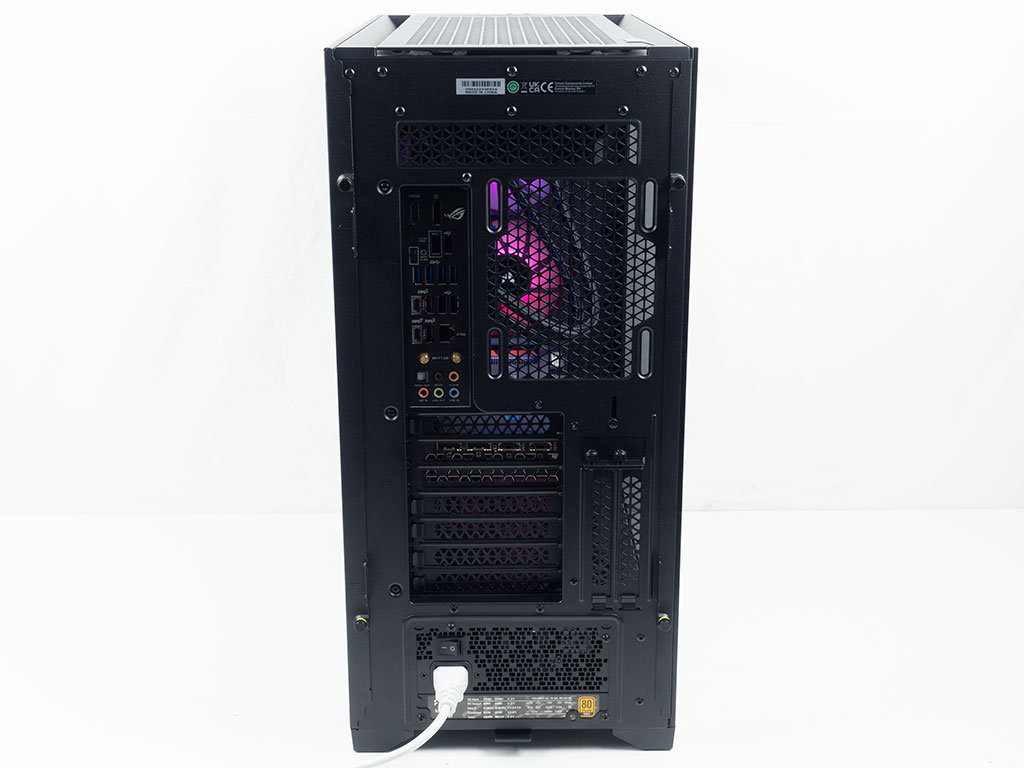
Installing a motherboard is done by traditional means, with spacers and screws. Corsair has pre-installed the spacers, including one with an alignment pin in the center to prevent any issues with placing the board properly. There is plenty of space above and towards the front of the board, with the two large routing holes in the shroud also nicely lining up with the connectors on the motherboard's bottom edge. That said, with a somewhat compact cable channel, things are a bit tight on the front-facing right edge. However we had no tangible issues plugging everything in with a bit of extra attention and effort. Big & bulky modern GPUs should also have no problem fitting into the chassis.

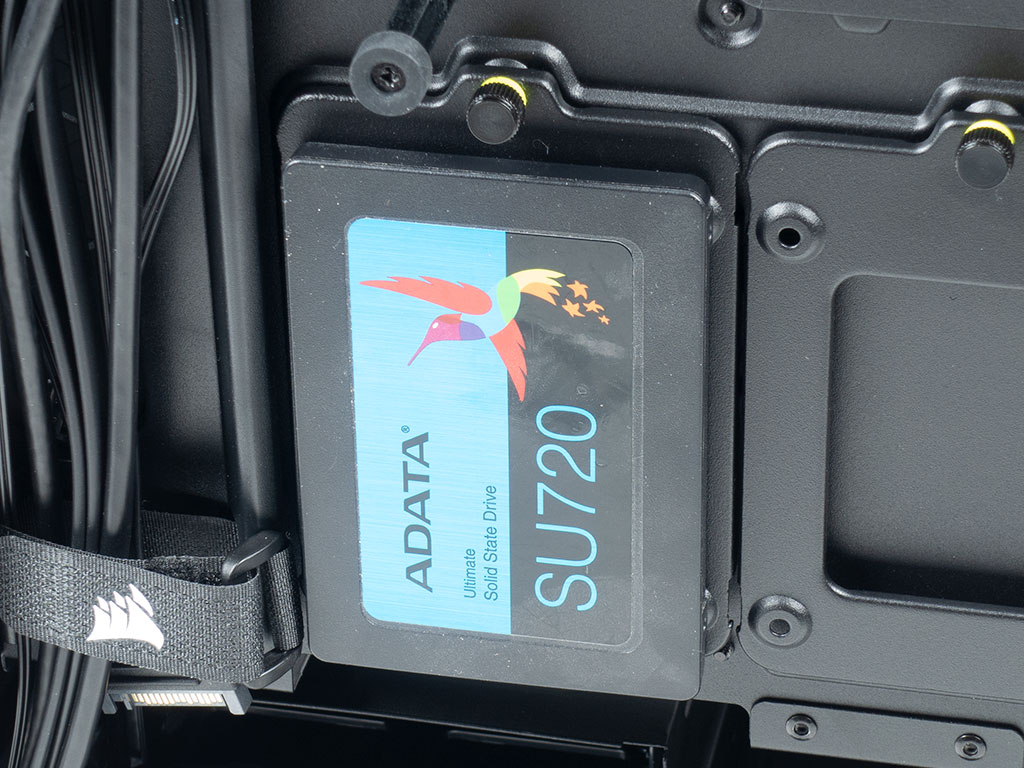
Adding an SSD to the iCUE 5000D RGB Airflow is done by simply taking the frame off the case and screwing the drive down. Once filled, just pop it back into one of numerous possible locations.
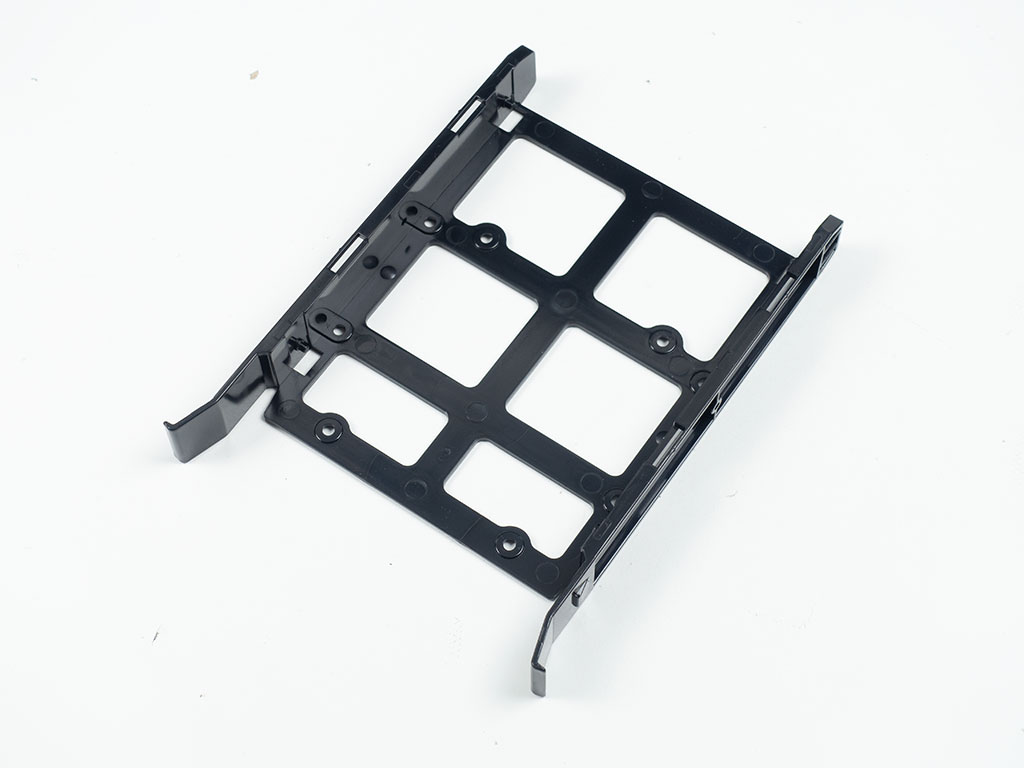
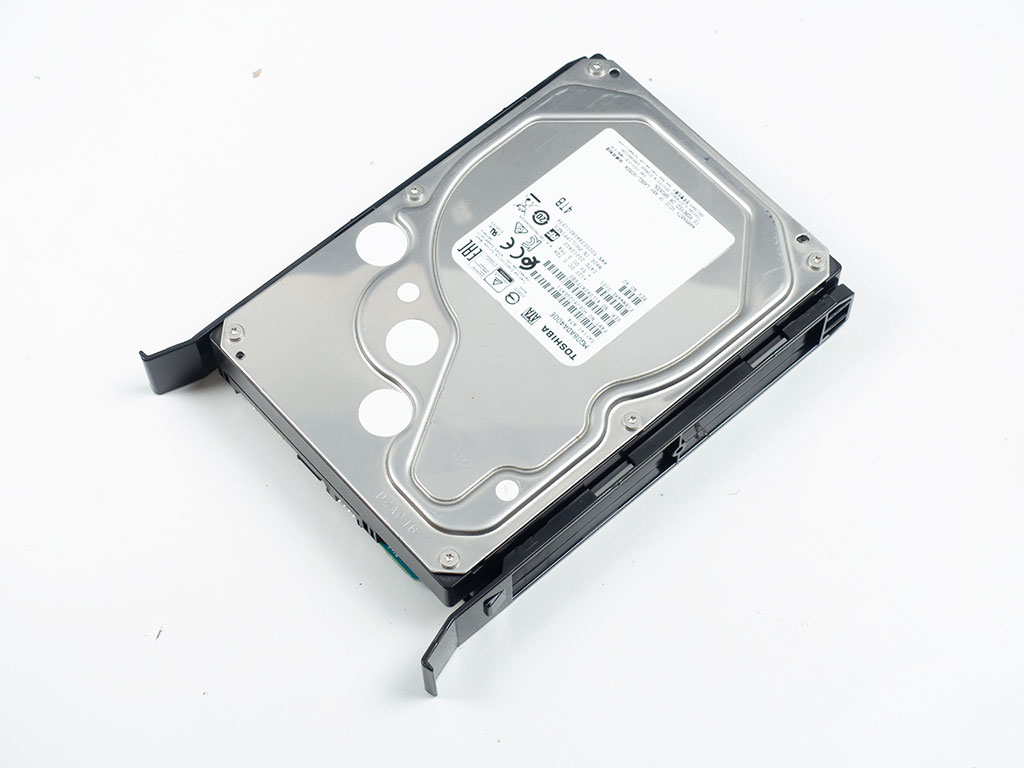
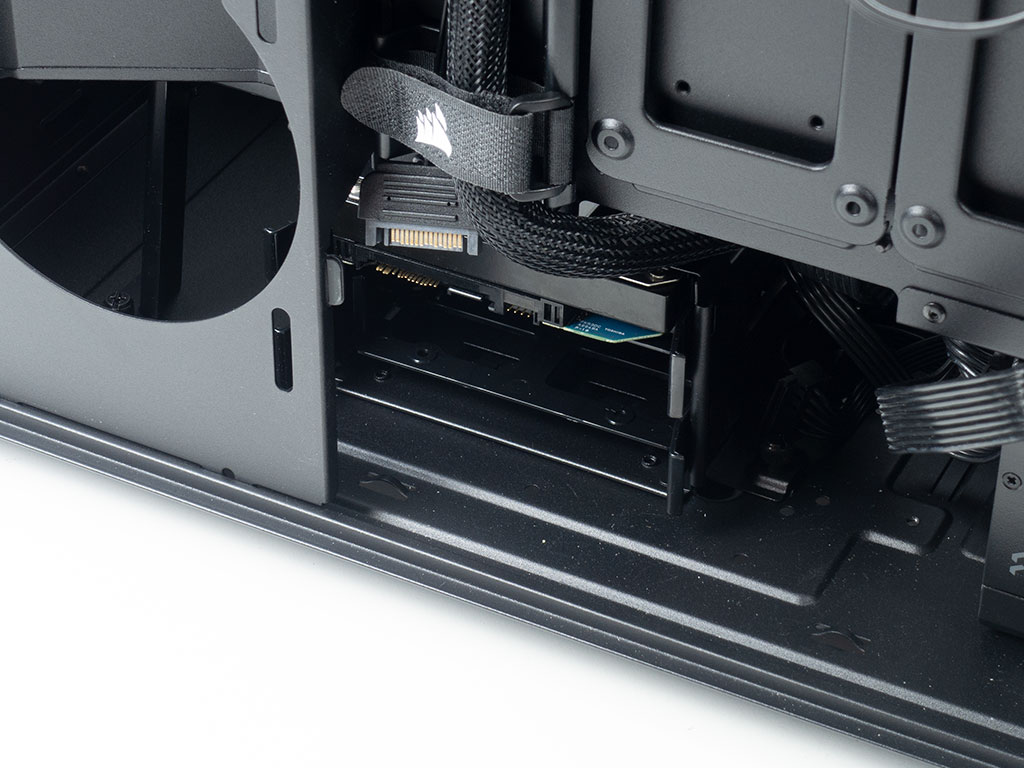
You do not actually need any tools for a 3.5" drive as you can snap it into place before sliding it back into the cage underneath the shroud until the two latches on either side of the tray snap down to secure the drive.
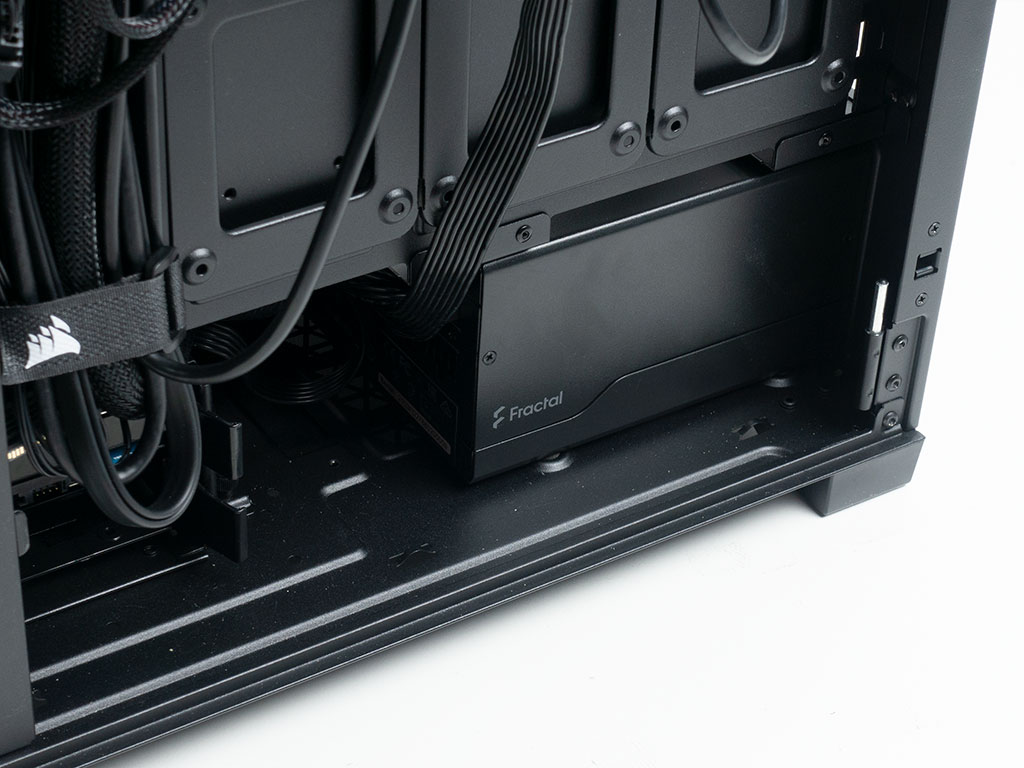
To add your PSU, slide it underneath the metal shroud and screw it down through the rear of the chassis, which is pretty straightforward as well. There is plenty of space as long as you shimmy the hard drive cage towards the front of the chassis, so fitting a potent unit to power all your gaming gear shouldn't be a problem.


Adding the 360 mm AIO in the ceiling of the chassis was successful without a hitch. You do need to pre-route your wiring for the top edge of the motherboard beforehand, but connecting the headers is still easily possible even with the liquid cooling unit in place. Unfortunately, putting the radiator above the case frame to gain a bit of extra space is not possible because the cutouts on that frame don't allow for the additional opening for tubing. That said, you should have no issues installing fans on top of your AIO for a push pull configuration.


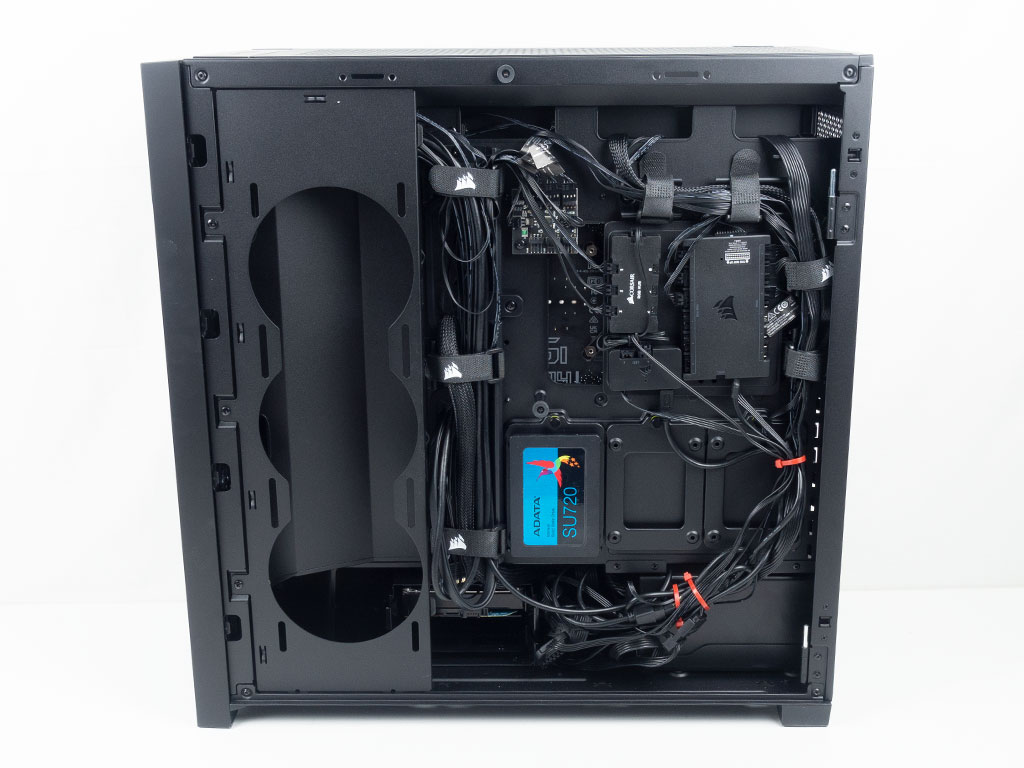
With everything installed, the Corsair iCUE 5000D RGB Airflow looks essentially the same as the original in terms of cable management. We are still missing some grommets on the bottom opening as that area is a bit messier due to the larger openings, but otherwise the chassis makes a very good & tidy impression. On the backside, we aimed to use as many of the provided Velcro strips, but still ended up using a few zip ties as well. There are a lot of cables with a total of four PCBs all trying to fit. That aspect considered, things don't feel out of control, but not super clean either. By today's standards, the employed plastic cable channels are not the best in terms of bunching up wiring and flexibility in where to apply Velcro strips or zip ties. that becomes apparent toward the bottom of the chassis, which also happens to be the area where there are two large openings in the shroud for cable routing.
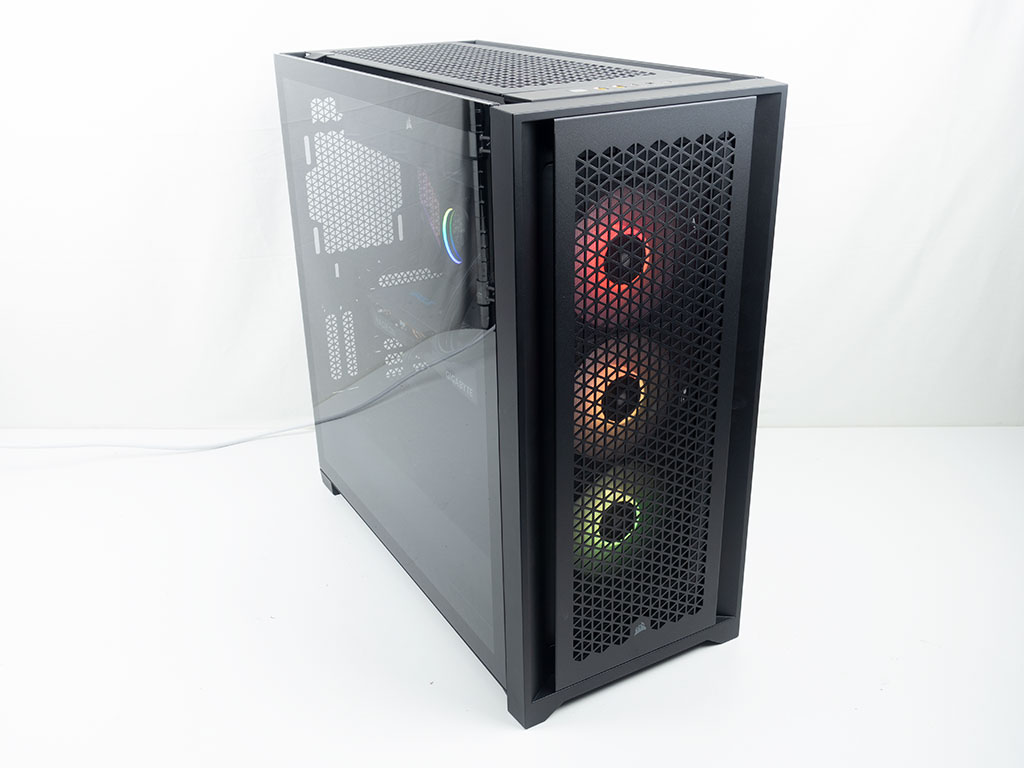
Finished Looks
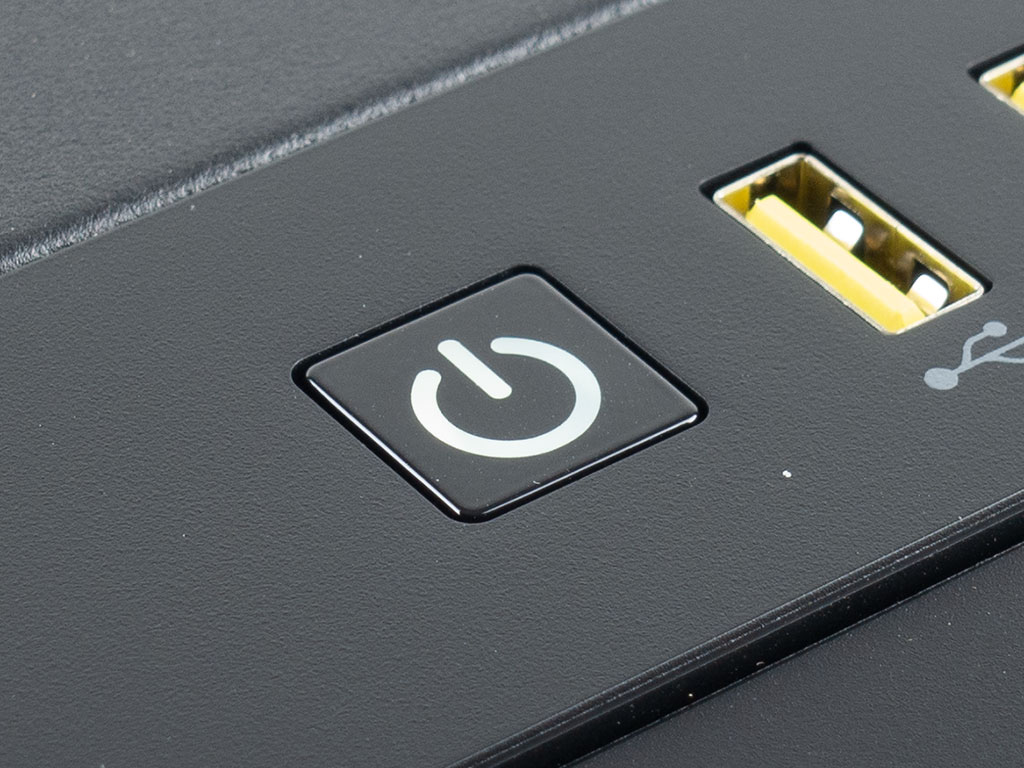
With the system turned on, there is really not much to see. A clean white power LED also lights up right underneath the button to let you know the system is up and running.
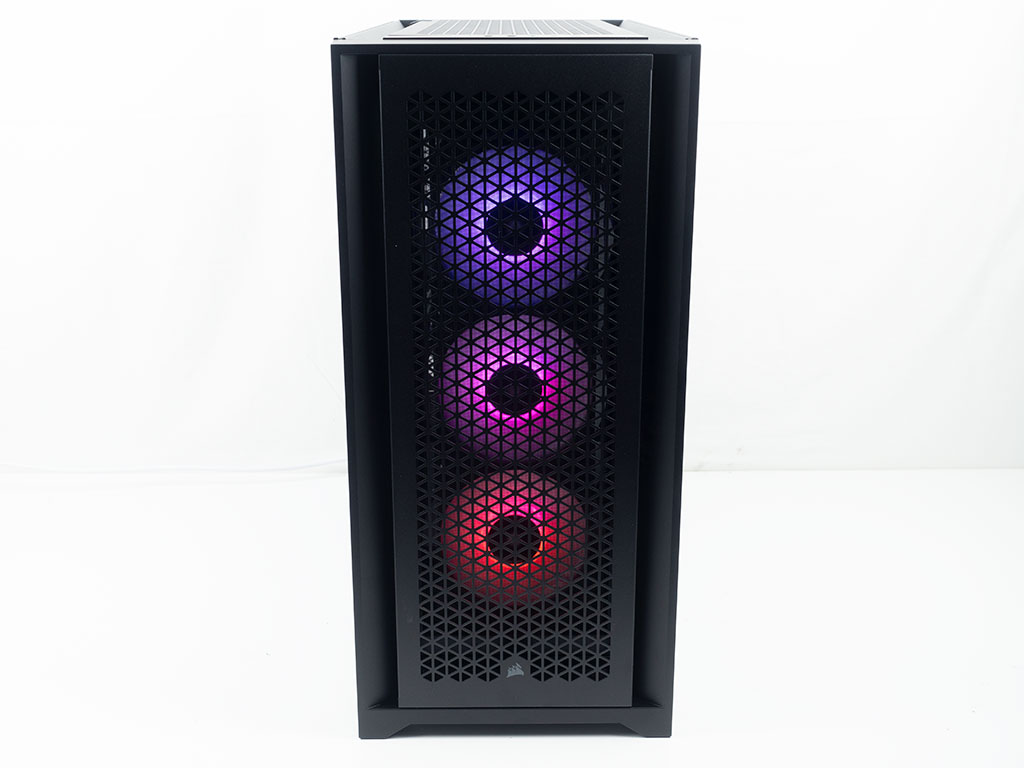

Thanks to the AF120 Elite fans and the clear glass panel, you can now clearly see plenty of RGB elements in this chassis. This is a nice improvement over the original's heavily tinted glass.
Jul 12th, 2025 01:00 CDT
change timezone
Latest GPU Drivers
New Forum Posts
- Can you guess Which game it is? (222)
- 'NVIDIA App' not usable offline? (7)
- What are you playing? (23920)
- RX 9070 XT freezing/locking up only on desktop, anyone else? (43)
- NVIDIA RTX PRO 6000 Workstation Runs Much Hotter Than 5090 FE (22)
- Quick charging your USB devicesUSB 3.2 Gen 2x2 Type-C® front-panel. (1)
- GTX 1050 GPU Owners Club (12)
- ASUS ProArt GeForce RTX 4060 Ti OC Edition 16GB GDDR6 Gaming - nvflash64 VBIOS mismatch (2)
- Will you buy a RTX 5090? (640)
- No offense, here are some things that bother me about your understanding of fans. (33)
Popular Reviews
- Fractal Design Epoch RGB TG Review
- Corsair FRAME 5000D RS Review
- Lexar NM1090 Pro 4 TB Review
- NVIDIA GeForce RTX 5050 8 GB Review
- NZXT N9 X870E Review
- Sapphire Radeon RX 9060 XT Pulse OC 16 GB Review - An Excellent Choice
- AMD Ryzen 7 9800X3D Review - The Best Gaming Processor
- Upcoming Hardware Launches 2025 (Updated May 2025)
- Our Visit to the Hunter Super Computer
- Chieftec Iceberg 360 Review
TPU on YouTube
Controversial News Posts
- Intel's Core Ultra 7 265K and 265KF CPUs Dip Below $250 (288)
- Some Intel Nova Lake CPUs Rumored to Challenge AMD's 3D V-Cache in Desktop Gaming (140)
- AMD Radeon RX 9070 XT Gains 9% Performance at 1440p with Latest Driver, Beats RTX 5070 Ti (131)
- NVIDIA Launches GeForce RTX 5050 for Desktops and Laptops, Starts at $249 (119)
- NVIDIA GeForce RTX 5080 SUPER Could Feature 24 GB Memory, Increased Power Limits (115)
- Microsoft Partners with AMD for Next-gen Xbox Hardware (105)
- Intel "Nova Lake‑S" Series: Seven SKUs, Up to 52 Cores and 150 W TDP (100)
- NVIDIA DLSS Transformer Cuts VRAM Usage by 20% (97)