 11
11
Corsair K95 Platinum Keyboard Review
Driver »Disassembly
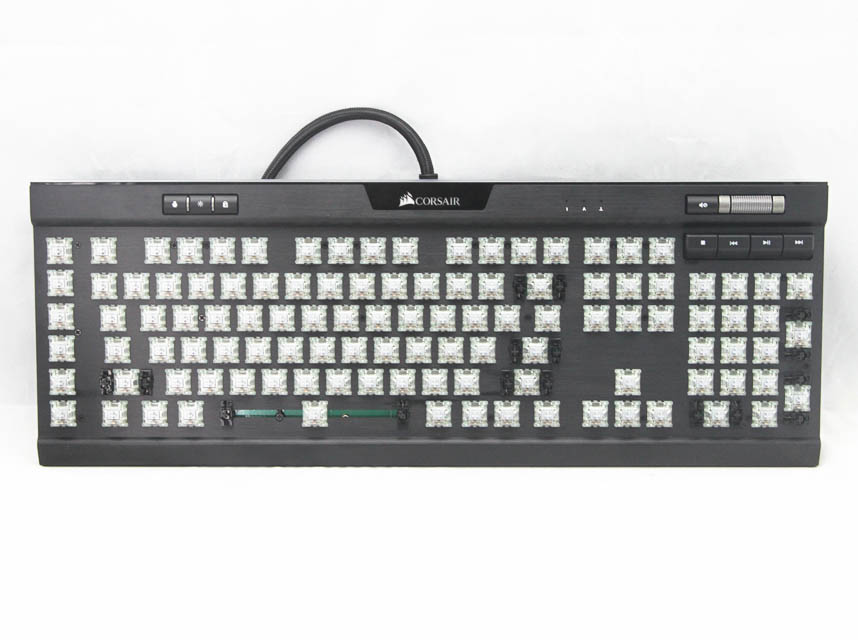
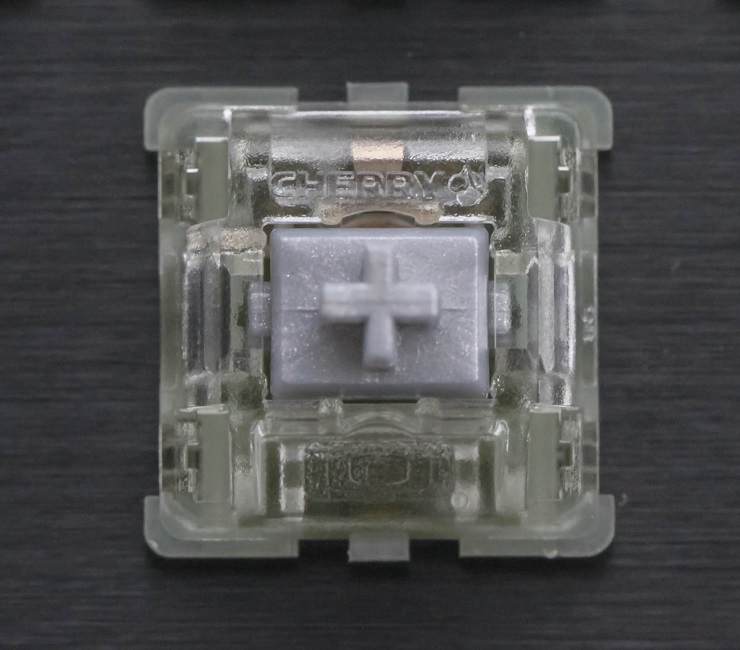

In order to take a look inside, we must first remove all keycaps. The provided keycap puller comes in handy here. After doing so, we get our first look at the switches themselves - this sample uses the Cherry MX RGB Speed (Silver) switches that were for a while only available on Corsair's RAPIDFIRE K65/K70 keyboards but have since shown up on different keyboards from various companies. There are twenty-one screws on the plate that need to be removed, and there is a hidden screw next to the volume scroll wheel as well.
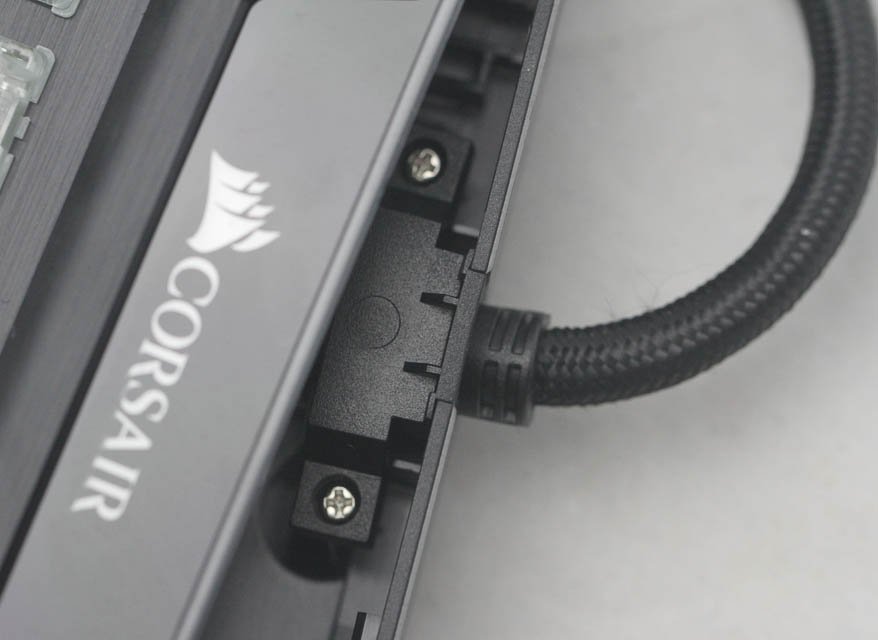
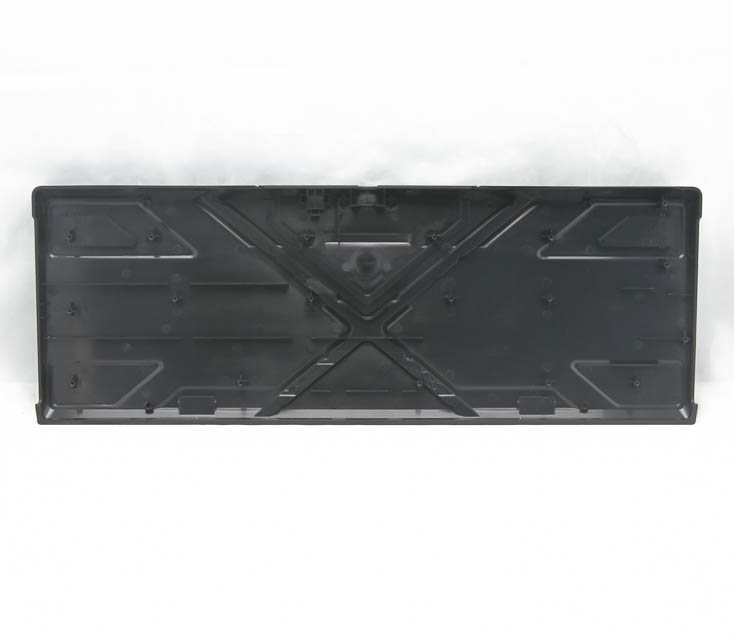
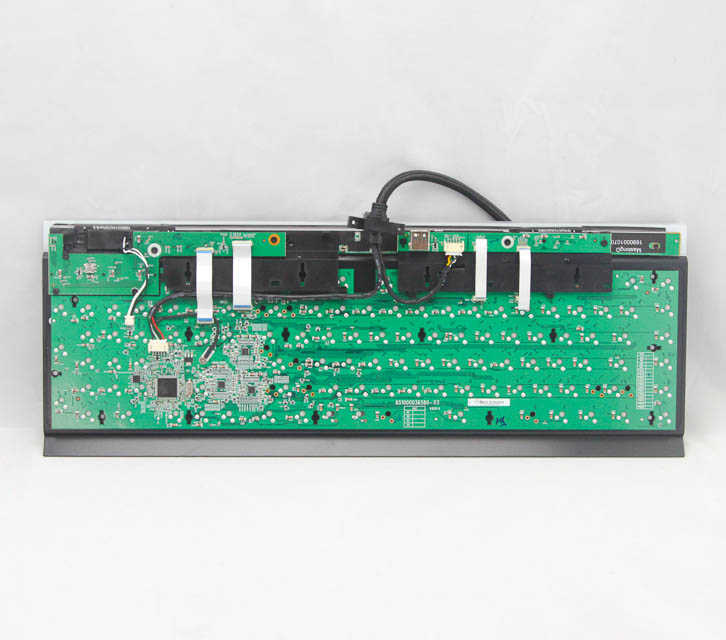
Two more screws secure the cable to the keyboard's base, and removing them helps loosen the base out for closer examination. It is made out of ABS plastic, but is thicker than the base of previous Corsair keyboards I have examined - possibly because they had to account for the cable-routing cutouts on the underside. This also separates the plate/PCB piece, and we see that it has multiple daughter PCBs that cater to the K95 Platinum's additional keys.


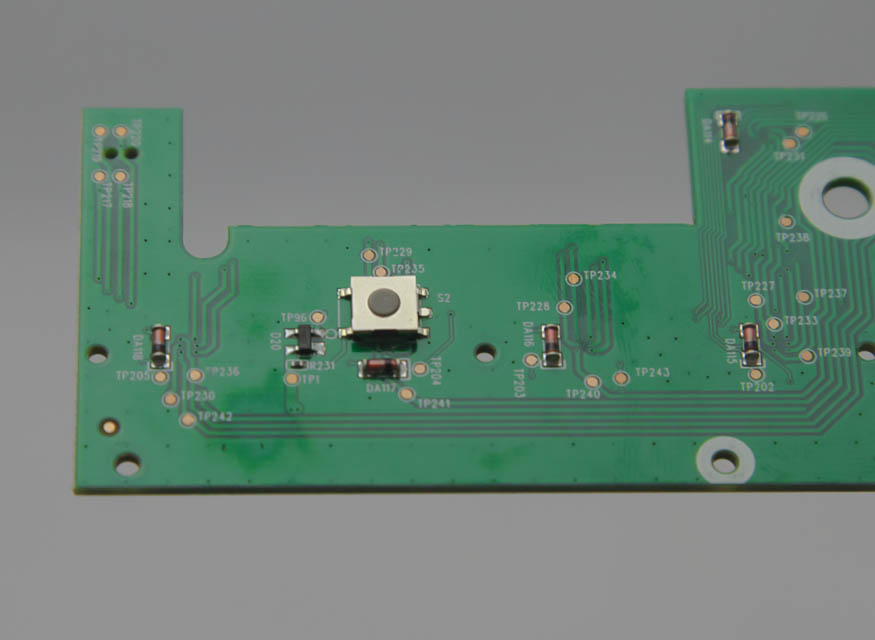

The first daughter PCB caters to the USB pass-through and the profile, brightness, and Windows lock buttons. The second takes care of the dedicated media buttons, including the scroll wheel. There is also a reset button hidden in here, but it is not accessible elsewhere and is meant to be used by Corsair staff (unless you open the keyboard up as I did). A third daughter PCB handles the light bar, but is taped to the plate, which makes it hard to remove, and I left it there.
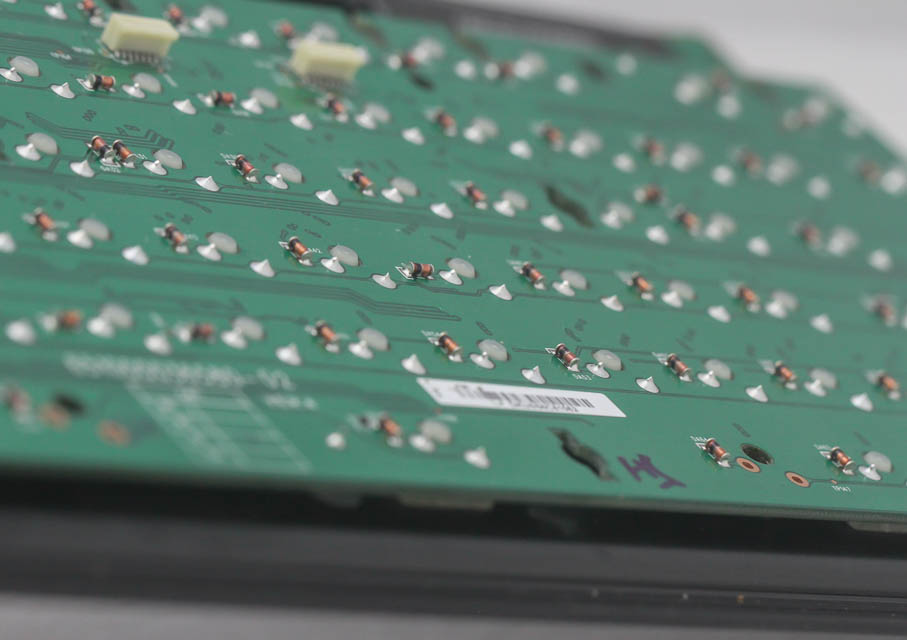

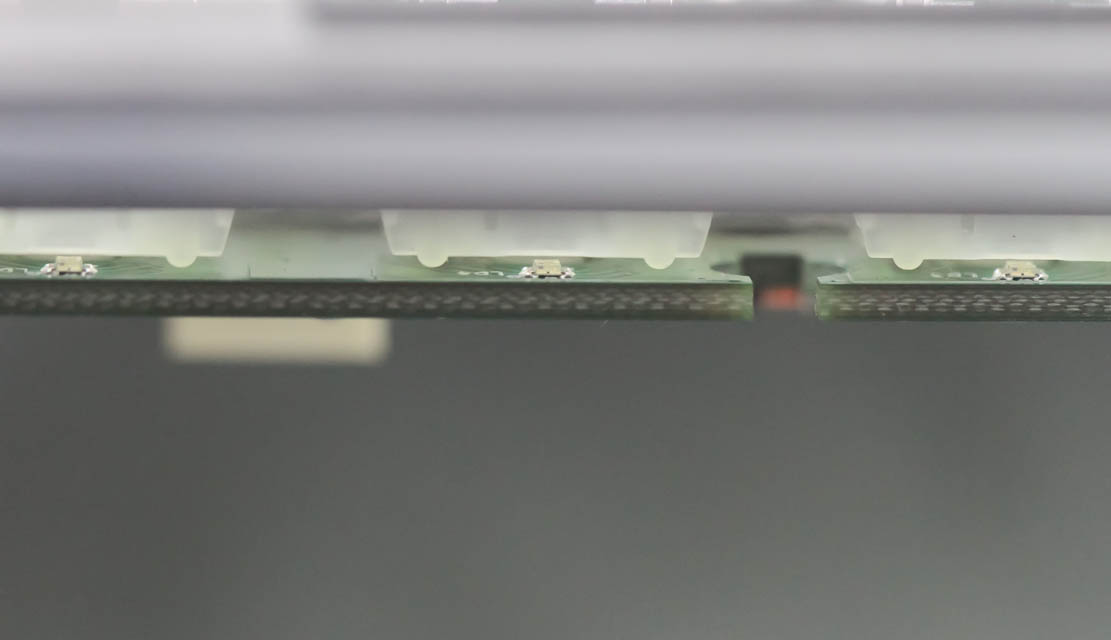

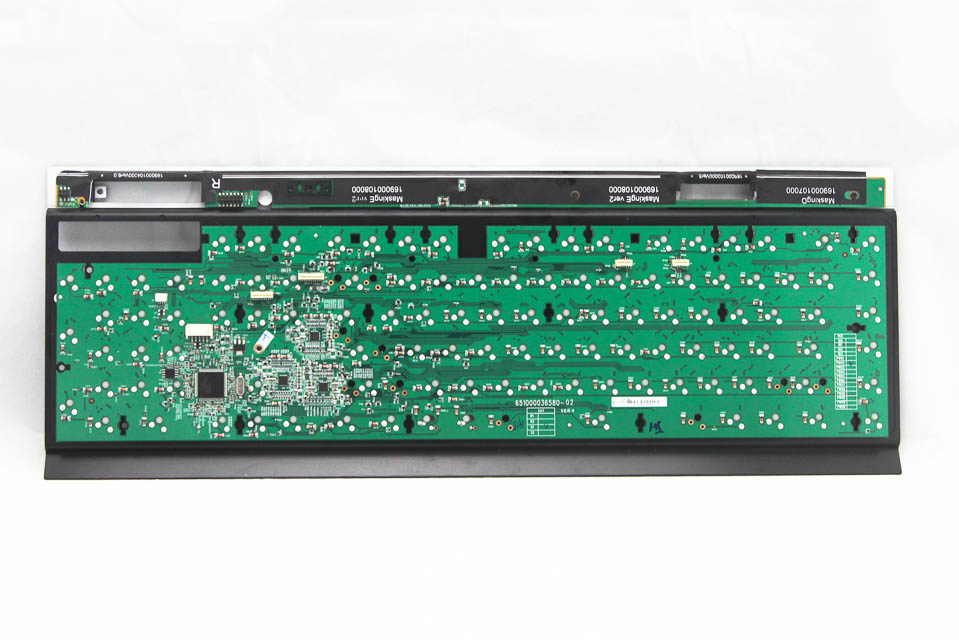
The primary PCB, as with the daughter PCBs, is green in color, and the soldering is generally well done with no issues spotted on this sample. The switches are attached to the PCB through the aluminum plate making them plate-mounted, which makes it impossible to take the switches apart without de-soldering them off the PCB. There is a single PCB here, and as with most keyboards these days, it does have multiple layers. The LEDs are directly below the switches on the PCB's upper side, putting them right next to the switch housing, which diffuses the light, thus keeping them bright. On the flip side, Corsair is limited by space and had to accommodate LEDs that are small enough to fit here. Some competitors, such as Cooler Master and Ducky, have adopted a multi-PCB layout with LEDs on their own PCB to get around this restriction. In the end, it is mostly a tie as the most important factor is still the keycap - the bigger the legends, the more light passes through. This is also why Corsair changed the font on their keycaps recently.
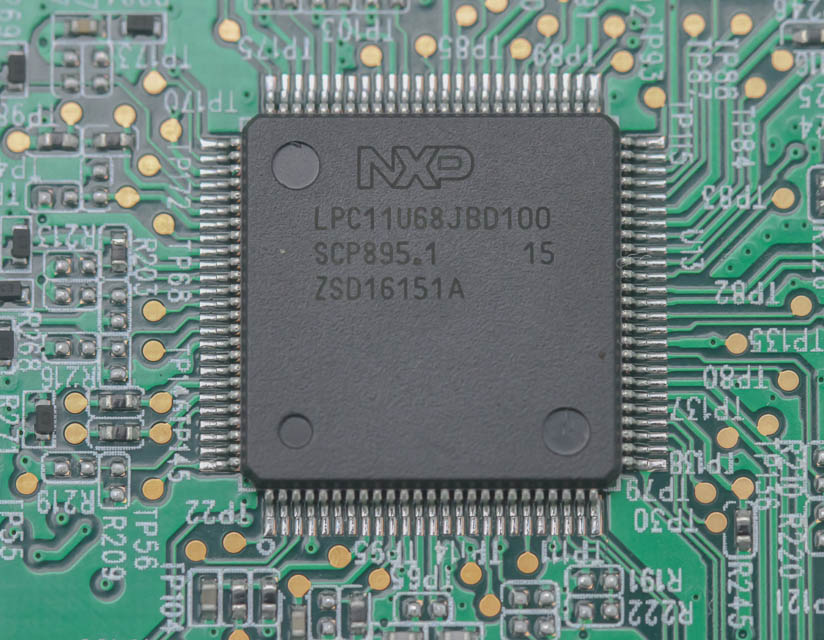
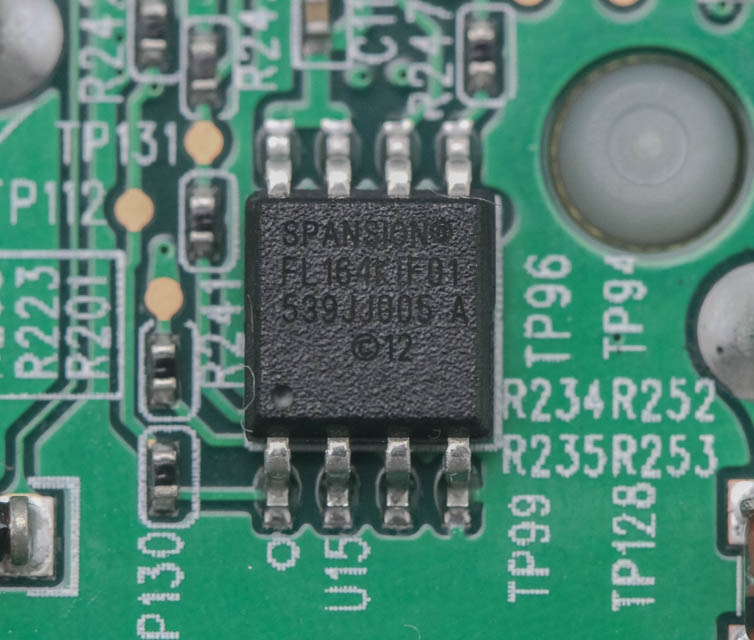
There are three separate ISSI IS31FL3732 FxLED drivers for individual PWM control in 256 steps for lighting as per R, G, B, which makes for a total of 16.8 M colors without any flickering or color shifts. The processor is an NXP LPC11U68JBD100 32-bit ARM Cortex unit with up to 256 kB flash memory, 36 kB SRAM data memory, and 4 kB EEPROM on board. While a step up from the NXP LPC11U3x series used in Corsair's previous keyboards, including the K70 RGB LUX or RAPIDFIRE, it still forces Corsair to limit what the hardware profiles can do. For storage, Corsair has gone with Cypress Semiconductors' Spansion FL-1K 64 Mbit (8 MByte) flash memory, which is more than enough.
Before we take a look at the driver, be advised that disassembly will void the warranty and that TechPowerUp is not liable for any damages incurred if you decide to go ahead and do so anyway.
Jul 14th, 2025 16:09 CDT
change timezone
Latest GPU Drivers
New Forum Posts
- Share your AIDA 64 cache and memory benchmark here (3099)
- Frametime spikes and stuttering after switching to AMD CPU? (573)
- AAF Optimus Modded Driver For Windows 10 & Windows 11 - Only for Realtek HDAUDIO Chips (578)
- i7 2860QM how to raise power limit? (21)
- AMD 7Ghz? This keeps popping up on my feeds! (6)
- Stupid things one has done with hardware (49)
- No offense, here are some things that bother me about your understanding of fans. (111)
- Choosing the right motherboard (5)
- Best motherboards for XP gaming (151)
- Which CPU to Choose for a 7900 XT? Ryzen 7 7700 or Ryzen 5 9600X? (43)
Popular Reviews
- Lexar NM1090 Pro 4 TB Review
- Our Visit to the Hunter Super Computer
- MSI GeForce RTX 5060 Gaming OC Review
- Fractal Design Epoch RGB TG Review
- NVIDIA GeForce RTX 5050 8 GB Review
- Corsair FRAME 5000D RS Review
- Sapphire Radeon RX 9060 XT Pulse OC 16 GB Review - An Excellent Choice
- Chieftec Iceberg 360 Review
- AMD Ryzen 7 9800X3D Review - The Best Gaming Processor
- Upcoming Hardware Launches 2025 (Updated May 2025)
TPU on YouTube
Controversial News Posts
- Intel's Core Ultra 7 265K and 265KF CPUs Dip Below $250 (288)
- Some Intel Nova Lake CPUs Rumored to Challenge AMD's 3D V-Cache in Desktop Gaming (140)
- AMD Radeon RX 9070 XT Gains 9% Performance at 1440p with Latest Driver, Beats RTX 5070 Ti (131)
- NVIDIA Launches GeForce RTX 5050 for Desktops and Laptops, Starts at $249 (122)
- NVIDIA GeForce RTX 5080 SUPER Could Feature 24 GB Memory, Increased Power Limits (115)
- Microsoft Partners with AMD for Next-gen Xbox Hardware (105)
- Intel "Nova Lake‑S" Series: Seven SKUs, Up to 52 Cores and 150 W TDP (100)
- NVIDIA DLSS Transformer Cuts VRAM Usage by 20% (97)