 26
26
Danger Den DD-29XT HD 2900 XT Waterblock Review
Performance »Installing the Waterblock
Although the exploded assembly diagram is reasonably easy to understand, the actual assembly is a bit more involved. There are a lot of things that can go wrong here, a simple slip of a screw driver and you can cleave a capacitor here, or damage something there, so this is not something to be take on by beginners.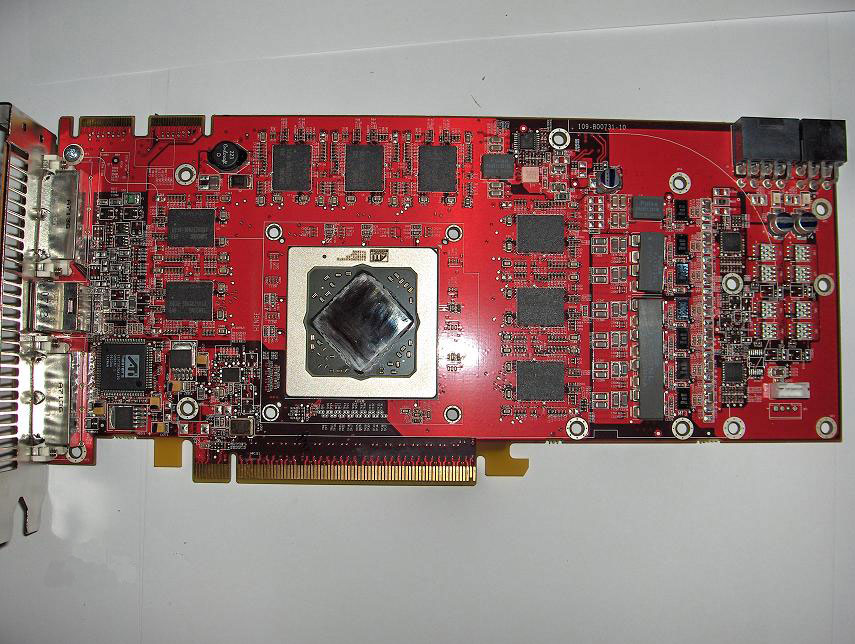
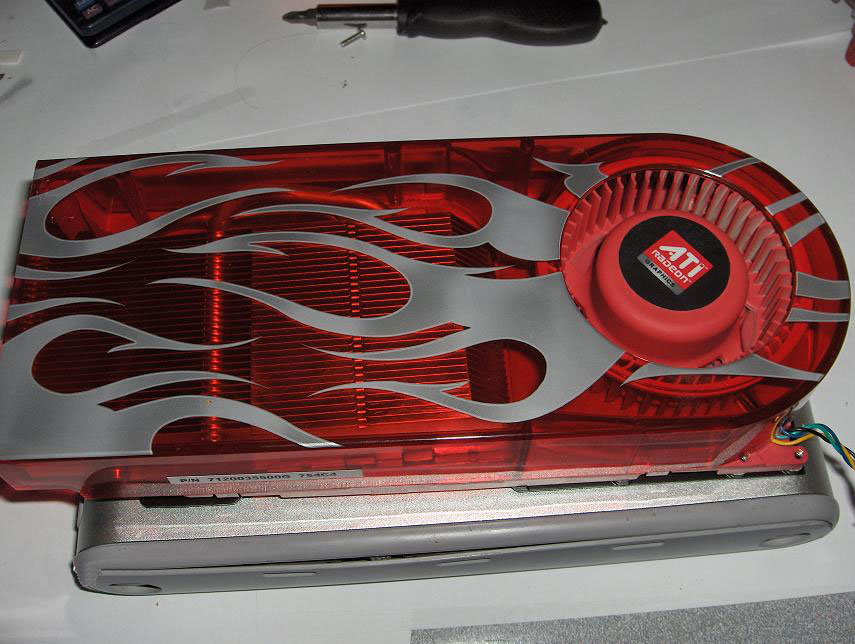
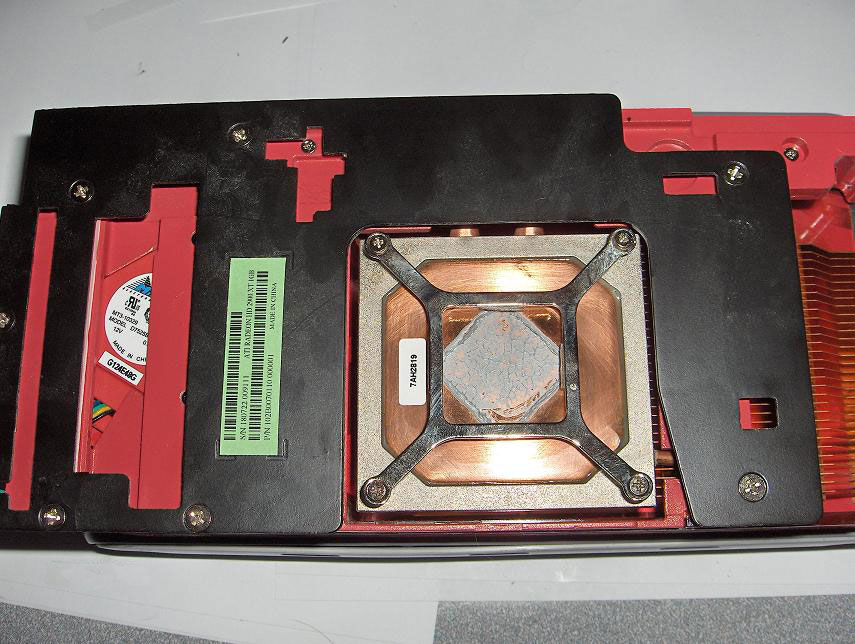
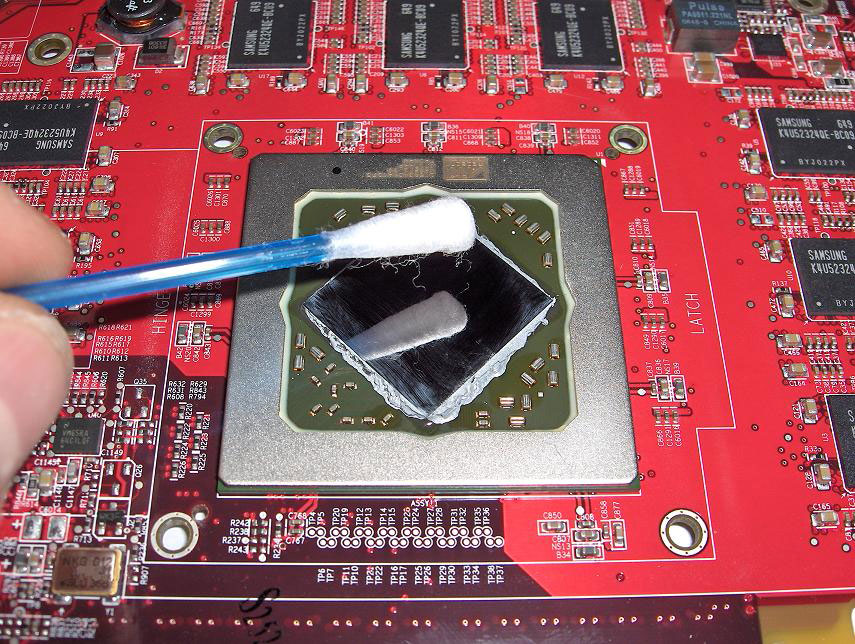
Firstly, before I could do anything the stock heatsink needed to be removed. This was simple enough, and only required several screws to be removed from the underside of the card, as well as two from the front PCI-slot plate (which I had failed to even realise were there previously) I then cleaned the RAM chips using alcohol, and then proceeded to clean the thermal paste from the GPU die.
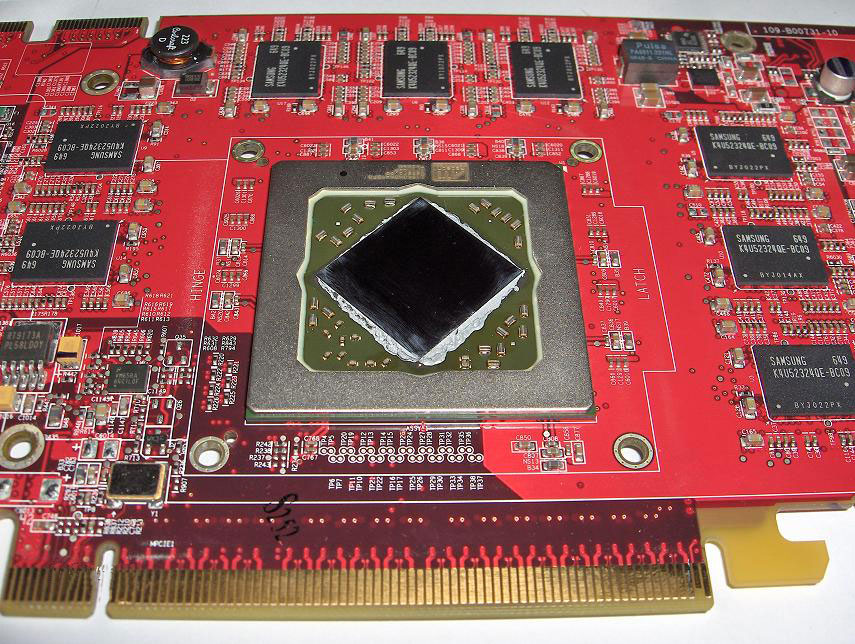
An observation made on the 1GB 2900XT GPU die compared to the X1900 is that is is EXTREMELY reflective, and has a total mirror effect indicating its smoothness, unlike the lesser reflective purple die from the Radeon X1900 Series
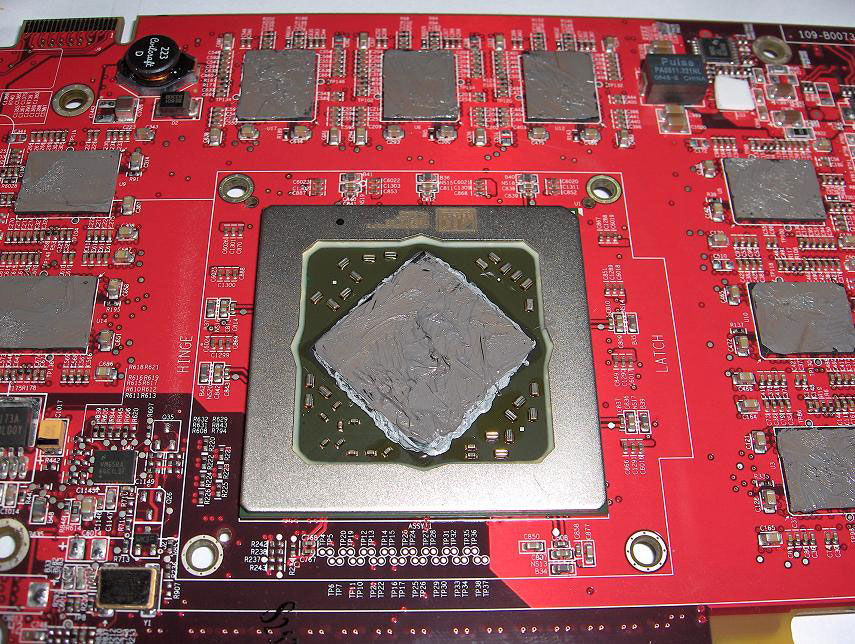
Before mounting the waterblock the instructions state that thermal paste is required to be added to the memory chips as well as the GPU die. To do this I used a polythene bag and tightly pulled and twisted it around my forefinger, and used this to smear Arctic Silver 5 on the chips in an even layer on both sides of the card. As well as this, just before assembly I cut a strip of thermal tape and placed it along the length of the voltage regulators, as well as cutting out a 1/2 cm square for what looks like a single isolated voltage regulator.
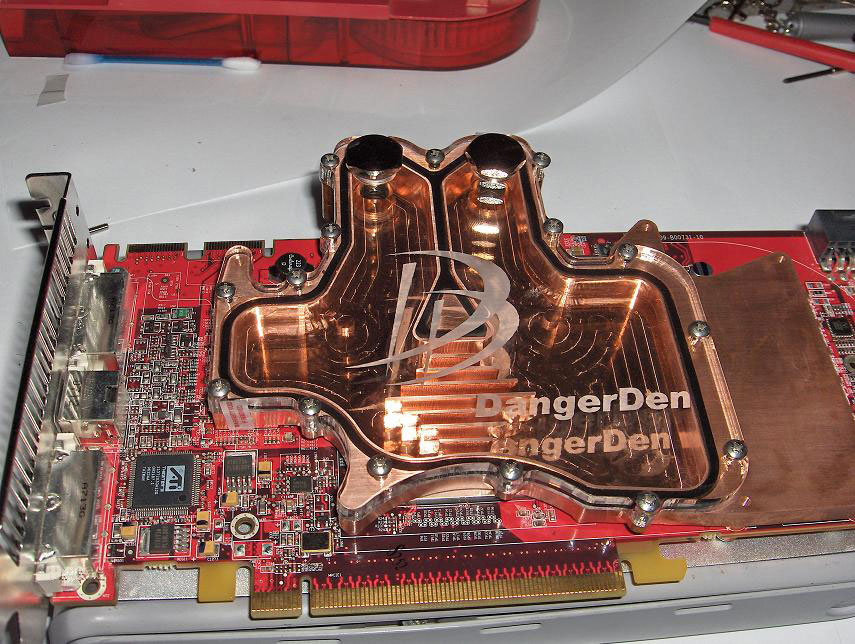
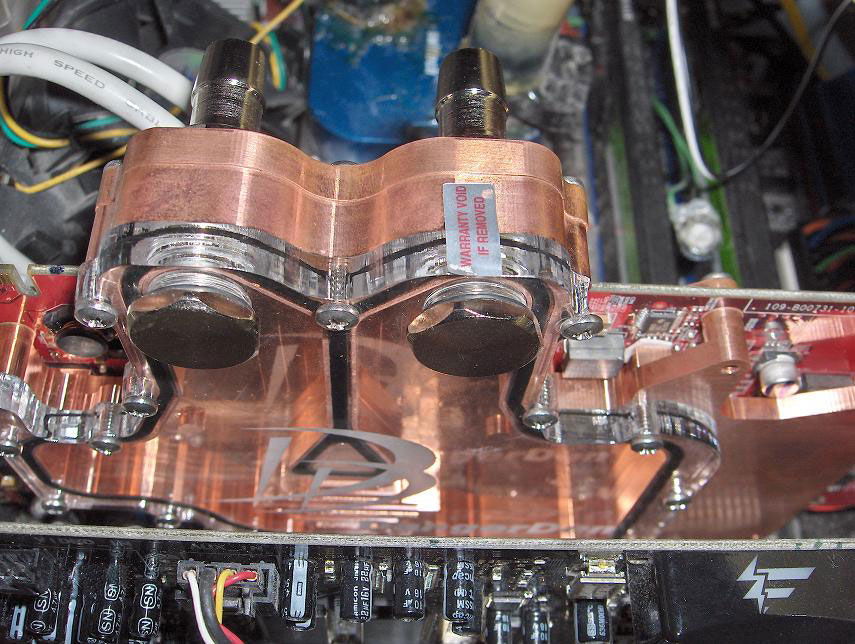
After successfully adding thermal compound and thermal tape, I began to assemble the waterblock. I started with front side with the acrylic face plate. Lying the block acrylic side down, I positioned the HD 2900 XT over the screw holes and gently lowered it down.
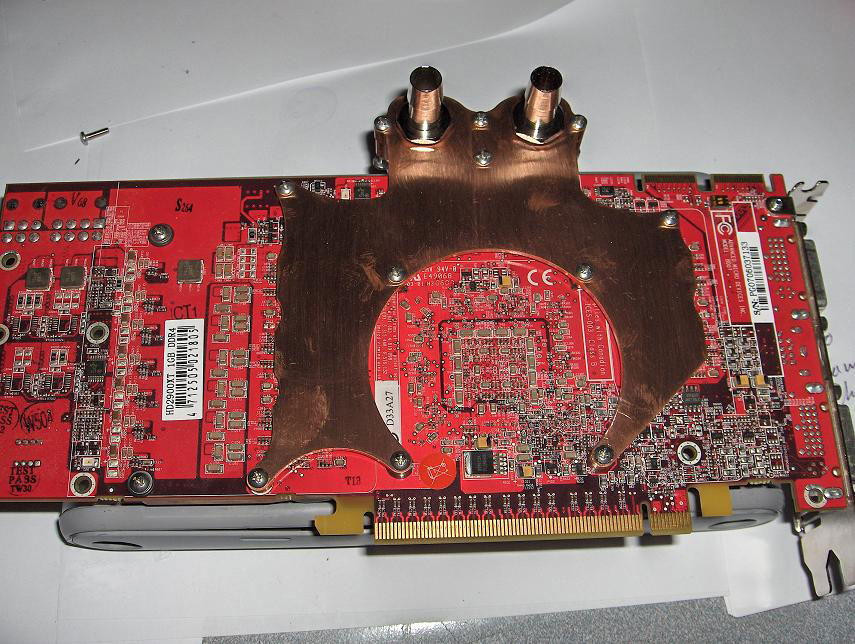
Once aligned over the holes, I took the back plate and lowered it down using the o-ring seals where the barbs are to accurately position the plate. It was the barb area screws I first screwed down to ensure a water tight seal. After that, I began, working diagonally as to ensure even pressure throughout the assembly, to screw the provided screws into place. On the voltage regulator block extension, there are shorter screws provided and are used with small rubber washers to prevent excessive tightening and harm to the regulators.
After successful installation, the waterblock's effect on the weight of the card is noticeable, but, the double PCI slot fixing is more than enough to handle this weight, and in my case the card does not sag or pull down on the PCI-E slot at all.

The waterblock has been installed on a custom cooling loop using a Thermochill PA120.3 radiator, Swiftech DDC12V pump, around 13" of Danger Den Clearflex 60 tubing and some rather delightful FluidXP Extreme Blood Red coolant (detailed in a project I will be posting soon)
Jul 12th, 2025 01:20 CDT
change timezone
Latest GPU Drivers
New Forum Posts
- Will you buy a RTX 5090? (642)
- 'NVIDIA App' not usable offline? (8)
- Can you guess Which game it is? (222)
- What are you playing? (23920)
- RX 9070 XT freezing/locking up only on desktop, anyone else? (43)
- NVIDIA RTX PRO 6000 Workstation Runs Much Hotter Than 5090 FE (22)
- Quick charging your USB devicesUSB 3.2 Gen 2x2 Type-C® front-panel. (1)
- GTX 1050 GPU Owners Club (12)
- ASUS ProArt GeForce RTX 4060 Ti OC Edition 16GB GDDR6 Gaming - nvflash64 VBIOS mismatch (2)
- No offense, here are some things that bother me about your understanding of fans. (33)
Popular Reviews
- Fractal Design Epoch RGB TG Review
- Corsair FRAME 5000D RS Review
- Lexar NM1090 Pro 4 TB Review
- NVIDIA GeForce RTX 5050 8 GB Review
- NZXT N9 X870E Review
- Sapphire Radeon RX 9060 XT Pulse OC 16 GB Review - An Excellent Choice
- AMD Ryzen 7 9800X3D Review - The Best Gaming Processor
- Upcoming Hardware Launches 2025 (Updated May 2025)
- Our Visit to the Hunter Super Computer
- Chieftec Iceberg 360 Review
TPU on YouTube
Controversial News Posts
- Intel's Core Ultra 7 265K and 265KF CPUs Dip Below $250 (288)
- Some Intel Nova Lake CPUs Rumored to Challenge AMD's 3D V-Cache in Desktop Gaming (140)
- AMD Radeon RX 9070 XT Gains 9% Performance at 1440p with Latest Driver, Beats RTX 5070 Ti (131)
- NVIDIA Launches GeForce RTX 5050 for Desktops and Laptops, Starts at $249 (119)
- NVIDIA GeForce RTX 5080 SUPER Could Feature 24 GB Memory, Increased Power Limits (115)
- Microsoft Partners with AMD for Next-gen Xbox Hardware (105)
- Intel "Nova Lake‑S" Series: Seven SKUs, Up to 52 Cores and 150 W TDP (100)
- NVIDIA DLSS Transformer Cuts VRAM Usage by 20% (97)