 88
88
Aqua Computer and Rockit Delidding Tools tested on Core i7-7700K
Thermal Performance »Rockit Cool Rockit 88
Rockit Cooling is a startup company in every sense of the word. James, the founder, realized there was a growing market for de-lidding Intel CPUs among enthusiasts and benchers alike and set about making a simple 3D-printed tool for a prototype which worked well enough to launch a kickstarter campaign and a fully functional webshop complete with everything you need to de-lid and re-lid a CPU, as well as extensive guides and demo videos which serve as online manuals.Packaging and Accessories
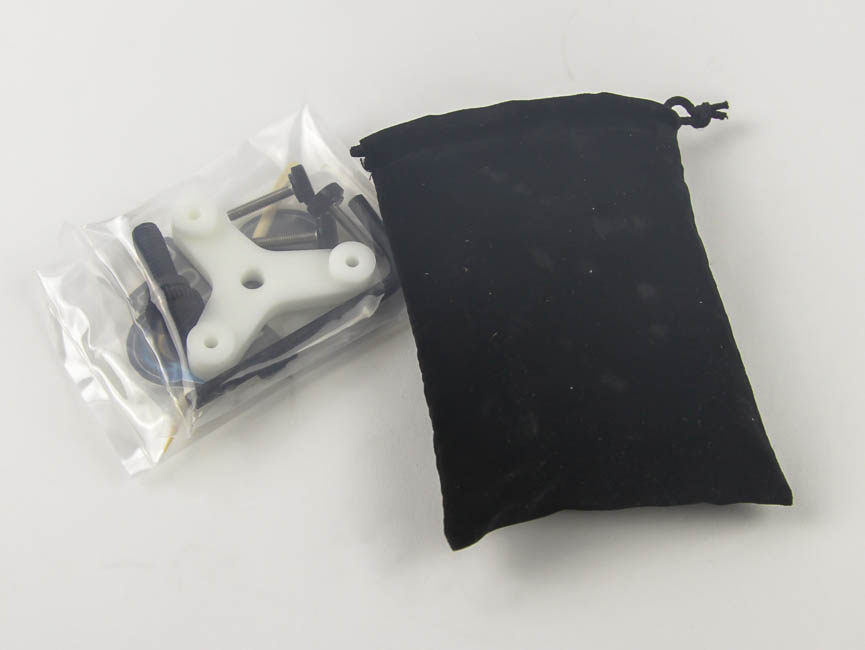

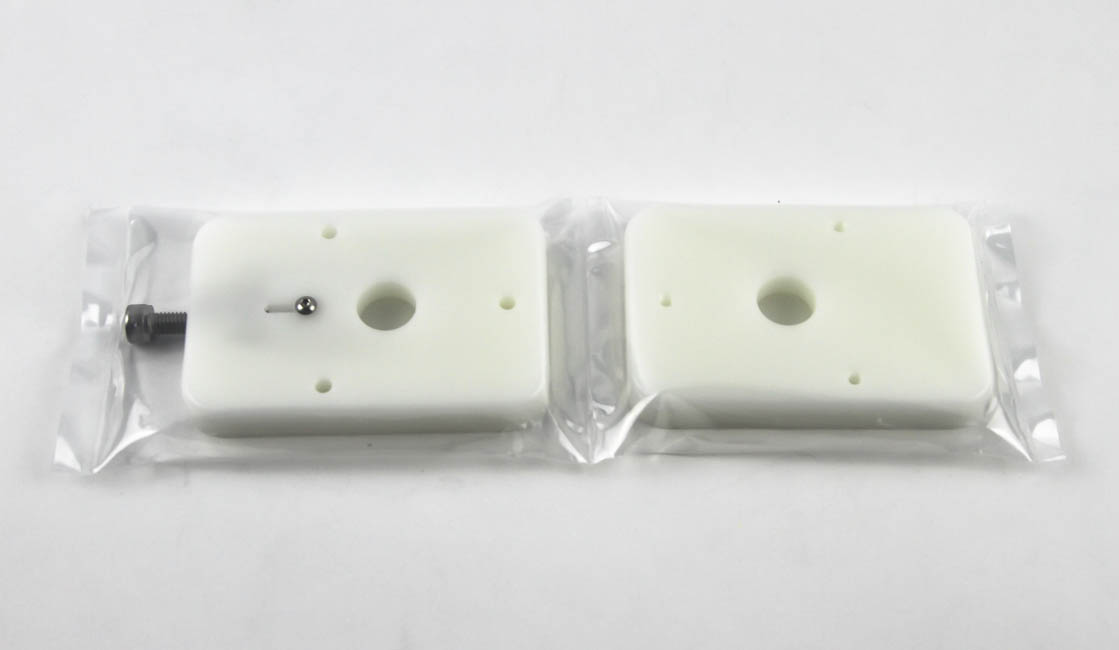
The Rockit tool is also different in that you need to purchase the re-lid kit separately, but Rockit Cool was kind enough to provide such a kit along with the de-lid tool. There are a few aesthetic options available to customize the Rockit 88 itself, including color of the plastic used in machining the body, that of the aluminum, screws, and the de-lid hardware bit. But functionally, they are all identical. No matter what you order, you get two pieces in a joint vacuum-sealed pouch, which in turn is in a neat velvet drawstring bag. The accessories come in a separate plastic pouch, which in this case also included the re-lid kit for LGA 1150/1151.
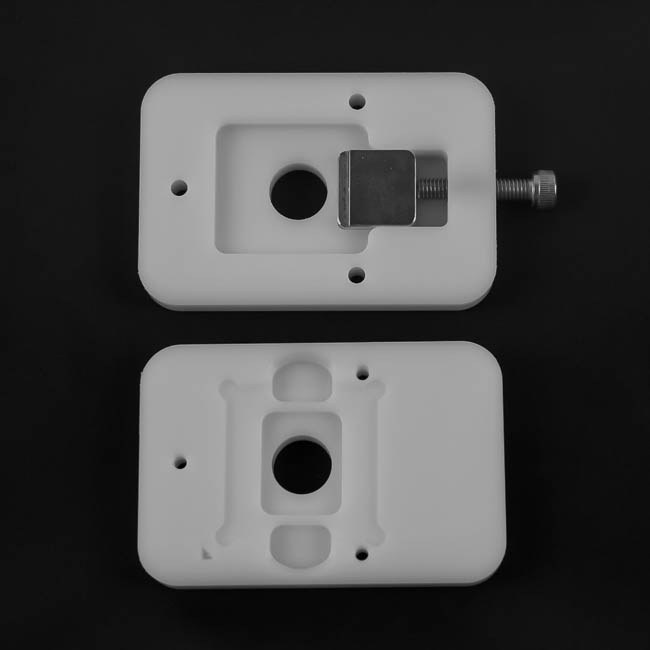
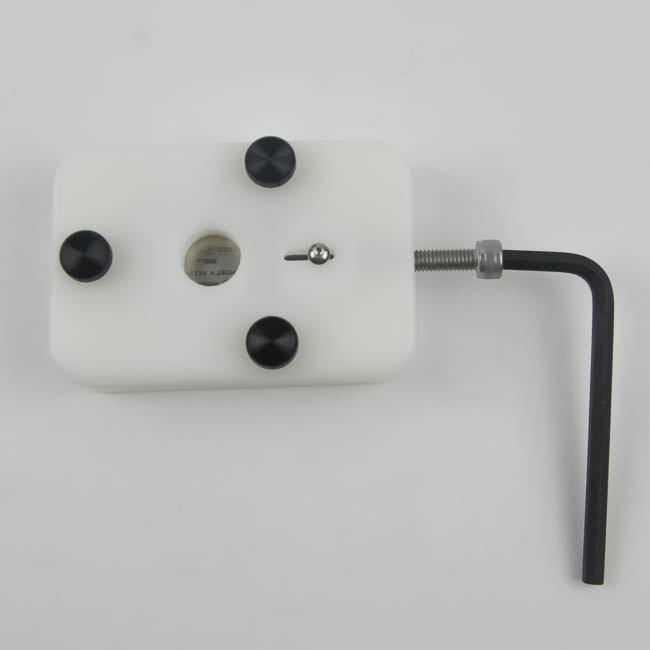
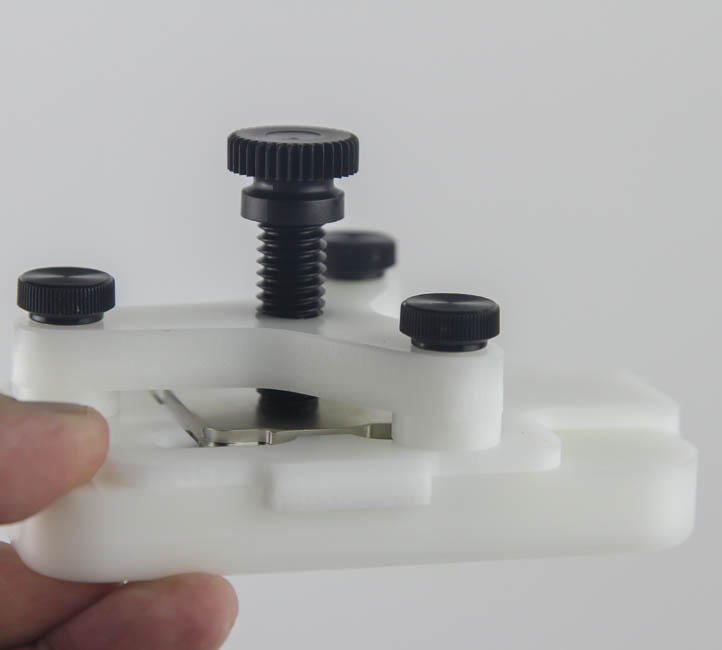
The accessories here include three locking screws with a big flat head to finger tighten or loosen, a hex key, a re-lid alignment tool, a re-lid "spyder", which is the piece that has three legs jutting outward, a plastic bolt screw, which is similar to the Dr. Delid tightening screw, a wooden cuticle stick, and a couple stickers. The main body of the de-lid tool itself has two pieces - a top and a bottom as seen in the last picture above.
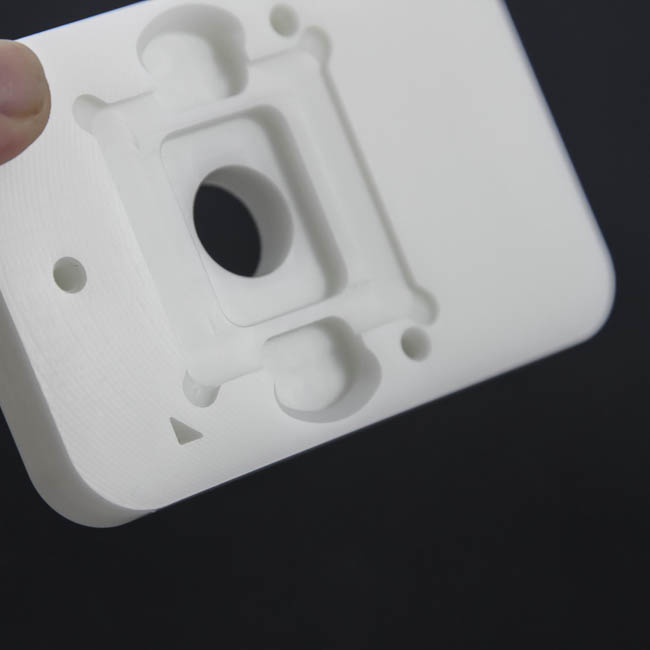
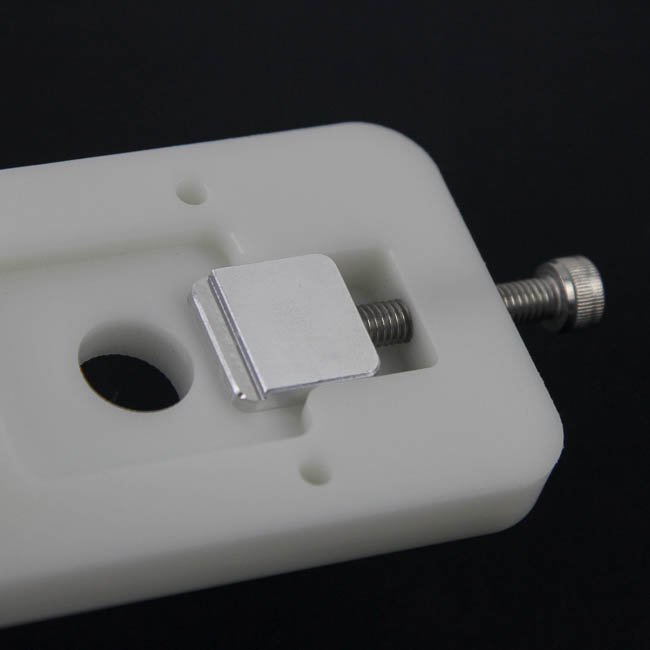
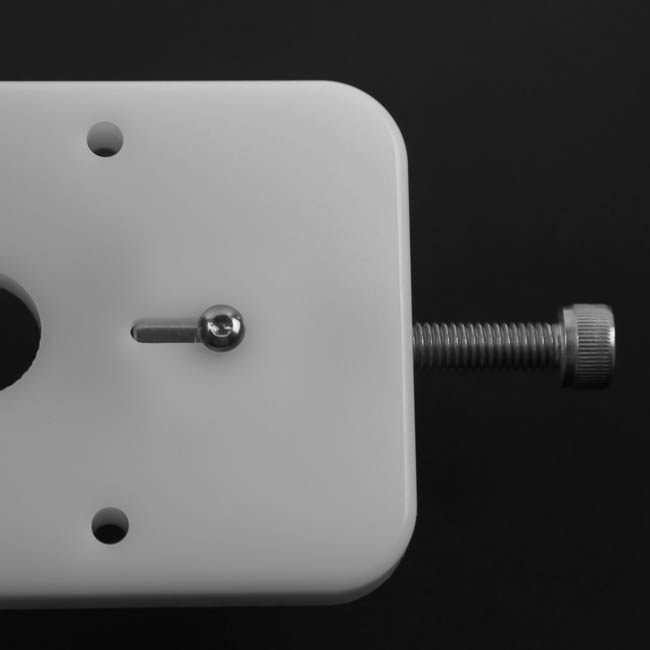
The bottom piece is where the CPU is placed and can remain even after de-lidding, while you prep the die before the re-lid. It has an arrow in a corner to show you how to place the CPU, similar to an actual CPU socket on a motherboard, which minimizes user error. The top piece goes over this and has a hardware tool with a stepped notch that fits under the CPU PCB and makes contact with the IHS. The screw on the other side moves this tool inward to separate the IHS from the die/PCB, and there is an indicator on the other side to show the tool's progress as it moves inward.
De-lidding
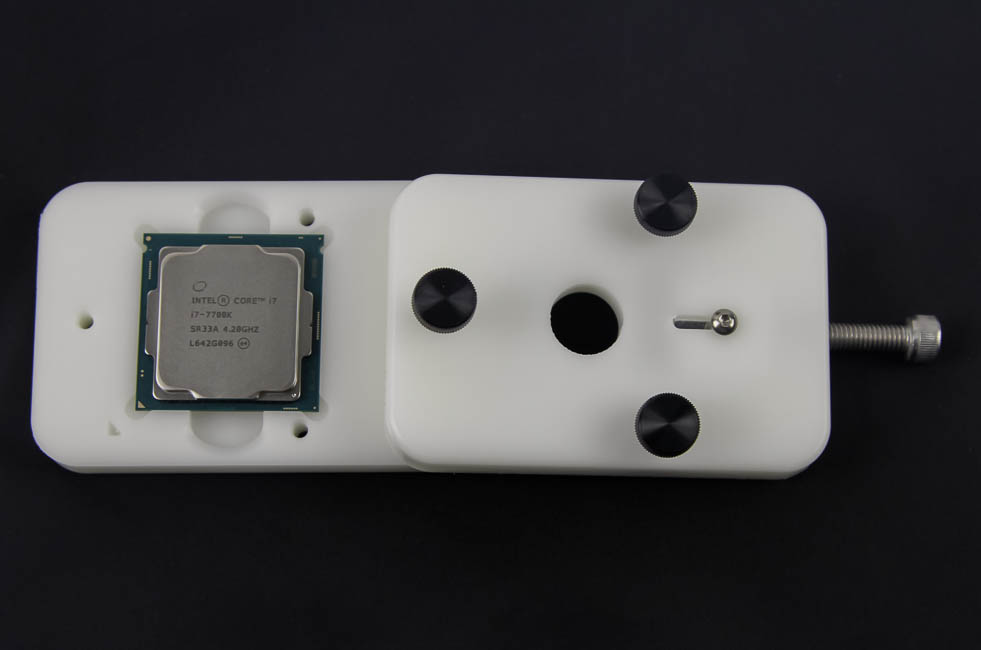
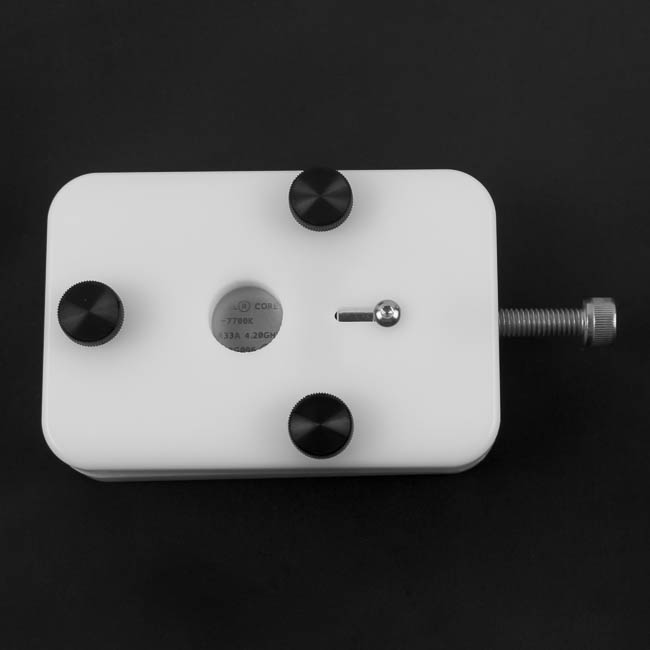
To de-lid using the Rockit 88 tool, place the CPU into the bottom piece such that the arrows on both are aligned. Take the three locking screws and place them through the unthreaded holes in the top piece. Now, place this entire assembly over the bottom piece. Make sure the screw on the end and the hardware tool are all the way to the right (away from the CPU) as seen from the top. With that done, simply screw each locking screw into one of the threaded holes in the bottom piece to lock the two together, and use the provided hex key to turn the metal screw inward, which then pushes the hardware tool inward as well, applies lateral force (as opposed to rotational force with the Aqua Computer Dr. Delid tool) and separates the CPU IHS from the die. Loosen all screws and separate the two pieces to take the IHS and die/PCB pieces out. There is a detailed online manual available, so make sure you have a read before attempting it. There is no manual included with the hardware itself, so Rockit Cool does assume you have a working system or phone to use. The online manuals are formatted such that they can be saved and printed, however, so I would recommend doing that if you are so inclined.
Once again, I had no issues with de-lidding, although the more uniform, rotational force method of the Aqua Computer tool made me feel more at ease. Practically, you should have no concerns with either, so this is a tie.
Re-lidding
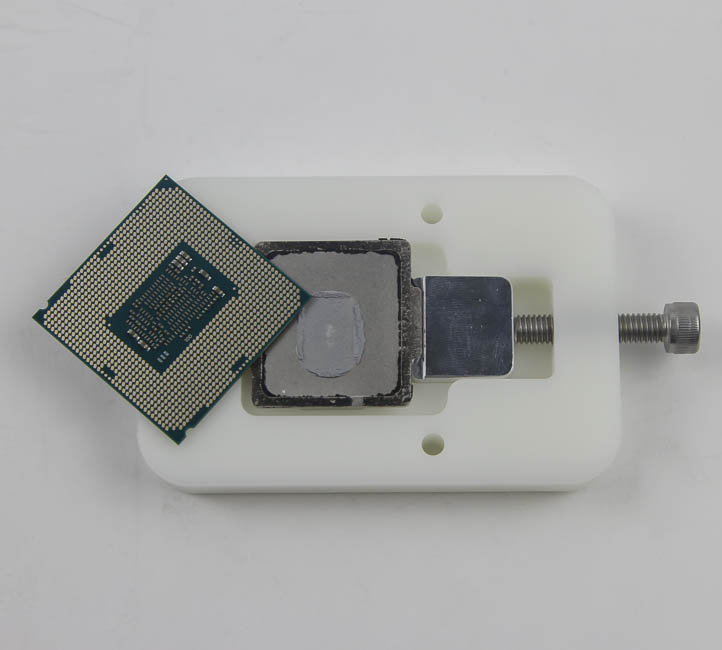
Once again, this assumes you have done everything you sought to do after the de-lidding stage and are now ready to re-lid a loosely glued IHS somewhat centered over the CPU die/PCB. The benefit with the Rockit 88 is that the bottom piece with the de-lidded CPU in it acts as a work area to swap TIM, remove the silicone glue, and apply fresh glue. This is also where the included wooden cuticle comes into play as illustrated here.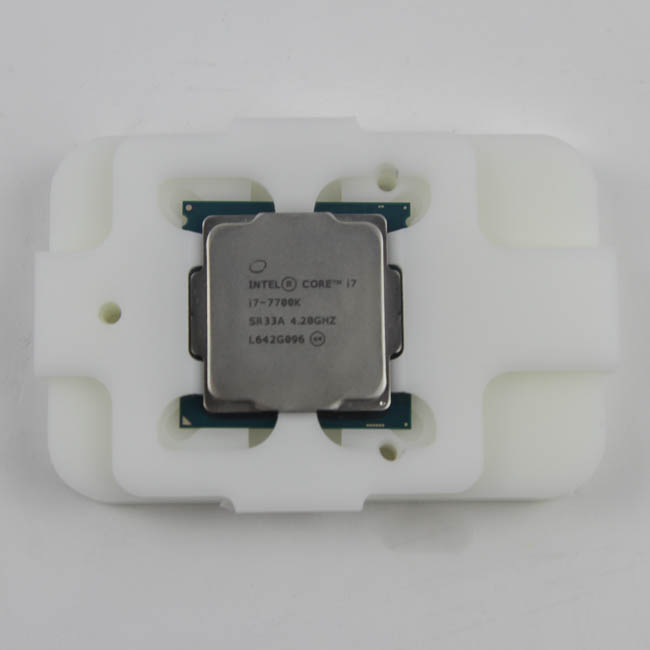
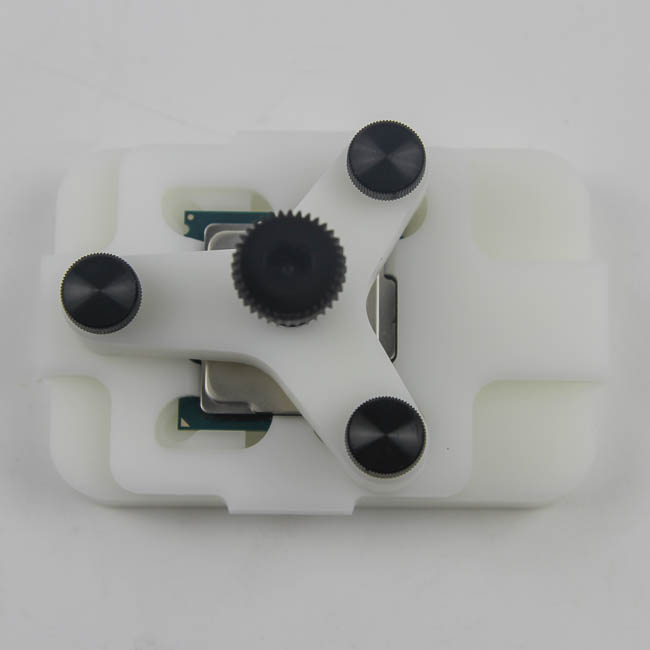
With the Rockit 88, you have the added benefit of having the re-lid alignment tool in place even before placing the IHS back on. However, if you have done your prep work elsewhere that is fine too, as it just consists of clips that are in place around the PCB and IHS to hold both securely with no give, which is a definite improvement over the Dr. Delid tool. Once done, use the re-lid spyder and screw it over similar to how you did to the top piece before. Now, use the plastic bolt screw in the middle to put pressure on the IHS to mate it with the CPU die/PCB. Again, there is no need to tighten a lot - let the glue do the job for you.
Re-lidding was easier with the Rockit Cool relid kit; however, it must be noted that the kit is an optional extra purchase.
Jul 5th, 2025 18:37 CDT
change timezone
Latest GPU Drivers
New Forum Posts
- What are you playing? (23894)
- [GPU-Z Test Build] New Kernel Driver, Everyone: Please Test (69)
- How do you view TPU & the internet in general? (With poll) (80)
- EVGA XC GTX 1660 Ti 8GB ROM (11)
- Rx580 subsystem id (0)
- Do you use Linux? (677)
- Optane performance on AMD vs Intel (58)
- Frametime spikes and stuttering after switching to AMD CPU? (521)
- Stalker 2 is looking great. (187)
- b550m aorus elite not posting with new ram (7)
Popular Reviews
- NVIDIA GeForce RTX 5050 8 GB Review
- Fractal Design Scape Review - Debut Done Right
- Crucial T710 2 TB Review - Record-Breaking Gen 5
- ASUS ROG Crosshair X870E Extreme Review
- PowerColor ALPHYN AM10 Review
- Sapphire Radeon RX 9060 XT Pulse OC 16 GB Review - An Excellent Choice
- Upcoming Hardware Launches 2025 (Updated May 2025)
- AMD Ryzen 7 9800X3D Review - The Best Gaming Processor
- Sapphire Radeon RX 9070 XT Nitro+ Review - Beating NVIDIA
- NVIDIA GeForce RTX 5060 8 GB Review
TPU on YouTube
Controversial News Posts
- Intel's Core Ultra 7 265K and 265KF CPUs Dip Below $250 (288)
- NVIDIA Grabs Market Share, AMD Loses Ground, and Intel Disappears in Latest dGPU Update (212)
- Some Intel Nova Lake CPUs Rumored to Challenge AMD's 3D V-Cache in Desktop Gaming (140)
- NVIDIA GeForce RTX 5080 SUPER Could Feature 24 GB Memory, Increased Power Limits (115)
- Microsoft Partners with AMD for Next-gen Xbox Hardware (105)
- NVIDIA Launches GeForce RTX 5050 for Desktops and Laptops, Starts at $249 (105)
- AMD Radeon RX 9070 XT Gains 9% Performance at 1440p with Latest Driver, Beats RTX 5070 Ti (102)
- Intel "Nova Lake‑S" Series: Seven SKUs, Up to 52 Cores and 150 W TDP (100)