 13
13
DimasTech Bench Table Easy V2 Review
Finished Looks »Assembly
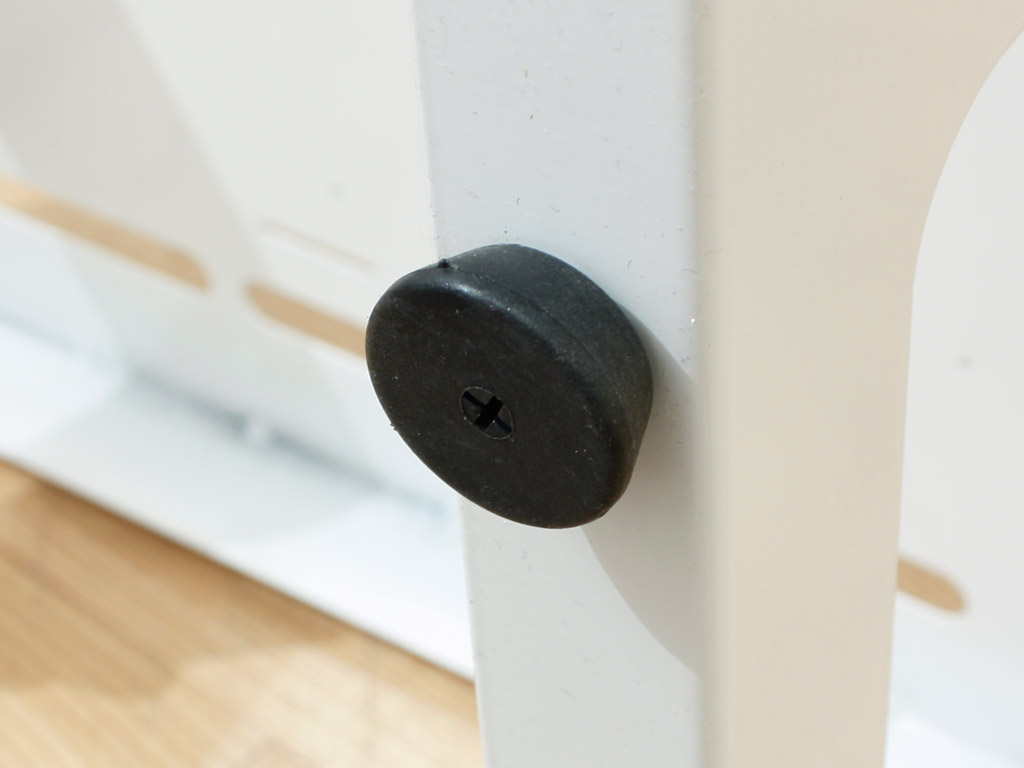
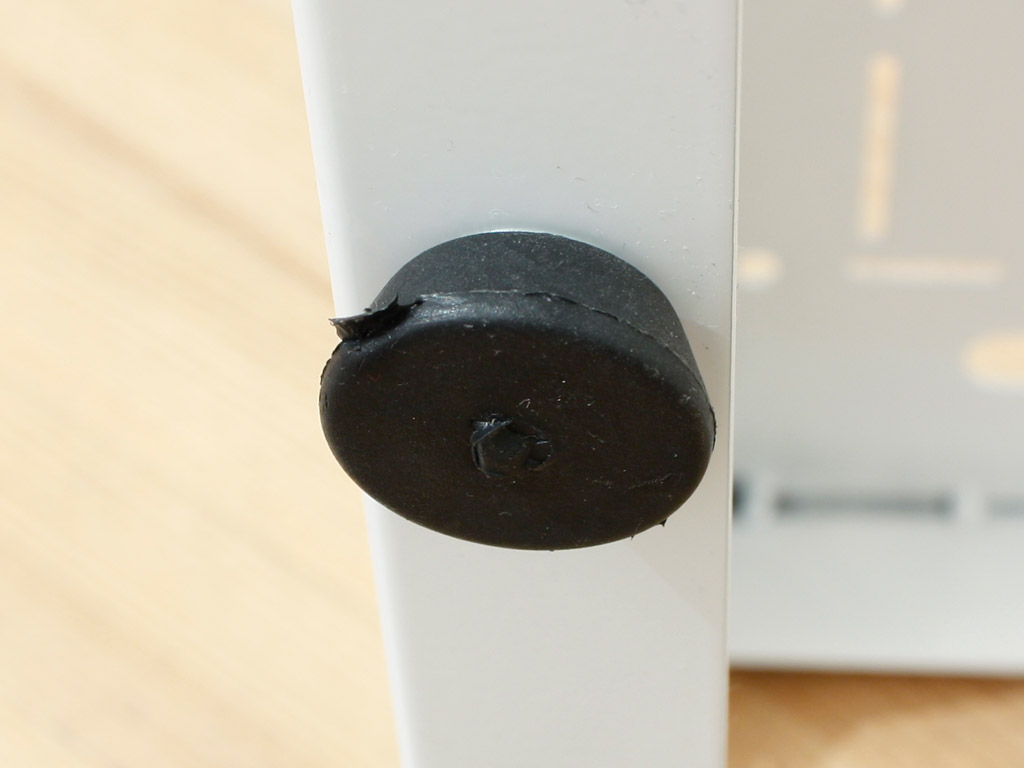
As there is no manual, you may assemble all the parts any way you like. I simply started with the feet. Doing so, I noticed that three out of the for feet had plastic residue on the sides and on the underside. These may end up damaging the surface on which you place the bench table. I managed to cut the excessive parts off with a sharp knife. The images above are shots of a factory clean one compared to a dirty foot. Looks like the screws and other small parts included are not of the best quality.
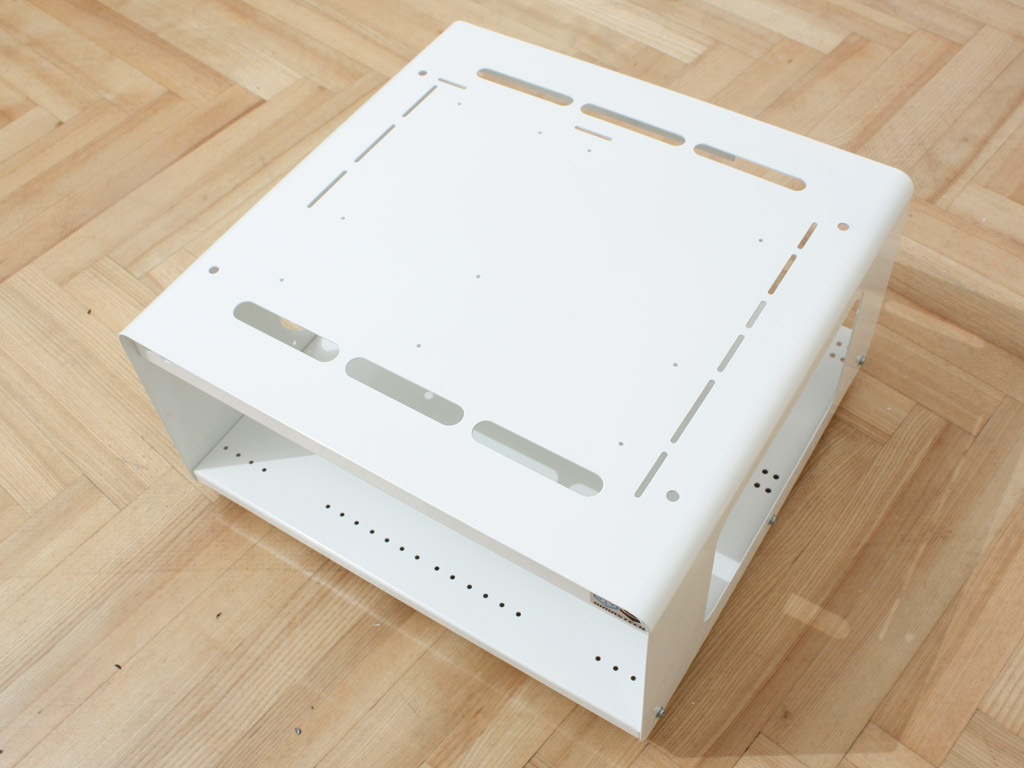
The next step I decided to take, was to secure the bottom plate in place. I could have done this at a later stage, for example after placing the drive cages and PSU bracket on the plate, but I was afraid that there would not be enough headroom to slide the unit in place.

The two buttons are simply screwed down tight with the included rings. They hold quite well and are of good quality. While both have the same feel to them, one is a power switch, while the other is a reset button.
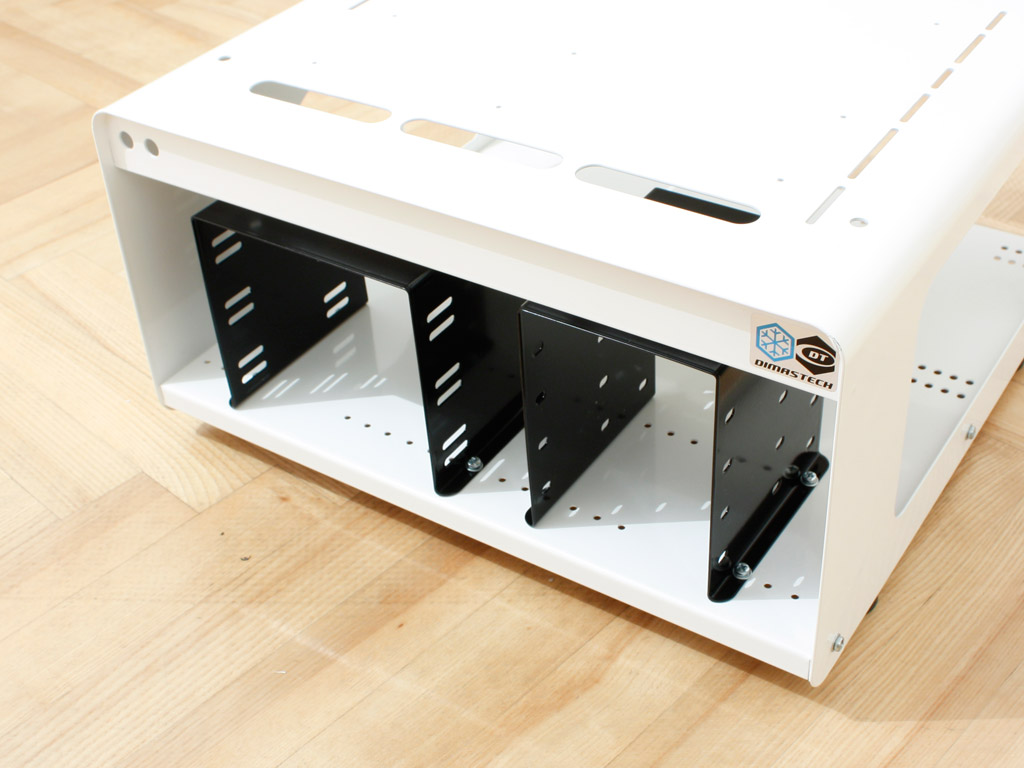
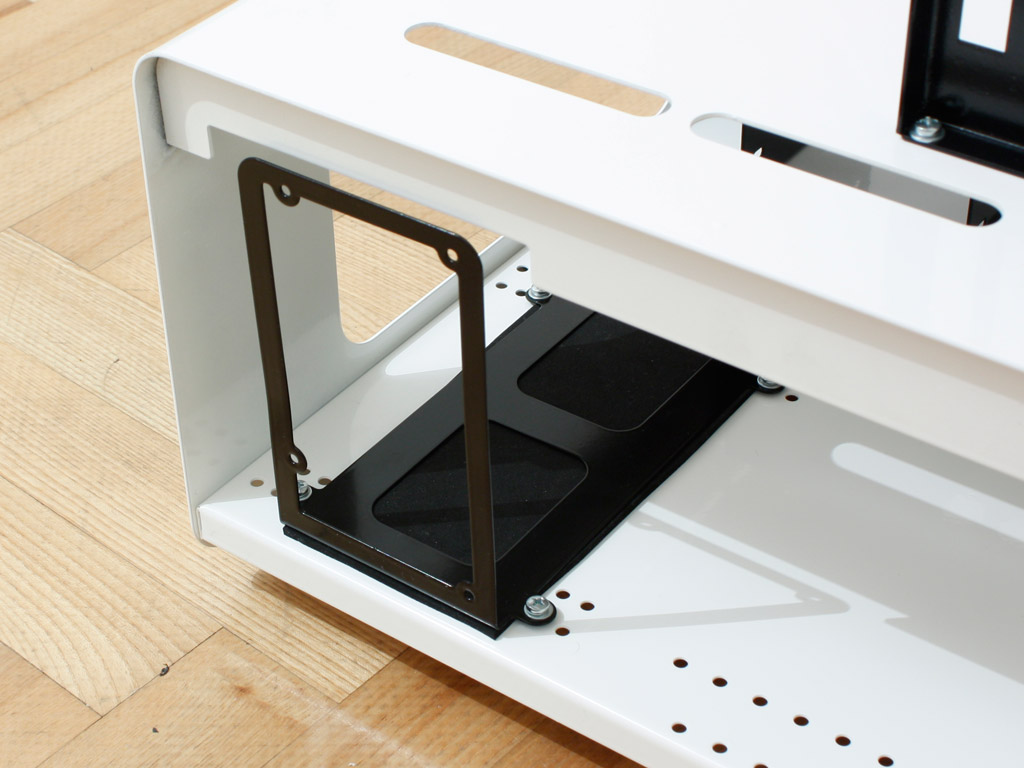
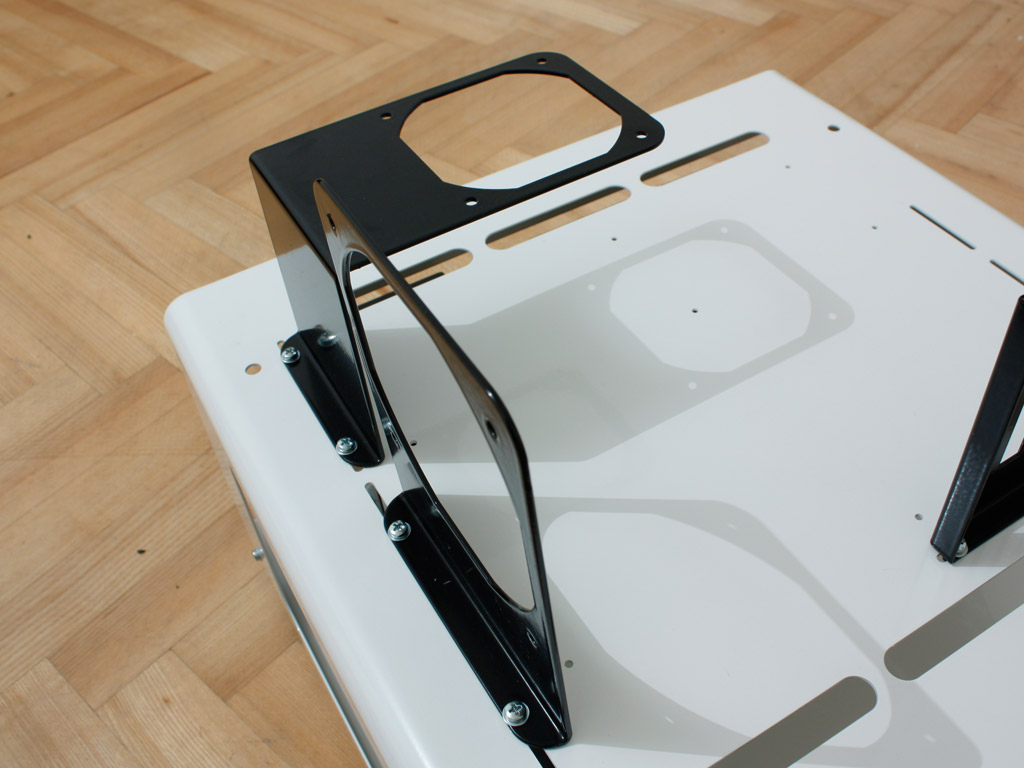
Installing the drive bays is simply done by using four of the screws and nuts on each of these parts. I have placed them so that I can reach down the sides with my hand to secure the drives later on. The power supply bay is created by screwing down the bracket in the back. Note the foam spacer I have placed inbetween the base and the PSU bay. This should kill any vibration dead in its tracks. The large black piece is intended to hold your reservoir and is used to stabilize your water cooling tubes. I had to actually google this part of the installation, to know how to place this piece.
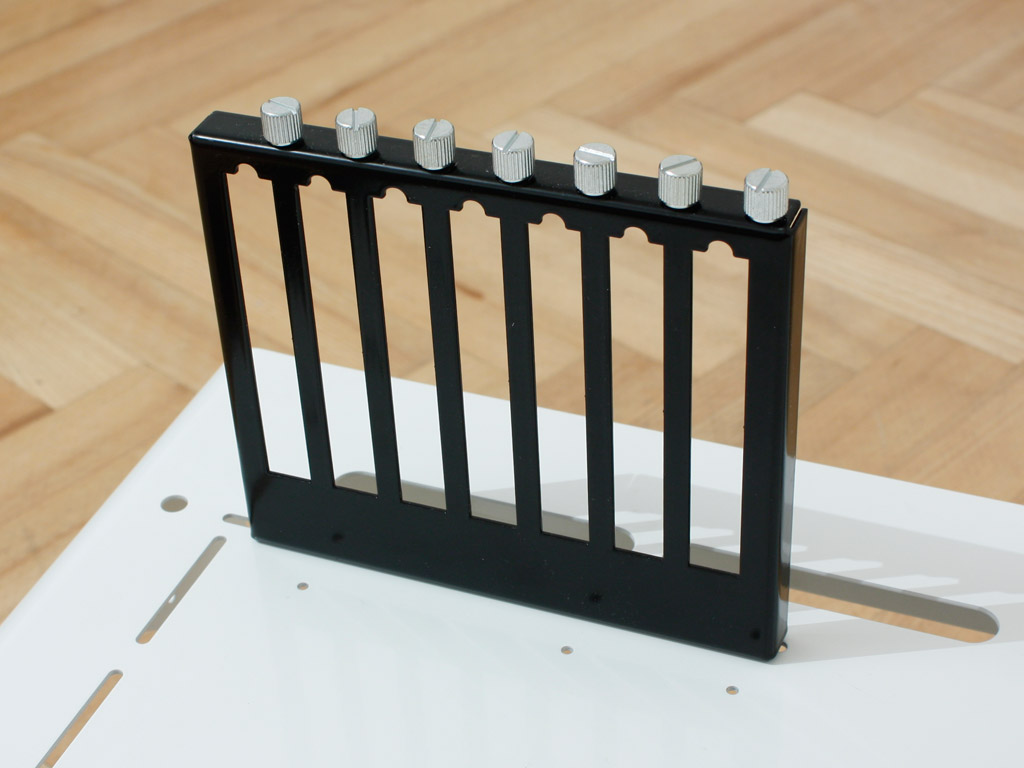
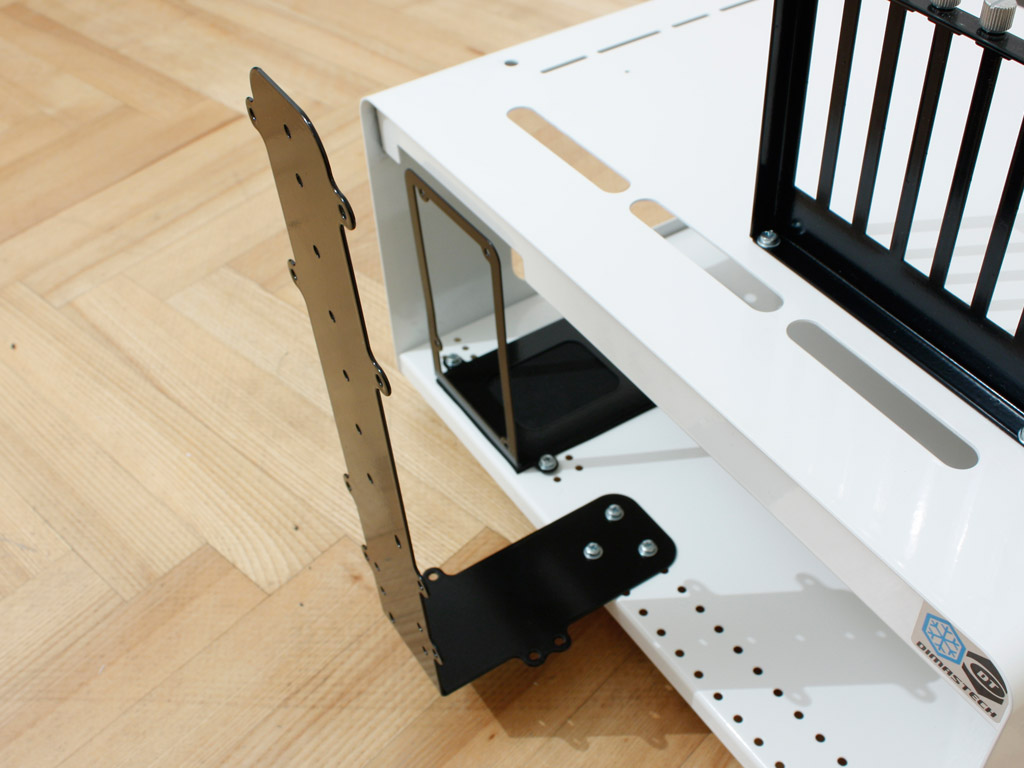
The mainboard expansion plate is easily placed in the right corner, as the mainboard mounting holes give away the right corner to secure it in. As you can see, DimasTech has already placed thumb screws on this piece. I have included a few fan holders on the bench table, even though I will only end up using a single one for our DDR3 tri-channel testing station. As you can see, the bent ones are intended to cool your memory by blowing straight down, much like a side fan in a traditional enclosure, while the straight version can be compared to a rear or top fan within a normal chassis.
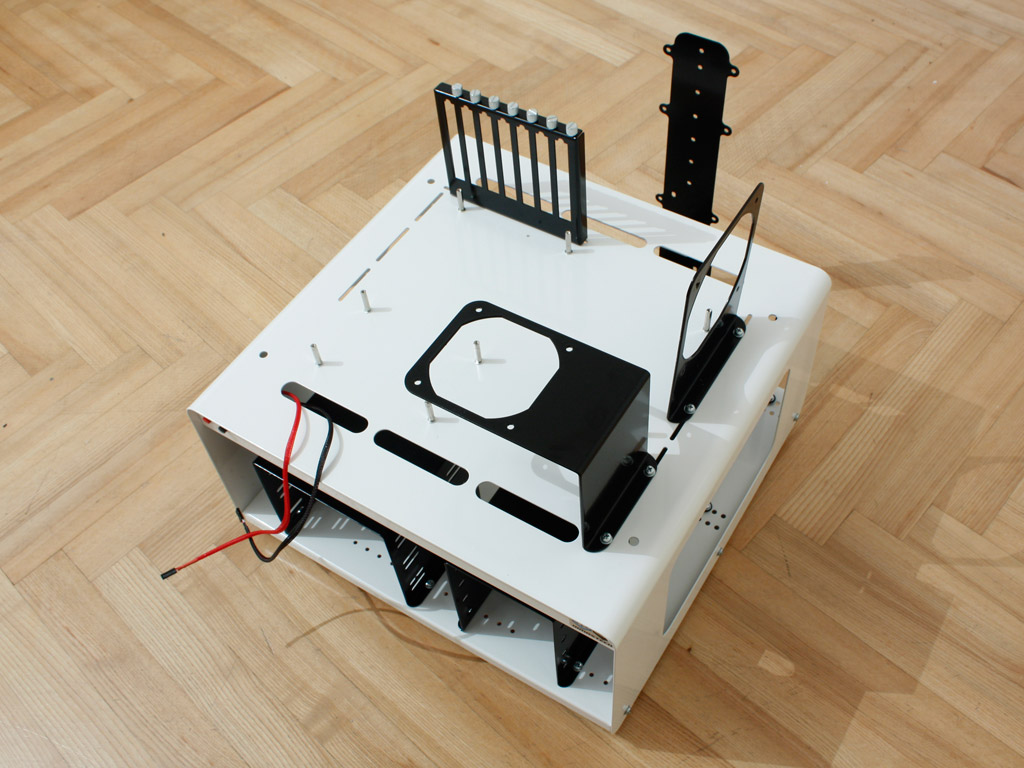
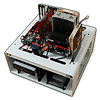
The mainboard is installed by using extra long spacers. The same kind you are used to from most of the cases out there. As you can see, I am only using a single straight fan holder to blow air across the three memory modules installed on the Foxconn Bloodrage mainboard. For those who want to know: Expect a review of the OCZ Reaper HPC very soon. As these DIMMs are quite tall, the use of a fan blowing down is not possible.
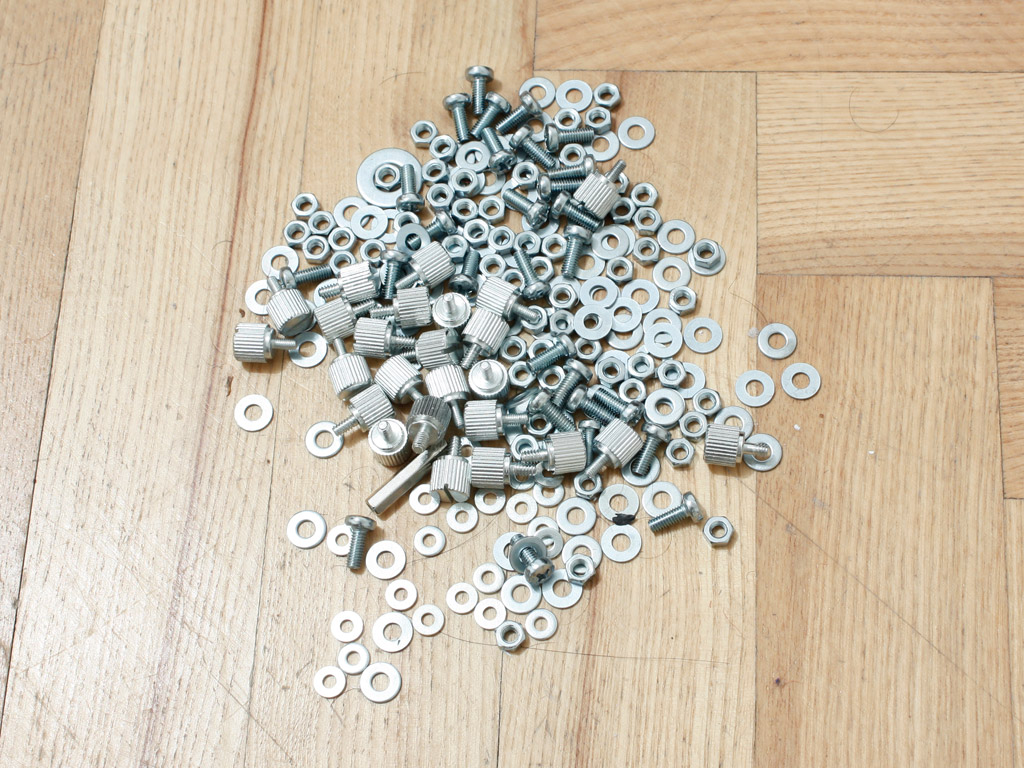
After installing everything with the exception of a few of the fan holders, I am left with more than enough screws and the likes. DimasTech just goes way overboard with these - so you will never have to worry of running out.
Jul 12th, 2025 11:14 CDT
change timezone
Latest GPU Drivers
New Forum Posts
- No offense, here are some things that bother me about your understanding of fans. (47)
- TPU's Nostalgic Hardware Club (20496)
- Best motherboards for XP gaming (105)
- Swapping existing router w/ a replacement; any issues? (15)
- Stupid buggy POS Realtek WiFi RTL8852BE (13)
- 6.15.6 MITIGATION_TSA // Intel CPU Users can skip this topic (0)
- 14700t vs 14600k for gaming system (2)
- New build airflow question (6)
- Tired of consumer grade networking hardware, need suggestions… (2)
- ASUS Intel ROG Maximus Z890 Hero & ASUS Intel ROG Maximus Z890 Extreme. Cooling. (33)
Popular Reviews
- Fractal Design Epoch RGB TG Review
- Lexar NM1090 Pro 4 TB Review
- Corsair FRAME 5000D RS Review
- NVIDIA GeForce RTX 5050 8 GB Review
- NZXT N9 X870E Review
- Our Visit to the Hunter Super Computer
- Sapphire Radeon RX 9060 XT Pulse OC 16 GB Review - An Excellent Choice
- AMD Ryzen 7 9800X3D Review - The Best Gaming Processor
- Upcoming Hardware Launches 2025 (Updated May 2025)
- Chieftec Iceberg 360 Review
TPU on YouTube
Controversial News Posts
- Intel's Core Ultra 7 265K and 265KF CPUs Dip Below $250 (288)
- Some Intel Nova Lake CPUs Rumored to Challenge AMD's 3D V-Cache in Desktop Gaming (140)
- AMD Radeon RX 9070 XT Gains 9% Performance at 1440p with Latest Driver, Beats RTX 5070 Ti (131)
- NVIDIA Launches GeForce RTX 5050 for Desktops and Laptops, Starts at $249 (119)
- NVIDIA GeForce RTX 5080 SUPER Could Feature 24 GB Memory, Increased Power Limits (115)
- Microsoft Partners with AMD for Next-gen Xbox Hardware (105)
- Intel "Nova Lake‑S" Series: Seven SKUs, Up to 52 Cores and 150 W TDP (100)
- NVIDIA DLSS Transformer Cuts VRAM Usage by 20% (97)