 17
17
ECS X79R-AX Intel LGA 2011 Review
Board Software »BIOS Walkthrough
| BIOS Options | ||
|---|---|---|
| Clocks | Range | Step Size |
| CPU BCLK: | 50 MHz ... 250 MHz | 1.0 MHz |
| Memory Dividers: | x10.67 (1067 MHz), x13.33 (1333 MHz), x16 (1600 MHz ), x18.66 (1866 MHz), x21.33 (2133 MHz), x2400 (2400 MHz) | |
| Voltages | Range | Step Size |
| CPU Vcore: | -300 mV... +700 mV | 10 mV |
| DRAM Voltage: | -300 mV... +500 mV | 10 mV |
| CPU VSA: | -300 mV... +600 mV | 10 mV |
| CPU VTT: | -200 mV... +500 mV | 10 mV |
| PCH Voltage: | -200 mV... +300 mV | 10 mV |

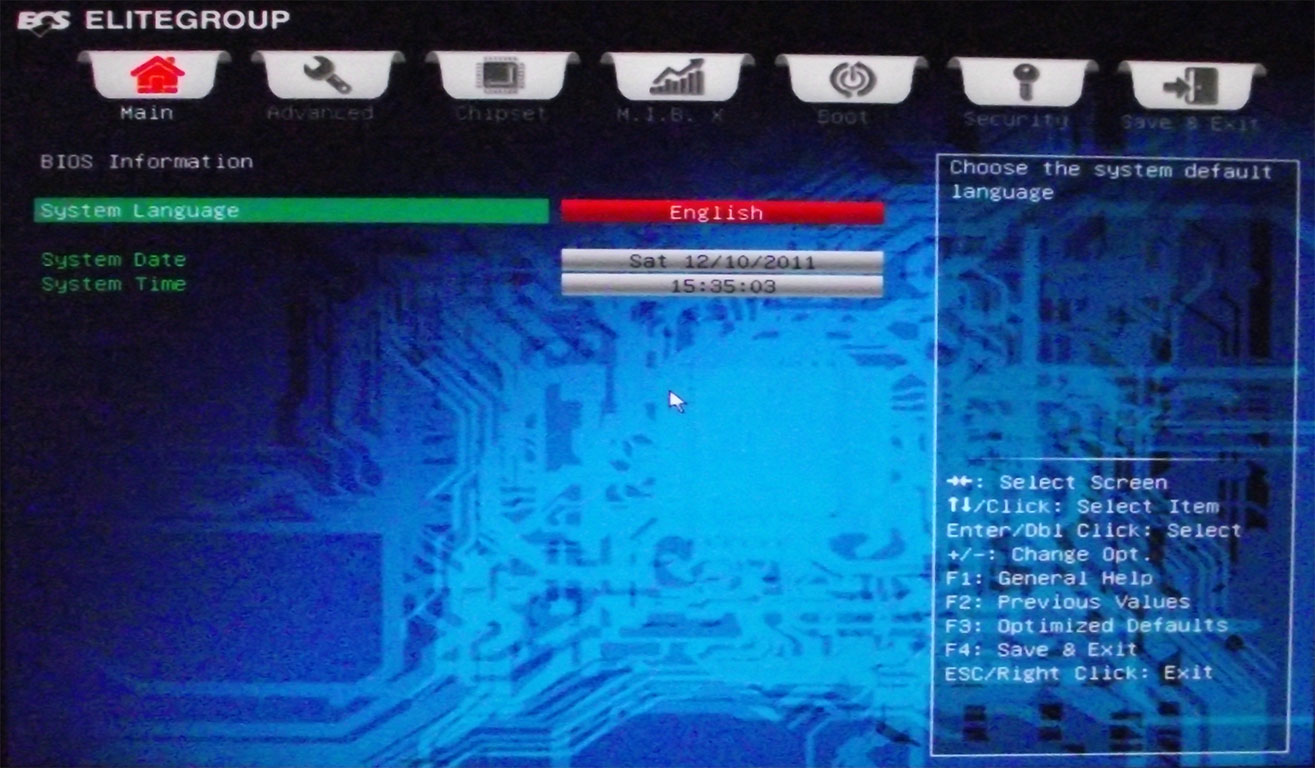
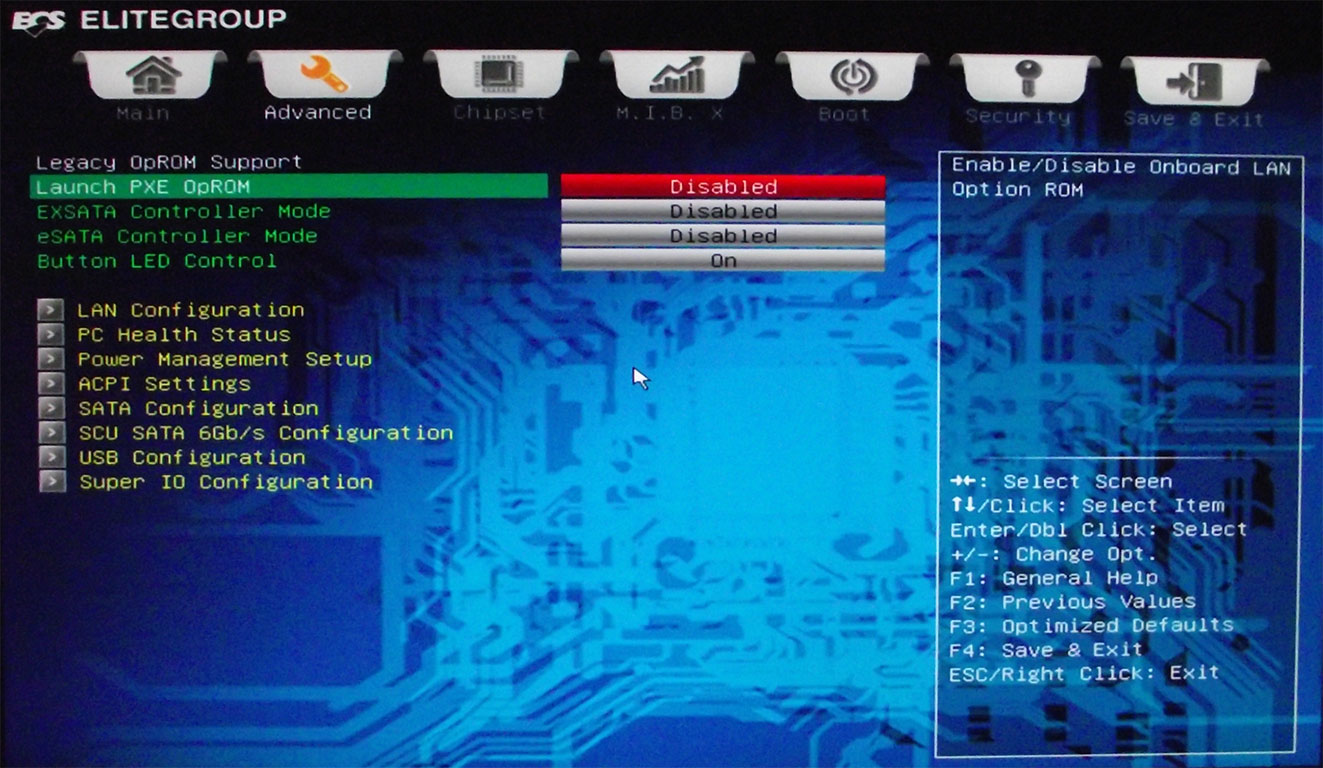
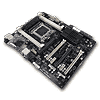
The ECS X79R-AX, like most products on the market today, comes equipped with a fully customized UEFI BIOS that greets us at first with a very simple page, as seen in the first image above. There’s very little to set here, but there is the option to click the grey “Advanced” button to get into some more in depth options. Once having done so, we find ourselves in a familiar “Home” screen, with options for language and setting the date and time. Pressing the right arrow key gets us to the next section, labeled “Advanced”, which contains the majority of settings for onboard devices and board-specific features via a few sub-headings, the first of which is enabling and disabling the LAN controllers, as seen in the fourth image above.
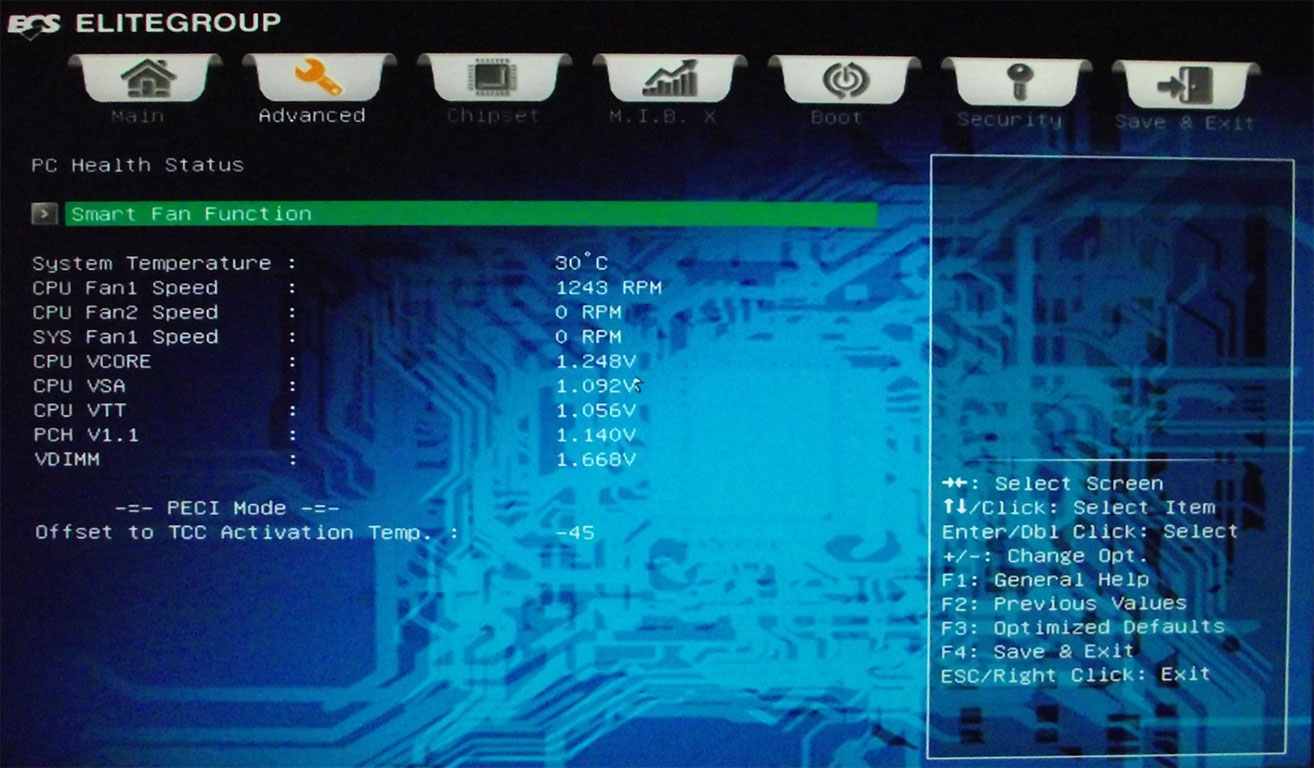
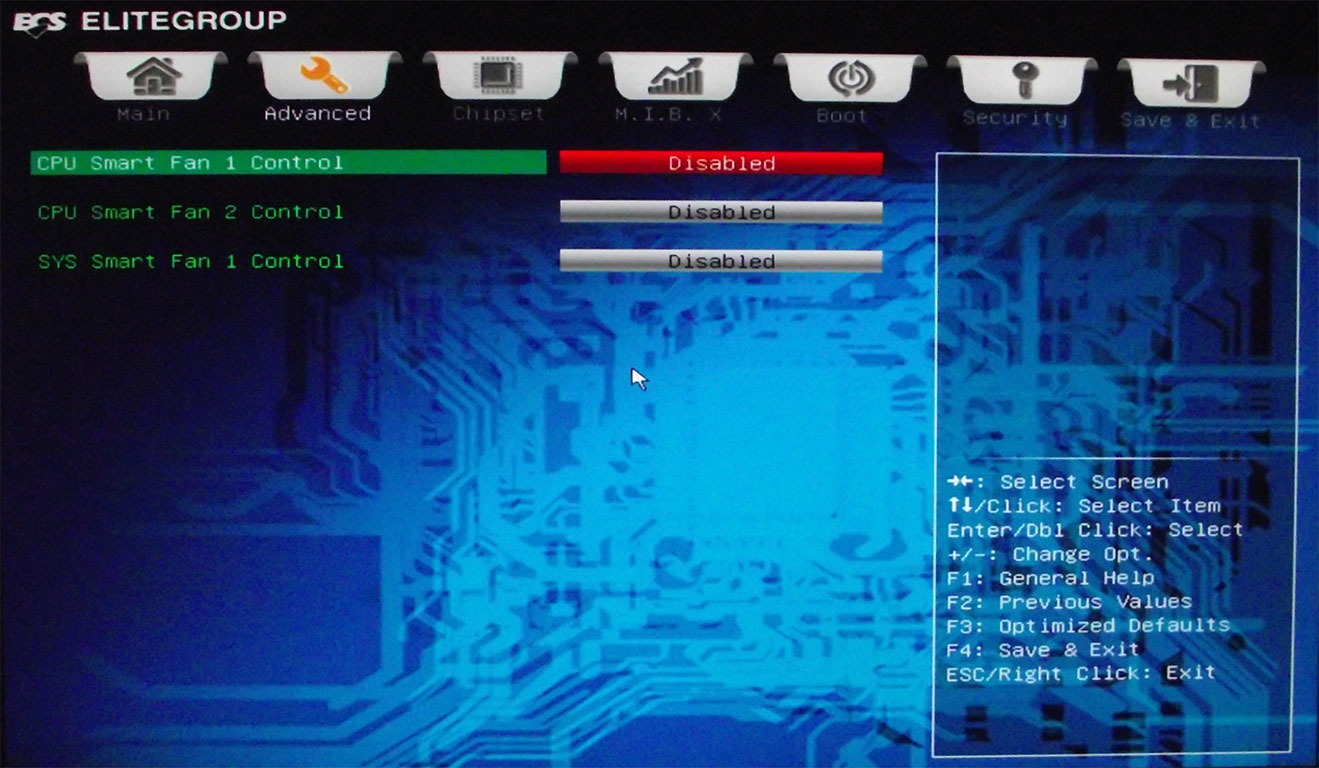

The three images above continue in the “Advanced” area, with the first two showing what’s available under the “PC Health Status” heading, which leads to some brief monitoring data, as well as providing access to some SmartFan controls that have independent selections available for both of the CPU_FAN plugs, as well as the “SYS_FAN” plugs, each with their own settings. With many boards only offering adjustments for the “CPU_FAN” port, we were happy to see a bit more offered here, including the secondary CPU_FAN header. The third image shows what’s available under the “ACPI” heading, and it’s worth noting that the ECS X79R-AX supports dual-color LEDs found on some cases and aftermarket switches.
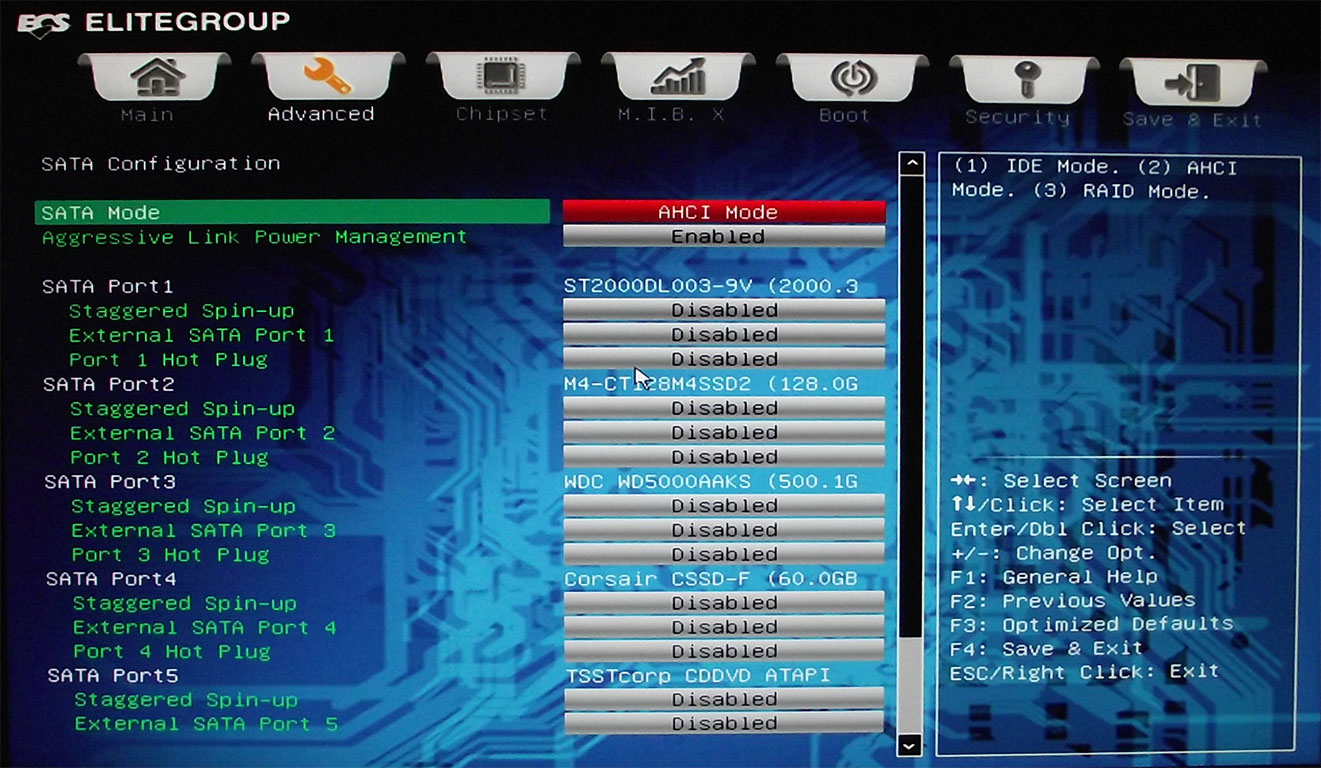
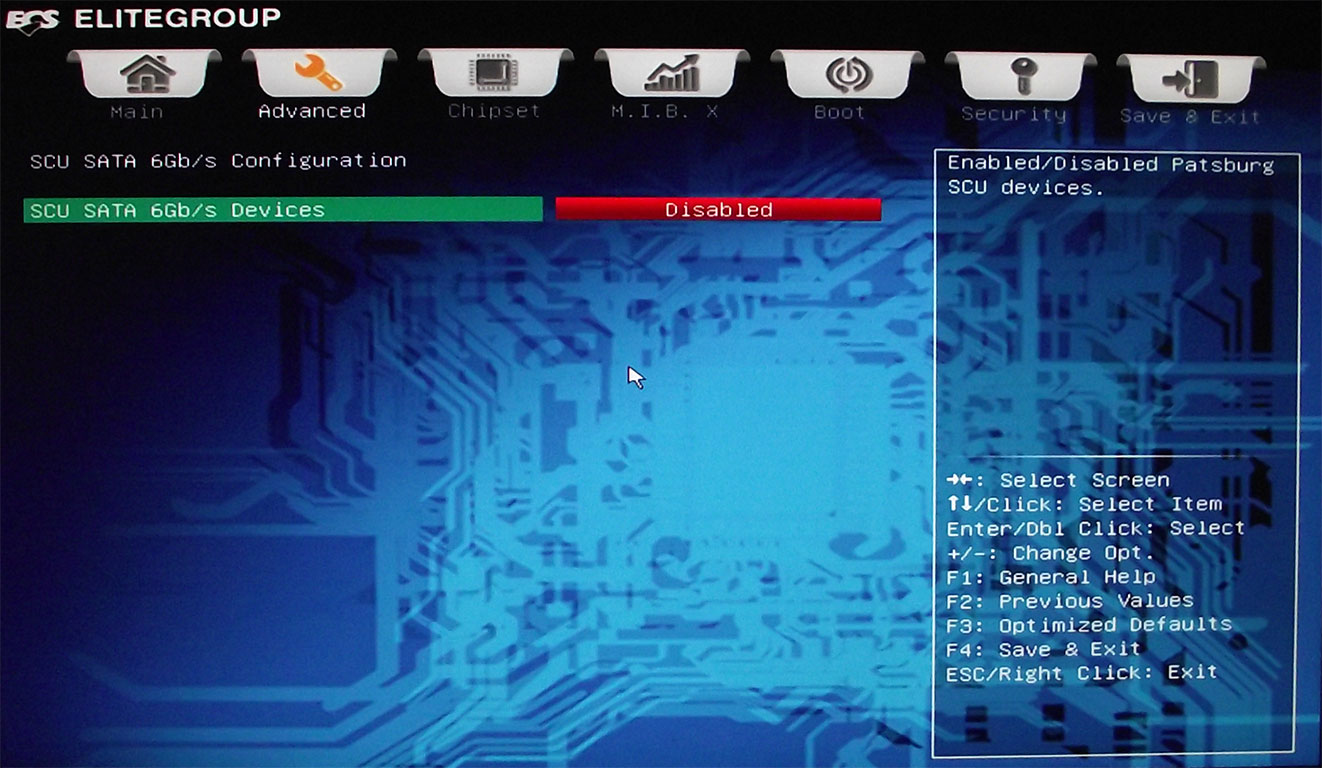
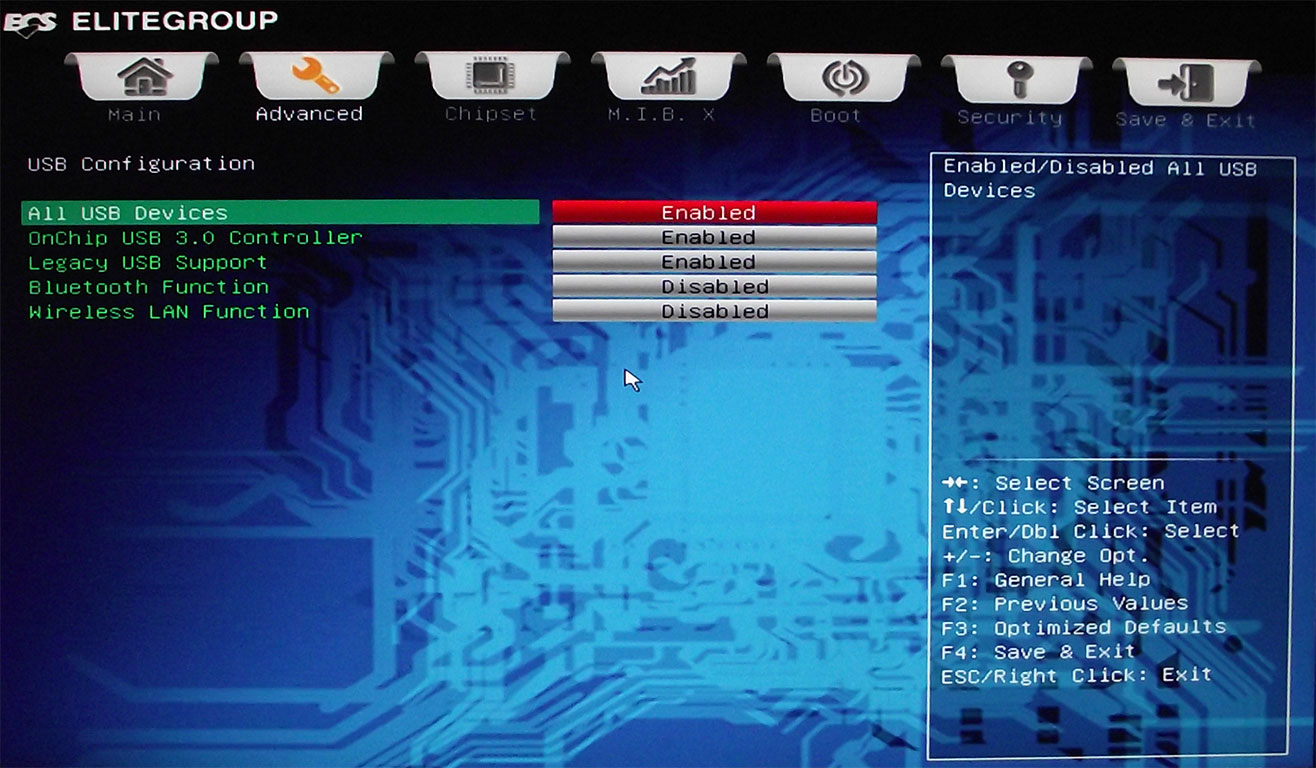
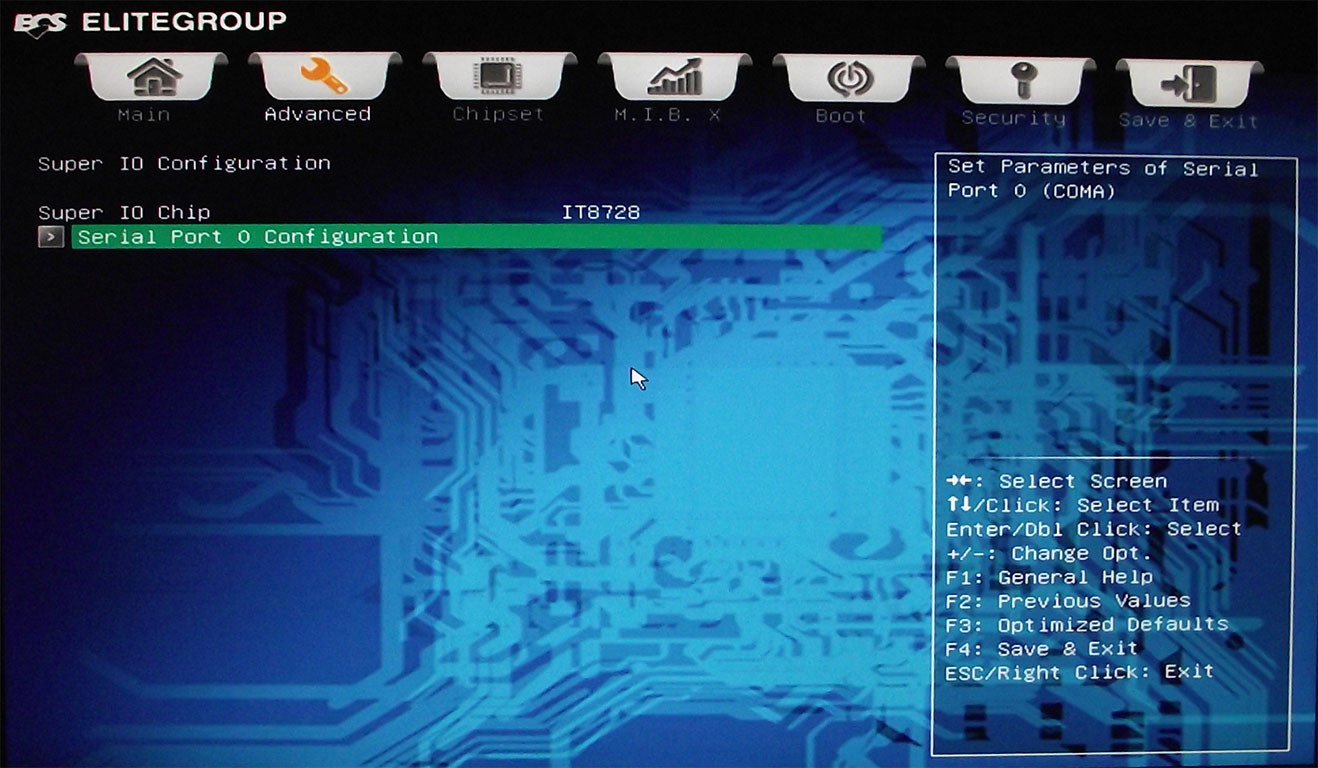
That of course leads into the headings for “SATA Configuration”, “USB Configuration”, ”SATA Configuration”, and “Super I/O Configuration”. Each is pretty much self-explanatory, but we do feel that perhaps the “SATA SCU 6 GB/s” page could have been included with the “SATA Configuration” options, but with ECS having trimmed down the number of BIOS pages already, we don't mind too much. We’ve taken images of every BIOS page bar none, and the ECS X79R-AX does have fewer pages than some others, so while it’s not the most optimal, it’s hardly an issue that holds any weight on final scoring of the product.
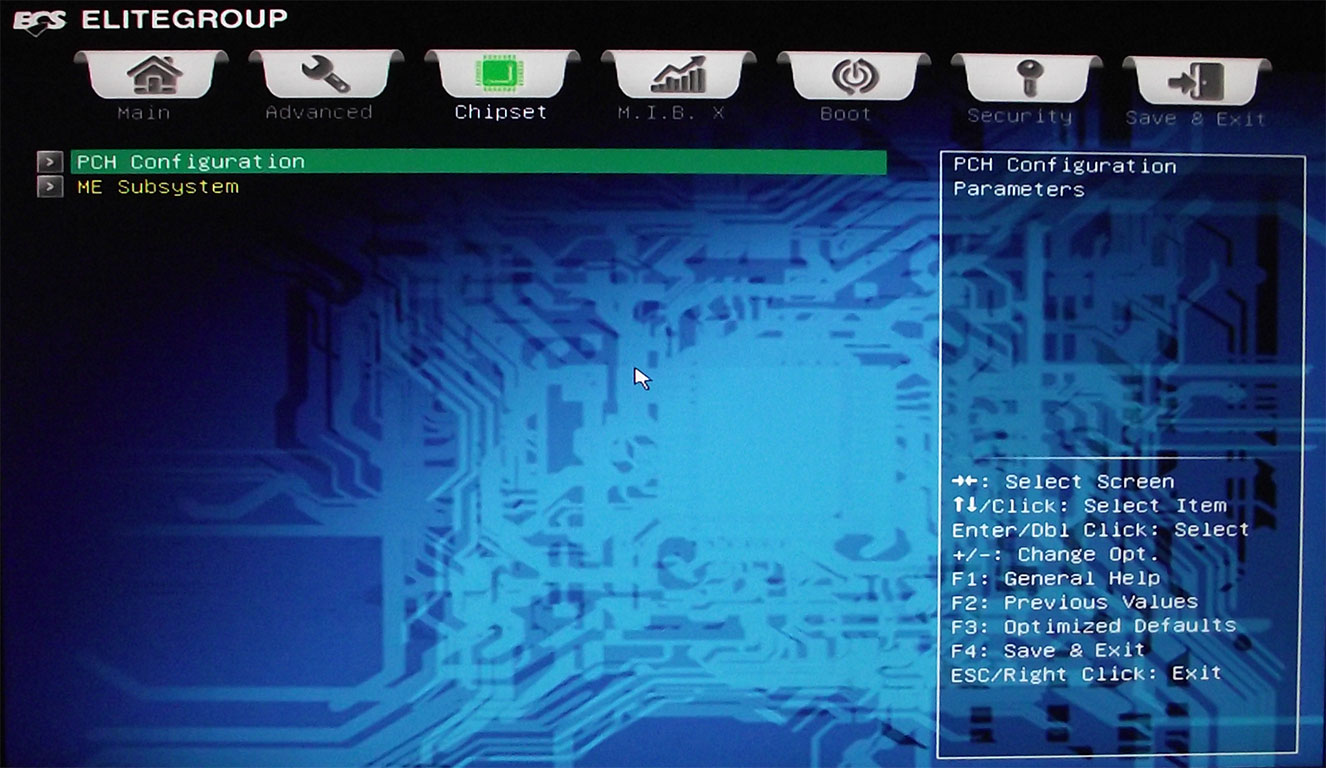
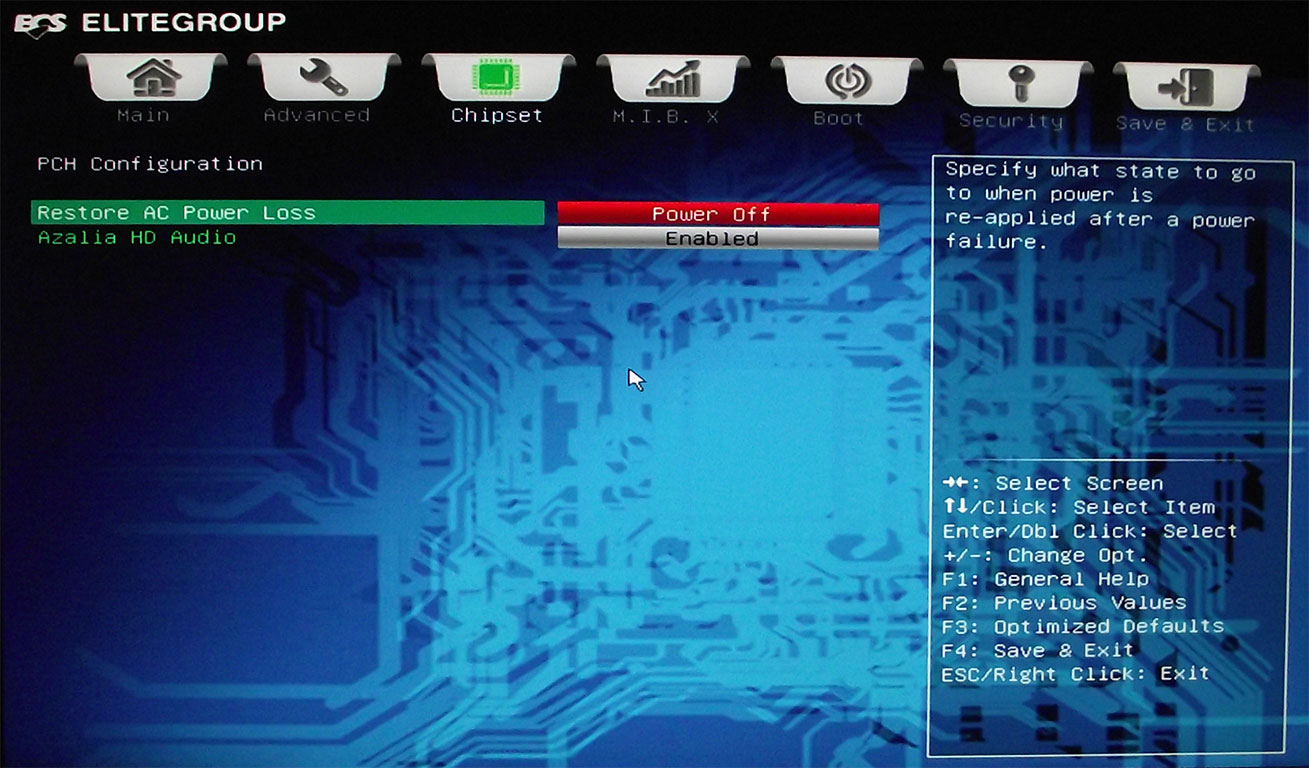
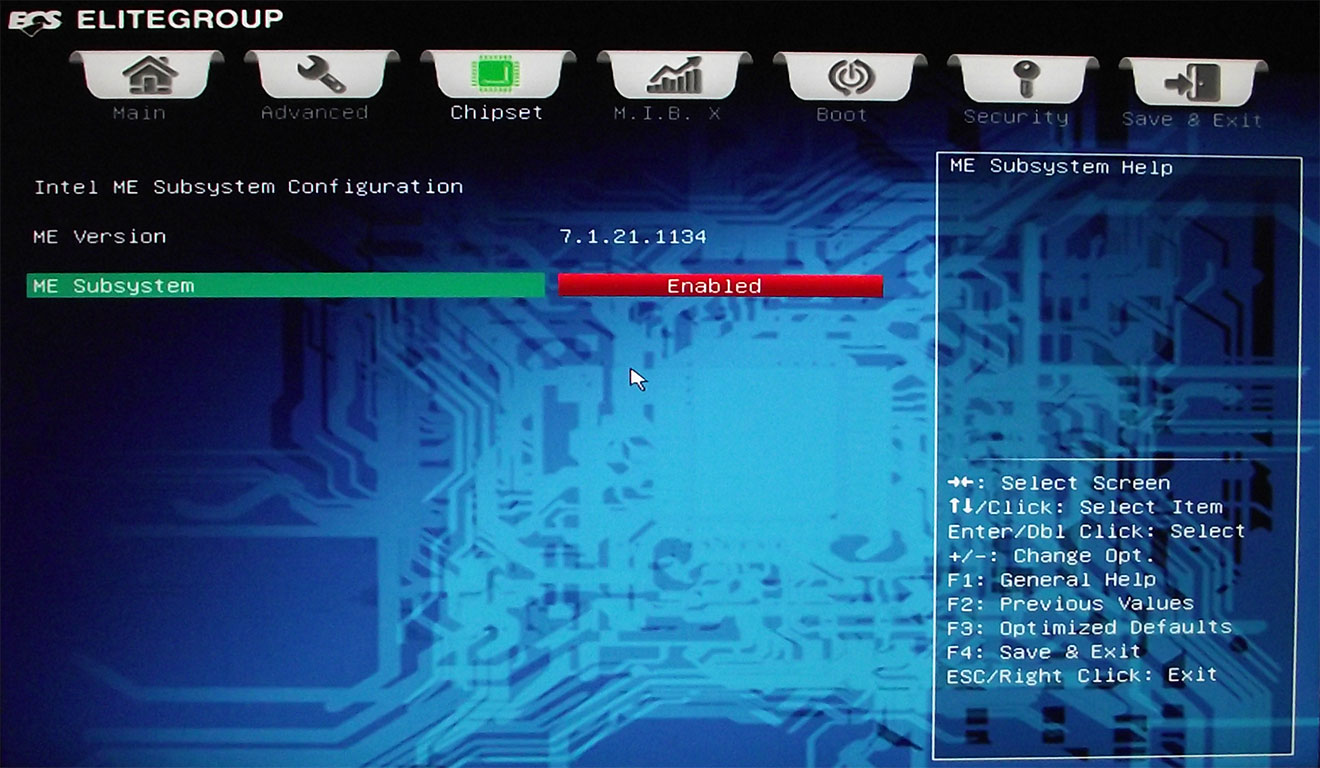
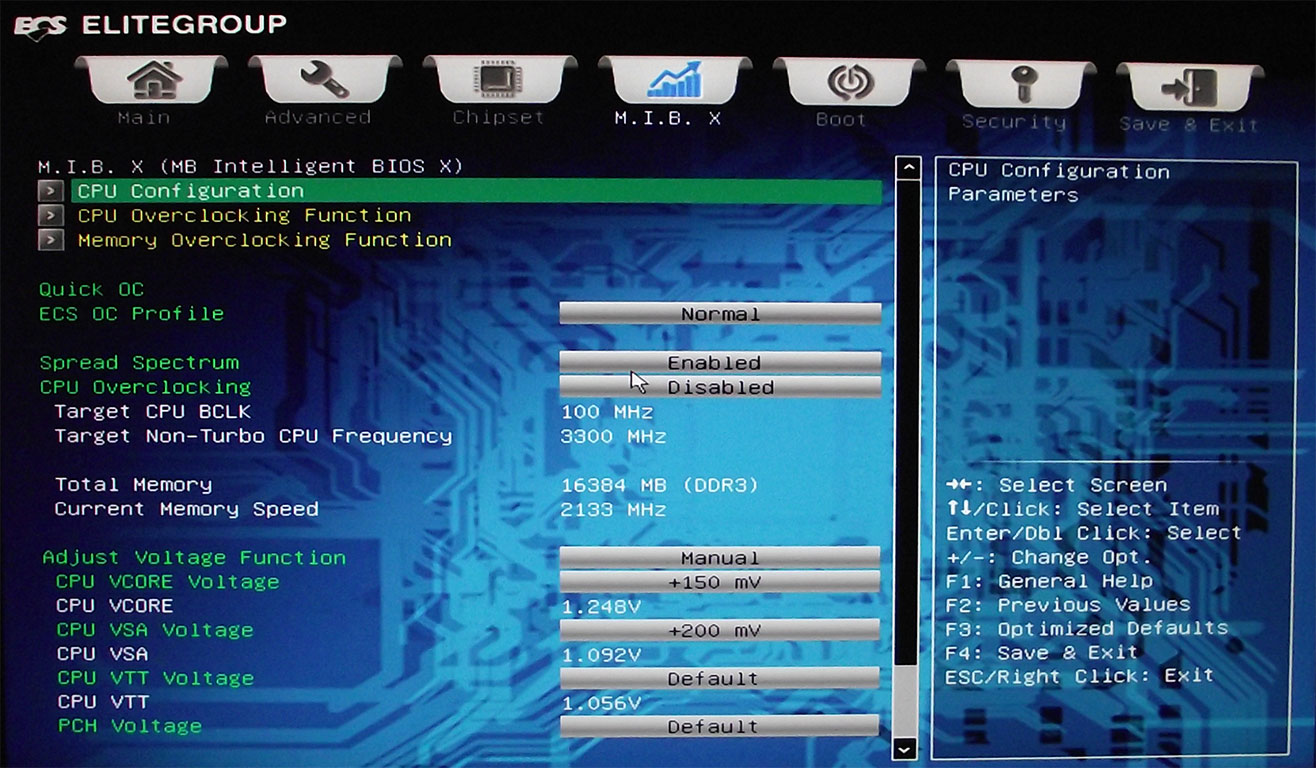
The "Chipset" tab only contains a couple of headings for the South Bridge; one for what the board will do when power is lost and for the onboard audio, with another with settings for the Intel ME subsystem. Again, both of these options could have been placed elsewhere, or perhaps the options could have all been listed here to help fill the page out, but once again, nothing to be too concerned about. The next main page, labeled “M.I.B. X”, contains all the tweaking options for CPU and memory, including frequencies, timings, and voltages, with a few voltages listed down at the bottom as well. There are just enough voltage options here for overclocking, but they are a bit sparser then some other high-end products offer.
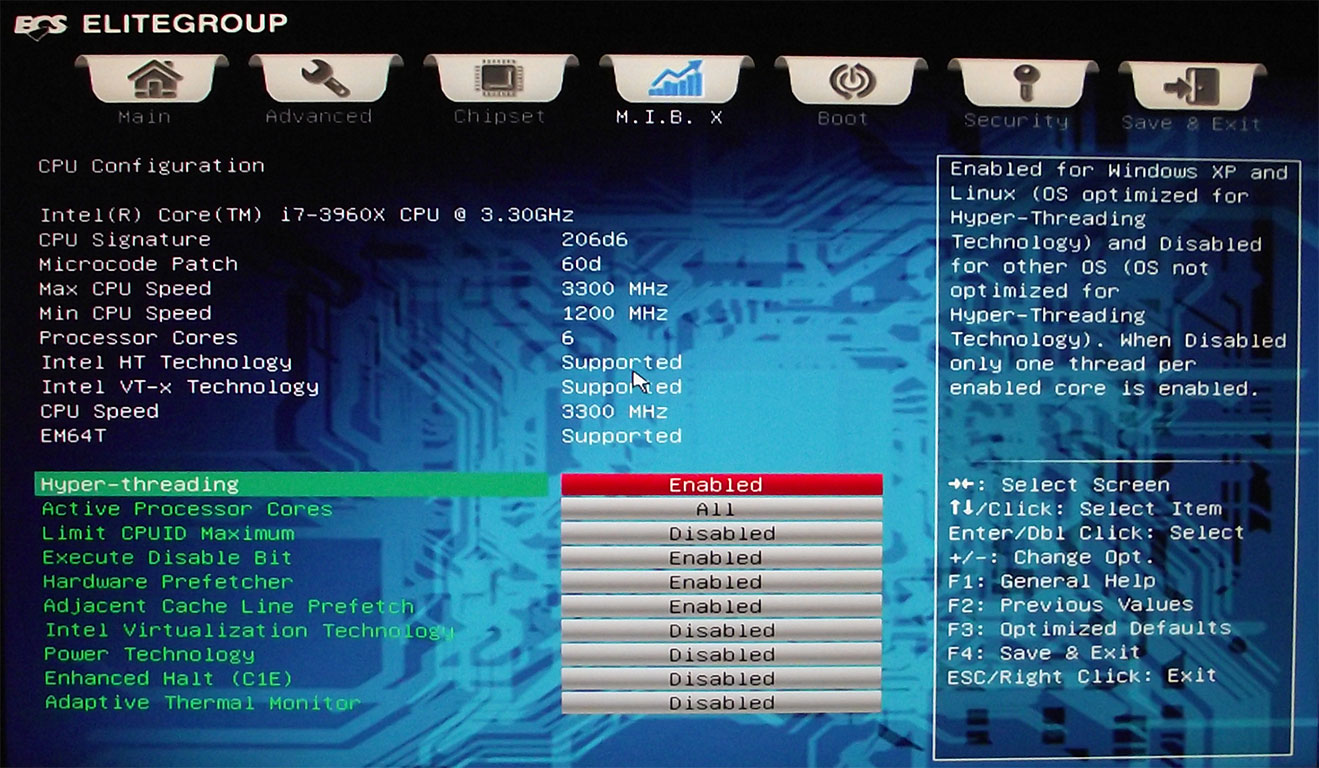
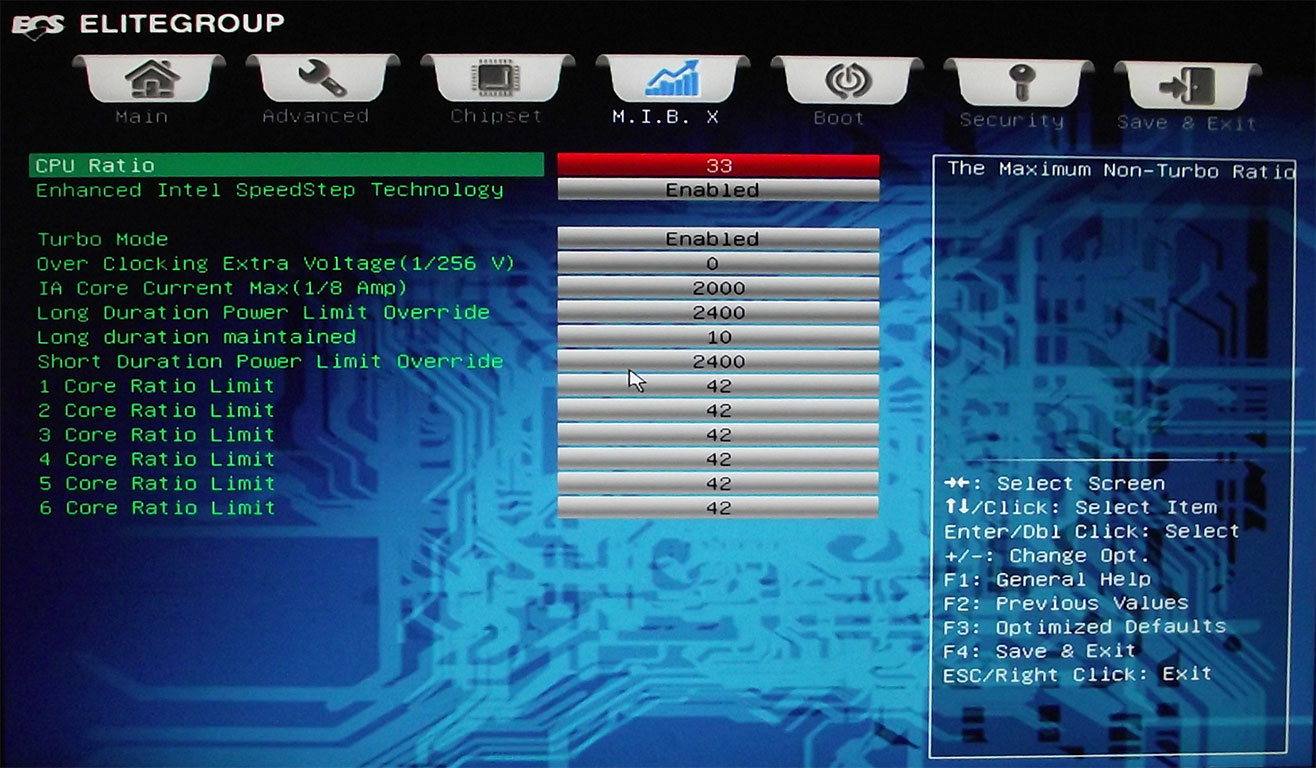

The M.I.B.X page starts off with "CPU Configuration" options, which leads to a page containing settings like the number of operational core and CPU-specific options like Hyper-Threading, C1E and Virtualization. The next option is the "CPU Overclocking" page contains all the settings needed to manipulate turbo settings to your liking, including current and wattage limit settings as well as multiplier options. The "Memory Overclocking" heading contains memory specific options, of course, including the memory divider and timings, although the timing selection is a bit limited compared to what some other products offer.
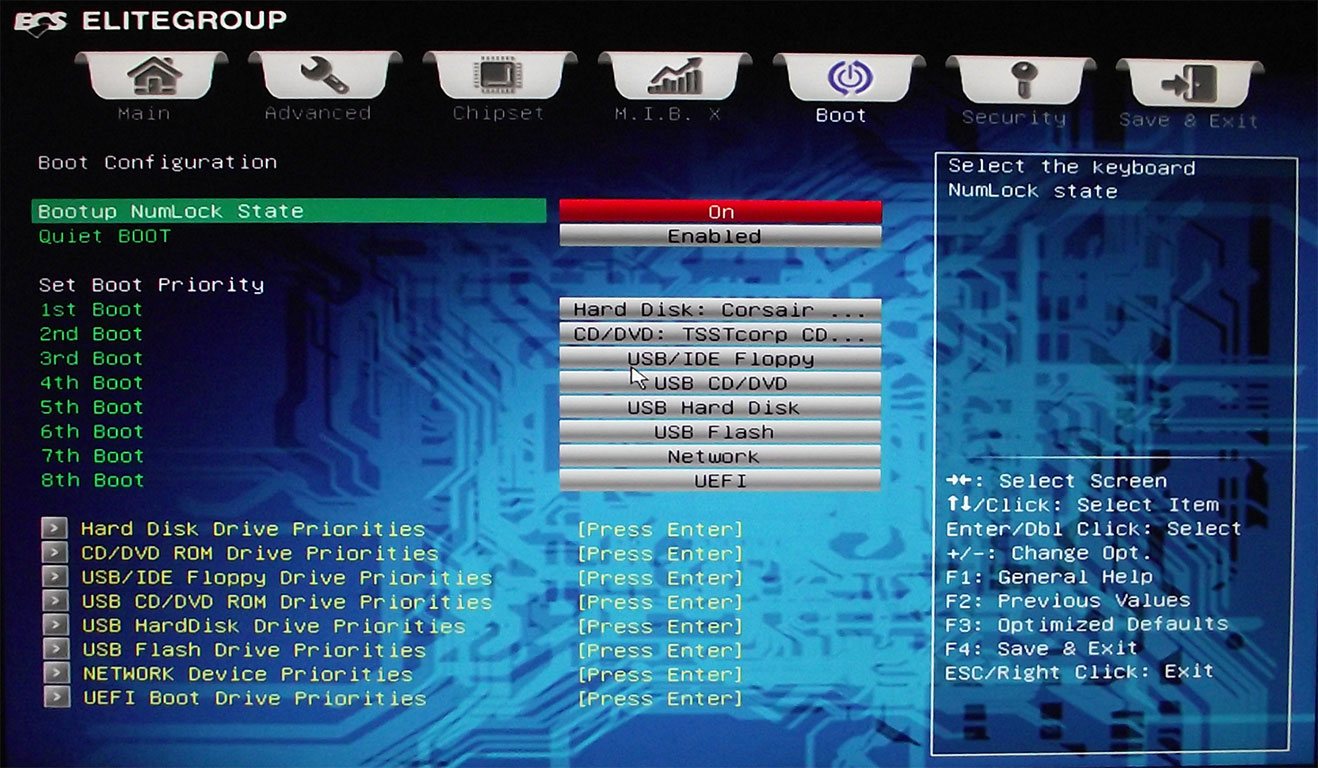
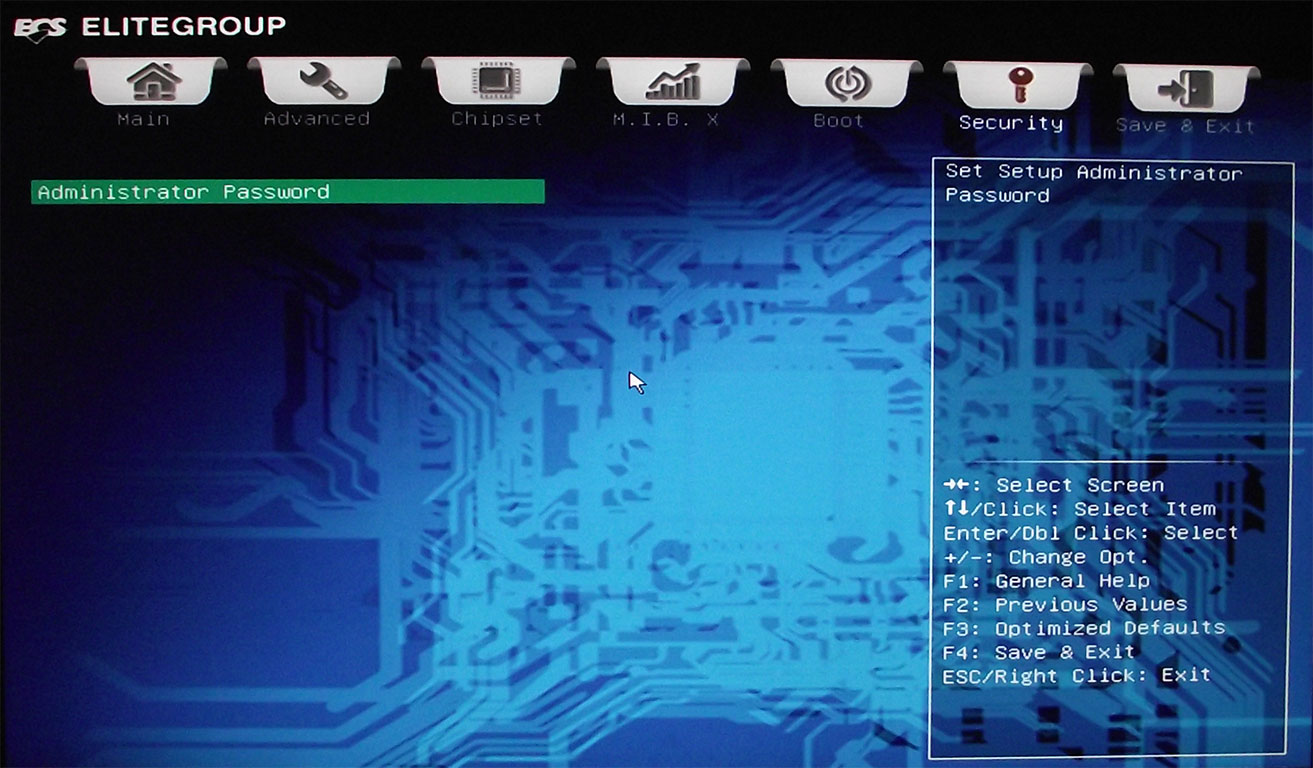
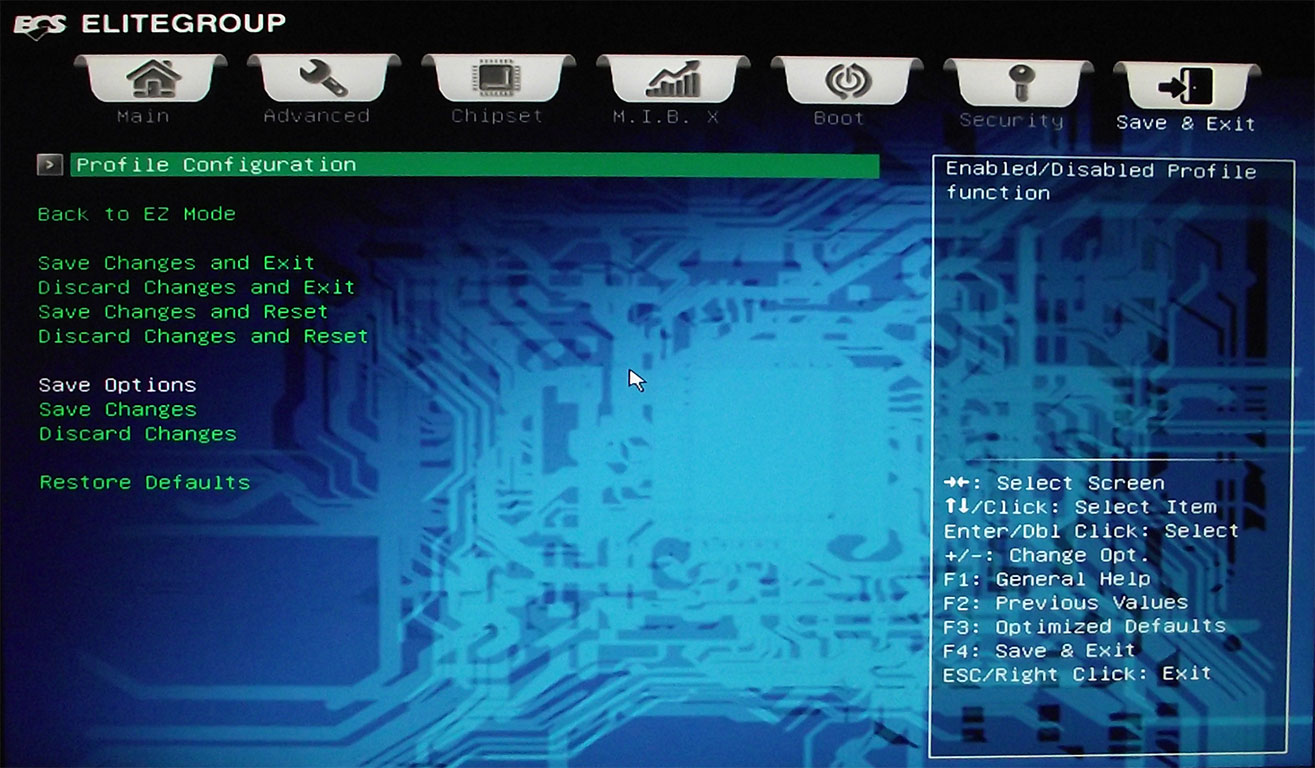
The last two images above show the “Boot” and “Security” pages, both of which contain only the options you’d expect; “Boot” lets you choose the order of boot devices, and security lets you set an Administrator password for the BIOS itself, handy for those that have little fingers in the house who cannot help but push buttons, as sometimes happens In the TPU motherboard test lab. With all of that said, we are left with just one last page, the “exit” page. We find fairly standard options here, with one twist; down at the bottom we find options to boot from a specific device, handy when you need to boot form a device that is not normally one of the primary boot options, such as needing to boot from a DVD or USB drive for memory testing, or to perhaps start Windows installation, which is an option we undertook ourselves when installing our OS.
To sum it all up, we found the BIOS to be very easy to use, and the menu options, while not 100% to our personal preference, did contain the majority of options we need from a high-level product such as the ECS X79R-AX. It's unfortunate to note that the ECS X79R-AX BIOS did not fully recognize the XMP v1.3 table in our X79-certified G.Skill kit, and due to timings not available for adjustment in the memory section, we weren't able to clock our memory as well as we did on a few other products we have on hand. There have been vast improvements in the BIOS though, so while it wasn't perfect, everything the ECS X79R-AX offers should meet the needs of the majority of users.
Jul 12th, 2025 00:10 CDT
change timezone
Latest GPU Drivers
New Forum Posts
- Can you guess Which game it is? (218)
- NVIDIA RTX PRO 6000 Workstation Runs Much Hotter Than 5090 FE (22)
- Quick charging your USB devicesUSB 3.2 Gen 2x2 Type-C® front-panel. (1)
- GTX 1050 GPU Owners Club (12)
- ASUS ProArt GeForce RTX 4060 Ti OC Edition 16GB GDDR6 Gaming - nvflash64 VBIOS mismatch (2)
- Will you buy a RTX 5090? (640)
- No offense, here are some things that bother me about your understanding of fans. (33)
- What are you playing? (23919)
- Best motherboards for XP gaming (102)
- Amazon Prime days sale (3)
Popular Reviews
- Fractal Design Epoch RGB TG Review
- Corsair FRAME 5000D RS Review
- Lexar NM1090 Pro 4 TB Review
- NVIDIA GeForce RTX 5050 8 GB Review
- NZXT N9 X870E Review
- Sapphire Radeon RX 9060 XT Pulse OC 16 GB Review - An Excellent Choice
- AMD Ryzen 7 9800X3D Review - The Best Gaming Processor
- Upcoming Hardware Launches 2025 (Updated May 2025)
- Our Visit to the Hunter Super Computer
- Chieftec Iceberg 360 Review
TPU on YouTube
Controversial News Posts
- Intel's Core Ultra 7 265K and 265KF CPUs Dip Below $250 (288)
- Some Intel Nova Lake CPUs Rumored to Challenge AMD's 3D V-Cache in Desktop Gaming (140)
- AMD Radeon RX 9070 XT Gains 9% Performance at 1440p with Latest Driver, Beats RTX 5070 Ti (131)
- NVIDIA Launches GeForce RTX 5050 for Desktops and Laptops, Starts at $249 (119)
- NVIDIA GeForce RTX 5080 SUPER Could Feature 24 GB Memory, Increased Power Limits (115)
- Microsoft Partners with AMD for Next-gen Xbox Hardware (105)
- Intel "Nova Lake‑S" Series: Seven SKUs, Up to 52 Cores and 150 W TDP (100)
- NVIDIA DLSS Transformer Cuts VRAM Usage by 20% (97)