 29
29
Fractal Design Define C Review
A Closer Look - Inside »A Closer Look - Outside
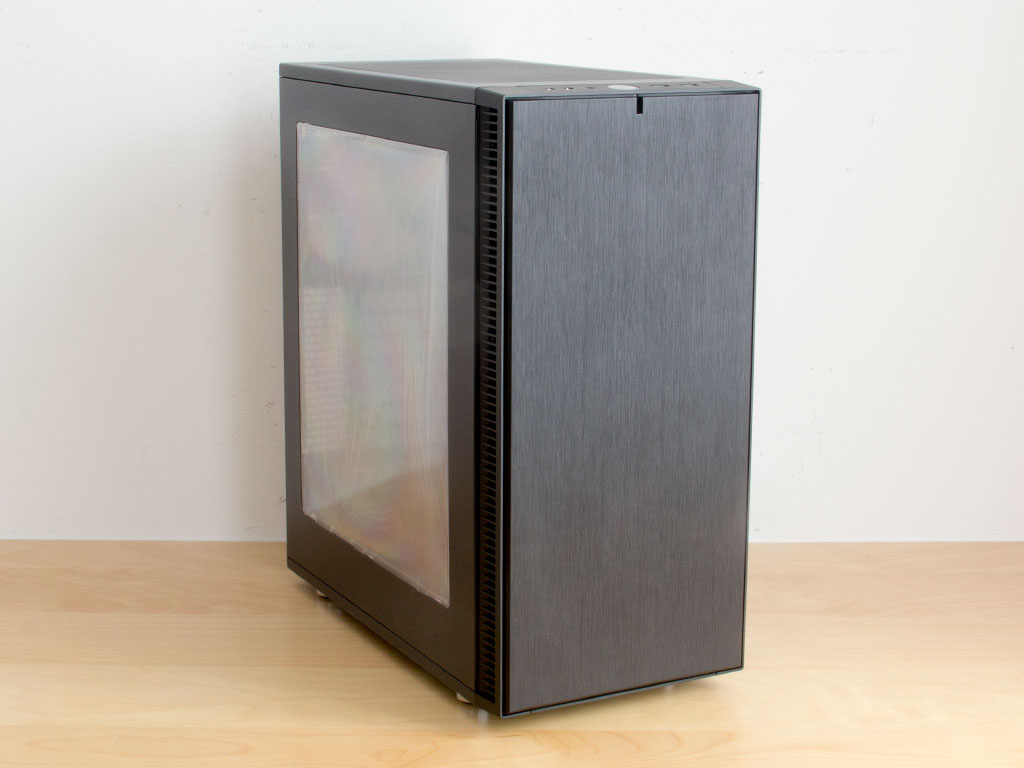
Looking at the chassis, the exterior is exactly how we would expect a unit from the Define family to look. It feels as though the faux brushing of the plastic front is a bit more prominent now, which could be purely subjective.
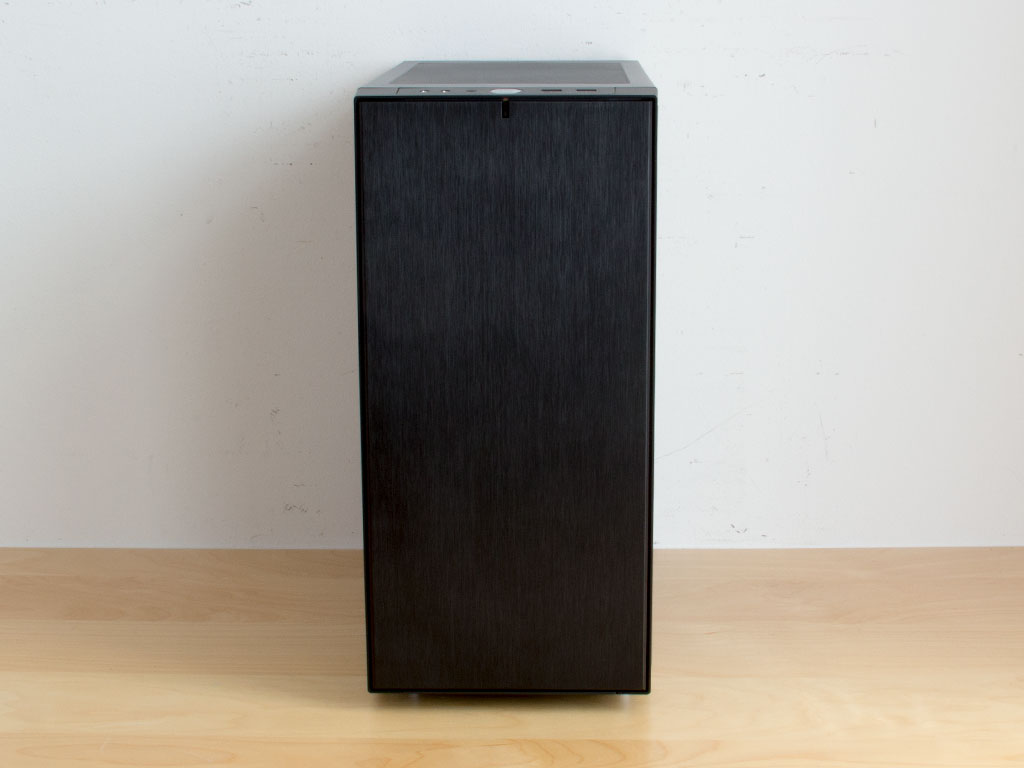
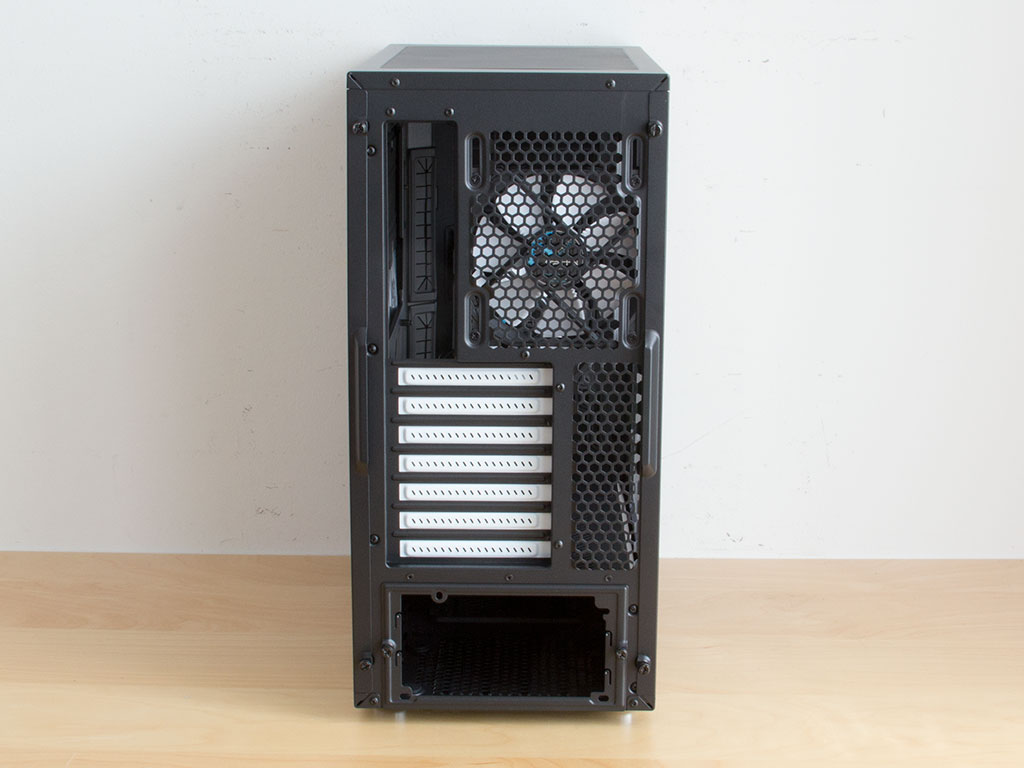
Looking at the front, there is nothing worth mentioning here as this side of the chassis is completely solid, lacking drive bays or air vents. In the rear, you can see that the chassis is for a fully sized ATX board, and the PSU bay is at the bottom of the chassis.
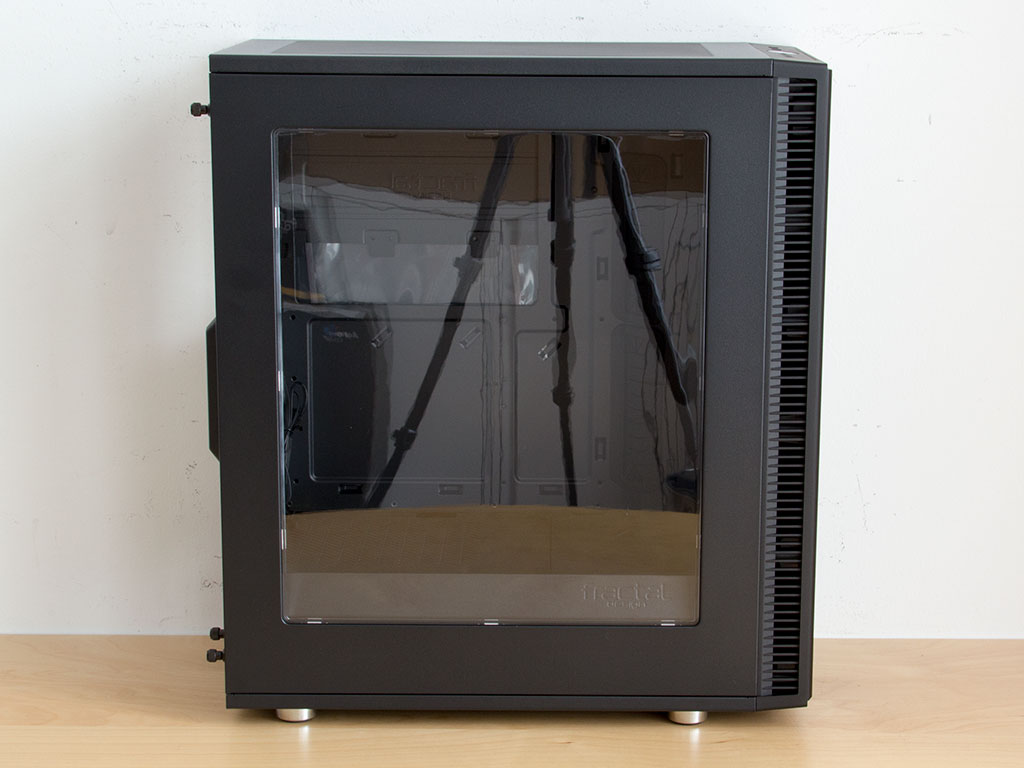
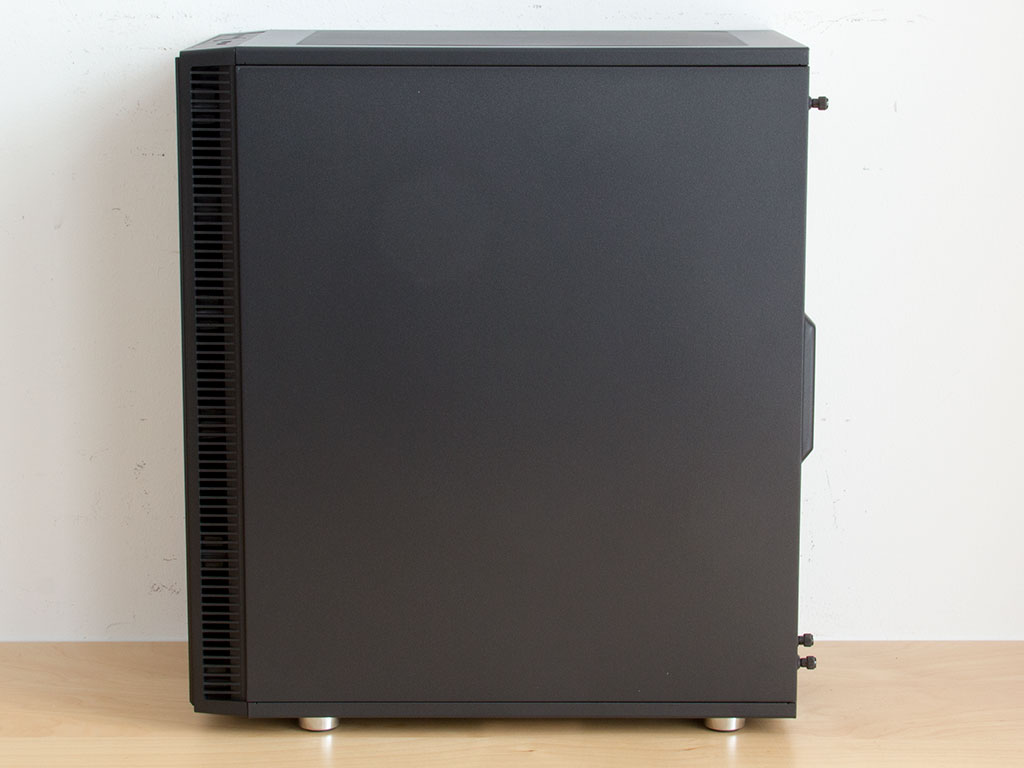
Fractal Design offers the case with a windowed or solid side panel. We got the former for review so that you can peek into the finished interior at the end of it. The opposite side is completely solid. There are some air vents along the front cover, which will allow the fans in front to pull cool, fresh air in through the front.
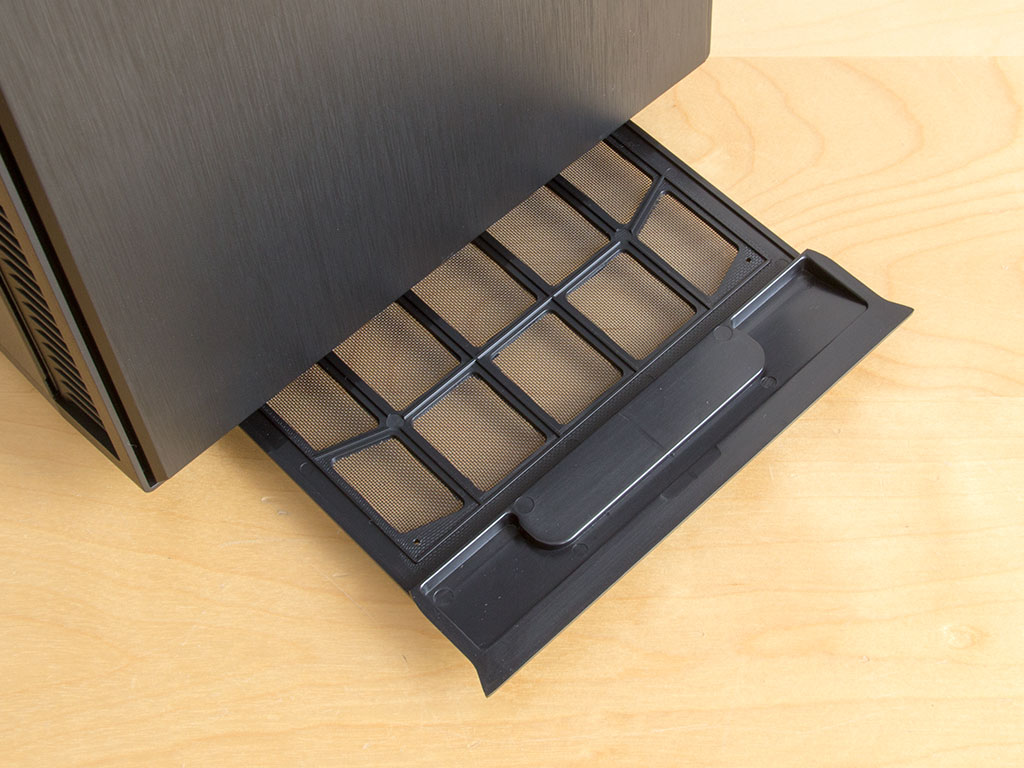
There is a long dust filter that covers the entire underside of the Define C. It may be pulled out through the front to allow for easy cleaning without having to disassemble or tip over the system.
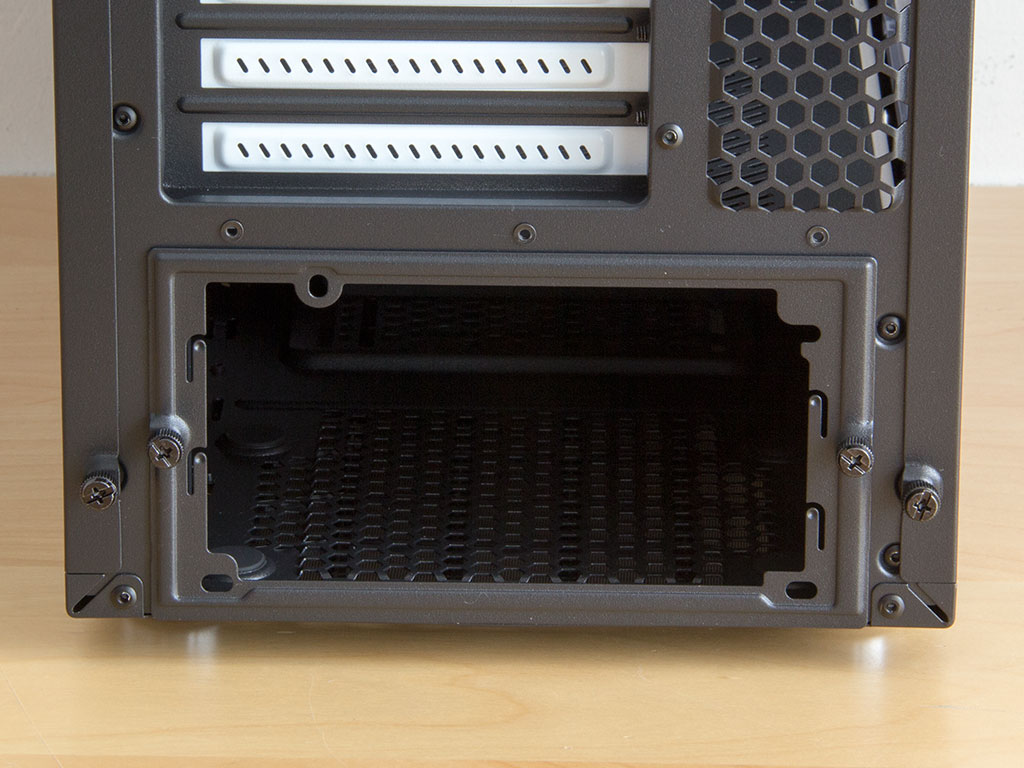
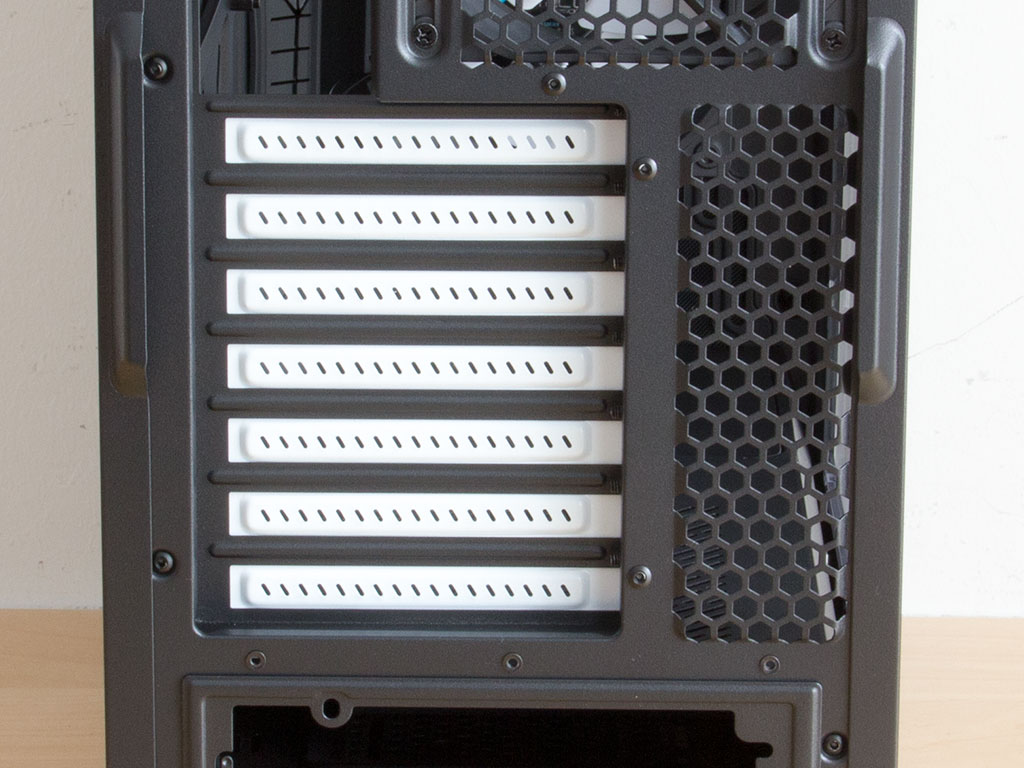
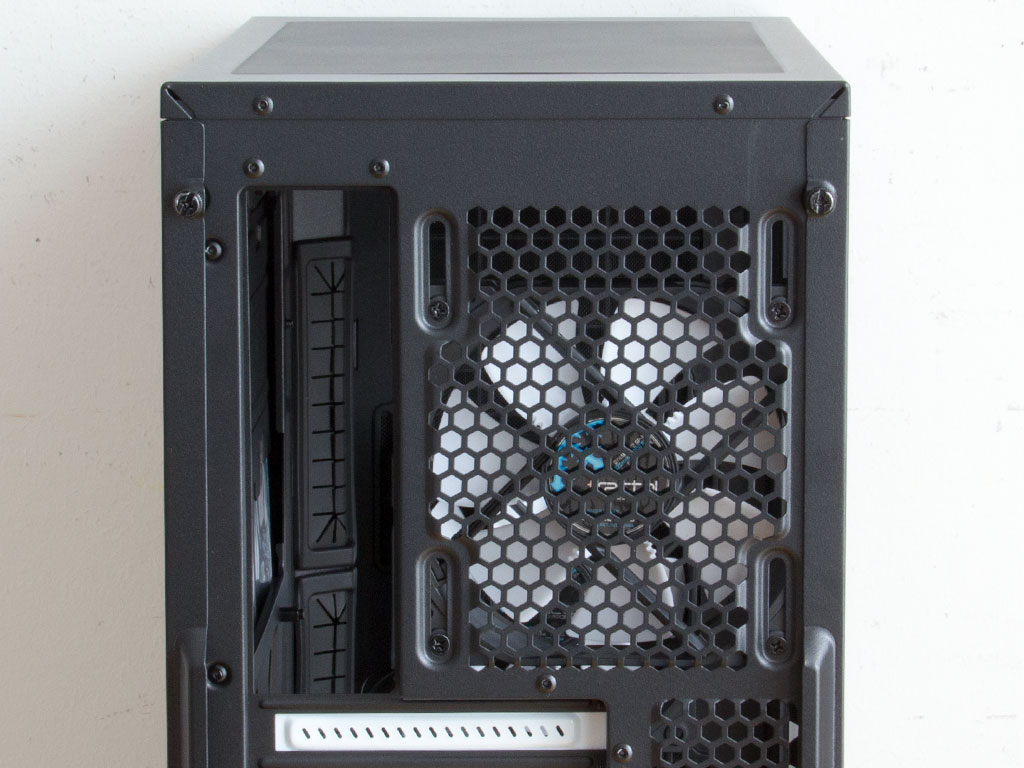
The PSU bay in the rear comes with a single set of mounting screws, which usually dictates that the fan needs to face downward to pull cool air in through the bottom. However, two thumbscrews hold the PSU's frame in place, which means you will have to install the power supply by sliding it in through the rear. You may also change the orientation of these mounting holes during installation. Above that are the seven motherboard expansion slots Fractal Design protects with their reusable signature white covers. In the very top is a 120mm fan with white blades, set to push air out through the rear. You may adjust its vertical placement to perfectly align it with the motherboard's CPU socket area.
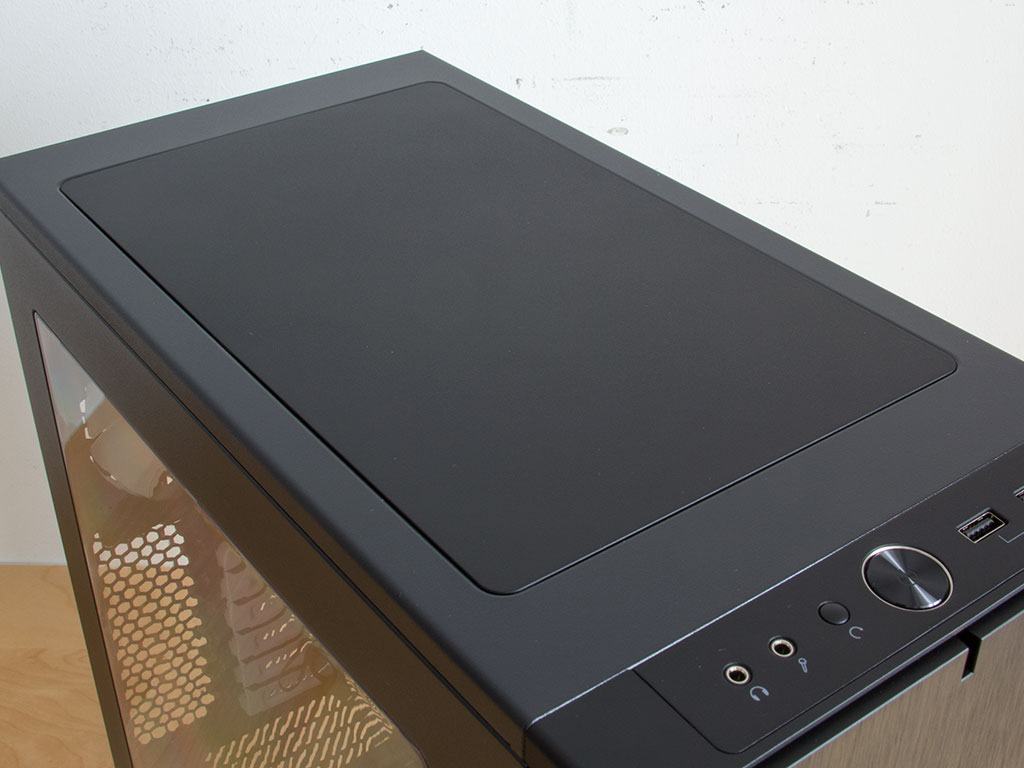
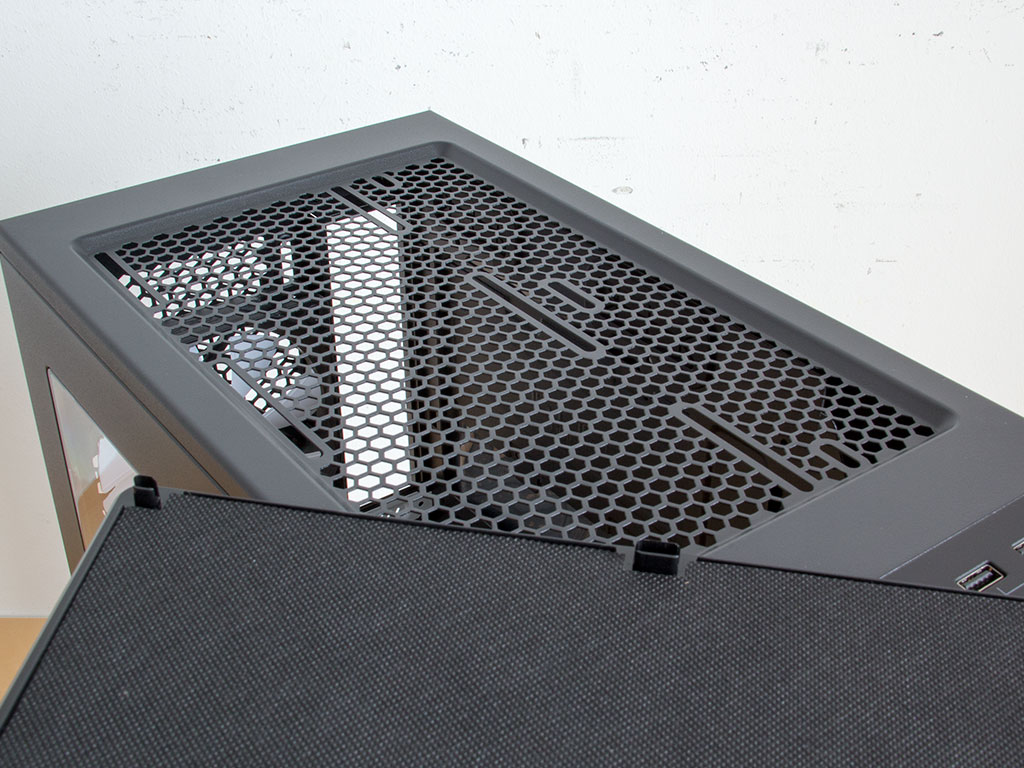
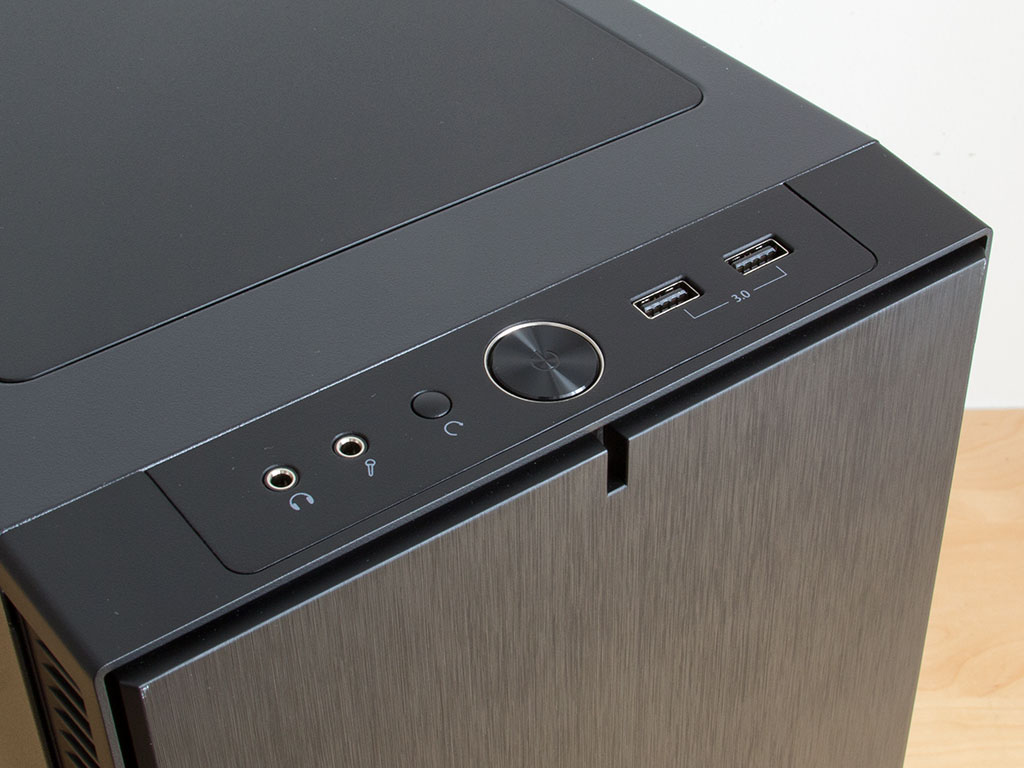
In the very top is a solid cover that is lined with sound-dampening material. You may remove the cover if you are installing fans or a radiator there. You should use the provided metal-mesh dust filter here if such is the case. The I/O, which is at the top-edge of the front, consists of the usual audio plugs and two black USB 3.0 connectors. In the middle are the large circular power button and, next to it, a smaller reset button.
Jul 18th, 2025 18:56 CDT
change timezone
Latest GPU Drivers
New Forum Posts
- AI Job Losses: let's count the losses up, total losses to AI so far 94,000 and counting (34)
- TPU's Nostalgic Hardware Club (20539)
- 3DMARK "LEGENDARY" (329)
- Hatsune Miku x ASUS TUF Gaming Build (67)
- What's your latest tech purchase? (24304)
- Anime Nation (13051)
- Ferrari themed mod cont. 4070s repaste (7)
- Stalker 2 is looking great. (213)
- Share your CPU-X Benchmarks! (6)
- Are UPS lithium LiFePO4 batteries finally as cheap as lead-acid? (20)
Popular Reviews
- Razer Blade 16 (2025) Review - Thin, Light, Punchy, and Efficient
- SilverStone SETA H2 Review
- Thermal Grizzly WireView Pro Review
- Pulsar X2 Crazylight Review
- MSI GeForce RTX 5060 Gaming OC Review
- Our Visit to the Hunter Super Computer
- NVIDIA GeForce RTX 5080 Founders Edition Review
- NVIDIA GeForce RTX 5050 8 GB Review
- Sapphire Radeon RX 9060 XT Pulse OC 16 GB Review - An Excellent Choice
- Upcoming Hardware Launches 2025 (Updated May 2025)
TPU on YouTube
Controversial News Posts
- Intel's Core Ultra 7 265K and 265KF CPUs Dip Below $250 (288)
- Some Intel Nova Lake CPUs Rumored to Challenge AMD's 3D V-Cache in Desktop Gaming (140)
- AMD Radeon RX 9070 XT Gains 9% Performance at 1440p with Latest Driver, Beats RTX 5070 Ti (131)
- NVIDIA Launches GeForce RTX 5050 for Desktops and Laptops, Starts at $249 (124)
- NVIDIA GeForce RTX 5080 SUPER Could Feature 24 GB Memory, Increased Power Limits (115)
- Microsoft Partners with AMD for Next-gen Xbox Hardware (105)
- NVIDIA DLSS Transformer Cuts VRAM Usage by 20% (99)
- AMD Sampling Next-Gen Ryzen Desktop "Medusa Ridge," Sees Incremental IPC Upgrade, New cIOD (97)