 4
4
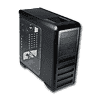
GELID DarkForce Review
Value & Conclusion »Assembly
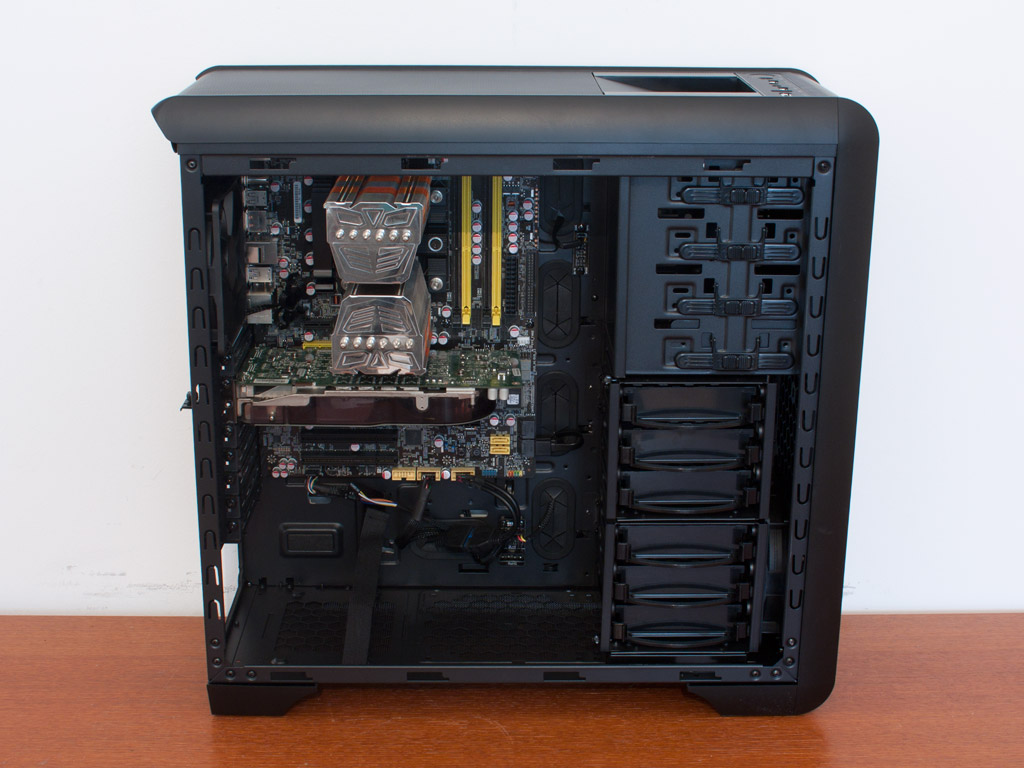
Installing the board is done by traditional means: place it on the included spacers and secure it with the supplied screws. As you can see, there is enough space for large CPU coolers and long graphics cards - even without removing a hard drive cage.


Another big difference between the DarkForce and the anidées chassis are the trays used. While the latter utilizes metal trays, Gelid has chosen to use more elaborate, plastic ones. Both of these work well and I really do not see an issue with the version employed in the DarkForce. On the contrary, the black cover in front nicely hides the drives from view. You may install both 2.5 or 3.5 inch drives in these, with the larger kind resting on rubber rings as an anti-vibration method.


Once installed, simply slide them into the slot of your choice until they snap into place. You may also secure these with an additional screw - something system builders would most likely be interested in. Thanks to the front cover, the drives are completely hidden from view.

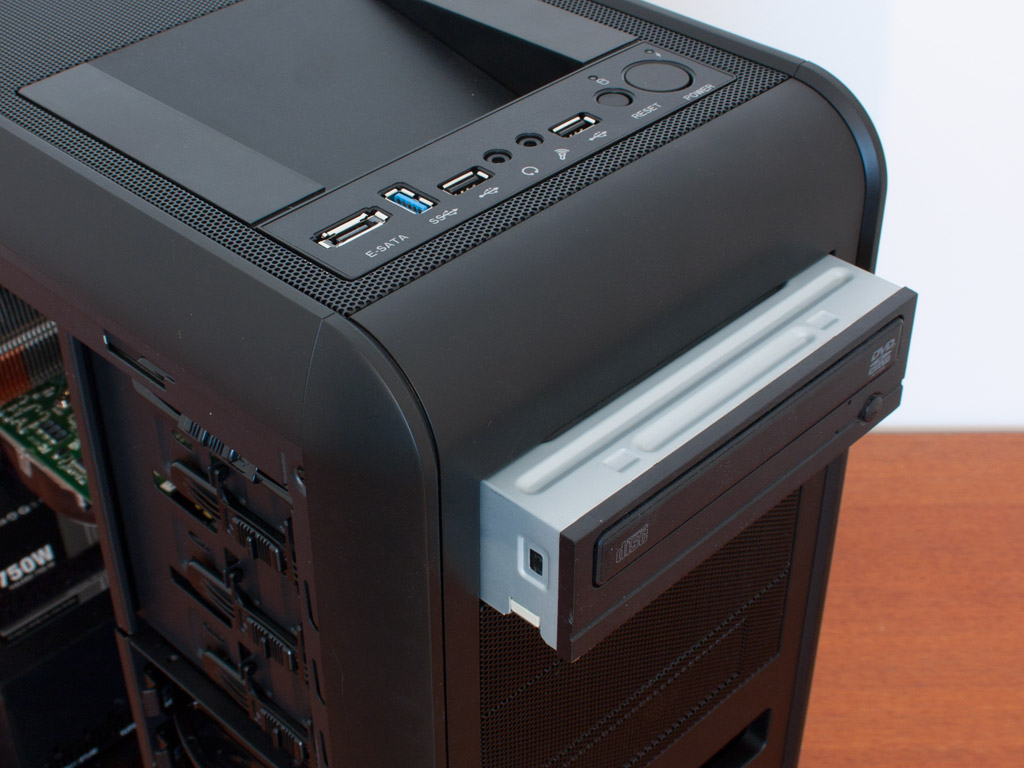

To install an optical drive, you will have to pull off the entire front first, which in turn allows you to remove the drive bay cover of your choice. A cool little touch is the additional fan mounting spot in this area. As long as you leave the three metal covers in place, you may use it to place a 120 mm unit here as well. Once the bay is free, simply slide the drive in and lock it down using the plastic locks. I strongly suggest you use an additional screw to limit any vibrations created by the drive in this area, as it still has a bit of play otherwise.

Installing the PSU is done without the use of any screws if you decide that the Velcro strip is sufficient for your needs. I also used the supplied screws in the review


Once everything is installed, the anidées AI6 makes a very clean impression, as all the cables are hidden nicely behind the mainboard tray. I strongly suggest using angled connectors, as there is too little space - possibly due to the use of the hard drive trays, which will put quite the strain on the already fragile SATA connectors when closing the side panel.
Finished Looks

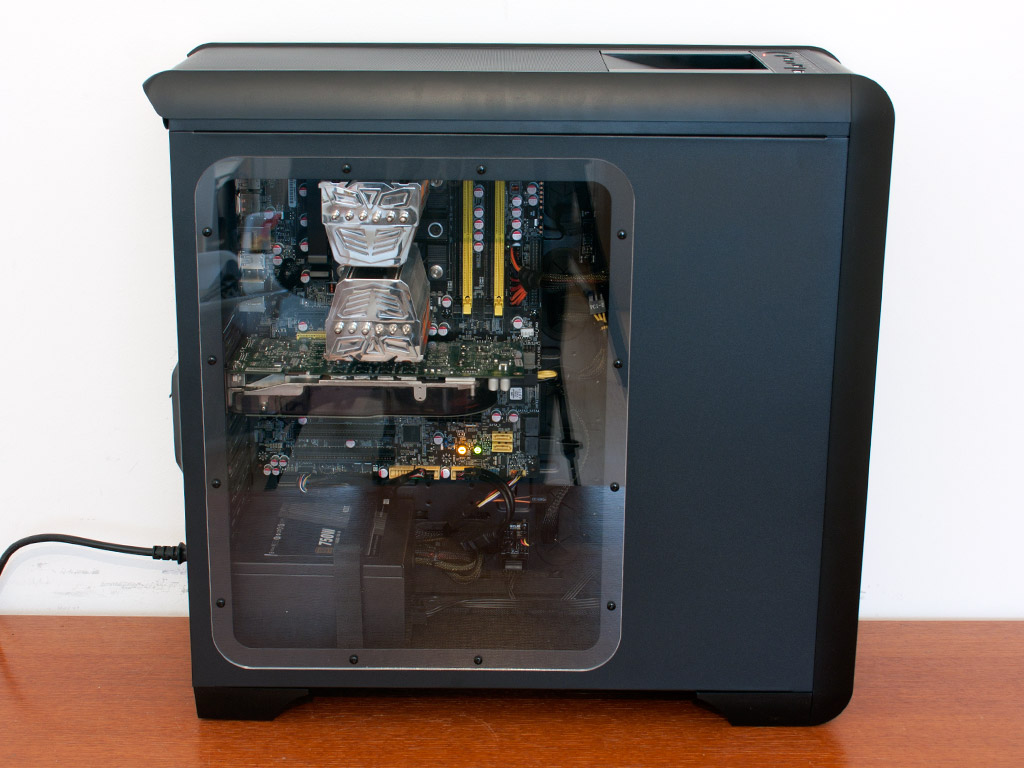
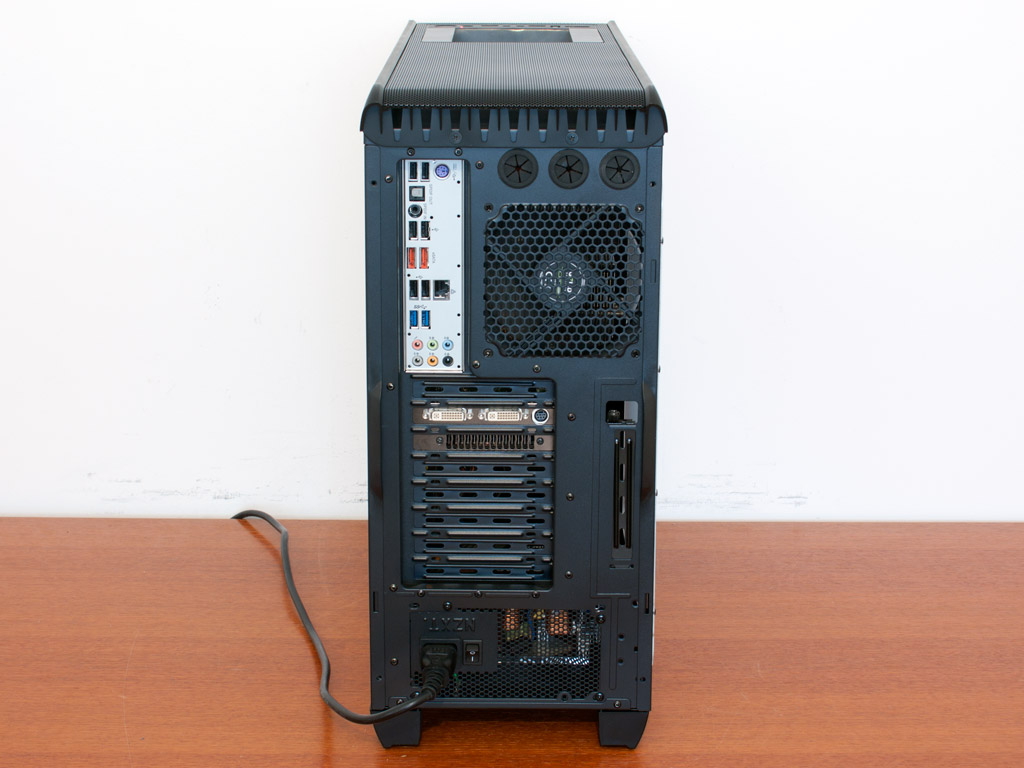
Once everything is in place, the chassis makes a good impression. Thanks to the large window, you can easily see the entire mainboard and the installed components. All connectors are easily reachable in the rear as well.

The HDD bay works just as one would expect. This type of docking station has been implemented by various different case manufacturers and is one of the best ways to offer such a feature.
Jul 18th, 2025 19:20 CDT
change timezone
Latest GPU Drivers
New Forum Posts
- Anime Nation (13052)
- What's your latest tech purchase? (24305)
- AI Job Losses: let's count the losses up, total losses to AI so far 94,000 and counting (35)
- lower score 5070Ti after replacing the PSU (0)
- TPU's Nostalgic Hardware Club (20539)
- 3DMARK "LEGENDARY" (329)
- Hatsune Miku x ASUS TUF Gaming Build (67)
- Ferrari themed mod cont. 4070s repaste (7)
- Stalker 2 is looking great. (213)
- Share your CPU-X Benchmarks! (6)
Popular Reviews
- MSI GeForce RTX 5060 Gaming OC Review
- Razer Blade 16 (2025) Review - Thin, Light, Punchy, and Efficient
- Thermal Grizzly WireView Pro Review
- Pulsar X2 Crazylight Review
- SilverStone SETA H2 Review
- AVerMedia Live Gamer Ultra S (GC553Pro) Review
- Upcoming Hardware Launches 2025 (Updated May 2025)
- Sapphire Radeon RX 9060 XT Pulse OC 16 GB Review - An Excellent Choice
- NVIDIA GeForce RTX 5050 8 GB Review
- Our Visit to the Hunter Super Computer
TPU on YouTube
Controversial News Posts
- Intel's Core Ultra 7 265K and 265KF CPUs Dip Below $250 (288)
- Some Intel Nova Lake CPUs Rumored to Challenge AMD's 3D V-Cache in Desktop Gaming (140)
- AMD Radeon RX 9070 XT Gains 9% Performance at 1440p with Latest Driver, Beats RTX 5070 Ti (131)
- NVIDIA Launches GeForce RTX 5050 for Desktops and Laptops, Starts at $249 (124)
- NVIDIA GeForce RTX 5080 SUPER Could Feature 24 GB Memory, Increased Power Limits (115)
- Microsoft Partners with AMD for Next-gen Xbox Hardware (105)
- NVIDIA DLSS Transformer Cuts VRAM Usage by 20% (99)
- AMD Sampling Next-Gen Ryzen Desktop "Medusa Ridge," Sees Incremental IPC Upgrade, New cIOD (97)