 0
0
Genesis Krypton 750 Review
Sensor & Performance »Build Quality
Overall build quality is very solid. There is no rattle when shaking the mouse. When applying lateral pressure, minor creaking but no flexing of the shell can be observed. Activating the side buttons by squeezing the sides is impossible. Lastly, no accidental clicks occur when slamming down the mouse, aside from the occasional slam-click if Key Response is set to the lowest value within the software.Buttons

Main buttons on the Krypton 750 are very good. Both pre and post-travel are low, resulting in a snappy and firm button response. The left button sounds somewhat hollow upon release, however, whereas the right one is perfectly fine. Button stiffness is medium. A pair of Huano switches (blue shell, blue plunger) is used.

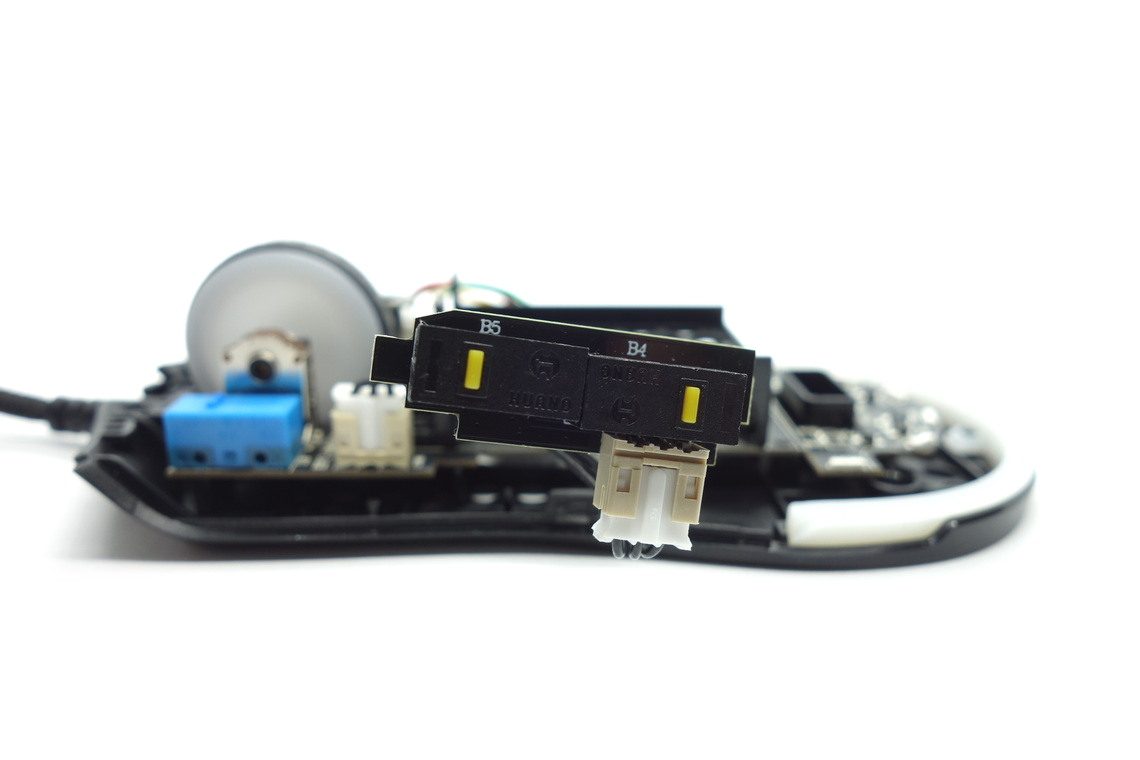
Side buttons are very good. Pre and post-travel are low, resulting in a firm and snappy button response even though actuation isn't entirely even on the back button in particular. Button placement is good as actuation is possible very easily by rolling one's thumb across. A set of Huano switches (yellow plunger) is used here.
At the top of the mouse is a single button for cycling through the set CPI steps, which works just fine. Another Huano switch (yellow plunger) is used for this one.
Scroll Wheel
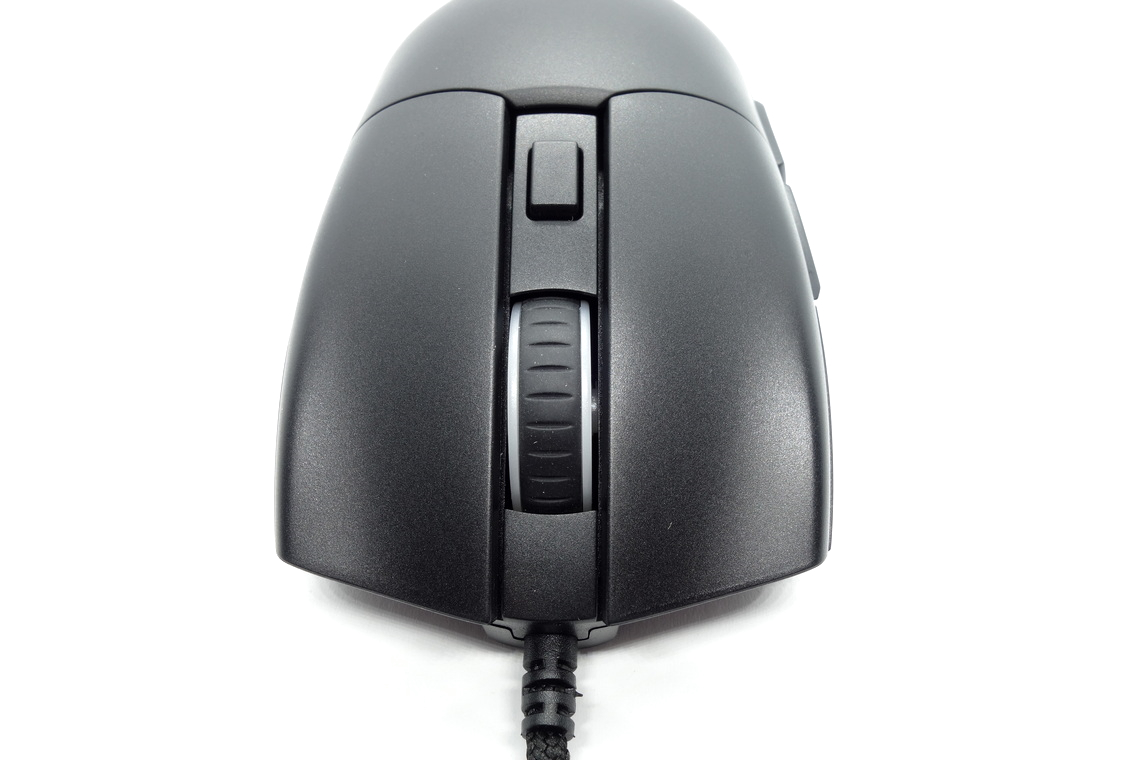
The scroll wheel is good. Scrolling in either direction is quite noisy, and the wheel itself feels somewhat hollow and flimsy, but tactility is good, providing clearly discernible steps and no accidental scrolling. The encoder comes from F-Switch (brown, black core) and has a height of 9 mm. The middle scroll wheel click requires high force for actuation. Yet another Huano switch (yellow plunger) is used here.
Coating
The Krypton 750 has a smooth matte surface all over. It doesn't attract fingerprints, dirt, or the likes too much. It is easy to clean, and there are no signs of wear left after doing so. All in all, excellent materials.Button Sound Test
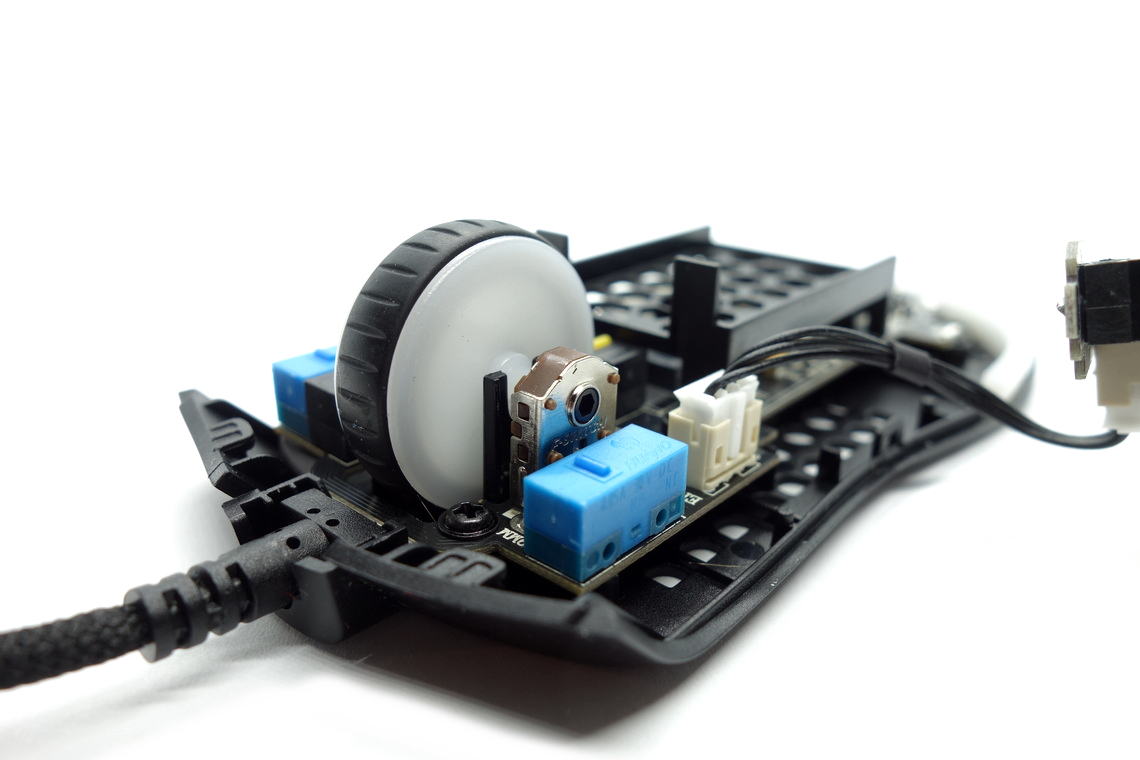
Disassembly

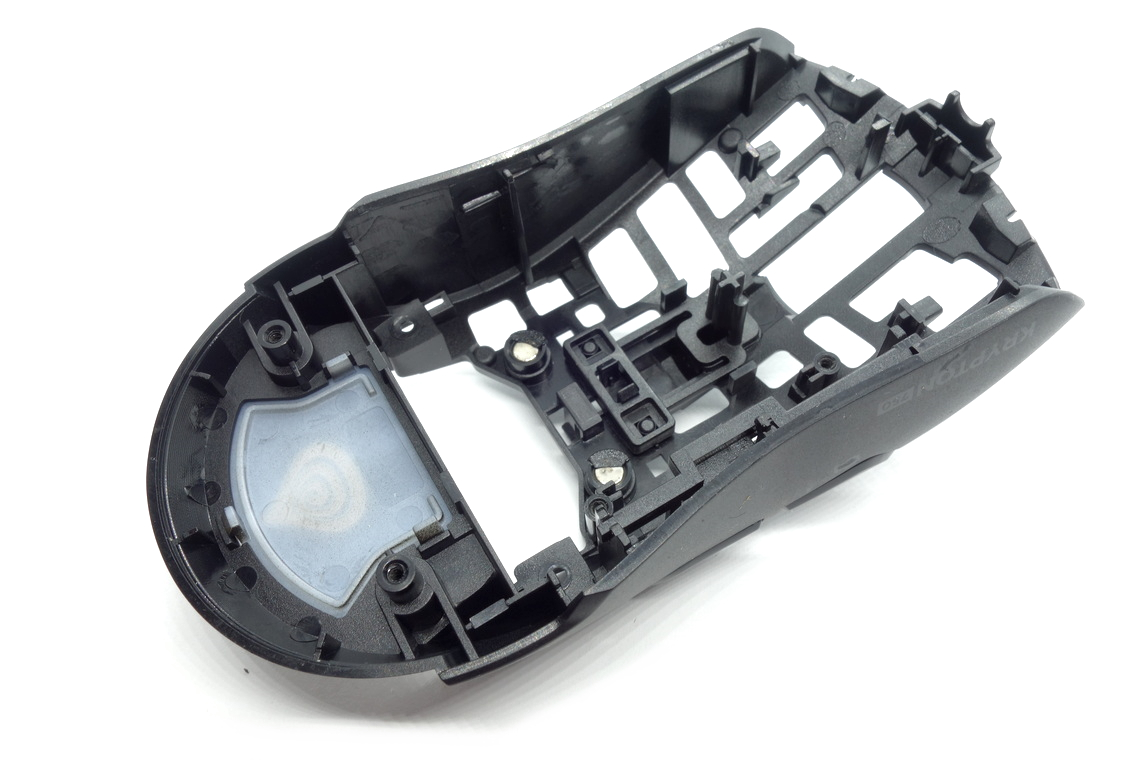
Disassembling the Krypton 750 is easy provided one knows how to proceed. Only the rear skate and the two screws beneath it need to be removed. Then, unclip the main button pieces, lift the top shell, and pull it towards the back. The top shell is clipped in at the front, but pulling vertically won't do anything, only pulling horizontally towards the back will.
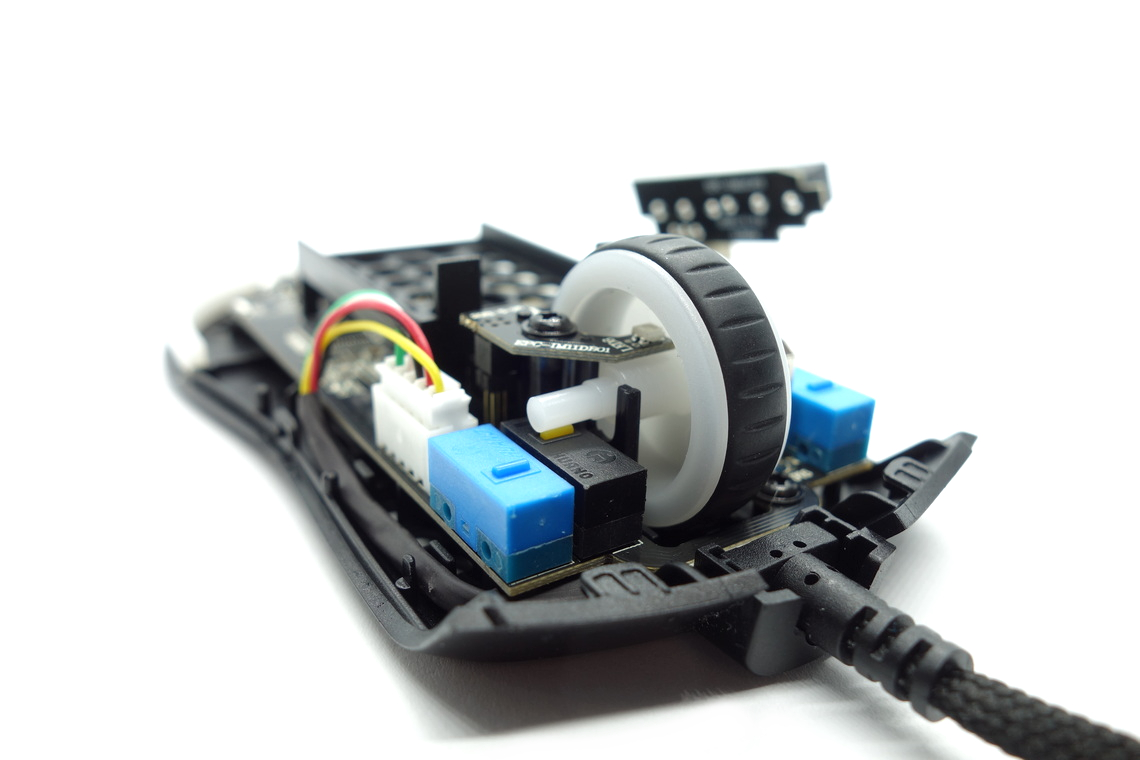
As for the design, we're looking at shared tooling for wireless. The plastic assembly erected above the sensor would hold the battery, but only holds the weight compartment on this version. Even the cutout for the wireless dongle is plainly on display. The side-button PCB is screwed into the top shell and connected through a 3-pin connector, while everything else sits on the rather thin main PCB. An auxiliary PCB for illumination purposes can be found next to the scroll wheel. Three screws in total and two pins are used to affix the main PCB to the bottom shell. The MCU is a Holtek HT68FB560, whose datasheet can be found here.
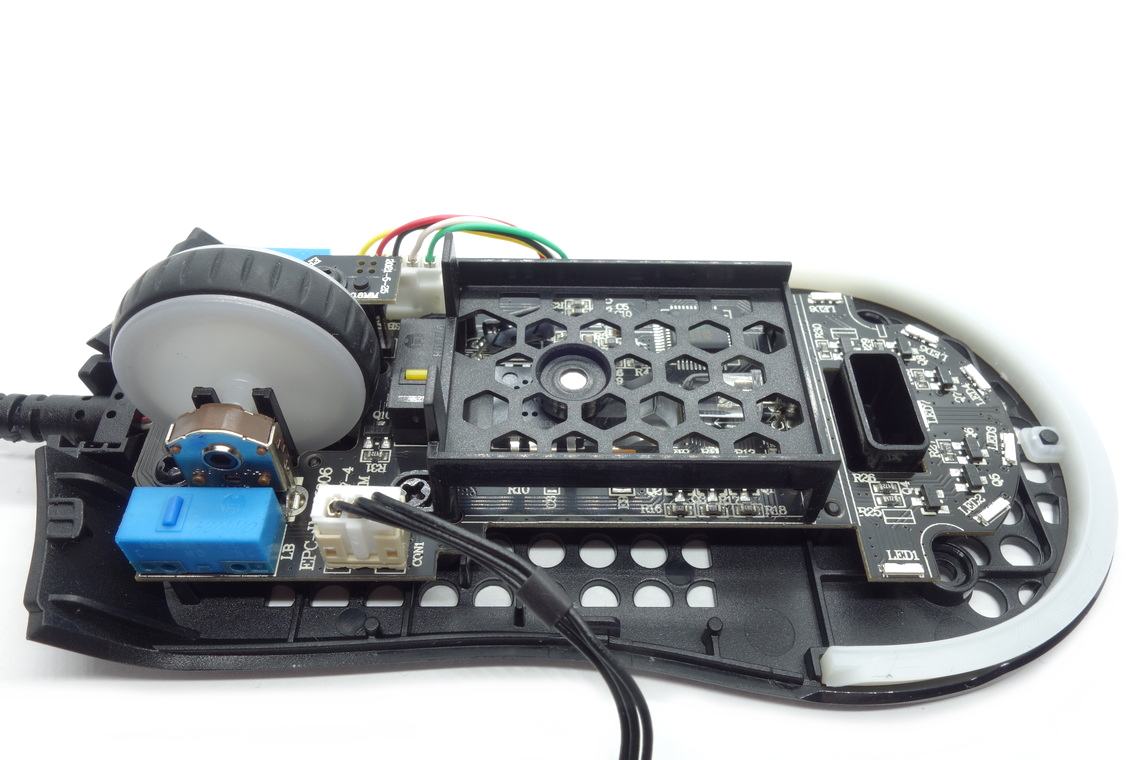
As for the soldering and general quality of the PCB, I'm unable to find any noteworthy flaws.
Jul 19th, 2025 00:47 CDT
change timezone
Latest GPU Drivers
New Forum Posts
- VMware Workstation is now free for personal use (17)
- What's your latest tech purchase? (24312)
- 9060 XT 8GB or 5060 8GB? (35)
- question for everyone about google play games beta (1)
- Gacha Games - Discussions, Pulls, Updates, etc. (0)
- Idle issue since 5060 ti installed (28)
- Windows 11 General Discussion (6151)
- Have you got pie today? (16795)
- Anime Nation (13054)
- Stalker 2 is looking great. (214)
Popular Reviews
- MSI GeForce RTX 5060 Gaming OC Review
- Razer Blade 16 (2025) Review - Thin, Light, Punchy, and Efficient
- Thermal Grizzly WireView Pro Review
- Pulsar X2 Crazylight Review
- SilverStone SETA H2 Review
- AVerMedia Live Gamer Ultra S (GC553Pro) Review
- Upcoming Hardware Launches 2025 (Updated May 2025)
- Sapphire Radeon RX 9060 XT Pulse OC 16 GB Review - An Excellent Choice
- NVIDIA GeForce RTX 5050 8 GB Review
- Our Visit to the Hunter Super Computer
TPU on YouTube
Controversial News Posts
- Intel's Core Ultra 7 265K and 265KF CPUs Dip Below $250 (288)
- Some Intel Nova Lake CPUs Rumored to Challenge AMD's 3D V-Cache in Desktop Gaming (140)
- AMD Radeon RX 9070 XT Gains 9% Performance at 1440p with Latest Driver, Beats RTX 5070 Ti (131)
- NVIDIA Launches GeForce RTX 5050 for Desktops and Laptops, Starts at $249 (124)
- NVIDIA GeForce RTX 5080 SUPER Could Feature 24 GB Memory, Increased Power Limits (115)
- Microsoft Partners with AMD for Next-gen Xbox Hardware (105)
- NVIDIA DLSS Transformer Cuts VRAM Usage by 20% (99)
- AMD Sampling Next-Gen Ryzen Desktop "Medusa Ridge," Sees Incremental IPC Upgrade, New cIOD (97)