 19
19
Gigabyte Z77X-UD5H WiFi Intel Z77 Express LGA 1155 Review
BIOS Walkthrough »The Board - A Closer Look


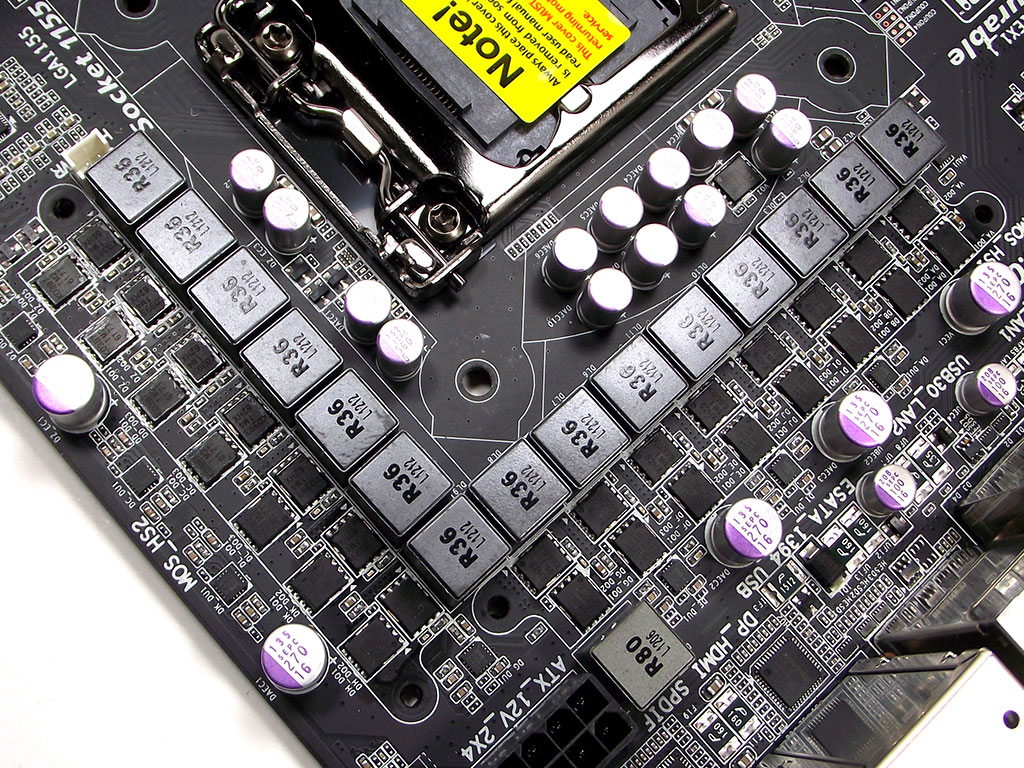
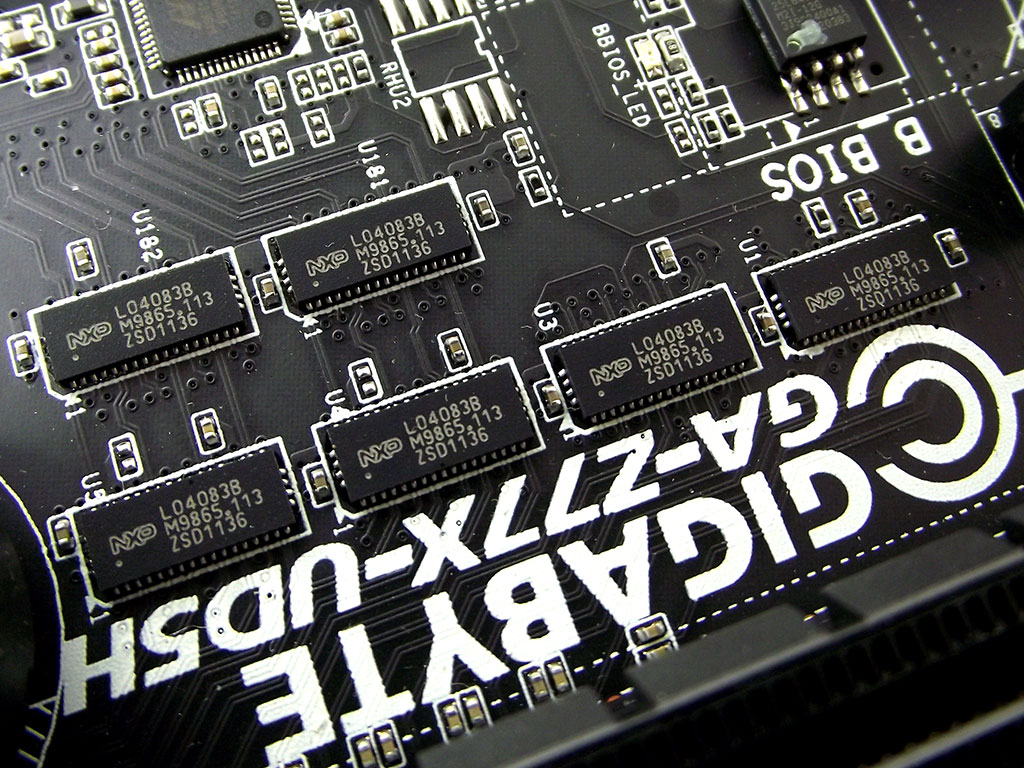
Gigabyte has really solidified all the overclocking features they offer, including bunching all the main controls into a single area, as seen in the first picture above. There is a power button, CMOS Clear, and RESET all close together, as well as a bunch of measuring points for various critical system voltages, right next to a dual-digit POST code display. Gigabyte has also revamped the Dual BIOS tech they've used since time began, with two BIOS chips soldered to the board's surface. What makes it unique, and ultimately the perfect solution, is the ability for users to choose which BIOS they are booting from, thanks to the switch I found earlier at the board's bottom edge. If you look closely at the second image above, you'll see that there is an LED right next to each BIOS chip, making it really easy to figure out which one is in use. Should you corrupt your BIOS, or change a setting that makes the system unbootable, you can merely flip the switch, and boot from the secondary BIOS.
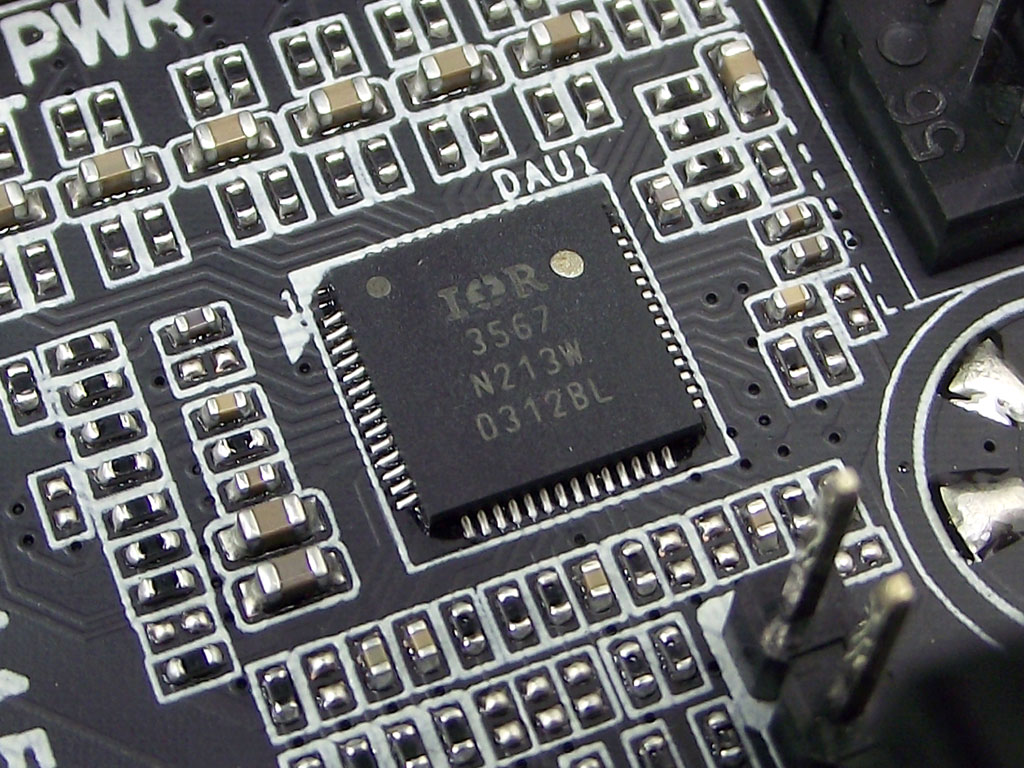
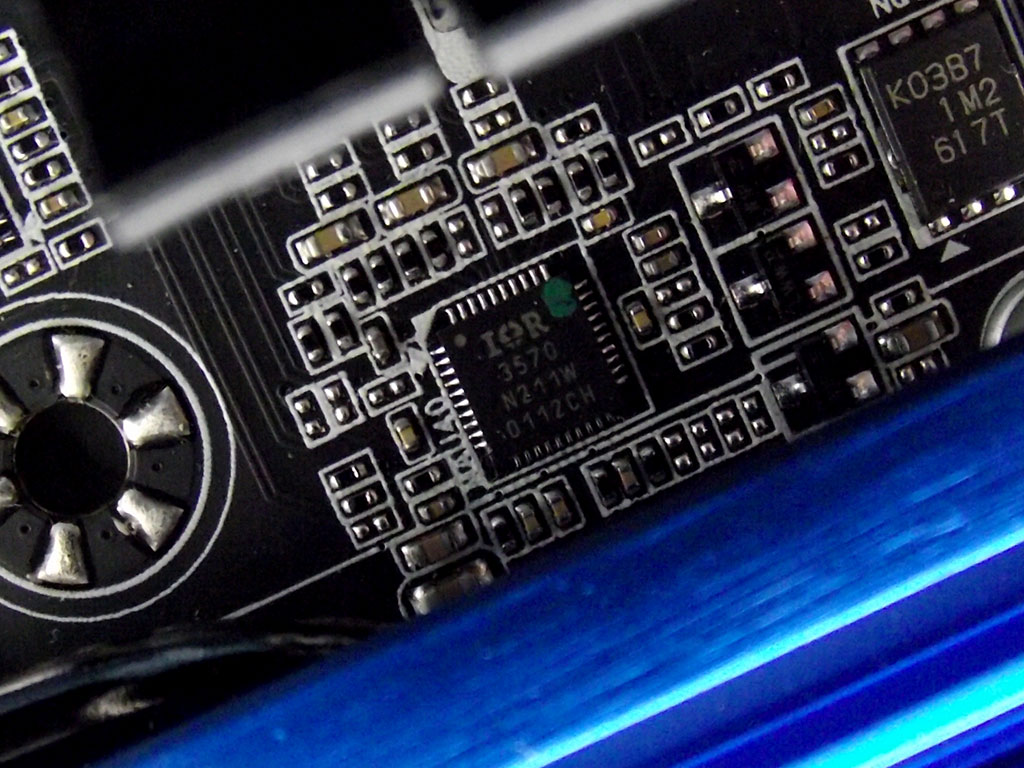
As we saw with Gigabyte's X79 boards, the VRM design used by Gigabyte has changed to International Recitfier parts, with the IR3567 seen in the first image above in charge of the CPU's power supply. The 12+2+1 design, seen in the second image above, is nearly 100% customizible, with options in BIOS to set refresh rates, current limits, and a few other choices, like setting loadline calibration to a custom scheme.
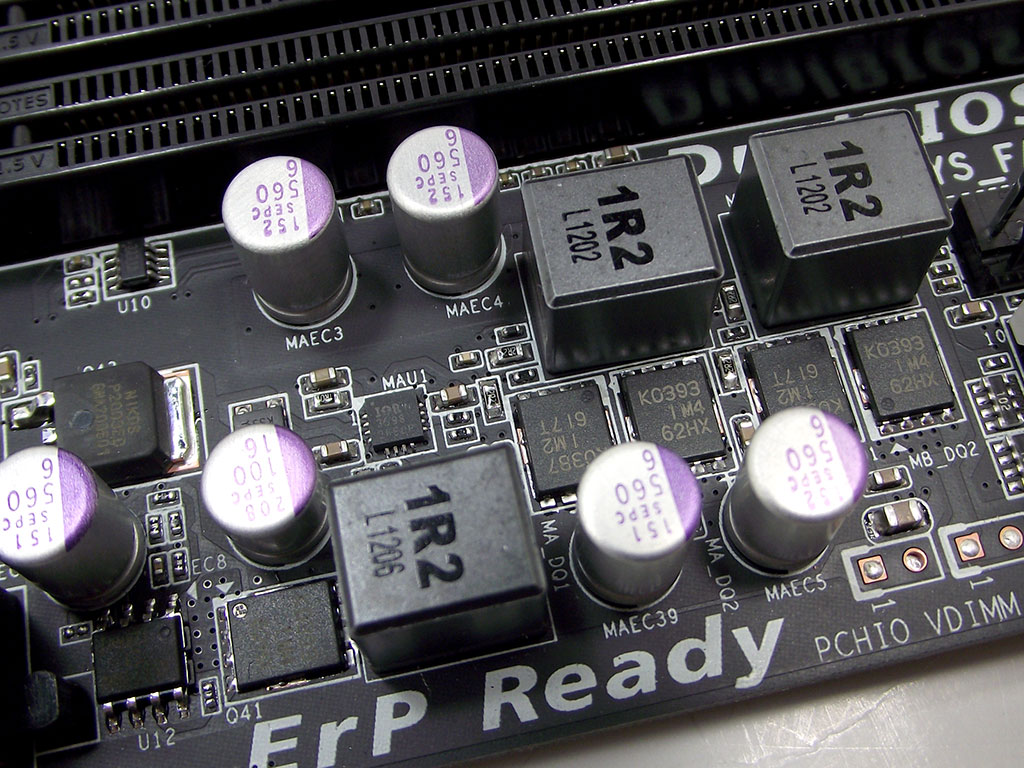
This design also allows for similar controls for other areas, including the PCH and DIMM sections, although with the F7 BIOS is used for testing, I could not actually find any voltage options for the Z77 Express chipset itself! The DIMM VRM on the other hand, has almost too much in the way of options, and is powered by a dual-phase design that is more than ample for 24/7 overclocking, and is almost geared to the extreme user cooling with LN2.
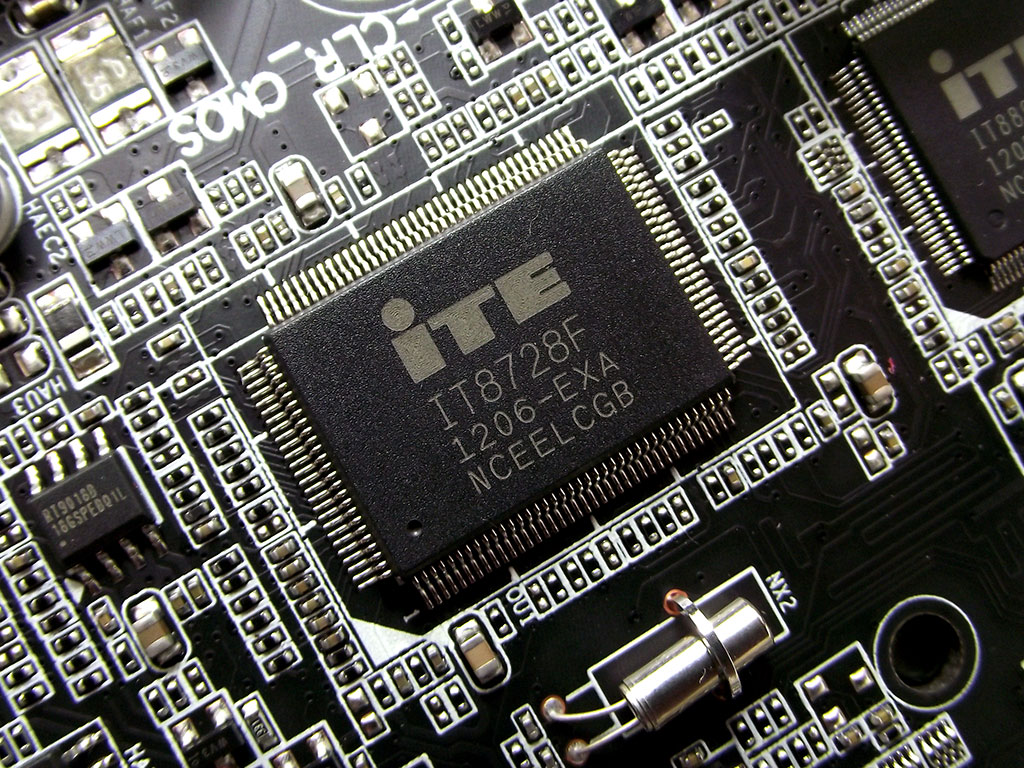
System monitoring functionality is provided by an ITE IT8728F, a chip we've seen before a few times now, responsible for sensor data monitoring and fan control. The PCIe-to-PCI bridge is also supplied by ITE, seen in the second image above.

The PCIe subsystem is a bit more complex than I've seen in the past, due to the additional capabilities offered by IvyBridge-based CPUs. The six bridge chips seen in the first image above allow the Gigabyte Z77X-UD5H to split the single PCIe 3.0 x16 link from IvyBridge CPUs into three links; the lower two slots each with a PCIe x4 link, and the uppermost retains a PCIe x8 link. The link from the CPU can also be set to two devices, running the uppermost two slots each at a PCIe x8 link, and this mode is available when running both SandyBridge and IvyBridge CPUs, although it will only run PCIe revision 3.0 when IvyBridge is installed.
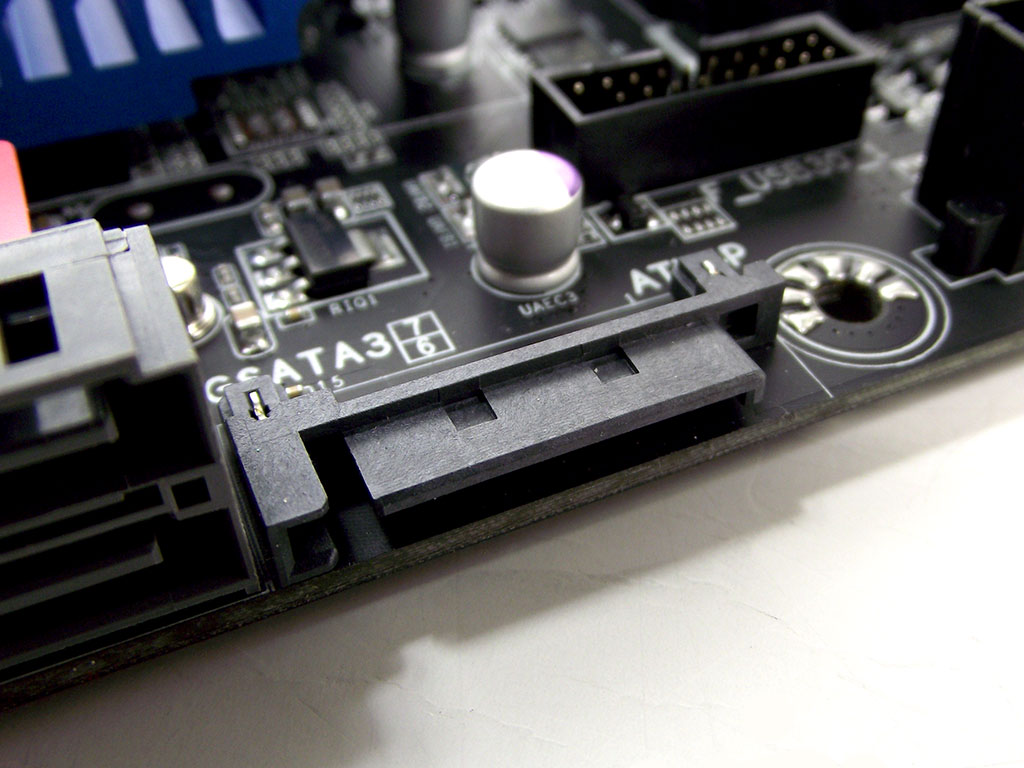
With support for three PCIe slots, it becomes possible for users to run triple VGAs, and when doing so, power consumption via the PCIe slot can hit 225 W or so. To ensure that stable power is provided in such configurations, Gigabyte has added a SATA-based power connector to the right board edge, to help take the load of that large power draw off of the 24-pin power connector.
To wrap it all up, there is also an ICS 9BD403DGLF PCIe clock buffer, to help ensure stable clocks across all PCIe slots.
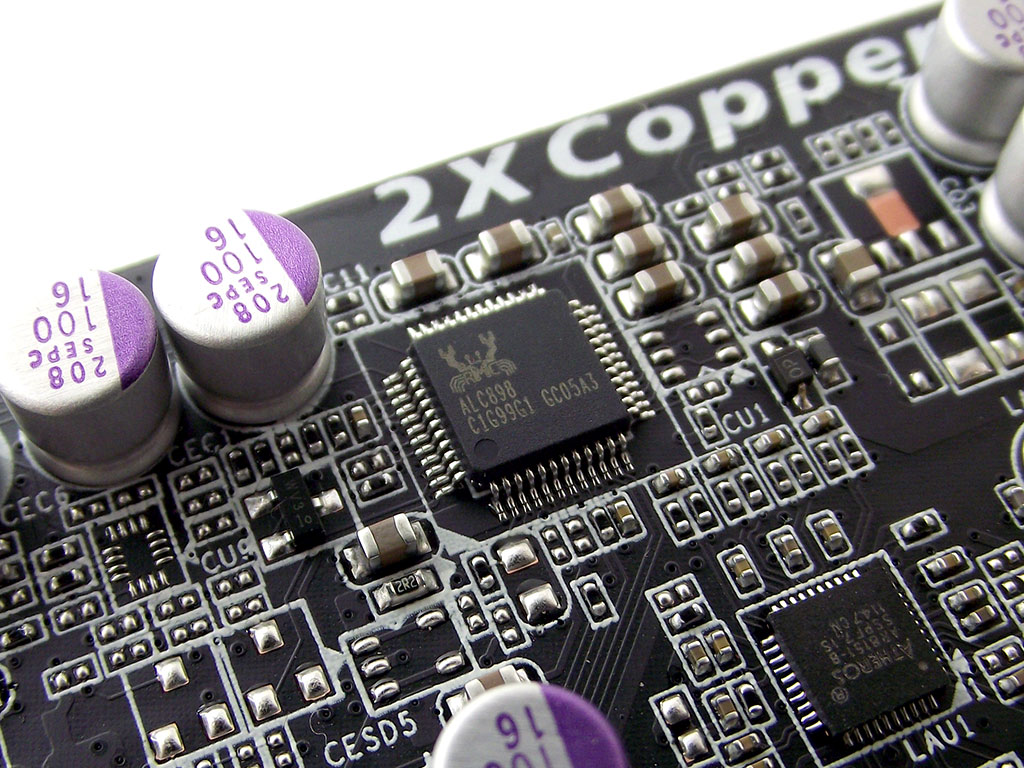

The included Realtek ALC898 HD codec supports 7.1 audio, and meets Microsoft's WLP3.x audio requirements. Supporting 44.1k/48k/96k/192 kHz sampling at 16-, 20- and 24-bit, the Realtek ALC898 includes full support for HD audio formats featuring Content Protection, if supporting software is used. It is also DirectSound 3D compatible, so no area of usage or functionality is overlooked, including support for Dolby Home Theatre. Gigabyte has sourced the LAN controllers for the GA-Z77X-UD5H from Intel and Atheros, Fitting the GA-Z77-UD5H with the Intel 82579V helps keep power consumption down, as it meets the 802.3az Energy Efficient Ethernet appliance standard.
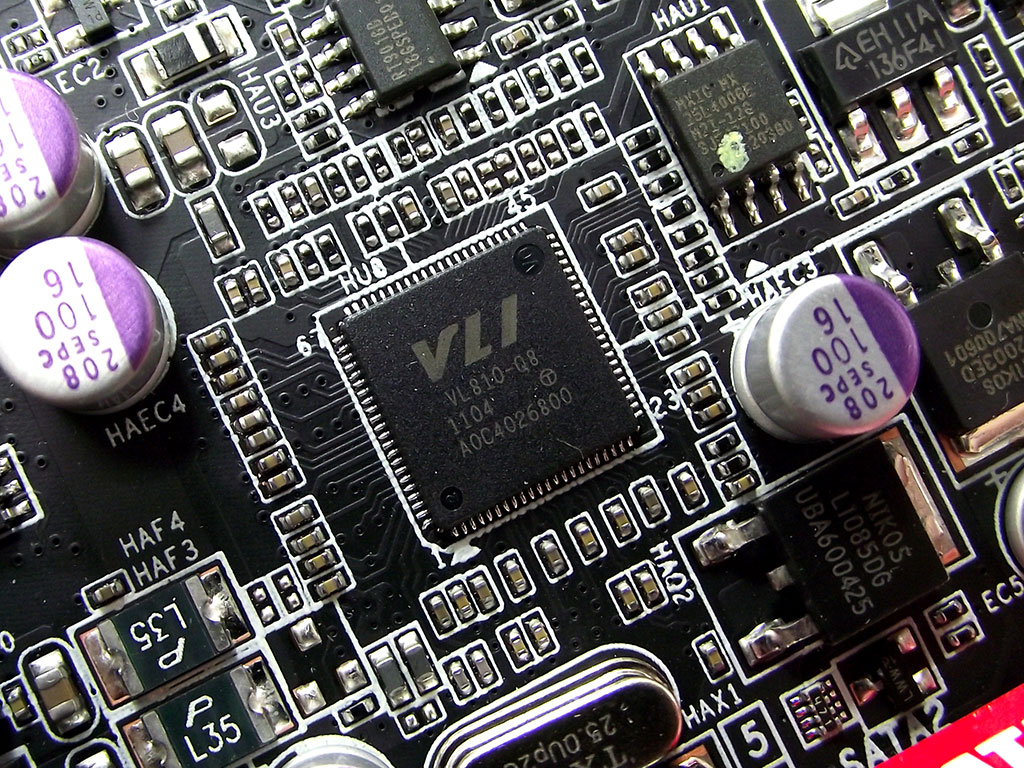
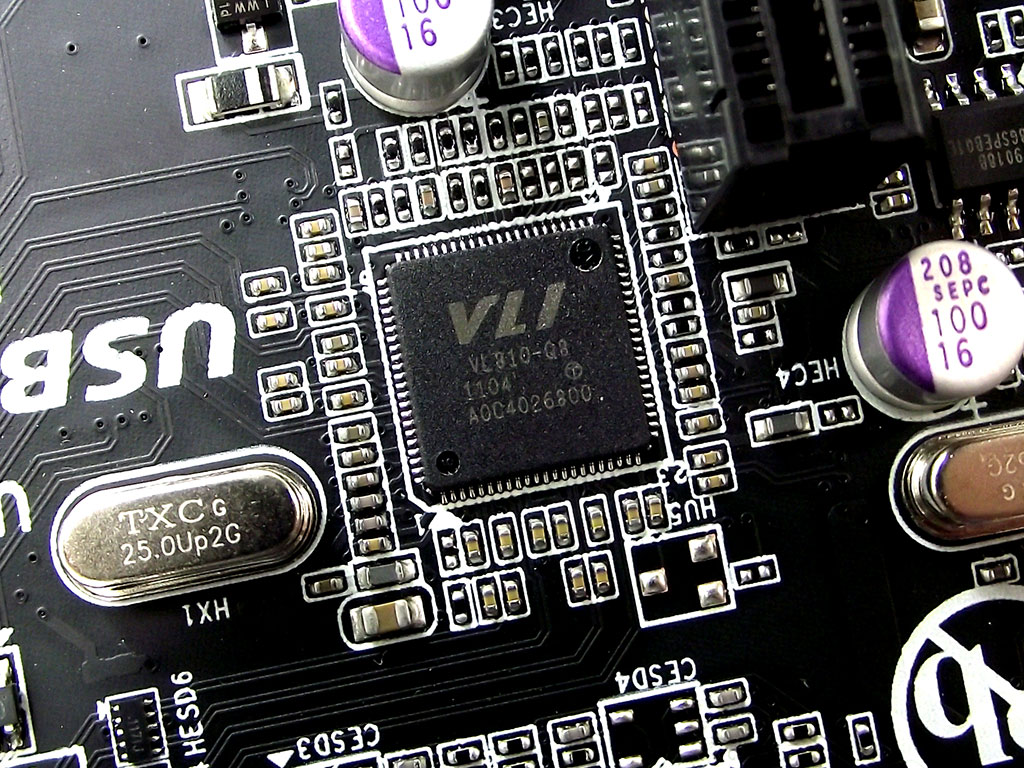
For USB 3.0 support, we find dual VLi VL810-Q8 PCIe controllers, one for both of the internal headers found on the bottom board edge that provides USB 3.0 to casing front panels, and one for the ports on the rear I/O. The third USB 3.0 front panel connector, found behind the 24-pin power connector, is based off of the Intel Z77 Express controller.
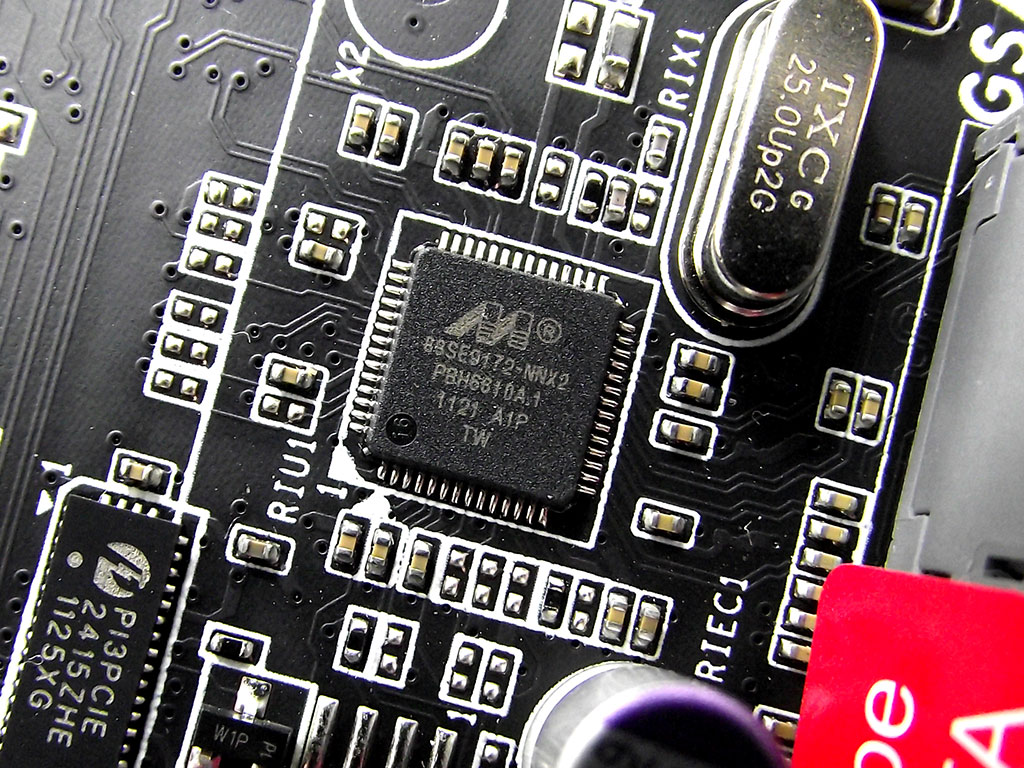
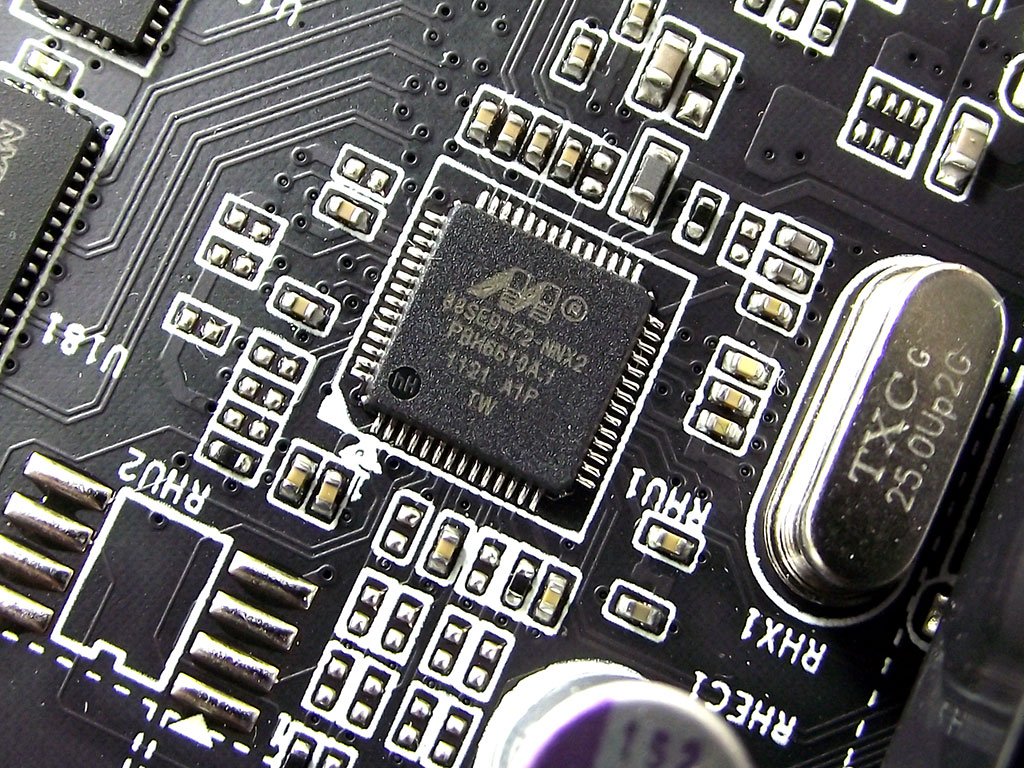
There are two Marvell drive controllers onboard, one for the grey SATA boards on the board's right edge, while the second is for eSATA control, as well as the SATA port found on the board's bottom edge.
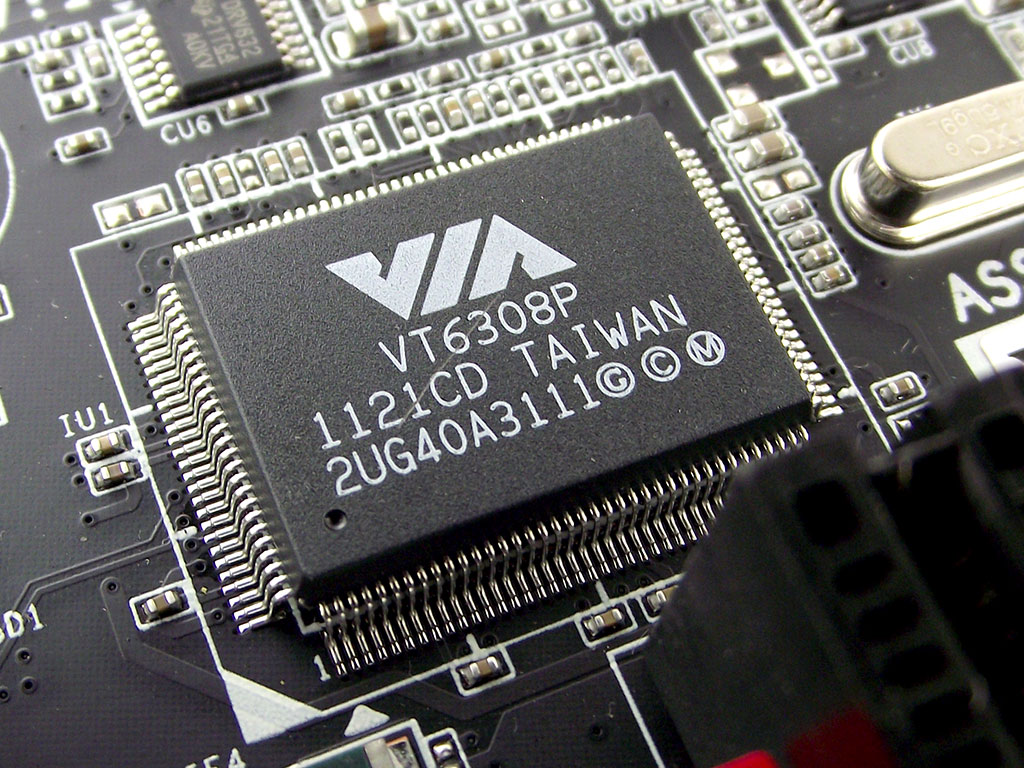
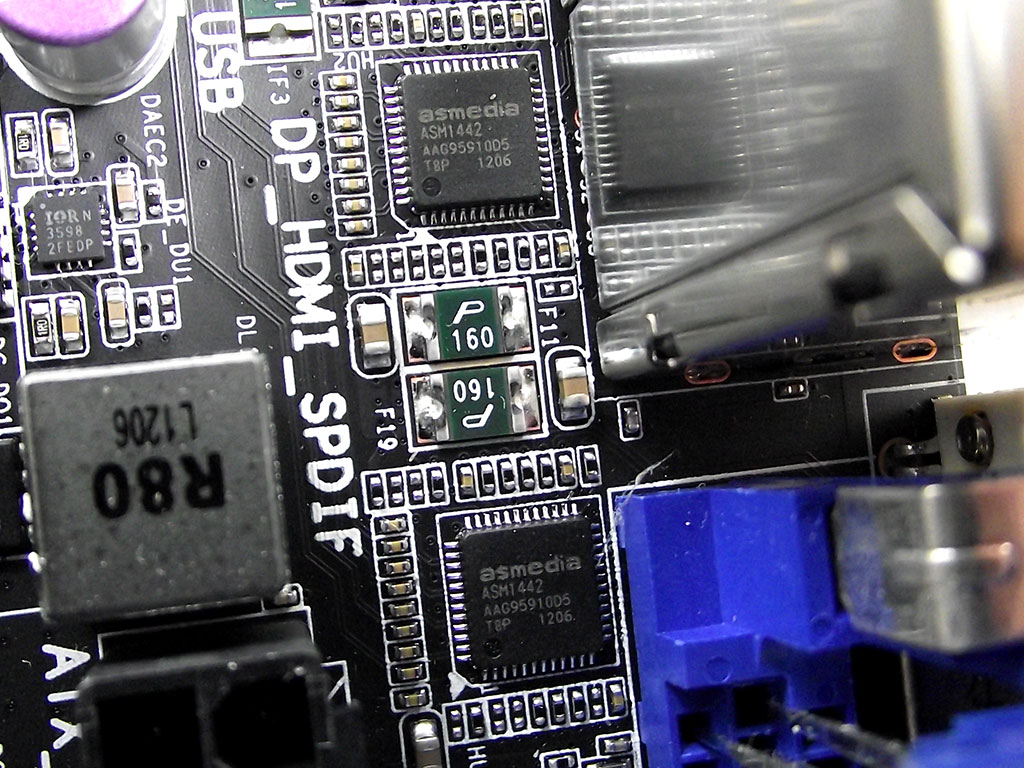
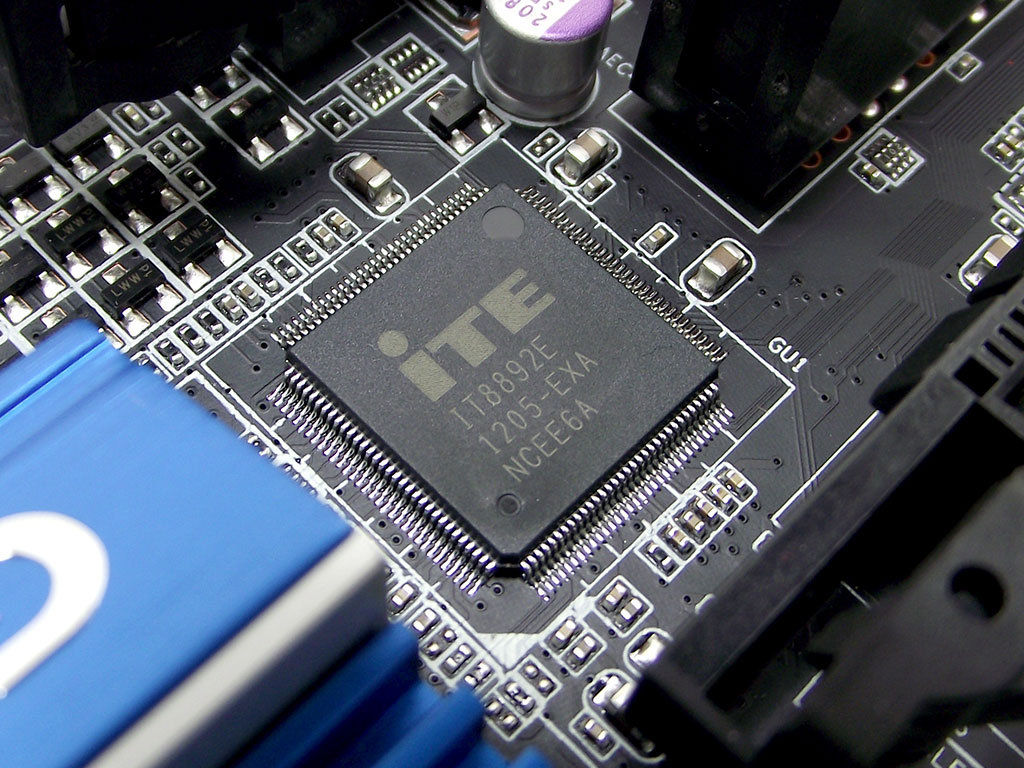
The VIA VT6308P in the first image above provides the GA-Z77-UD5H's IEEE 1394 FireWire support, powering both the port on the rear I/O as well as the internal header found on the board's bottom edge. The second image shows the dual Asmedia TMDS switches, that allows the board to push two monitors as once.

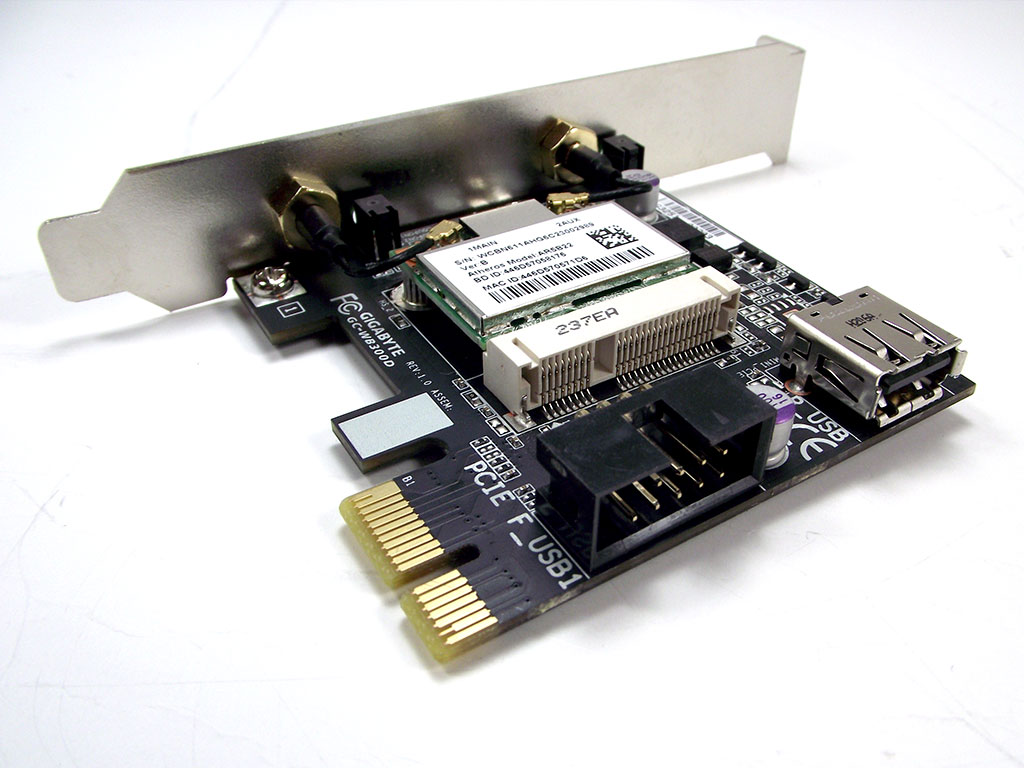
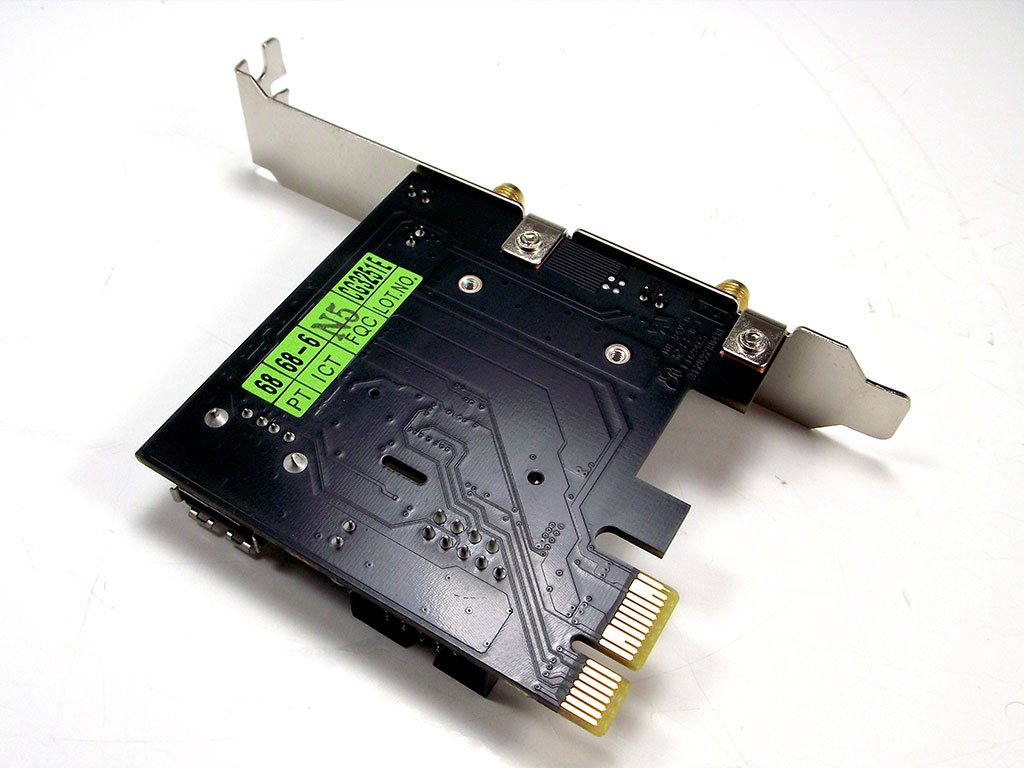
The Gigabyte Z77X-UD5H WiFi includes a separate Bluetooth 4.0 and WiFi card that uses both the PCIe bus, as well as USB 2.0, although the USB interface is used for the Bluetooth portion only. The two separate devices occupy the same card, but feature separate antennas and interfaces. Because only one USB 2.0 port is used, the card has a USB 2.0 port built on it, but we're not exactly sure why, as it is not the sort of port that can be wired to the case exterior, but rather a normal USB 2.0 port you might plug your keyboard or mouse into. It's nice to have access to the unused port, but it could have been provided in a slightly better way, like perhaps sticking out the same end as the antenna receptacles.
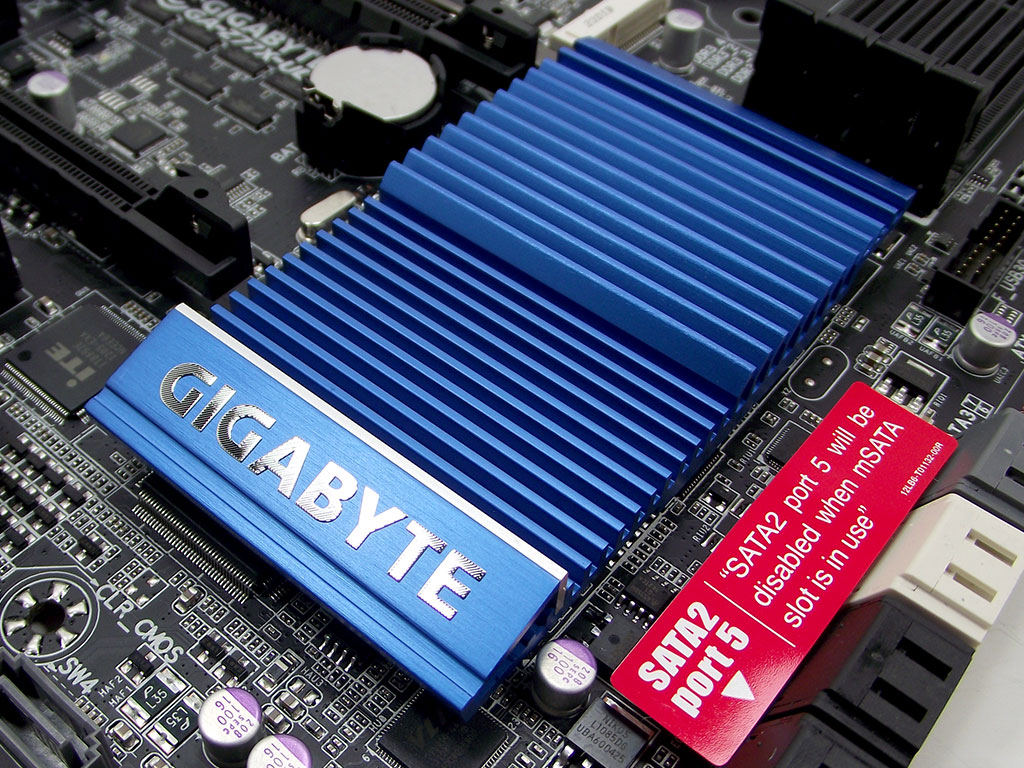
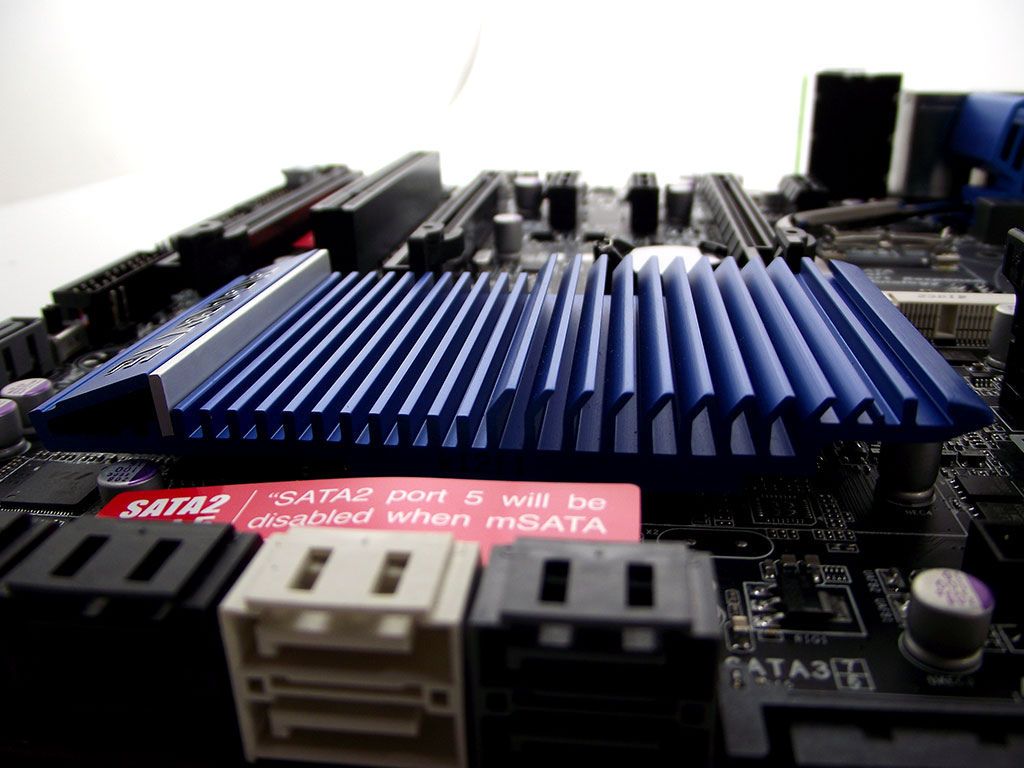
The coolers on the Gigabyte Z77X-UD5H are pretty large, with the PCH cooler extending nearly five full slots from top to bottom. It's actually quite thin, with many curved fins protruding from the surface.
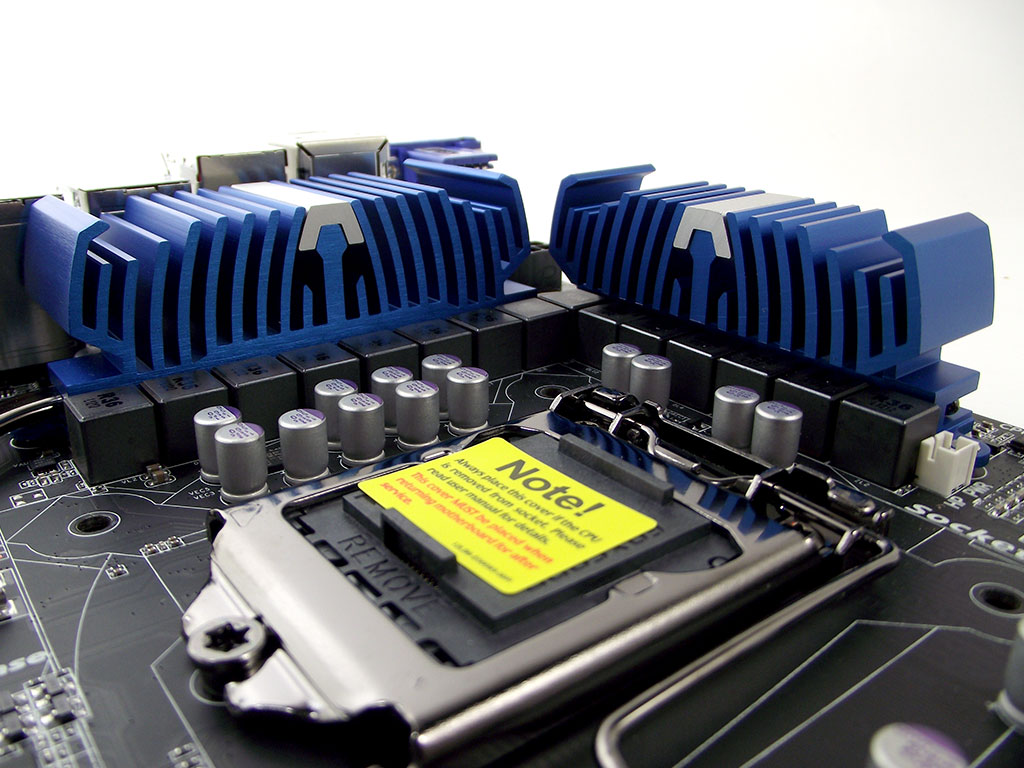
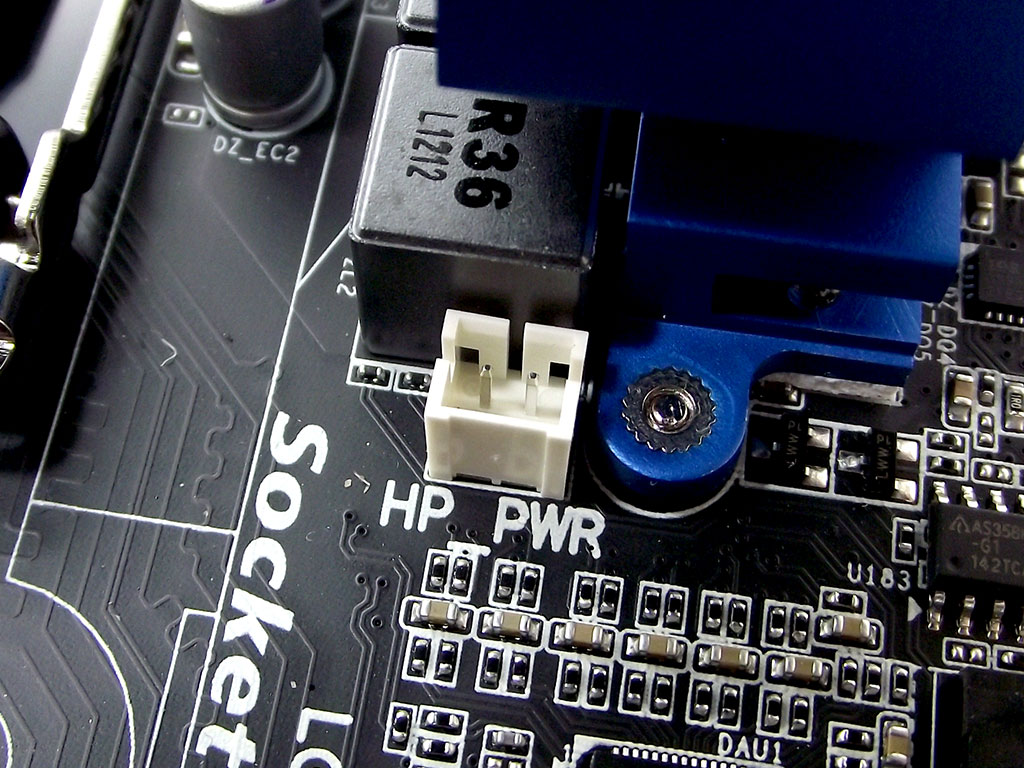
The VRM heatsinks are two big beefy hunks of metal which are connected together via a heatpipe, that also connects to the PCH cooler. At the right edge of the uppermost cooler is a pin header, that seems to be for an LED perhaps. It's strange to see the white connector there, as it easily catches the eye with everything else on the board pretty much black or blue.
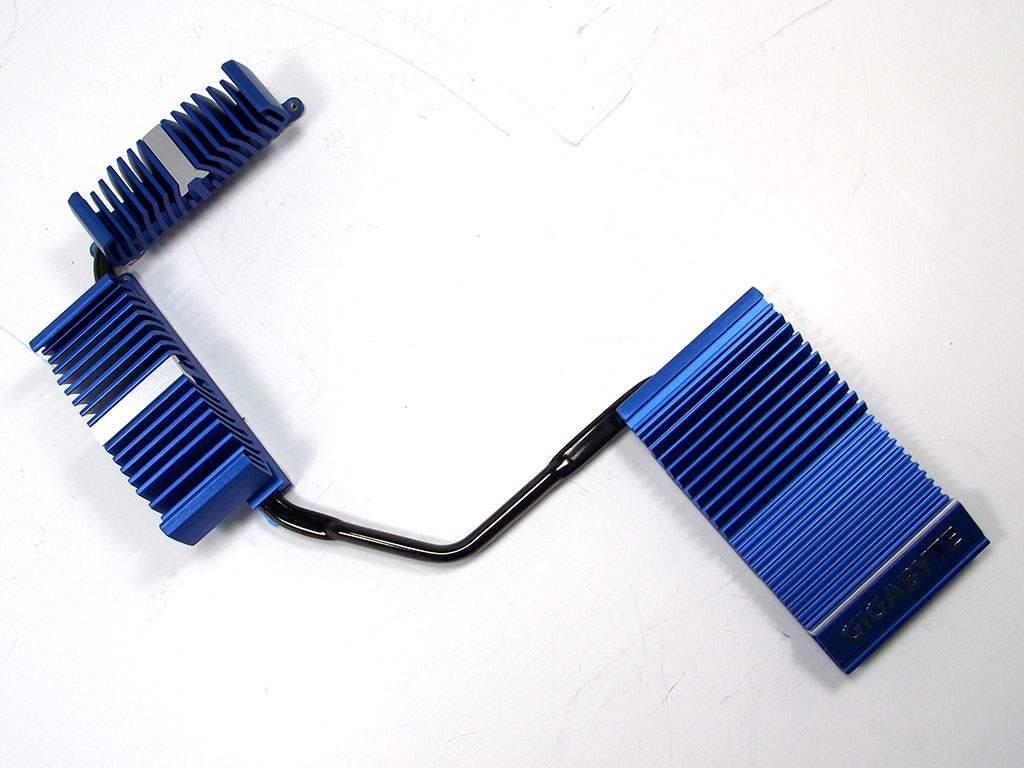
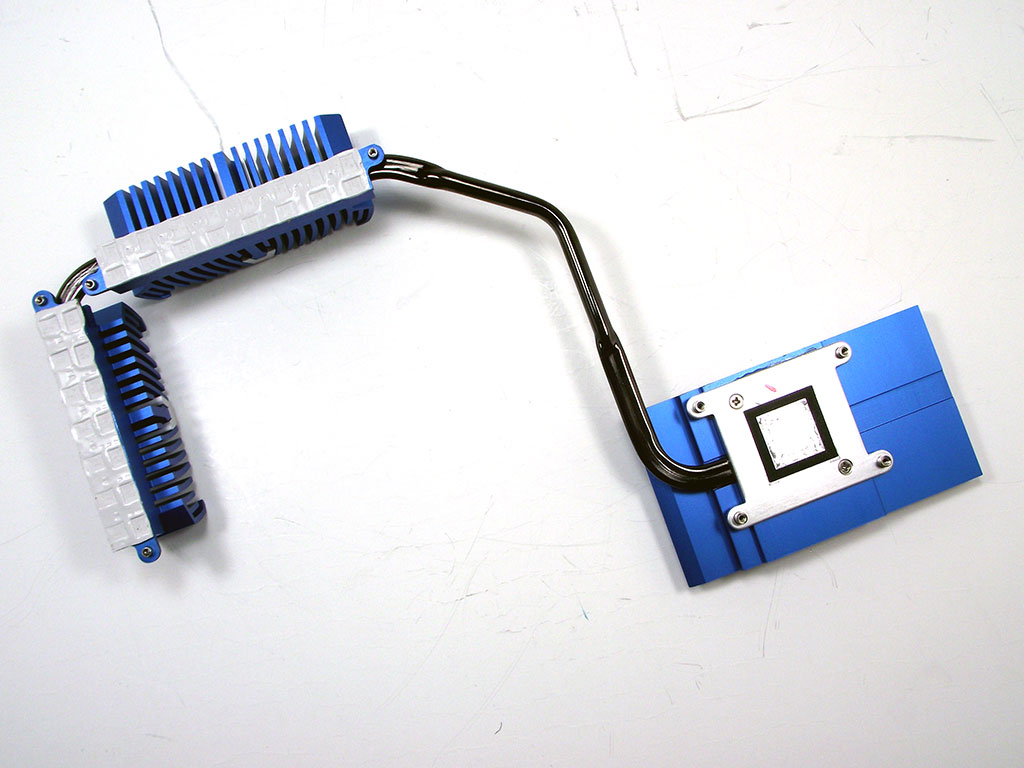
With the cooler removed from the board, I checked to see how well it mated with the board's surface, which with some boards in the past has been a big issue. Fortunately Gigabyte's cooler design for the Z77X-UD5H makes perfect contact with all critical VRM components, and the heatpipe that connects all of the elements runs directly over all heat-generating parts, from the Intel Z77 Express PCH, up and around the PCIe slots and then all the way across the dual rows of MOSFETs.
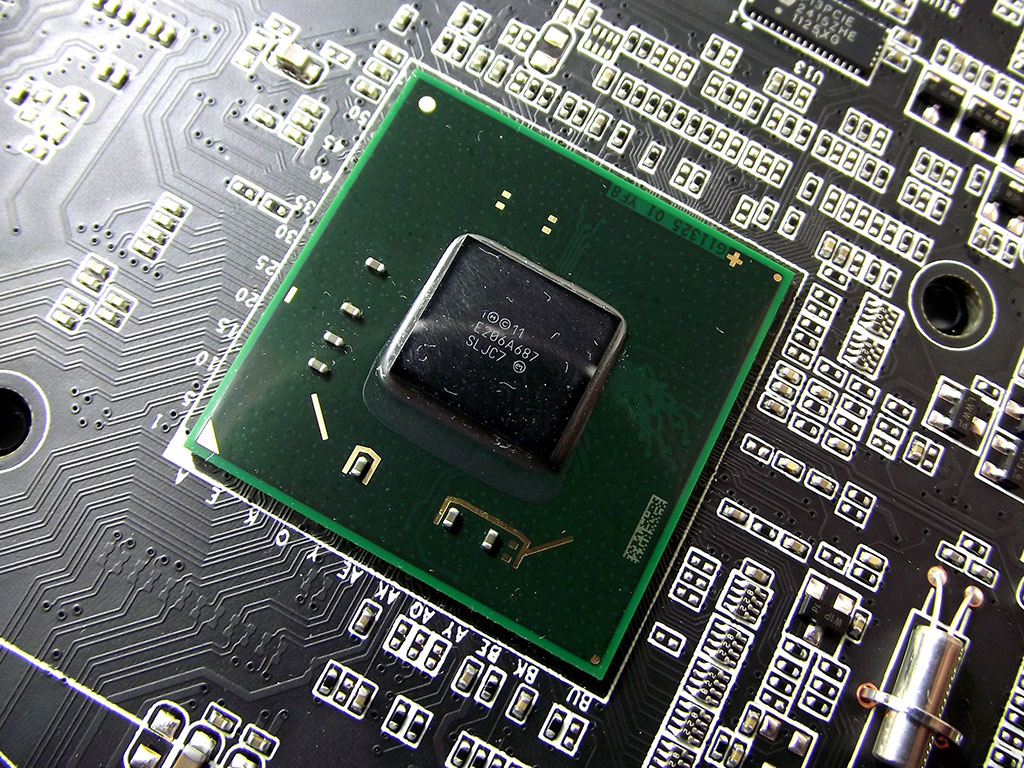
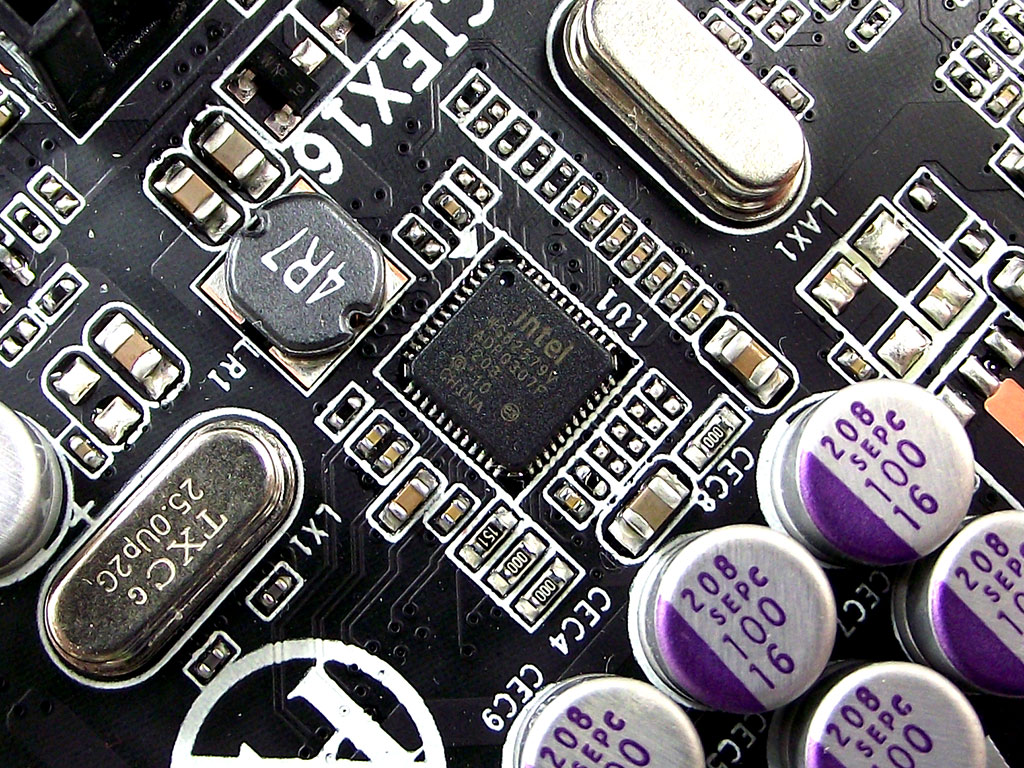
In the above picture you can clearly see the new Intel Z77 Express chipset, found under the large southbridge cooler. The chip itself is fairly small, so it's quite curious that I noticed temperatures over 65°C during testing. I expected a bit less considering the size of the board's cooling device, and the relatively low power draw of the entire platform.
Jul 4th, 2025 03:21 CDT
change timezone
Latest GPU Drivers
New Forum Posts
- Do you use Linux? (669)
- They're b...a....c....k.... (20)
- RDNA 4 Fine Wine? (HUB Vid) (58)
- Gigabyte graphic cards - TIM gel SLIPPAGE problem (128)
- Will you buy a RTX 5090? (616)
- [GPU-Z Test Build] New Kernel Driver, Everyone: Please Test (38)
- What Windows is overall the best to you and why? (272)
- How often do you (re)install your OS? (206)
- What would you buy? (53)
- Need help with X-Fi xtremegamer Fatal1ty card (1)
Popular Reviews
- Fractal Design Scape Review - Debut Done Right
- ASUS ROG Crosshair X870E Extreme Review
- Crucial T710 2 TB Review - Record-Breaking Gen 5
- PowerColor ALPHYN AM10 Review
- Sapphire Radeon RX 9060 XT Pulse OC 16 GB Review - An Excellent Choice
- Upcoming Hardware Launches 2025 (Updated May 2025)
- AMD Ryzen 7 9800X3D Review - The Best Gaming Processor
- Sapphire Radeon RX 9070 XT Nitro+ Review - Beating NVIDIA
- SCHENKER KEY 18 Pro (E25) Review - Top-Tier Contender
- AVerMedia CamStream 4K Review
TPU on YouTube
Controversial News Posts
- Intel's Core Ultra 7 265K and 265KF CPUs Dip Below $250 (288)
- NVIDIA Grabs Market Share, AMD Loses Ground, and Intel Disappears in Latest dGPU Update (212)
- Some Intel Nova Lake CPUs Rumored to Challenge AMD's 3D V-Cache in Desktop Gaming (140)
- NVIDIA GeForce RTX 5080 SUPER Could Feature 24 GB Memory, Increased Power Limits (115)
- Microsoft Partners with AMD for Next-gen Xbox Hardware (105)
- NVIDIA Launches GeForce RTX 5050 for Desktops and Laptops, Starts at $249 (105)
- Intel "Nova Lake‑S" Series: Seven SKUs, Up to 52 Cores and 150 W TDP (100)
- NVIDIA DLSS Transformer Cuts VRAM Usage by 20% (97)