 20
20
HYTE Y70 Touch Review
Display & Nexus App »Assembly
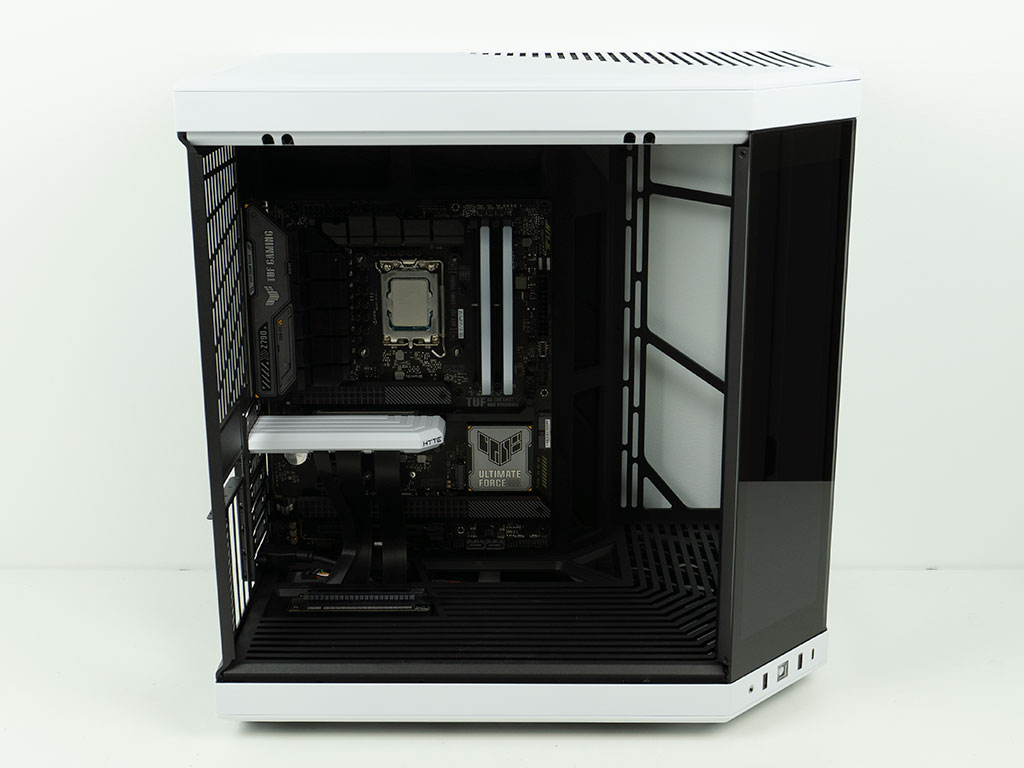
Installing the motherboard is done by traditional means, but you first have to detach the pre-installed PCIe riser cable from the expansion slot. As ATX boards these days usually skip the top-most slot, you have to move it down one slot in the process. E-ATX boards will fit nicely as well and you should still retain access to the cable routing holes as well.
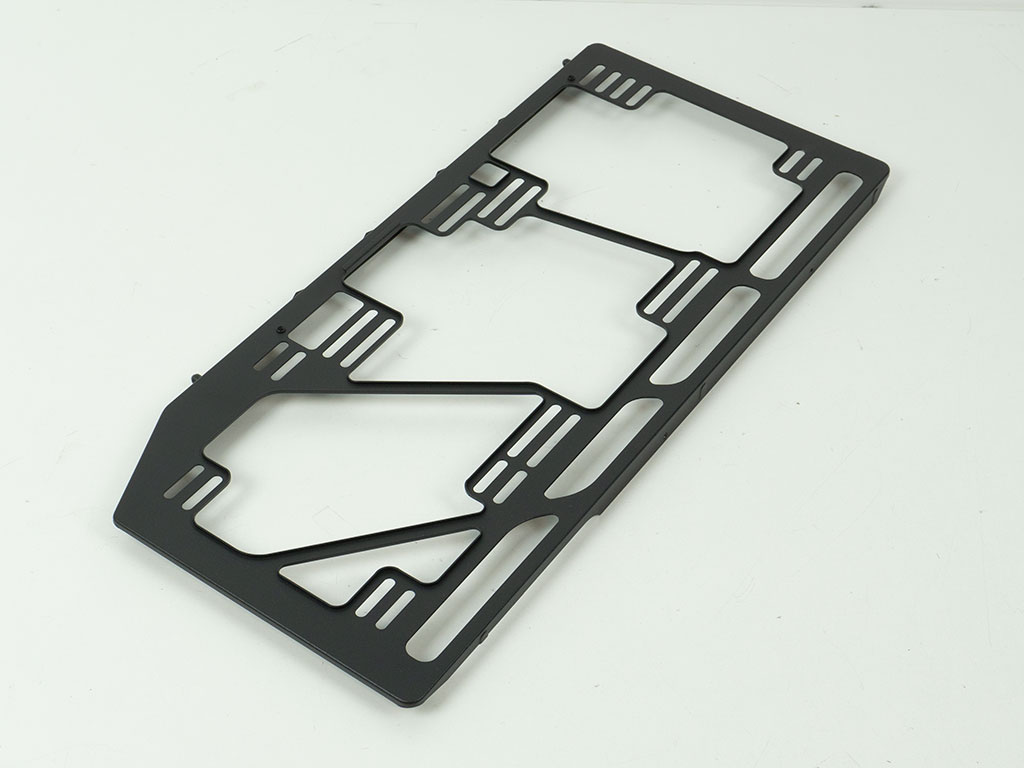
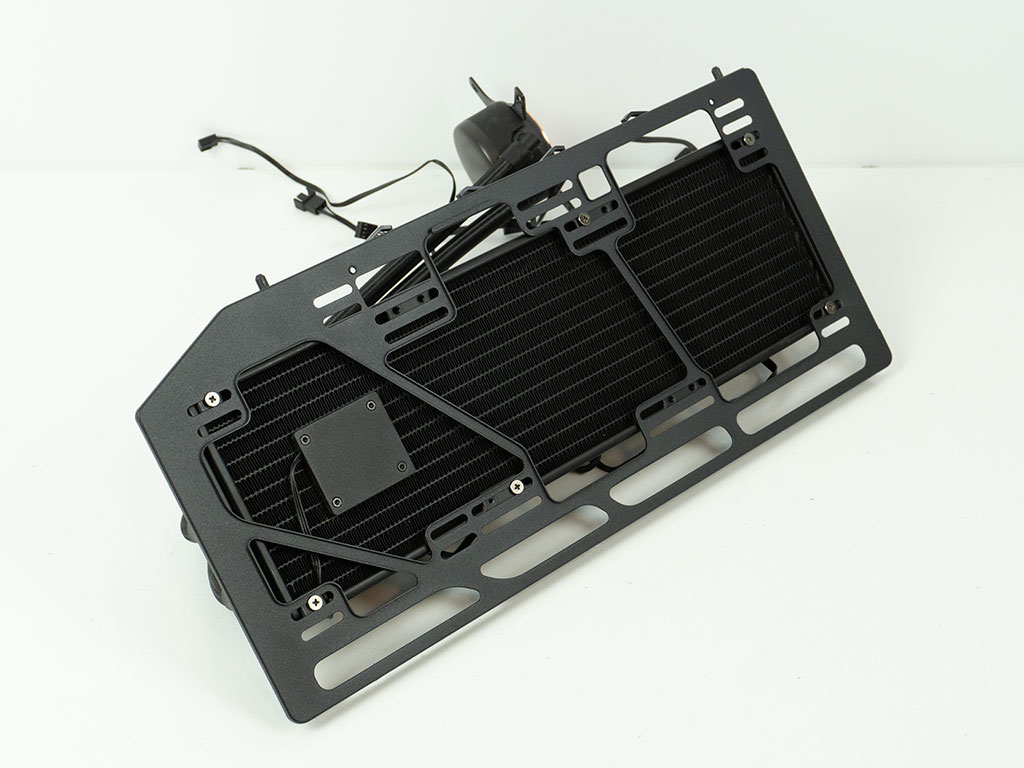

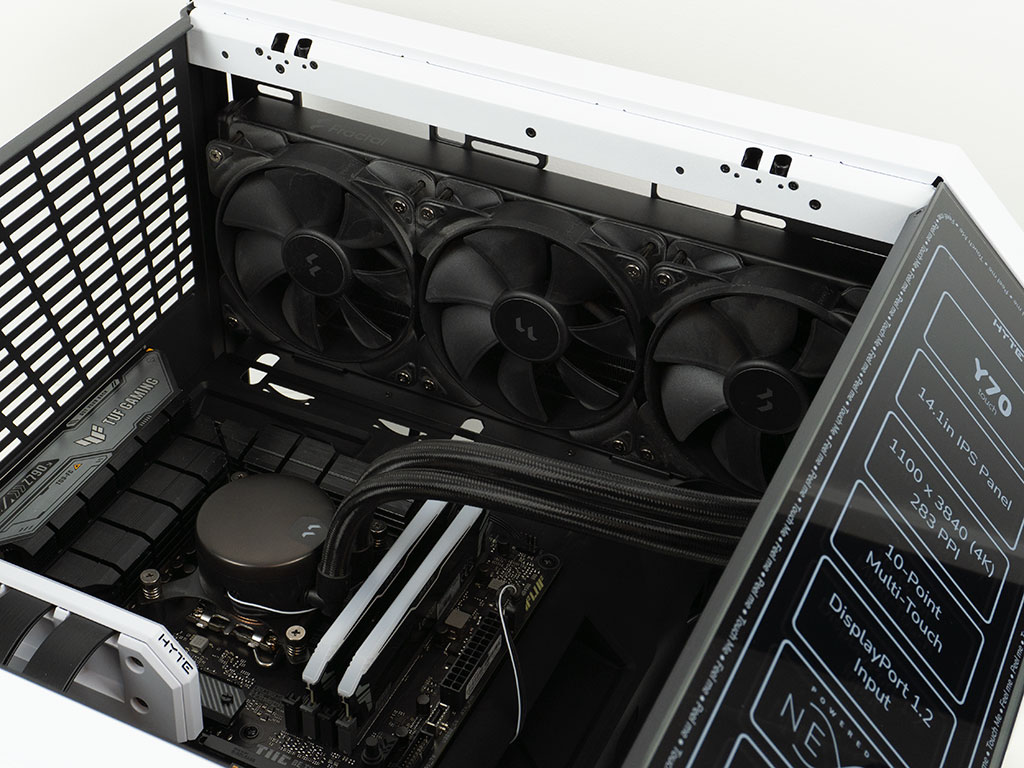
Going for an AIO in the ceiling is quite easy as you may assemble it around the removable bracket to then simply drop it in. The thin fan cables can be routed over the frame of the case, so that they will not be visible at all within the chassis interior. There is tons of room, so if you forget to plug something into the top edge of the motherboard, it should be easy enough to do at any point during the assembly process.
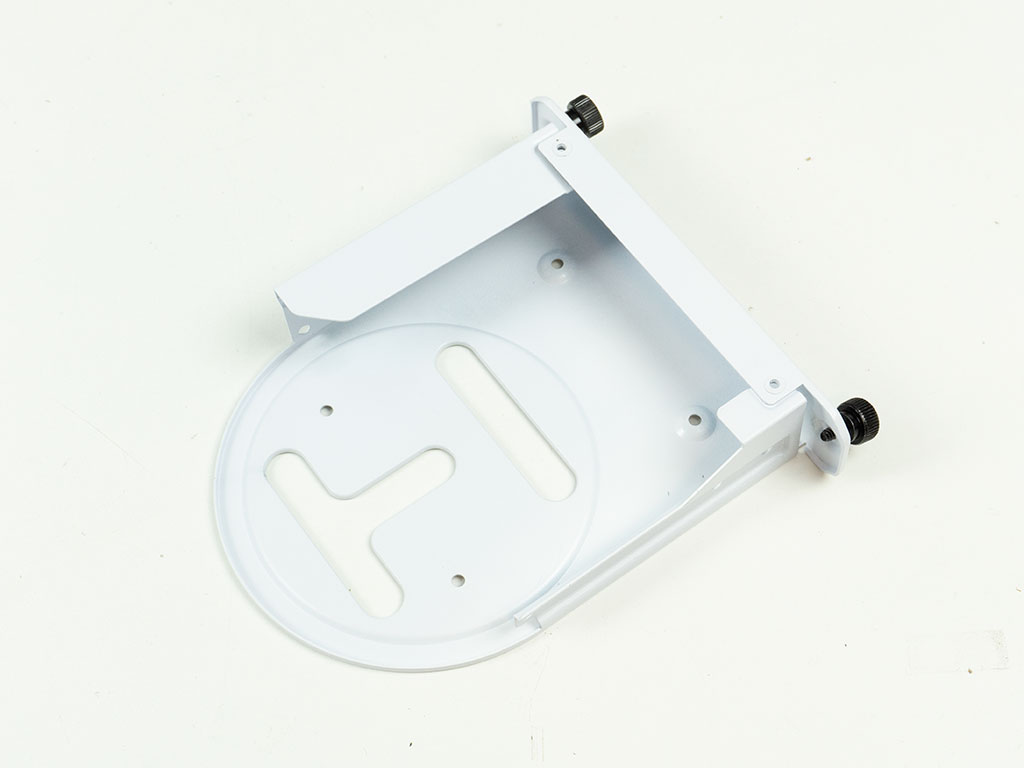
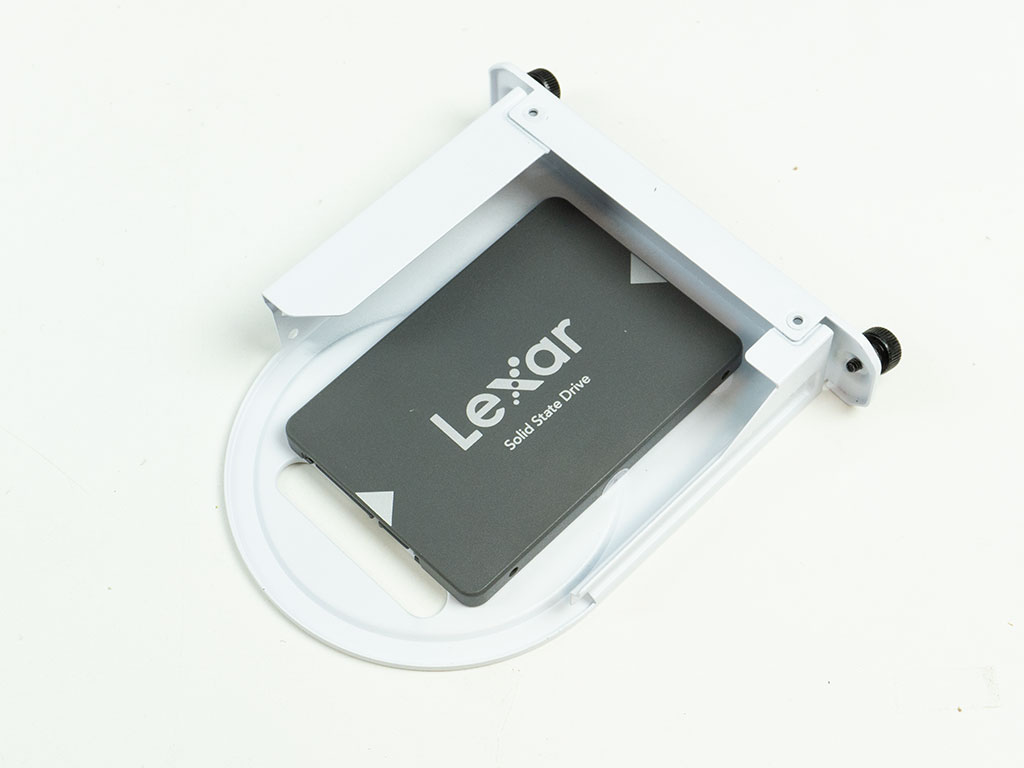

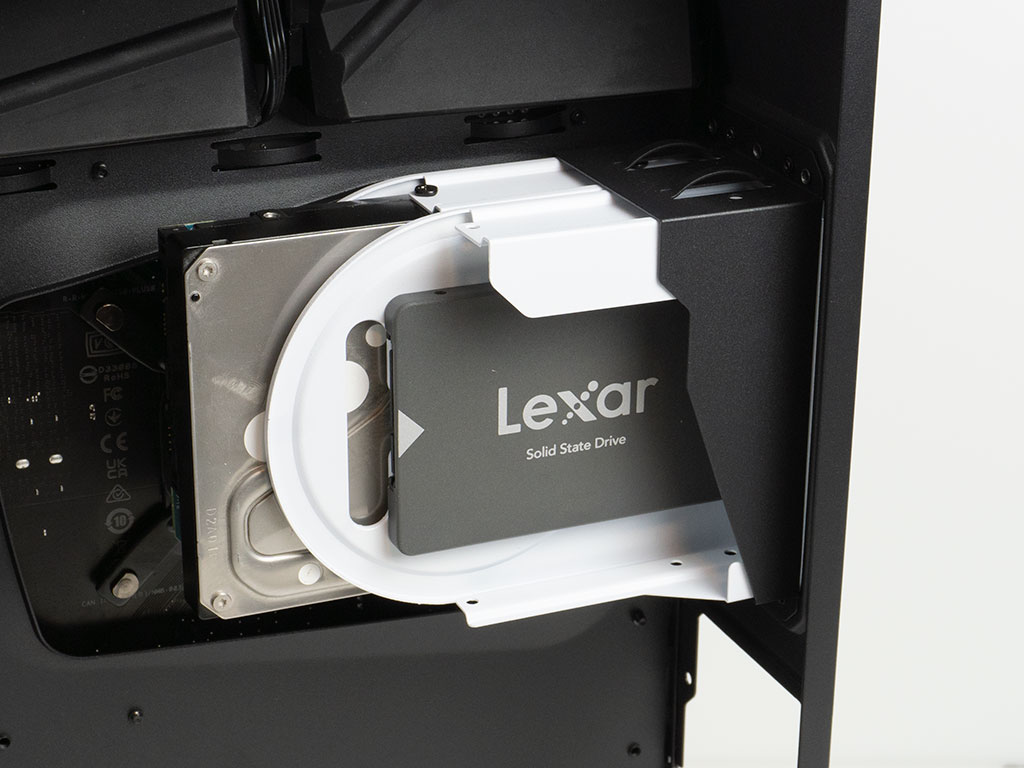
The hard-drive cage has company branding in the form of an "H" on the base. It may hold either a single 3.5" or two 2.5" drives. Both variants are attached using the provided screws. Once filled, simply place them back into the hole through the back of the HYTE Y70 Touch.
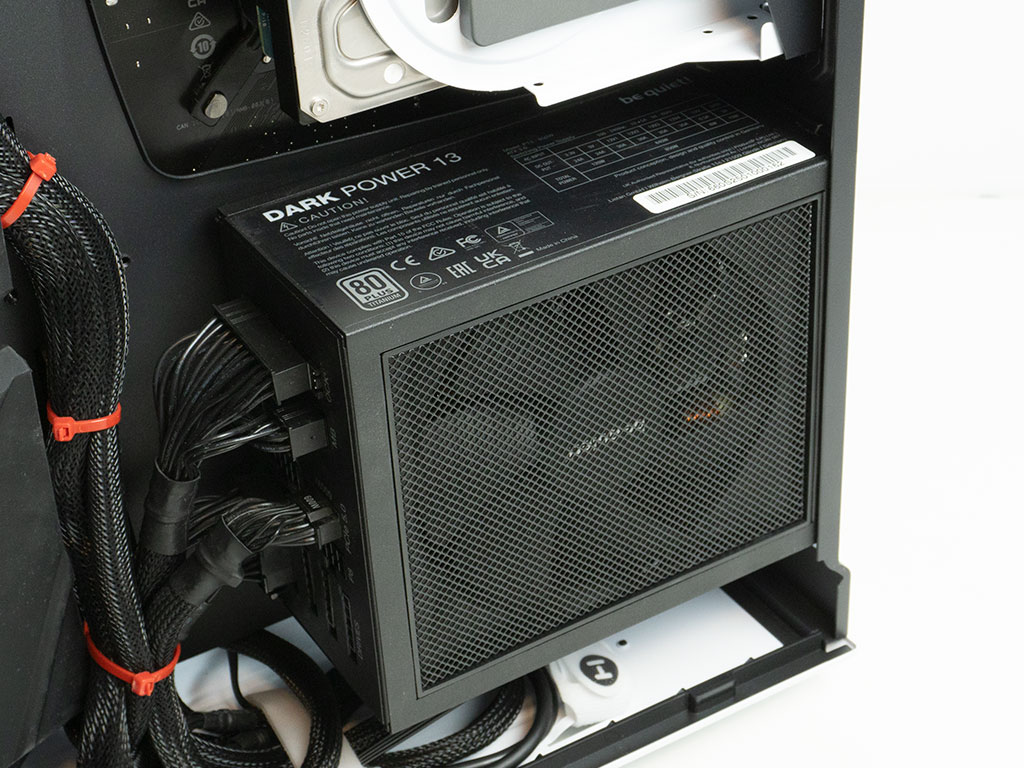
The PSU is also secured through the rear, with its fan facing the side panel it will draw fresh air in through. There is loads of space for units of up to 230 mm, so even potent PSUs should not pose a problem. You will lose a little room for cable management in the process, however.

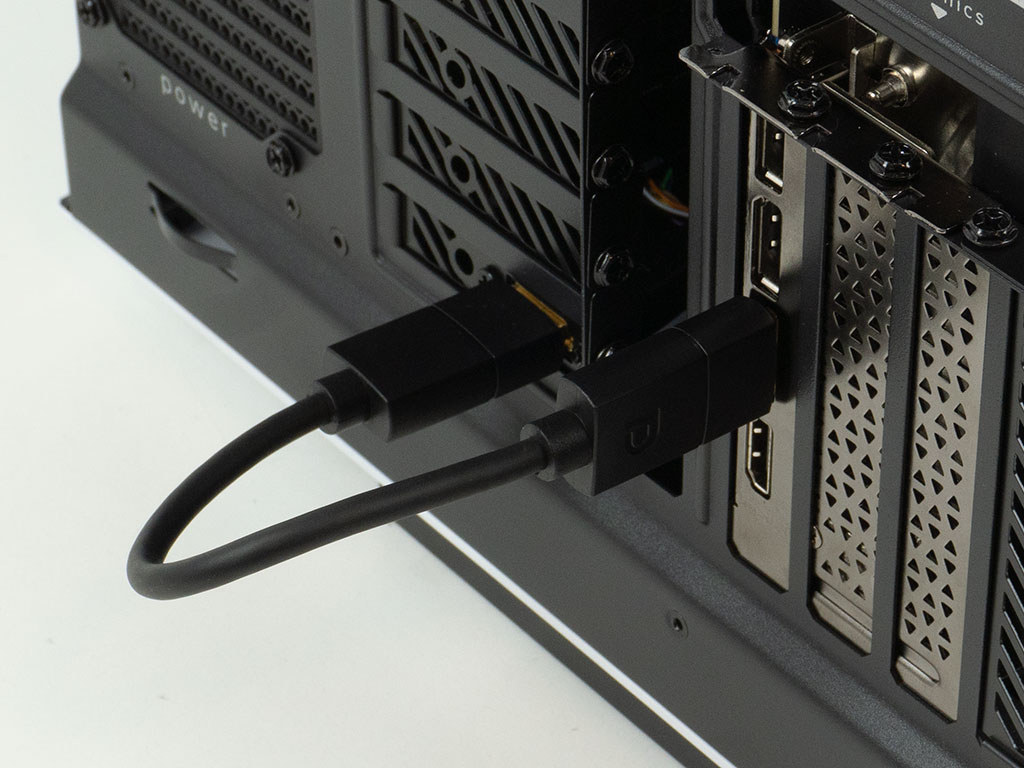
Adding a graphics card is super straightforward as you just plug it into the base of the riser cable and secure it with a screw. HYTE mentions a solid maximum length of 390 mm for thick, 3- or 4-slot pixel pushers, but a dual-slot card could be even longer. As you can see, the power cable can be routed trough the opening in the floor between the GPU and motherboard, making for a really clean final setup. Lastly, you need to plug in the loop cable to feed the screen with data straight from your GPU.

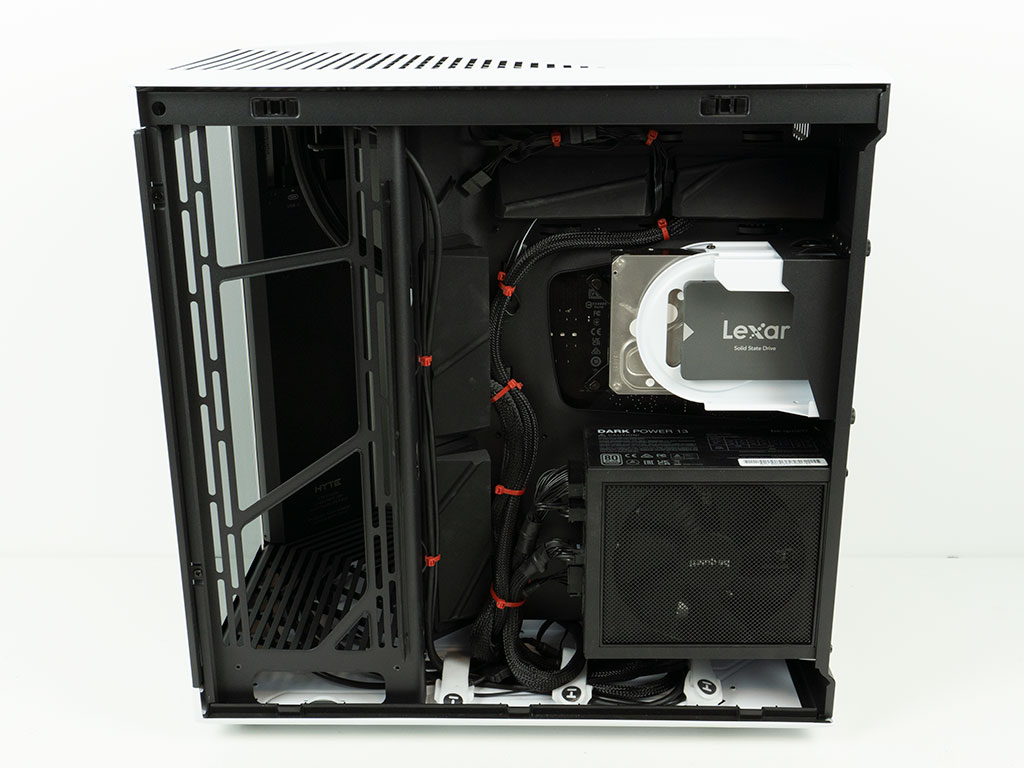
With everything installed, the HYTE Y70 Touch is extremely clean on either side. Thanks to the large number of big zip tie hooks in combination with the Velcro straps on the floor and the big rubber grommets, the backside is perfectly tidy as well.
Finished Looks


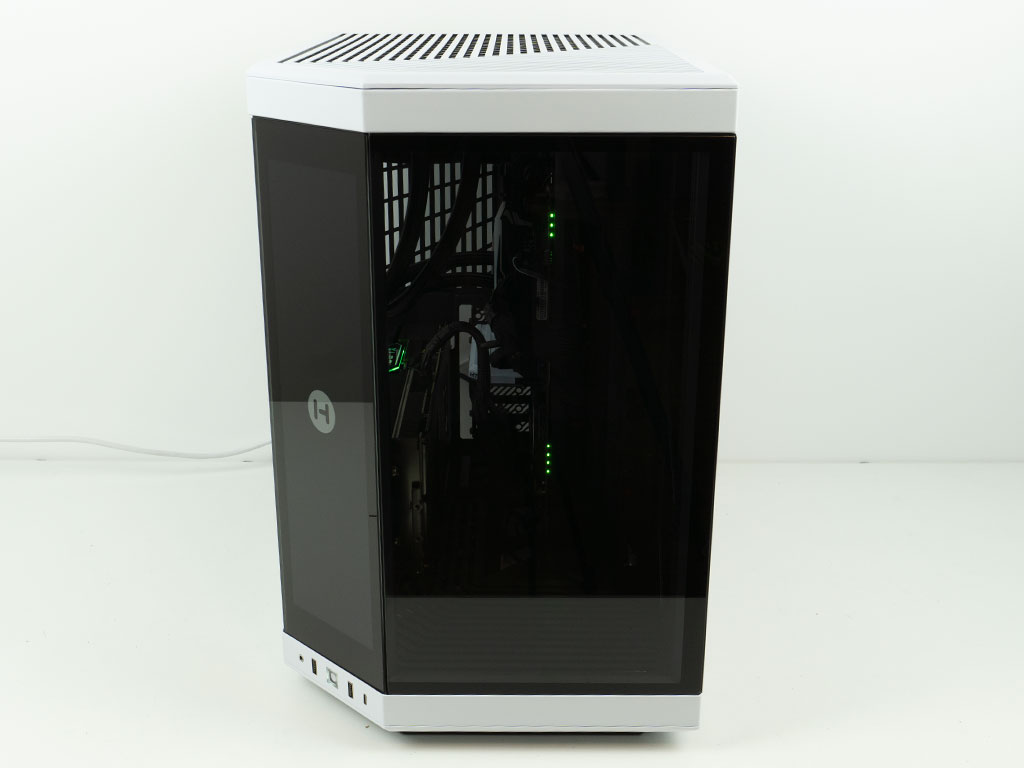
With everything on, you will see the white LED light up around the power button. The IPS panel has an embedded HYTE logo on startup and then offers a fully fledged Windows display experience, but more on that on the next page.
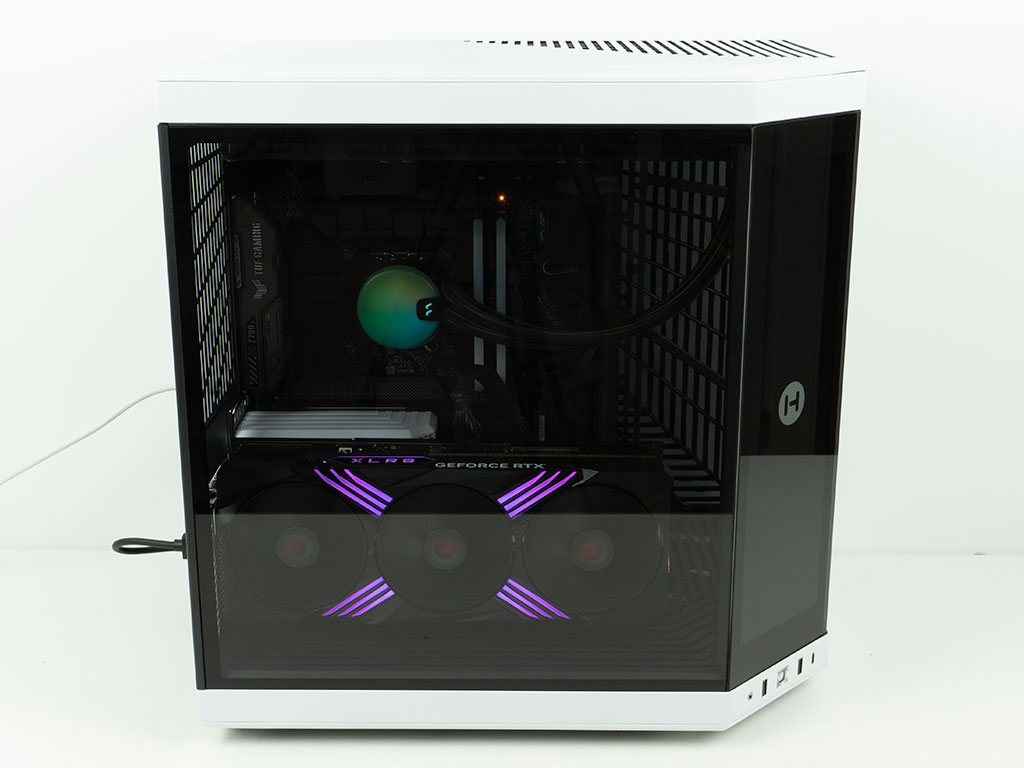
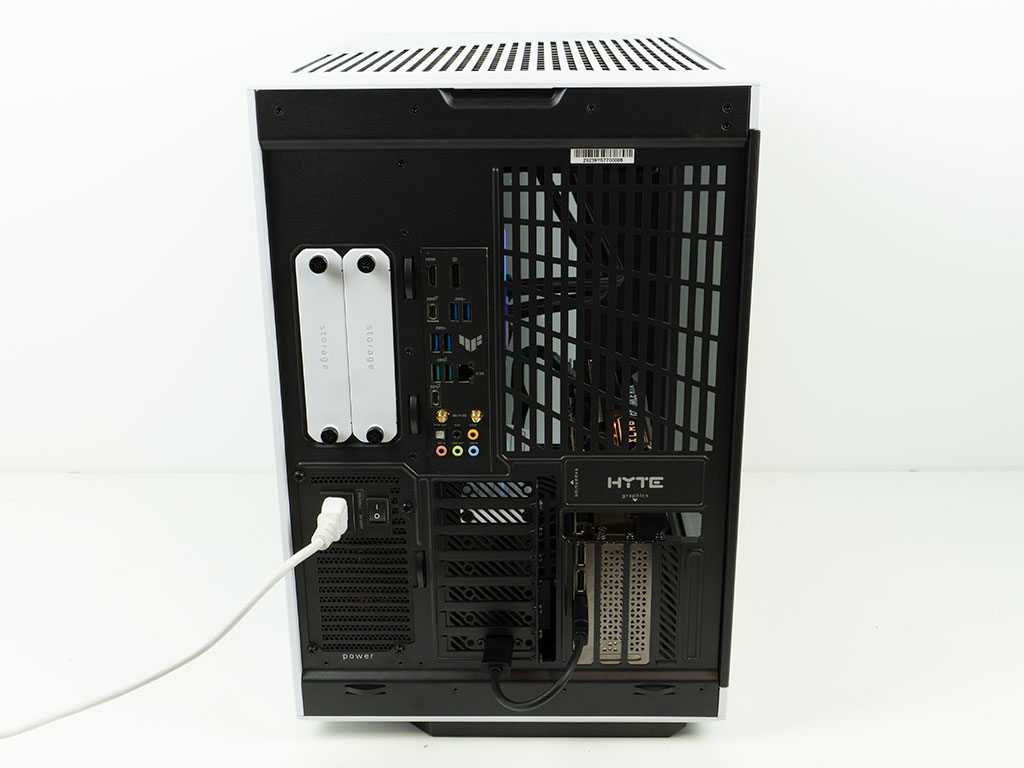
You can clearly see your hardware when viewing it though any of the glass panels. However, you will need a bit of additional lighting to really make it pop for pictures. In the rear everything is exactly where you would expect it with a case of this type. HYTE also includes some cable hooks here and the intention is, that you can use the supplied, black Velcro straps to ensure everything in this external area is as clean as possible as well.
Jul 12th, 2025 11:20 CDT
change timezone
Latest GPU Drivers
New Forum Posts
- CPU Scaling with 9070 XT / 5070 (1)
- No offense, here are some things that bother me about your understanding of fans. (47)
- TPU's Nostalgic Hardware Club (20496)
- Best motherboards for XP gaming (105)
- Swapping existing router w/ a replacement; any issues? (15)
- Stupid buggy POS Realtek WiFi RTL8852BE (13)
- 6.15.6 MITIGATION_TSA // Intel CPU Users can skip this topic (0)
- 14700t vs 14600k for gaming system (2)
- New build airflow question (6)
- Tired of consumer grade networking hardware, need suggestions… (2)
Popular Reviews
- Fractal Design Epoch RGB TG Review
- Lexar NM1090 Pro 4 TB Review
- Corsair FRAME 5000D RS Review
- NVIDIA GeForce RTX 5050 8 GB Review
- NZXT N9 X870E Review
- Our Visit to the Hunter Super Computer
- Sapphire Radeon RX 9060 XT Pulse OC 16 GB Review - An Excellent Choice
- AMD Ryzen 7 9800X3D Review - The Best Gaming Processor
- Upcoming Hardware Launches 2025 (Updated May 2025)
- Chieftec Iceberg 360 Review
TPU on YouTube
Controversial News Posts
- Intel's Core Ultra 7 265K and 265KF CPUs Dip Below $250 (288)
- Some Intel Nova Lake CPUs Rumored to Challenge AMD's 3D V-Cache in Desktop Gaming (140)
- AMD Radeon RX 9070 XT Gains 9% Performance at 1440p with Latest Driver, Beats RTX 5070 Ti (131)
- NVIDIA Launches GeForce RTX 5050 for Desktops and Laptops, Starts at $249 (119)
- NVIDIA GeForce RTX 5080 SUPER Could Feature 24 GB Memory, Increased Power Limits (115)
- Microsoft Partners with AMD for Next-gen Xbox Hardware (105)
- Intel "Nova Lake‑S" Series: Seven SKUs, Up to 52 Cores and 150 W TDP (100)
- NVIDIA DLSS Transformer Cuts VRAM Usage by 20% (97)