 0
0
Koolance VID-NX1080 GPU Water Block Review
Liquid Flow Restriction »Installation
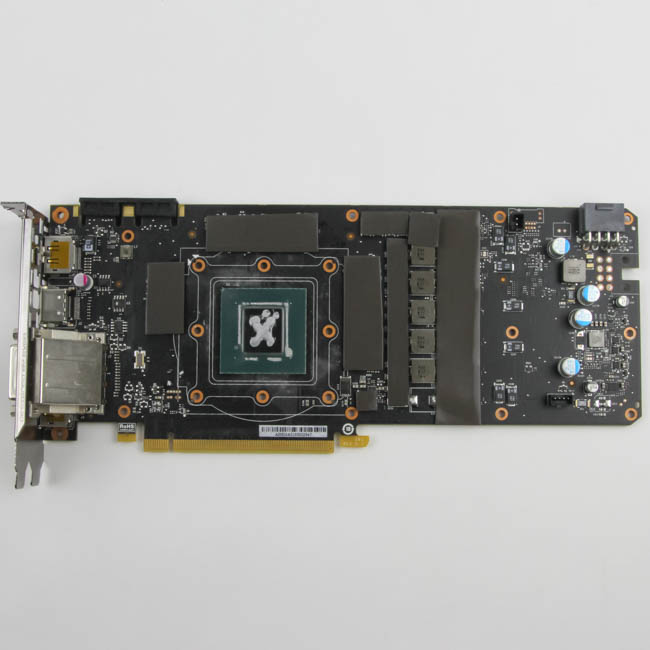
If you followed the manual, you would have measured, cut, and placed the thermal pads on the cold plate itself rather than the PCB. Either works fine, but I found it easier to place them on the PCB as you measure and and cut them right before. Regardless of which way you go, be sure to take the plastic covers off both sides of the thermal pads before placing them. Koolance covers a lot of components here, including the inductors and memory VRAM, but there is also plenty of thermal pad material provided, and to where you need not worry if you mistakenly cut too short a strip. Be sure to apply pads of the correct thickness to the respective locations. Once done, put some thermal paste over the GPU core.
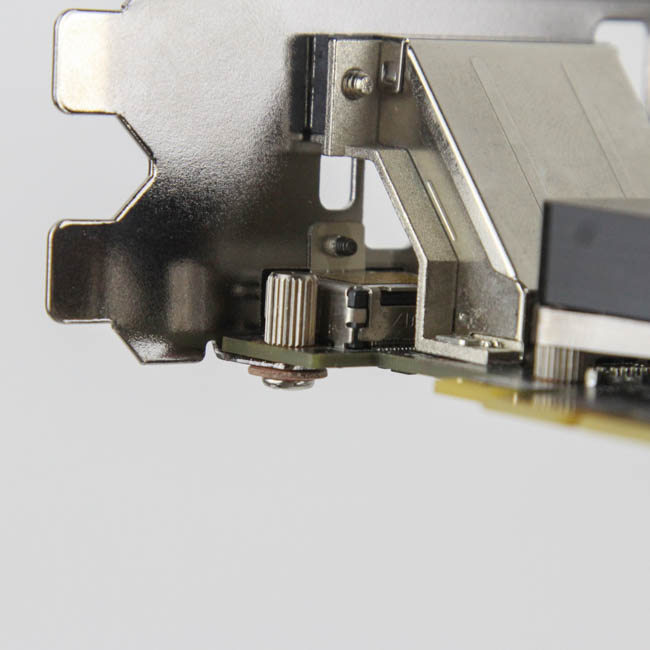
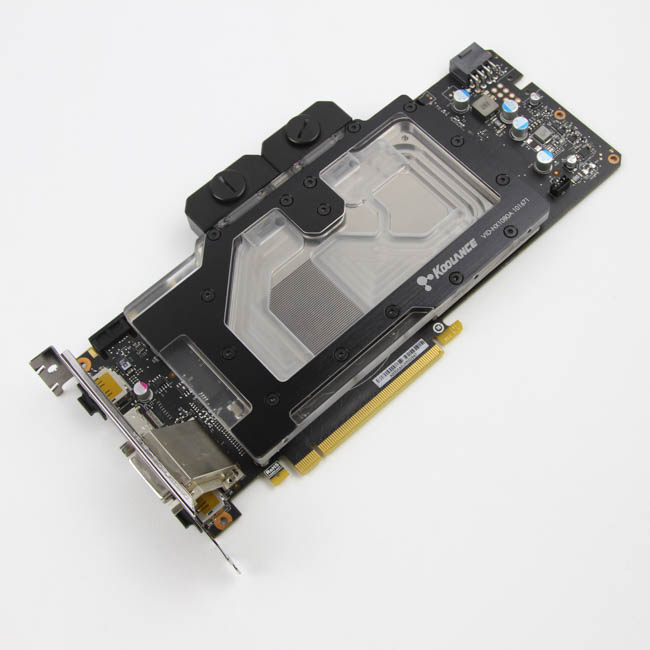
Now, carefully flip the assembly over and place it on a box such that the I/O plate of the PCB extends past the box, allowing the rest to lay flat. Use the provided screws, washers, and nuts to install the block and also secure the I/O plate to the PCB (the shorter nature of the block makes this easier even later in the process), which is a detail more than one of Koolance's competitors has forgotten about or not bothered to cater to. The block is now functionally installed and ready to be included in a watercooling loop.


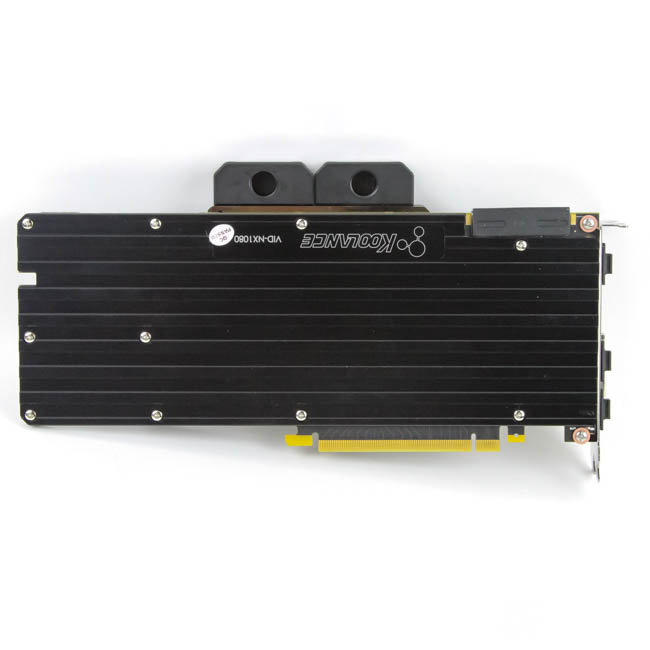

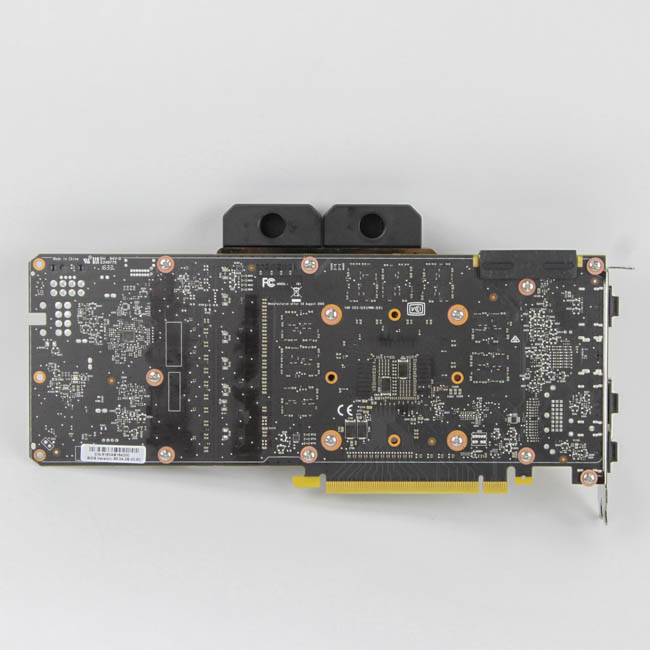
Note also that the EVGA ACX backplate, part of the GPU I used for testing, is fully compatible with the Koolance VID-NX1080 water block, so you can get away with this backplate if you have the same GPU. Should you be going with the Koolance backplate, start by placing the provided thermal pads over the two sets of ICs by the core and the VRM section on the back, to then place washers over the appropriate holes, noting that you may have to remove some of the screws/washers that were already in use before. Once done, align the backplate on top and carefully install it using the longer screws, making sure the washers have not moved. This is the trickiest part of the installation process, but going one screw at a time and checking from the side continually will help a lot. There are a few extra screws here for the cutouts at the end of the PCB, which the block did not use by itself. As a result, there is uniform mounting pressure throughout the whole length of the PCB, and the backplate helps out here as well.
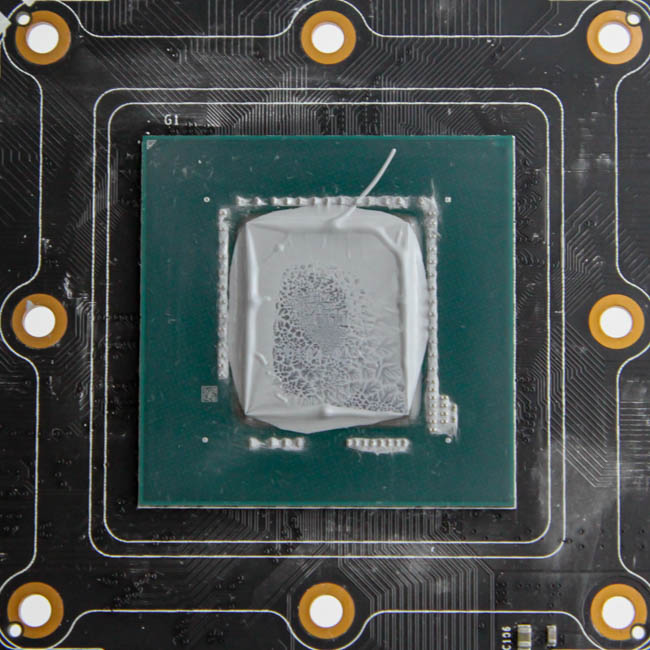
Removing the backplate and water block, we see excellent contact everywhere, including the thermal pads not shown for this demo. Installation was mostly straightforward thus, although I would have still preferred pre-cut pads, which would have made installation easier overall.
Overall, I do wish more companies would go the EVGA route and have pre-applied thermal pads to simplify the process further. At the very least, marking or having pre-cut the thermal pads would have helped, too, since there are so many components that need to be covered. As mentioned before, this is an area where Koolance would do better to improve.
Jul 12th, 2025 00:56 CDT
change timezone
Latest GPU Drivers
New Forum Posts
- Can you guess Which game it is? (222)
- 'NVIDIA App' not usable offline? (7)
- What are you playing? (23920)
- RX 9070 XT freezing/locking up only on desktop, anyone else? (43)
- NVIDIA RTX PRO 6000 Workstation Runs Much Hotter Than 5090 FE (22)
- Quick charging your USB devicesUSB 3.2 Gen 2x2 Type-C® front-panel. (1)
- GTX 1050 GPU Owners Club (12)
- ASUS ProArt GeForce RTX 4060 Ti OC Edition 16GB GDDR6 Gaming - nvflash64 VBIOS mismatch (2)
- Will you buy a RTX 5090? (640)
- No offense, here are some things that bother me about your understanding of fans. (33)
Popular Reviews
- Fractal Design Epoch RGB TG Review
- Corsair FRAME 5000D RS Review
- Lexar NM1090 Pro 4 TB Review
- NVIDIA GeForce RTX 5050 8 GB Review
- NZXT N9 X870E Review
- Sapphire Radeon RX 9060 XT Pulse OC 16 GB Review - An Excellent Choice
- AMD Ryzen 7 9800X3D Review - The Best Gaming Processor
- Upcoming Hardware Launches 2025 (Updated May 2025)
- Our Visit to the Hunter Super Computer
- Chieftec Iceberg 360 Review
TPU on YouTube
Controversial News Posts
- Intel's Core Ultra 7 265K and 265KF CPUs Dip Below $250 (288)
- Some Intel Nova Lake CPUs Rumored to Challenge AMD's 3D V-Cache in Desktop Gaming (140)
- AMD Radeon RX 9070 XT Gains 9% Performance at 1440p with Latest Driver, Beats RTX 5070 Ti (131)
- NVIDIA Launches GeForce RTX 5050 for Desktops and Laptops, Starts at $249 (119)
- NVIDIA GeForce RTX 5080 SUPER Could Feature 24 GB Memory, Increased Power Limits (115)
- Microsoft Partners with AMD for Next-gen Xbox Hardware (105)
- Intel "Nova Lake‑S" Series: Seven SKUs, Up to 52 Cores and 150 W TDP (100)
- NVIDIA DLSS Transformer Cuts VRAM Usage by 20% (97)