 12
12
Lian Li Lancool II Review
Assembly & Finished Looks »Adding Optional Accessories
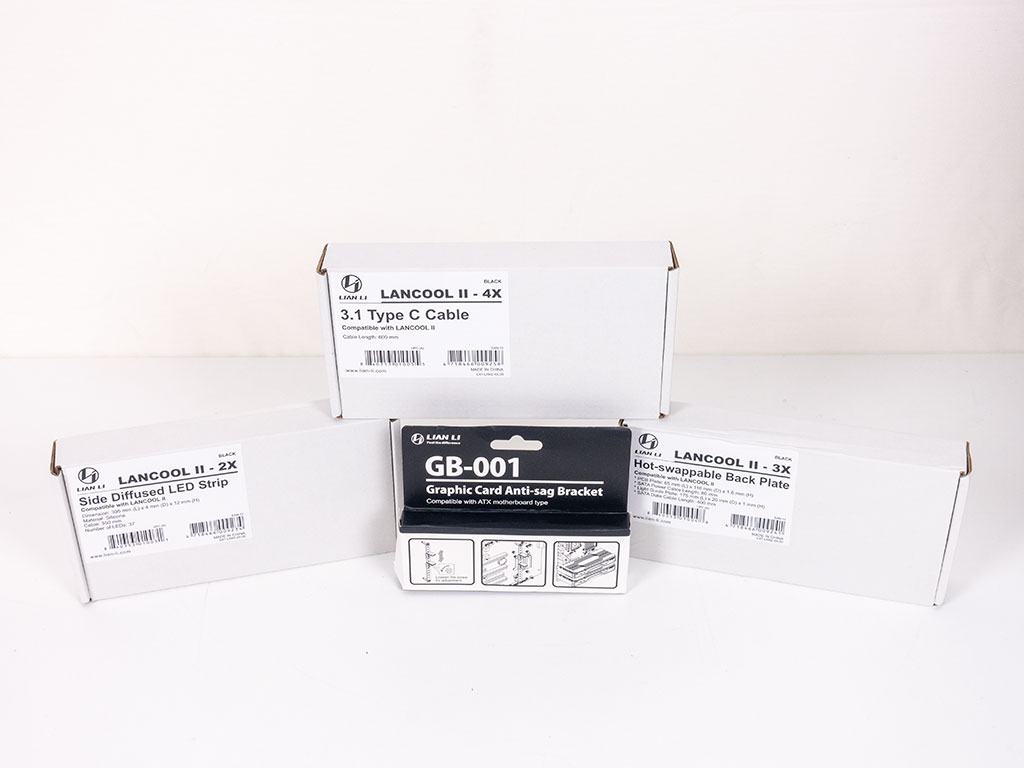
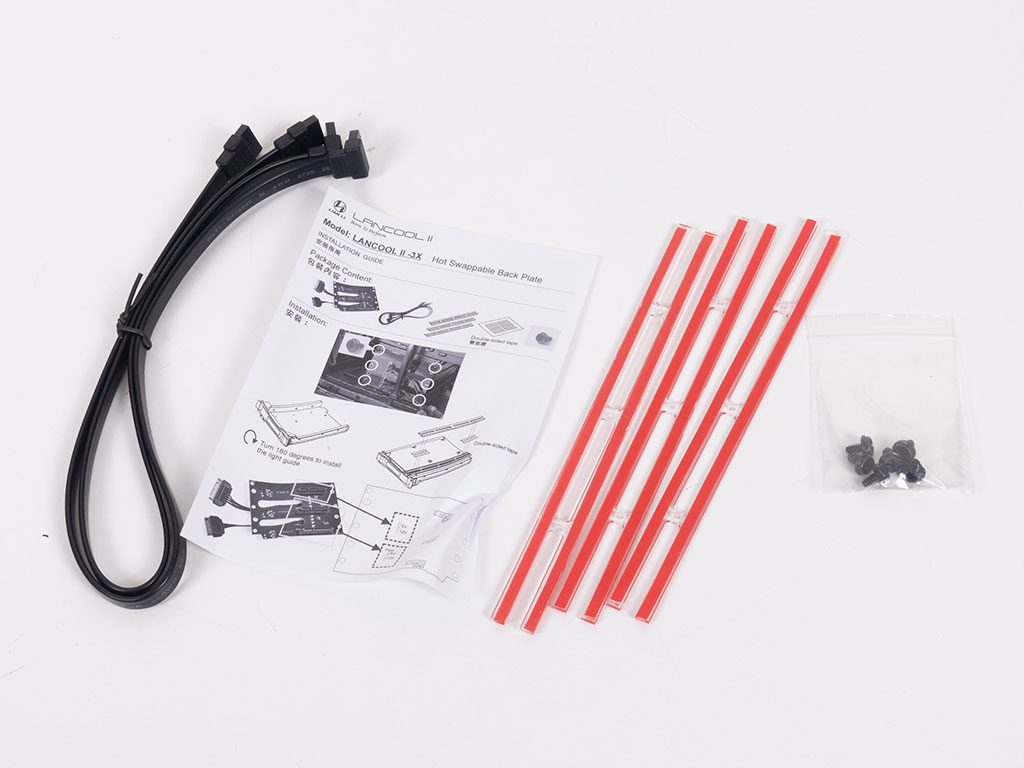
Lian Li went ahead and sent us all the accessories it will sell alongside the Lancool 2. These consist of five separate extras:
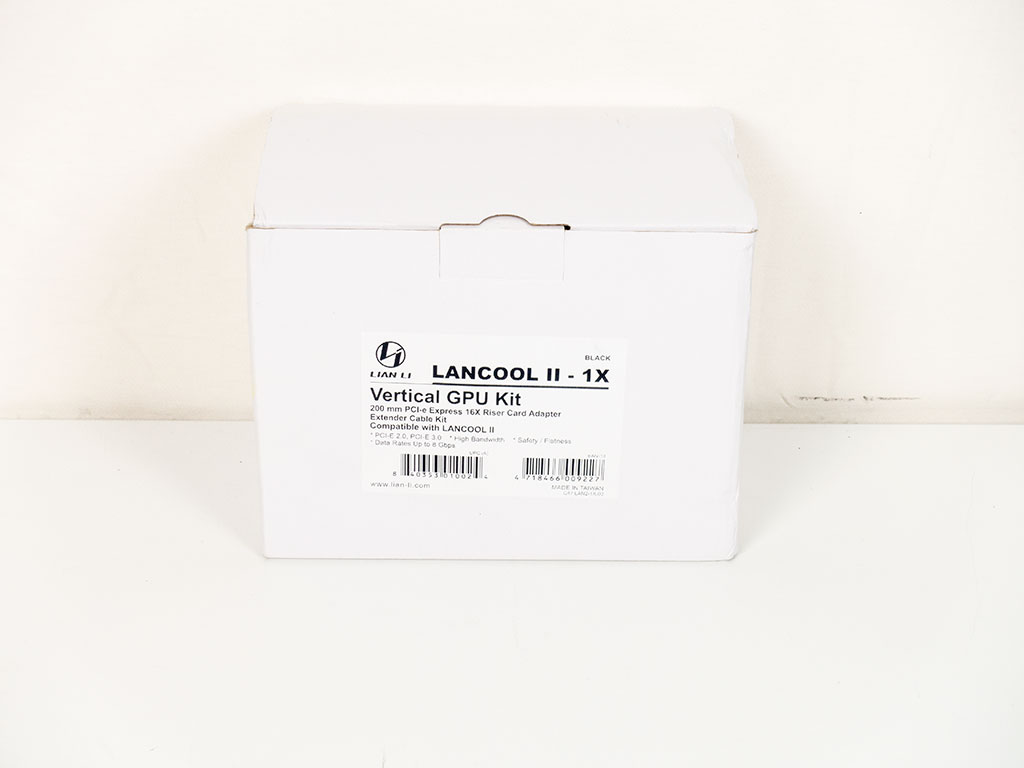
- Lan2-1X (vertical GPU kit) MSRP $49.99
- Lan2-2X (side diffused aRGB strip) MSRP $11.99
- Lan2-3X (HDD/SSD hot-swap kit) MSRP $14.99
- Lan2-4X (USB 3.1 Type C cable for Lancool II) MSRP $11.99USD
- GB001X (VGA anti-sag bracket) MSRP 7.99
USB 3.1 Gen2 Type-C


As mentioned previously, I think simply having the USB-C connector included is the best move for Lian Li, but I can see how keeping the retail price low is quite a strong argument as well. That having been said, the cable requires you take out the entire assembly of buttons and I/O to separate the PCB from the plastic frame. This is quite the undertaking, especially if you choose to upgrade after having assembled your system as it forces you to disconnect a whole bunch of wires and destroy cable-routing you have set. All this is simply due to the mounting screw for the USB Type-C plug going through the top of the PCB.


Once everything is apart, adding the optional plug is quite easy, and putting everything back into place is straightforward, with the connector lining up perfectly with the opening in the metal top cover of the enclosure. You just need to make sure the plastic power and reset buttons are aligned properly on the black plastic frame, and don't screw the PCB mounting screw in too tight as you will otherwise no longer be able to press the two buttons.
Diffused LED Strip
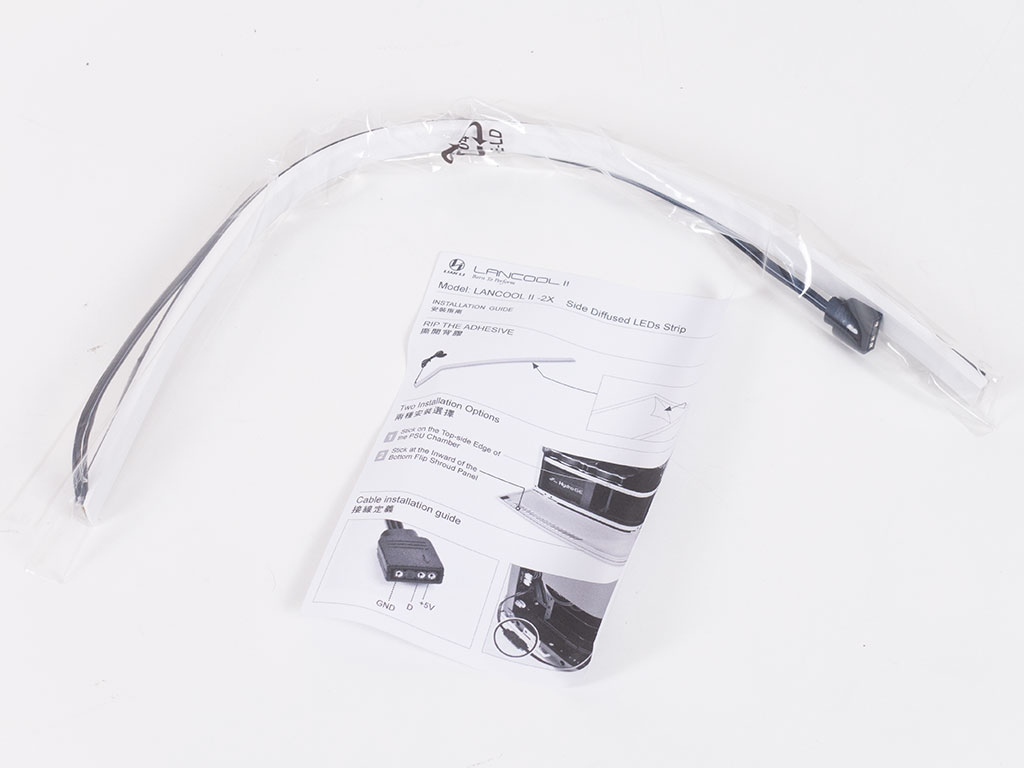
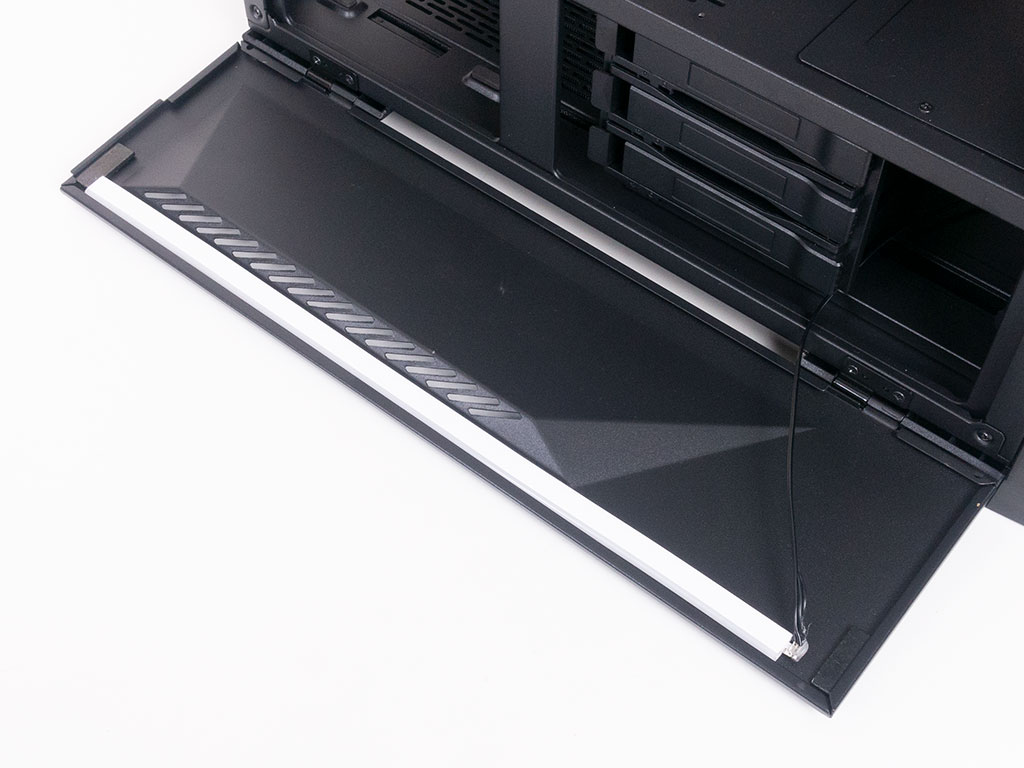
Thankfully, the LED strip may easily be added, and Lian Li recommends placing it on the bottom flip-down cover of the main side. The strip comes pre-applied with a double-sided strip of tape. I think it would be better for the double-sided tape to be included separately for the flexibility to install the strip wherever one wants. I actually chose to pry the diffused strip off, and flipped it around to get the most out of it. Also, the connection between the LED strip and cable looks really fragile, so you better watch out. Thanks to the additional 4-pin plug on the front of the chassis frame, there is no cable mess to worry about.
3.5" Bays Hot-Swap

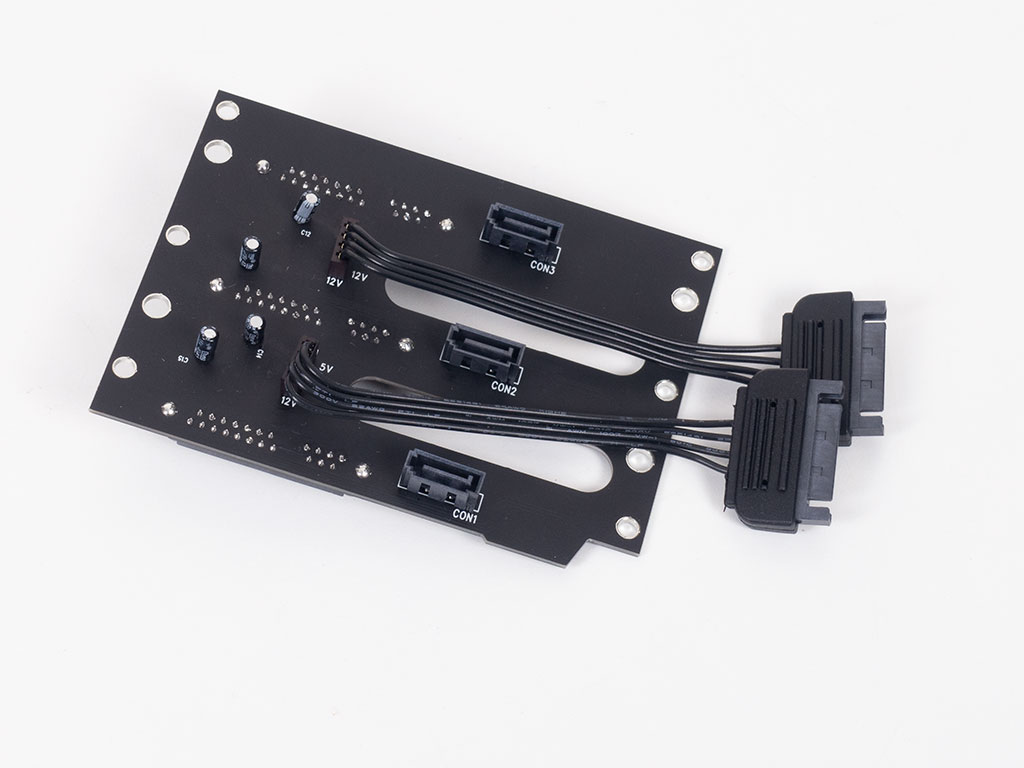
As the name implies, the hot-swap PCB gives you the ability to swap out any of three 3.5" drives while the PC is up and running. Thanks to the single solid piece, you only need two SATA power plugs as opposed to three, and Lian Li also includes three angled SATA data cables for your convenience.

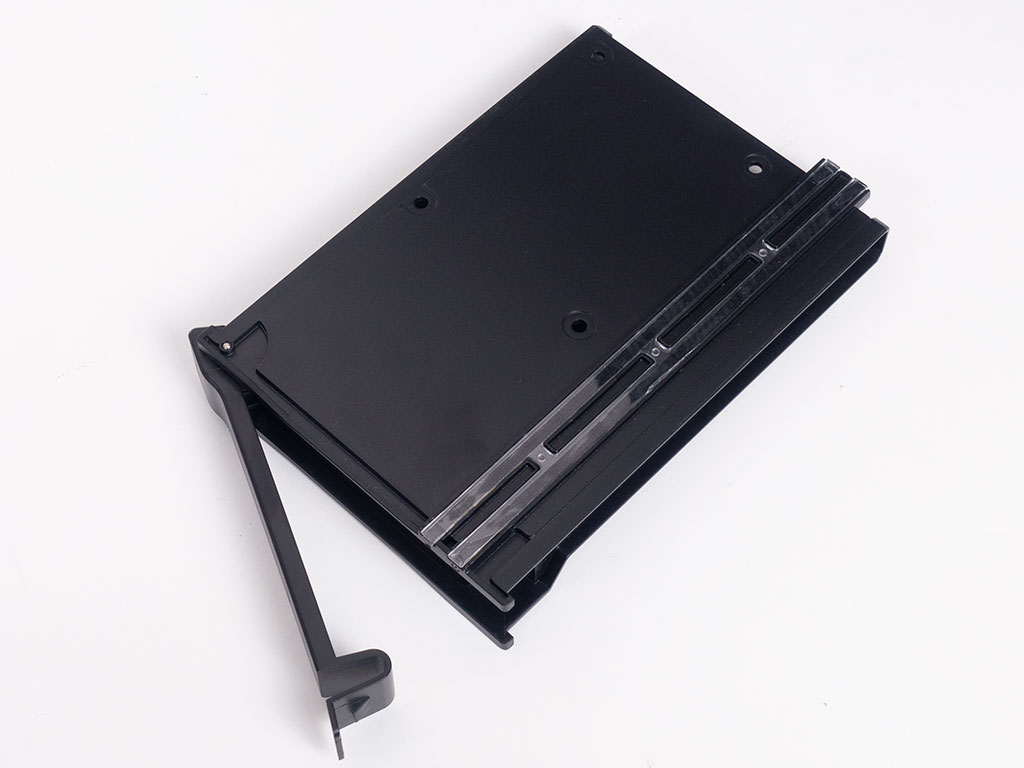
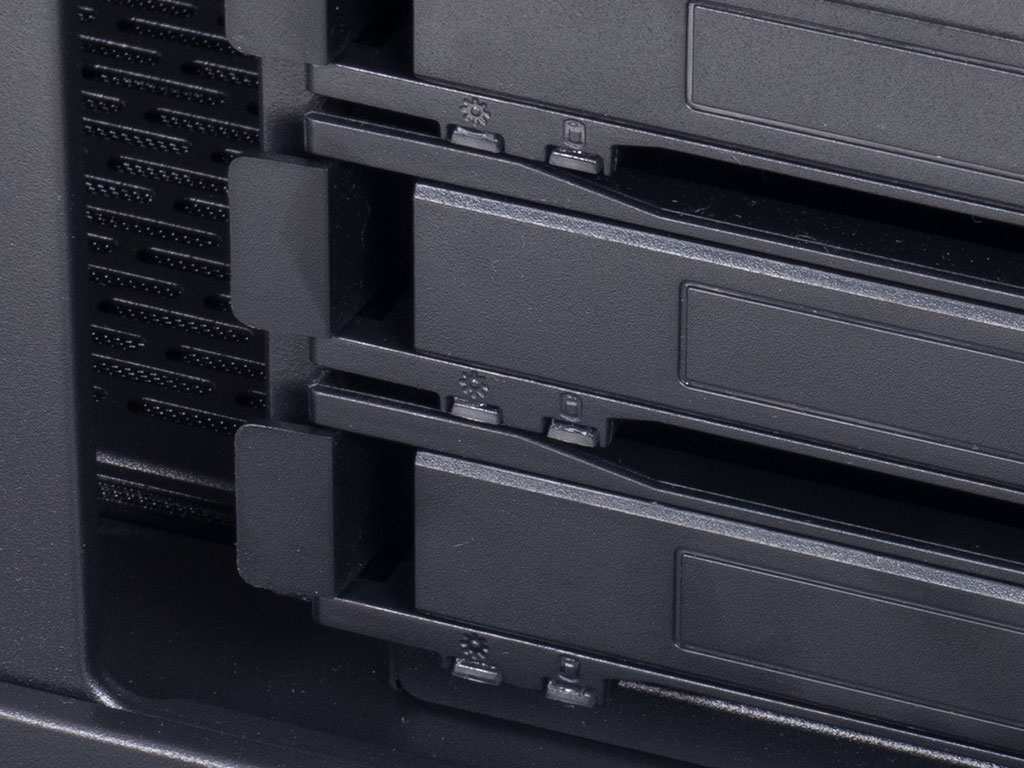
Simply use the six screws to pin the board down with the right side up. As you can see, the SATA data ports will get awfully close to the 2.5" mounting plate on the bottom swing-down cover. Simply move that plate one mounting position over towards the front of the chassis if you are keen to keep it. This little, but mind-blowing feature consists of the clear plastic elements you stick to the bottom of each drive tray. The PCB comes equipped with power and activity LEDs for each drive, and these bits direct those light sources to the front edge of each tray, which means you can actually see how each drive is being used!
GPU Support Bracket
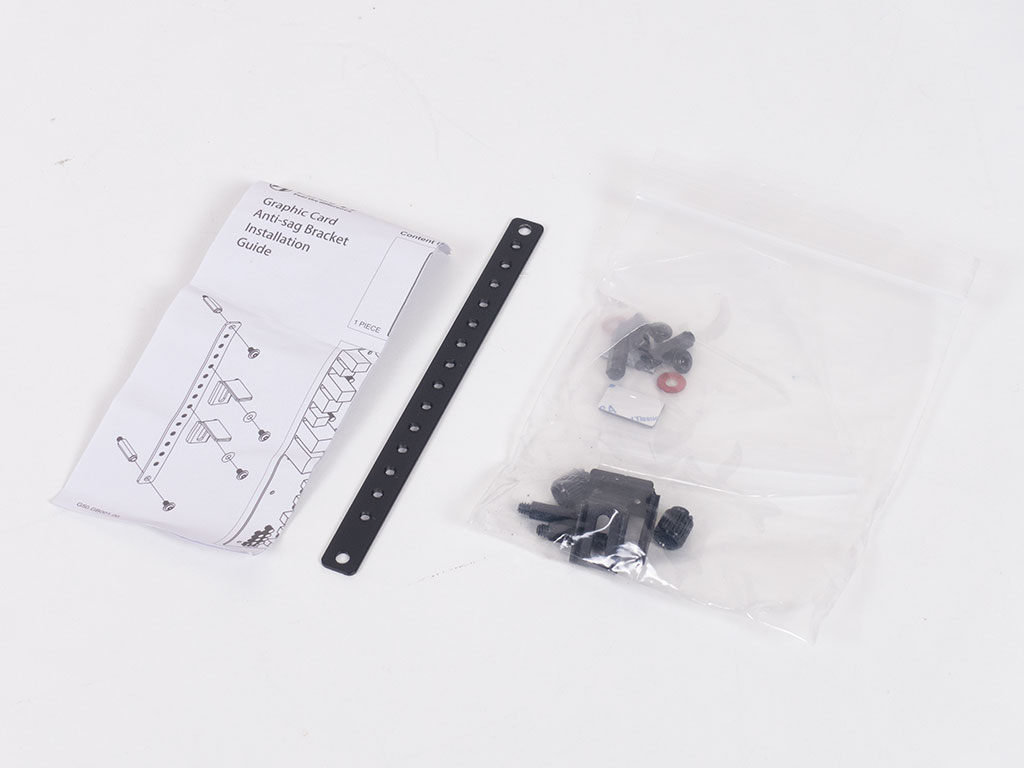

Jumping a bit into the future to show you all the accessories on one page, the GPU anti-sag bracket for the two metals parts your GPUs will sit on nicely is a simple metal strip that is mounted directly to your motherboard. There are foam coves on each to eliminate any vibrations as well. The spacers are tall enough for the chipset heatsink not to collide with our MSI board, but that may not hold true for your system, so watch out.
Vertical GPU Mount
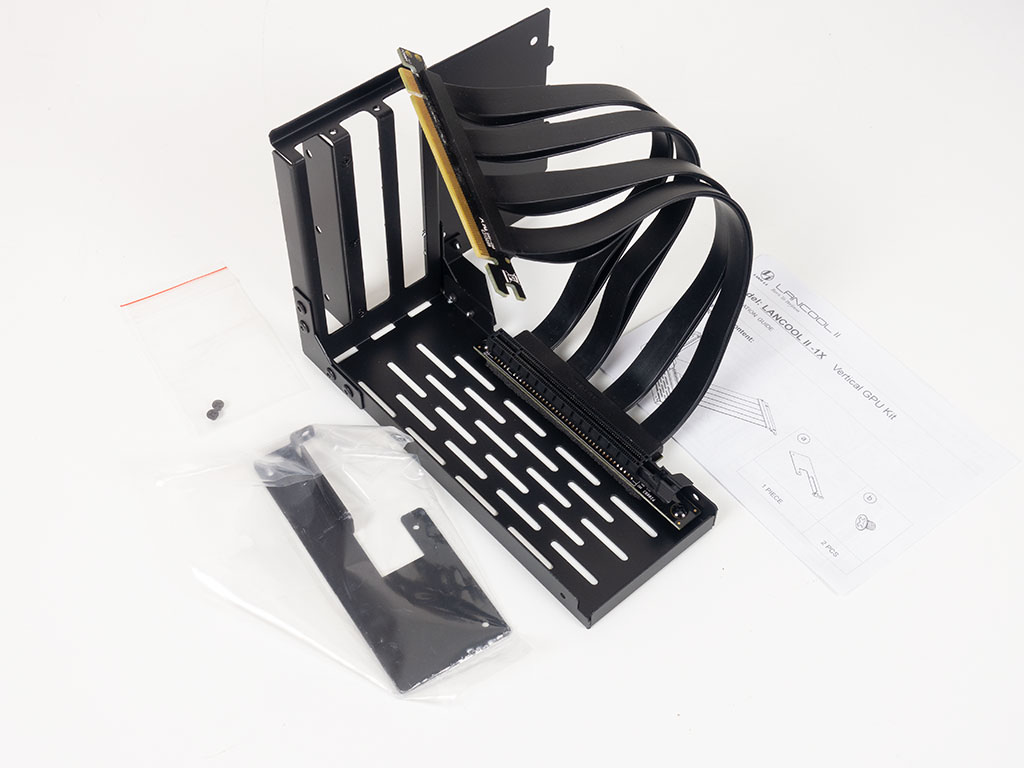
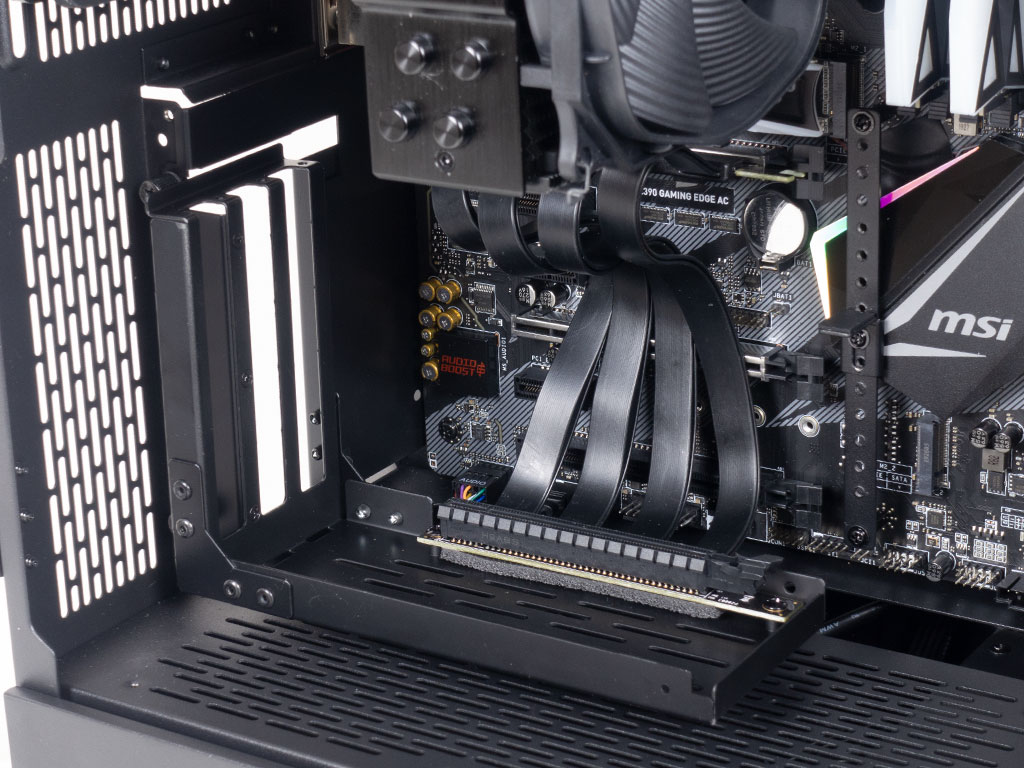
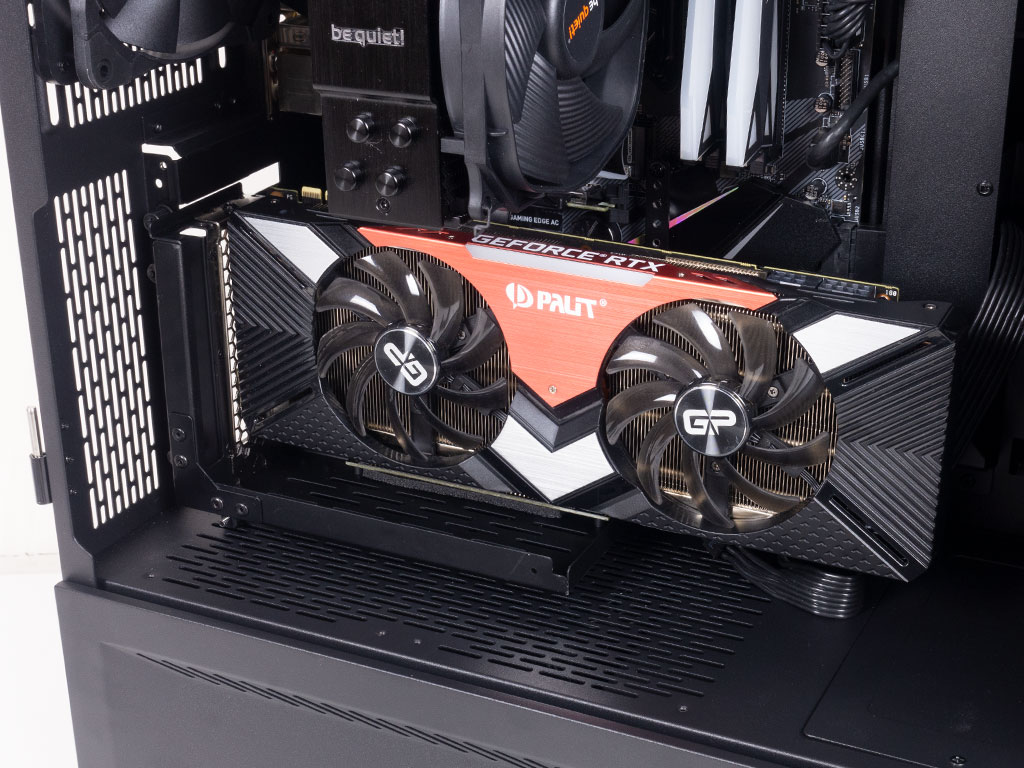
The vertical GPU bracket allows you to show off your GPU by installing it with the fans facing the window of the Lancool 2. This is something you may install after assembling the whole system, but once again, for the sake of this review, we have jumped ahead to show you how it looks alongside all the other accessories. The GPU bracket may be installed at two different heights to ensure it does not interfere with any fans you happen to have on the shroud.
Jul 5th, 2025 18:28 CDT
change timezone
Latest GPU Drivers
New Forum Posts
- [GPU-Z Test Build] New Kernel Driver, Everyone: Please Test (69)
- How do you view TPU & the internet in general? (With poll) (80)
- EVGA XC GTX 1660 Ti 8GB ROM (11)
- Rx580 subsystem id (0)
- What are you playing? (23893)
- Do you use Linux? (677)
- Optane performance on AMD vs Intel (58)
- Frametime spikes and stuttering after switching to AMD CPU? (521)
- Stalker 2 is looking great. (187)
- b550m aorus elite not posting with new ram (7)
Popular Reviews
- NVIDIA GeForce RTX 5050 8 GB Review
- Fractal Design Scape Review - Debut Done Right
- Crucial T710 2 TB Review - Record-Breaking Gen 5
- ASUS ROG Crosshair X870E Extreme Review
- PowerColor ALPHYN AM10 Review
- Sapphire Radeon RX 9060 XT Pulse OC 16 GB Review - An Excellent Choice
- Upcoming Hardware Launches 2025 (Updated May 2025)
- AMD Ryzen 7 9800X3D Review - The Best Gaming Processor
- Sapphire Radeon RX 9070 XT Nitro+ Review - Beating NVIDIA
- NVIDIA GeForce RTX 5060 8 GB Review
TPU on YouTube
Controversial News Posts
- Intel's Core Ultra 7 265K and 265KF CPUs Dip Below $250 (288)
- NVIDIA Grabs Market Share, AMD Loses Ground, and Intel Disappears in Latest dGPU Update (212)
- Some Intel Nova Lake CPUs Rumored to Challenge AMD's 3D V-Cache in Desktop Gaming (140)
- NVIDIA GeForce RTX 5080 SUPER Could Feature 24 GB Memory, Increased Power Limits (115)
- Microsoft Partners with AMD for Next-gen Xbox Hardware (105)
- NVIDIA Launches GeForce RTX 5050 for Desktops and Laptops, Starts at $249 (105)
- AMD Radeon RX 9070 XT Gains 9% Performance at 1440p with Latest Driver, Beats RTX 5070 Ti (102)
- Intel "Nova Lake‑S" Series: Seven SKUs, Up to 52 Cores and 150 W TDP (100)