 4
4
Lian Li PC-TU200 Review
Value & Conclusion »Assembly

Installing the Mini-ITX motherboard is done just as you were using a mid-tower. Simply place it on the spacers and screw it down. Thanks to the removable hard drive cage, you should have enough space to work with. I have routed some cables below the motherboard, minimizing any mess from the start.
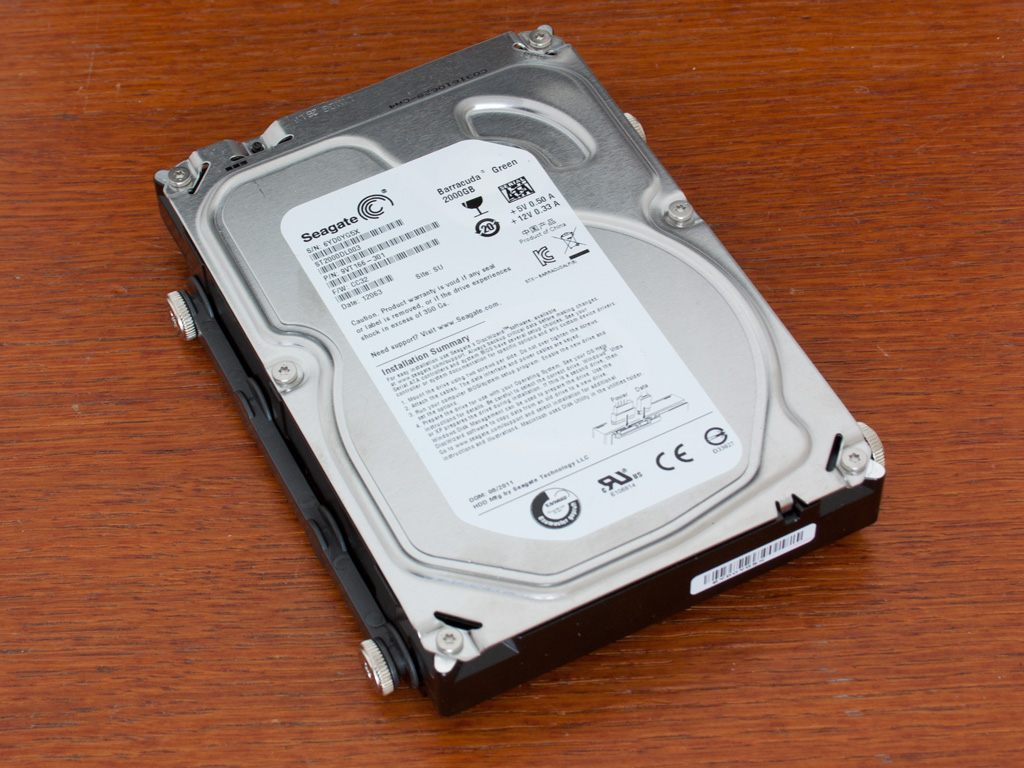
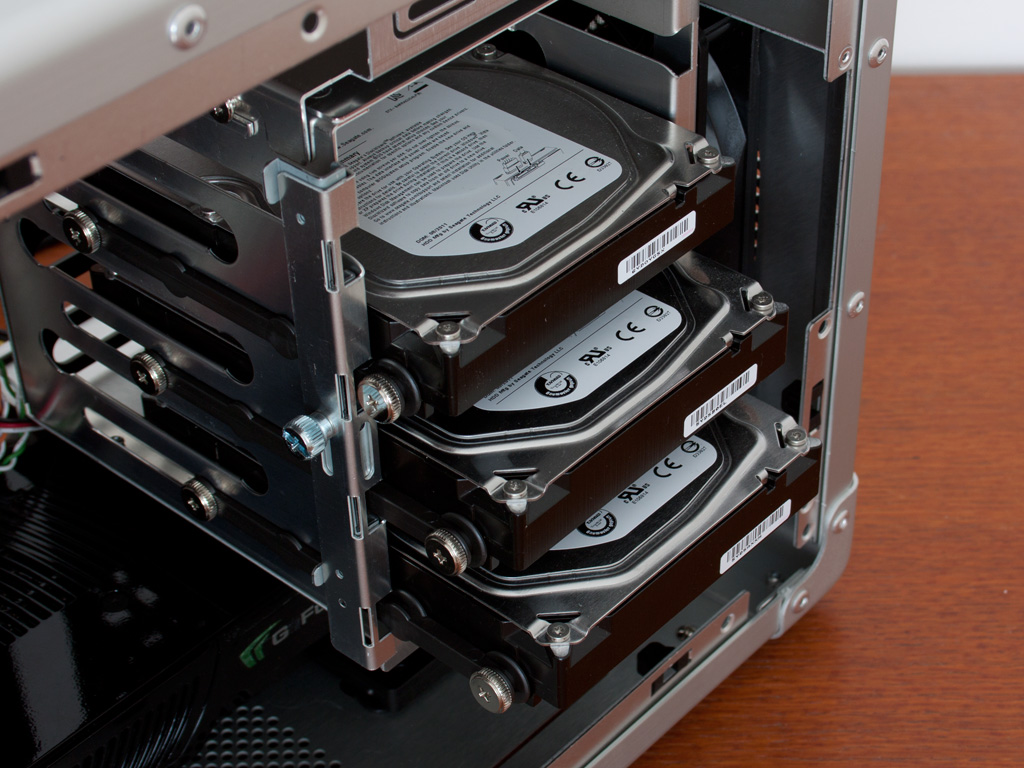
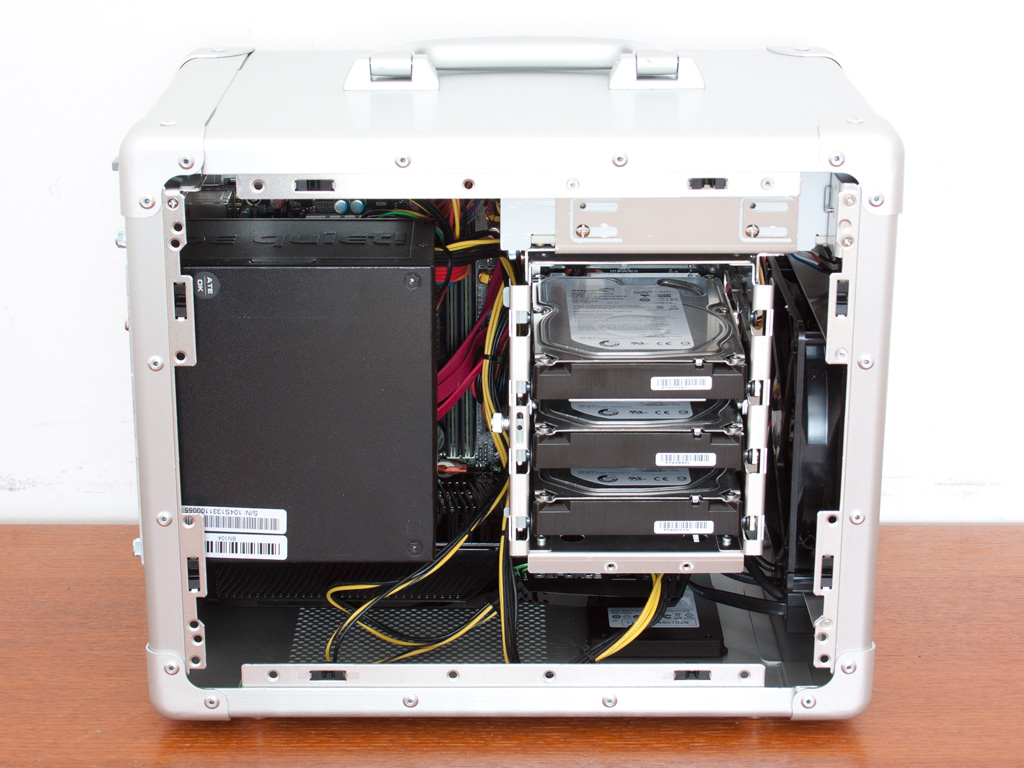
Placing the hard drives within the TU200 is done the same way as its larger, modern brethren. Simply clip the rail unto the drive and screw the big, special screws into it. Next, simply slide the drives into the bay until they attach to the SATA backplate. I have put three 2 TB drives within the system - which will run in RAID 5.

As I am using a 64 GB SATA II SSD as a boot drive, which usually stays in the system over extended periods of time, it was placed on the floor of the case. Lian Li supplies rubber rings and proper screws, so that it rests nicely on top of these contraptions.
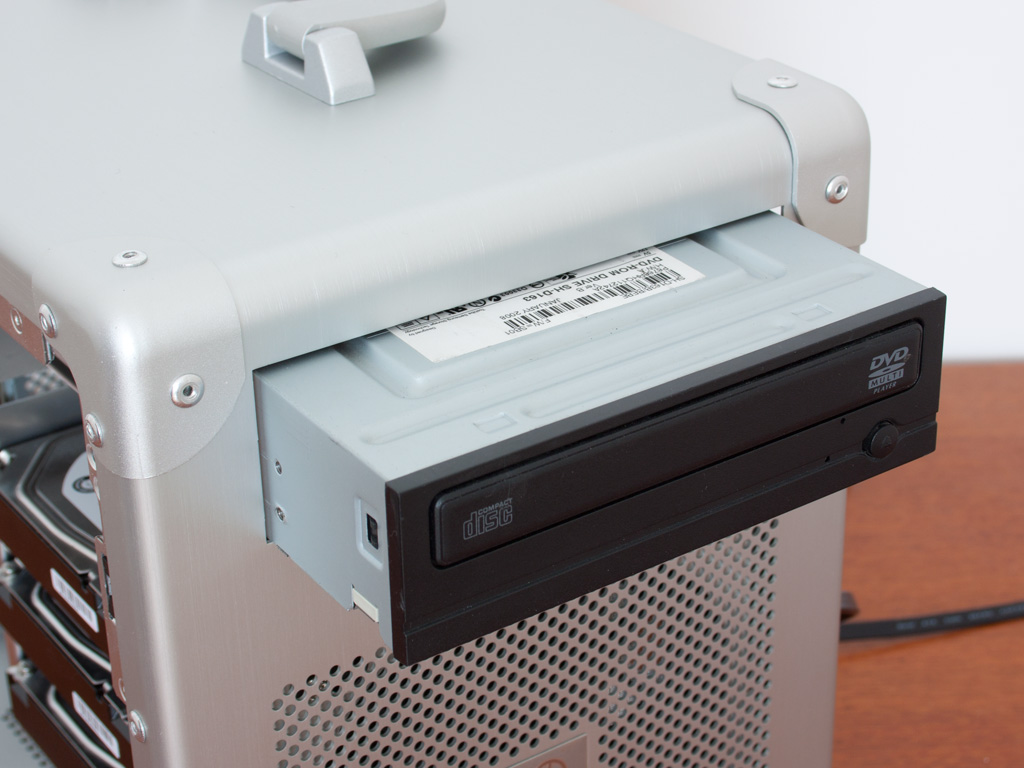

Installing the optical drive means, that you will have to remove the front cover first, then slide the drive well past the front panel. Once there is enough space, put the front cover back into place and secure it with the previously attached screws. Lastly, line up the drive and screw it down as well. This entire procedure is a bit complicated, but we are talking about a very compact chassis here , so this was to be expected.
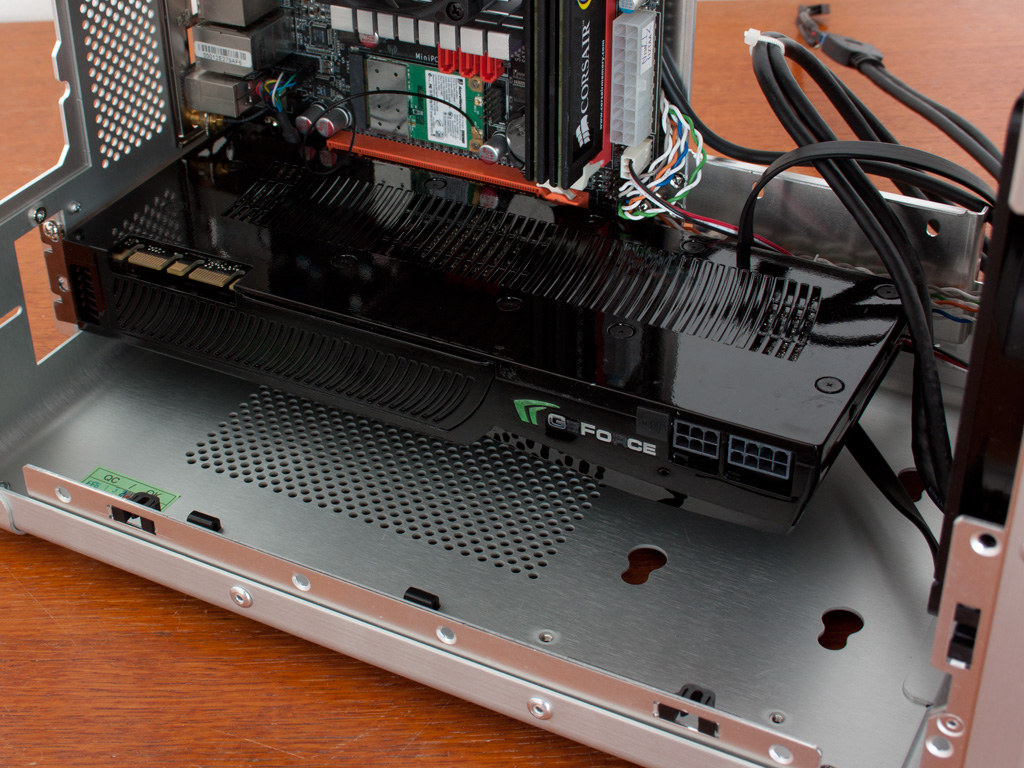

Lian Li has made sure, that you can install large and powerful graphics cards within the TU200. To show this, I have used one of the longest single GPU cards out there - a GeForce GTX280, with room to space. A GeForce GTX 670/680 or Radeon HD 7950/7970 should easily fit, which is certainly a cool feat. A support beam may also be applied to keep the card in place during transport.

With all the parts in place, before installing the PSU, the system makes a very clean impression - mostly thanks to the SATA PCB and the fact that the I/O cables were routed properly.
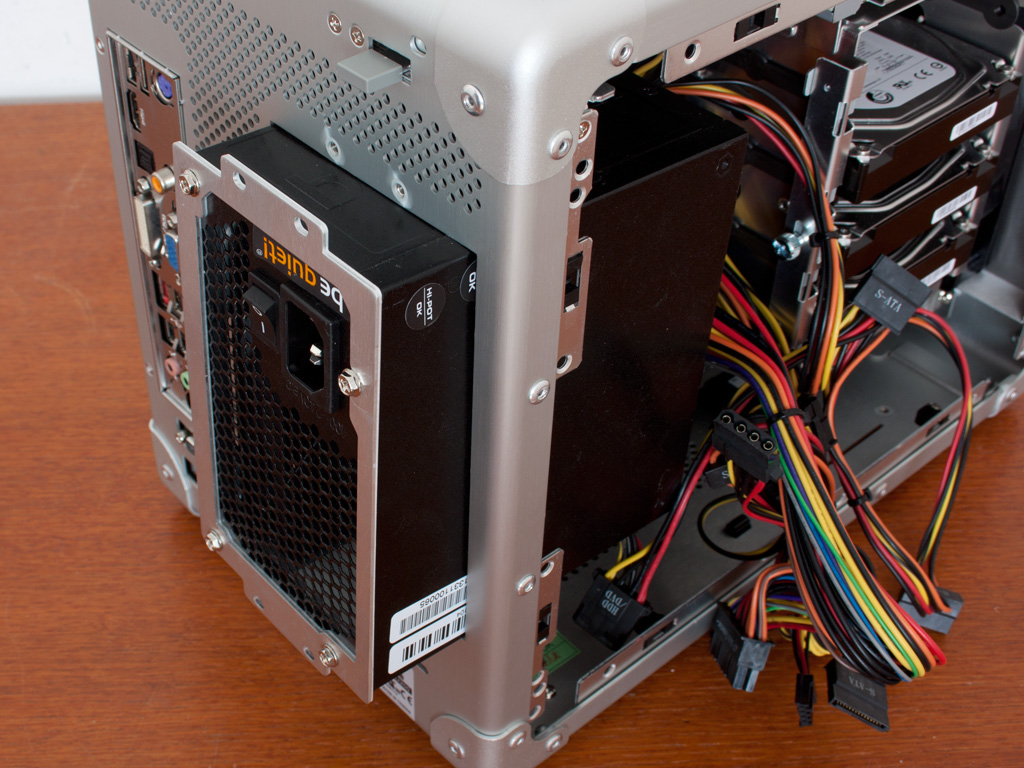

The best way to install a PSU is by using the frame of the chassis and then sliding it through the back of the enclosure. This gives you the chance to attach all the leads properly, before locking things down. Due to the compact size of the chassis, it is vital that you use a a short power supply. Lian Li recommends one with 140 mm length at most, but I suggest you go for a bit less, to give you some room to breathe.
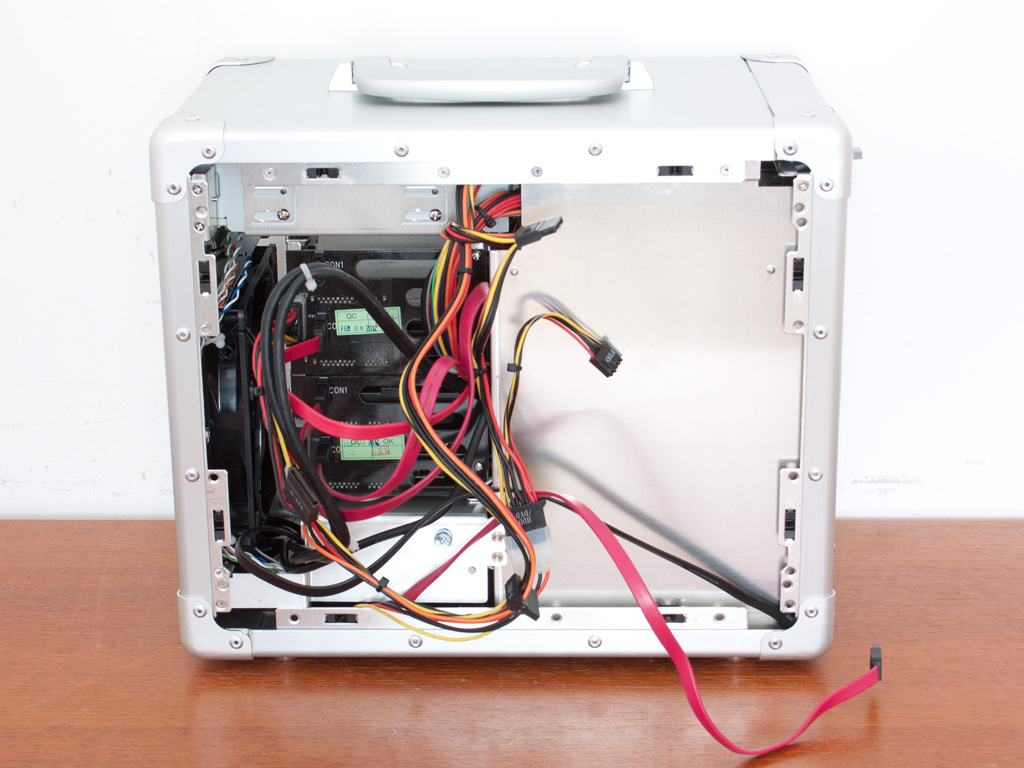
Once everything is installed, it should become apparent, that Lian Li has really used every cubic inch of the chassis to the fullest. All of the cables are hidden behind the HDD bays, but I had to stuff some of these back into the chassis as the side panel would keep popping off due to the pressure exerted by the cables.
Finished Looks


With everything in place, the PC-TU200 makes a really cool impression. Considering the possibility of filling the case with a high-end graphics card, water cooling and high-end CPU really impresses. A blue LED lights up behind the PSU button, while the reset one also acts as a HDD activity LED.
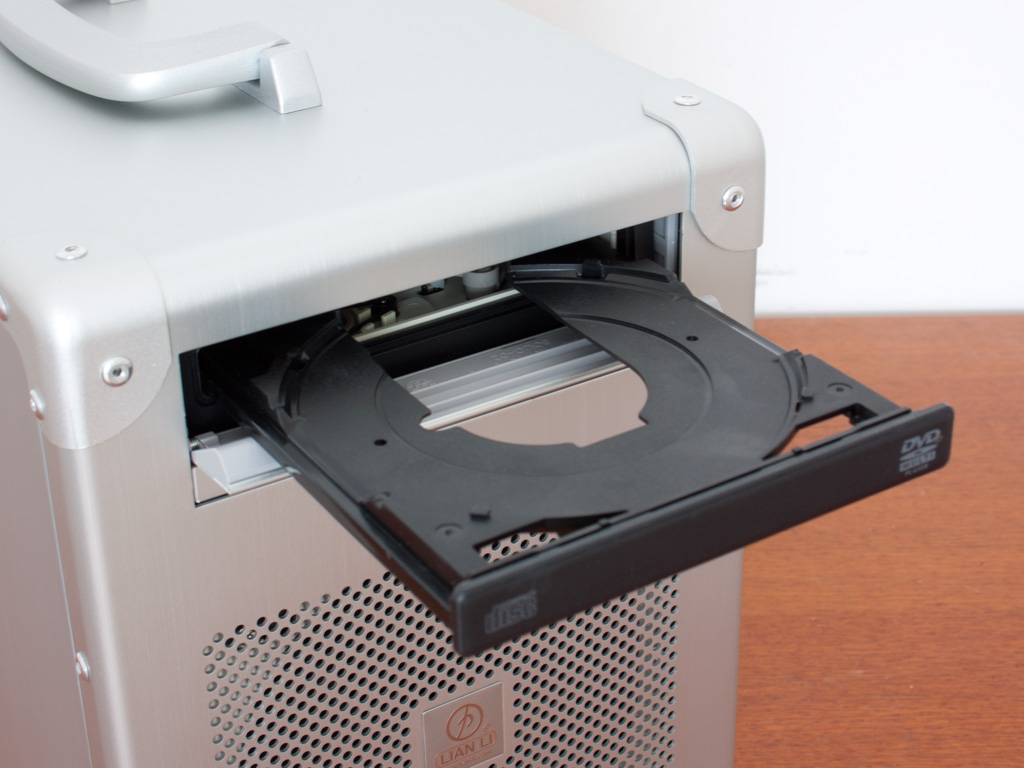
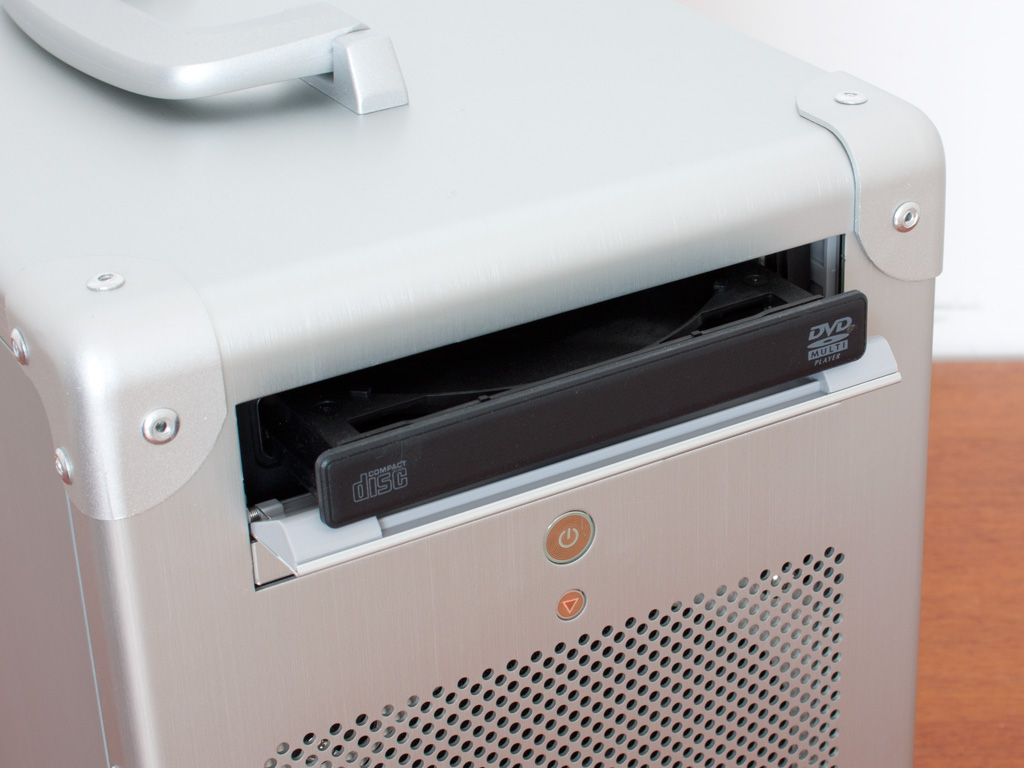
Having used a Samsung DVD-RW drive, the front cover ensures, that things still look uniform - regardless of the drive color. As is the case with many different covers out there, the shape of the drive tray results in it getting stuck on its way in. Not a real deal breaker, but quite annoying.
Jul 18th, 2025 19:22 CDT
change timezone
Latest GPU Drivers
New Forum Posts
- Anime Nation (13052)
- What's your latest tech purchase? (24305)
- AI Job Losses: let's count the losses up, total losses to AI so far 94,000 and counting (35)
- lower score 5070Ti after replacing the PSU (0)
- TPU's Nostalgic Hardware Club (20539)
- 3DMARK "LEGENDARY" (329)
- Hatsune Miku x ASUS TUF Gaming Build (67)
- Ferrari themed mod cont. 4070s repaste (7)
- Stalker 2 is looking great. (213)
- Share your CPU-X Benchmarks! (6)
Popular Reviews
- MSI GeForce RTX 5060 Gaming OC Review
- Razer Blade 16 (2025) Review - Thin, Light, Punchy, and Efficient
- Thermal Grizzly WireView Pro Review
- Pulsar X2 Crazylight Review
- SilverStone SETA H2 Review
- AVerMedia Live Gamer Ultra S (GC553Pro) Review
- Upcoming Hardware Launches 2025 (Updated May 2025)
- Sapphire Radeon RX 9060 XT Pulse OC 16 GB Review - An Excellent Choice
- NVIDIA GeForce RTX 5050 8 GB Review
- Our Visit to the Hunter Super Computer
TPU on YouTube
Controversial News Posts
- Intel's Core Ultra 7 265K and 265KF CPUs Dip Below $250 (288)
- Some Intel Nova Lake CPUs Rumored to Challenge AMD's 3D V-Cache in Desktop Gaming (140)
- AMD Radeon RX 9070 XT Gains 9% Performance at 1440p with Latest Driver, Beats RTX 5070 Ti (131)
- NVIDIA Launches GeForce RTX 5050 for Desktops and Laptops, Starts at $249 (124)
- NVIDIA GeForce RTX 5080 SUPER Could Feature 24 GB Memory, Increased Power Limits (115)
- Microsoft Partners with AMD for Next-gen Xbox Hardware (105)
- NVIDIA DLSS Transformer Cuts VRAM Usage by 20% (99)
- AMD Sampling Next-Gen Ryzen Desktop "Medusa Ridge," Sees Incremental IPC Upgrade, New cIOD (97)