 2
2
Mad Catz S.T.R.I.K.E. 13 Keyboard Review - 90% Love
Software »Disassembly


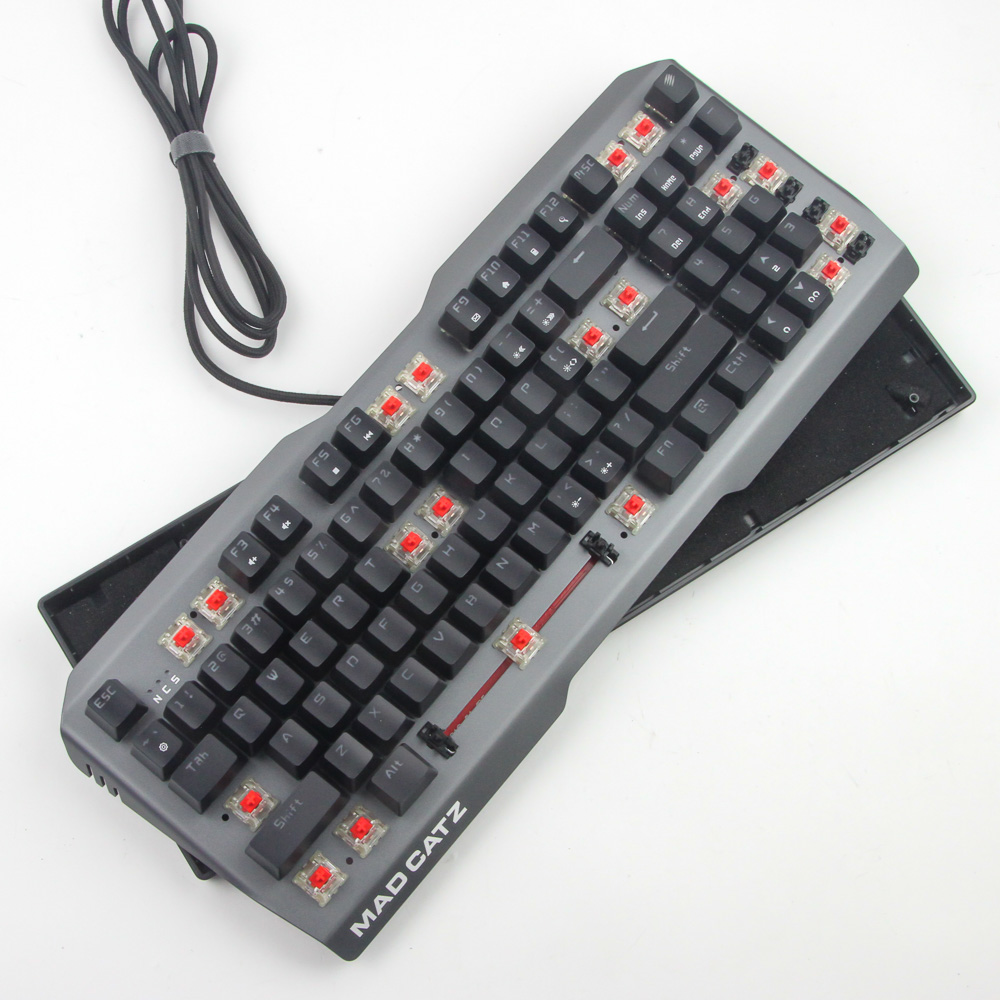
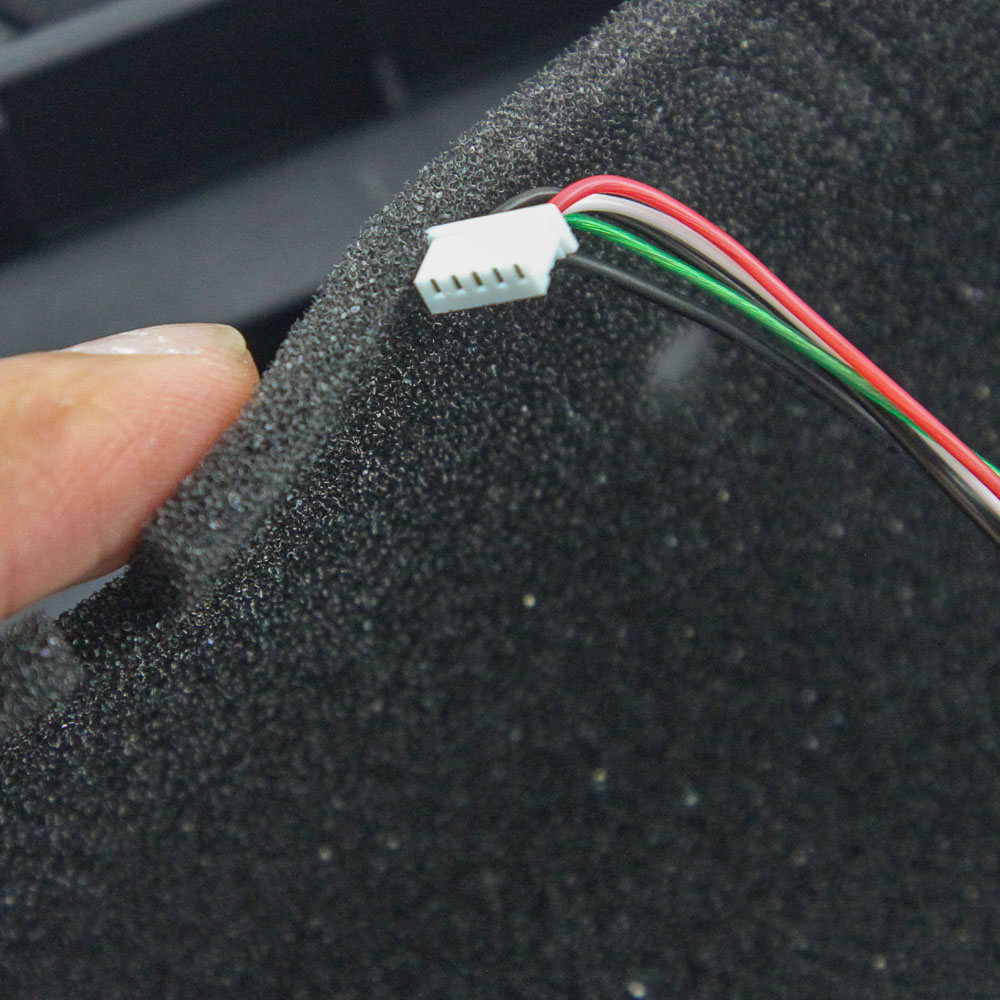
Disassembly of the Mad Catz STRIKE 13 is fairly simple owing to the aluminium alloy frame construction. All ten Phillips head screws keep things together, but can be accessed by removing specific keycaps as seen above. Once done, the top can be lifted off the bottom plastic panel by enough to access and dislodge the internal USB cable connecting the two before fully removing the bottom panel.
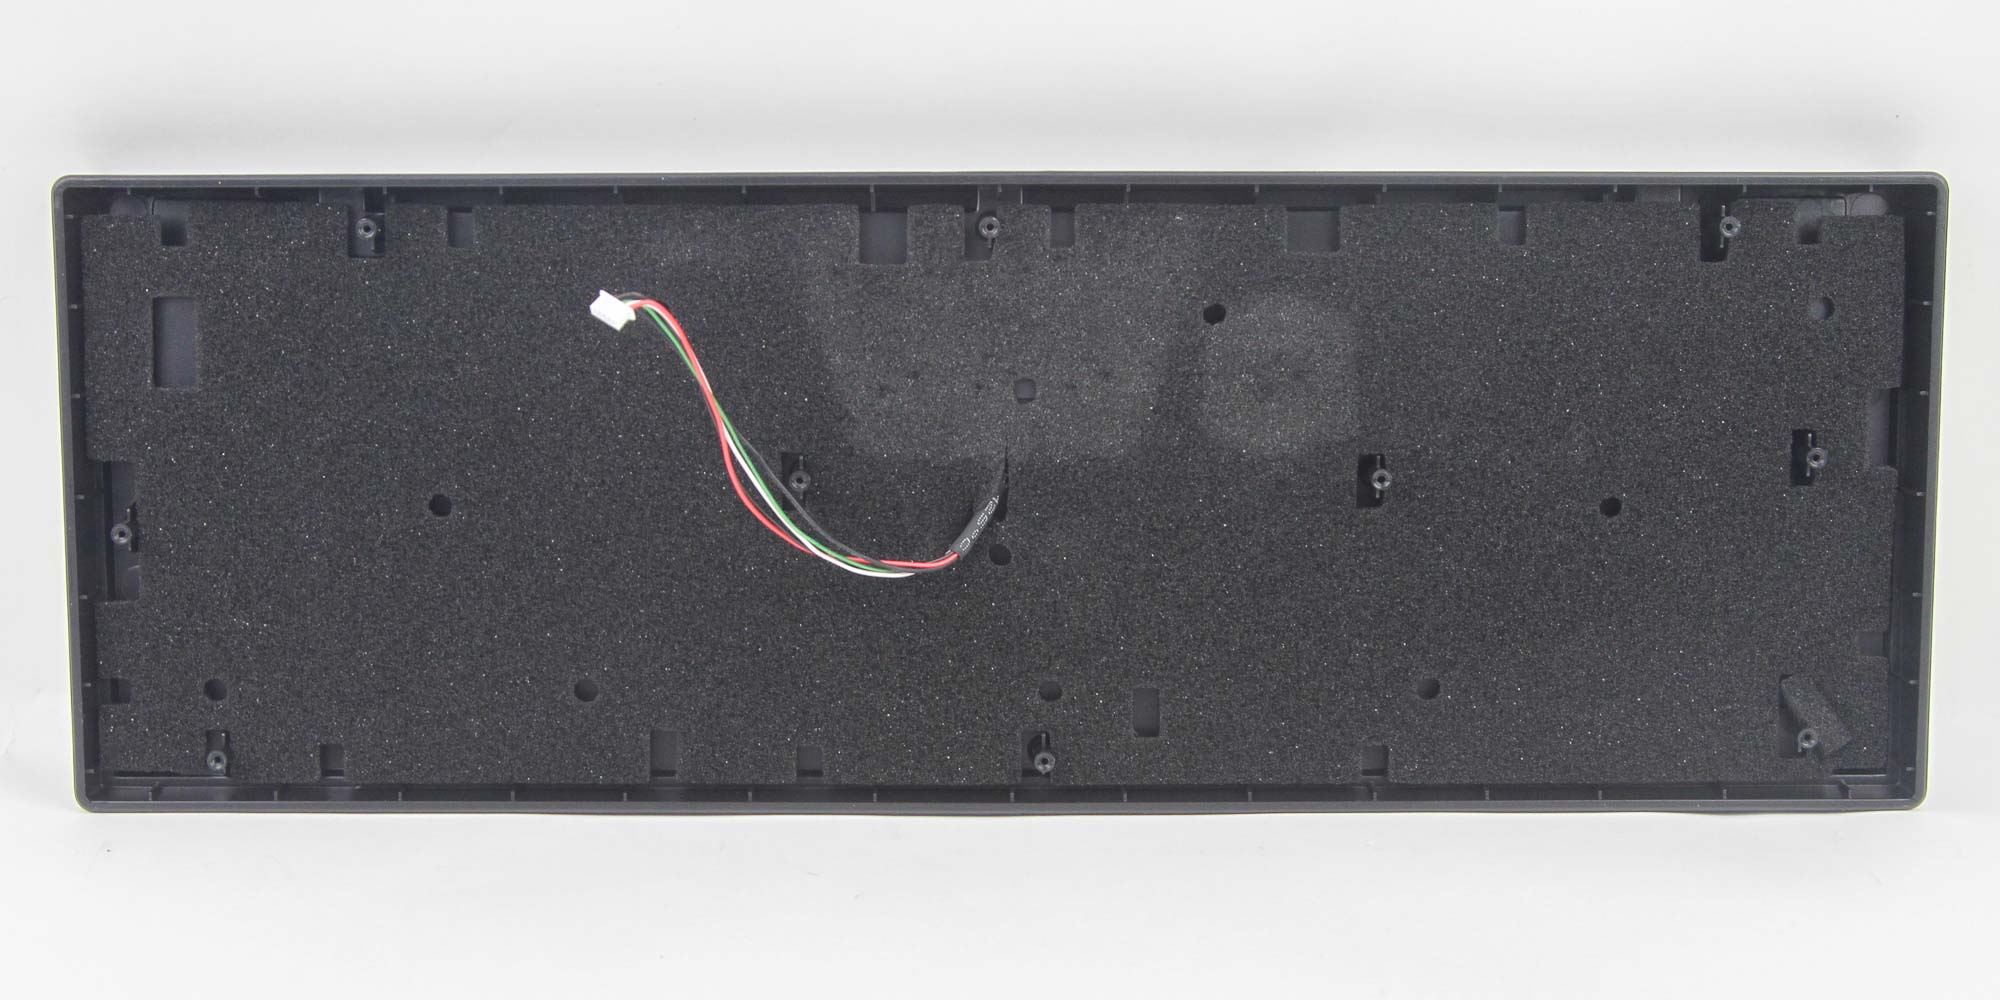
The bottom panel is made out of ABS plastic, and in a nice surprise, we see the use of thick foam on the inside. This will help dampen the sound of typing on the keyboard and is usually a feature not seen on pre-built keyboards. Good on Mad Catz for doing this!
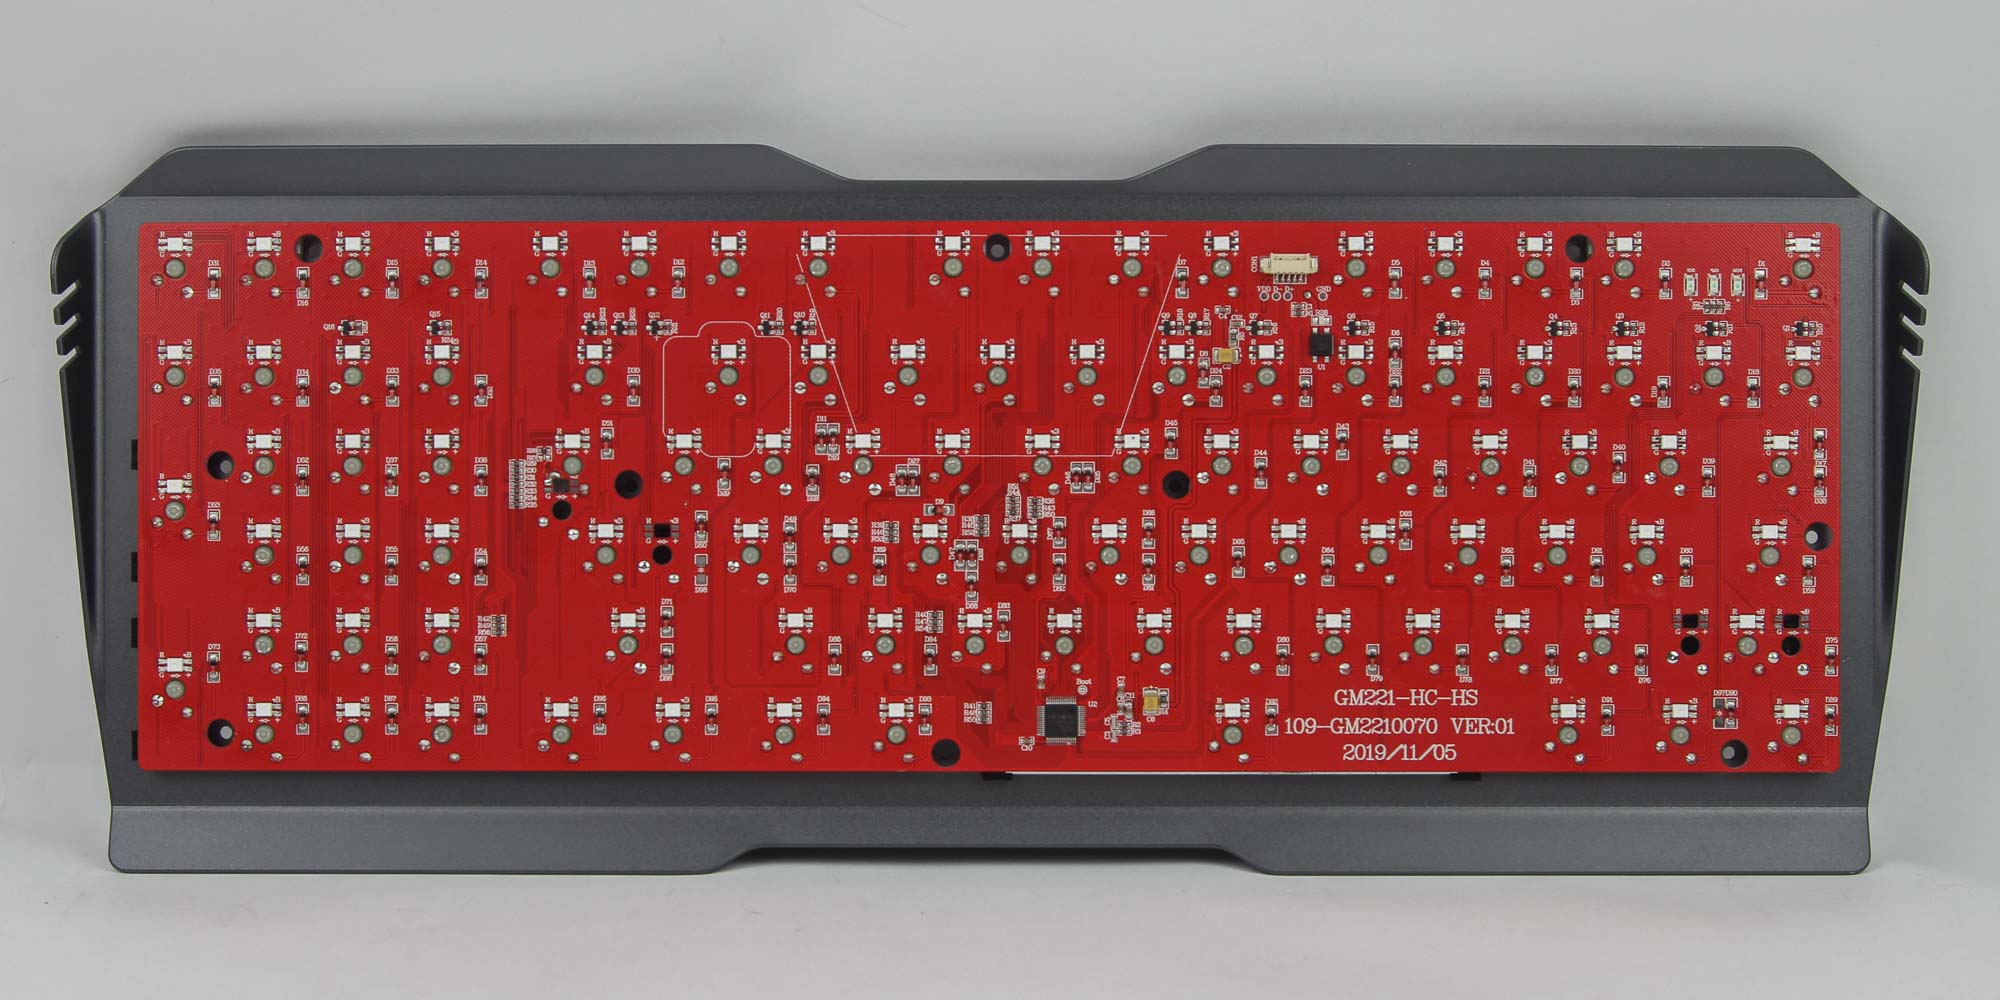
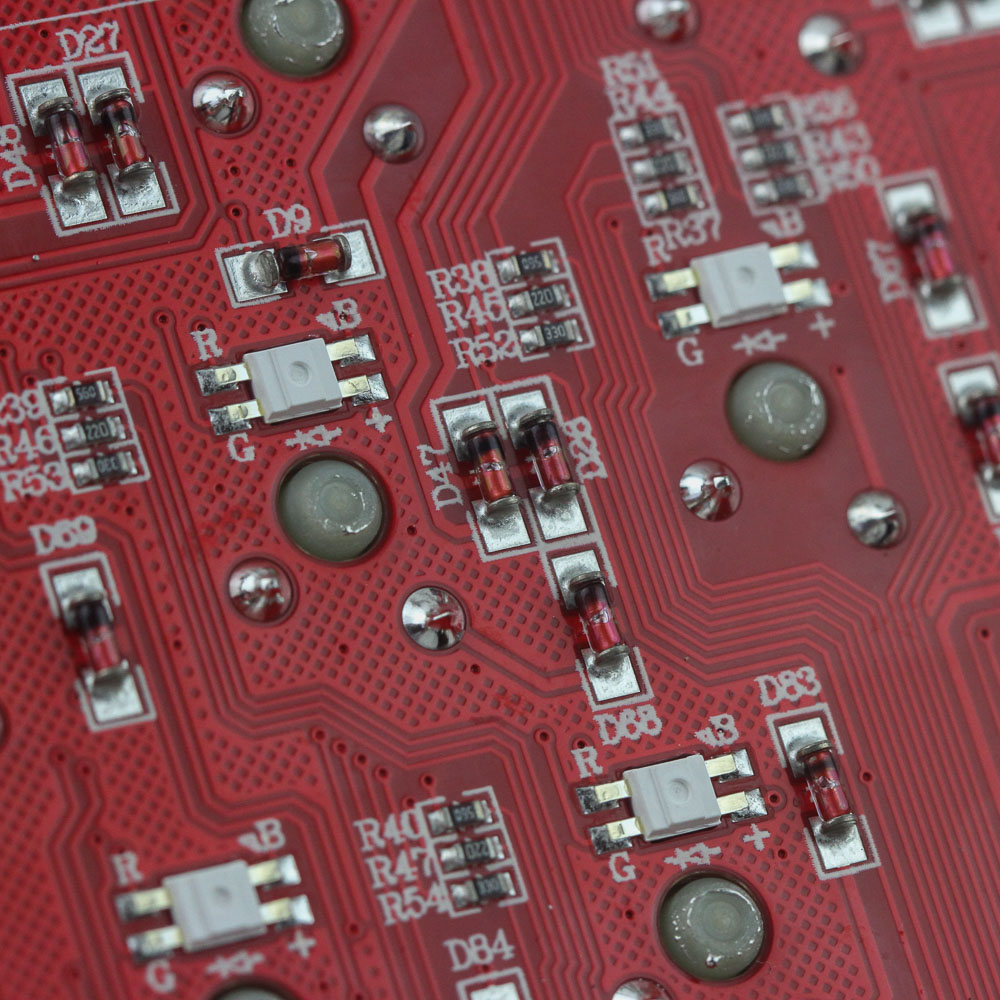
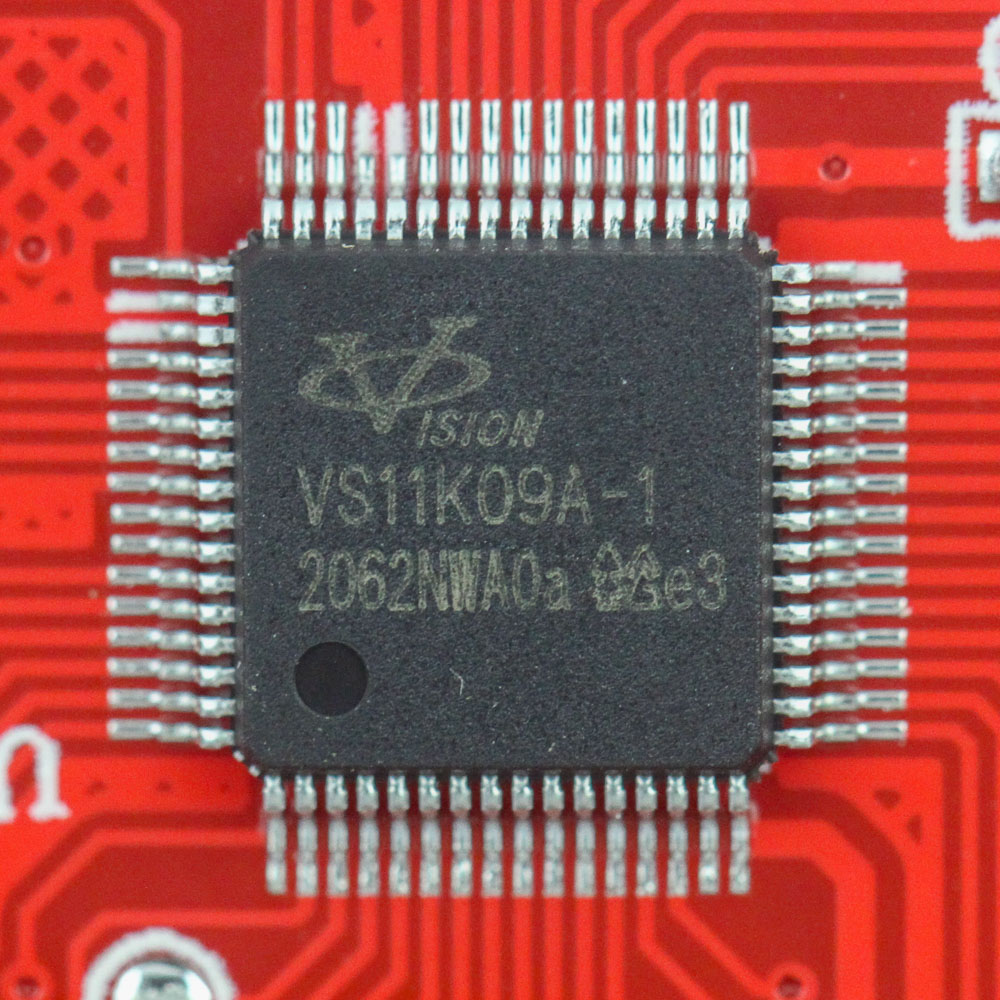
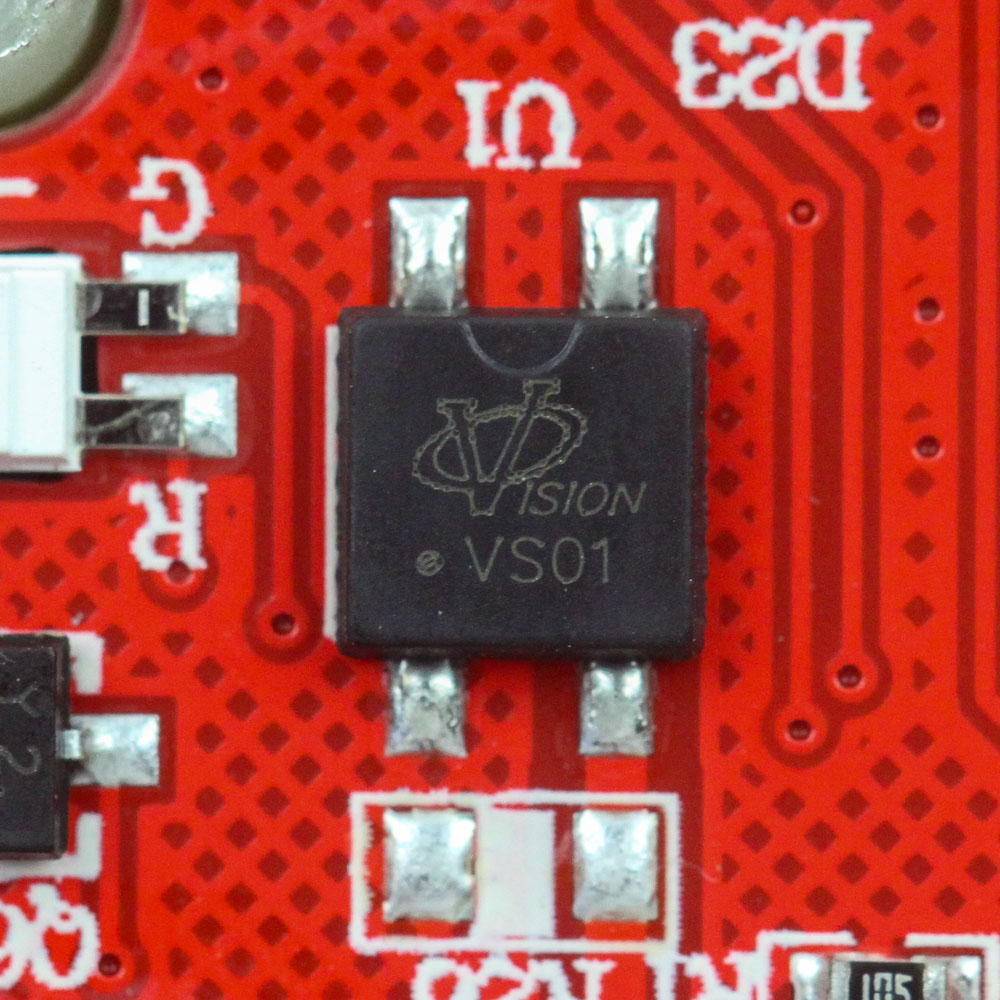
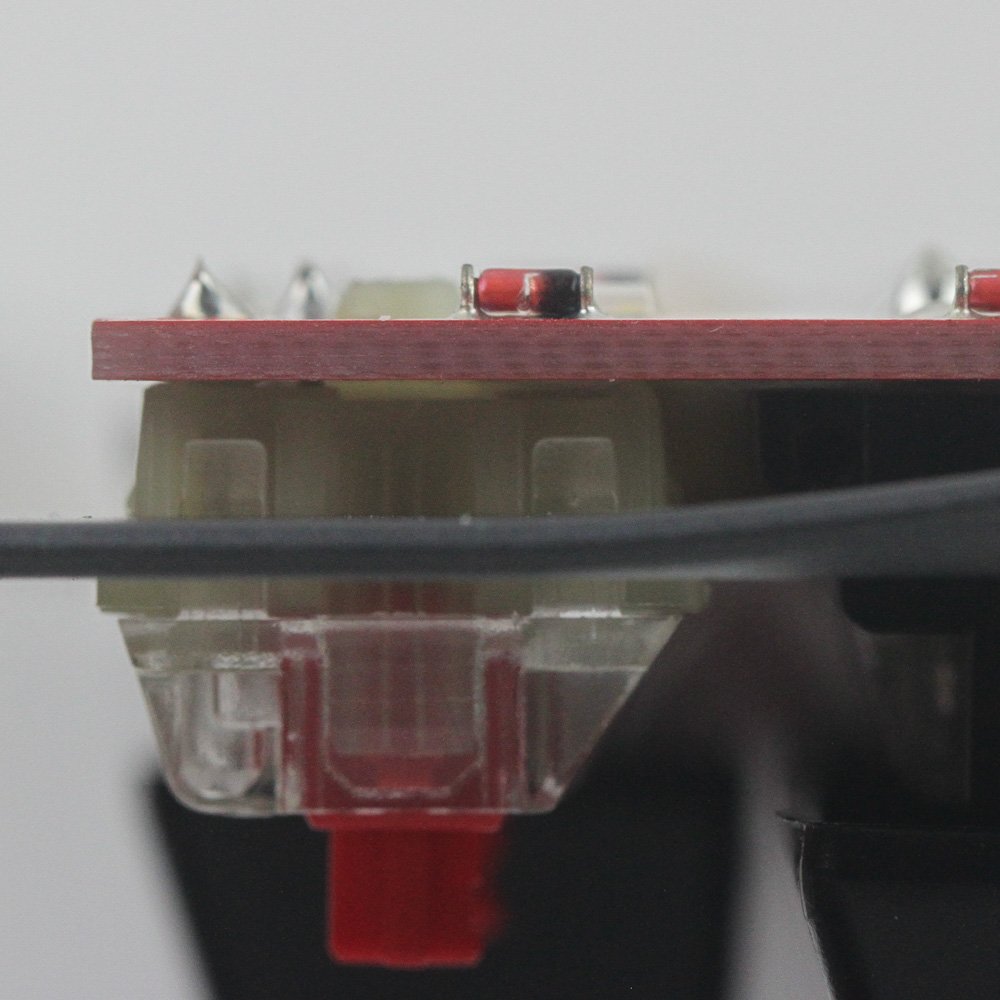
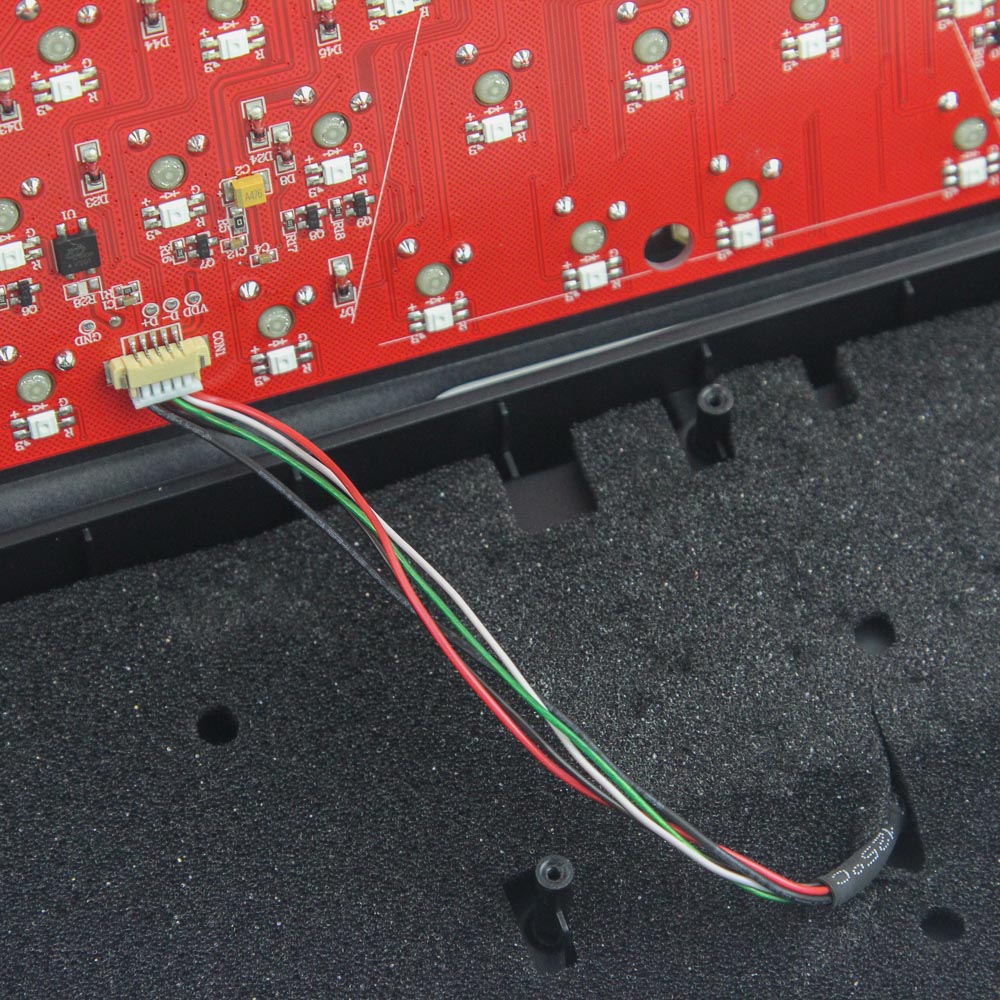
The rest of the keyboard has the switches soldered onto a red PCB through the aluminium alloy frame, so further disassembly requires bringing out a desoldering gun, which has us stop here. Solder quality is really good, and everything is likely machine made and assembled to where we don't even see any excess flux or solder points tall enough to prick fingers. Powering the keyboard is a Vision VS11K09A USB microcontroller, and there's another module in the form of the Vision VS01. There's no useful information online for either of these, unfortunately. As is the norm, all the components are soldered onto a multi-layer PCB. The side view also gives a better look at the thickness of the used aluminium alloy frame.
Before we move on, be advised that disassembly may void the warranty and that TechPowerUp is not liable for any damages incurred if you decide to go ahead and do so anyway.
Jul 12th, 2025 03:30 CDT
change timezone
Latest GPU Drivers
New Forum Posts
- What's your latest tech purchase? (24237)
- What are you playing? (23921)
- Can you guess Which game it is? (226)
- Gigabyte graphic cards - TIM gel SLIPPAGE problem (144)
- [Intel AX1xx/AX2xx/AX4xx/AX16xx/BE2xx/BE17xx] Intel Modded Wi-Fi Driver with Intel® Killer™ Features (367)
- NVIDIA RTX PRO 6000 Workstation Runs Much Hotter Than 5090 FE (22)
- 3D Printer Club (539)
- Will you buy a RTX 5090? (644)
- [GPU-Z Test Build] New Kernel Driver, Everyone: Please Test (89)
- No offense, here are some things that bother me about your understanding of fans. (34)
Popular Reviews
- Fractal Design Epoch RGB TG Review
- Corsair FRAME 5000D RS Review
- Lexar NM1090 Pro 4 TB Review
- NVIDIA GeForce RTX 5050 8 GB Review
- NZXT N9 X870E Review
- Sapphire Radeon RX 9060 XT Pulse OC 16 GB Review - An Excellent Choice
- AMD Ryzen 7 9800X3D Review - The Best Gaming Processor
- Our Visit to the Hunter Super Computer
- Upcoming Hardware Launches 2025 (Updated May 2025)
- Chieftec Iceberg 360 Review
TPU on YouTube
Controversial News Posts
- Intel's Core Ultra 7 265K and 265KF CPUs Dip Below $250 (288)
- Some Intel Nova Lake CPUs Rumored to Challenge AMD's 3D V-Cache in Desktop Gaming (140)
- AMD Radeon RX 9070 XT Gains 9% Performance at 1440p with Latest Driver, Beats RTX 5070 Ti (131)
- NVIDIA Launches GeForce RTX 5050 for Desktops and Laptops, Starts at $249 (119)
- NVIDIA GeForce RTX 5080 SUPER Could Feature 24 GB Memory, Increased Power Limits (115)
- Microsoft Partners with AMD for Next-gen Xbox Hardware (105)
- Intel "Nova Lake‑S" Series: Seven SKUs, Up to 52 Cores and 150 W TDP (100)
- NVIDIA DLSS Transformer Cuts VRAM Usage by 20% (97)