 14
14
MonsterLabo The First Review - Making a Passive Gaming Rig Possible
Assembly & Finished Looks »A Closer Look - Inside
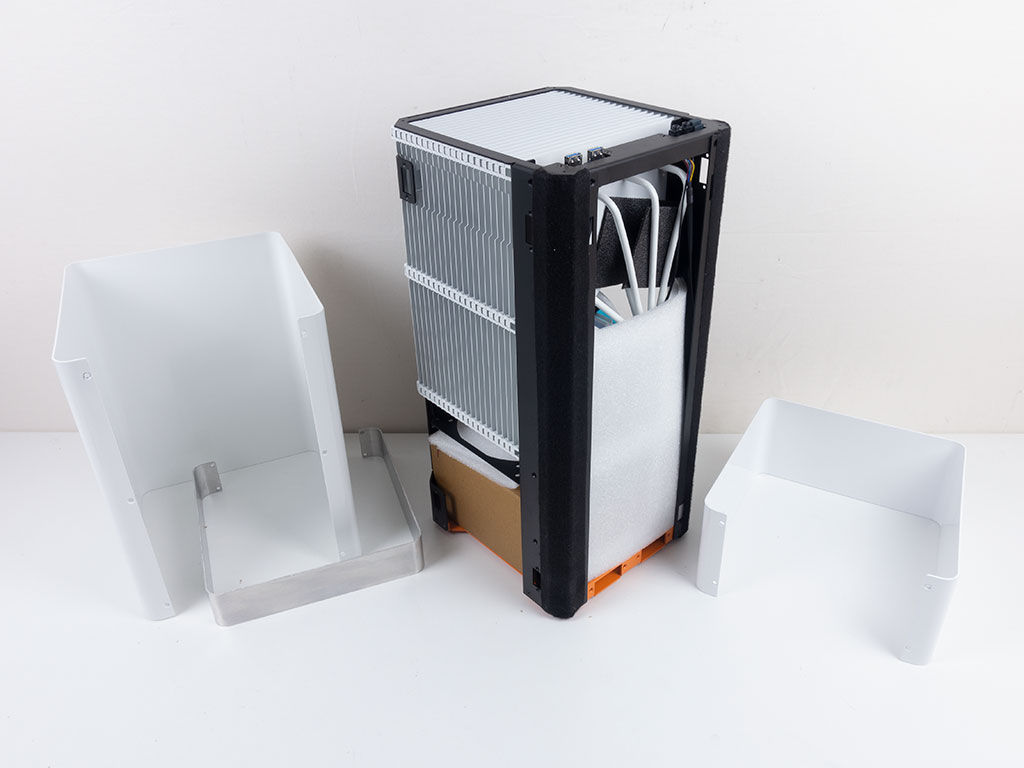
To access the interior, you have to remove at least 14 screws in the back just to get your bearings, as the unit ships heavily protected with foam pieces and holds an accessories box in the bottom. There is a temporary cover on the front edges of the case. At first, we thought this is something to wedge the cover around the corners nicely, especially as some of their videos feature cutouts where the screw holes of the frame are, while ours was taped right over them. However, MonsterLabo told us that these were just for transport and are meant to be removed, so in the final stages of assembly, you will see the frame without this layer.

With everything removed, The First makes a nice impression in its bare form with all sides accessible and the bottom detached, as MonsterLabo has gone as far as having the whole heatsink assembly painted in the same color as the exterior of the case.
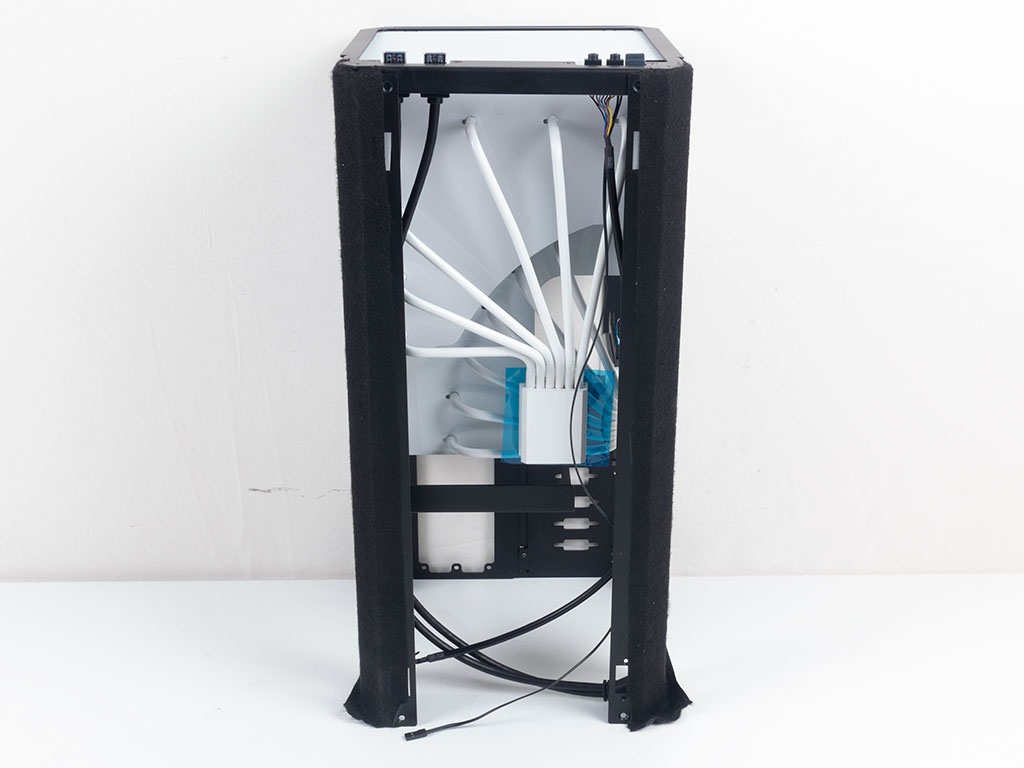
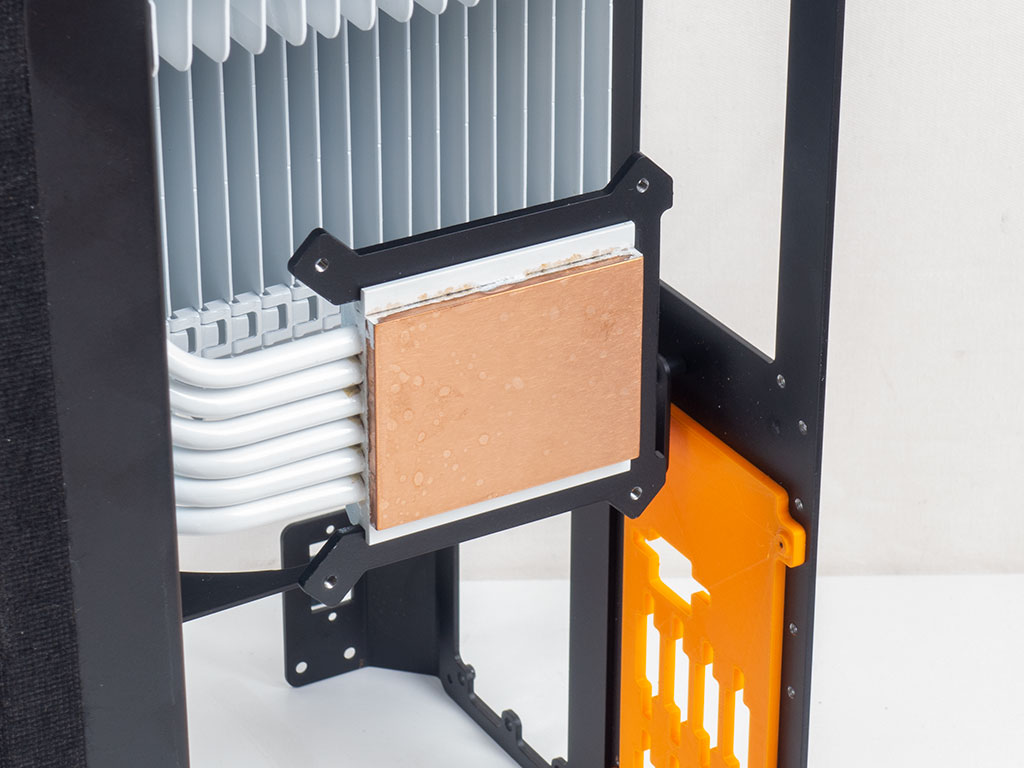
Looking at the interior from the front, you can see the GPU base and six heatsinks spreading to the upper part of the large heatsink. The block is facing into the chassis, which should make assembly quite interesting. MonsterLabo has explicitly opted for a block that is fixed in place, and adjustable mounting brackets, while other brands tend to allow for the block position to be adjusted instead.
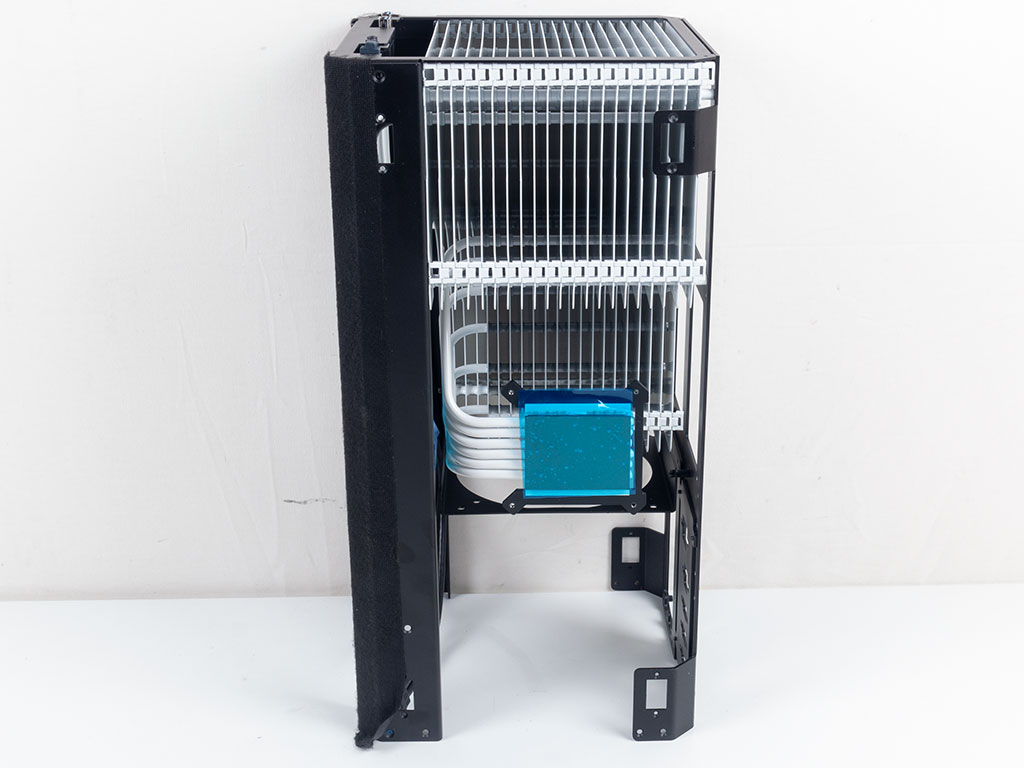
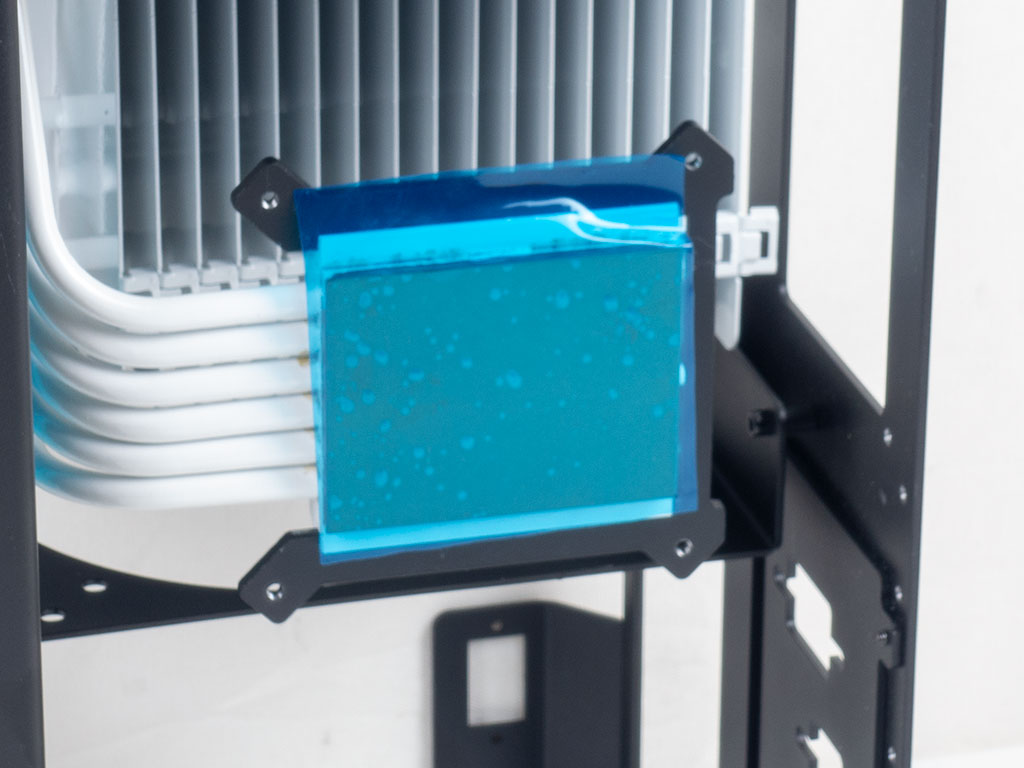
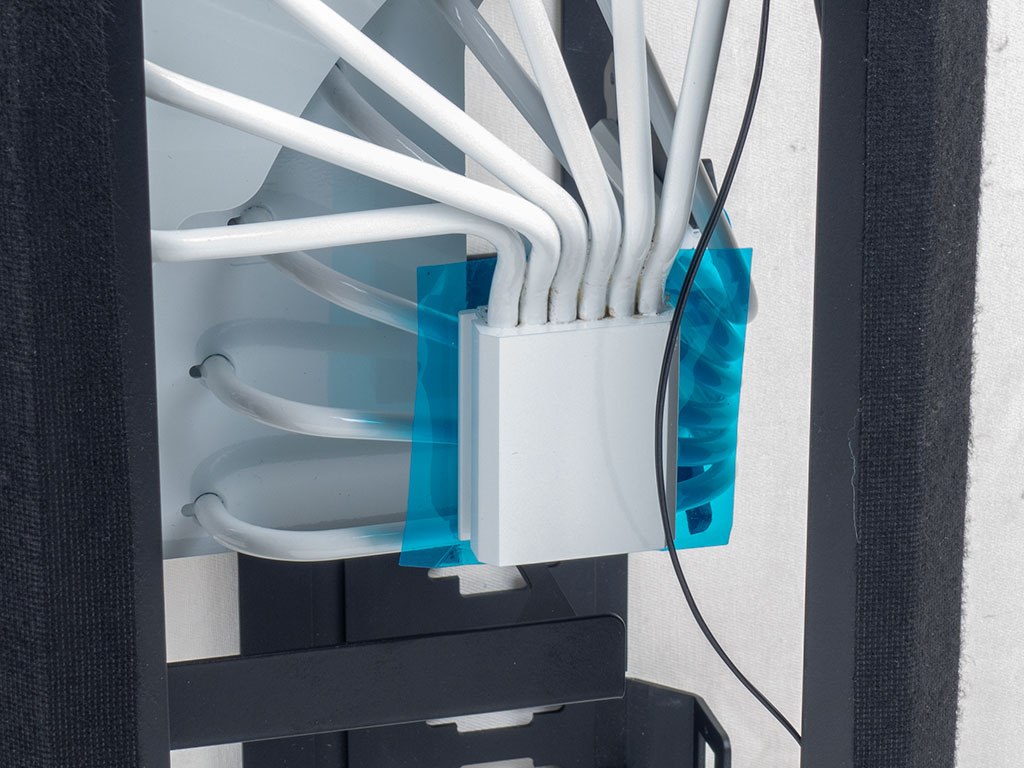
On the left side, you will find the cooling assembly for the CPU, which is fairly large and also features six heatpipes that attach to the heatsink. This one is facing outward, and protected by the same blue plastic layer. MonsterLabo has placed the Intel mounting bracket on here already, and you will need to screw down the AMD extensions if taking the other route.
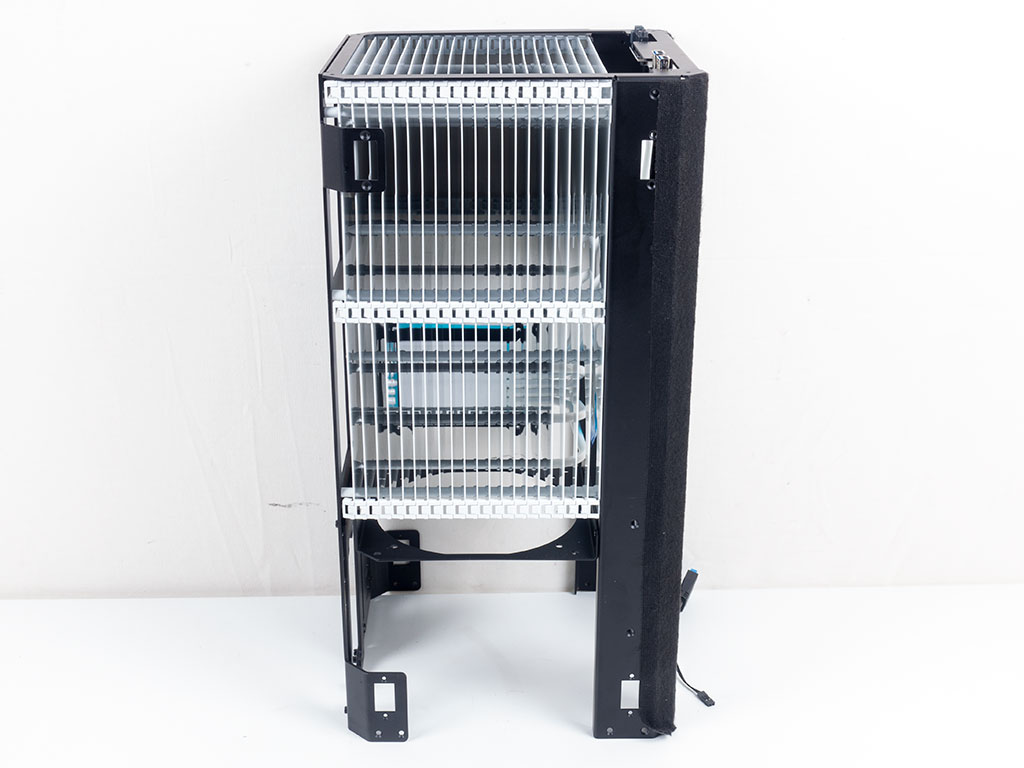
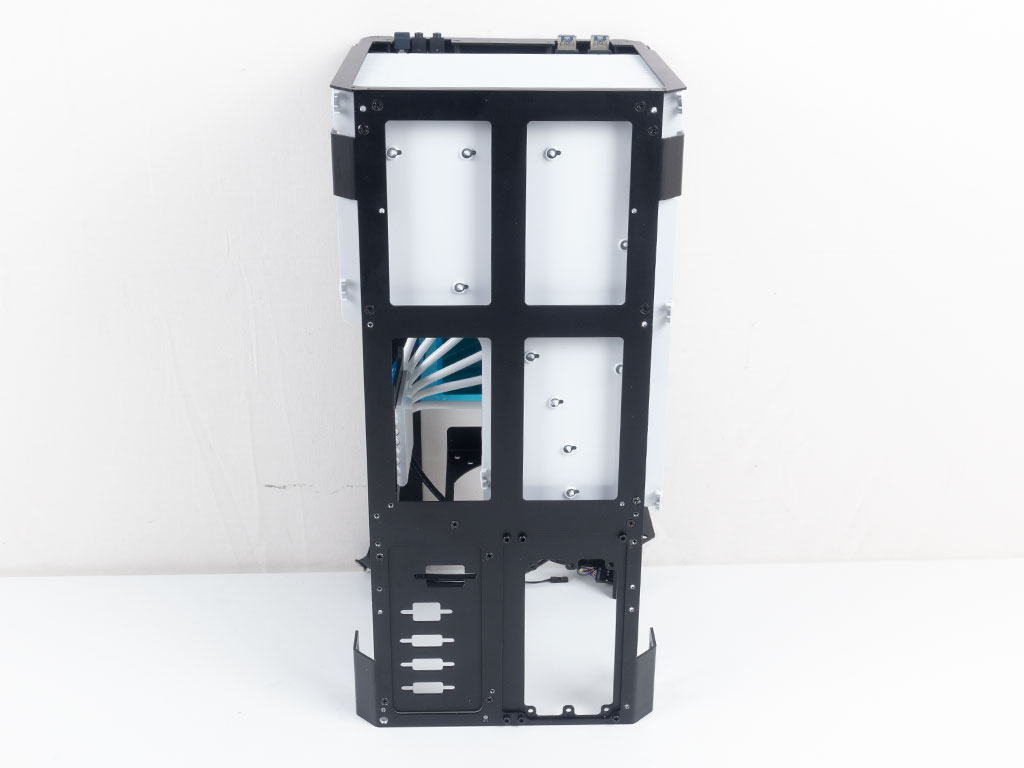
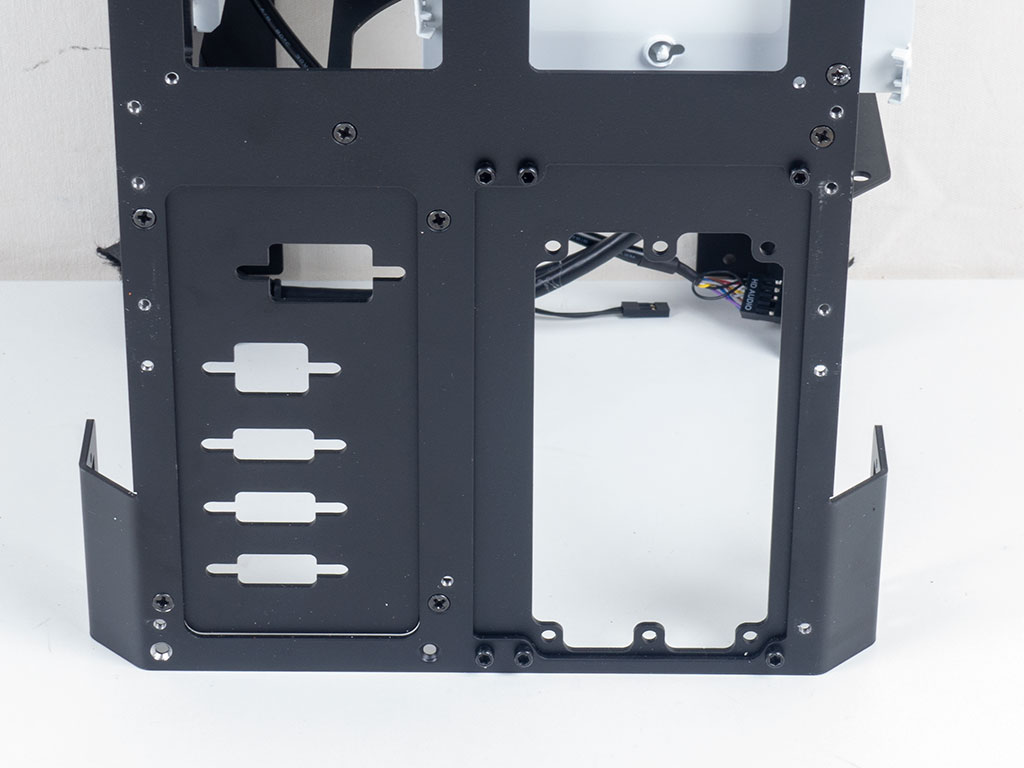
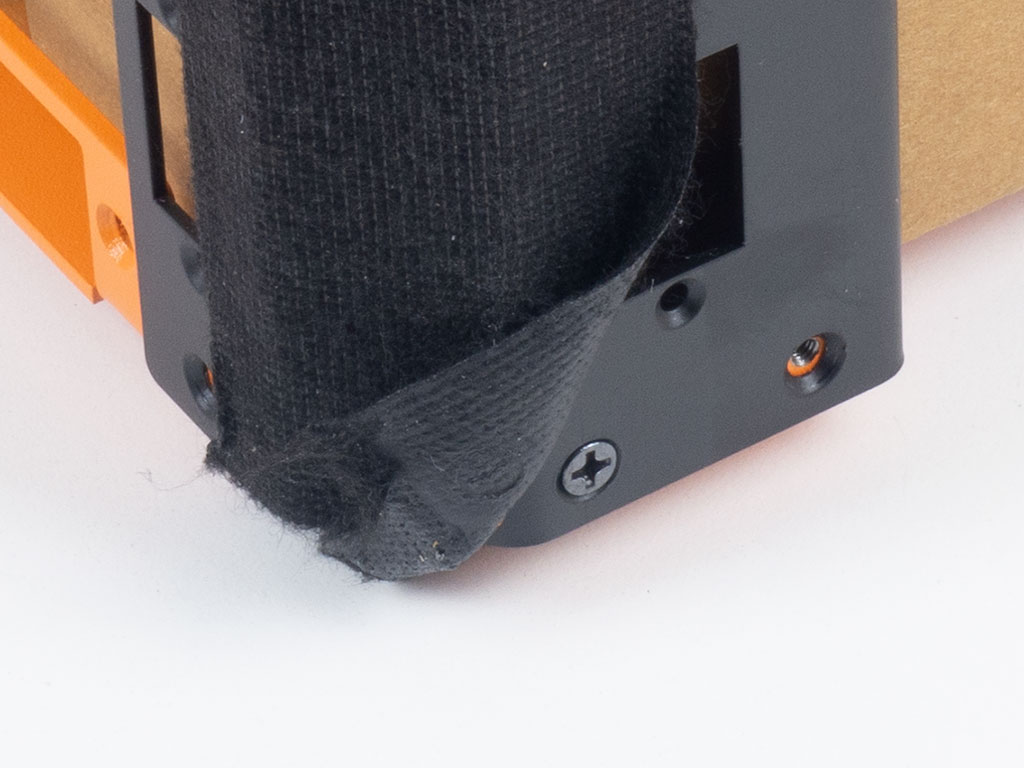
You will not find any functional cooling elements on the left side since around 60% of the height is completely filled out by the large heatsink, while the empty bottom is intended for the PSU. In the rear, you can see a black metal frame that actually gives you somewhat of a view of the CPU block mounting. The two bays on the very bottom have the detachable covers which are held in place by hex screws.
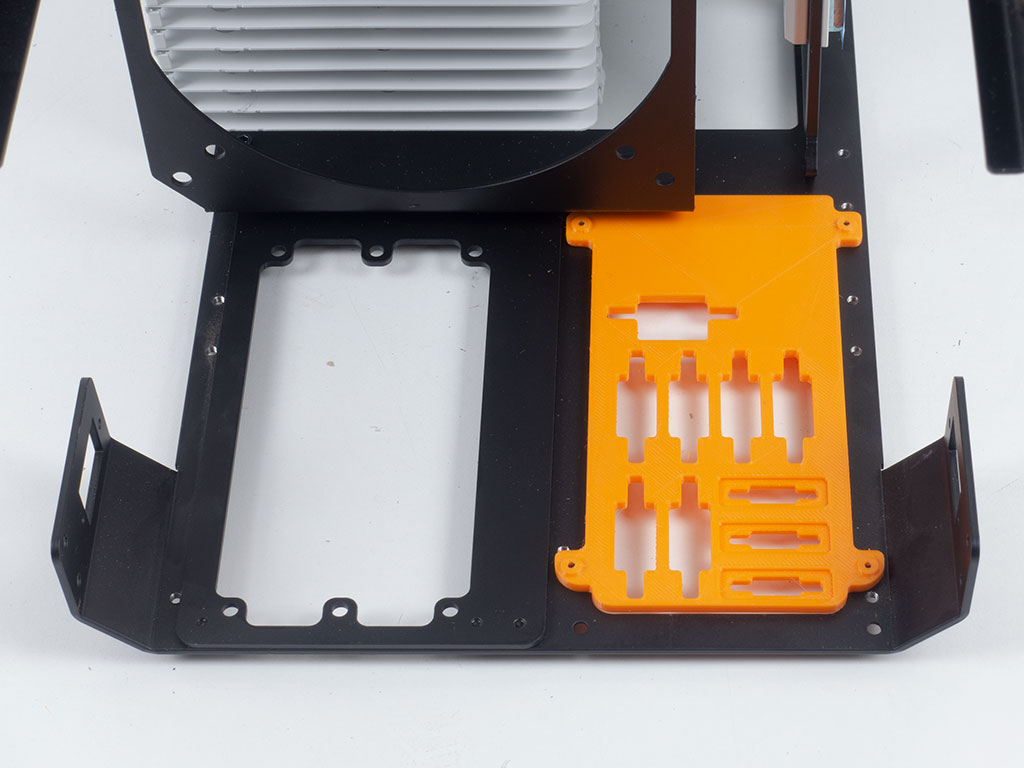
As we received a 3D printed replacement panel for the I/O ports, with more possibilities to install everything, we went ahead and screwed that one in.


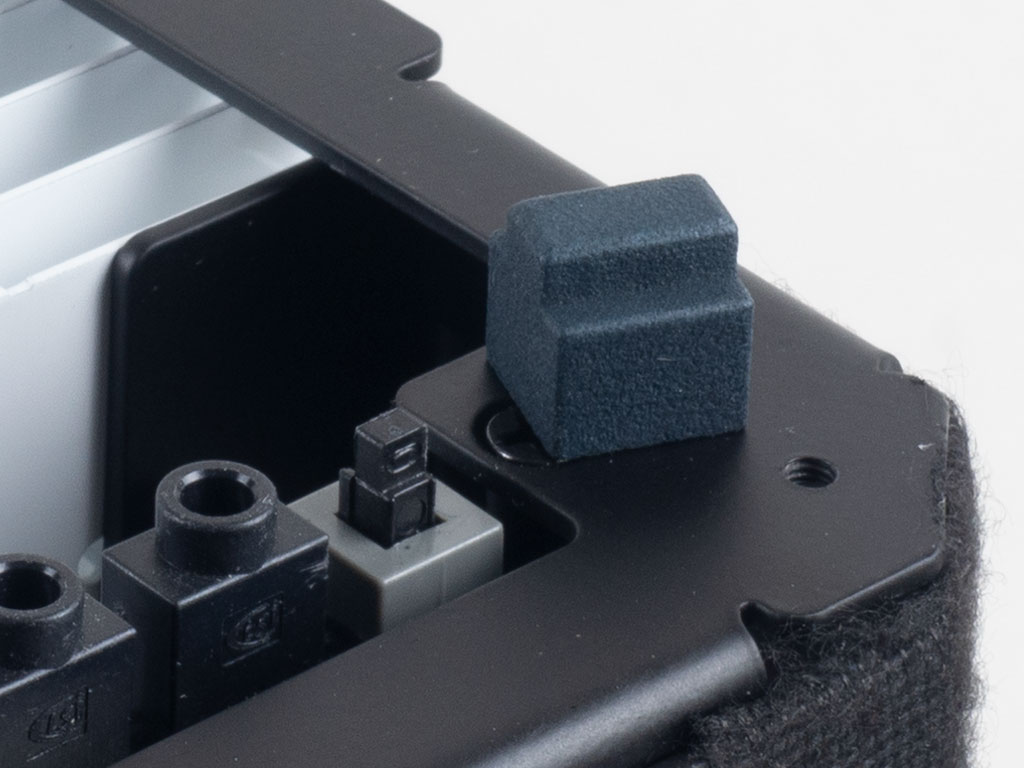
Before diving into the assembly process, we can check out the bare I/O ports, which actually rest on solid PCBs instead of simply being cable attachments. Interestingly enough, the power button looks quite basic with a small plastic trigger base and a loose square bit, which is quite the odd departure from other design choices of The First.
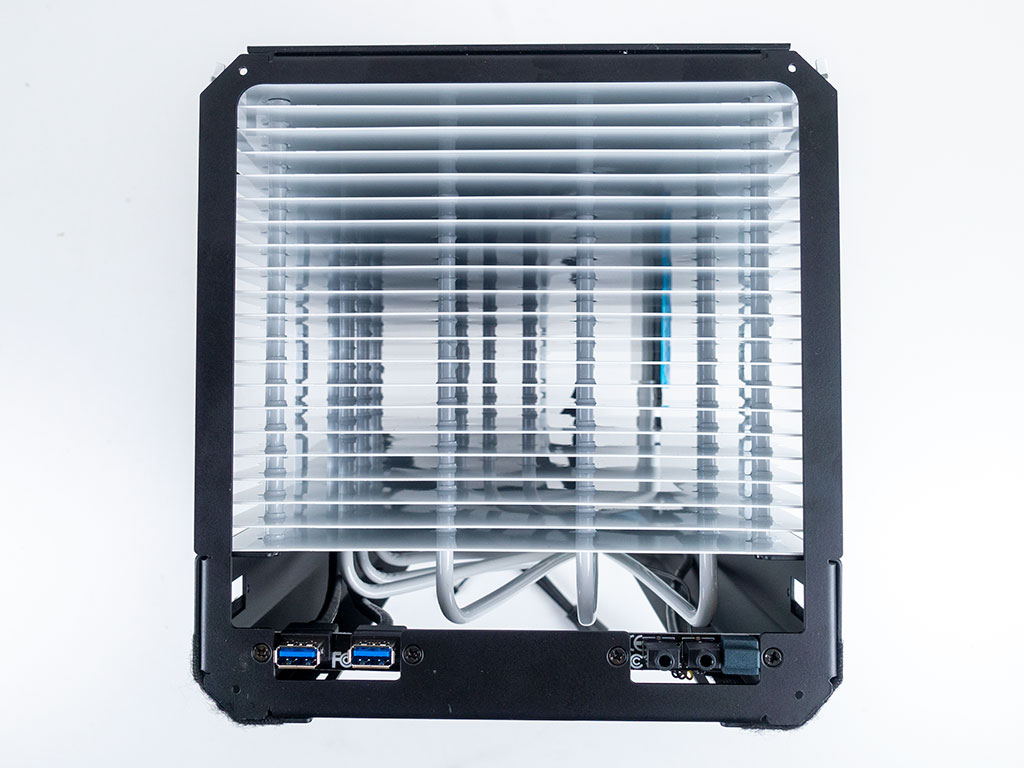
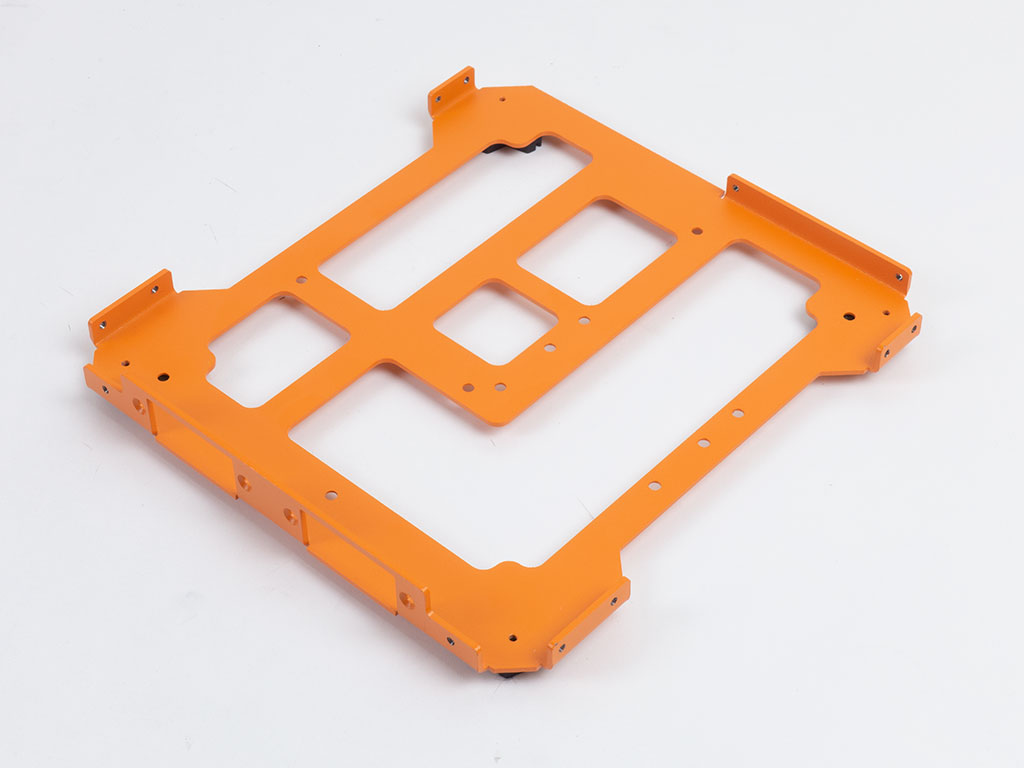
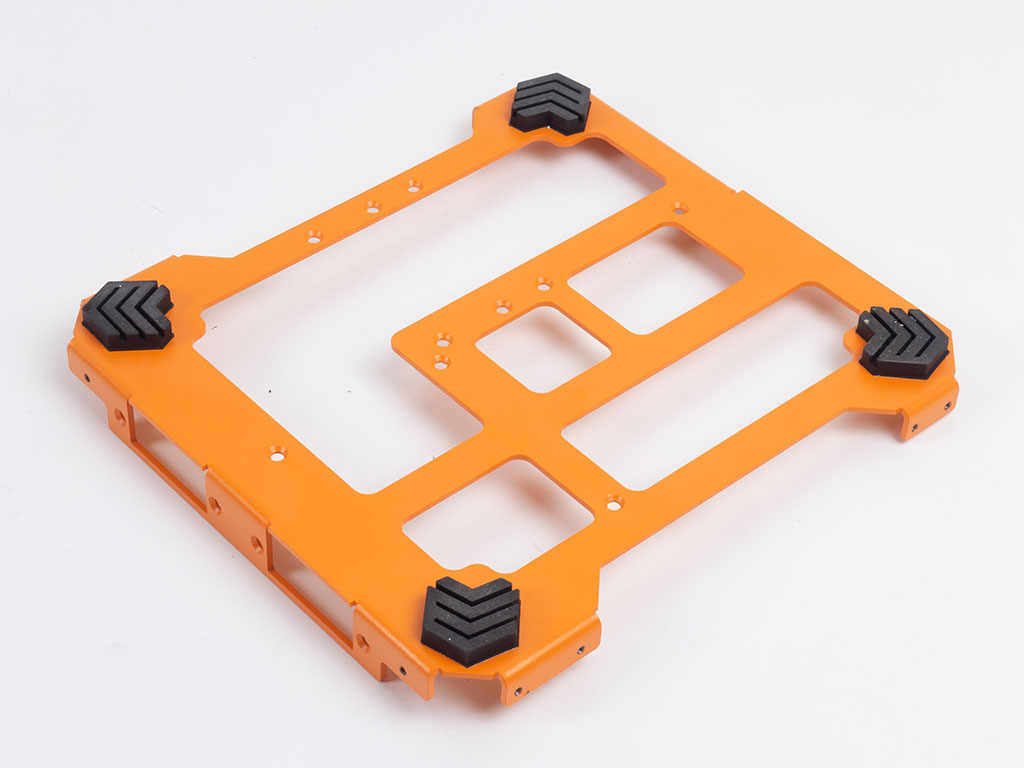
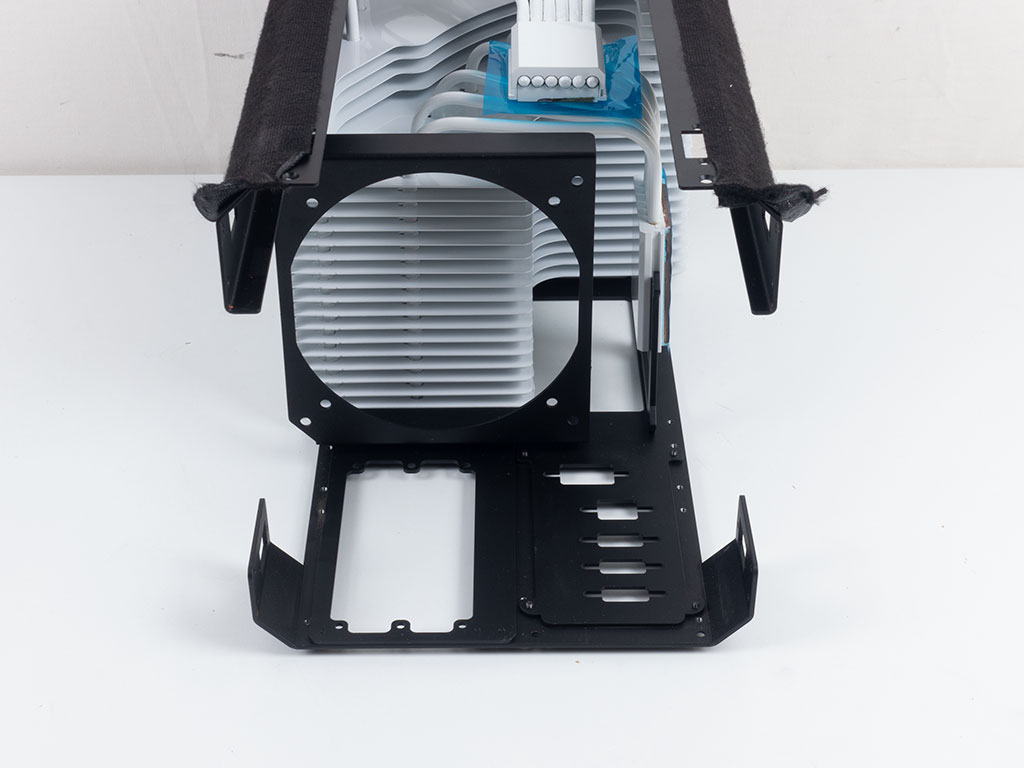
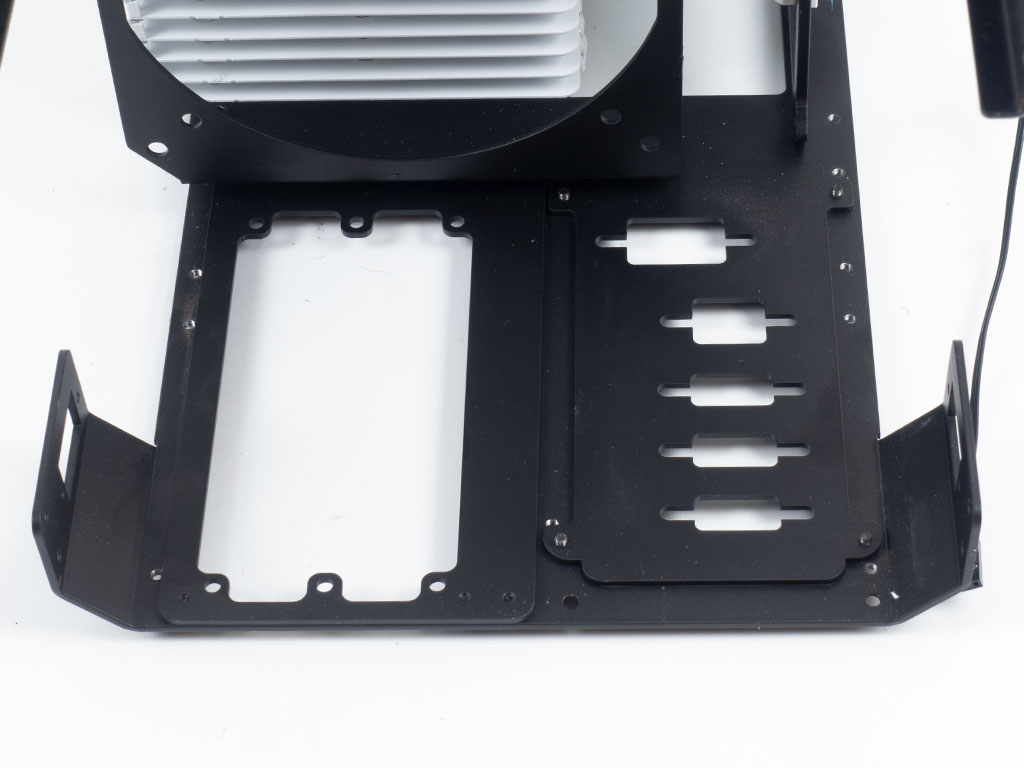
Looking straight down the chassis, you can see the massive, well-spaced plates of the heatsink along the heatpipes. With passive systems, it is important to increase the spacing to allow for natural dissipation vs. actively pushing air through. The flooring is really sturdy and well made. While the orange is a nice touch, it is purely visual, so I would have no issues if MonsterLabo were to go for black and pass the cost savings on to the customer instead. The feet are firmly glued in place and give the entire case a nice base to stand on.
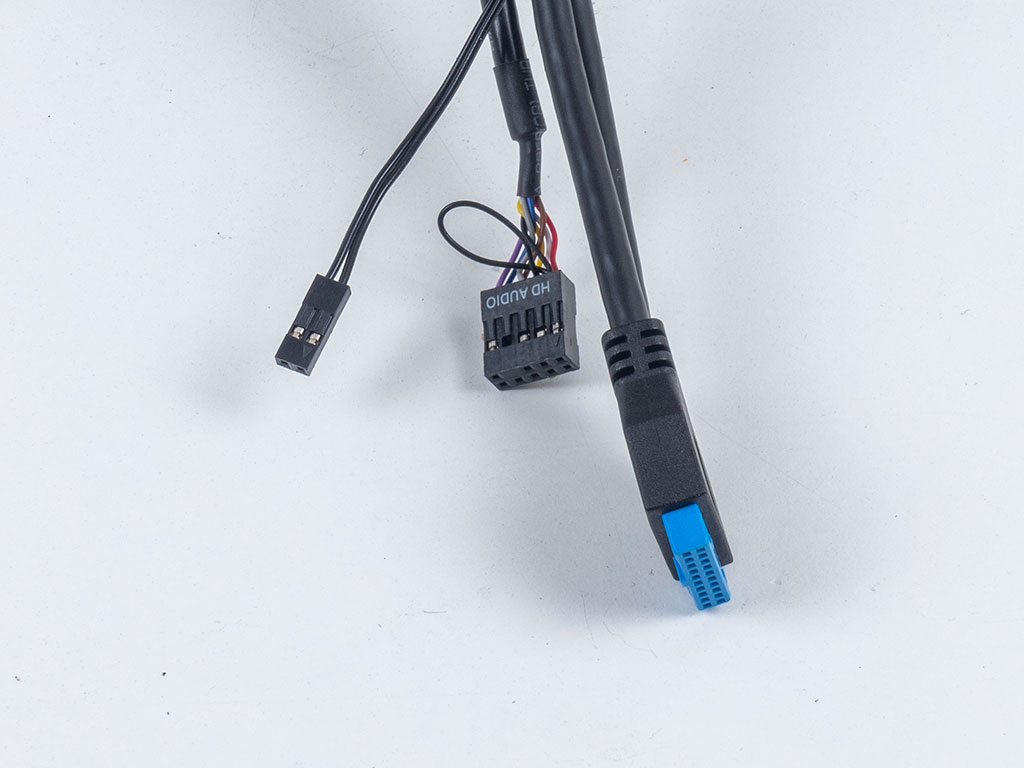
Last but not least, all the cables within the MonsterLabo The First are of the default variety. The leads are actually quite long, which means you will always be able to reach them no matter which ITX board you end up using.
Jul 15th, 2025 18:59 CDT
change timezone
Latest GPU Drivers
New Forum Posts
- Stupid things one has done with hardware (68)
- Game Informer magazine is back! (5)
- monitor stand became loose after making changes to setup (0)
- What is the latest game you finished or 100% (53)
- How about AMD instead of Intel? (43)
- Adding distilled water to ups batteries really work ? (15)
- Choosing the right motherboard (8)
- Water cooling configuration (1)
- Necessary DLSS Tools (3)
- CHERRY KC 200 MX calculator key only works when device manager window is in focus. (0)
Popular Reviews
- MSI GeForce RTX 5060 Gaming OC Review
- Our Visit to the Hunter Super Computer
- SilverStone SETA H2 Review
- Lexar NM1090 Pro 4 TB Review
- NVIDIA GeForce RTX 5050 8 GB Review
- Fractal Design Epoch RGB TG Review
- Sapphire Radeon RX 9060 XT Pulse OC 16 GB Review - An Excellent Choice
- AMD Ryzen 7 9800X3D Review - The Best Gaming Processor
- Upcoming Hardware Launches 2025 (Updated May 2025)
- Corsair FRAME 5000D RS Review
TPU on YouTube
Controversial News Posts
- Intel's Core Ultra 7 265K and 265KF CPUs Dip Below $250 (288)
- Some Intel Nova Lake CPUs Rumored to Challenge AMD's 3D V-Cache in Desktop Gaming (140)
- AMD Radeon RX 9070 XT Gains 9% Performance at 1440p with Latest Driver, Beats RTX 5070 Ti (131)
- NVIDIA Launches GeForce RTX 5050 for Desktops and Laptops, Starts at $249 (122)
- NVIDIA GeForce RTX 5080 SUPER Could Feature 24 GB Memory, Increased Power Limits (115)
- Microsoft Partners with AMD for Next-gen Xbox Hardware (105)
- Intel "Nova Lake‑S" Series: Seven SKUs, Up to 52 Cores and 150 W TDP (100)
- NVIDIA DLSS Transformer Cuts VRAM Usage by 20% (99)