 23
23
Mountain Everest Max Keyboard Review - Customization Max!
Software »Disassembly
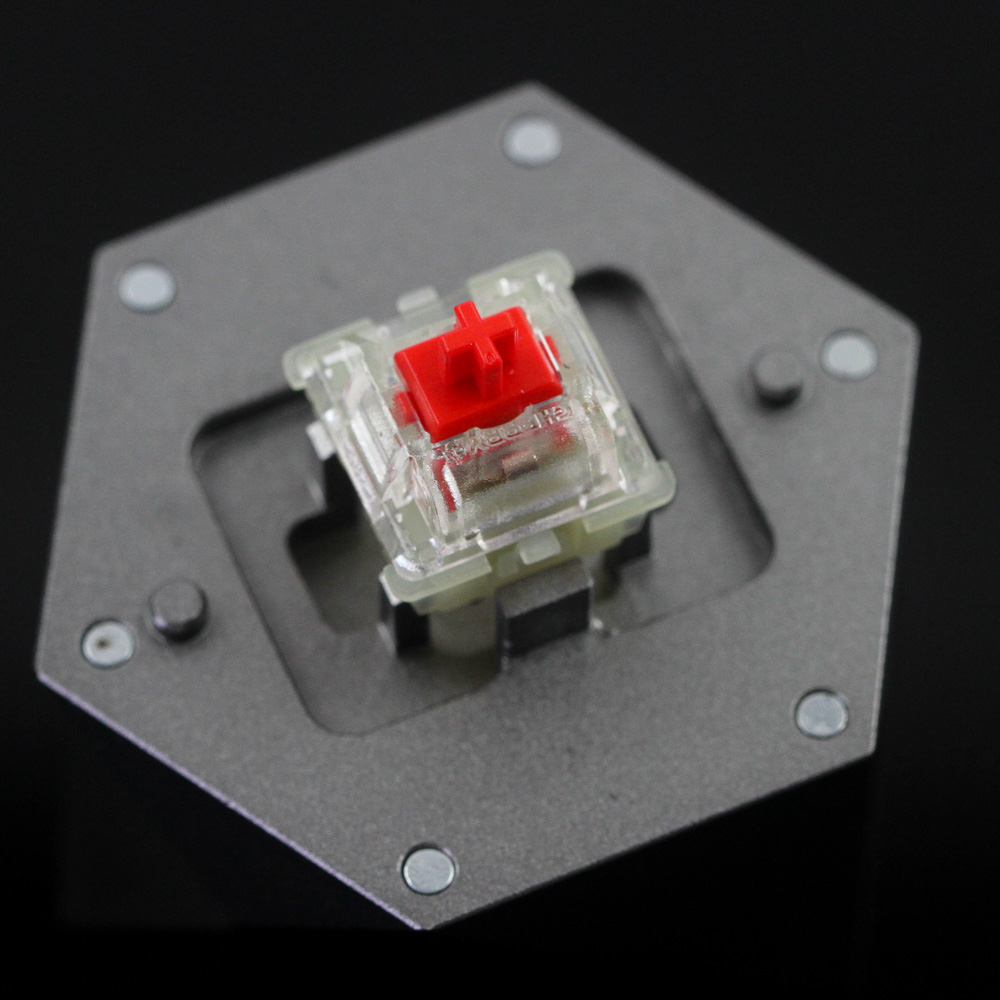

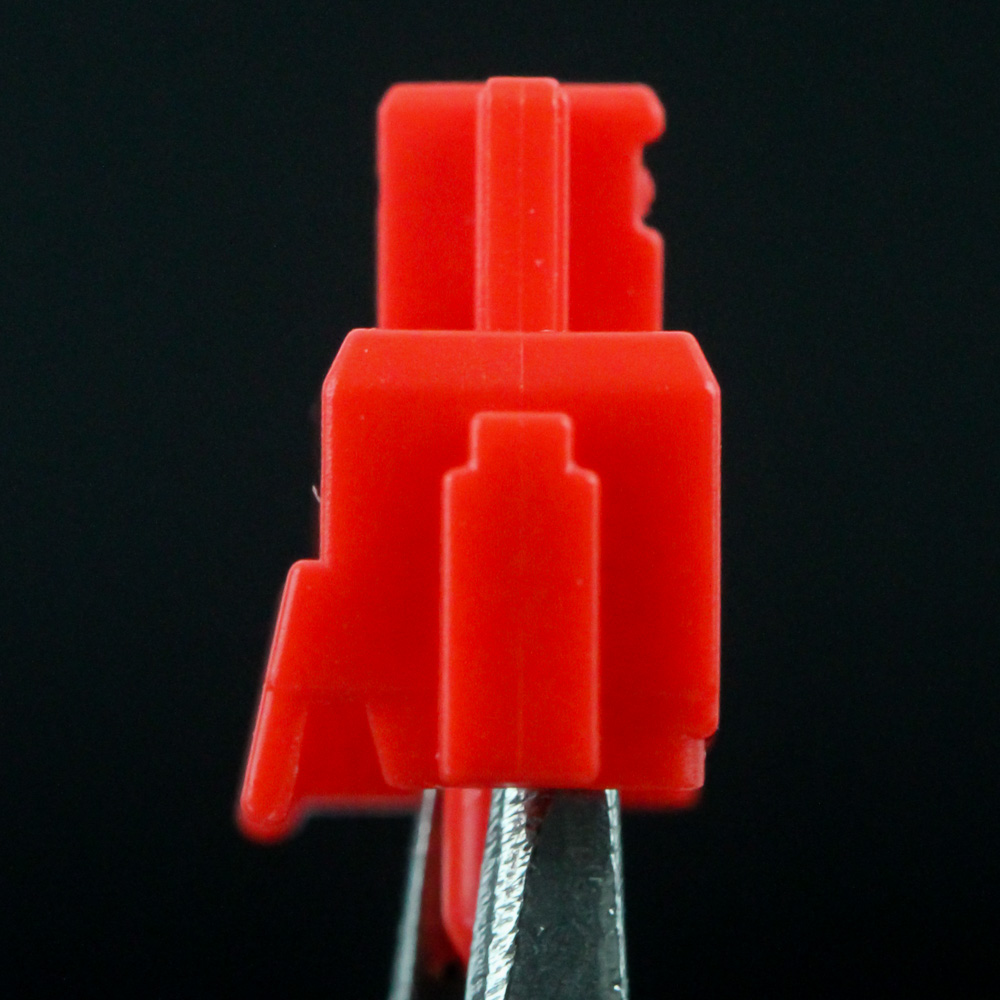
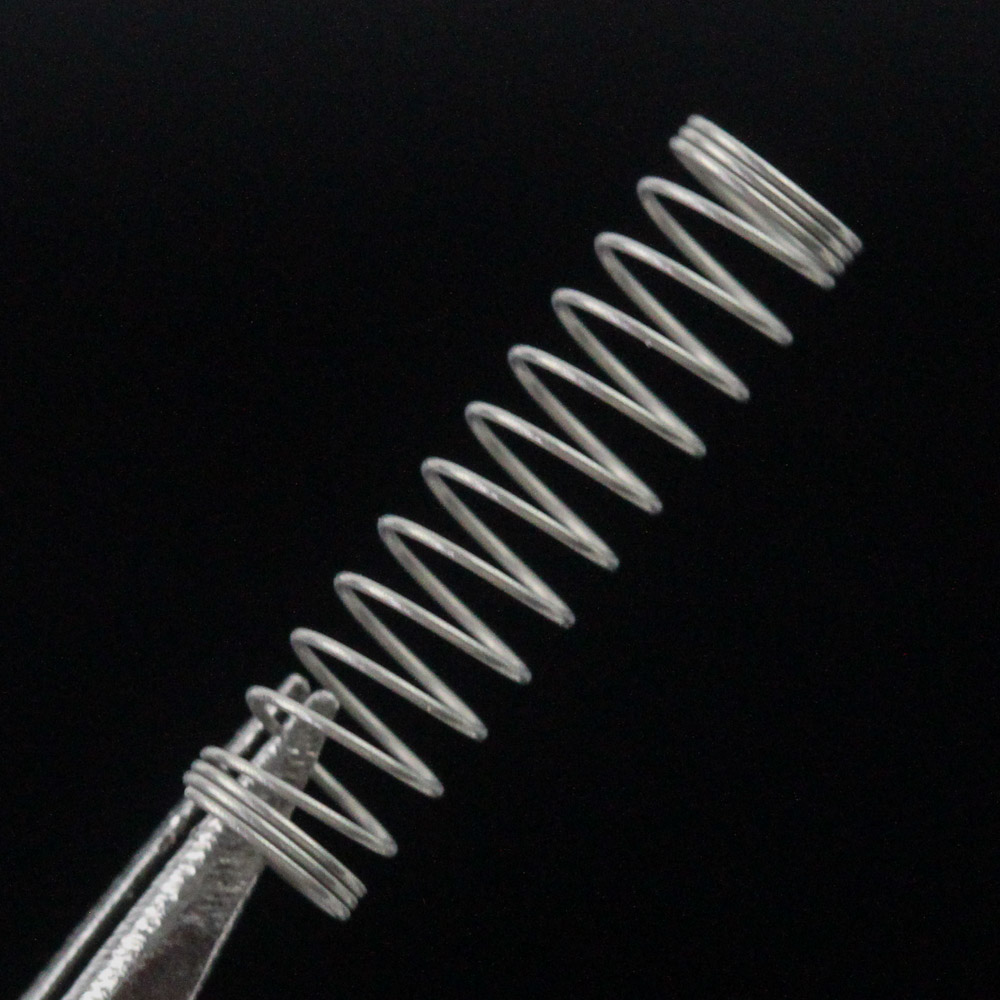
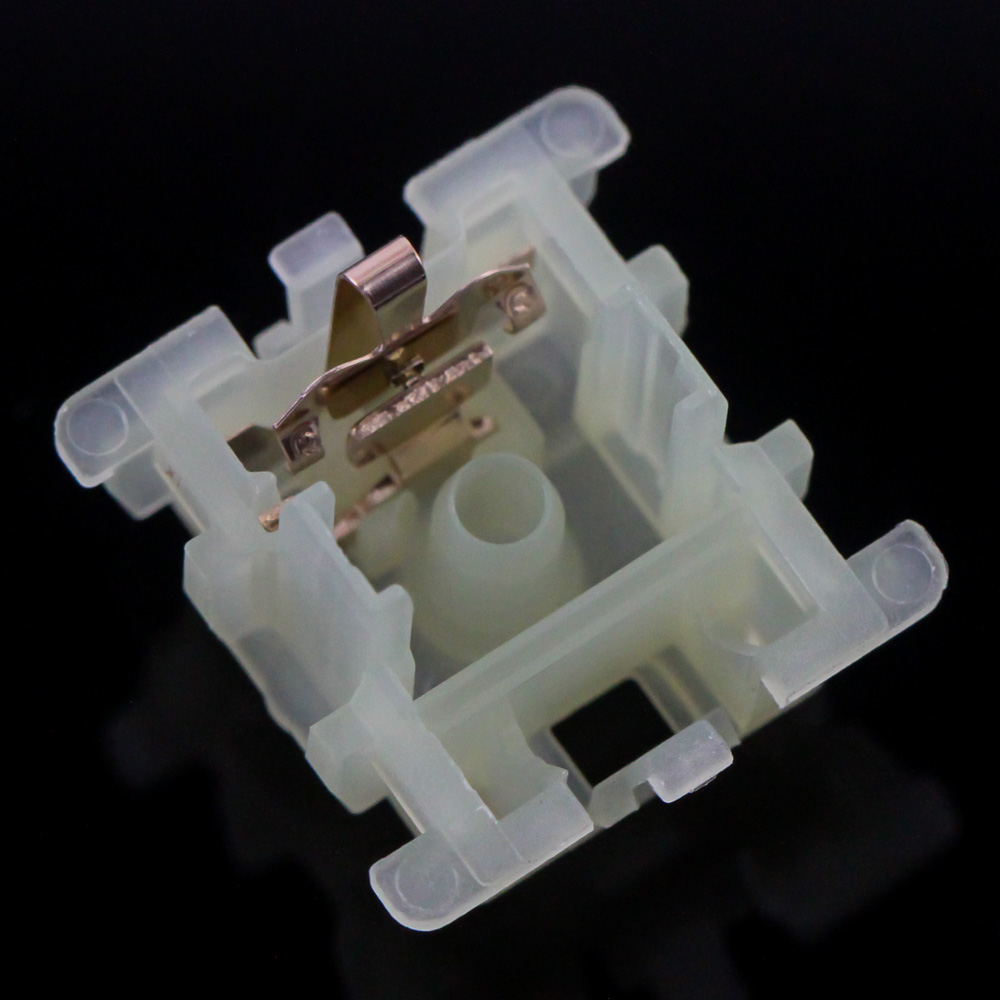
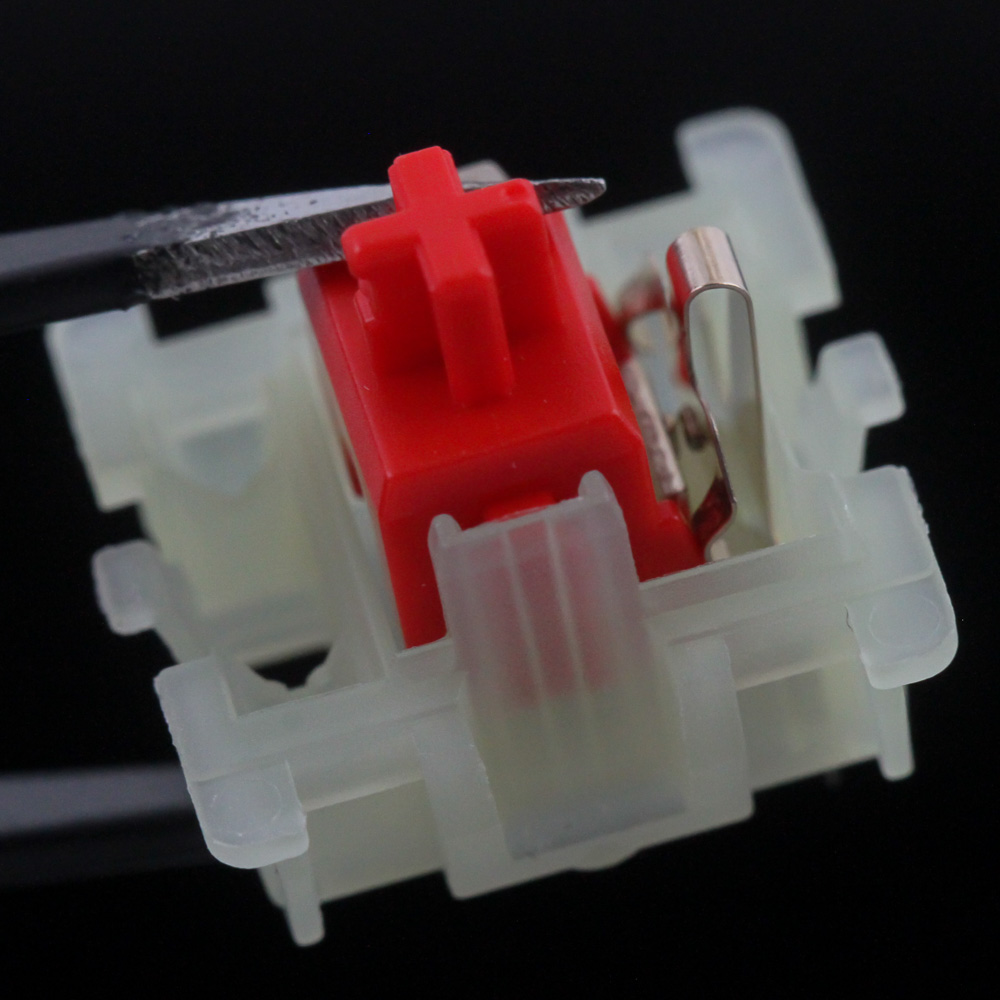
Given the switches are removable, why not begin the disassembly page with a switch? I just want a reason to show off the switch top removal tool I have here. The Cherry MX Red is likely the most common mechanical switch used in keyboards today, with the characteristic red stem employing the famous cross-point design which has since been used by many other switch makers. The top is see-through and has the Cherry logo etched in, and the spring is a regular coiled one that has a packed cluster at either end and wider gaps between the coils in the middle. The bottom housing has the copper metal contacts, which come together at the actuation point with the stem moving down, completing the circuit and sending the signal through the two pins to the PCB for the keystroke.
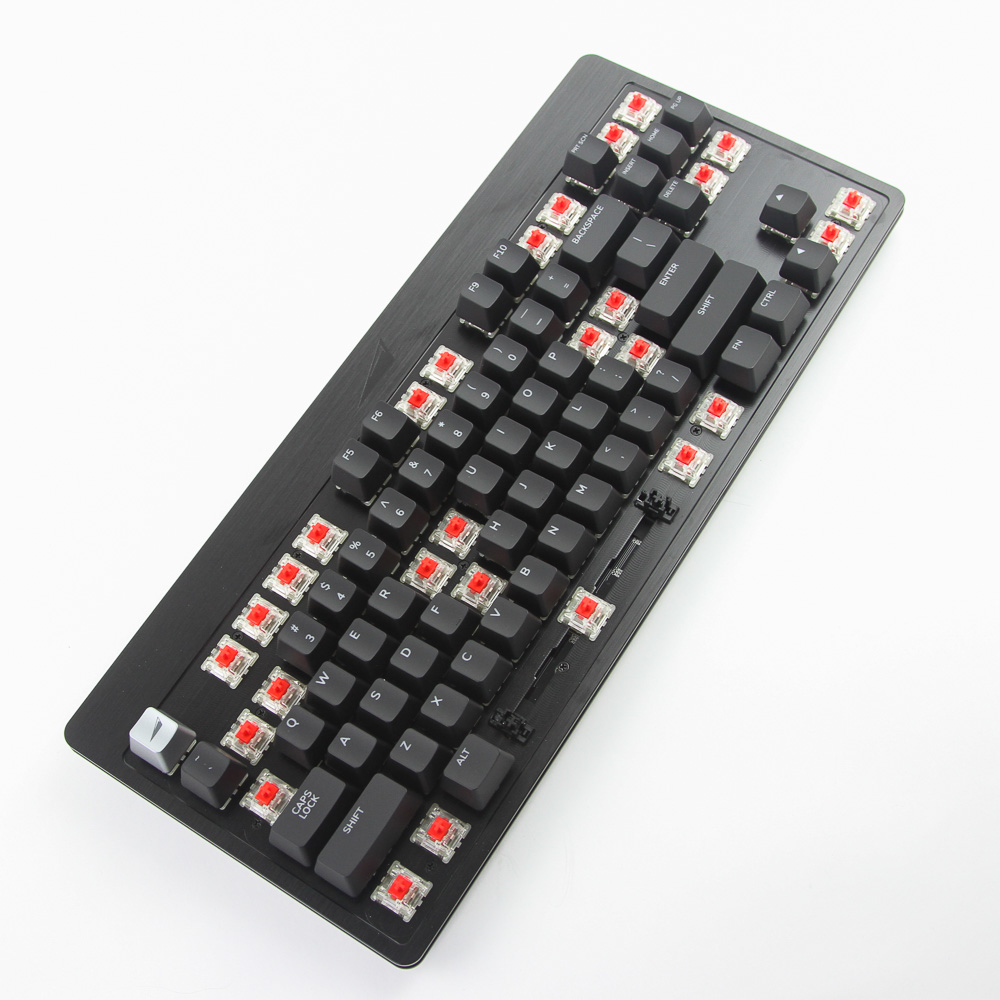
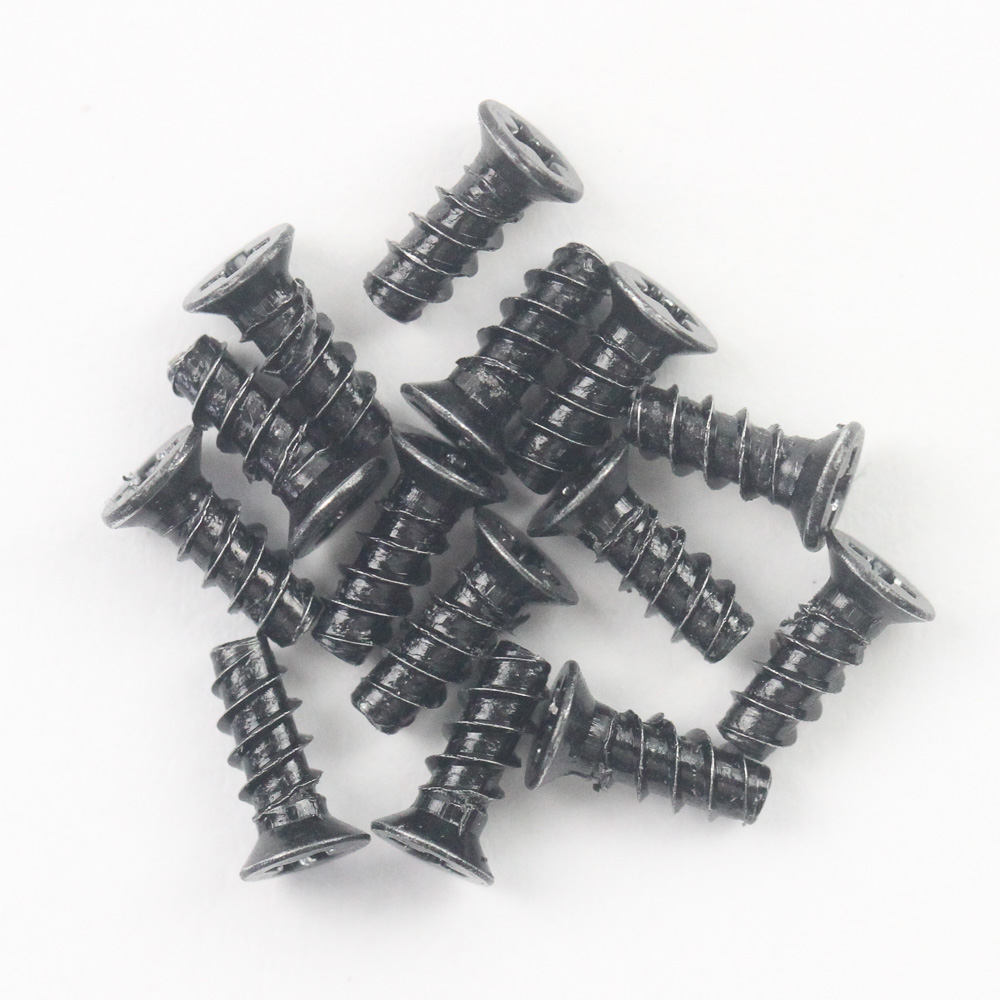

Disassembly of the Mountain Everest keyboard is fairly simple owing to the aluminium plate construction. All 14 Phillips head screws keep things together, but can be accessed by removing specific keycaps as seen above. Once done, the top can be lifted off, and we see an intermediary frame as well, which is what we saw on the other side of the diffusing plastic that goes all around the keyboard for the ambient side lighting.

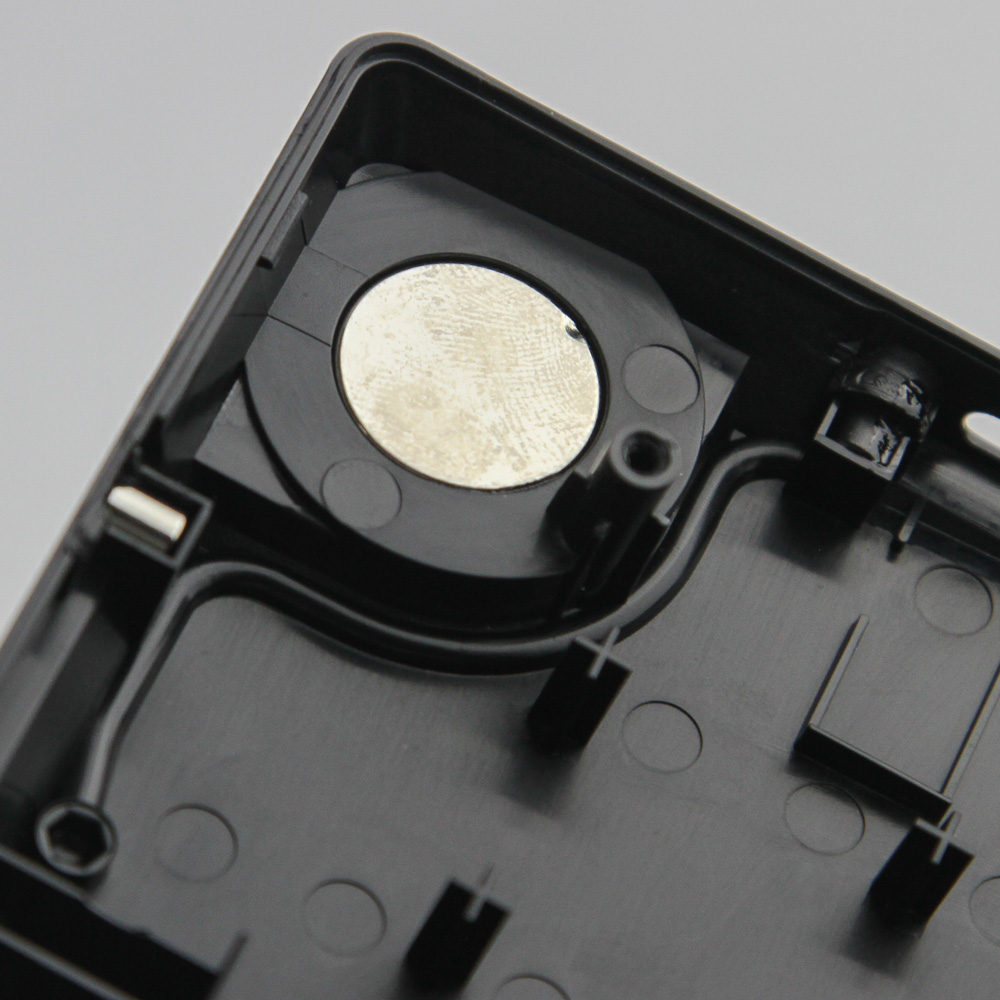
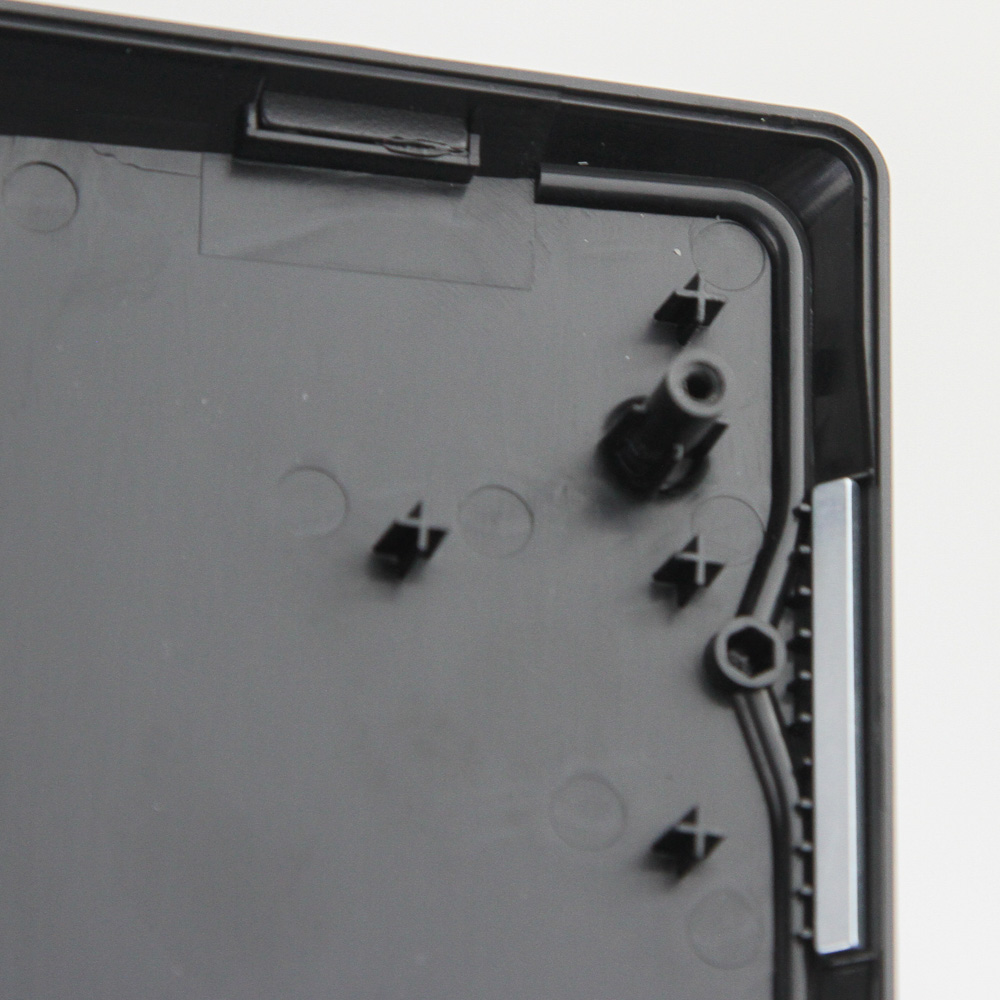
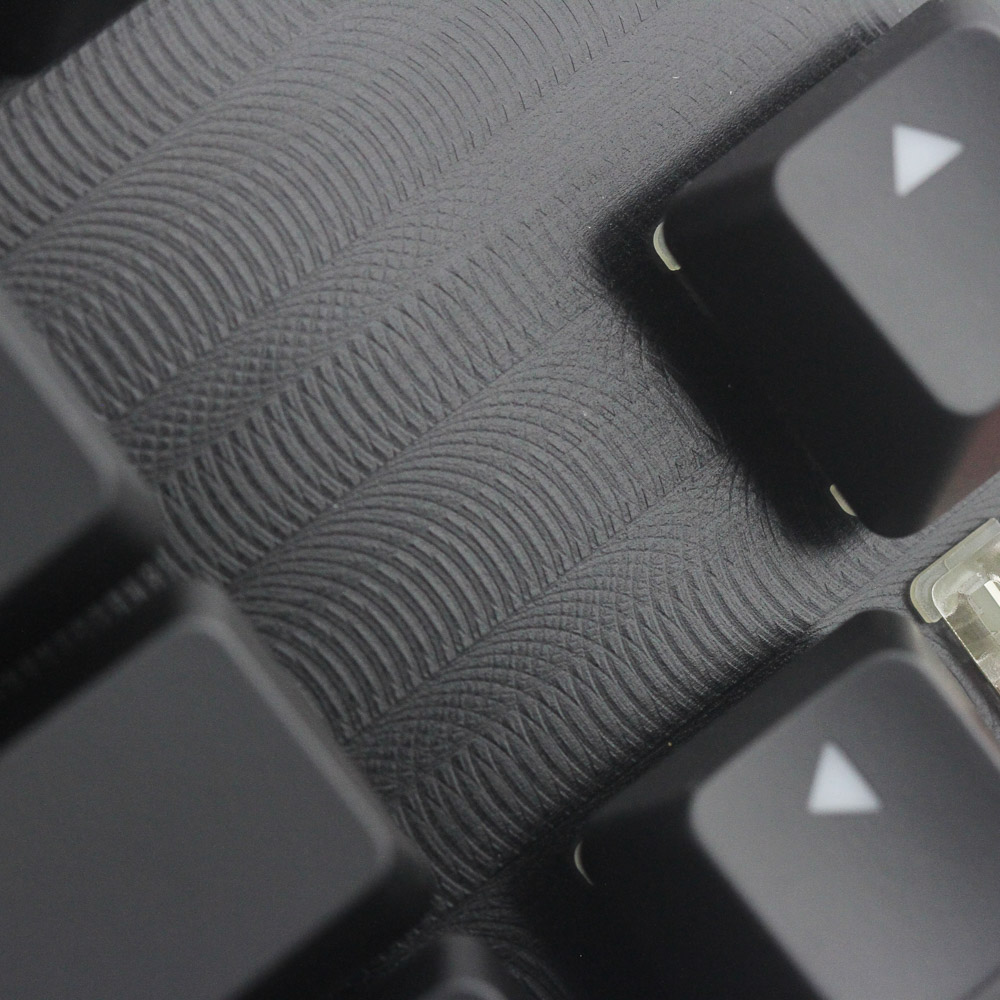
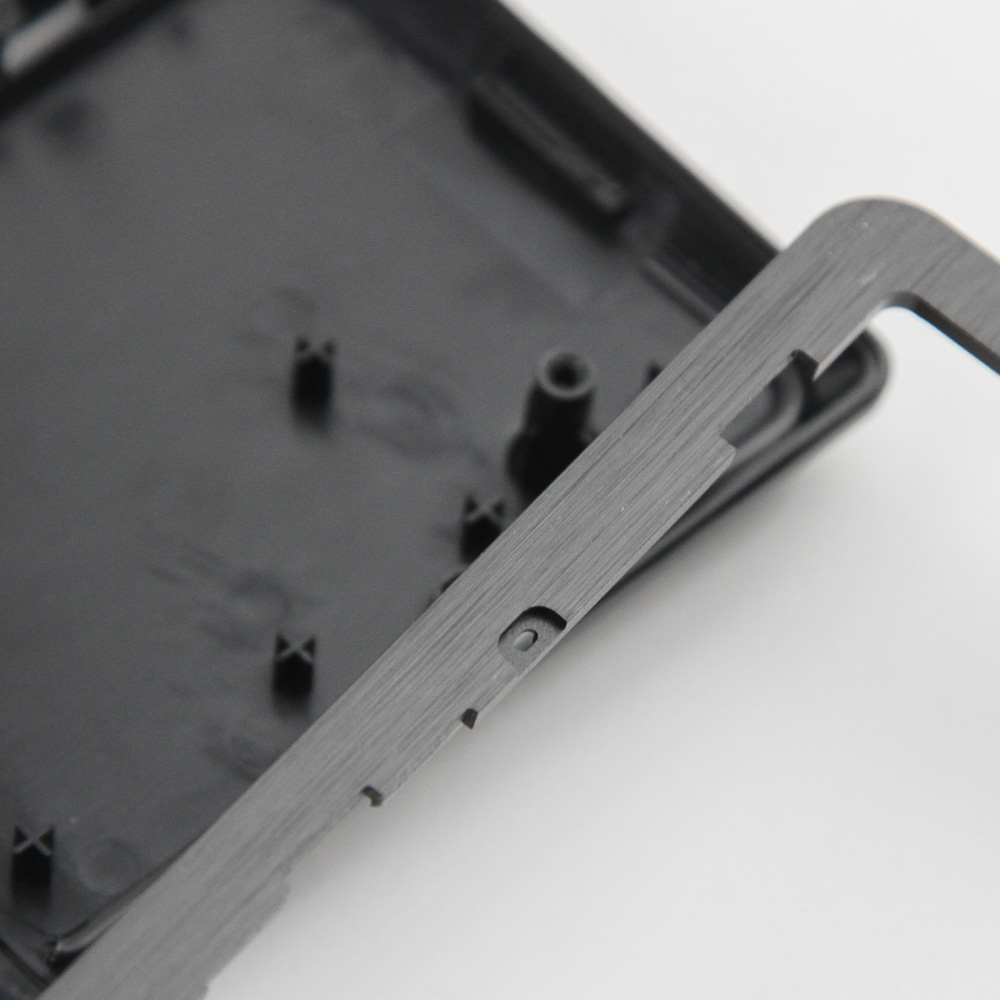
The bottom panel is made out of ABS plastic, and magnets are employed here for a variety of functions, including the keyboard feet, wrist rest, and two modules. It is hollow but not too deep, so not too much reverb should going through the case when typing. Before we look at the PCB, note that there are some machining marks from the CNC milling process on the top plate.


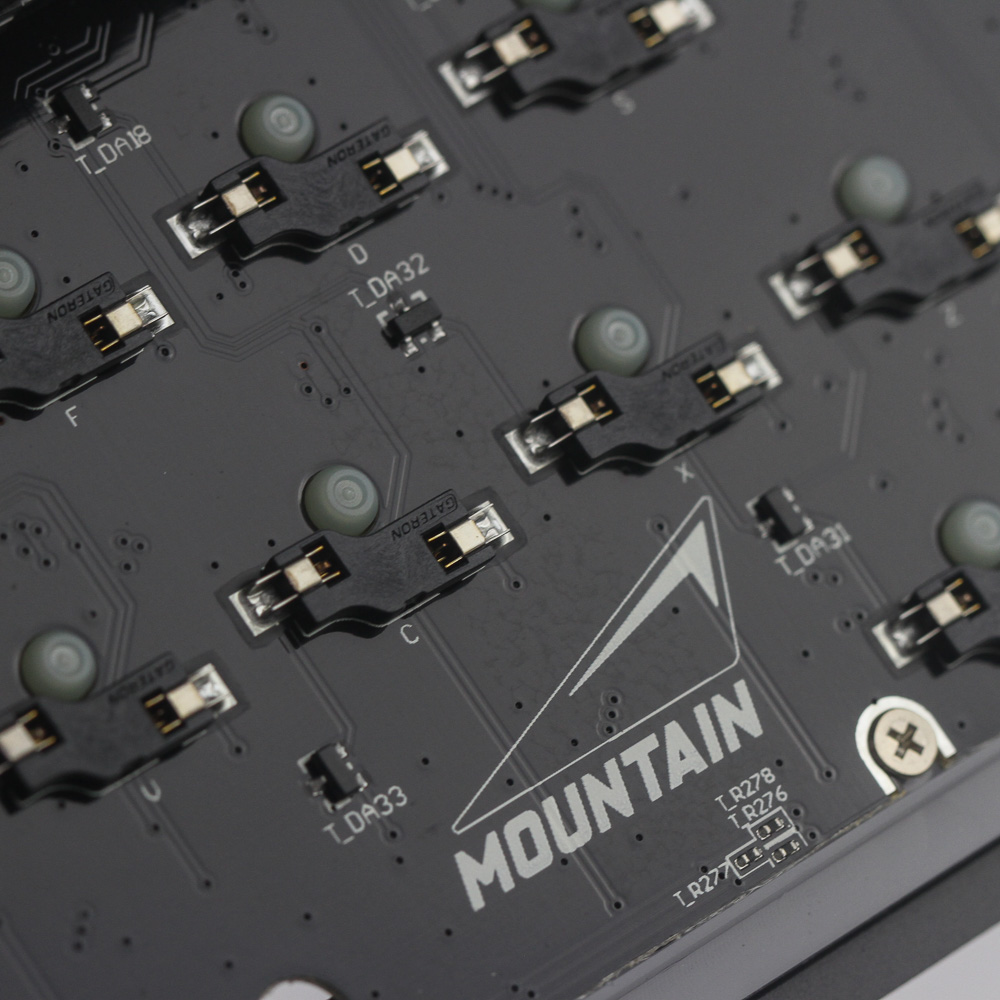
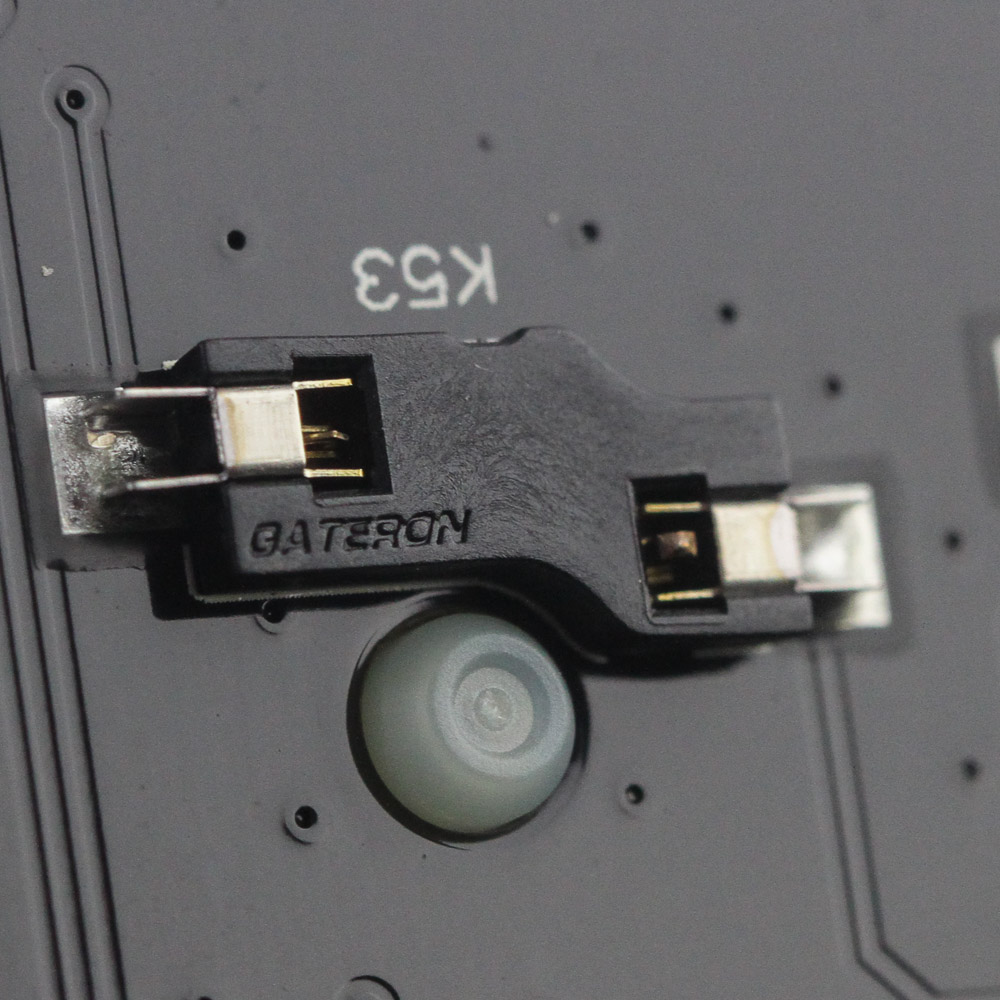
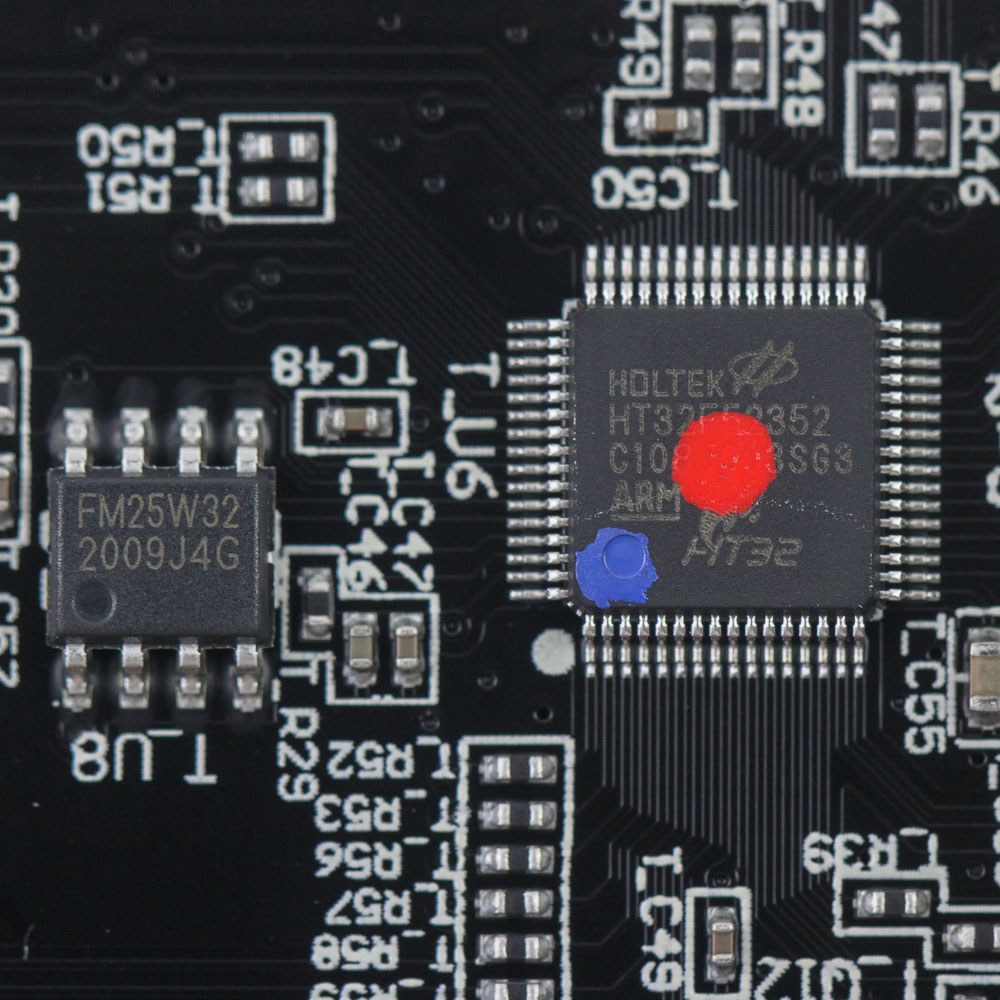
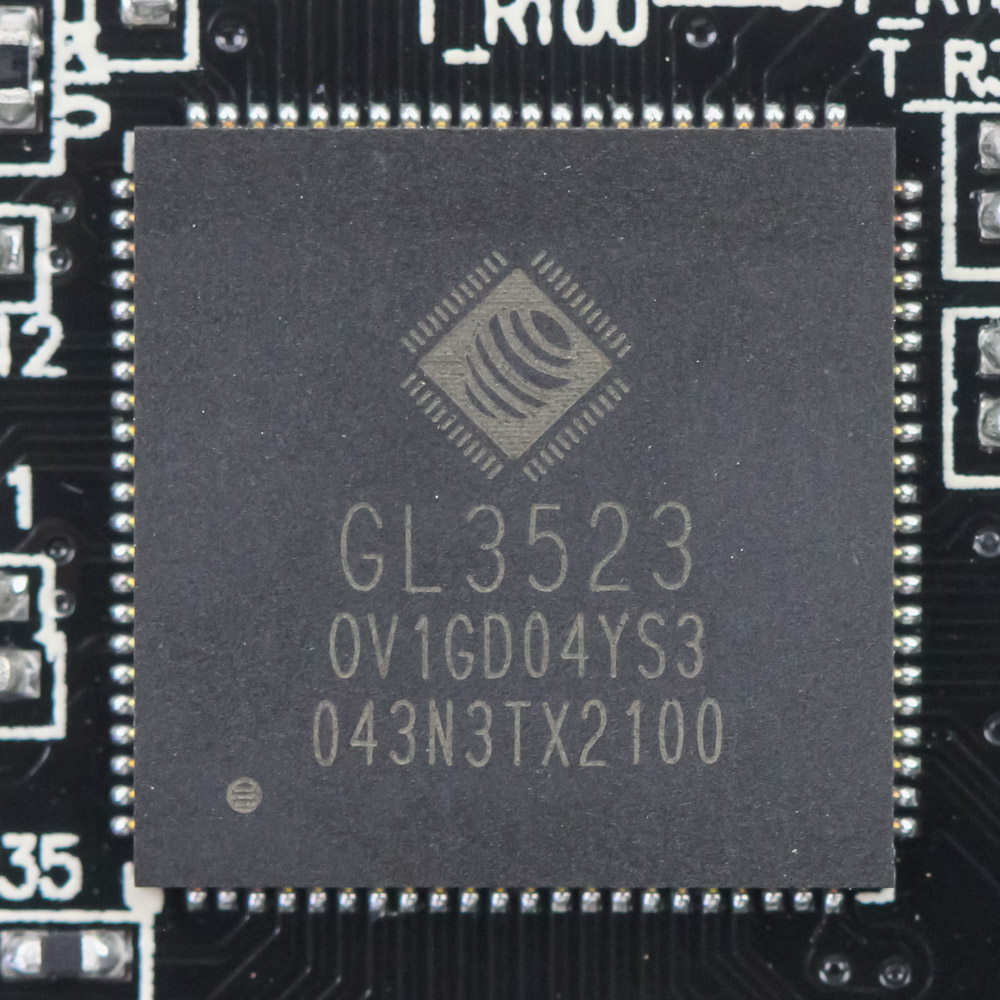
Wait, hang on. There will barely be any reverberation at all! Mountain has gone one step further down the enthusiast keyboard rabbit hole with sound-dampening foam between the PCB and case. This foam layer is quite thick and even goes between the primary PCB and some of the daughter PCBs to where removing it will involve more work for little gain. You can lift the foam up to get a better look at the PCB, which reveals a very well soldered PCB that uses Gateron hot-swap switch sockets compatible with 3-pin mechanical switches. The PCB has a Mountain logo confirming it is a bespoke product for the company instead of a recycled one used by others. Powering the keyboard is a Holtek HT32F52352 32-bit ARM Cortex microcontroller operating at 48 MHz with up to 128 KB onboard flash memory and up to 16 KB SRAM. It is not a new MCU by any means, but also means there should not be as bad an issue because of the chip shortages as with other keyboards, including the STM MCU in the ROG Claymore II. There is also an 8 MB add-on flash memory module to store all the pre-programmed and customizable functions. Solving the USB ports dilemma is a Genesis Logic GL3523 USB 3.2 Gen 1 4-port two-way configurable hub controller. It is backwards compatible with USB 2.0 and 1.1 devices as well, which could become relevant with the extra port for a mouse, or another compatible USB device. As is the norm, all components are soldered onto a multi-layer PCB. The side view gives a better look at the thickness of the aluminium plate, as well as the plastic diffuser for a more uniform side-lighting experience.
Before we move on, be advised that disassembly may void the warranty and that TechPowerUp is not liable for any damages incurred if you decide to go ahead and do so anyway.
Jul 18th, 2025 19:20 CDT
change timezone
Latest GPU Drivers
New Forum Posts
- Anime Nation (13052)
- What's your latest tech purchase? (24305)
- AI Job Losses: let's count the losses up, total losses to AI so far 94,000 and counting (35)
- lower score 5070Ti after replacing the PSU (0)
- TPU's Nostalgic Hardware Club (20539)
- 3DMARK "LEGENDARY" (329)
- Hatsune Miku x ASUS TUF Gaming Build (67)
- Ferrari themed mod cont. 4070s repaste (7)
- Stalker 2 is looking great. (213)
- Share your CPU-X Benchmarks! (6)
Popular Reviews
- MSI GeForce RTX 5060 Gaming OC Review
- Razer Blade 16 (2025) Review - Thin, Light, Punchy, and Efficient
- Thermal Grizzly WireView Pro Review
- Pulsar X2 Crazylight Review
- SilverStone SETA H2 Review
- AVerMedia Live Gamer Ultra S (GC553Pro) Review
- Upcoming Hardware Launches 2025 (Updated May 2025)
- Sapphire Radeon RX 9060 XT Pulse OC 16 GB Review - An Excellent Choice
- NVIDIA GeForce RTX 5050 8 GB Review
- Our Visit to the Hunter Super Computer
TPU on YouTube
Controversial News Posts
- Intel's Core Ultra 7 265K and 265KF CPUs Dip Below $250 (288)
- Some Intel Nova Lake CPUs Rumored to Challenge AMD's 3D V-Cache in Desktop Gaming (140)
- AMD Radeon RX 9070 XT Gains 9% Performance at 1440p with Latest Driver, Beats RTX 5070 Ti (131)
- NVIDIA Launches GeForce RTX 5050 for Desktops and Laptops, Starts at $249 (124)
- NVIDIA GeForce RTX 5080 SUPER Could Feature 24 GB Memory, Increased Power Limits (115)
- Microsoft Partners with AMD for Next-gen Xbox Hardware (105)
- NVIDIA DLSS Transformer Cuts VRAM Usage by 20% (99)
- AMD Sampling Next-Gen Ryzen Desktop "Medusa Ridge," Sees Incremental IPC Upgrade, New cIOD (97)