 73
73
NVIDIA GeForce RTX 2060 Super Review
Circuit Board Analysis »The Card


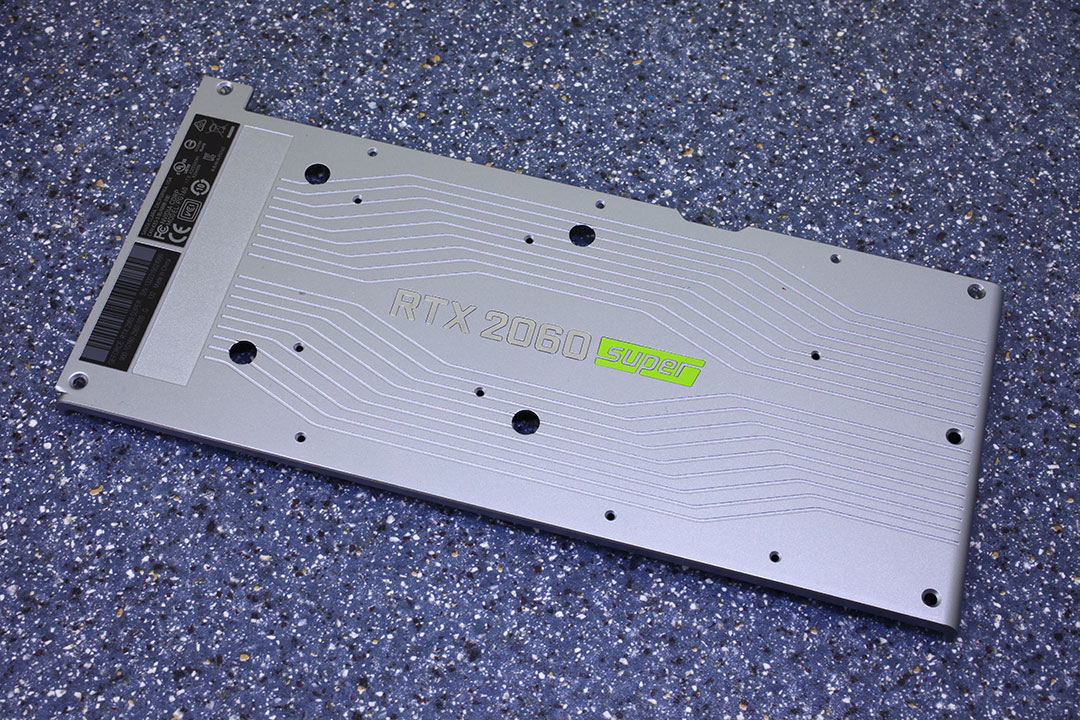
Visually, the RTX 2060 Super looks identical to the RTX 2060 with the exception of the green "Super" badge on a mirror-reflective background. The backplate seems identical, too, as just another "Super" badge has been added. Dimensions of the card are 23.0 x 11.5 cm.
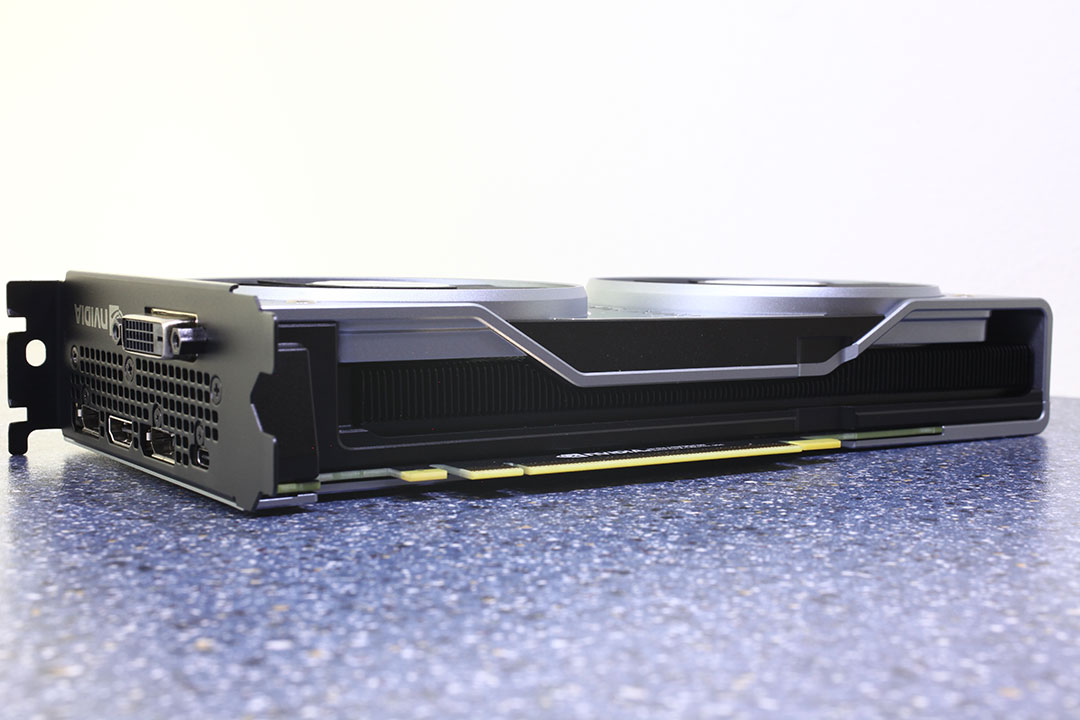
Installation requires two slots in your system.

Display connectivity options include two standard DisplayPort 1.4a, one HDMI 2.0b, one DVI-D connector (no analog VGA support), and a VirtualLink connector, which is basically USB-C with DisplayPort routing and USB-PD, so a single cable can power, display, and take input from your VR HMD.
NVIDIA has updated their display engine with the Turing microarchitecture, which now supports DisplayPort 1.4a with support for VESA's nearly lossless Display Stream Compression (DSC). Combined, this enables support for 8K@30Hz with a single cable, or 8K@60Hz when DSC is turned on. For context, DisplayPort 1.4a is the latest version of the standard that was published in April, 2018.
At CES 2019, NVIDIA announced that all their graphics cards will now support VESA Adaptive Sync (aka FreeSync). While only a small number of FreeSync monitors have been fully qualified for G-SYNC, users can enable the feature in NVIDIA's control panel regardless of whether the monitor is certified or not.
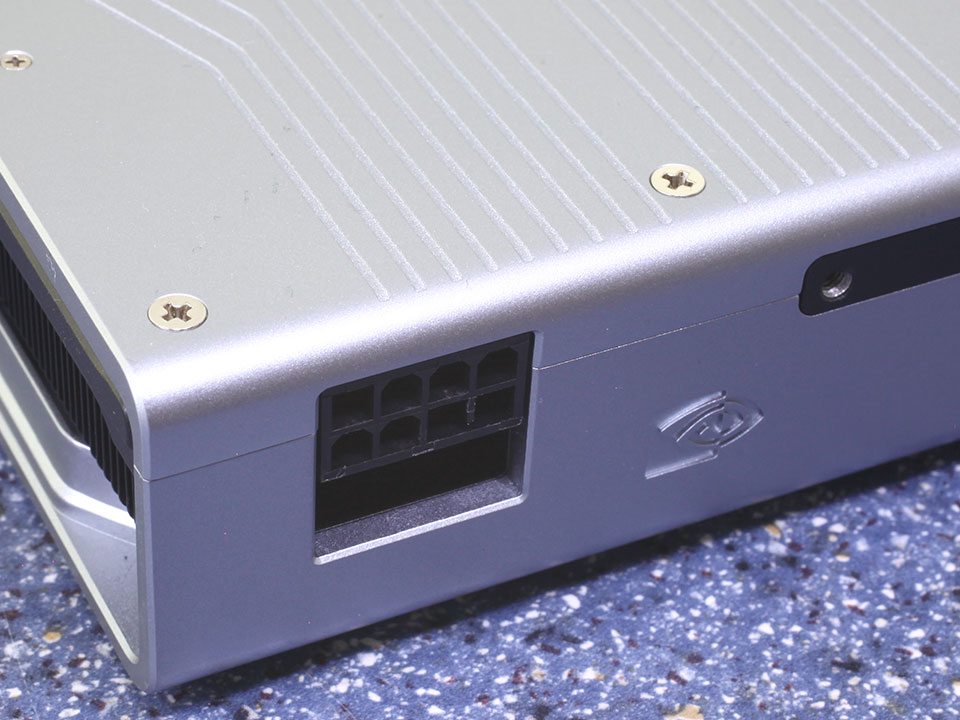
The board uses a single 8-pin power connector. This input configuration is specified for up to 225 watts of power draw.

The GeForce RTX 2060 Super does not support SLI.
Disassembly
Disassembling the card is identical to the RTX 2070 and RTX 2060—more difficult than ever. In order to get the PCB out, you have to remove the backplate first, remove all the screws on the backside of the card, and then carefully lift up the cooler. Now, you'll be stuck with the power connector sitting between the baseplate and the rest of the cooler. Near the front of the cooling assembly are two screws that have to be removed. Be very careful as it's super easy to strip those screws because they're made from a soft metal.With the screws gone, the card will fall apart into four pieces: fan assembly, heatsink, black metal baseplate, and the PCB itself.
The next step requires you to remove the screws that hold the flat ribbon cable and power connector in place before carefully removing the flat ribbon cable glued to the baseplate.
Overall, this is the most complicated VGA card disassembly I've ever seen—be careful.


The fan assembly consists of just the two fans, which are made by AVC, and the shiny metal trim.
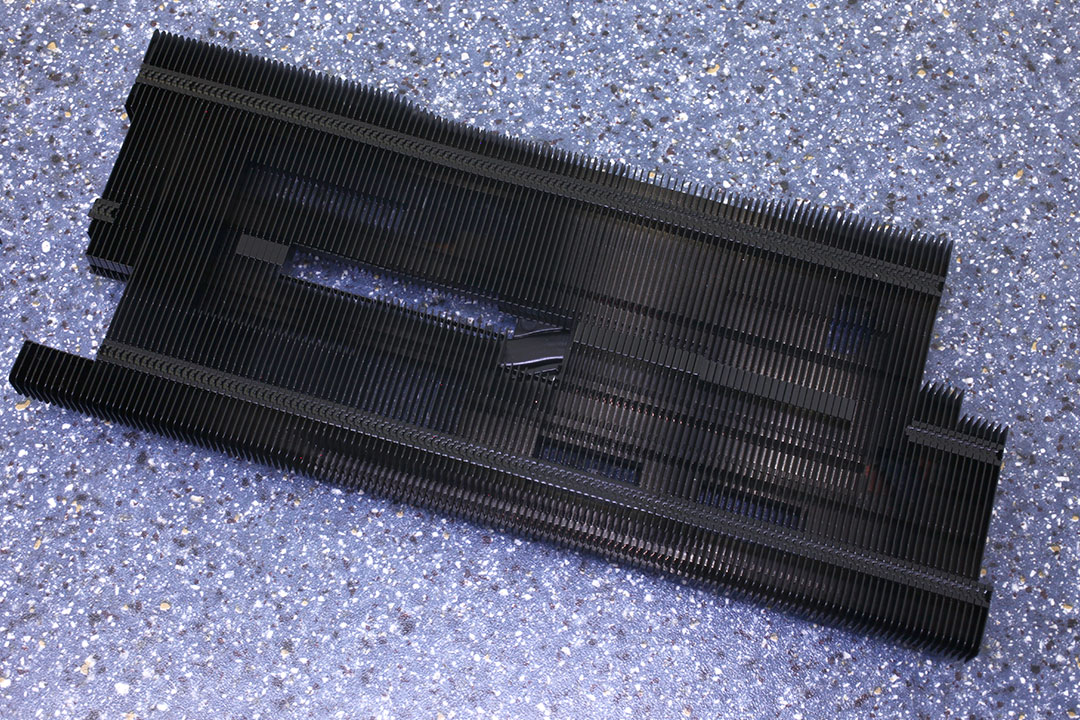

The heatsink combines copper baseplate and two fat heatpipes with a large black heatsink that dissipates the heat in the airflow of the fans.
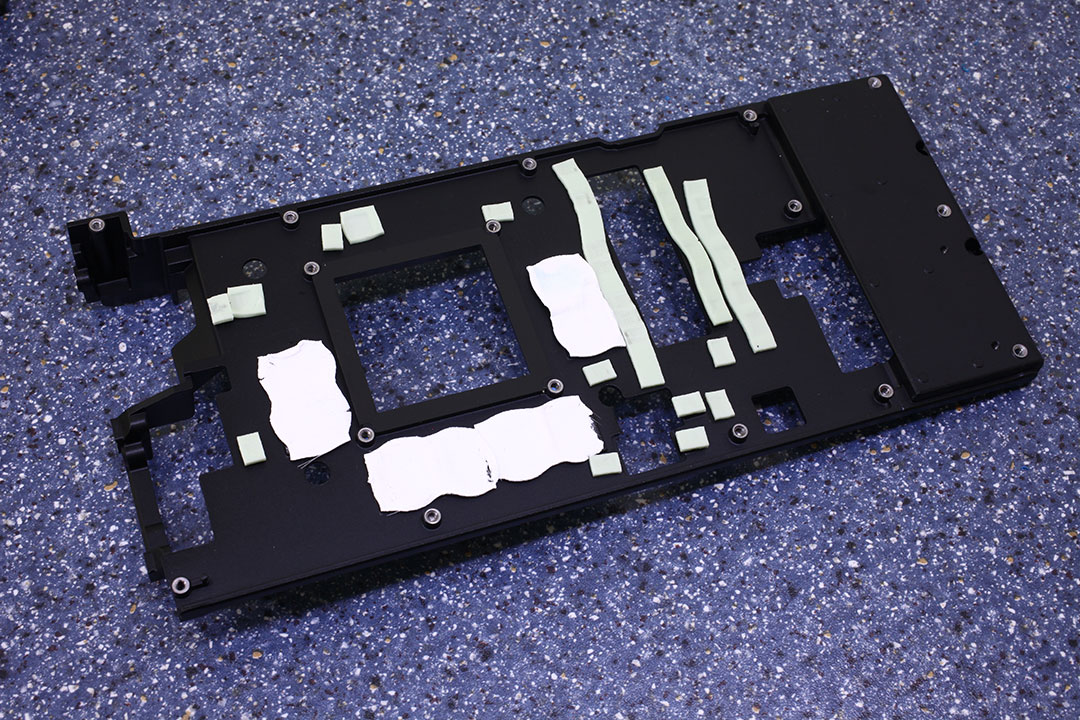

The black metal baseplate provides cooling for the memory chips and VRM circuitry.
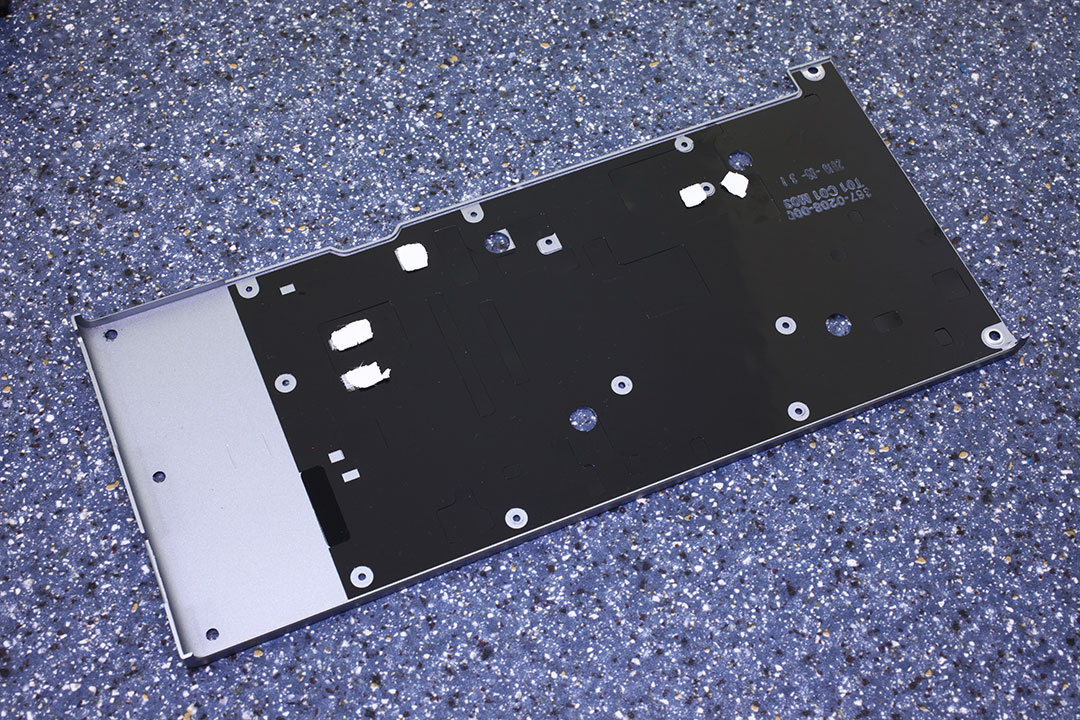
The backplate is made out of metal and protects the card against damage during installation and handling. It also has a few thermal pads to help with VRM cooling.
On the next page, we dive deep into the PCB layout and VRM configuration.
Jul 5th, 2025 18:29 CDT
change timezone
Latest GPU Drivers
New Forum Posts
- [GPU-Z Test Build] New Kernel Driver, Everyone: Please Test (69)
- How do you view TPU & the internet in general? (With poll) (80)
- EVGA XC GTX 1660 Ti 8GB ROM (11)
- Rx580 subsystem id (0)
- What are you playing? (23893)
- Do you use Linux? (677)
- Optane performance on AMD vs Intel (58)
- Frametime spikes and stuttering after switching to AMD CPU? (521)
- Stalker 2 is looking great. (187)
- b550m aorus elite not posting with new ram (7)
Popular Reviews
- NVIDIA GeForce RTX 5050 8 GB Review
- Fractal Design Scape Review - Debut Done Right
- Crucial T710 2 TB Review - Record-Breaking Gen 5
- ASUS ROG Crosshair X870E Extreme Review
- PowerColor ALPHYN AM10 Review
- Sapphire Radeon RX 9060 XT Pulse OC 16 GB Review - An Excellent Choice
- Upcoming Hardware Launches 2025 (Updated May 2025)
- AMD Ryzen 7 9800X3D Review - The Best Gaming Processor
- Sapphire Radeon RX 9070 XT Nitro+ Review - Beating NVIDIA
- NVIDIA GeForce RTX 5060 8 GB Review
TPU on YouTube
Controversial News Posts
- Intel's Core Ultra 7 265K and 265KF CPUs Dip Below $250 (288)
- NVIDIA Grabs Market Share, AMD Loses Ground, and Intel Disappears in Latest dGPU Update (212)
- Some Intel Nova Lake CPUs Rumored to Challenge AMD's 3D V-Cache in Desktop Gaming (140)
- NVIDIA GeForce RTX 5080 SUPER Could Feature 24 GB Memory, Increased Power Limits (115)
- Microsoft Partners with AMD for Next-gen Xbox Hardware (105)
- NVIDIA Launches GeForce RTX 5050 for Desktops and Laptops, Starts at $249 (105)
- AMD Radeon RX 9070 XT Gains 9% Performance at 1440p with Latest Driver, Beats RTX 5070 Ti (102)
- Intel "Nova Lake‑S" Series: Seven SKUs, Up to 52 Cores and 150 W TDP (100)