 15
15
NZXT H1 Review
Assembly & Finished Looks »A Closer Look - Inside
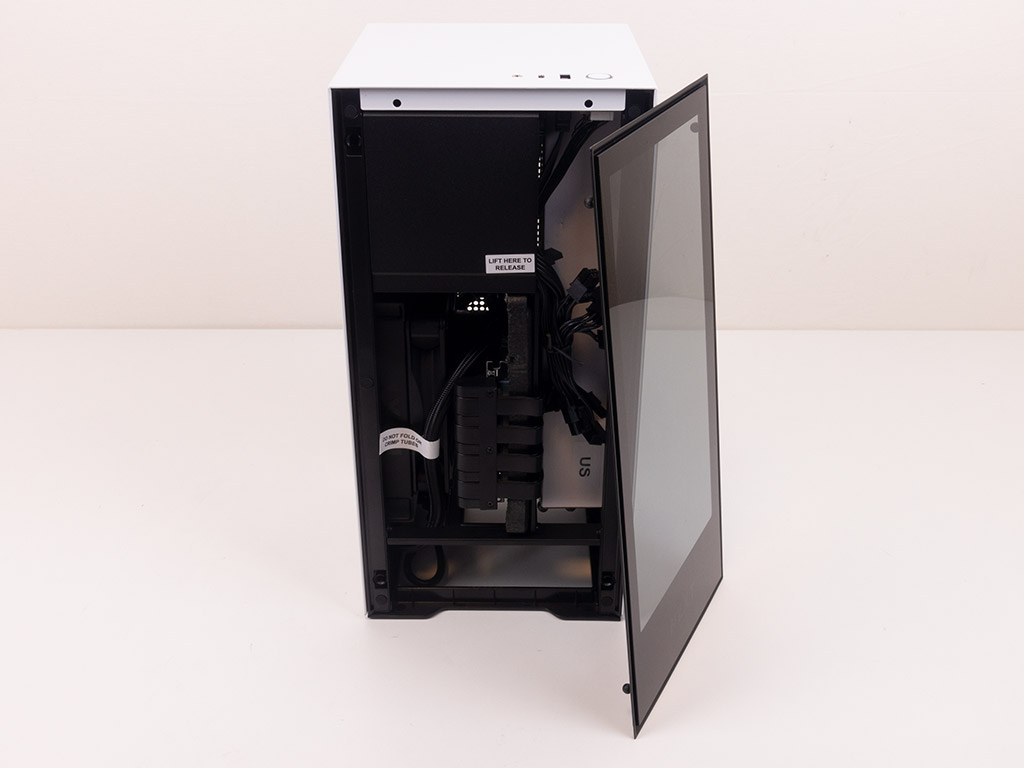
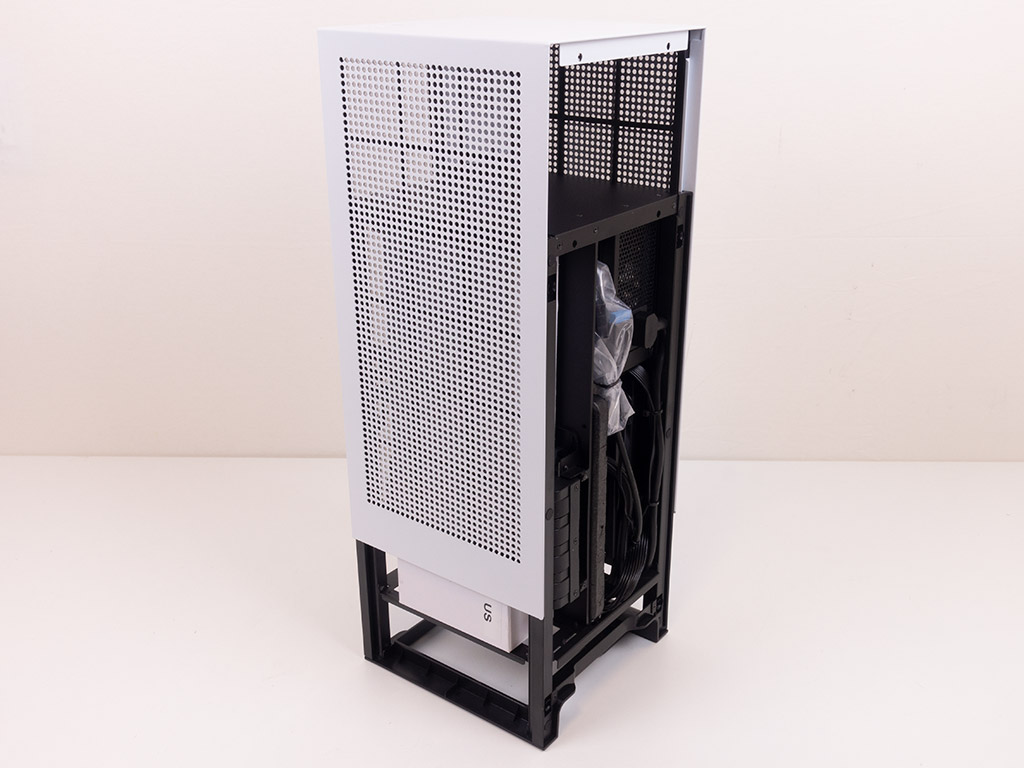

You do not need any tools to access the interior of the NZXT H1, and thumb screws do not have to be removed, either. Simply pull the glass and black panels off the chassis and lift up the white metal frame. As you can see, there are dust filters on all the intake holes of the chassis, so you don't have to worry about grime entering freely. Cleaning this should also be fairly easy as you don't need to tip the chassis over and can take off the cover safely even with the system up and running.

Looking at the front, several white stickers let you know how to handle some of the elements within the H1, and if you look closely from this side or the rear, it should be obvious that the motherboard resides on one side, while the GPU takes up the height of the chassis on the opposite side with a pre-installed riser cable routing the PCIe signal to your motherboard.

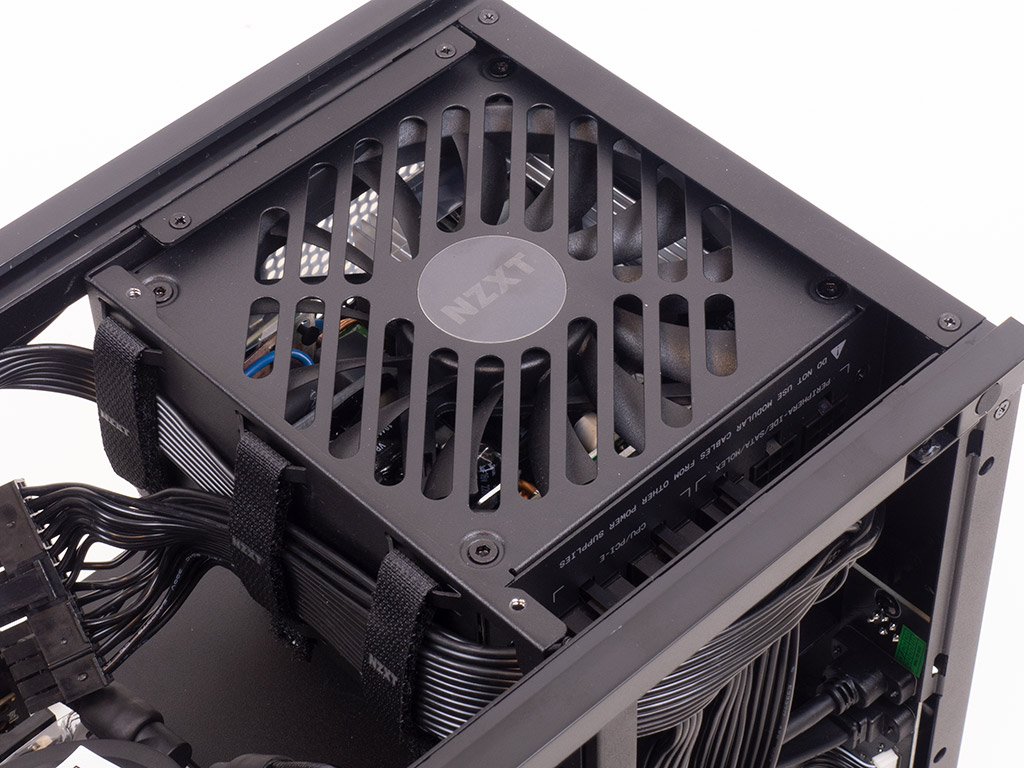
Behind the metal cover in the top of the case are two completely tool-less 2.5" storage bays, which are the only mass-storage bays besides any M.2 slots you may have on your board. The included NZXT SFX 650 W PSU is completely modular and comes with all the right connectors pre-attached. Interestingly enough, there are two unused plugs, but NZXT does not include these cables with the accessories, which is unfortunate if you want to take the PSU out and use it in a different project, for example. That said, you won't need any additional connected leads within the H1.
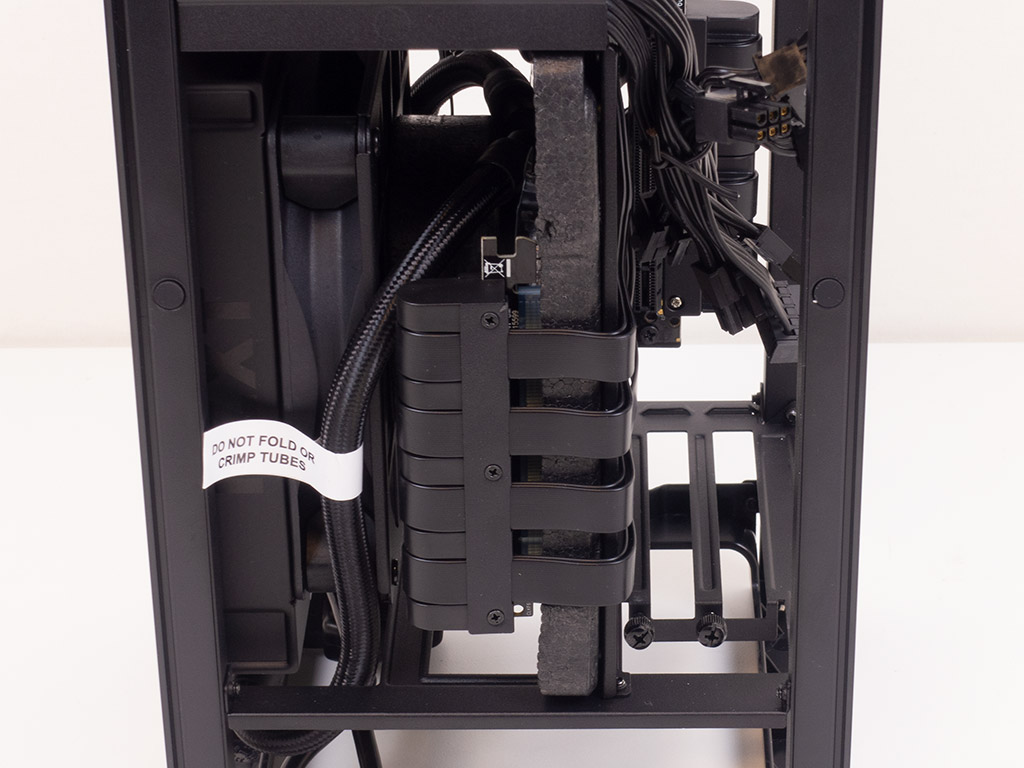
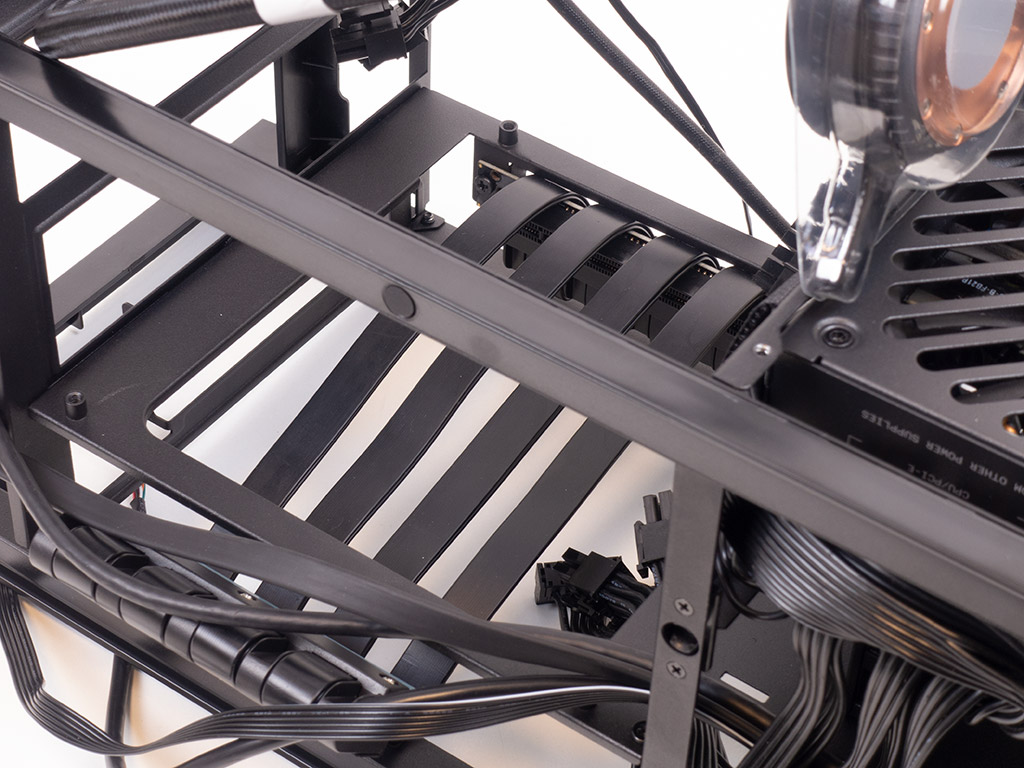
In the bottom half, you can clearly see the PCIe ribbon cable wrapped around to connect the two compartments. NZXT has done an excellent job here as well by engineering plastic end pieces that cleanly bend the ribbons into the right position to make building things as easy as possible.

The ribbon cable is of the perfect length to go along the back of any GPU you will install, while the PCIe slot for the GPU comes with an easily reachable white lever to release any installed graphics card quickly. The chassis can hold a graphics card of up to 305 mm if it is no more than 128 mm wide. If that restriction is broken (to a maximum of 145 mm wide), the possible overall length is still a respectable 265 mm.
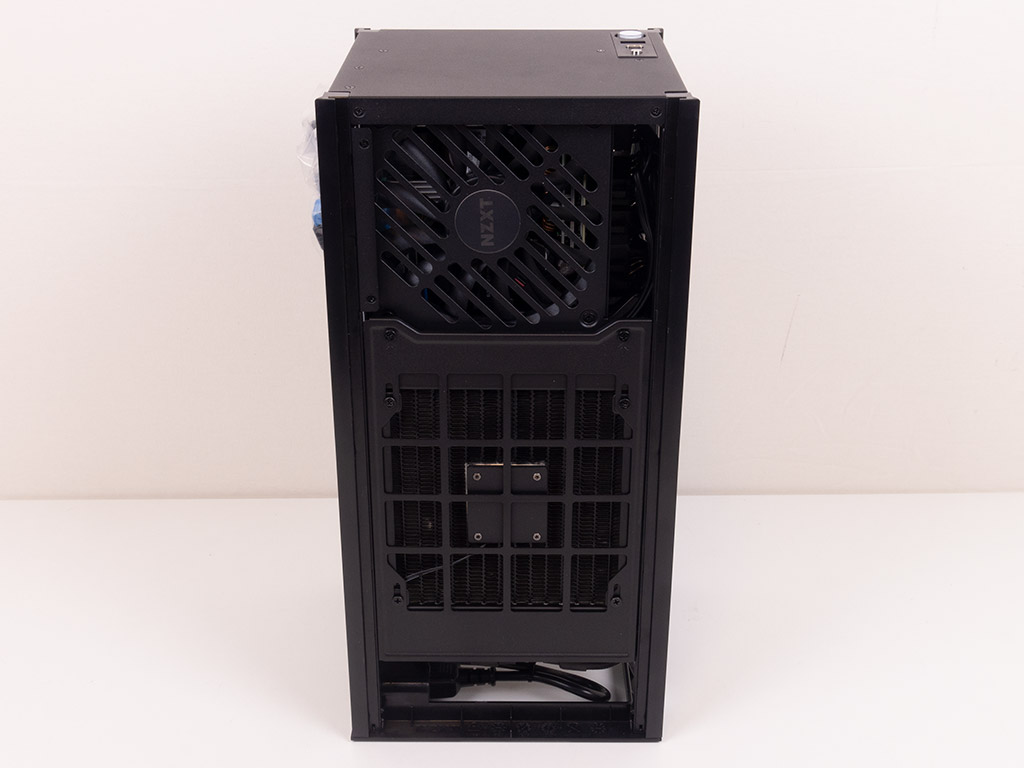
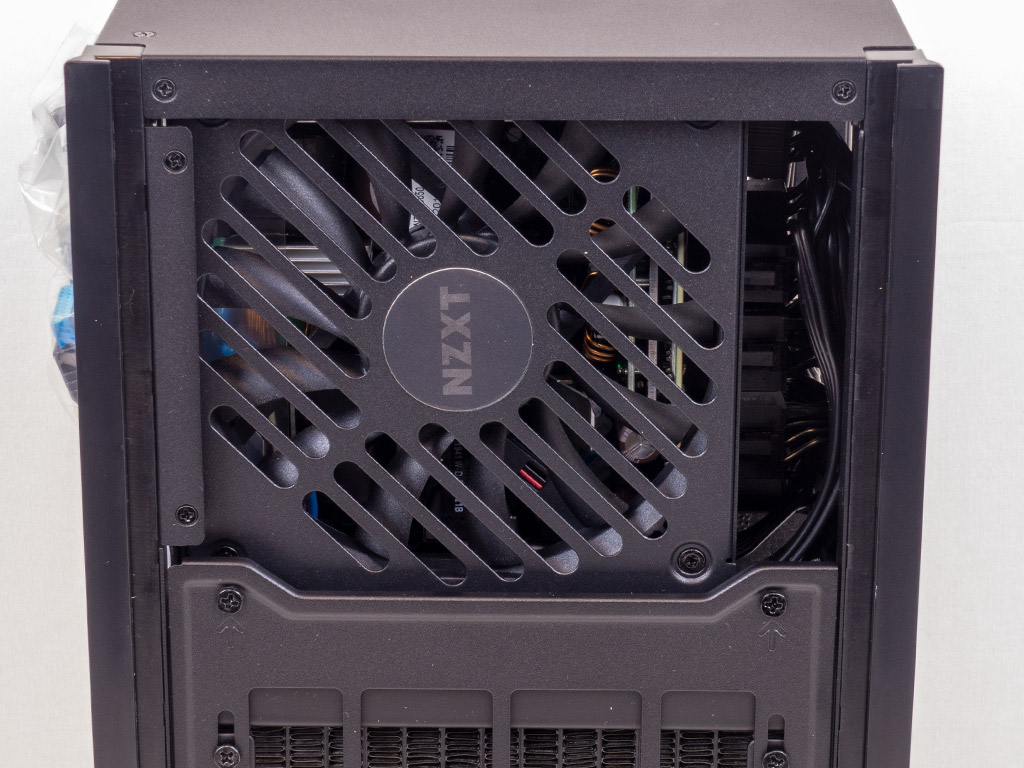
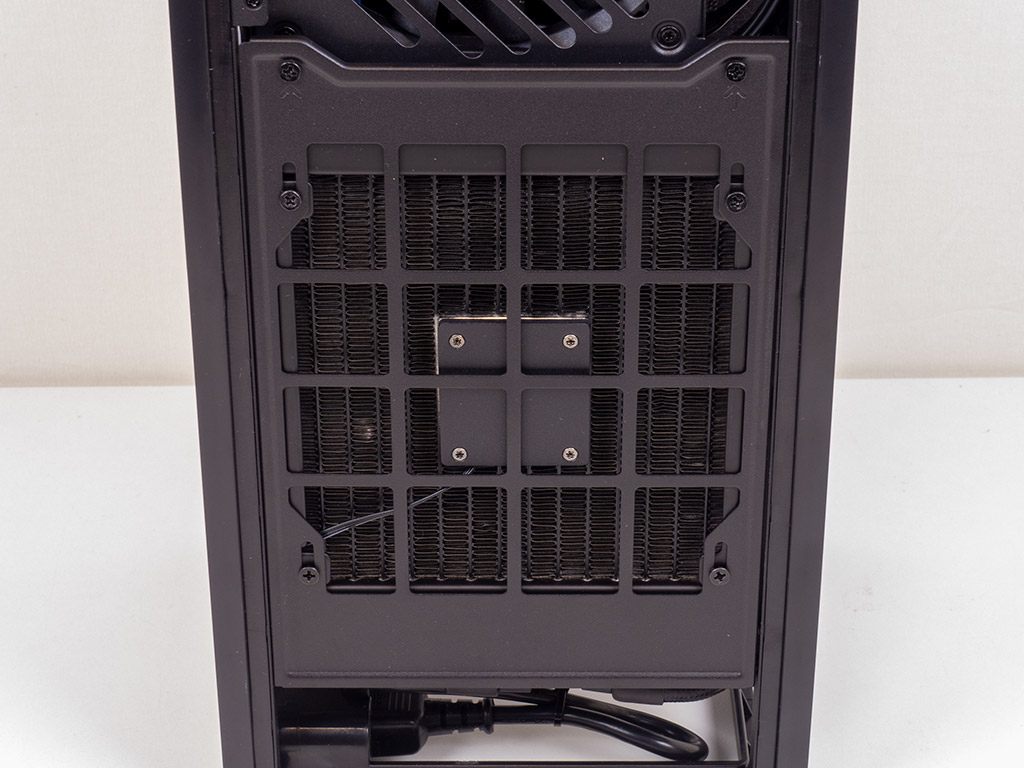
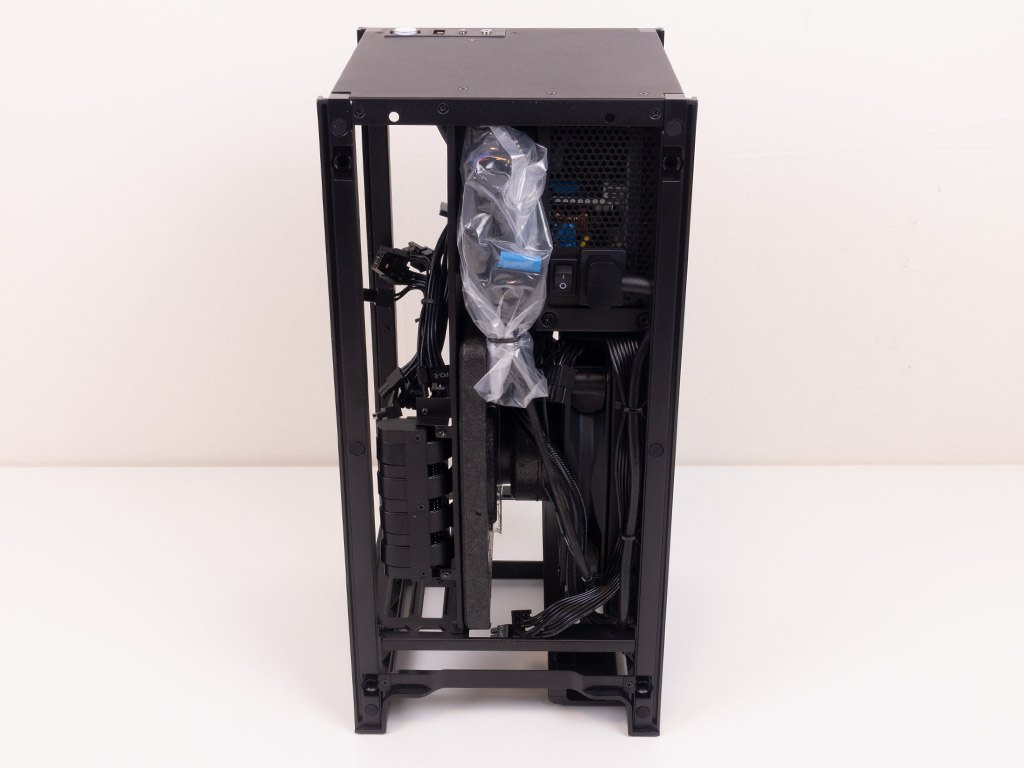
Looking at the other side of the NZXT H1, this is where the PSU can clearly be seen. The unit is not simply some random brand, but sports the NZXT brand and design, so our hopes are high that you may be able to purchase this unit separately in the future. Below that is the 140 mm AIO liquid cooler that comes pre-installed inside the chassis. It features a centralized pump which lines up with the center of the fan as the CPU block needs to be as slim as possible to make things fit within such a small enclosure.
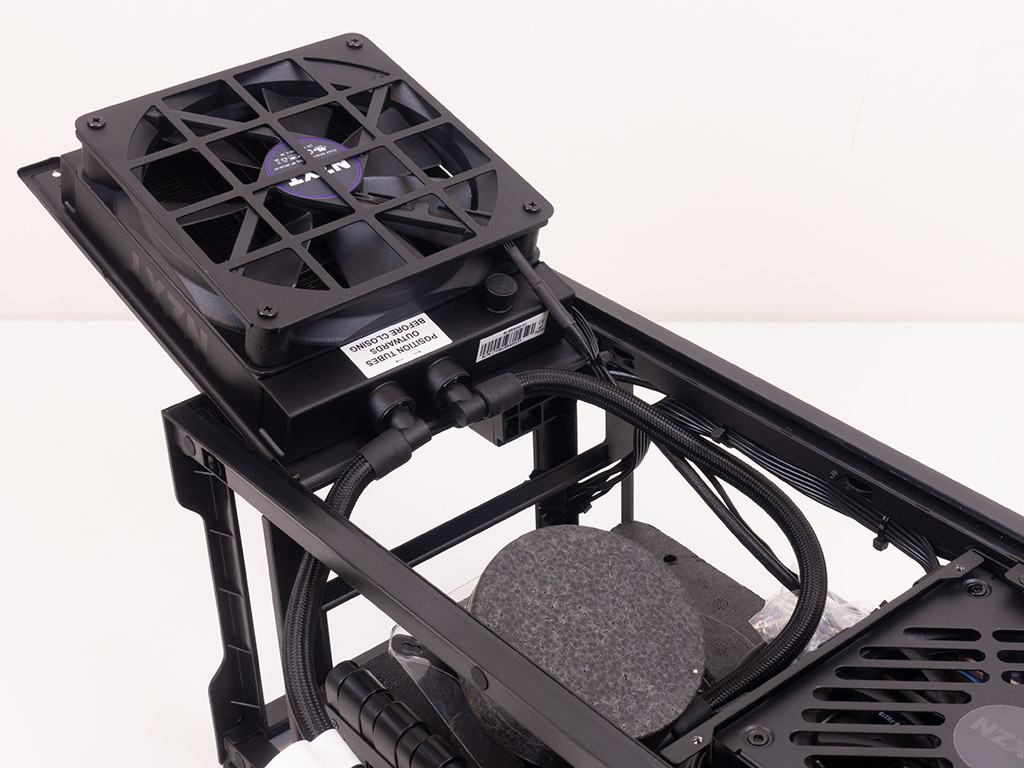
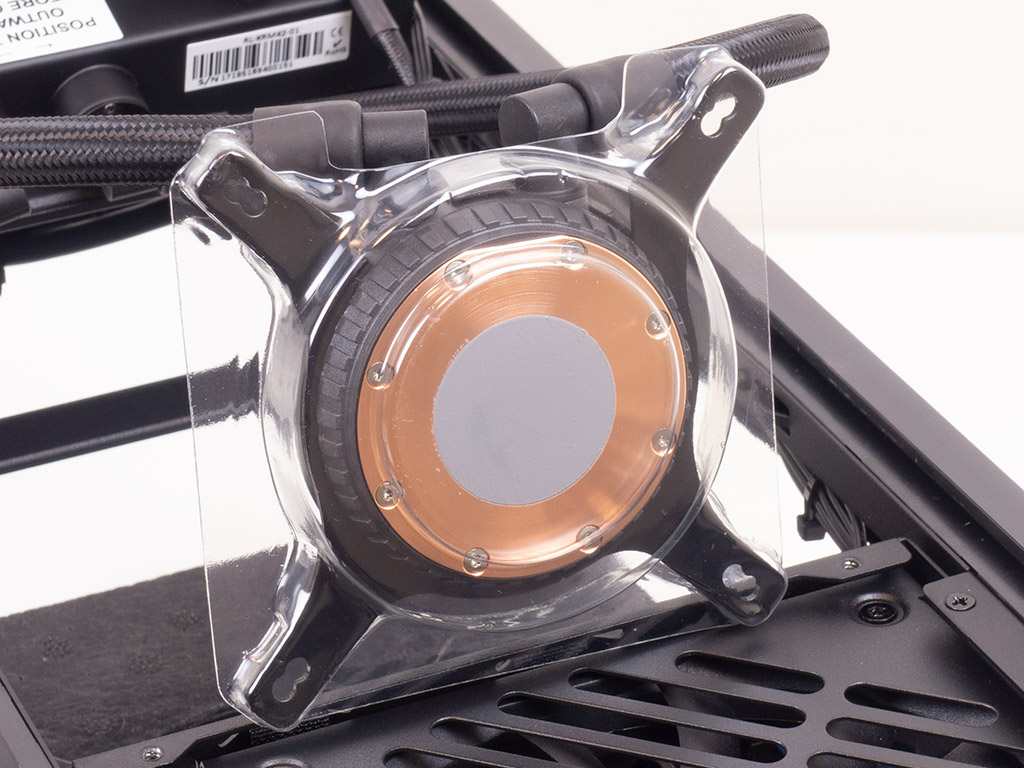

Note that we have not yet taken off a single screw. To access the motherboard area, remove two screws to flip the whole 140 mm radiator up and away from the motherboard. The CPU block of the unit is copper and comes with a pre-applied dab of thermal paste. All this integration requires some interesting ways of keeping things secure as well. We have seen brands like Deepcool use brackets to screw the built-in AIO into place around the CPU socket, while NZXT uses sturdy, formed Styrofoam to keep block and PCIe ribbon cables in position during shipping.
NZXT has done an absolutely phenomenal job of pre-routing everything. The PSU leads are kept nice and tidy, and all the leads are in the right position for modern motherboards.
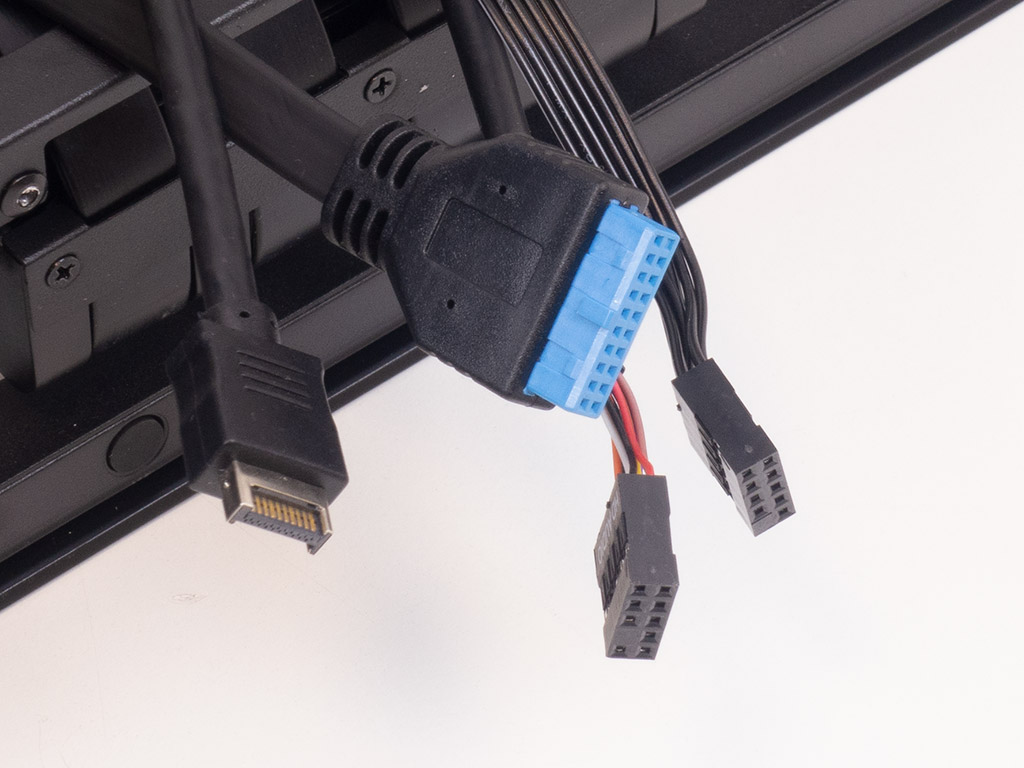
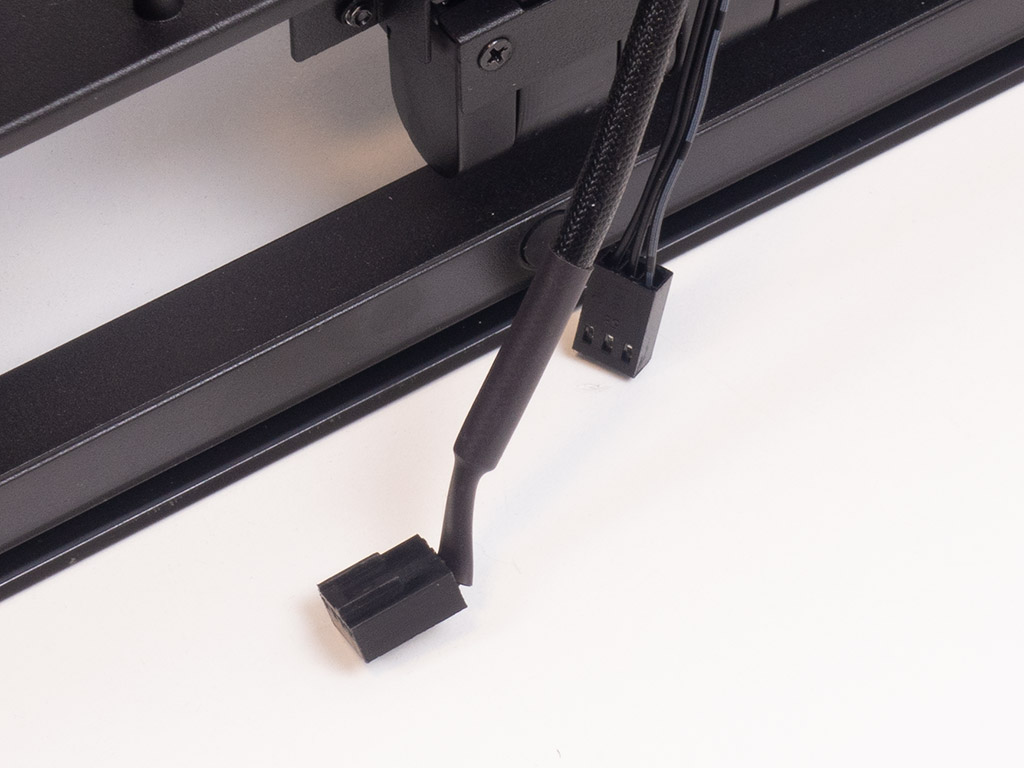
NZXT has chosen to offer USB 3.1 Gen2 Type-C with the H1, which is nice but pretty rare as I could only find five Intel Socket 1151 and no AM4 ITX boards with a quick search, so you have get a bleeding edge board to use this connector. A nice touch is the monoblock case header connector, as you won't have to mess with the +/- of the power LED or tiny plugs of the power button itself. The AIO utilizes a PWM plug for the fan and 3-pin power for the pump.
Mar 10th, 2025 16:20 EDT
change timezone
Latest GPU Drivers
New Forum Posts
- Maxsun RX580 graphics card crashes (25)
- DLSS as antialiasing? (19)
- Please I need help with the poor performance that my PC is giving me (28)
- Company of Heroes 3 (5)
- The TPU Darkroom - Digital SLR and Photography Club (4071)
- A Final Fantasy IX Reminiscence - My love letter and homage to one of the best stories ever told (72)
- Gaming PC instabiliity (20)
- Msi 5090 DOA? (27)
- 3D Printer Club (447)
- Microprose: Falcon 5.0 - Well under development- yeay (1)
Popular Reviews
- Sapphire Radeon RX 9070 XT Nitro+ Review - Beating NVIDIA
- XFX Radeon RX 9070 XT Mercury OC Magnetic Air Review
- ASUS Radeon RX 9070 TUF OC Review
- MSI MAG B850 Tomahawk Max Wi-Fi Review
- NVIDIA GeForce RTX 5080 Founders Edition Review
- NVIDIA GeForce RTX 5070 Founders Edition Review
- Corsair Vengeance RGB CUDIMM DDR5-8800 48 GB CL42 Review
- AMD Ryzen 7 9800X3D Review - The Best Gaming Processor
- ASUS GeForce RTX 5070 Ti TUF OC Review
- MSI GeForce RTX 5070 Ti Gaming Trio OC+ Review
Controversial News Posts
- NVIDIA GeForce RTX 50 Cards Spotted with Missing ROPs, NVIDIA Confirms the Issue, Multiple Vendors Affected (513)
- AMD Plans Aggressive Price Competition with Radeon RX 9000 Series (277)
- AMD Radeon RX 9070 and 9070 XT Listed On Amazon - One Buyer Snags a Unit (261)
- AMD RDNA 4 and Radeon RX 9070 Series Unveiled: $549 & $599 (260)
- AMD Mentions Sub-$700 Pricing for Radeon RX 9070 GPU Series, Looks Like NV Minus $50 Again (248)
- NVIDIA Investigates GeForce RTX 50 Series "Blackwell" Black Screen and BSOD Issues (244)
- AMD Radeon RX 9070 and 9070 XT Official Performance Metrics Leaked, +42% 4K Performance Over Radeon RX 7900 GRE (195)
- AMD Radeon RX 9070-series Pricing Leaks Courtesy of MicroCenter (158)