 11
11
NZXT H9 Flow Review
Thermal Stress Test »Review System
| System Parts for Case Reviews | |
|---|---|
| Processor: | Intel Core i5-12600K Provided by: Intel |
| Motherboards: | ATX: ASUS ROG Strix Z690-E Gaming WiFi mATX: ASUS TUF Gaming B660M-PLUS WiFi D4 ITX: ASUS ROG STRIX Z690-I Gaming WiFi Provided by: ASUS |
| Graphics Card: | Gigabyte Radeon RX 6600 Eagle Provided by: Gigabyte ZOTAC GAMING GeForce RTX 3060 Ti Twin Edge OC Provided by: Zotac |
| Memory: | 32 GB XPG LANCER RGB DDR5 6000 MHz 32 GB XPG CASTER DDR5 6400 MHz 32 GB XPG HUNTER DDR5 5200 MHz Provided by: ADATA |
| HDD: | Toshiba MG08ADA400E 7200 RPM SATA III Provided by: Toshiba |
| SSD: | ATX:XPG GAMMIX S70 BLADE 1 TB mATX: ADATA LEGEND 840 512 GB ITX: XPG SPECTRIX S20G 500 GB ADATA Ultimate SU800 512 GB ADATA Ultimate SU720 500 GB Provided by: ADATA |
| Power Supply: | ATX: Fractal Design ION+ 650W 80 Plus Gold SFX: Fractal Design ION SFX-L 650W 80 Plus Gold Provided by: Fractal Design |
| Cooling: | be quiet! Pure Loop 120/ Pure Loop 2 FX 240/280/360 Provided by: be quiet! |
Assembly
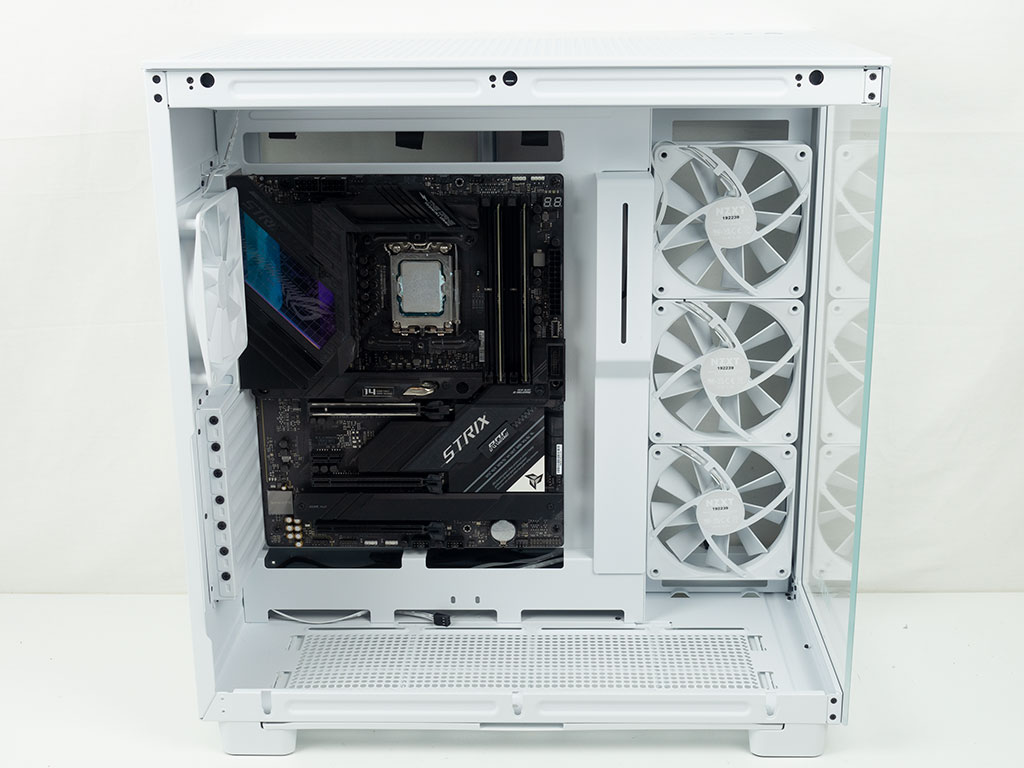
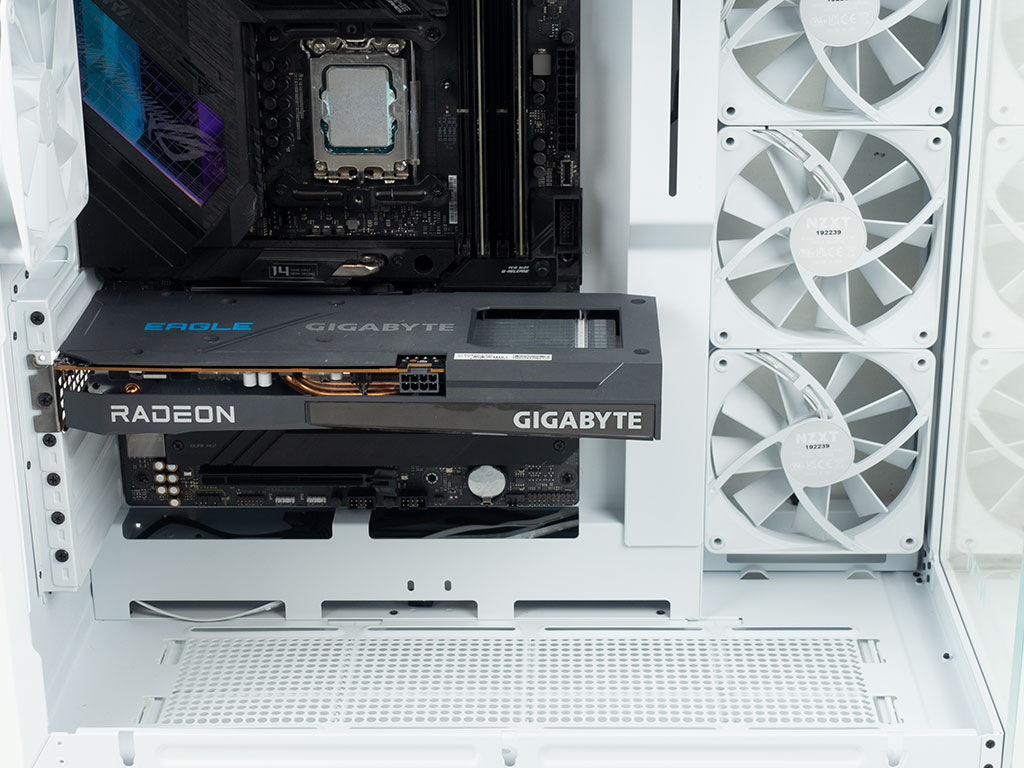
Installing a motherboard is done using screws and traditional spacers. There is tons of room around the board, with all the openings lining up very nicely for easy cable routing. Unsurprisingly, even the biggest GPUs should fit inside the H9 Flow without issue as well, with plenty of clearance for the side fans or any liquid cooling assembly.
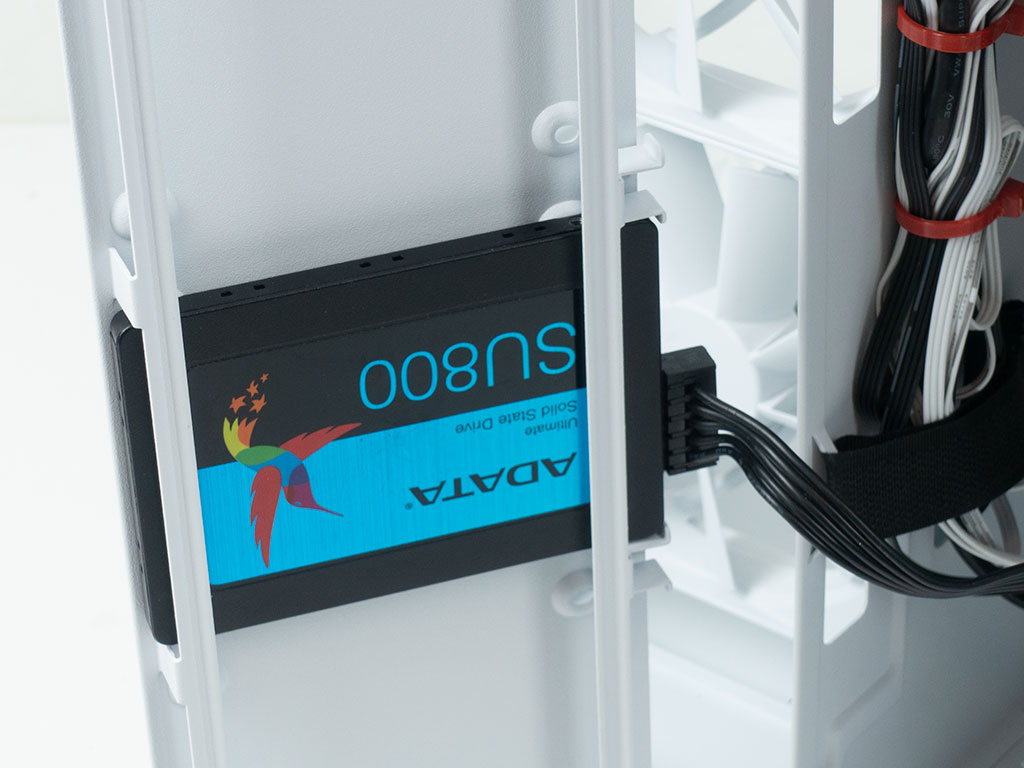
Adding an SSD to the center storage plate requires the use of traditional screws and tools as well. Thanks to the hinged design, you may connect the drive up and secure wiring as it won't move out of place after that.
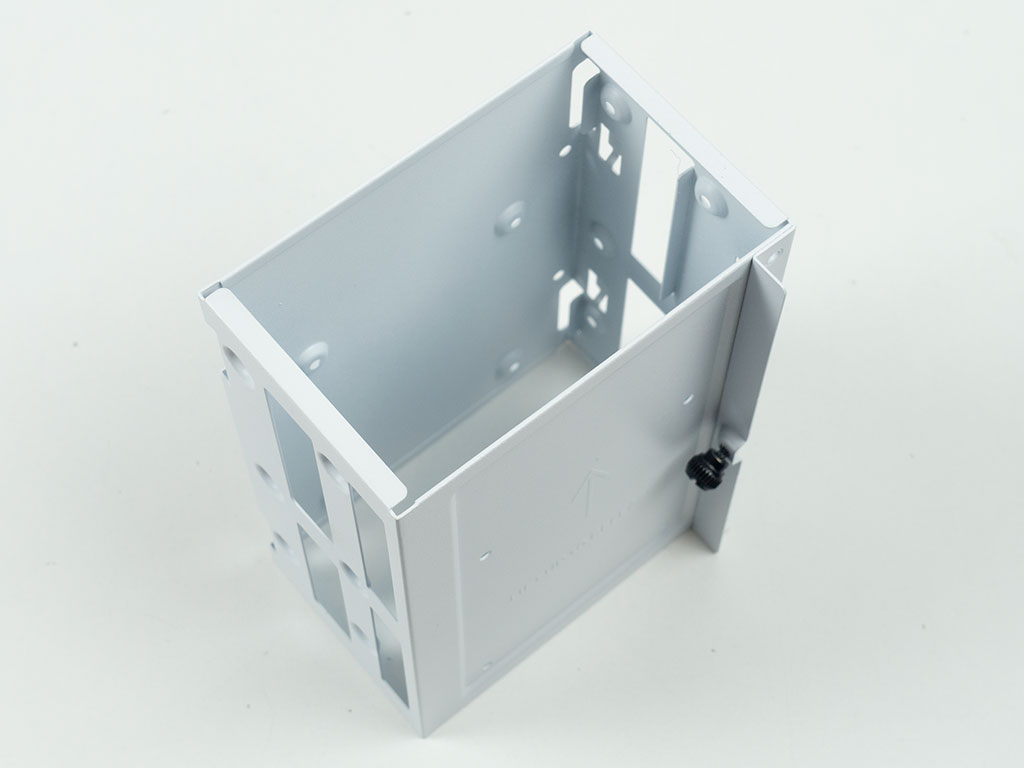
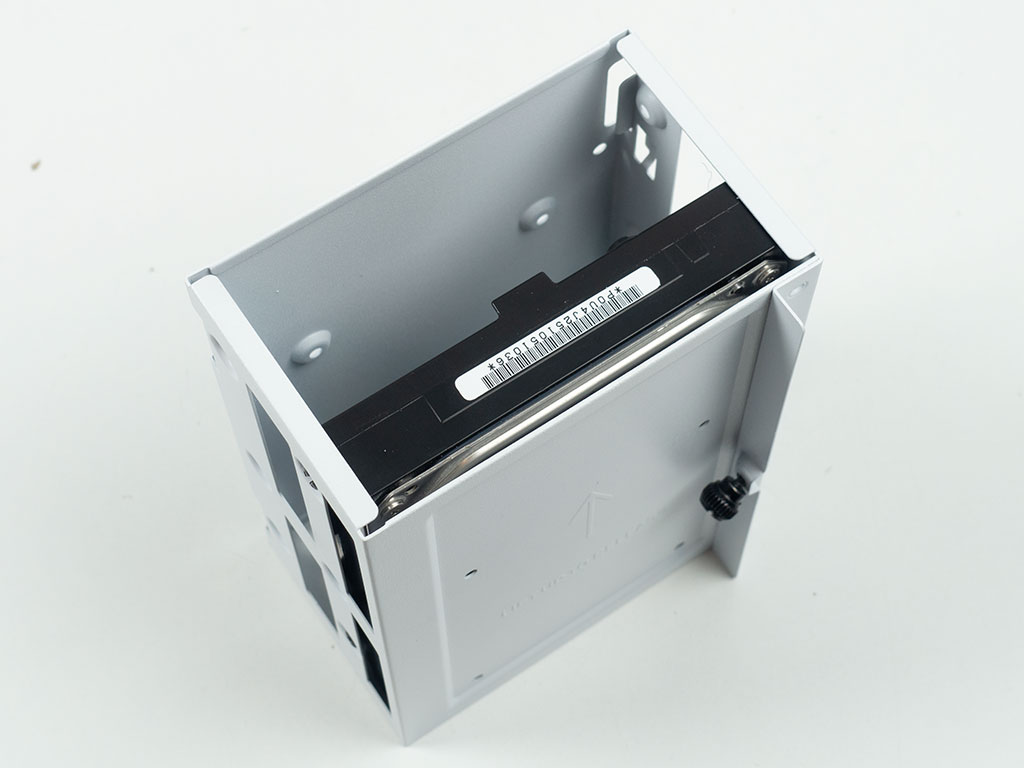
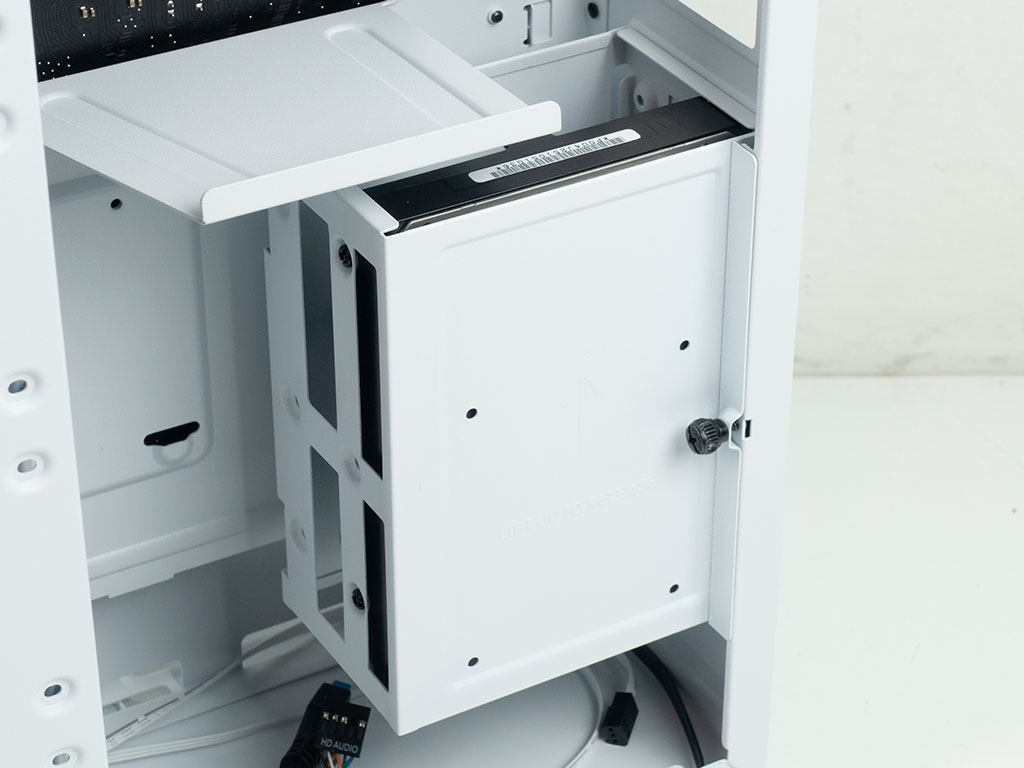
To include a 3.5" drive in your build, you will have to pull out the metal tray first and then secure a drive with classic screws once more. Considering the size of the cage and spacing of the two drive bays within, NZXT could have easily designed this to hold three 3.5" drives instead. Once filled, simply pop it back into place underneath the PSU bay.

The power supply bay may look simple, but works perfectly. Even though you may install the unit with its fan facing either way, it is highly recommended you have it facing the exterior of the chassis. Long units will also easily fit and won't change your assembly experience at all as there is plentiful access no matter what unit you use.
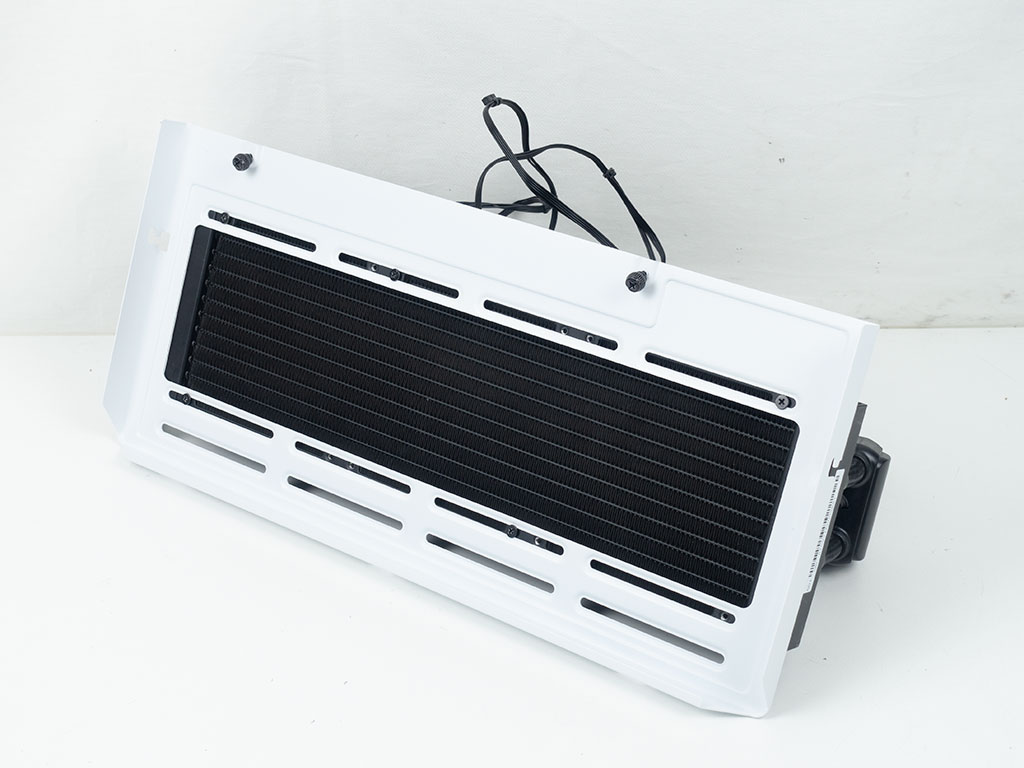
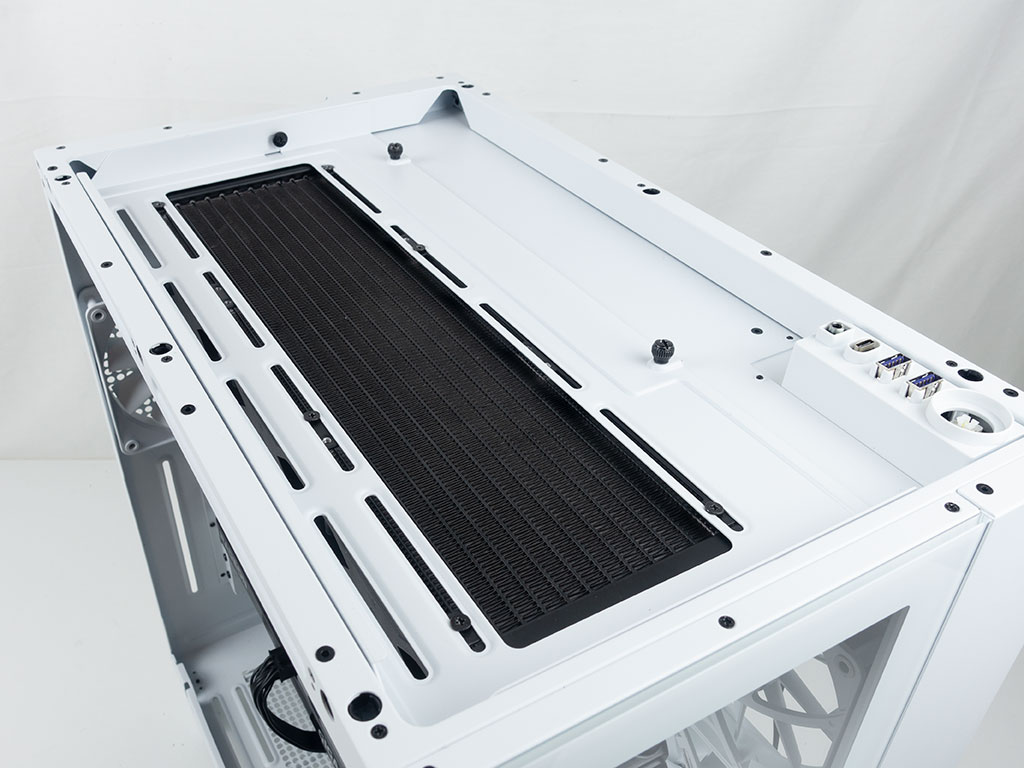
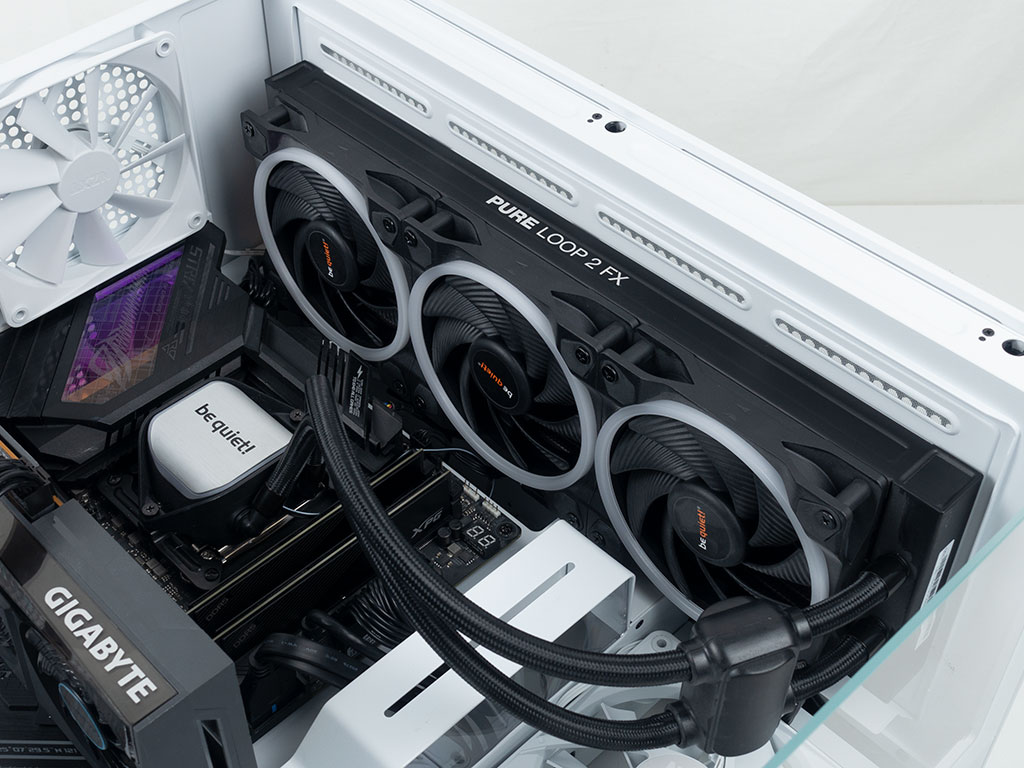
Thanks to the removable top frame, you may prep your sizable AIOs and drop the whole thing back into place with ease. There is lots of clearance and you can still access all the connectors at the top of the motherboard. Ideally you would still pre-route these cables before adding the AIO, but the ability to just unscrew the frame and raise it for a moment to run wires is a simple and painless workaround if necessary.
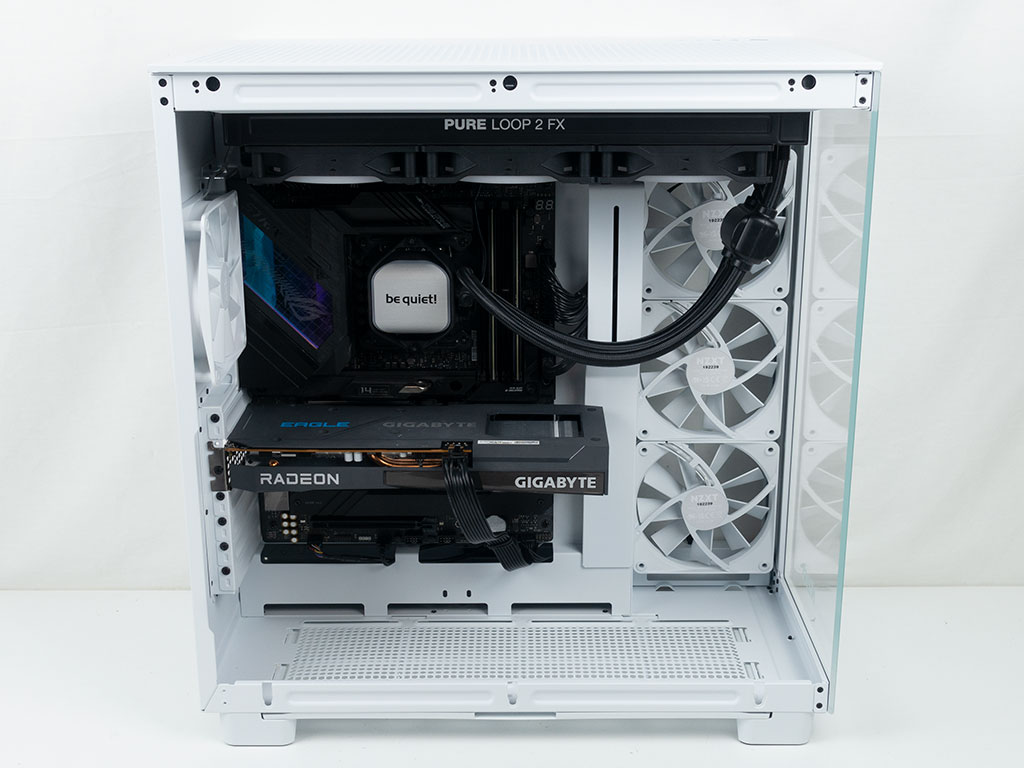


With everything in place, the hardware within the NZXT H9 Flow looks a little miniscule. While you cannot see any wire mess at the top of the chassis and the ATX power and USB leads are nicely hidden for the most part, the bottom opening does introduce a bit of noise unfortunately. It would have been most excellent if NZXT would have placed white grommets on these or at least designed a horizontal cable cover to mimic the vertical one in some way. On the backside, away from view, the cable management possibilities with the H9 Flow are excellent. The only downside is, that those not using an radiator in the ceiling of the chassis will have a hard time hiding any cables in that area properly. There is also lots of empty space on the floor of the case, which only provides hooks for zip ties. This is another place where NZXT could have added mounting for one additional 3.5" drive. There is a pair of openings in the center, which is where NZXT mounts the RGB and Fan controller found in the Elite variant of the chassis.
Finished Looks

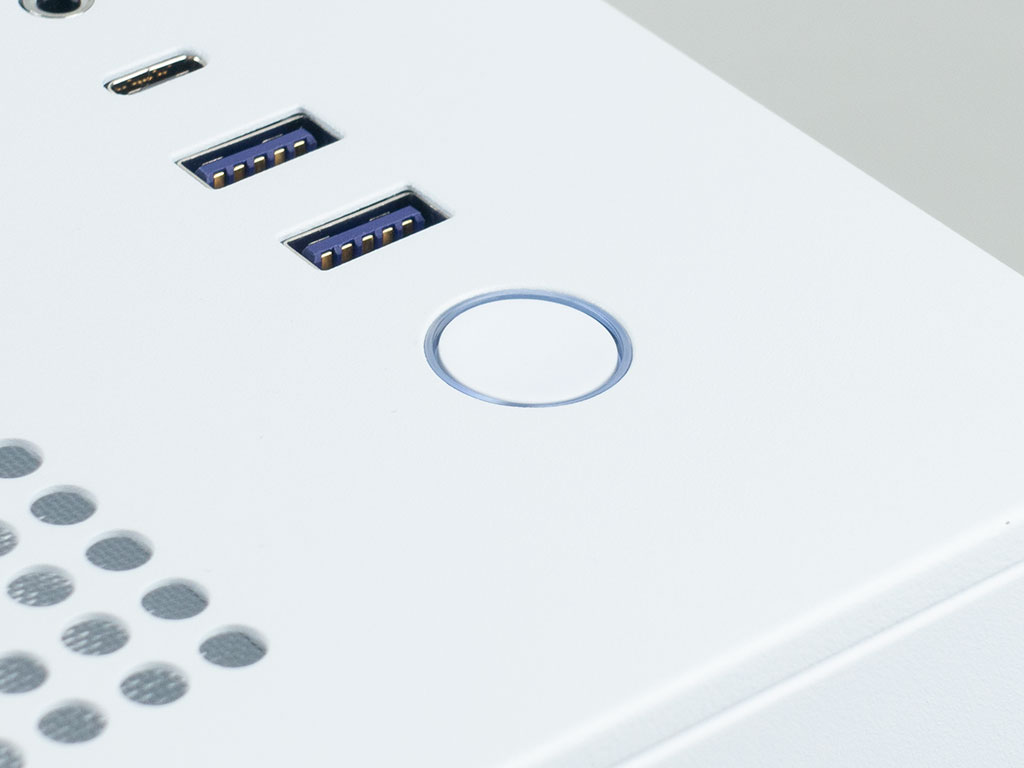
Turning the system on, besides the spinning fans and a white LED around the power button, there is not a lot of visual indication that the PC is powered on, as there are no RGB elements within the H9 Flow.


The H9 Flow is meant to be a clean, understated case and those who build in it will mostly stay clear of multi-colored RGB elements. Instead the case will really shine if you have as many white components as possible or at least use white fans with white illumination. In other words, the chassis sports a beautiful design that you should really take into consideration when planning your build. The clear, untinted glass panels allow you to see everything as well and it feels like our usual show system components don't really do the H9 Flow justice visually.
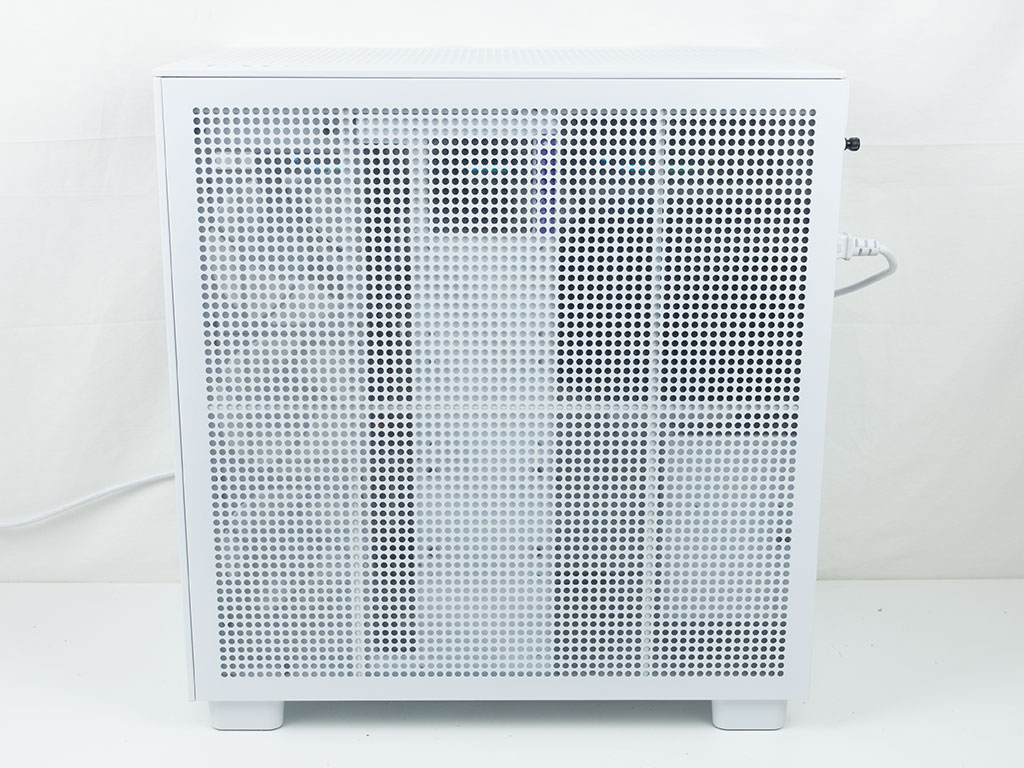
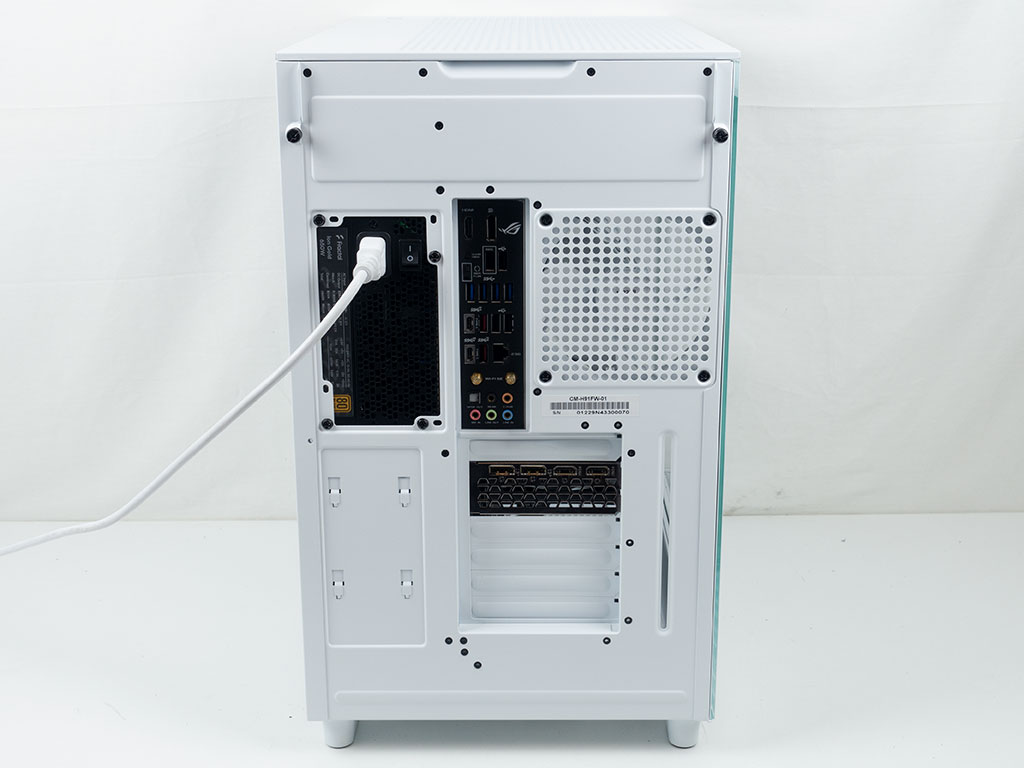
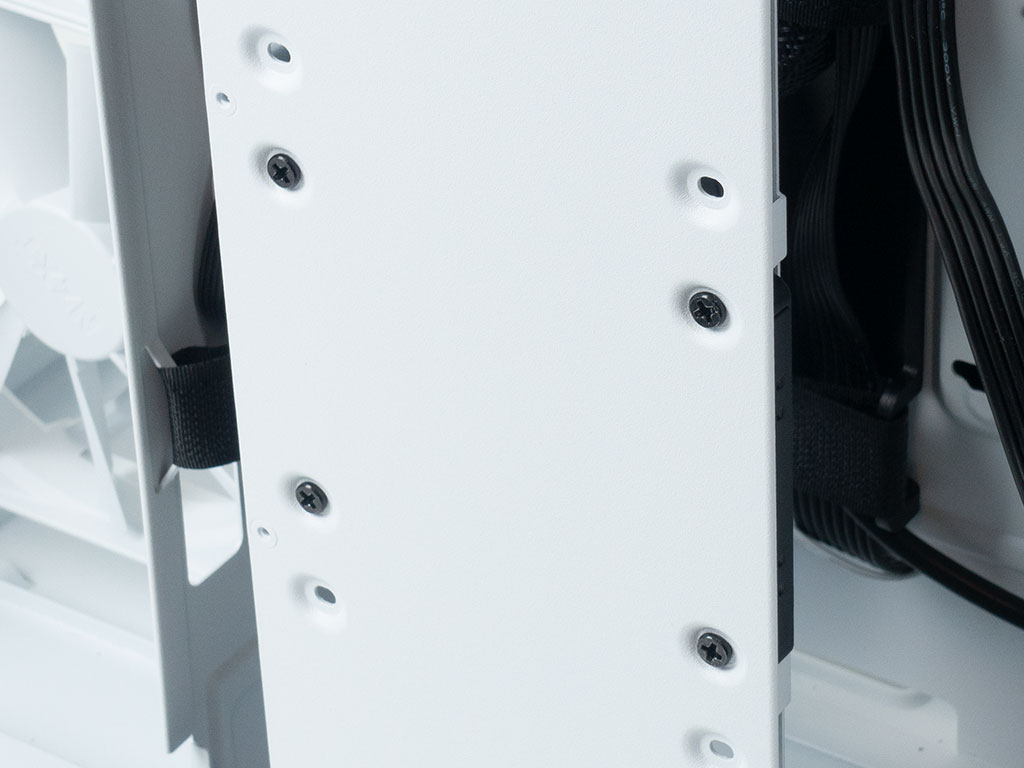
On the opposing side, you can actually see through the perforated opening with the white fans on the left and the screws for the mounted SSD in the center. In the rear everything is easily accessible with lots of room all around.
Apr 1st, 2025 01:51 EDT
change timezone
Latest GPU Drivers
New Forum Posts
- Your PC ATM (35317)
- Undervolt i9-14900HX Laptop Newbie (8)
- Help with System Recommendations (5)
- can i yust connect 4 pin cpu coler to 5 pin ? (9)
- PCB serial number explanation Asrock rx5700xt Taichi oc+ (7)
- Post your JetStream 2 speeds! (161)
- Msi Vector 16HX Undervolt (3)
- Bios Mod for an old pc (15)
- Help me pick a UPS (12)
- People said my memory is underclocked and something is wrong with the speed (15)
Popular Reviews
- Sapphire Radeon RX 9070 XT Pulse Review
- DDR5 CUDIMM Explained & Benched - The New Memory Standard
- ASRock Phantom Gaming B850 Riptide Wi-Fi Review - Amazing Price/Performance
- Palit GeForce RTX 5070 GamingPro OC Review
- SilverStone Lucid 04 Review
- Samsung 9100 Pro 2 TB Review - The Best Gen 5 SSD
- Enermax REVOLUTION D.F. 12 850 W Review
- Sapphire Radeon RX 9070 XT Nitro+ Review - Beating NVIDIA
- Assassin's Creed Shadows Performance Benchmark Review - 30 GPUs Compared
- AMD Ryzen 7 9800X3D Review - The Best Gaming Processor
Controversial News Posts
- MSI Doesn't Plan Radeon RX 9000 Series GPUs, Skips AMD RDNA 4 Generation Entirely (142)
- Microsoft Introduces Copilot for Gaming (124)
- AMD Radeon RX 9070 XT Reportedly Outperforms RTX 5080 Through Undervolting (119)
- NVIDIA Reportedly Prepares GeForce RTX 5060 and RTX 5060 Ti Unveil Tomorrow (115)
- Over 200,000 Sold Radeon RX 9070 and RX 9070 XT GPUs? AMD Says No Number was Given (100)
- NVIDIA GeForce RTX 5050, RTX 5060, and RTX 5060 Ti Specifications Leak (96)
- Retailers Anticipate Increased Radeon RX 9070 Series Prices, After Initial Shipments of "MSRP" Models (90)
- China Develops Domestic EUV Tool, ASML Monopoly in Trouble (88)