 10
10
NZXT Hades Review
Value & Conclusion »Assembly
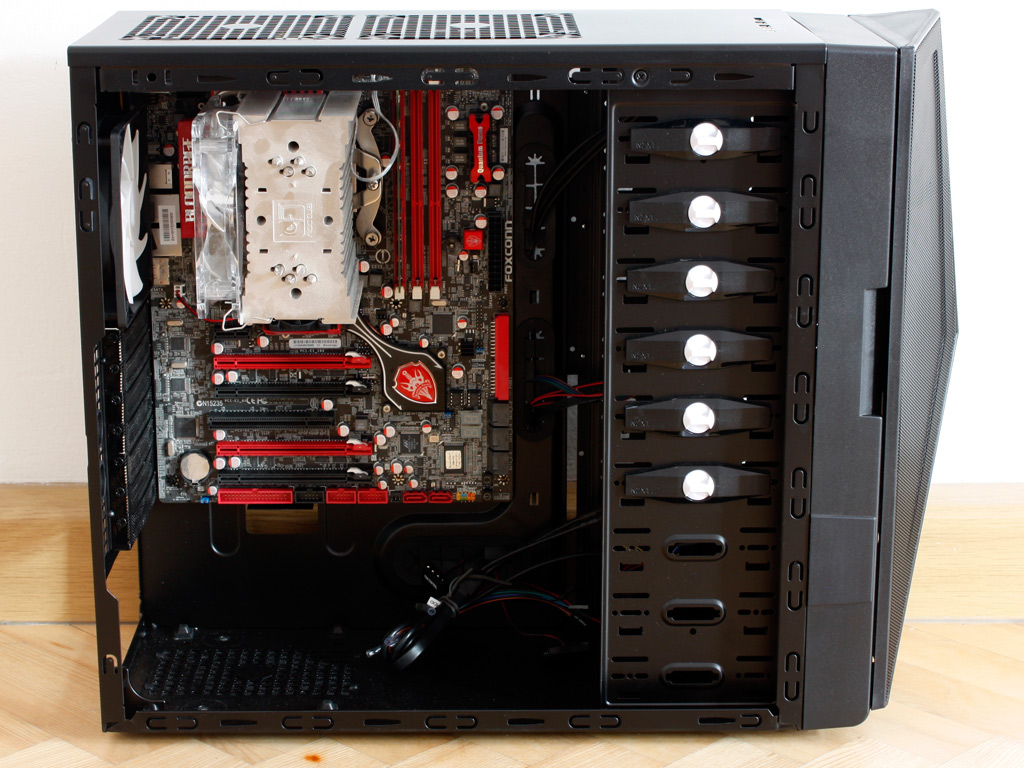
Installing the mainboard is done just like in any other chassis. just position the spacers in the correct locations and screw the board down with the supplied screws. I spent some time hiding the cables and the result is quite nice as you can see in the image above.
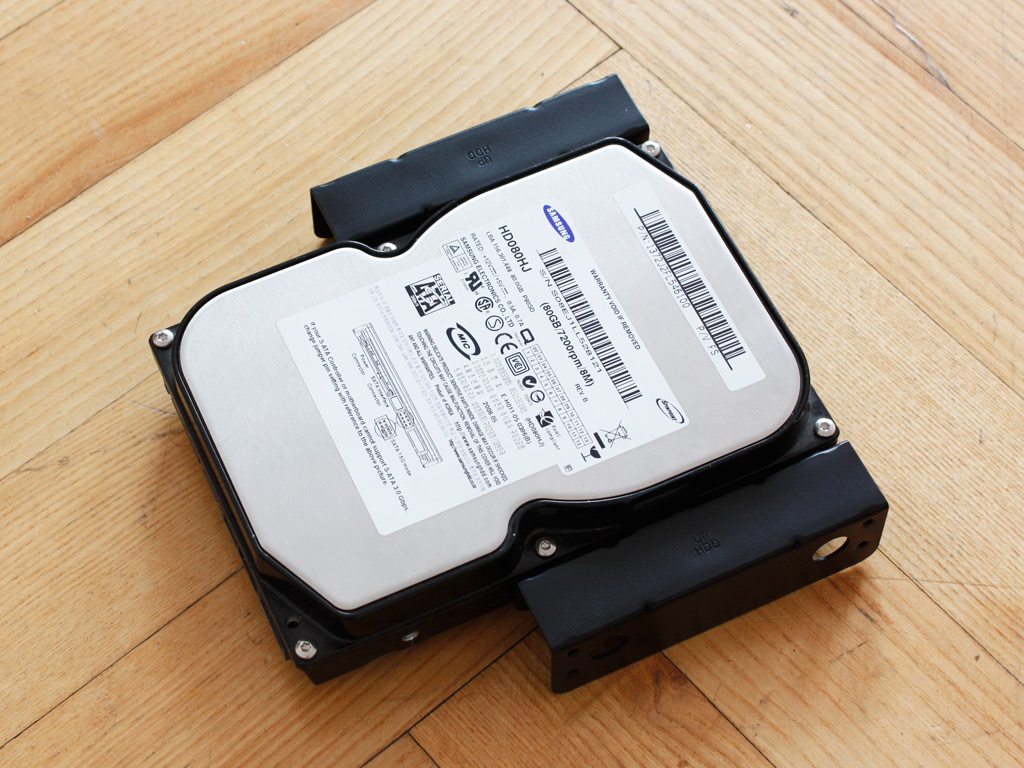

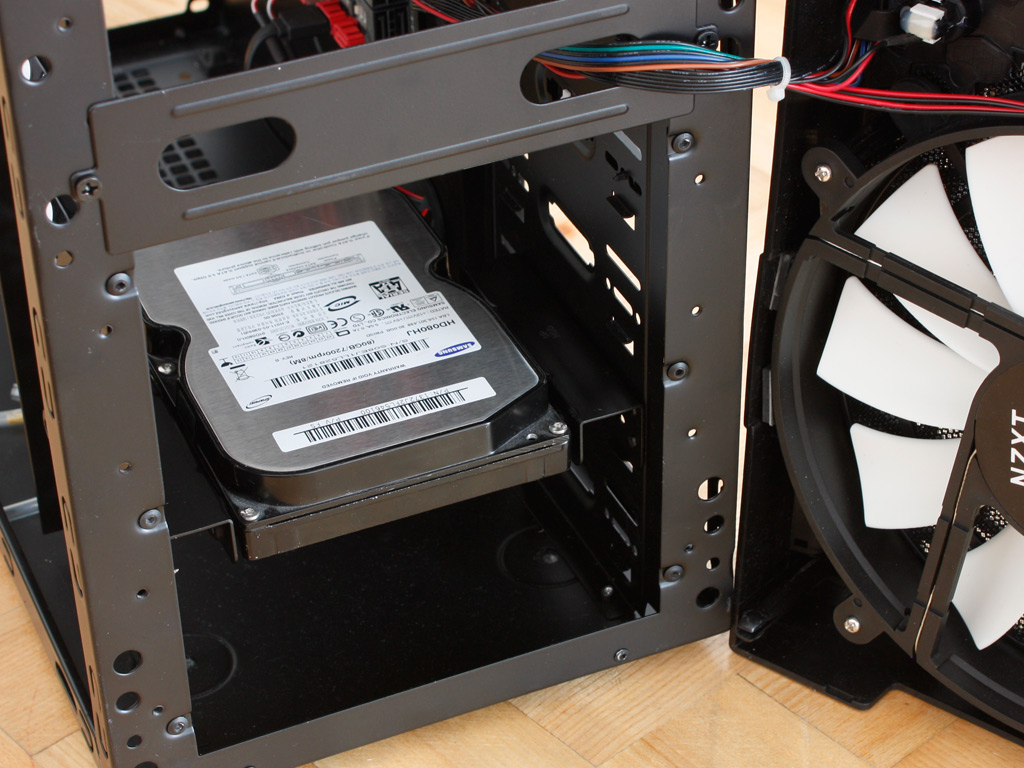
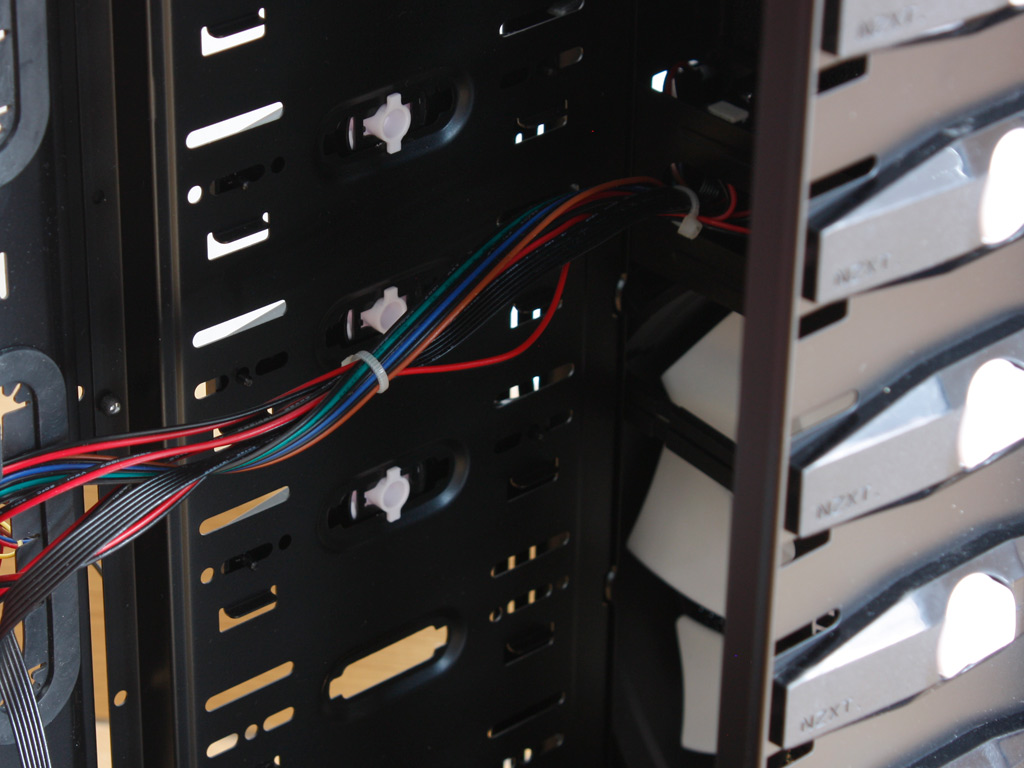
Installing the hard drive does take more work than in cases with real 3.5 inch bays. First you have to screw down the rubber mounted spacers unto the drives with the special screws. Then pull off the front of the chassis to reveal the front bays, followed by sliding the entire array into place and securing it with four further screws. Sure, this system does allow for easy access, but also involves more work.


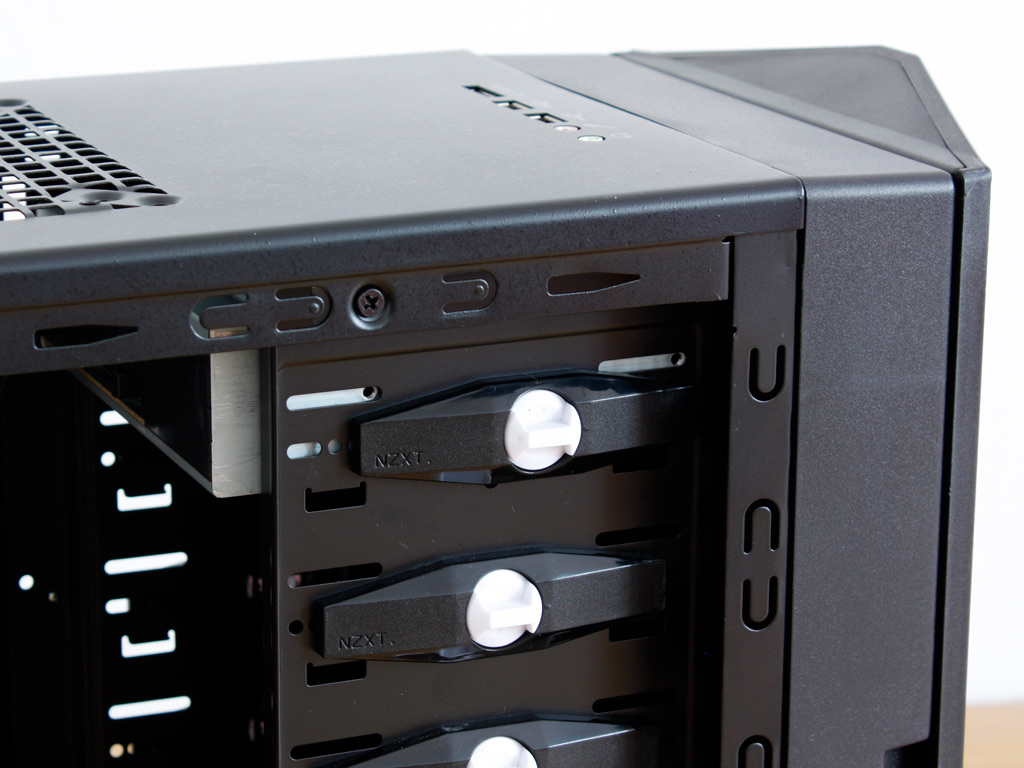
Installing an optical drive requires you to remove a pair of locks first to clear the way - that is after pulling off the front and taking out the drive bay cover of your choice. The plastic locks are of bad quality, as they are flimsy and only employ plastic pins to hold the drives in place. Sure enough, you can easily make them snap off the drives with a bit of pressure on the front of the drive. It is starting to look like NZXT is trying to offer too many different features, while still being bound by the pressure to offer a low price tag.

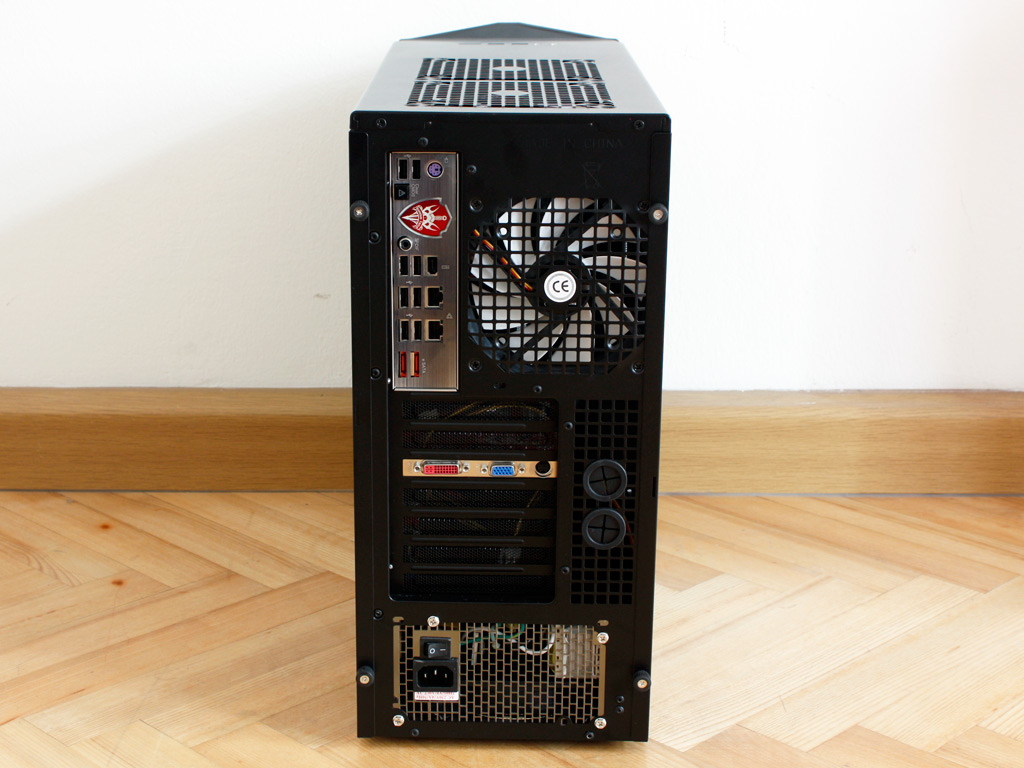
Last but not least, the power supply was installed. Luckily there were no unpleasant surprises here and the chassis is compact enough for its cables to reach all necessary plugs on the mainboard.

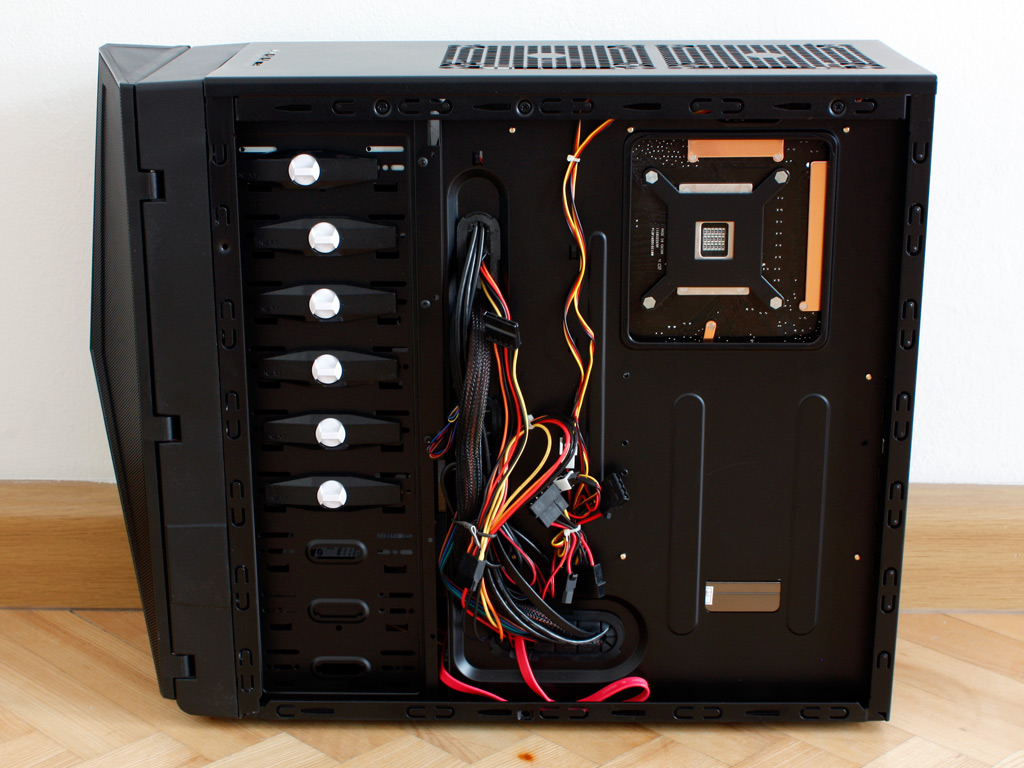
Once everything is installed the interior looks very tidy and clean. The cable routing and hiding possibilities in the Hades are excellent. As you can see, the bulk of cables were routed behind the mainboard to their appropriate locations. Thanks to the extrusion of the side panel, there is plenty of space, even for thick cables from the power supply.
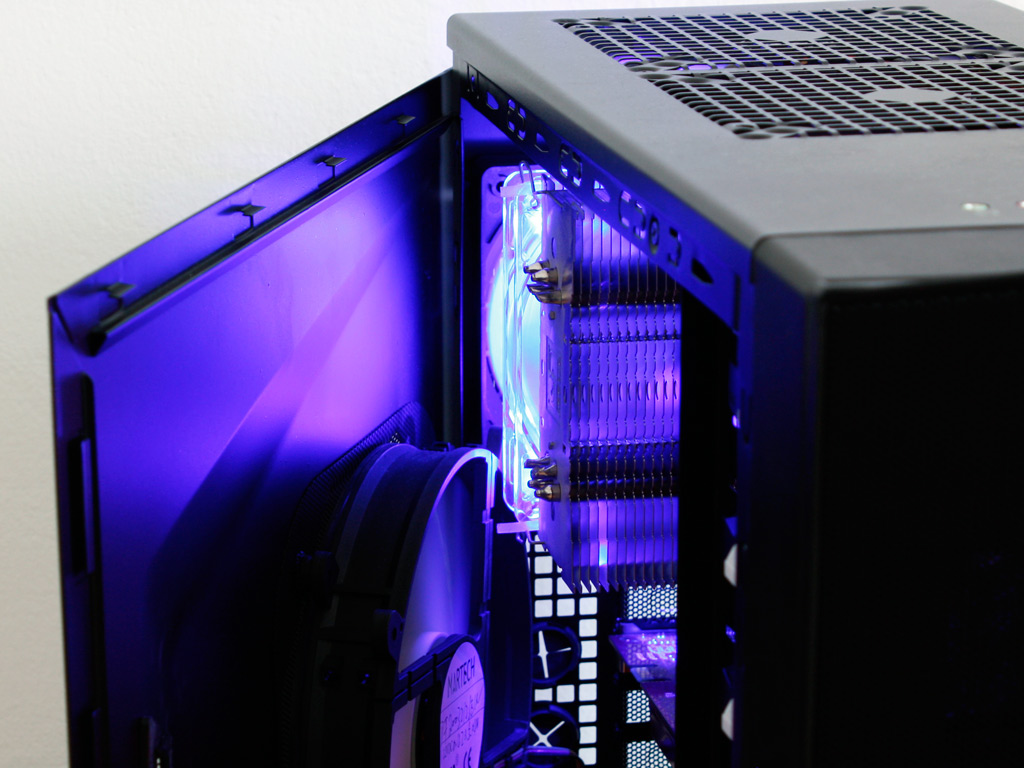
Before I continue and show you the up and running NZXT Hades, there are two problematic areas I want to point out. First off, the way the front cables are routed, they will block one of the drive bays. The second problem is a result of the enclosure's compact dimensions and 120 mm tower coolers. Even though there is some extrusion on the side panel, the large 200 mm fan gets clearly in the way. That means that users are limited to smaller or blow down coolers in this gaming chassis - not a good thing.
Finished Looks
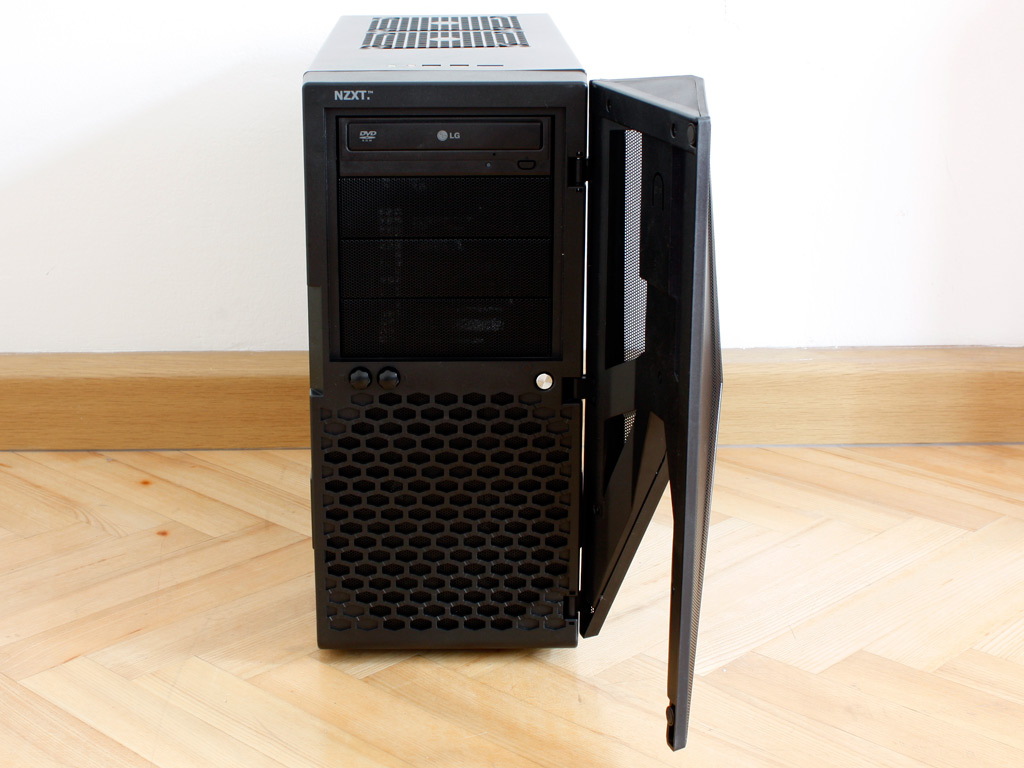
Once everything is installed and the CPU & cooler were removed for this review, the chassis was closed up. For those with silver or even beige drive bays, the door will cover them nicely. All the connectivity in the rear is easily accessible and where you would expect to see it.
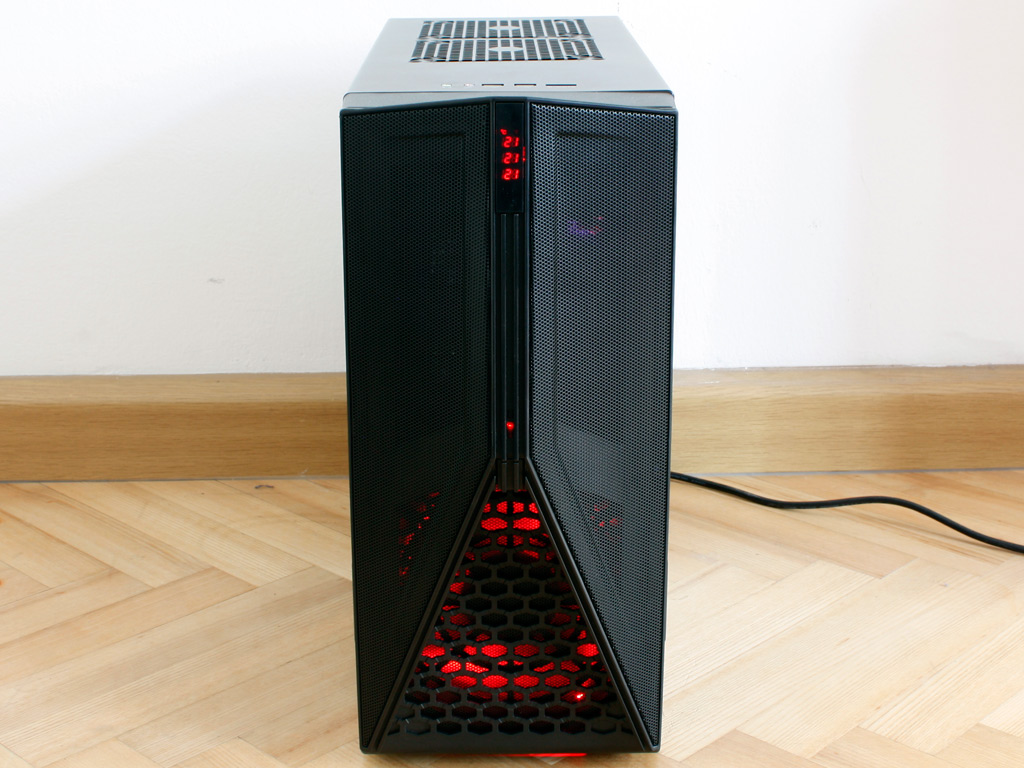
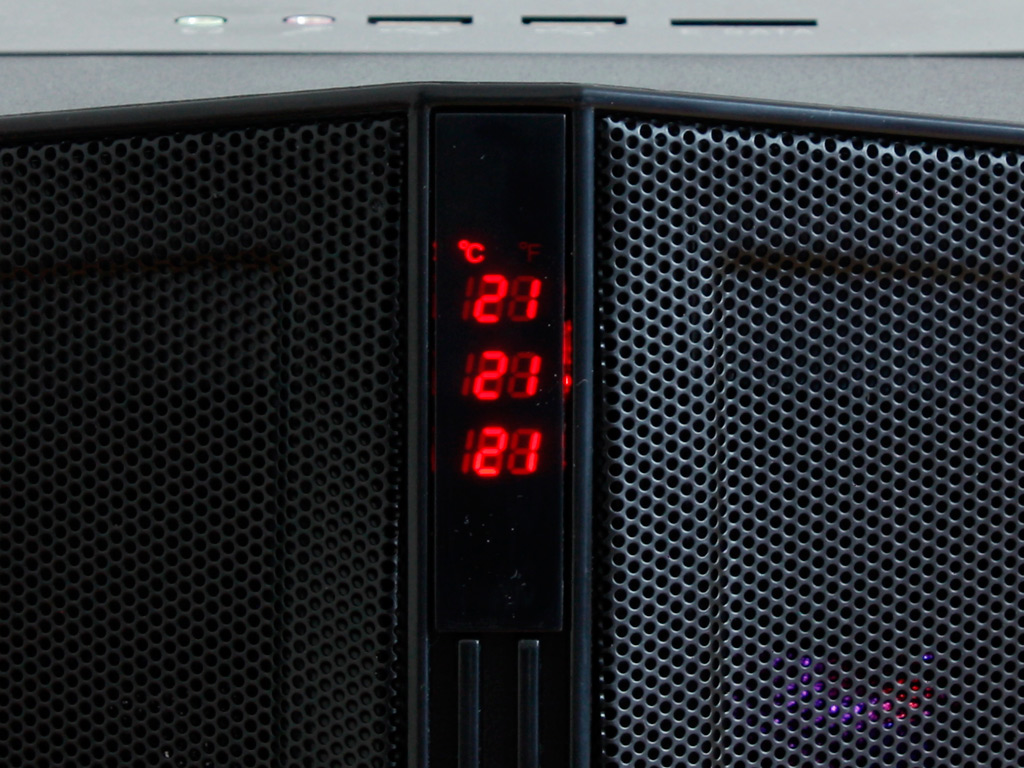
Once turned on, all the lighting aspects fire up and the case is lit in a nifty red glow up front. The LCD screen appears on the upper edge of the door, displaying three temperatures. There is no label on them as mentioned before, so your guess is as good as mine, which one is for what part of the PC.
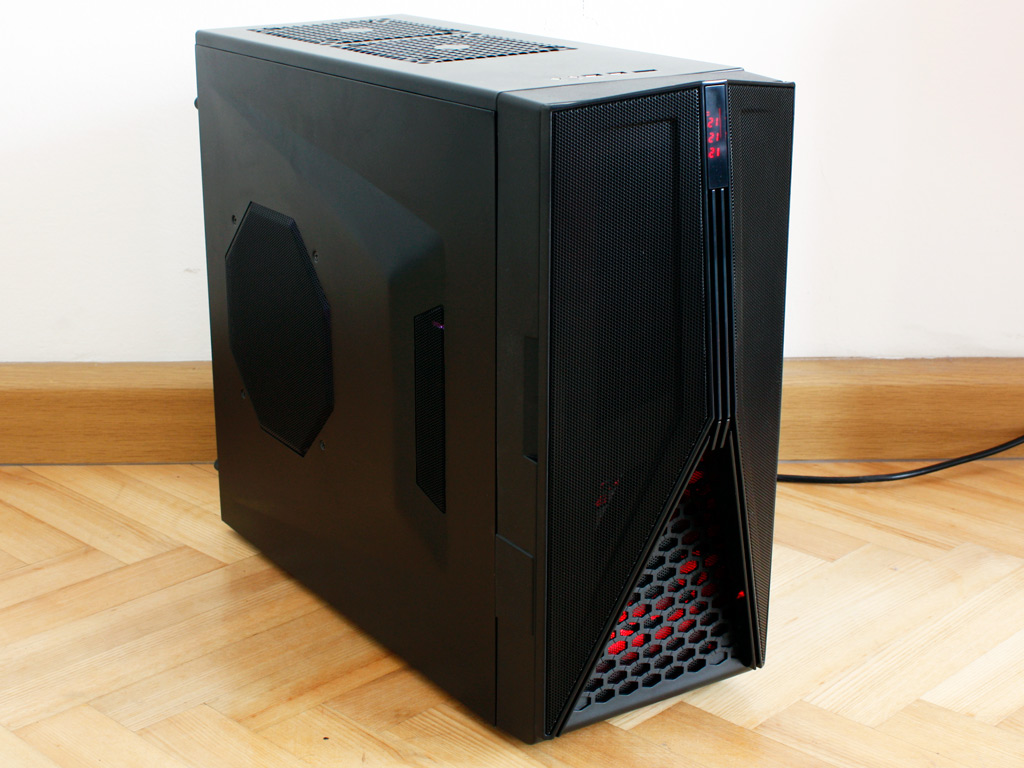

I have to admit, the Hades looks rather cool when turned on. The red lighting in combination with the clean, straight design looks excellent. I just do not know where the correlation between the design and the Hades name comes from.
Jul 5th, 2025 18:34 CDT
change timezone
Latest GPU Drivers
New Forum Posts
- [GPU-Z Test Build] New Kernel Driver, Everyone: Please Test (69)
- How do you view TPU & the internet in general? (With poll) (80)
- EVGA XC GTX 1660 Ti 8GB ROM (11)
- Rx580 subsystem id (0)
- What are you playing? (23893)
- Do you use Linux? (677)
- Optane performance on AMD vs Intel (58)
- Frametime spikes and stuttering after switching to AMD CPU? (521)
- Stalker 2 is looking great. (187)
- b550m aorus elite not posting with new ram (7)
Popular Reviews
- NVIDIA GeForce RTX 5050 8 GB Review
- Fractal Design Scape Review - Debut Done Right
- Crucial T710 2 TB Review - Record-Breaking Gen 5
- ASUS ROG Crosshair X870E Extreme Review
- PowerColor ALPHYN AM10 Review
- Sapphire Radeon RX 9060 XT Pulse OC 16 GB Review - An Excellent Choice
- Upcoming Hardware Launches 2025 (Updated May 2025)
- AMD Ryzen 7 9800X3D Review - The Best Gaming Processor
- Sapphire Radeon RX 9070 XT Nitro+ Review - Beating NVIDIA
- NVIDIA GeForce RTX 5060 8 GB Review
TPU on YouTube
Controversial News Posts
- Intel's Core Ultra 7 265K and 265KF CPUs Dip Below $250 (288)
- NVIDIA Grabs Market Share, AMD Loses Ground, and Intel Disappears in Latest dGPU Update (212)
- Some Intel Nova Lake CPUs Rumored to Challenge AMD's 3D V-Cache in Desktop Gaming (140)
- NVIDIA GeForce RTX 5080 SUPER Could Feature 24 GB Memory, Increased Power Limits (115)
- Microsoft Partners with AMD for Next-gen Xbox Hardware (105)
- NVIDIA Launches GeForce RTX 5050 for Desktops and Laptops, Starts at $249 (105)
- AMD Radeon RX 9070 XT Gains 9% Performance at 1440p with Latest Driver, Beats RTX 5070 Ti (102)
- Intel "Nova Lake‑S" Series: Seven SKUs, Up to 52 Cores and 150 W TDP (100)