 31
31
Optimus Signature V2 CPU Block Review
Installation »Closer Examination
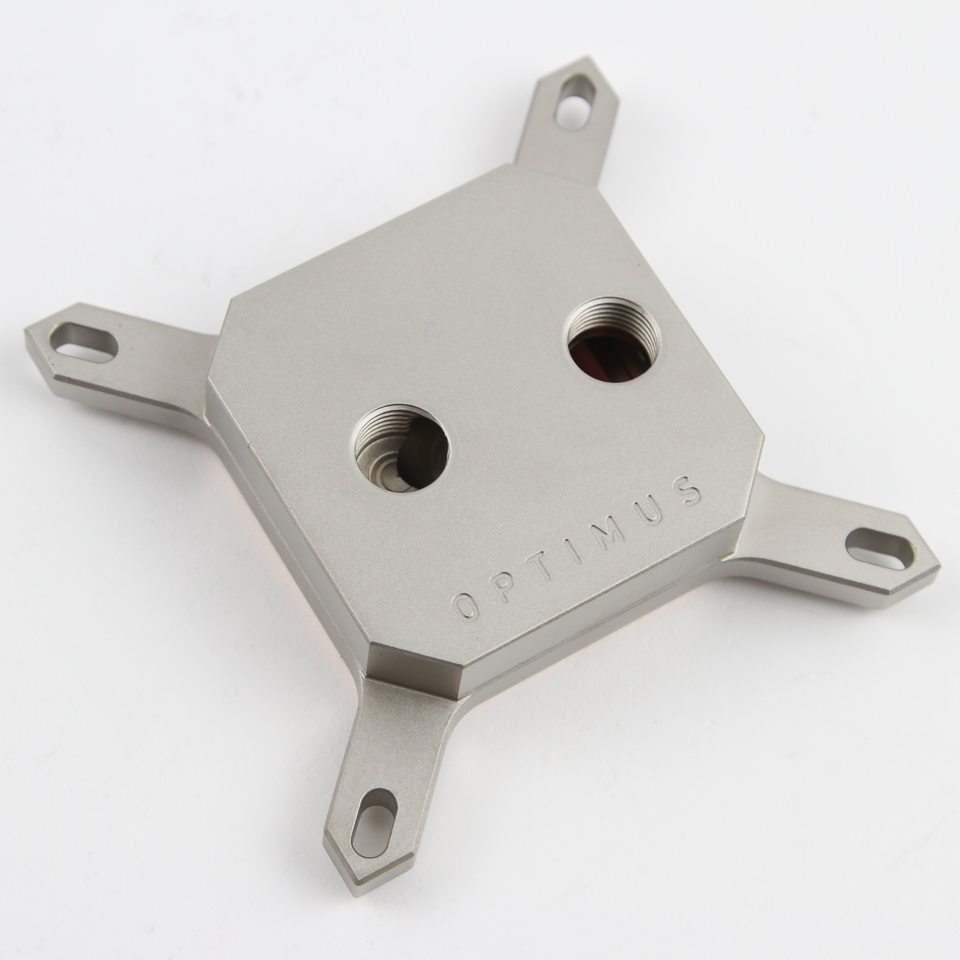

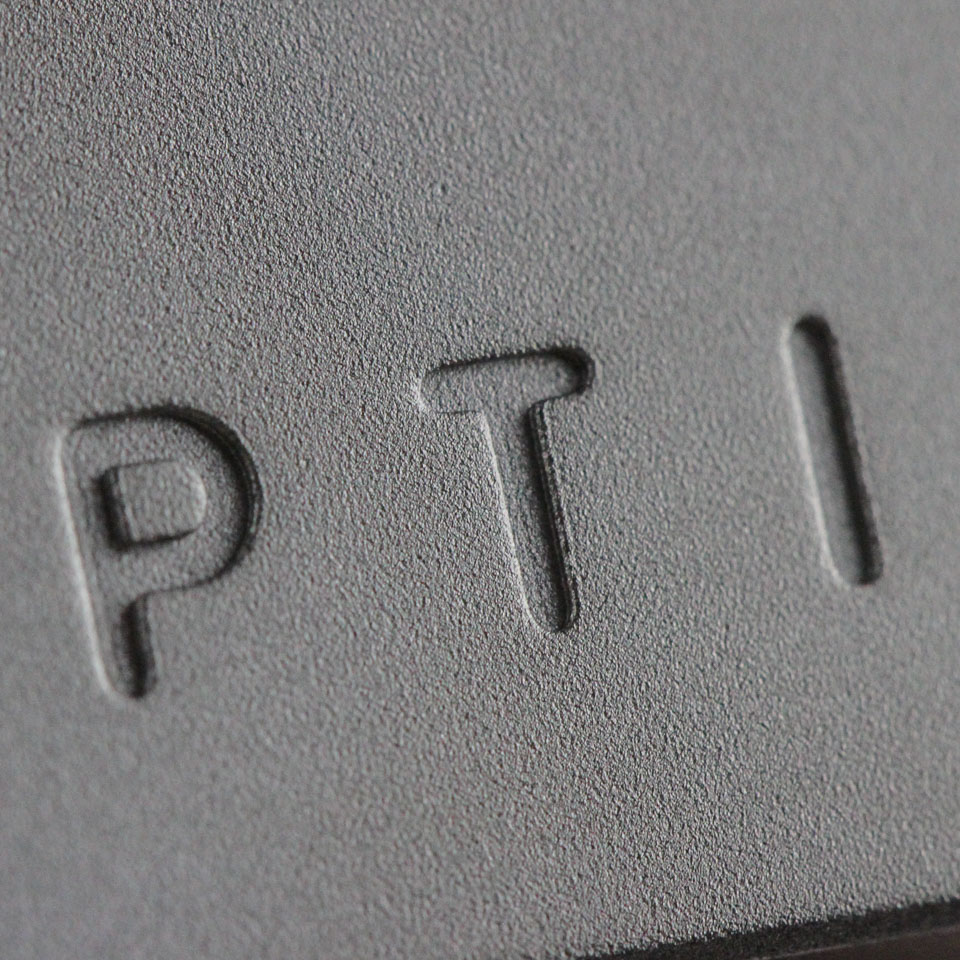
The Optimus Signature CPU block was what arguably got the word out that there is a new PC DIY watercooling company, and one based in the US for manufacturing and design as well. In the time since that original block came out, the company has worked on and improved the cooling engine and Gen2 cold plate, with the current Signature V2 being their top of the line offering for Intel CPUs. Unlike the Optimus Foundation, the Signature V2 only comes in one top option, and perhaps saying it is a top is doing it a disservice since the top and bracket is a unibody that is machined out of a single 3.5 lb brass block for each produced unit. The brass is then plated with nickel via an electro-less method, as with the cold plate and fitting caps we see with the Optimus Foundation, using a medium-to-high phosphorous content nickel instead of the electroplating most companies do. The former is not really a cosmetic process, as I personally know through my own work, but better for preventing galvanic corrosion and longevity, with the latter more for appearances and requiring a thicker plating to be functionally similar. The thickness of the plating itself varies depending on whether it is for the cold plate or the unibody here, or even the caps of the fittings, which is also why they don't necessarily match 100% in finish and color. Branding on the block comes in the form of the Optimus writing on the bottom of the top surface, and a close-up above better shows the finish with their electro-less plating the company calls Pro-XE.
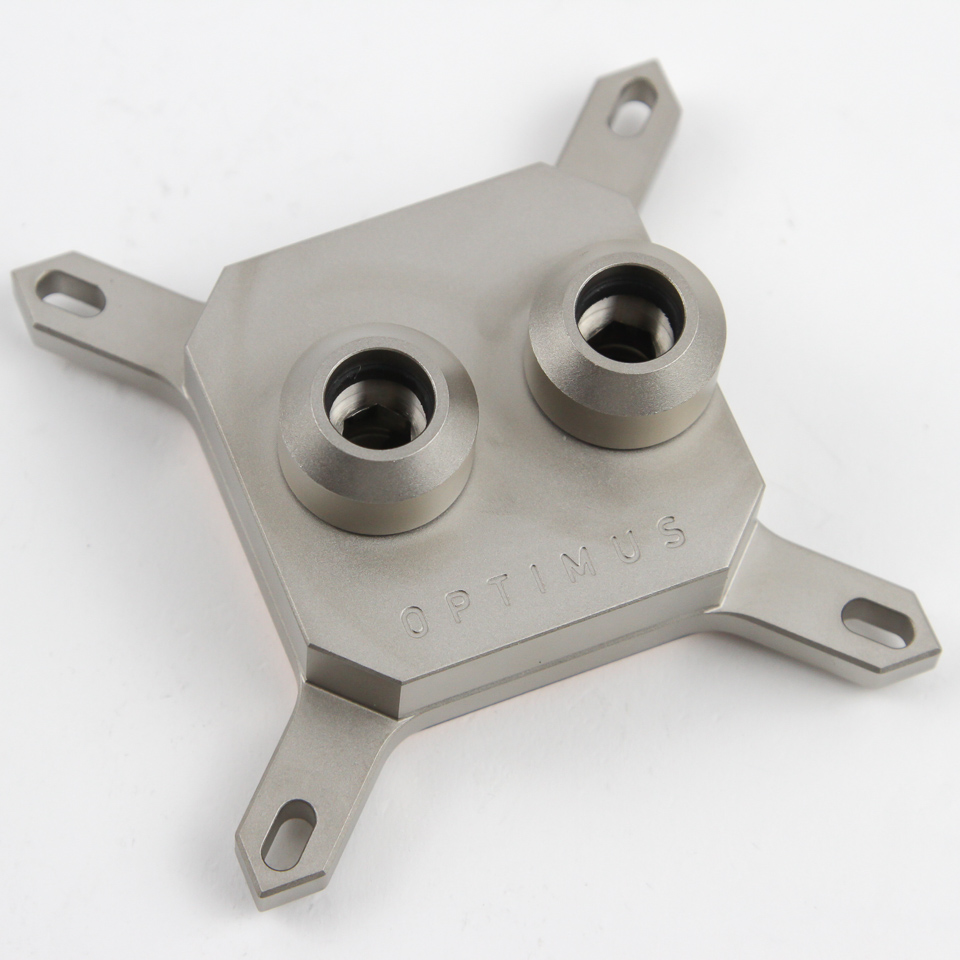
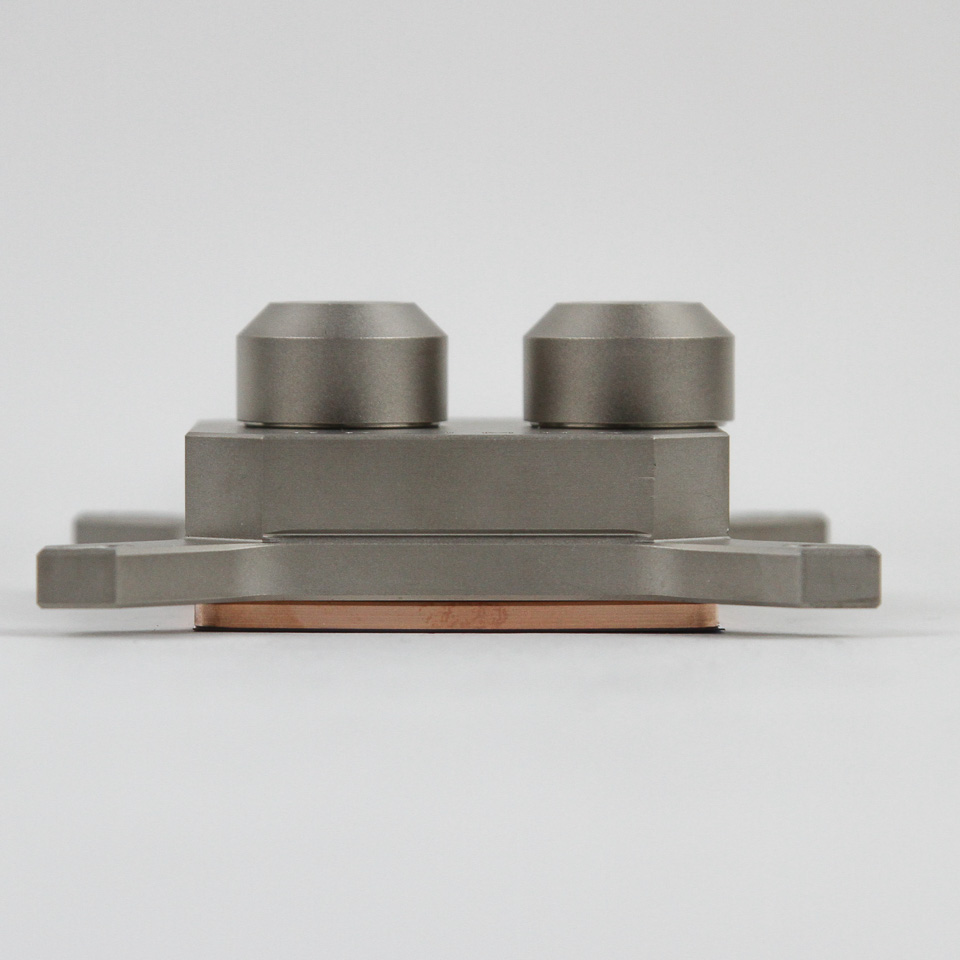
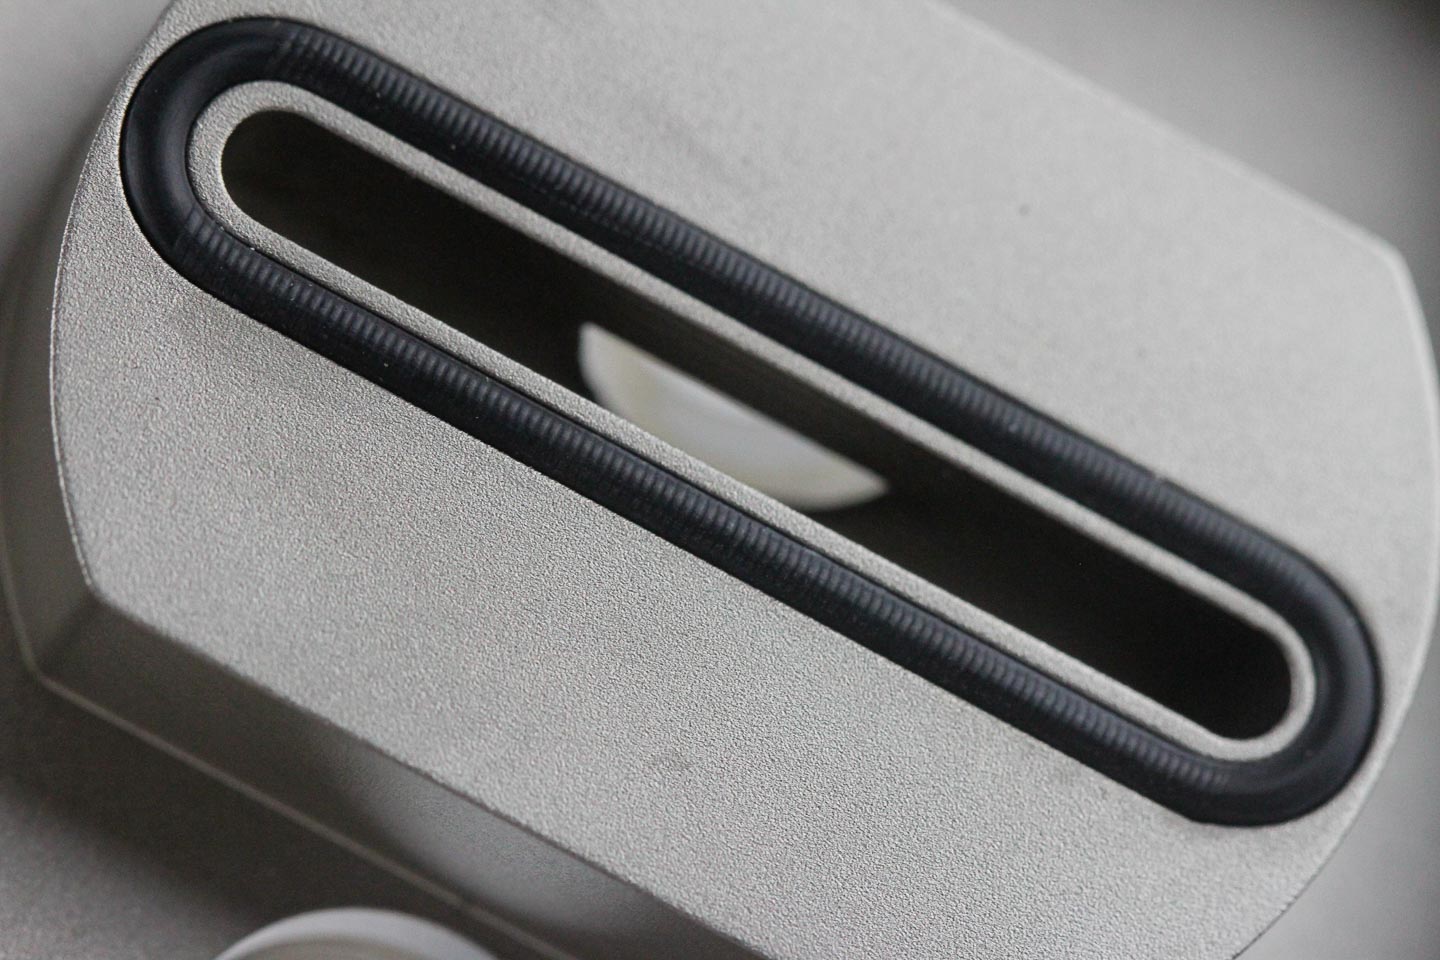
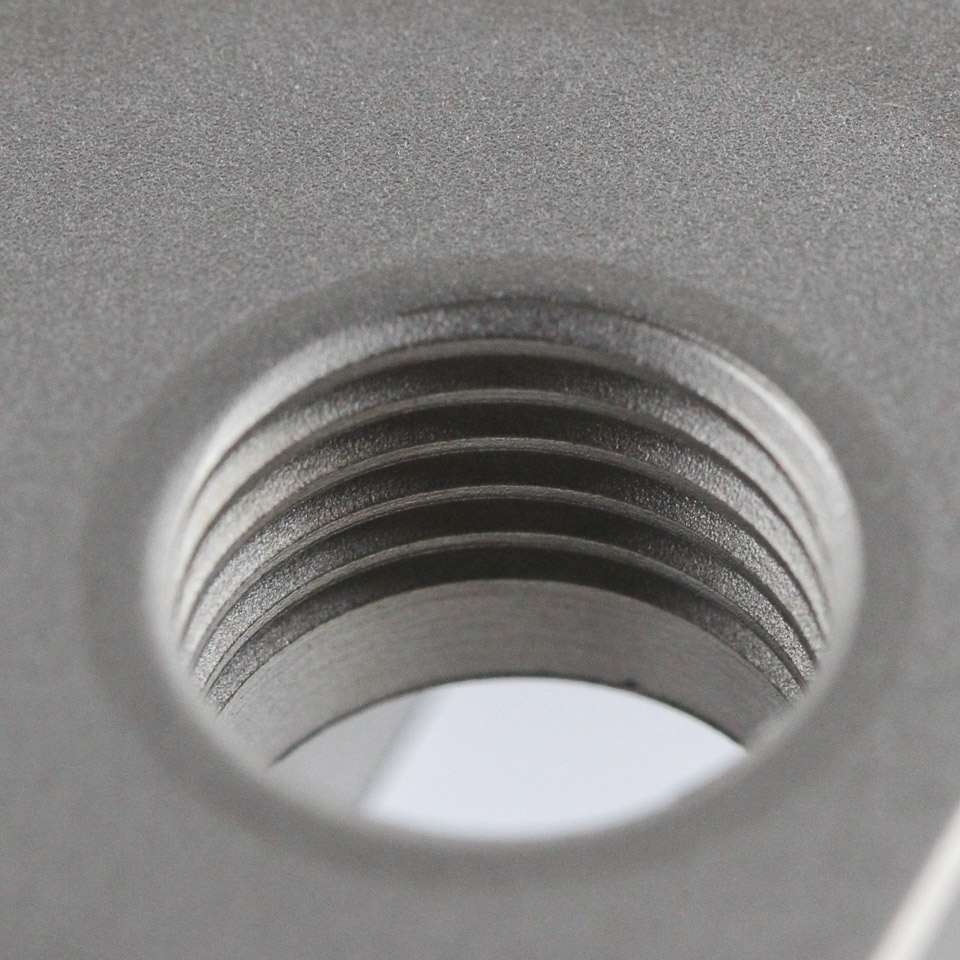
There are two BSP G1/4" threaded ports in the top, which Optimus also proudly claims are CNC-machined as opposed to tapped via a bench drill press as with many other companies, and the entire unibody is milled to begin with here. This does allow for a higher degree of accuracy and precision combined with fewer side effects, including potential cross-threading, but again, this is not really an issue with reputable brands in the DIY watercooling market today. The ports are spaced far enough apart to allow large fittings to easily be installed, including the hardline fittings from before. There are no indicators to tell which port is the designated inlet and outlet, but the website does note that the port with visible microfins directly underneath is the preferred outlet, and the port with the channel taking the coolant to the middle is the preferred inlet.
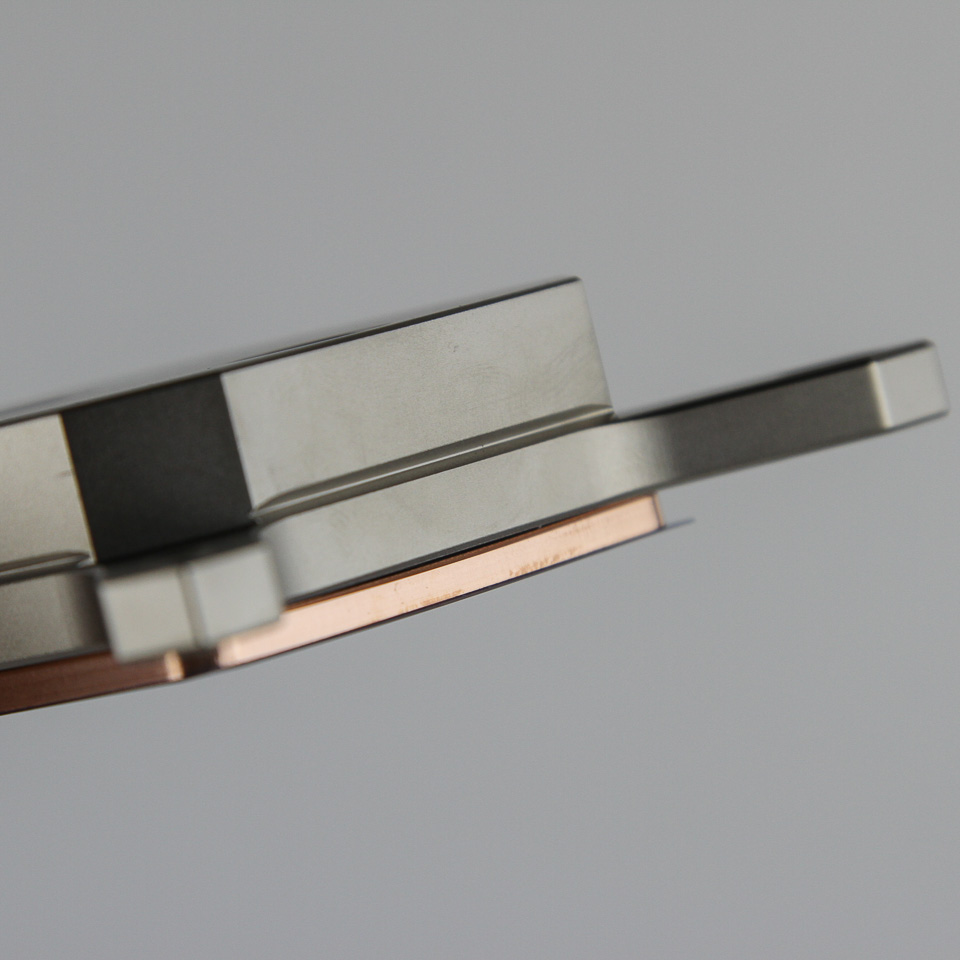
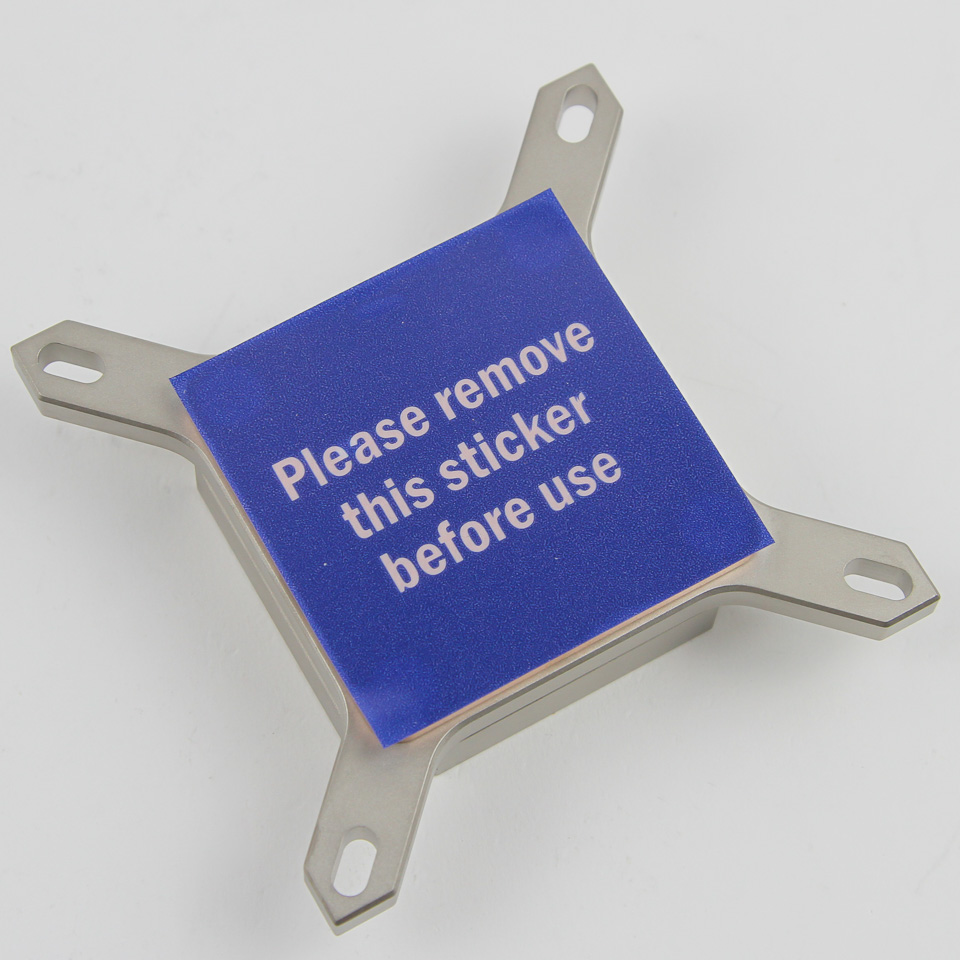
Flipping the block around, we see a protective sticker on the cold plate base that makes contact with the CPU IHS, and it has a note to alert users to remove it prior to installation lest it create a big barrier to heat transfer. Taking it off exposes the cold plate, and my sample has a US-sourced raw copper cold plate to contrast with the nickel-plated copper cold plate in my Optimus Foundation sample. The unibody construction here means that creating a bow as with the integrated jetplate in the acrylic top on the Optimus Foundation is harder than simply having a bow on the cold plate itself, and the company chose to offer the ultra-smooth cold plate as an option for those planning to use the Signature V2 with a lapped IHS CPU. The Signature V2 is also compatible with bare die cooling (and the support brackets that are used here), and the company recommends using the standard cold plate here, be it in copper or nickel-plated copper. The standard copper cold plate has a mirror finish owing to the use of diamond CNC bits.
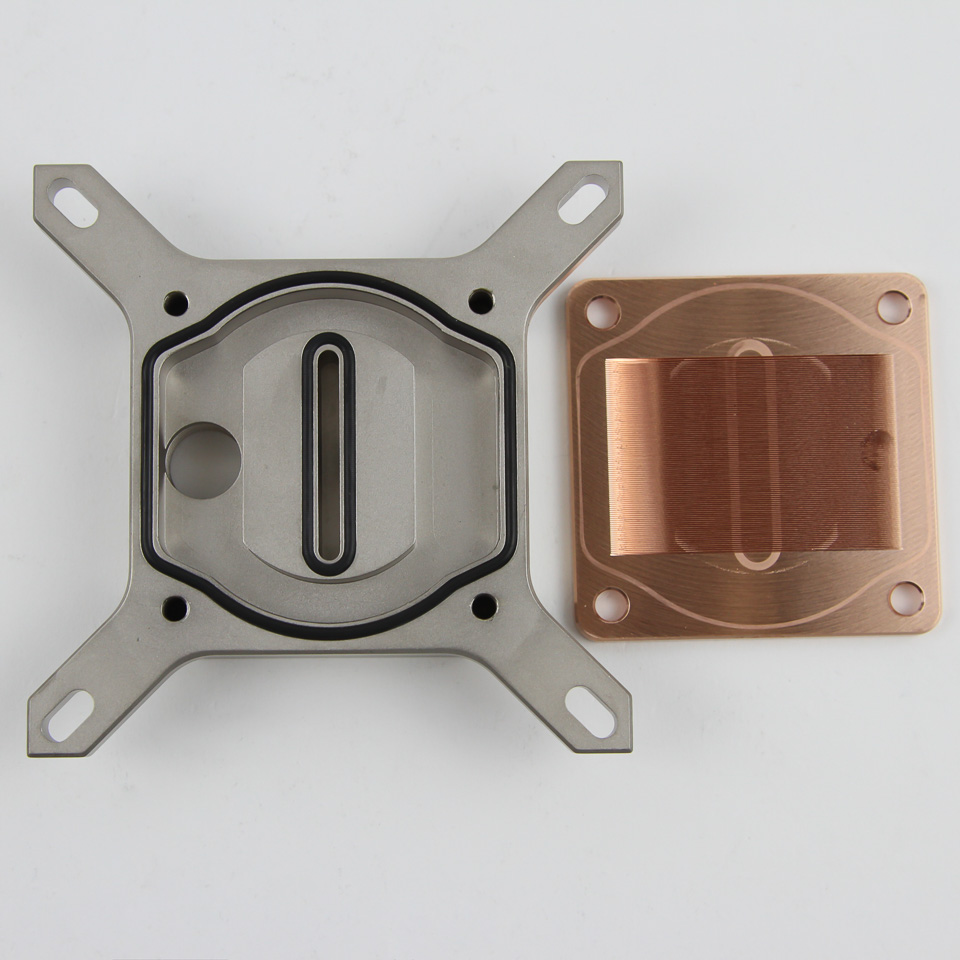
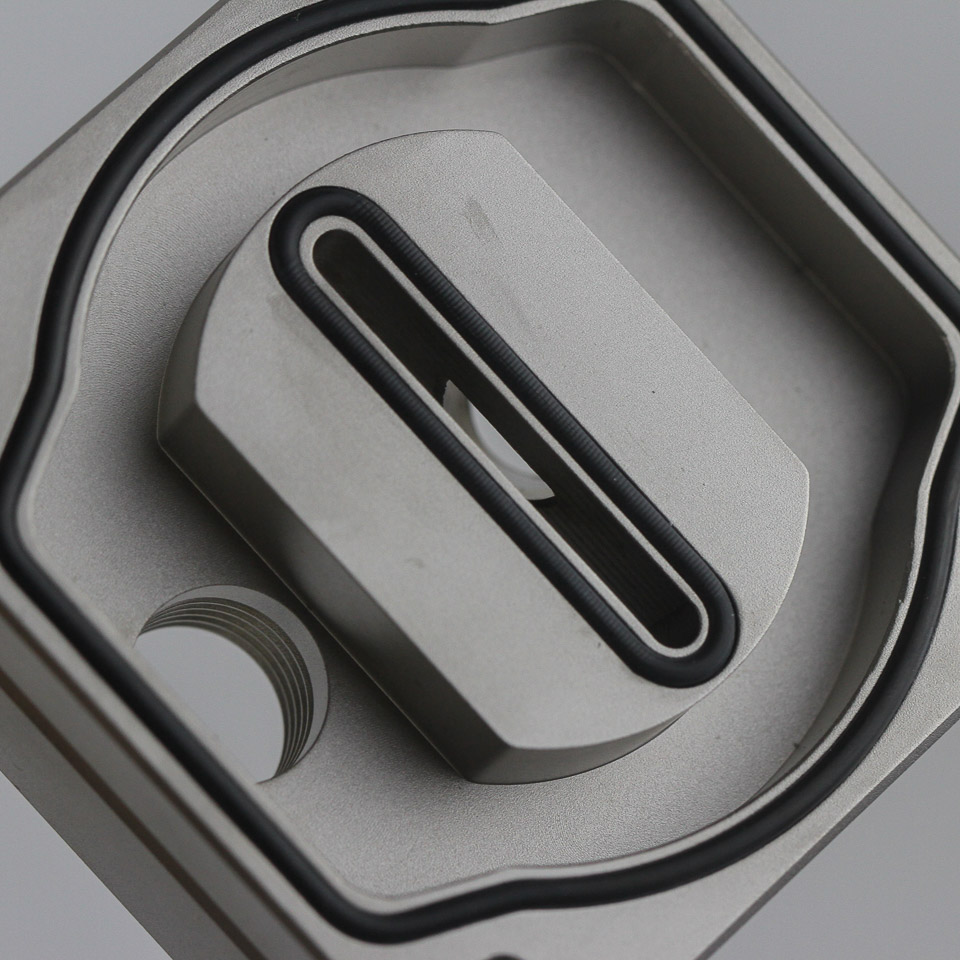
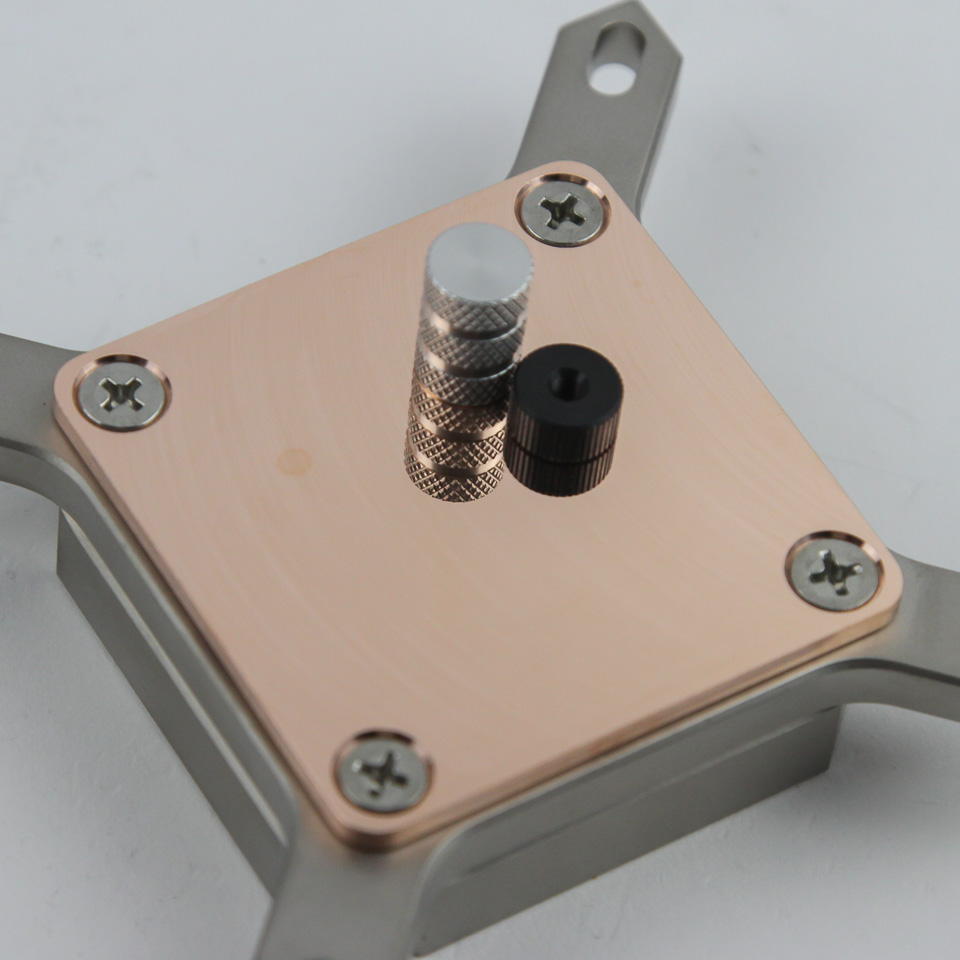
Disassembly was done after all testing had been completed, and it is easier here compared to the Optimus Foundation because of the two major pieces (unibody top and cold plate) as opposed to the three (top, bracket, and cold plate). There are four countersunk screws with a Phillips head on the bottom, and removing them does the job in separating the two pieces. I can not overstate how heavy and substantial that unibody piece is, and examining it with the cold plate removed only makes the difference compared to most other CPU blocks all the more exaggerated. We also see the integrated jet plate design, which means one less piece of stainless steel in the coolant path, and the EPDM O-rings in the relatively deeper grooves in the top, which does make it easier to replace them as necessary.

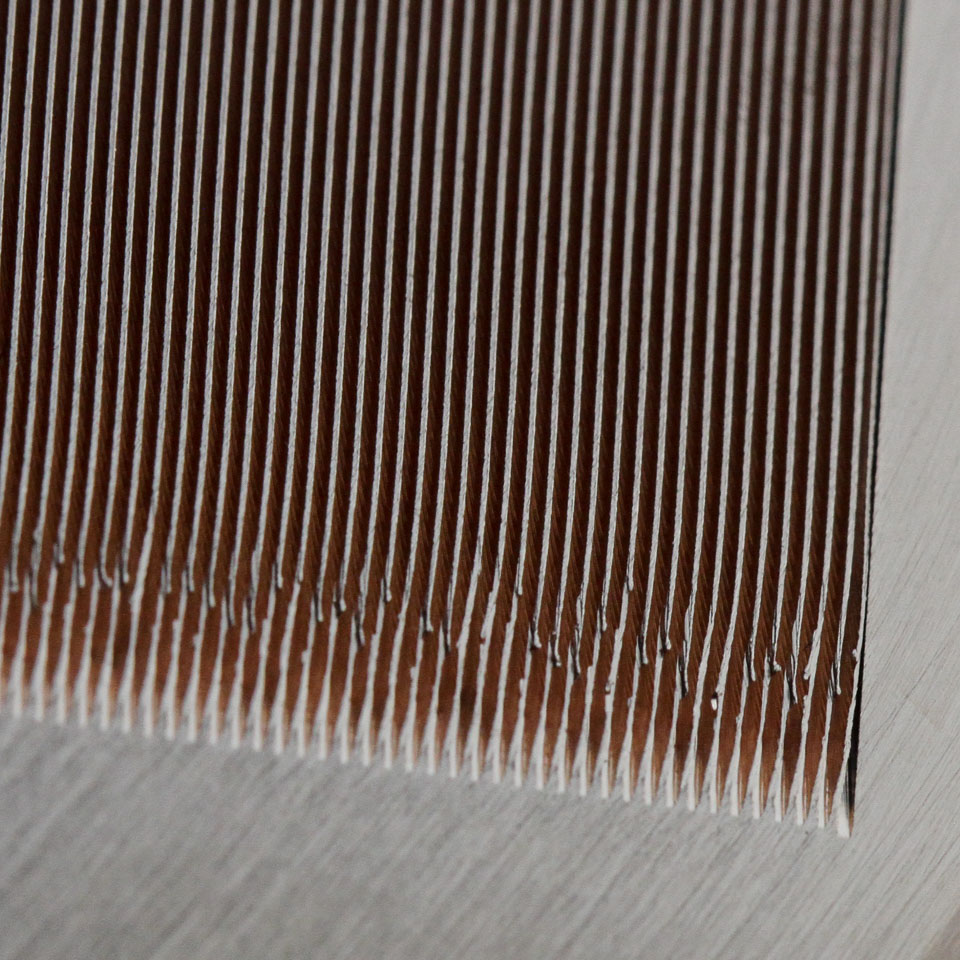
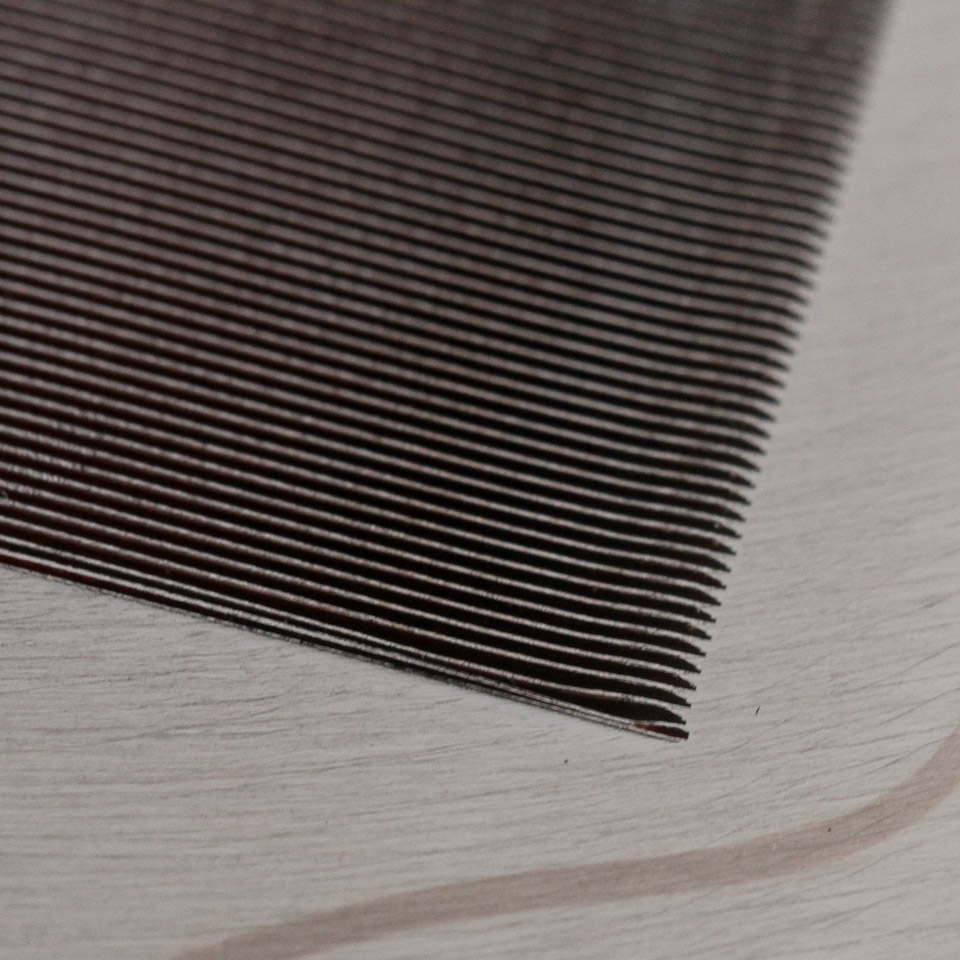
The cold plate has 57 mm wide sides and is 3 mm thick, which is slightly more than most and decreases the rate of thermal transfer through it as a result. We get a large machined set of ultra-thin microfins rated to be 0.1016 mm thick, and the microchannels are twice as thick. These are definitely the thinnest CNC-machined microfins I have seen myself, with skiving usually used for such a fin geometry with CPU block cold plates in CLCs. Optimus Cooling says this is a result of a patent-pending process that took over three years to develop, which means they are able to pack more active surface area for heat transfer into the same cooling engine area, all other things being equal. But that was not enough, and even the cold plate area occupied by the microfins is above average at a whopping 45 x 30.75 mm. So liquid flow restriction should be higher here, but the increased surface area should also aid thermal transfer from the cold plate to the coolant. The finish on the microfins is not perfect on one end, especially for the higher standards Optimus Cooling markets and holds itself to.
Jul 3rd, 2025 21:54 CDT
change timezone
Latest GPU Drivers
New Forum Posts
- [GPU-Z Test Build] New Kernel Driver, Everyone: Please Test (35)
- GPU-Z Display Bug via DP 2.1? (4)
- What Windows is overall the best to you and why? (269)
- How do you view TPU & the internet in general? (With poll) (58)
- HP Zbook 15 G2 GPU Upgrade (12)
- Will you buy a RTX 5090? (610)
- What phone you use as your daily driver? And, a discussion of them. (1756)
- What would you buy? (51)
- A Final Fantasy IX Reminiscence - My love letter and homage to one of the best stories ever told (90)
- GravityMark v1.89 GPU Benchmark (309)
Popular Reviews
- ASUS ROG Crosshair X870E Extreme Review
- Crucial T710 2 TB Review - Record-Breaking Gen 5
- Fractal Design Scape Review - Debut Done Right
- PowerColor ALPHYN AM10 Review
- Sapphire Radeon RX 9060 XT Pulse OC 16 GB Review - An Excellent Choice
- Upcoming Hardware Launches 2025 (Updated May 2025)
- AMD Ryzen 7 9800X3D Review - The Best Gaming Processor
- Sapphire Radeon RX 9070 XT Nitro+ Review - Beating NVIDIA
- SCHENKER KEY 18 Pro (E25) Review - Top-Tier Contender
- AVerMedia CamStream 4K Review
TPU on YouTube
Controversial News Posts
- Intel's Core Ultra 7 265K and 265KF CPUs Dip Below $250 (288)
- NVIDIA Grabs Market Share, AMD Loses Ground, and Intel Disappears in Latest dGPU Update (212)
- Some Intel Nova Lake CPUs Rumored to Challenge AMD's 3D V-Cache in Desktop Gaming (140)
- NVIDIA GeForce RTX 5080 SUPER Could Feature 24 GB Memory, Increased Power Limits (115)
- Microsoft Partners with AMD for Next-gen Xbox Hardware (105)
- NVIDIA Launches GeForce RTX 5050 for Desktops and Laptops, Starts at $249 (105)
- Intel "Nova Lake‑S" Series: Seven SKUs, Up to 52 Cores and 150 W TDP (100)
- NVIDIA DLSS Transformer Cuts VRAM Usage by 20% (97)