 7
7
Phanteks Eclipse P300 Review
Assembly & Finished Looks »A Closer Look - Inside


To gain access to the interior, simply remove the thumb screws holding the high-quality glass panel in place, or loosen the attached thumb screws on the side panel. The interior of the Phanteks P300 is actually quite simple. The shroud is dimensioned so that it also acts as an external wall to the bottom of the chassis. It is made out of metal and feels extremely sturdy.

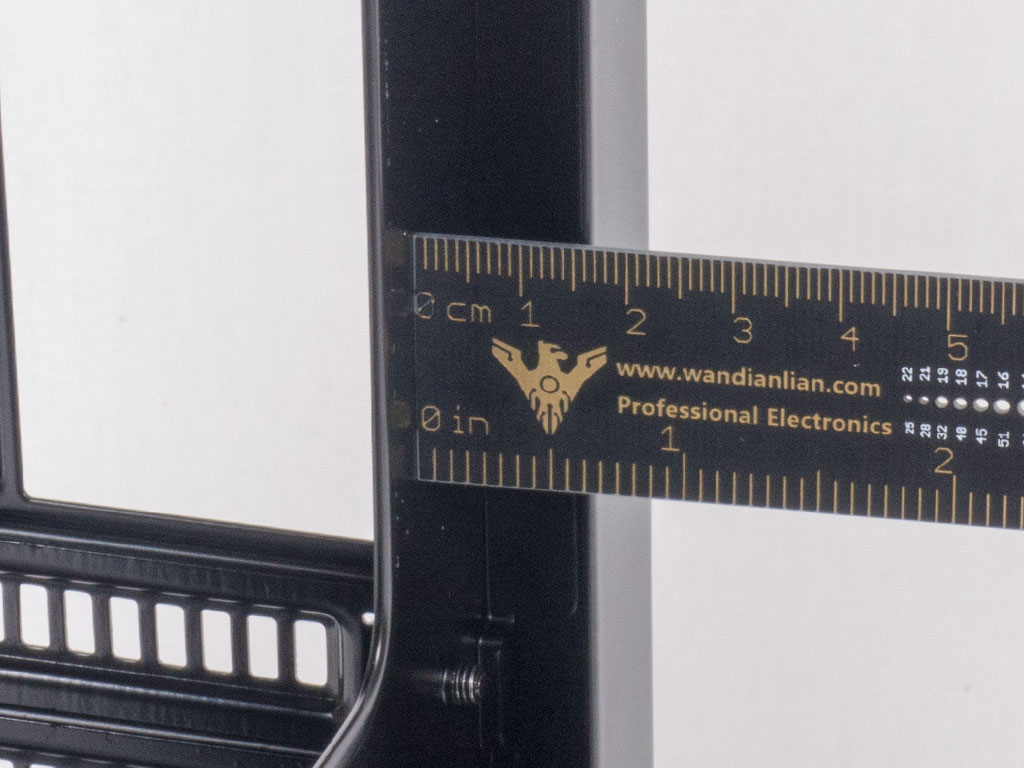
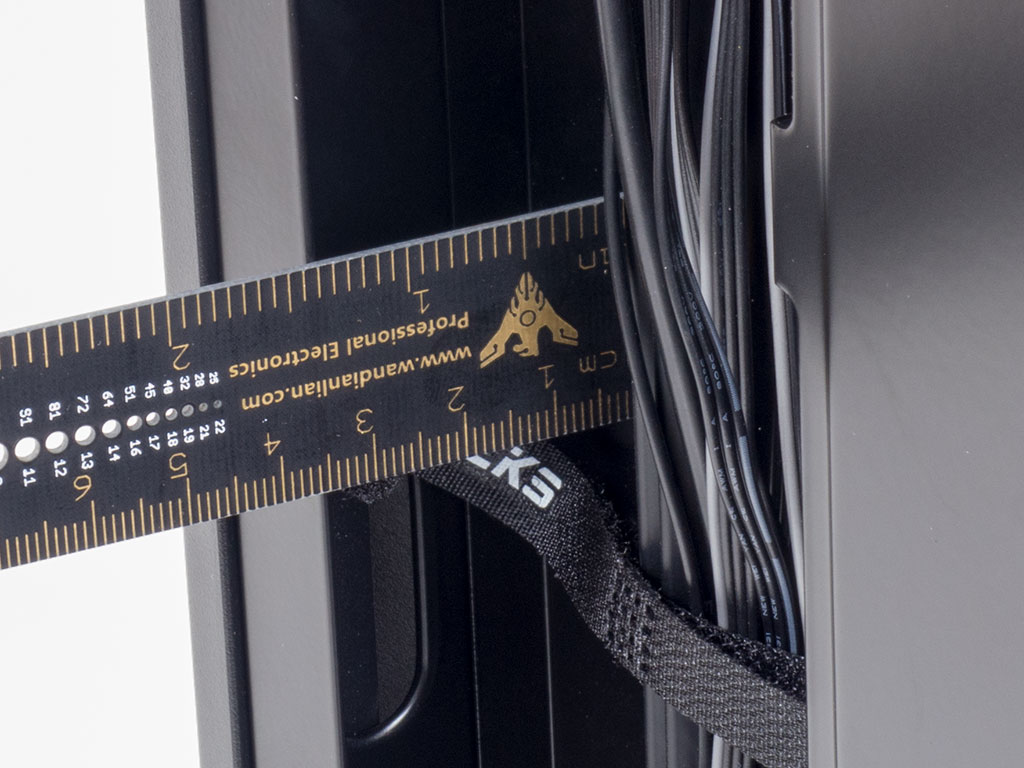
Turning the chassis around, the backside offers everything you would expect: a large opening allows for access to the CPU cooler's bracket, and there's plenty of space to route cables. Due to that trench in front of the chassis, you have 35 mm to work with instead of the 15 mm across the rear of the motherboard tray. The element you won't find are large, grommet-covered openings. Instead, Phanteks has placed plain cutouts on the side of the trench to ensure you can still route everything nicely.

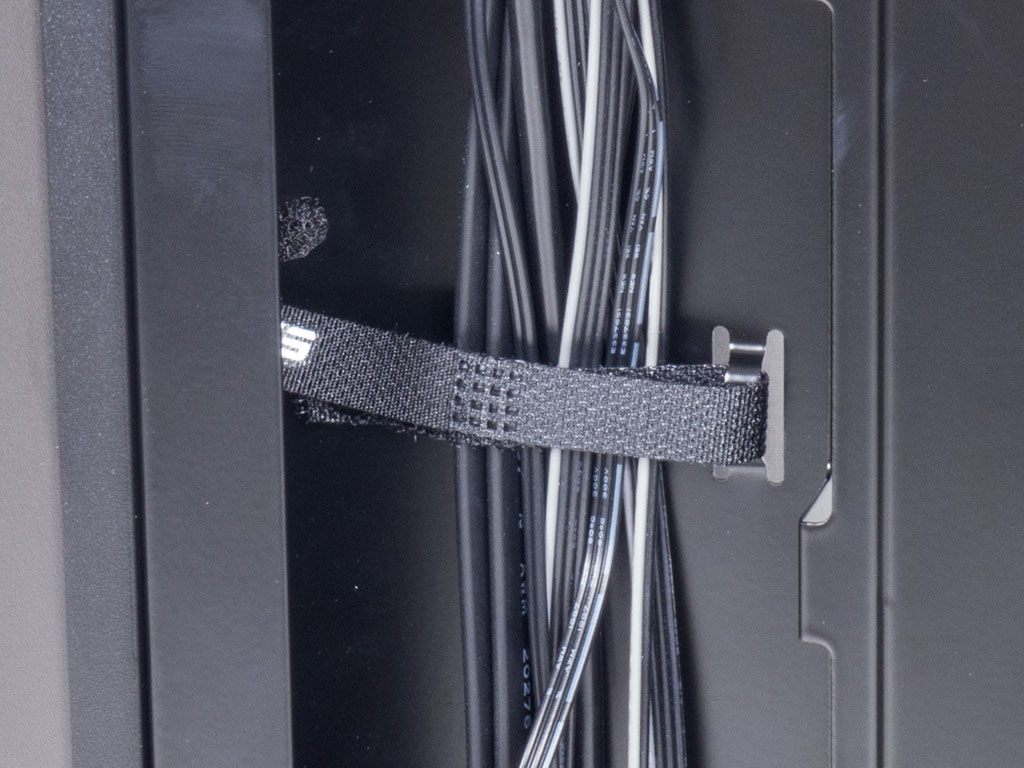
There are two SSD mounts on the motherboard tray, but Phanteks only supplies one of the two trays. This is unfortunate as you will have to spend some extra money on another tray if you want to install more here. Instead, Phanteks should really include a second tray as well - especially as they go as far as to pre-install the rubber-ringed mounting screws. Another nice touch are the Velcro strips we have come to expect from Phanteks. Even though the P300 is quite affordable, two of them are included here.


There are two plastic hard-drive trays in the bottom of the front. They are hidden underneath the shroud and can be accessed by pulling off the front of the chassis. Above that are the two 120/140 mm fan-placement possibilities with enough room for even a 280 mm liquid-cooling setup.

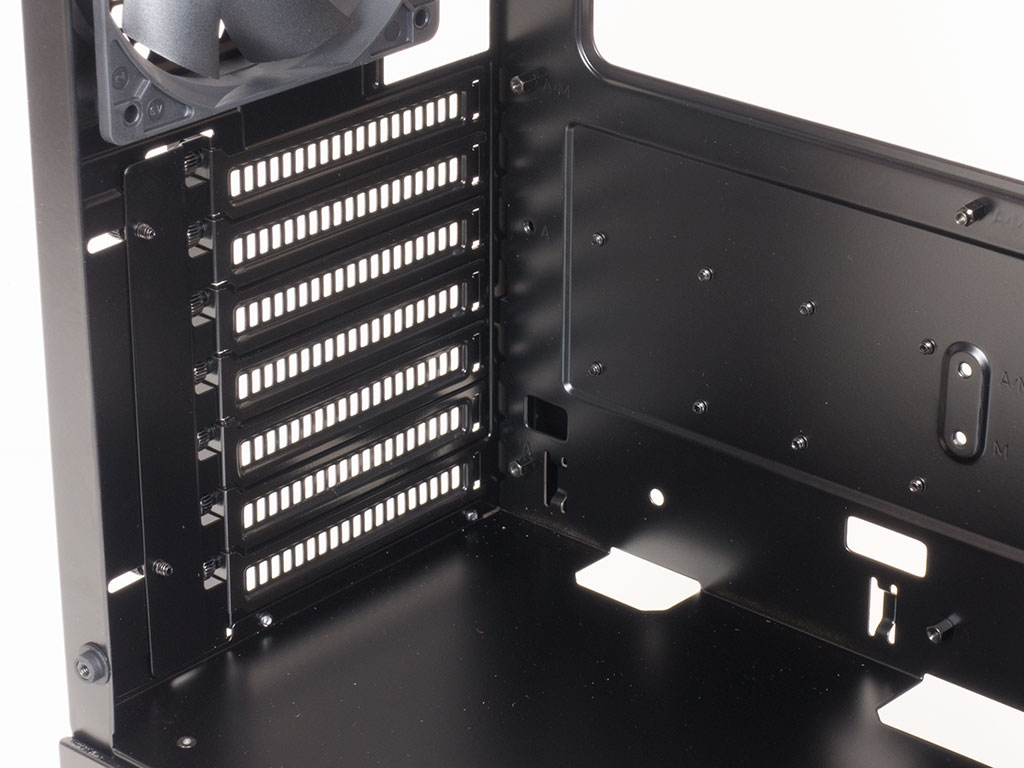
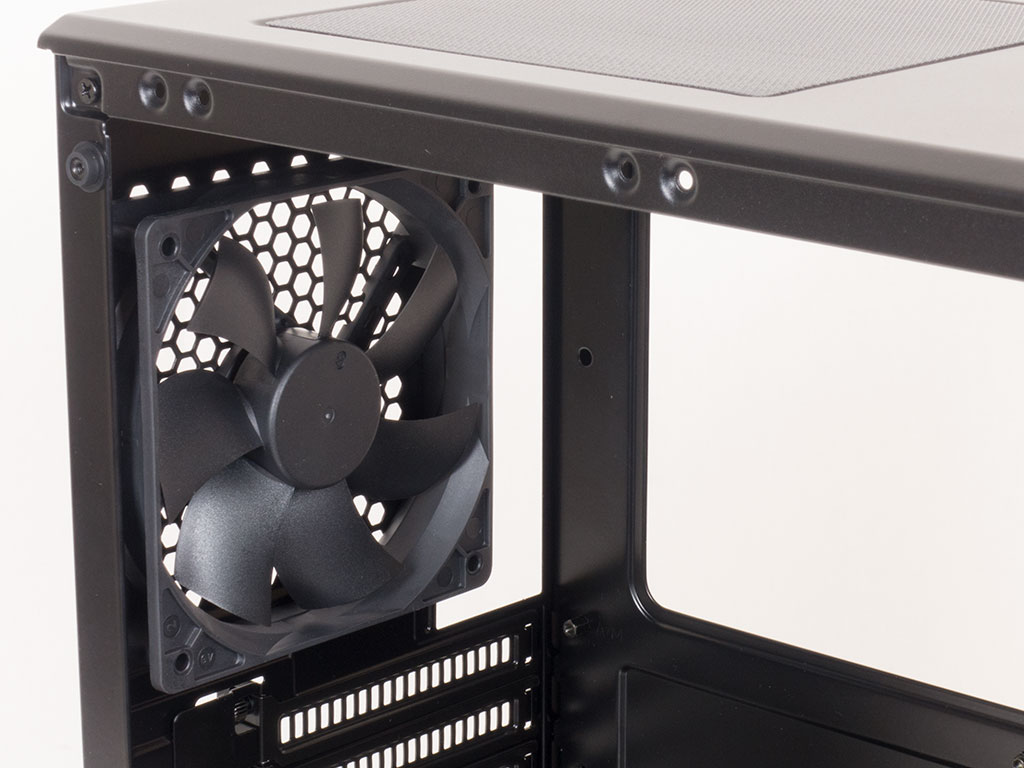
In the rear, the PSU bay is quite basic, with foam tips on the floor as a simple anti-vibration measure. Above that are the seven reusable covers for the motherboard expansion slots. Each of these is held in place by thumbscrews, which is a nice touch for a chassis of this price range. In the very top, you will find the black 120 mm exhaust fan. While this is perfectly fine and I consider the unit to be of retail quality, it would have been nice for it to be RGB-equipped, but that would most certainly raise the MSRP of the P300 as well.
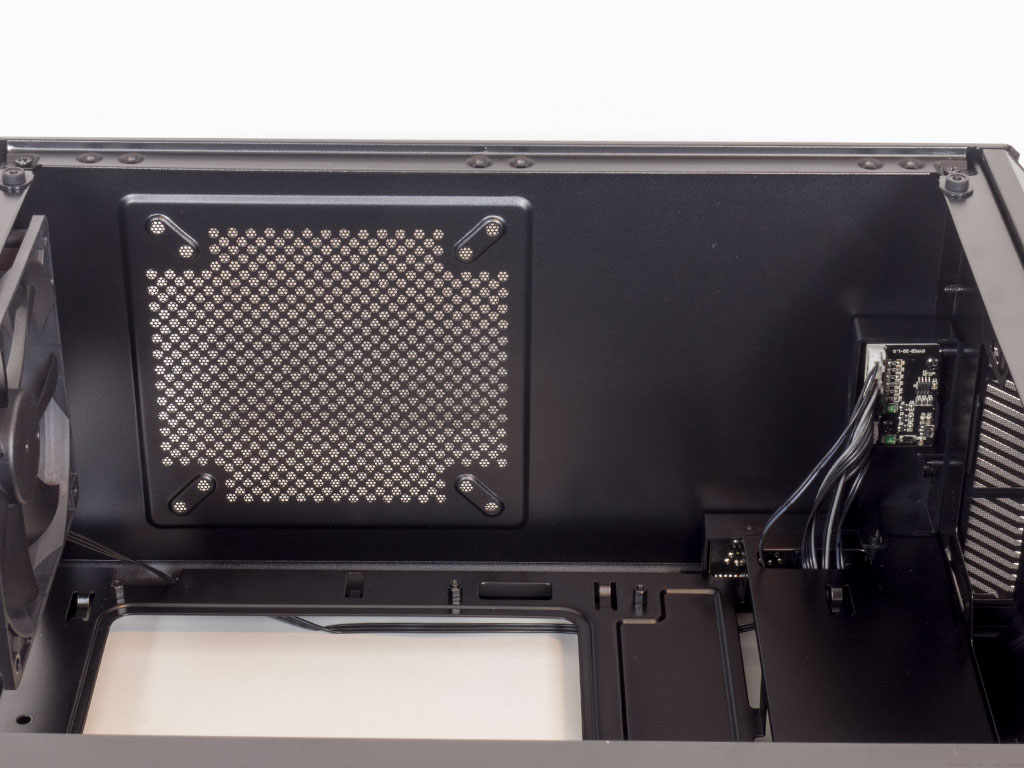
Taking a quick look at the ceiling, the 120/140 mm mounting vent can clearly be seen. It is quite close to the motherboard, so make sure to watch it if you want to mount more than just a cooling unit in the ceiling.

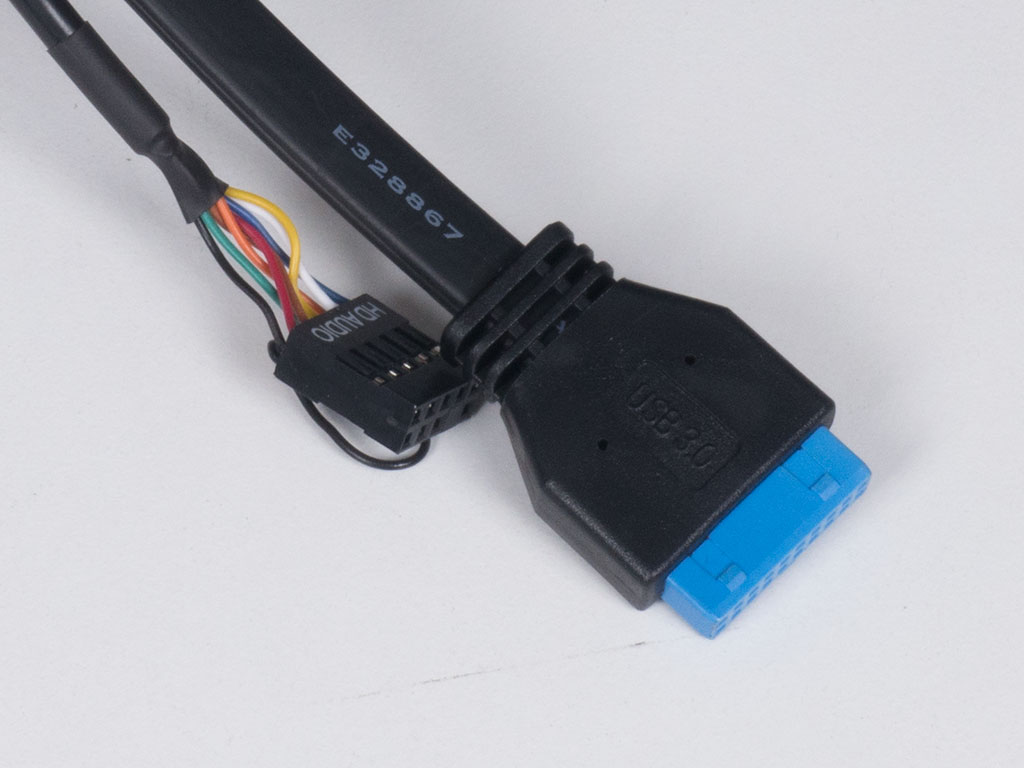

All the cables within the P300 are of the standard variety. We were told that the audio cable is a bit on the short side, but that the retail version will have a longer lead. As you will see later on, while short, we were still able to use it just fine. The only unexpected plugs here are the ones for LED lighting, which come in the form of a SATA connector and special 4-pin plugs, as the P300 allows you to expand the RGB elements yourself.
Mar 10th, 2025 16:44 EDT
change timezone
Latest GPU Drivers
New Forum Posts
- DLSS as antialiasing? (21)
- Maxsun RX580 graphics card crashes (27)
- Fix for Vram frequency always at maximum (0)
- Please I need help with the poor performance that my PC is giving me (28)
- Company of Heroes 3 (5)
- The TPU Darkroom - Digital SLR and Photography Club (4071)
- A Final Fantasy IX Reminiscence - My love letter and homage to one of the best stories ever told (72)
- Gaming PC instabiliity (20)
- Msi 5090 DOA? (27)
- 3D Printer Club (447)
Popular Reviews
- Sapphire Radeon RX 9070 XT Nitro+ Review - Beating NVIDIA
- XFX Radeon RX 9070 XT Mercury OC Magnetic Air Review
- ASUS Radeon RX 9070 TUF OC Review
- MSI MAG B850 Tomahawk Max Wi-Fi Review
- NVIDIA GeForce RTX 5080 Founders Edition Review
- NVIDIA GeForce RTX 5070 Founders Edition Review
- Corsair Vengeance RGB CUDIMM DDR5-8800 48 GB CL42 Review
- AMD Ryzen 7 9800X3D Review - The Best Gaming Processor
- ASUS GeForce RTX 5070 Ti TUF OC Review
- MSI GeForce RTX 5070 Ti Gaming Trio OC+ Review
Controversial News Posts
- NVIDIA GeForce RTX 50 Cards Spotted with Missing ROPs, NVIDIA Confirms the Issue, Multiple Vendors Affected (513)
- AMD Plans Aggressive Price Competition with Radeon RX 9000 Series (277)
- AMD Radeon RX 9070 and 9070 XT Listed On Amazon - One Buyer Snags a Unit (261)
- AMD RDNA 4 and Radeon RX 9070 Series Unveiled: $549 & $599 (260)
- AMD Mentions Sub-$700 Pricing for Radeon RX 9070 GPU Series, Looks Like NV Minus $50 Again (248)
- NVIDIA Investigates GeForce RTX 50 Series "Blackwell" Black Screen and BSOD Issues (244)
- AMD Radeon RX 9070 and 9070 XT Official Performance Metrics Leaked, +42% 4K Performance Over Radeon RX 7900 GRE (195)
- AMD Radeon RX 9070-series Pricing Leaks Courtesy of MicroCenter (158)