 0
0
QNAP TS-669 Pro Review
A Look Inside »Exterior


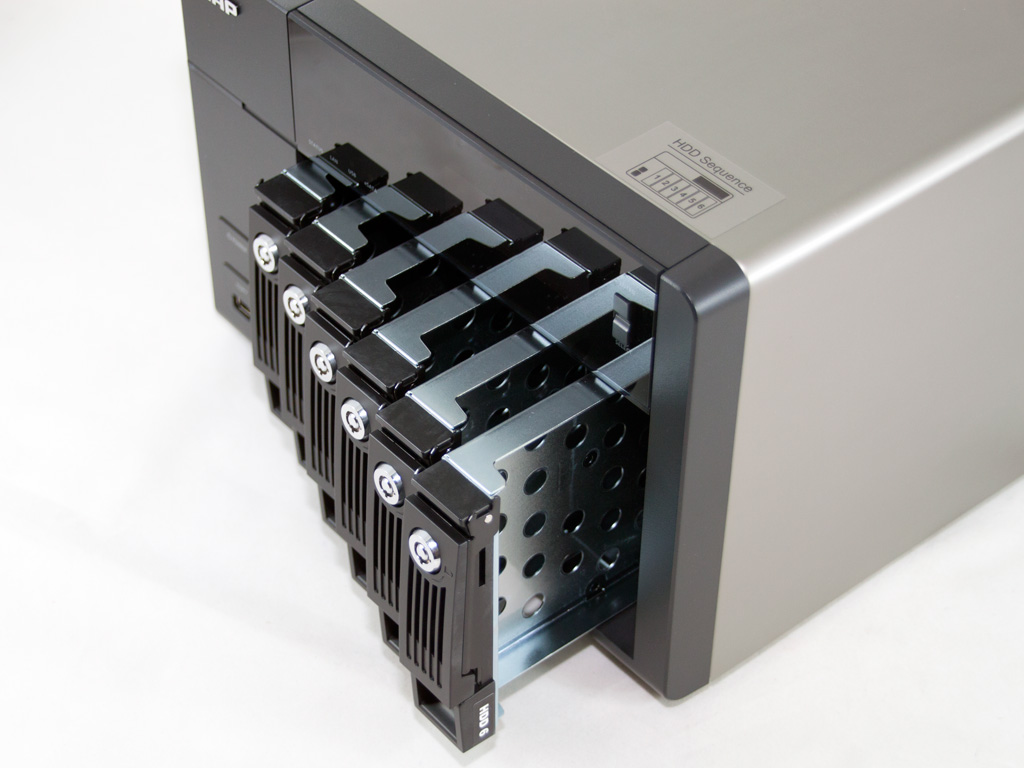
The TS-669 Pro looks nice and well made. On the front side most of the real estate is occupied by the six removable HDD trays.
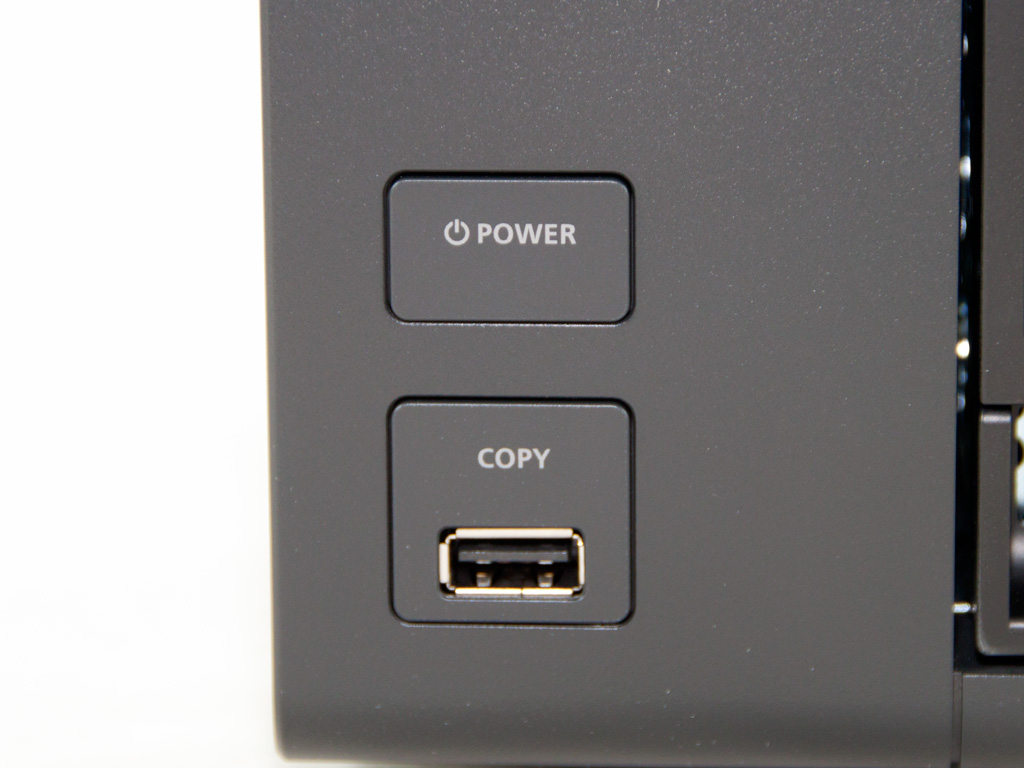
In the above photo you can see the front USB port which unfortunately is USB 2.0 compliant and not USB 3.0. Through the NAS software you can set the function of the copy button that surrounds the port (e.g. copy the contents of the USB external disk to the NAS storage or the opposite). Above the copy button resides the power switch which turns the unit on or off.
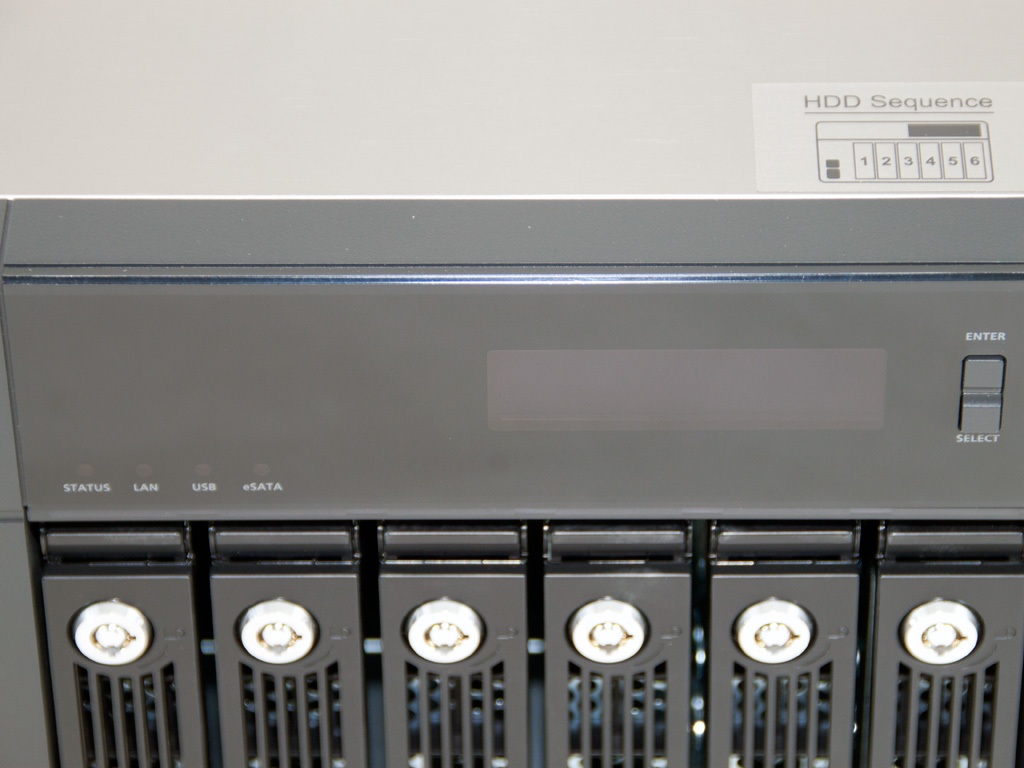
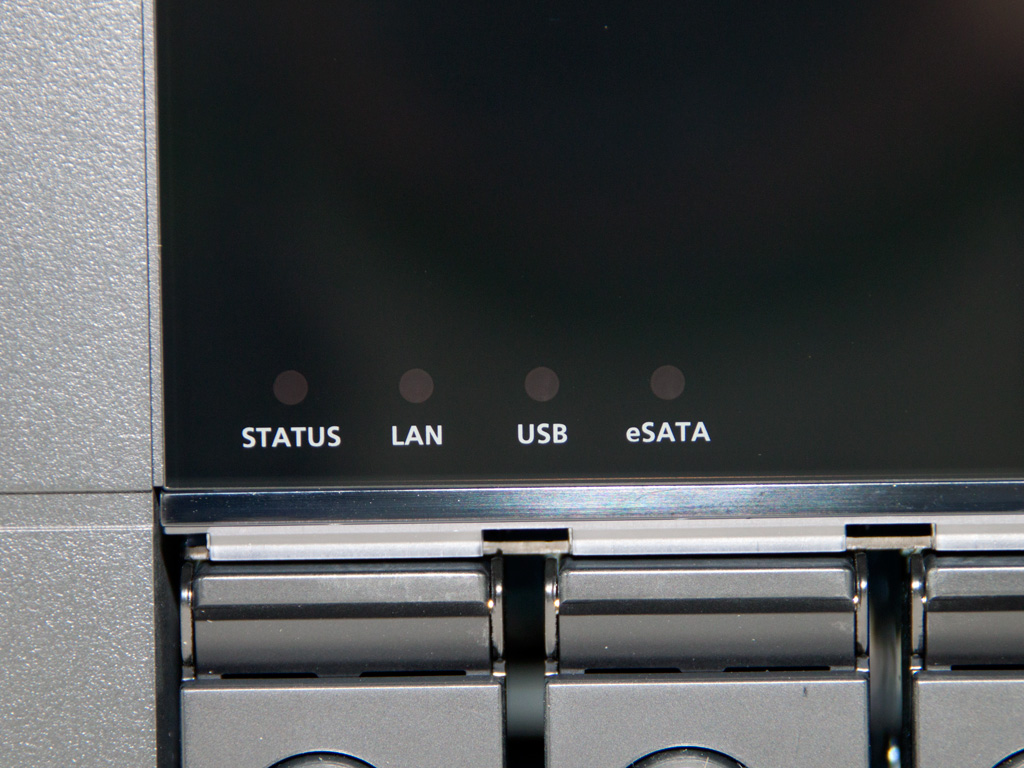
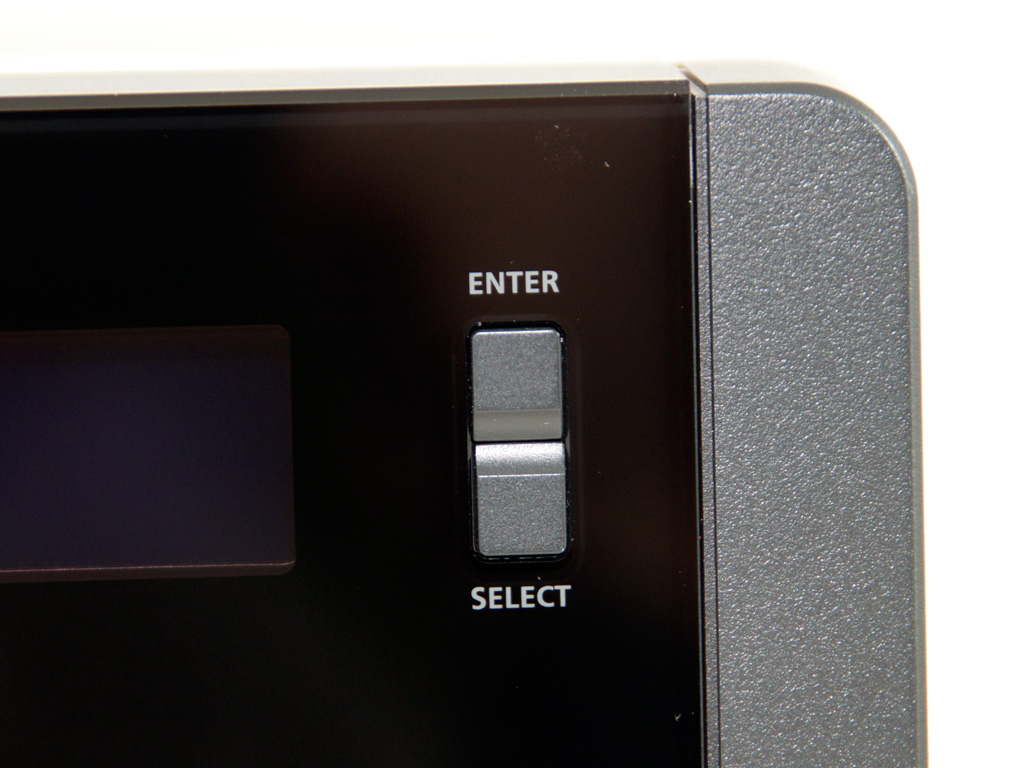
The two-line LCD screen of the TS-669 Pro shows useful information to the interested user and is de-activated automatically once the start up or reboot phase finishes, for energy saving purposes. It lits up again, once you press one of the two small buttons on its right side. Like on the TS-419P II through these buttons you can perform some basic administrative tasks or get informed about the IP address of the NAS in the network, the system temperature etc. Below the LCD screen there are four LED indicators and there are also four more right above each drive tray.
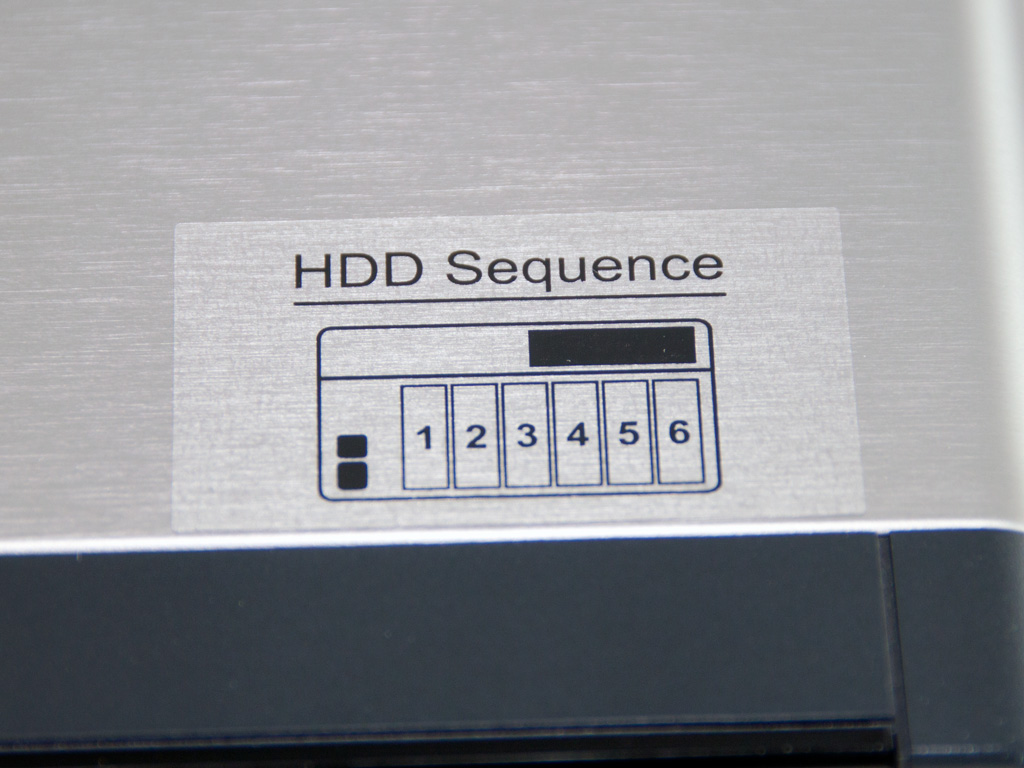
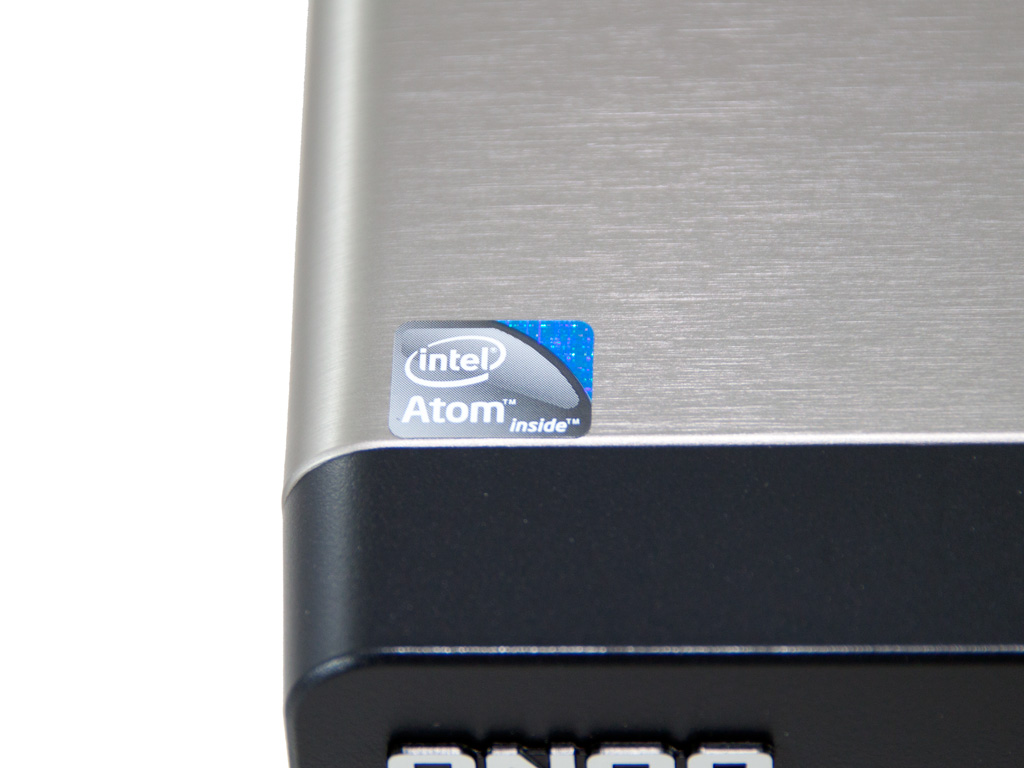
On the top of the NAS there are two small labels, the first is showing the sequence of the HDD caddies and the second informs that an Intel Atom is used. For some of you, this may sound like a weak processor but don't forget that we have a NAS here running a special and light version of Linux and not a desktop PC running Windows.
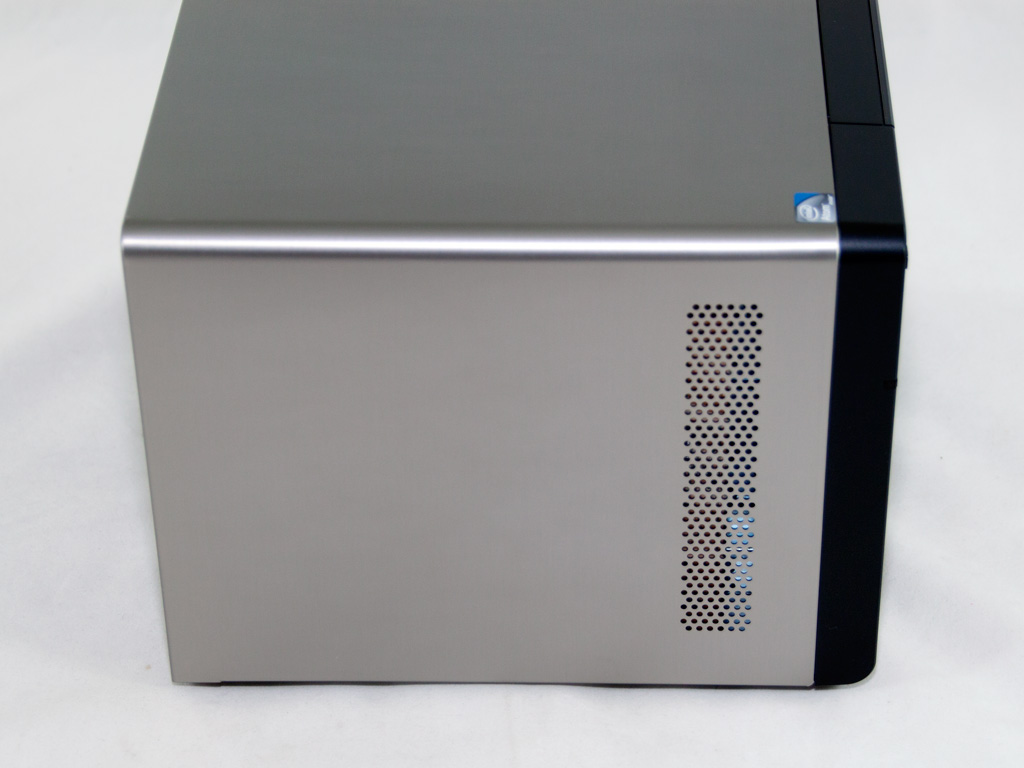
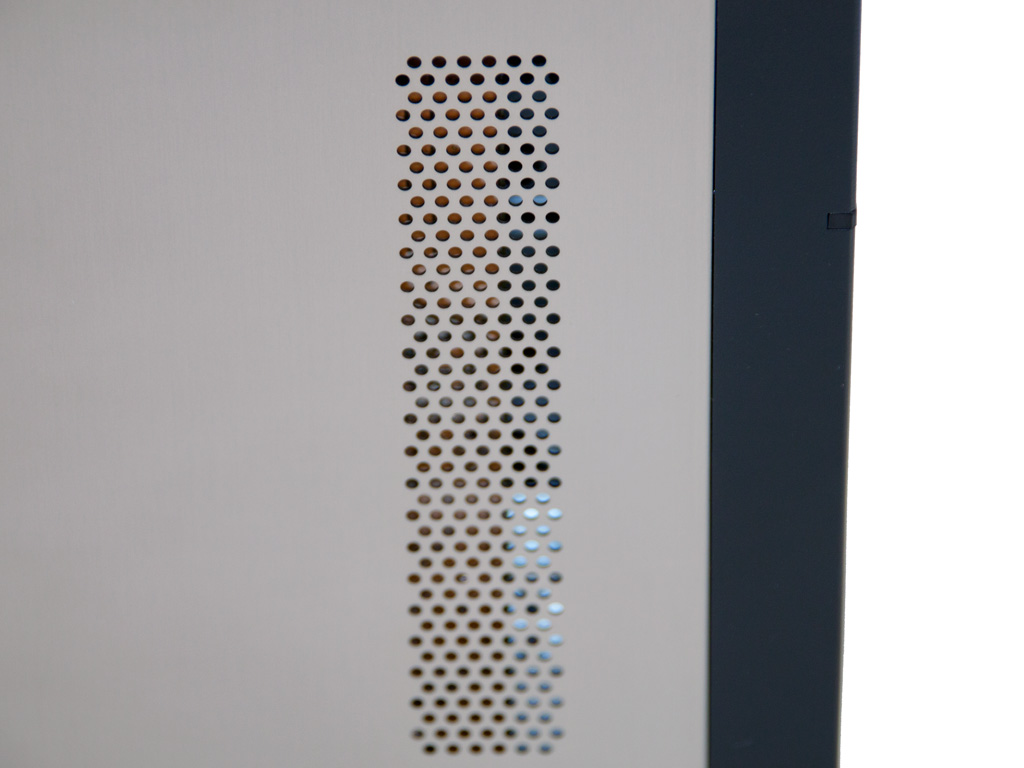
On one of the two sides of the NAS there is a small grill which allows air to enter. Afterwards it is removed from the back side with the help of two fans.
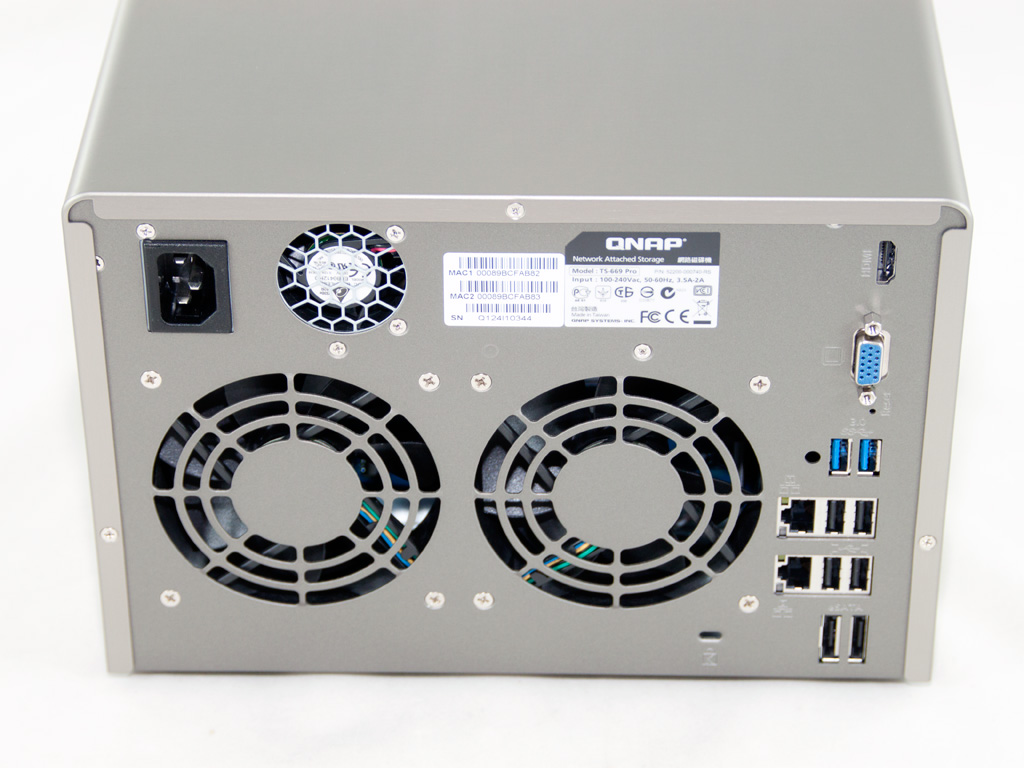
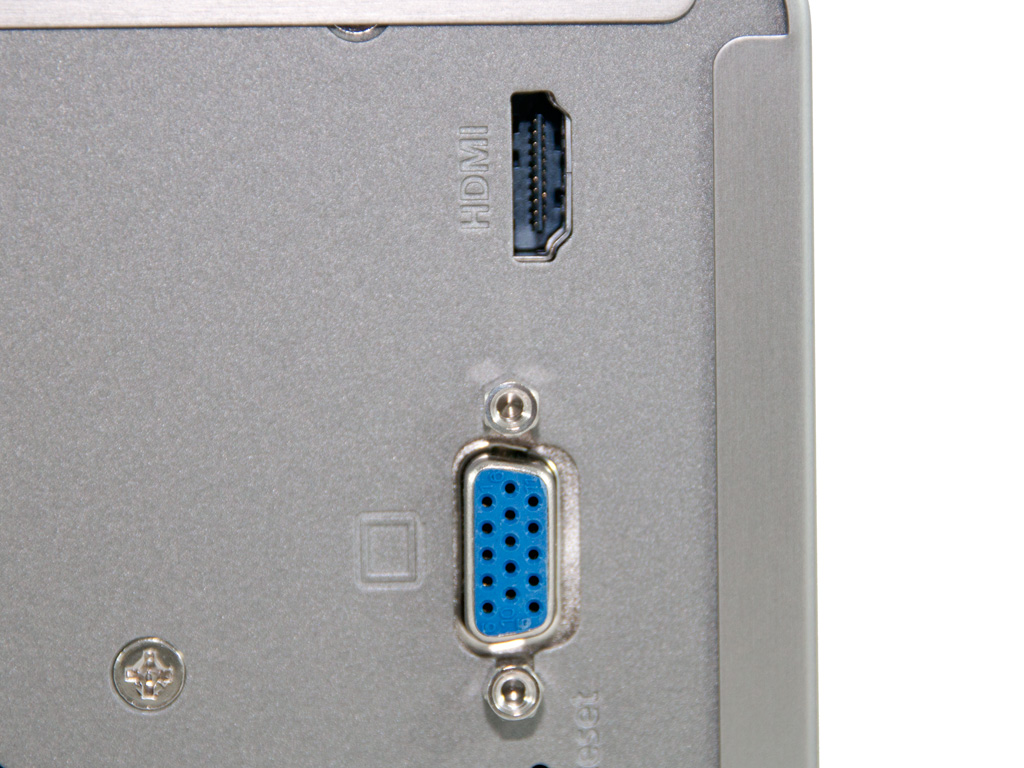
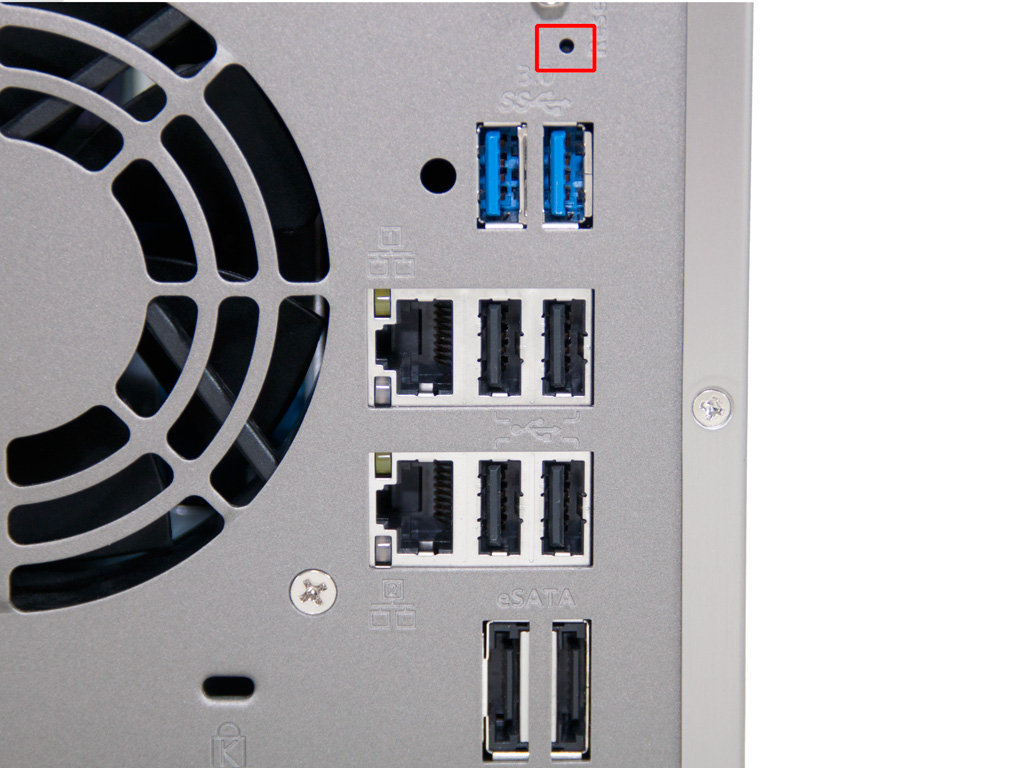
On the back side we find two 90 mm fans, which remove the hot air out of the case. There is also a smaller one, 40 mm, that is used to cool down the PSU. Regarding the I/O ports we find a VGA and an HDMI port with the second currently being reserved for future use. Further below are two USB 3.0 ports and four USB 2.0 ones. Also two Gigabit Ethernet ports along with two eSATA ones can be found in this area. If you ever forget the password or you just want to restore the NAS to its factory defaults there is a Reset switch (highlighted in the last of the above pictures) and finally a K-Lock security slot completes the picture.
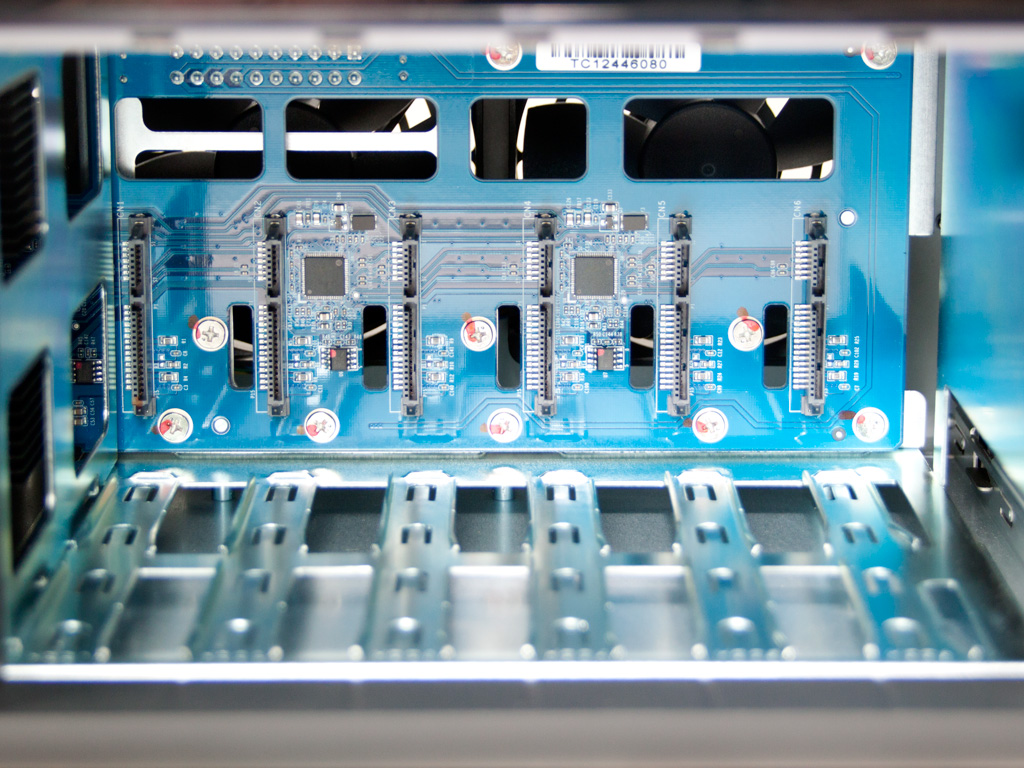

With six caddies available one thing is for sure, you are going to spend a serious amount on drives if you want to fill all of them. With all drives removed we have the chance to take a peek at the NAS internals and more specific at the PCIe expansion card that holds all SATA ports.
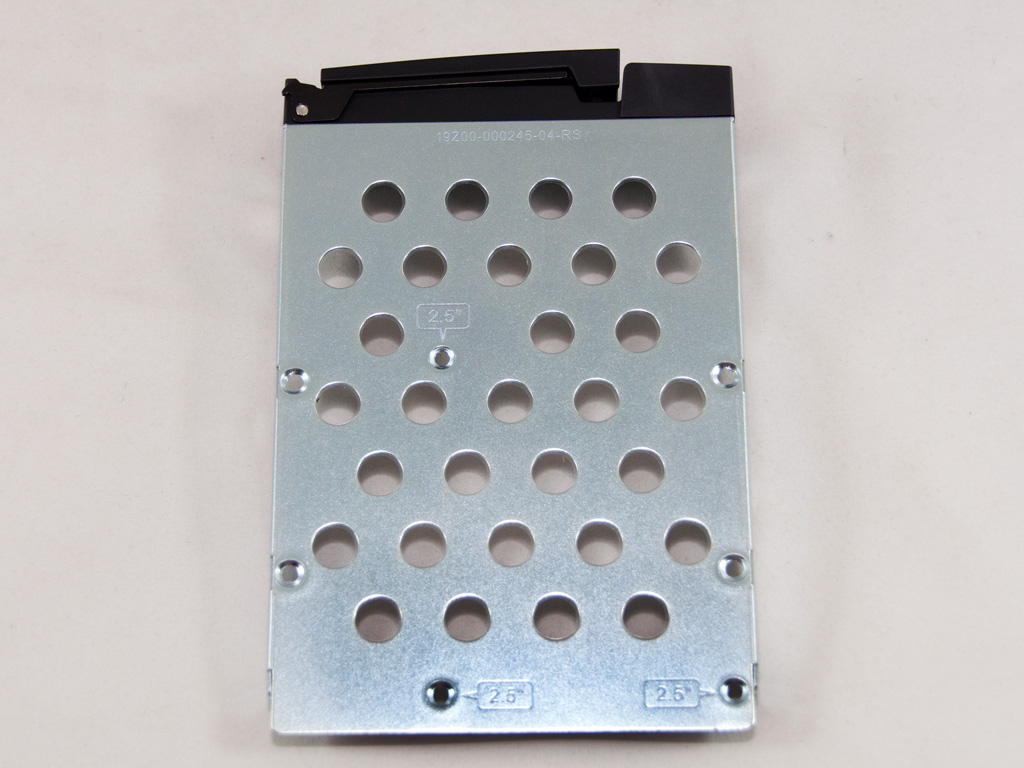
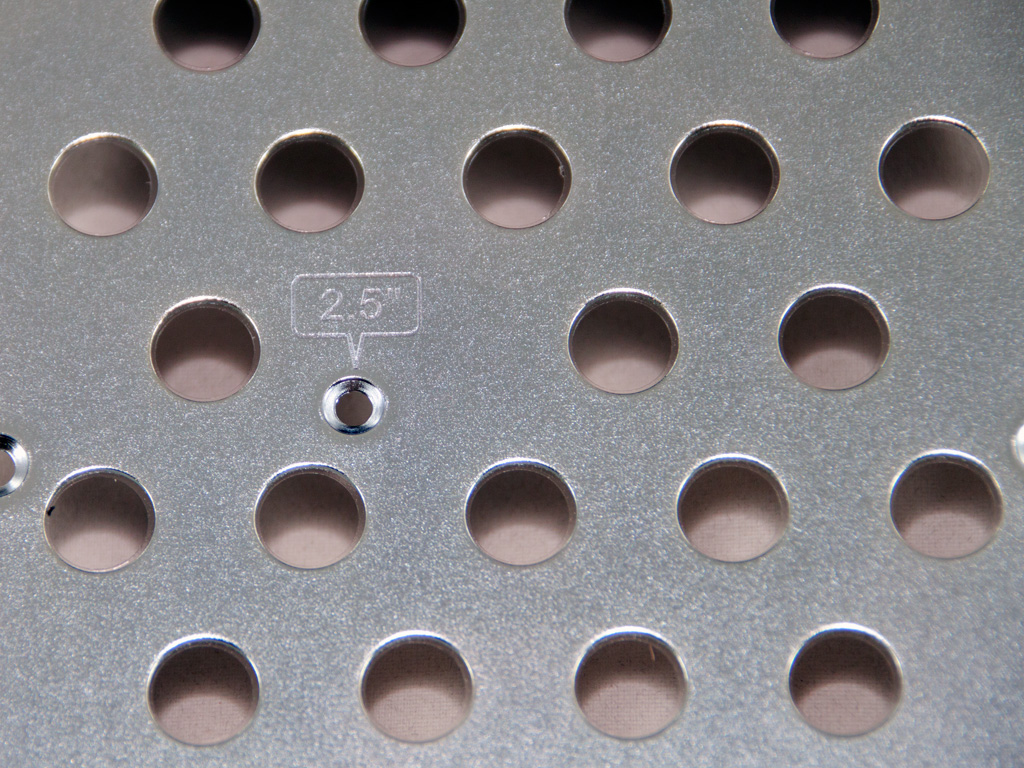
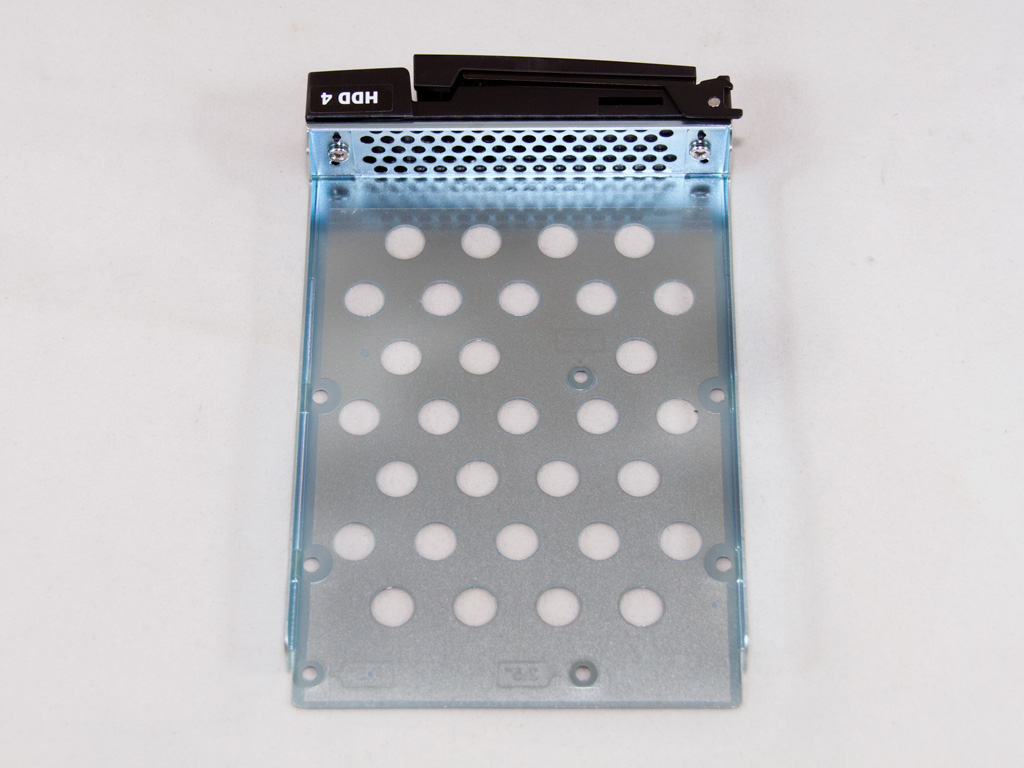
Besides 3.5" disks, each caddy can also accommodate 2.5" ones. In the bundle you will find the necessary screws to mount six disks.
Jul 3rd, 2025 21:58 CDT
change timezone
Latest GPU Drivers
New Forum Posts
- [GPU-Z Test Build] New Kernel Driver, Everyone: Please Test (35)
- GPU-Z Display Bug via DP 2.1? (4)
- What Windows is overall the best to you and why? (269)
- How do you view TPU & the internet in general? (With poll) (58)
- HP Zbook 15 G2 GPU Upgrade (12)
- Will you buy a RTX 5090? (610)
- What phone you use as your daily driver? And, a discussion of them. (1756)
- What would you buy? (51)
- A Final Fantasy IX Reminiscence - My love letter and homage to one of the best stories ever told (90)
- GravityMark v1.89 GPU Benchmark (309)
Popular Reviews
- ASUS ROG Crosshair X870E Extreme Review
- Crucial T710 2 TB Review - Record-Breaking Gen 5
- Fractal Design Scape Review - Debut Done Right
- PowerColor ALPHYN AM10 Review
- Sapphire Radeon RX 9060 XT Pulse OC 16 GB Review - An Excellent Choice
- Upcoming Hardware Launches 2025 (Updated May 2025)
- AMD Ryzen 7 9800X3D Review - The Best Gaming Processor
- Sapphire Radeon RX 9070 XT Nitro+ Review - Beating NVIDIA
- SCHENKER KEY 18 Pro (E25) Review - Top-Tier Contender
- AVerMedia CamStream 4K Review
TPU on YouTube
Controversial News Posts
- Intel's Core Ultra 7 265K and 265KF CPUs Dip Below $250 (288)
- NVIDIA Grabs Market Share, AMD Loses Ground, and Intel Disappears in Latest dGPU Update (212)
- Some Intel Nova Lake CPUs Rumored to Challenge AMD's 3D V-Cache in Desktop Gaming (140)
- NVIDIA GeForce RTX 5080 SUPER Could Feature 24 GB Memory, Increased Power Limits (115)
- Microsoft Partners with AMD for Next-gen Xbox Hardware (105)
- NVIDIA Launches GeForce RTX 5050 for Desktops and Laptops, Starts at $249 (105)
- Intel "Nova Lake‑S" Series: Seven SKUs, Up to 52 Cores and 150 W TDP (100)
- NVIDIA DLSS Transformer Cuts VRAM Usage by 20% (97)