 3
3
QNAP TVS-463 8G AMD Powered NAS Review
QTS Important Settings Part #2 »Administration Interface
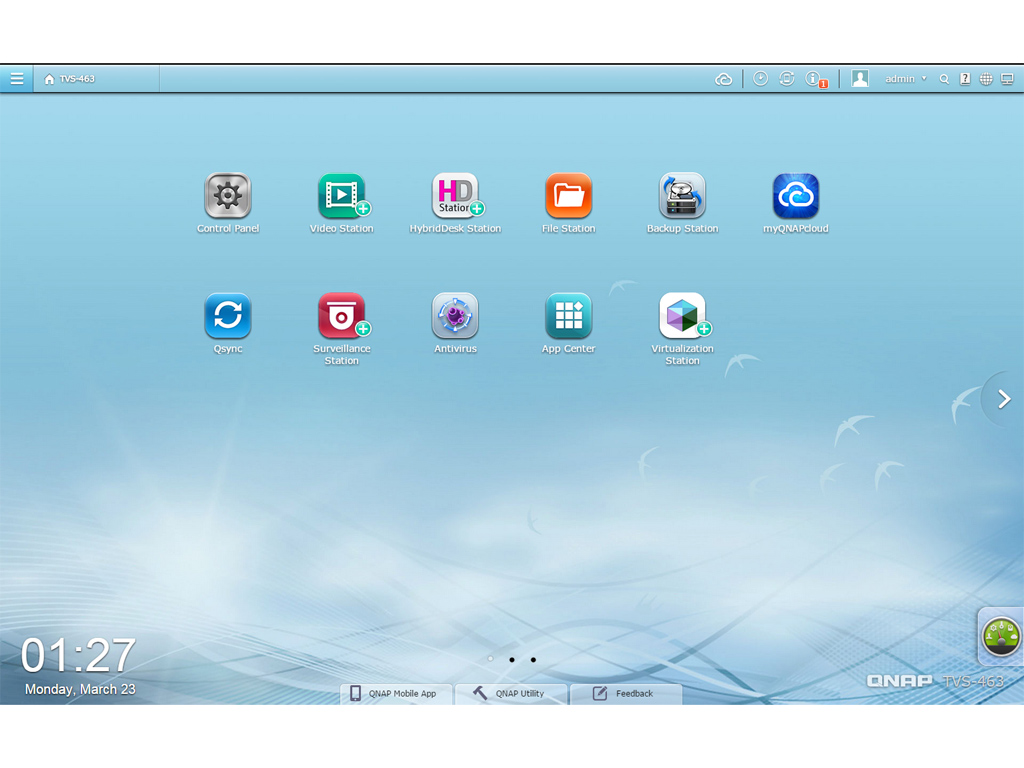
The QTS desktop is nicely designed, and even inexperienced users will find it easy to navigate.
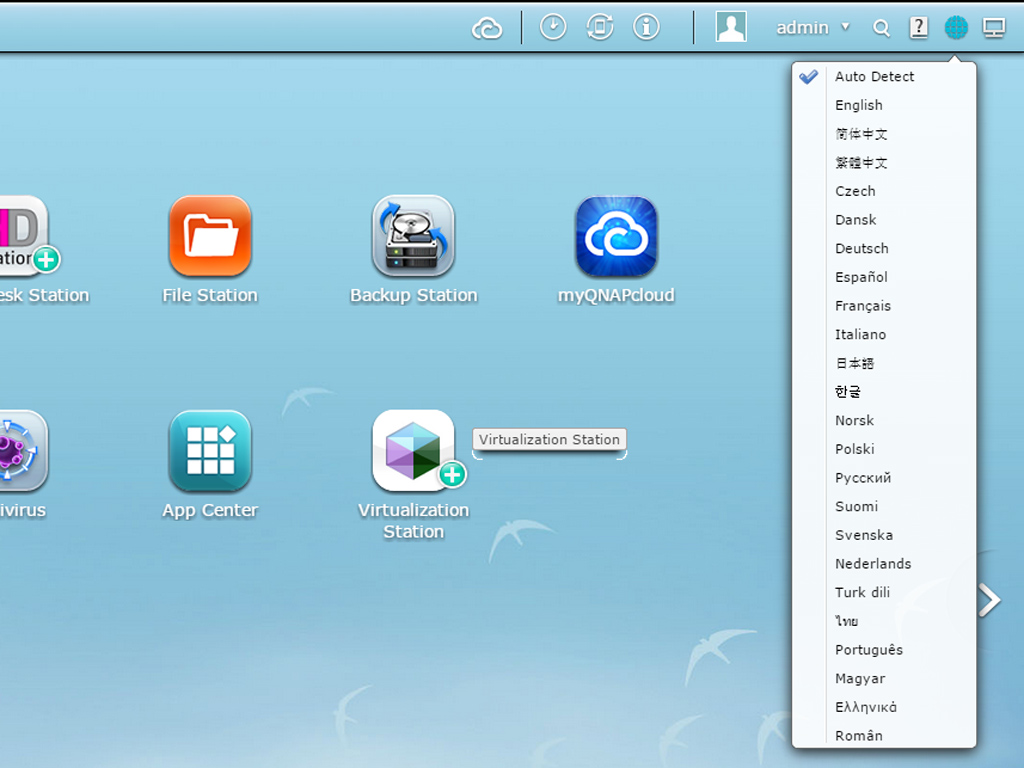
QTS gives you the ability to tailor everything to your needs. You can, for starters, move and rearrange icons on the desktop and immediately access basic administrative functions, logs, and external devices. This interface even allows inexperienced users to easily control such fully featured NAS servers as the TVS-463. It also supports many languages, so you can easily switch to one of your liking.
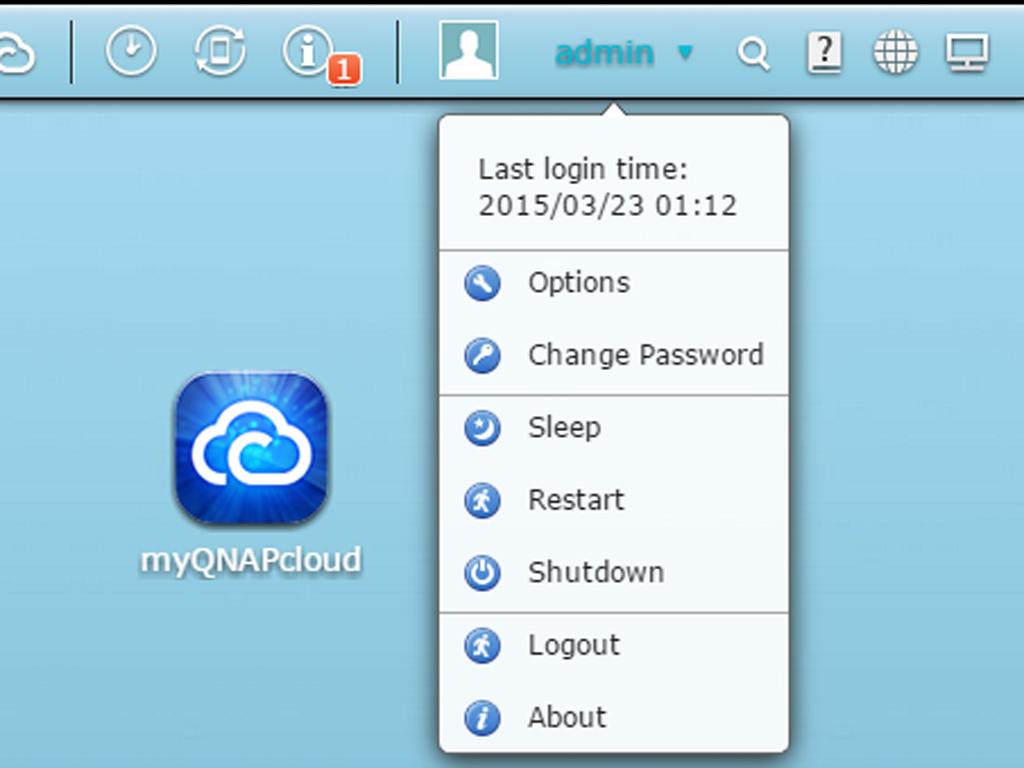
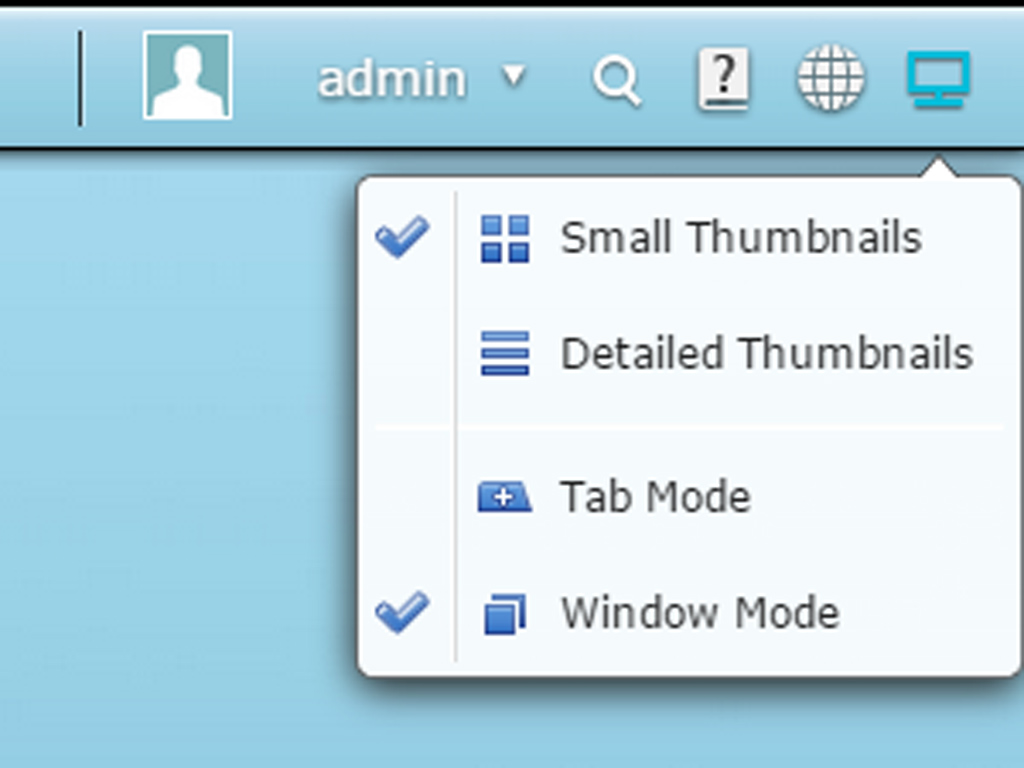
This menu gives you the ability to restart, shutdown, and logout, or change the password, jump to the QTS page, and put the NAS into sleep mode (not available for all models). It also allows you to configure any and all admin options.
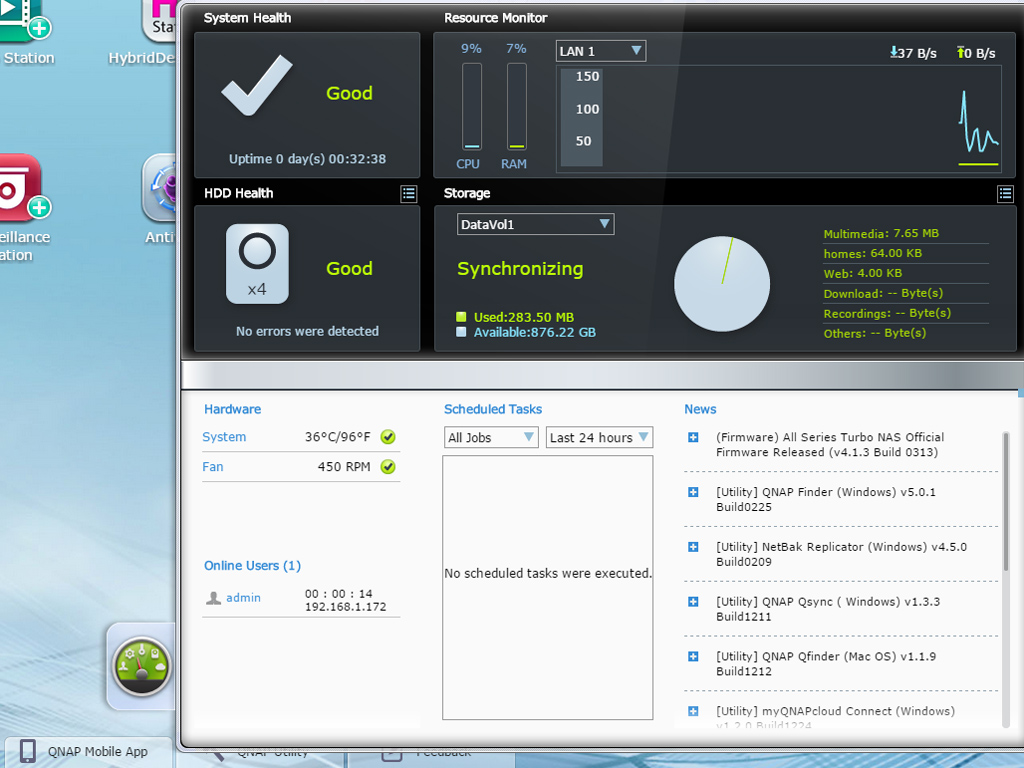
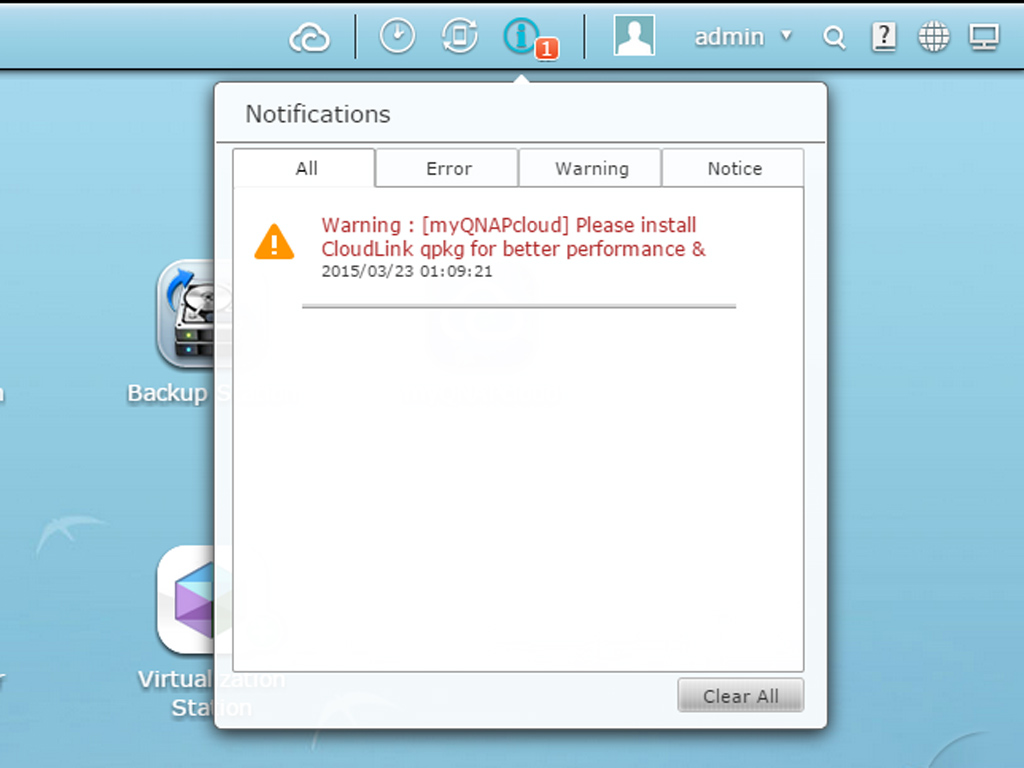
The dashboard is very well designed, and it will provide you with such important information as HDD- and system statistics. The resource monitor is also quite important because it shows CPU-, RAM-, and bandwidth usage. The hardware section tracks HDD and system temperatures and, when applicable, fan speed. The online user portion displays all currently connected users. If you want to disconnect or block a user or IP, you only have to click on the user and pick the action. Please note that all these dashboard widgets can be dragged onto the desktop. The color of the dashboard will also reflect the system's health to give you a quick way of figuring out whether everything is running as it should.
General Settings

The General Settings group provides system-administration-specific options. You can change the server's name or system port here, alter time settings, check codepage options, and specify password rules. These options also allow you to set the login screen's style.
Network Settings
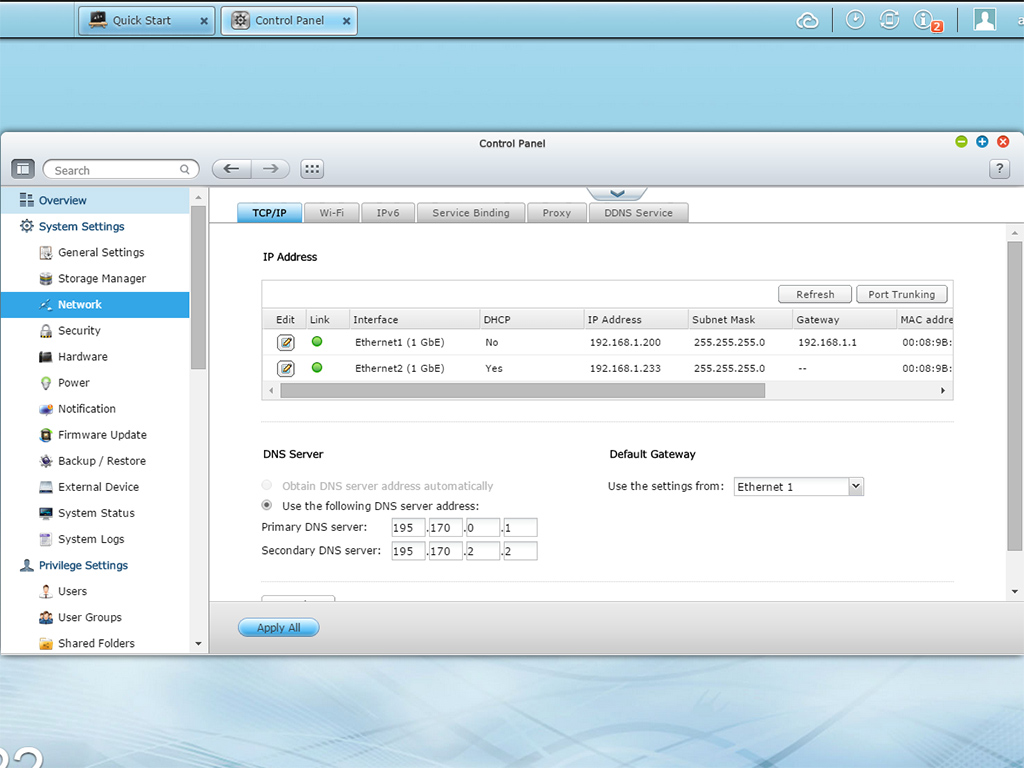
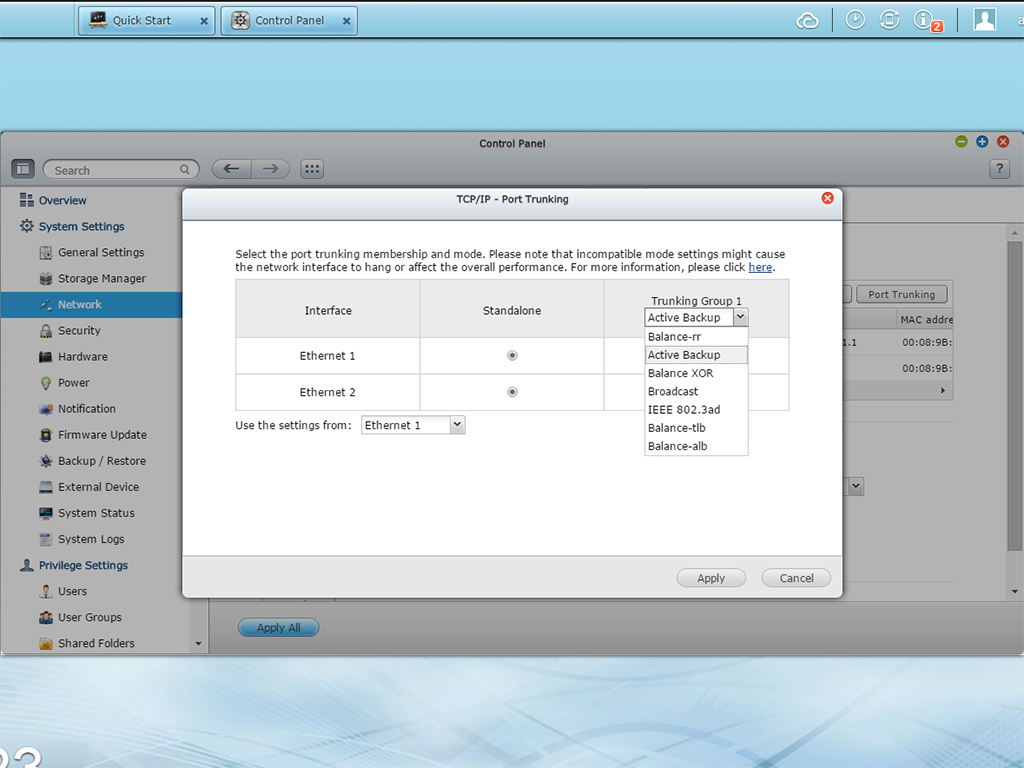
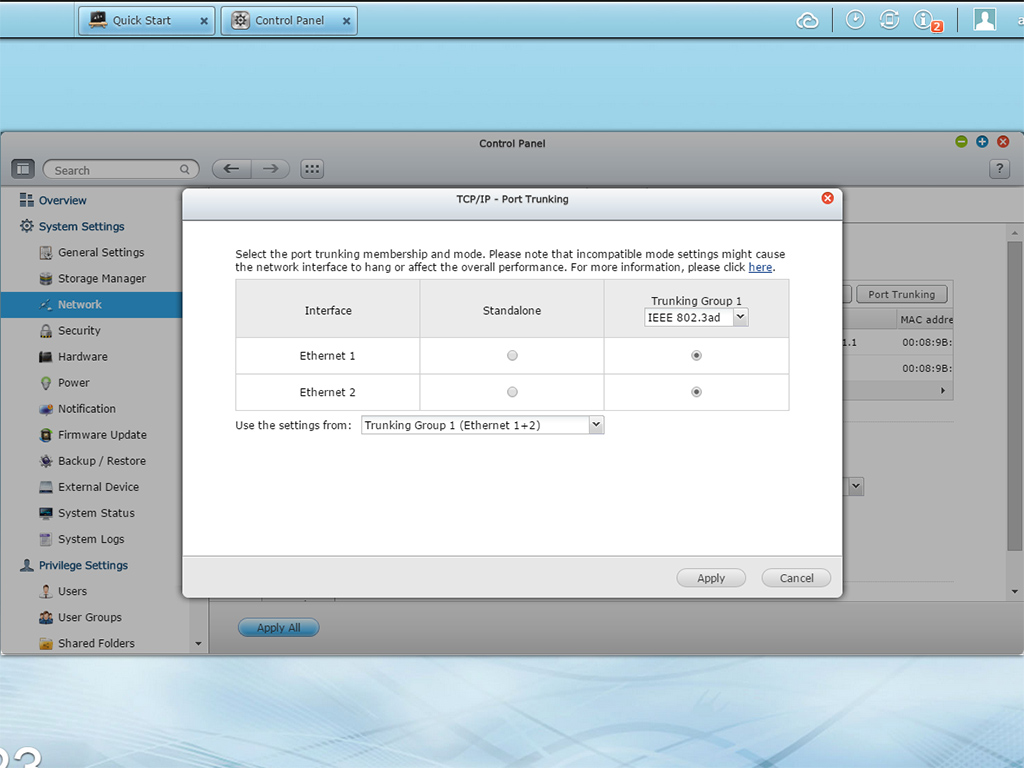
The Network group gives you access to all TCP/IP settings, which is where you would, for instance, enable Port Trunking mode. You should enable the option for more bandwidth between the NAS and Ethernet switch if the latter supports Link Aggregation. LACP obviously requires multiple Ethernet cables for connectivity to all NAS ports. Another important option is Jumbo Frames, a reference to Ethernet frames that are larger than 1500 bytes. Jumbo Frames is designed to boost networking throughput and reduce CPU utilization on large-file transfers by allowing larger payloads per packet. But there is a catch as the Jumbo Frames setting only applies to Gigabit network environments and all connected clients must enable the option with exactly the same MTU value for a performance boost.

Be careful with the Network Recycle Bin option, especially if you frequently delete large volumes of data.
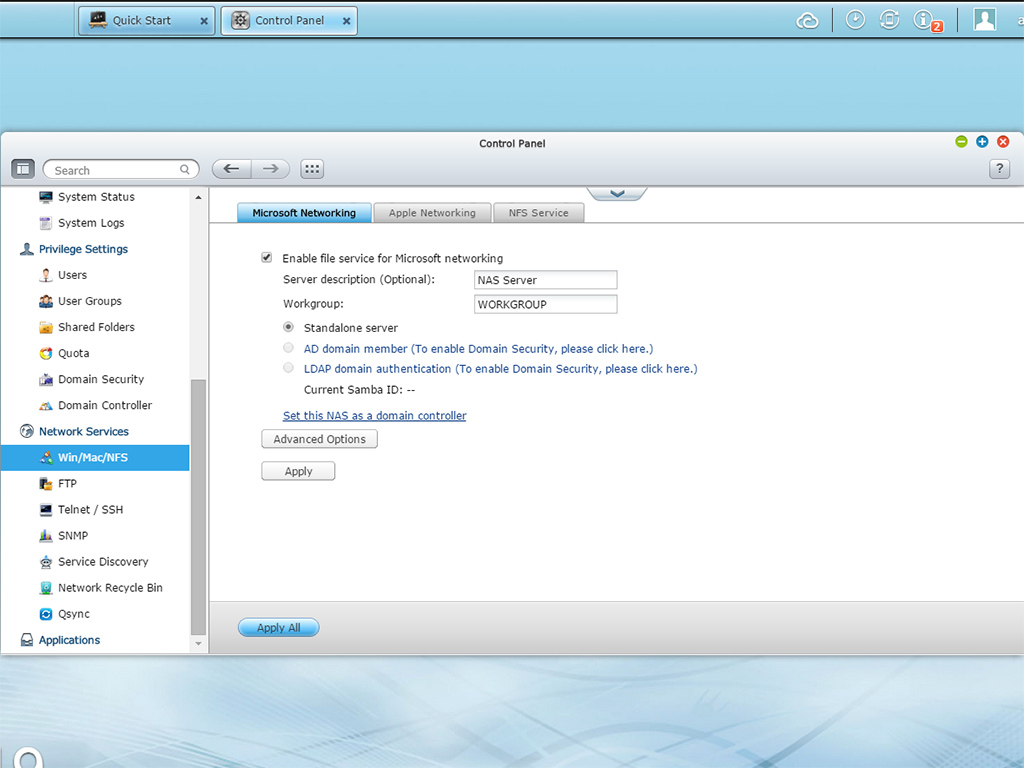
You should enable the file service for Microsoft networking if you want the NAS to be a part of a compatible network. You also have the ability to set the NAS up as a domain controller.
Shared Folders
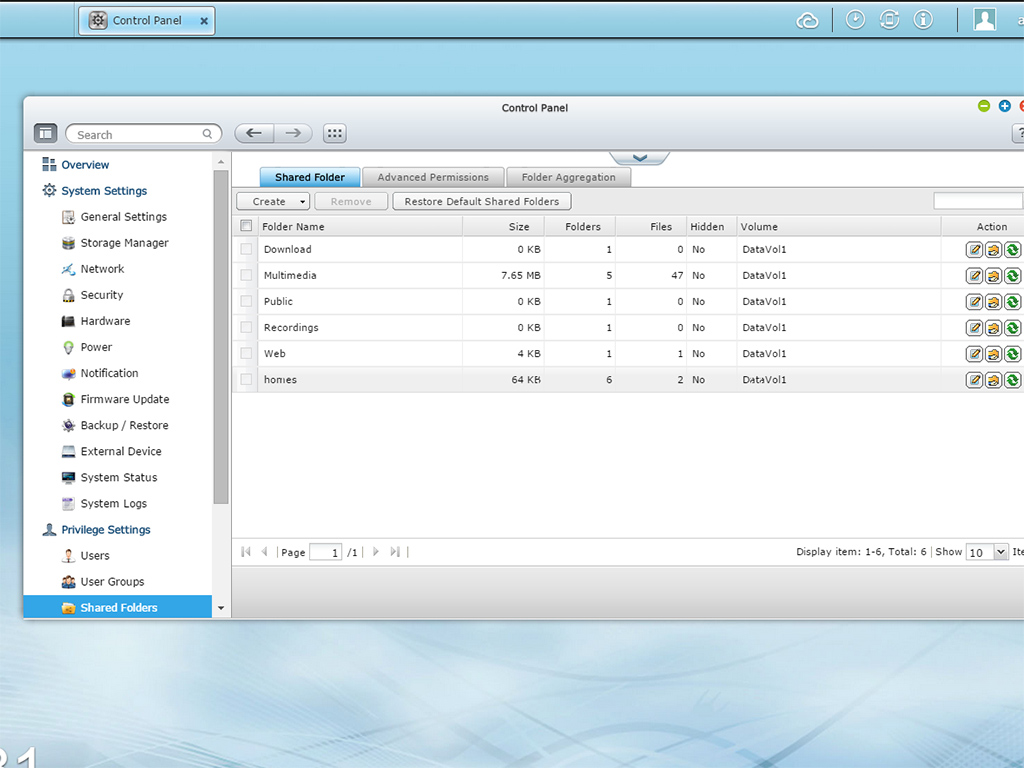
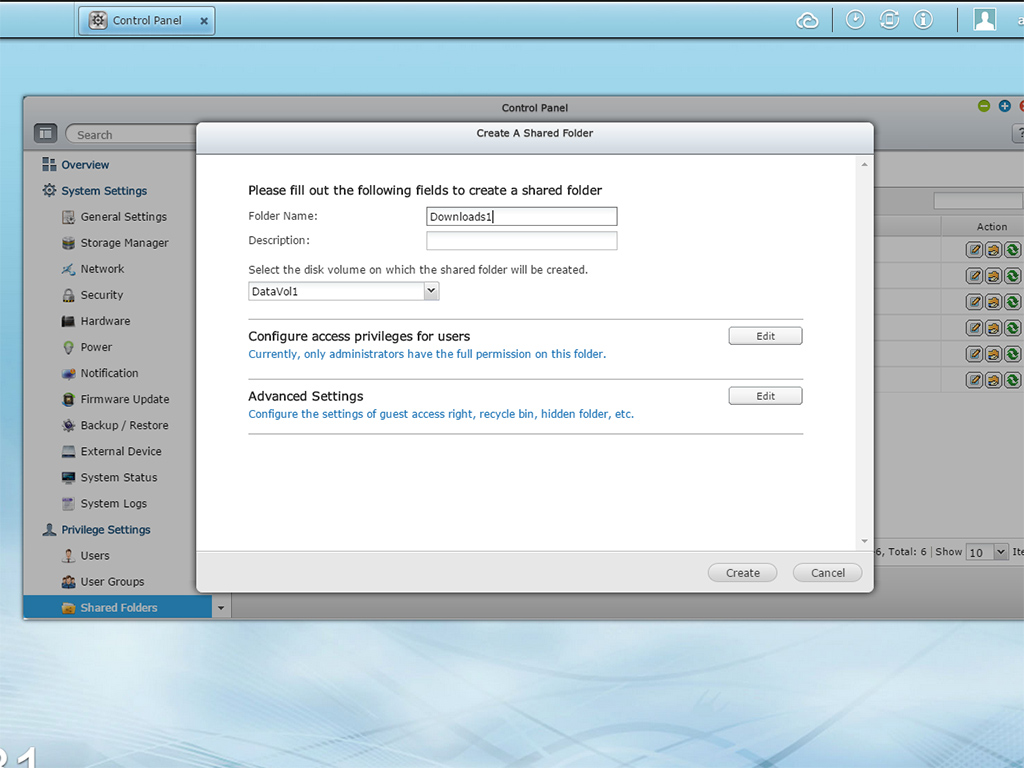
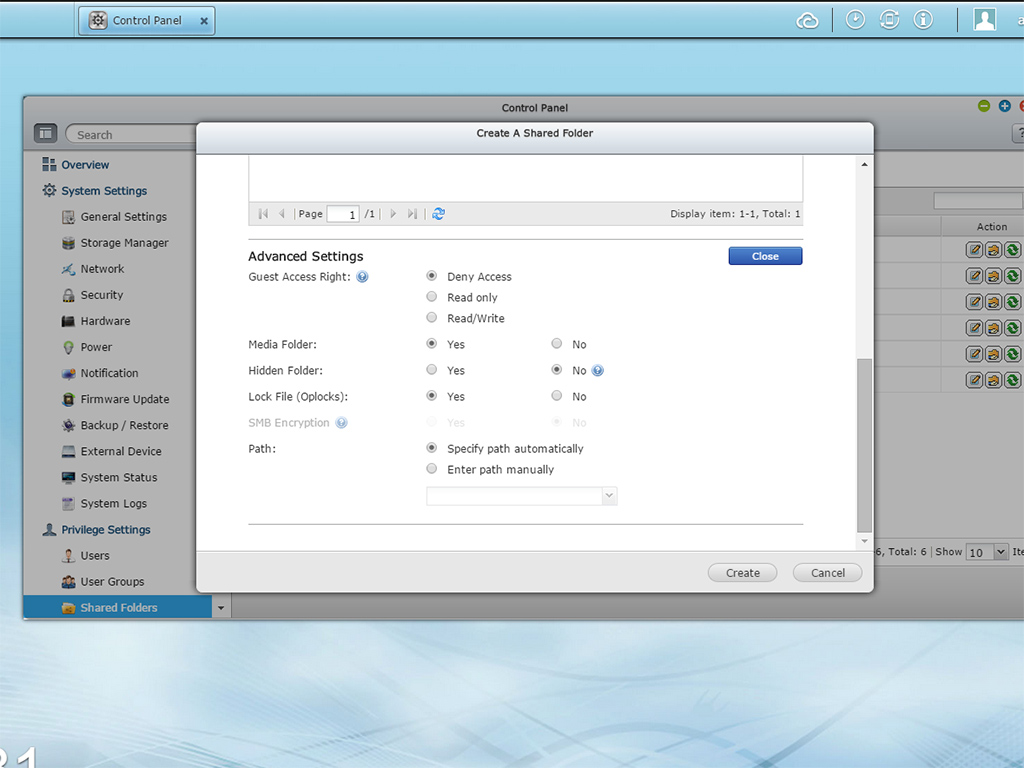
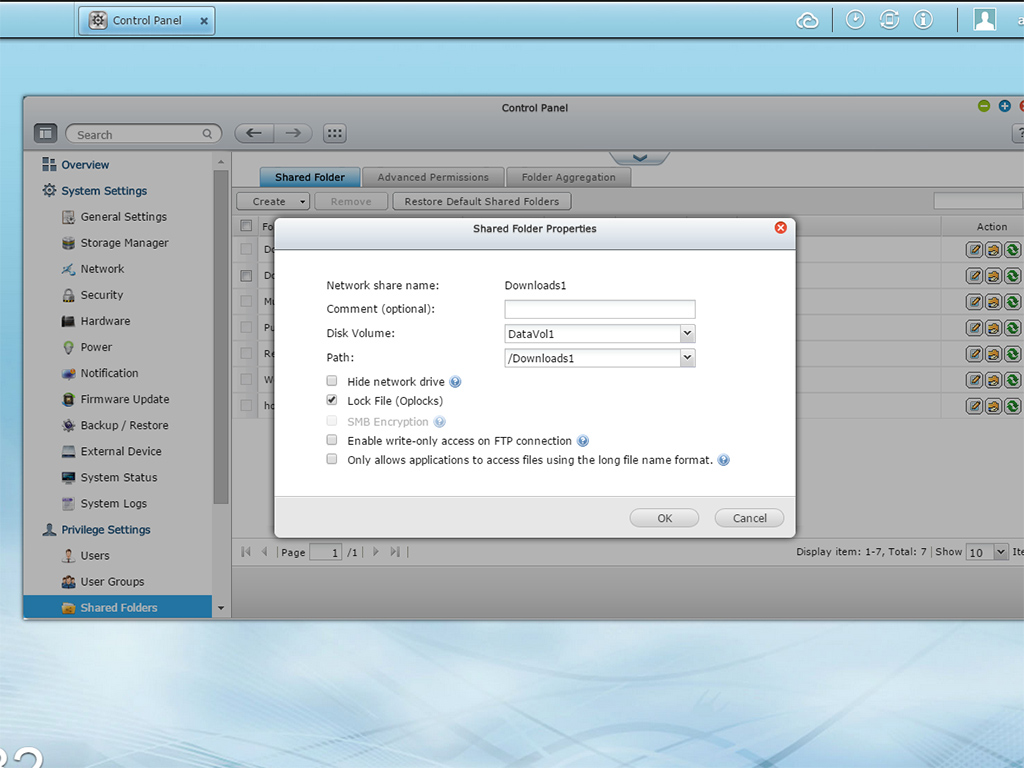
You will definitely have to familiarize yourself with the Shared Folder menu since it is crucial to the security of all files stored on the NAS. This menu will allow you to create new shared folders for users and user groups or edit access permissions on already existing shared folders.
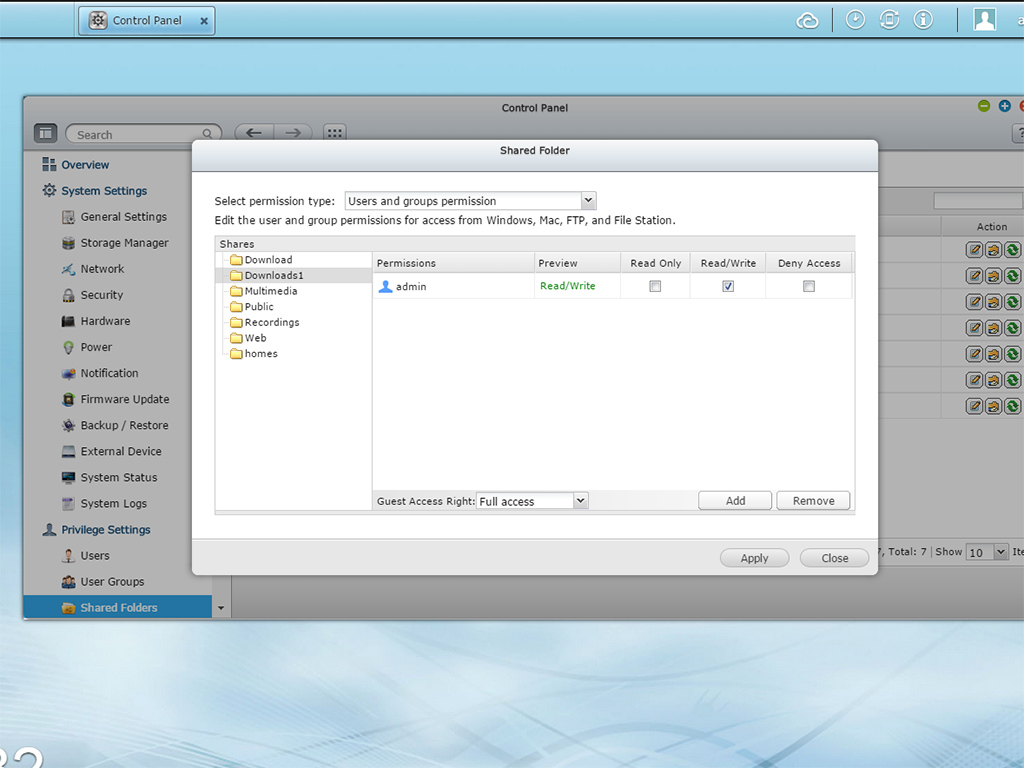
You have to active the Quest Account option if you want a folder to be accessible by anyone. This option is deactivated by default.
System Status
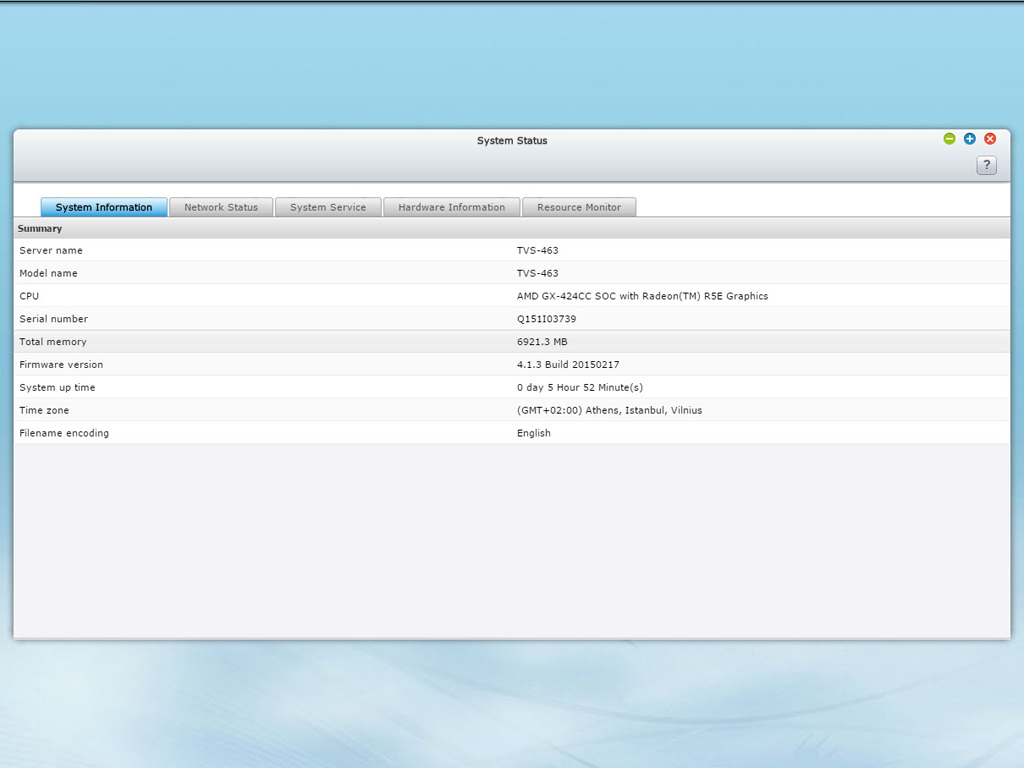
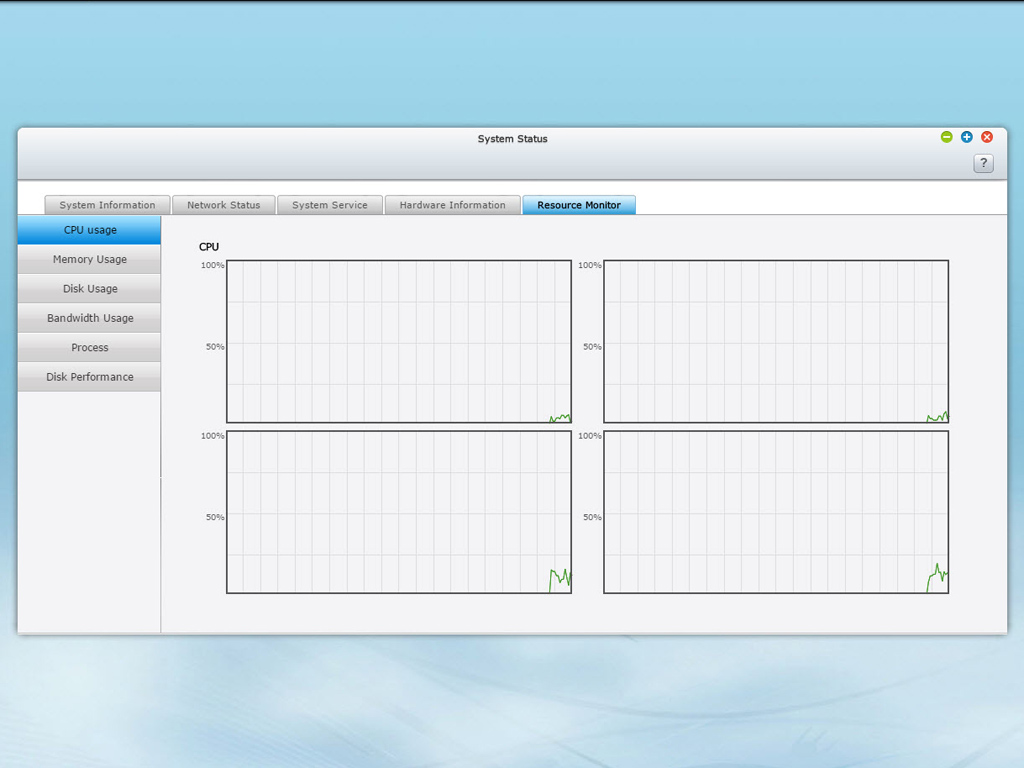
The System Status window includes a summary of the system and its hardware, your network's status, all running system services, and the resource monitor.
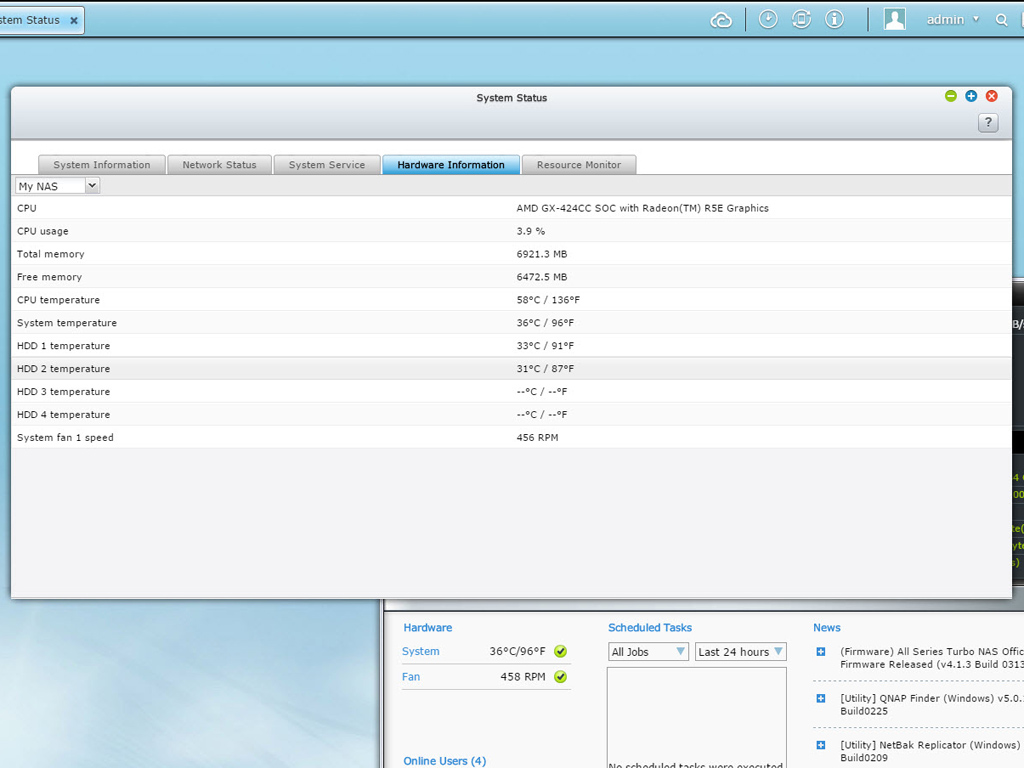
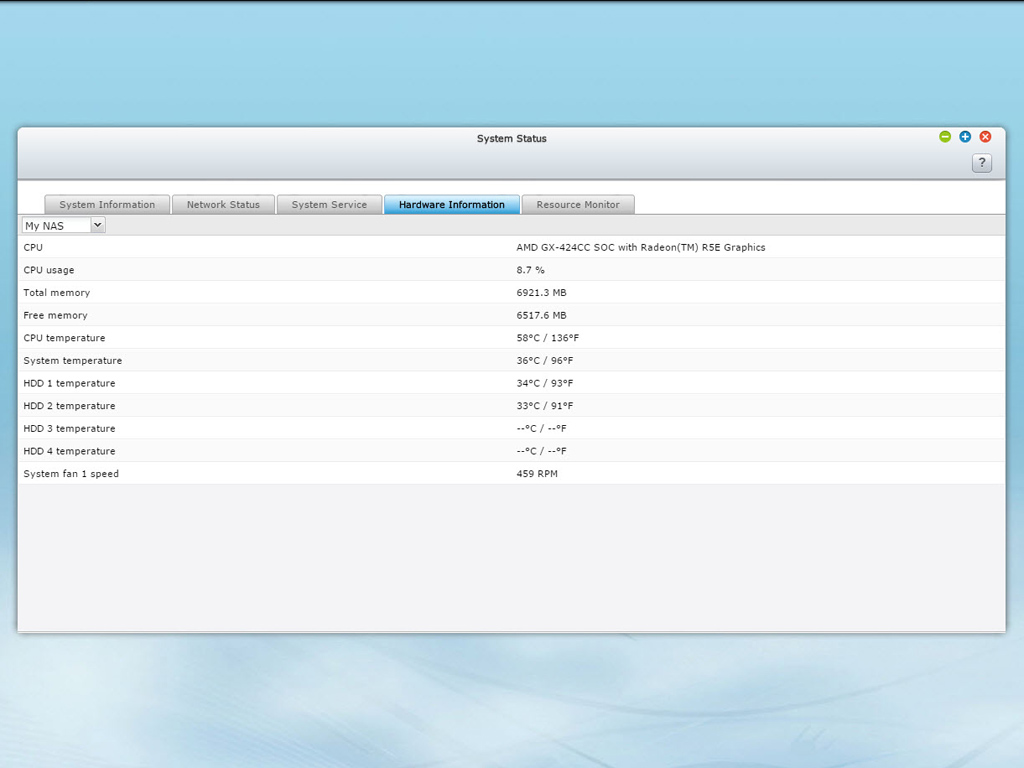
CPU-, HDD-, and System temperatures can be seen in the Hardware Information tab of the System Status window. There is also a widget you can drag to the desktop. It will keep track of system temperatures.
Hardware Settings
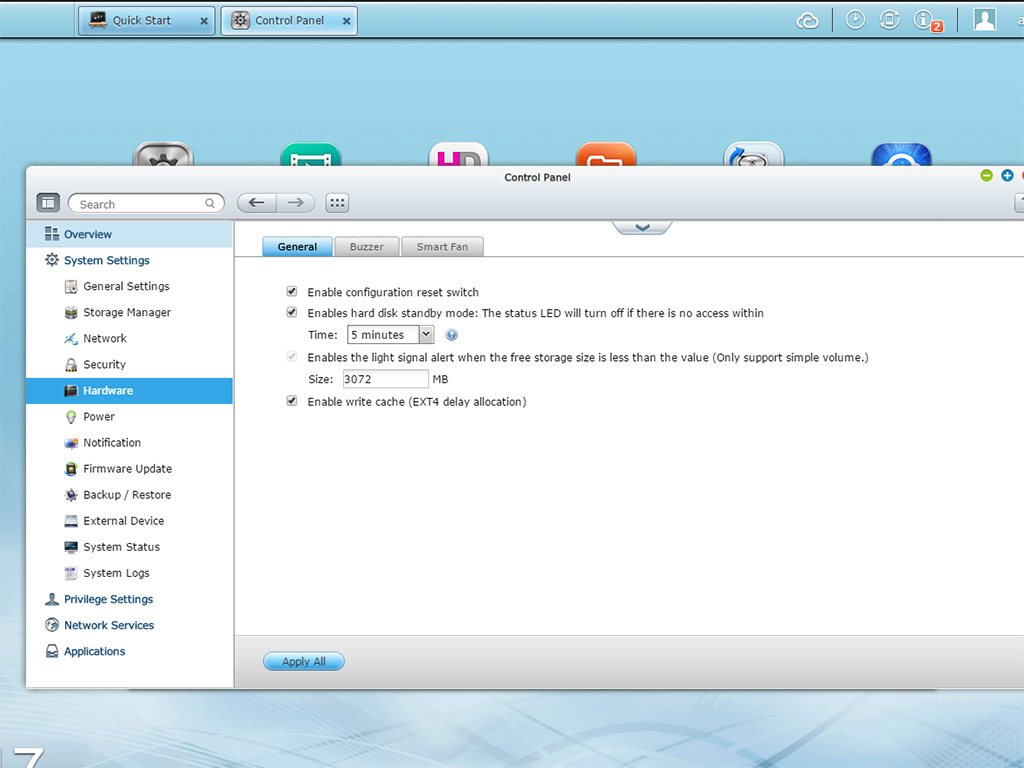
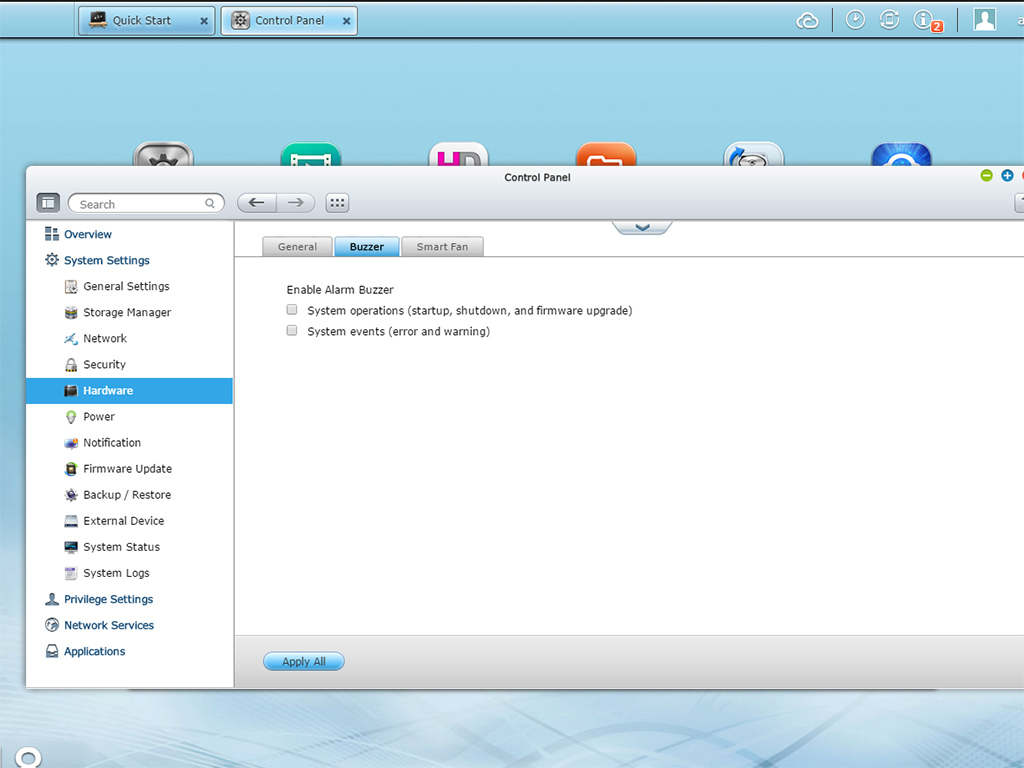
These options allow you to configure the NAS' hardware functions. The most important ones are HDD Standby, Write Cache, which nets you increased write performance, and the Smart Fan option, which allows you to set the fan to auto-mode or a customized fan profile.
Jul 12th, 2025 01:16 CDT
change timezone
Latest GPU Drivers
New Forum Posts
- Will you buy a RTX 5090? (642)
- 'NVIDIA App' not usable offline? (8)
- Can you guess Which game it is? (222)
- What are you playing? (23920)
- RX 9070 XT freezing/locking up only on desktop, anyone else? (43)
- NVIDIA RTX PRO 6000 Workstation Runs Much Hotter Than 5090 FE (22)
- Quick charging your USB devicesUSB 3.2 Gen 2x2 Type-C® front-panel. (1)
- GTX 1050 GPU Owners Club (12)
- ASUS ProArt GeForce RTX 4060 Ti OC Edition 16GB GDDR6 Gaming - nvflash64 VBIOS mismatch (2)
- No offense, here are some things that bother me about your understanding of fans. (33)
Popular Reviews
- Fractal Design Epoch RGB TG Review
- Corsair FRAME 5000D RS Review
- Lexar NM1090 Pro 4 TB Review
- NVIDIA GeForce RTX 5050 8 GB Review
- NZXT N9 X870E Review
- Sapphire Radeon RX 9060 XT Pulse OC 16 GB Review - An Excellent Choice
- AMD Ryzen 7 9800X3D Review - The Best Gaming Processor
- Upcoming Hardware Launches 2025 (Updated May 2025)
- Our Visit to the Hunter Super Computer
- Chieftec Iceberg 360 Review
TPU on YouTube
Controversial News Posts
- Intel's Core Ultra 7 265K and 265KF CPUs Dip Below $250 (288)
- Some Intel Nova Lake CPUs Rumored to Challenge AMD's 3D V-Cache in Desktop Gaming (140)
- AMD Radeon RX 9070 XT Gains 9% Performance at 1440p with Latest Driver, Beats RTX 5070 Ti (131)
- NVIDIA Launches GeForce RTX 5050 for Desktops and Laptops, Starts at $249 (119)
- NVIDIA GeForce RTX 5080 SUPER Could Feature 24 GB Memory, Increased Power Limits (115)
- Microsoft Partners with AMD for Next-gen Xbox Hardware (105)
- Intel "Nova Lake‑S" Series: Seven SKUs, Up to 52 Cores and 150 W TDP (100)
- NVIDIA DLSS Transformer Cuts VRAM Usage by 20% (97)