 13
13
Razer Huntsman V2 Tenkeyless Optical Gaming Keyboard Review
Software »Disassembly
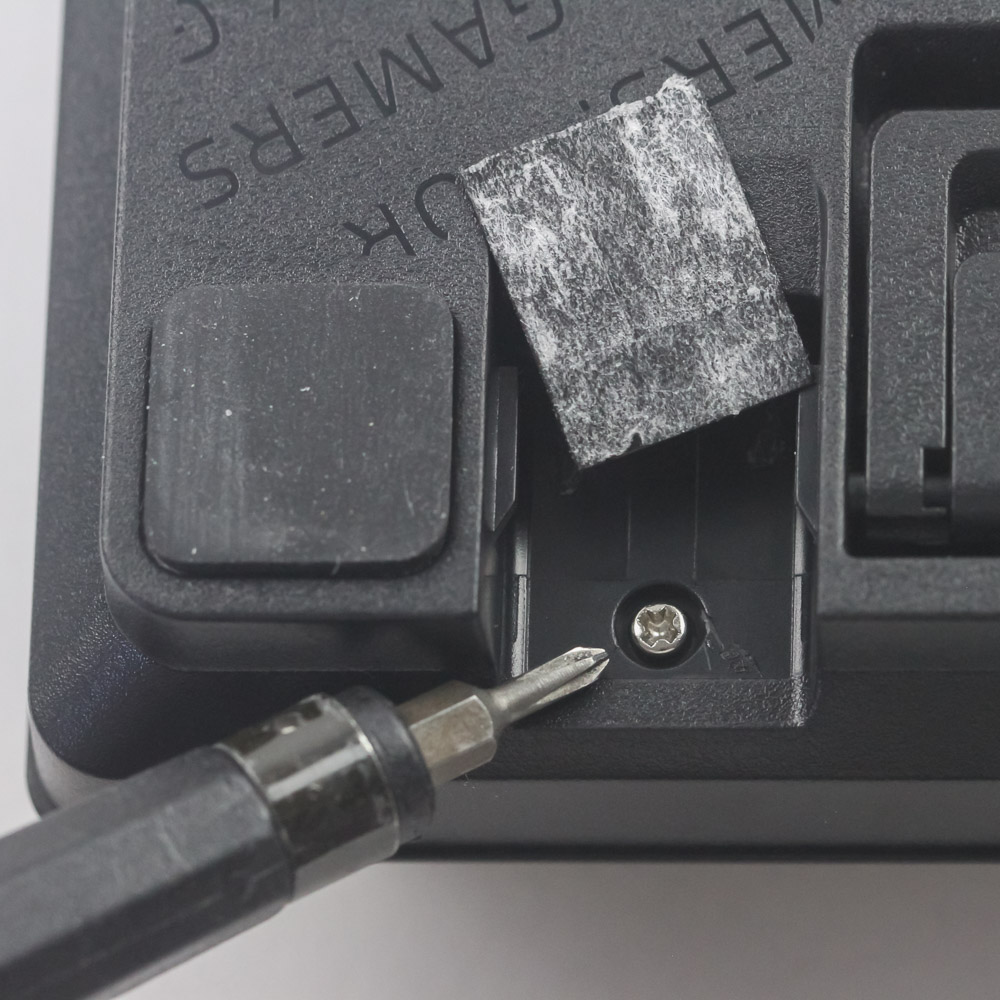
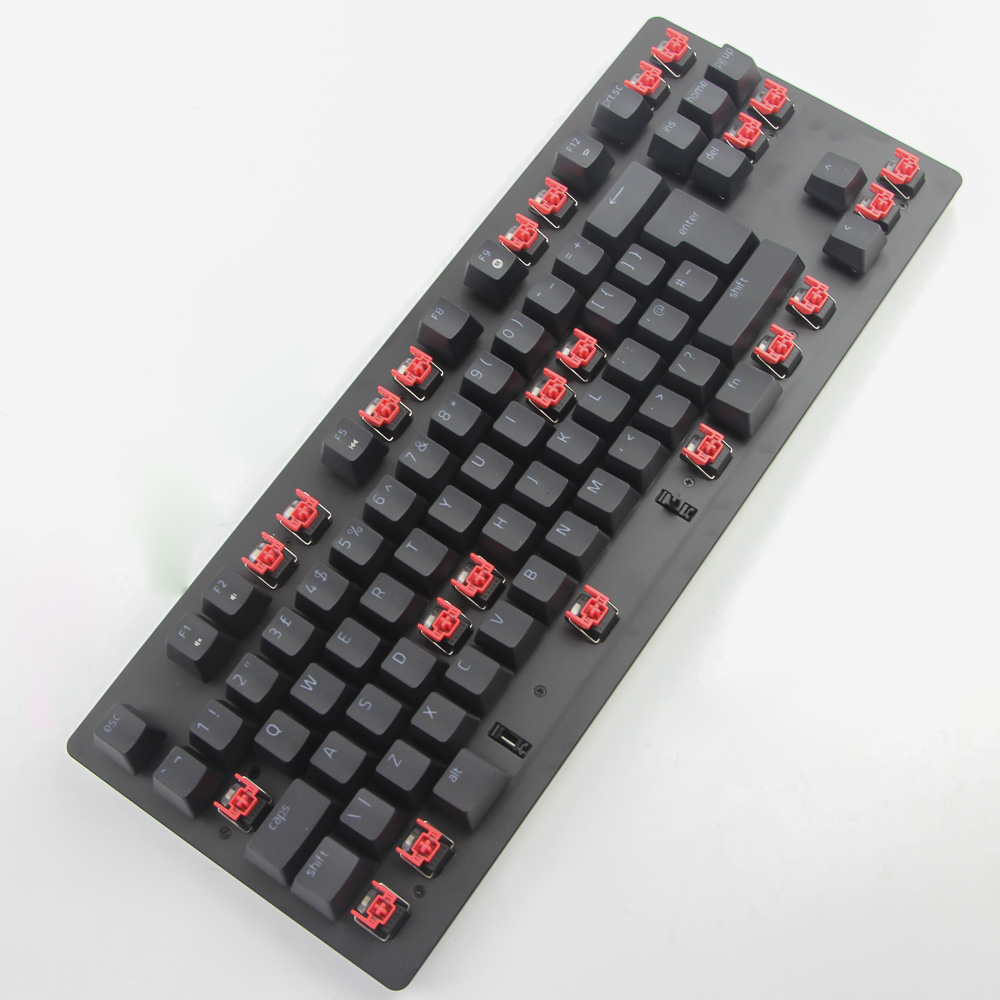

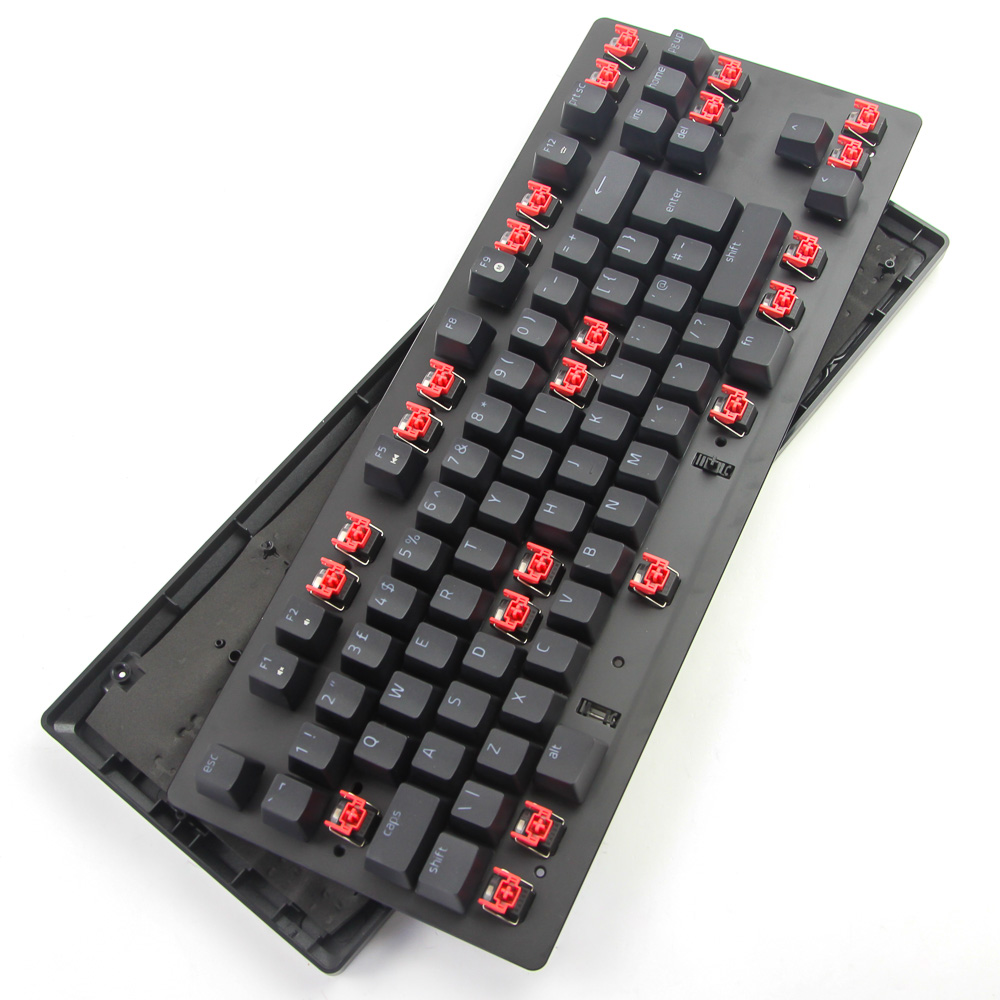

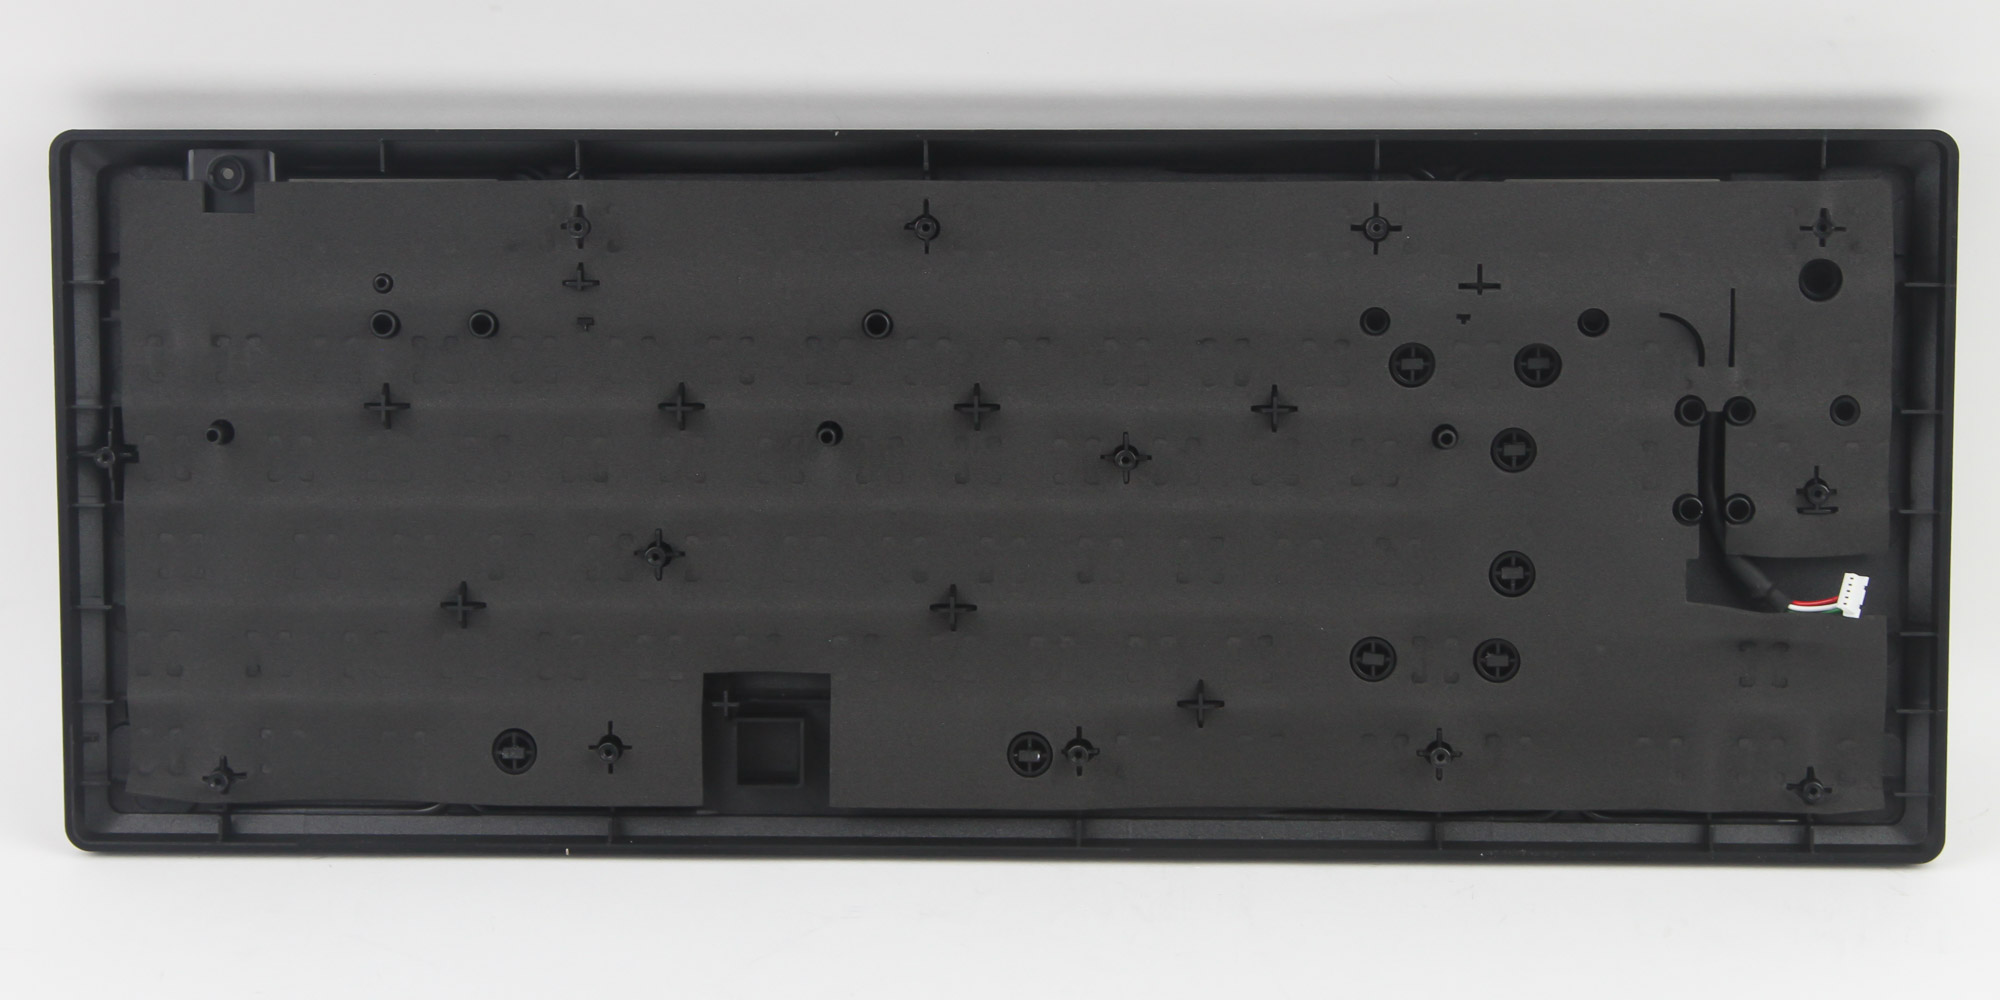

Disassembly of the Razer Huntsman V2 TKL can be tricky if you are not aware of the hidden screw on the back. It is hidden by tape where the Type-C port is located, which caused me some frustration until I figured it out. Aside from that, there are 13 other Phillips-head screws on the front, which are accessed by removing specific keycaps as seen above. Once done, the top piece can be lifted up to access the internal USB cable still keeping the two pieces connected. Dislodge it and we can get a closer look at the ABS plastic case which has a sound-dampening foam sheet with precise cutouts over all the screw threads and mold braces. It is quite thin, hilariously so compared to other implementations I have seen in smaller production run keyboards, but should still do the job of dampening any pinging noises and downstroke reverberations in this otherwise empty case.


The ABS plastic case isn't that deep to be fair, so the foam sheet being thin may not be as big a factor anyway. I did like the Easter egg wherein this keyboard, internally code named Project Maya, has team names/nicknames etched into the case. That internal USB case we saw is quite a long one and goes from a daughter PCB with the USB Type-C port on the left all the way to the right through cable routing channels. We now get to the other piece, which has the metal frame and PCB with the switches going through. These are not soldered switches, of course, with actuation of these Razer optical switches happening by the way of interrupting a continuous light source from LEDs on the switch socket. What happens instead is that the switch housing is pushed through the plate and PCB with retaining notches you then need to push inward to get it out for closer examination.
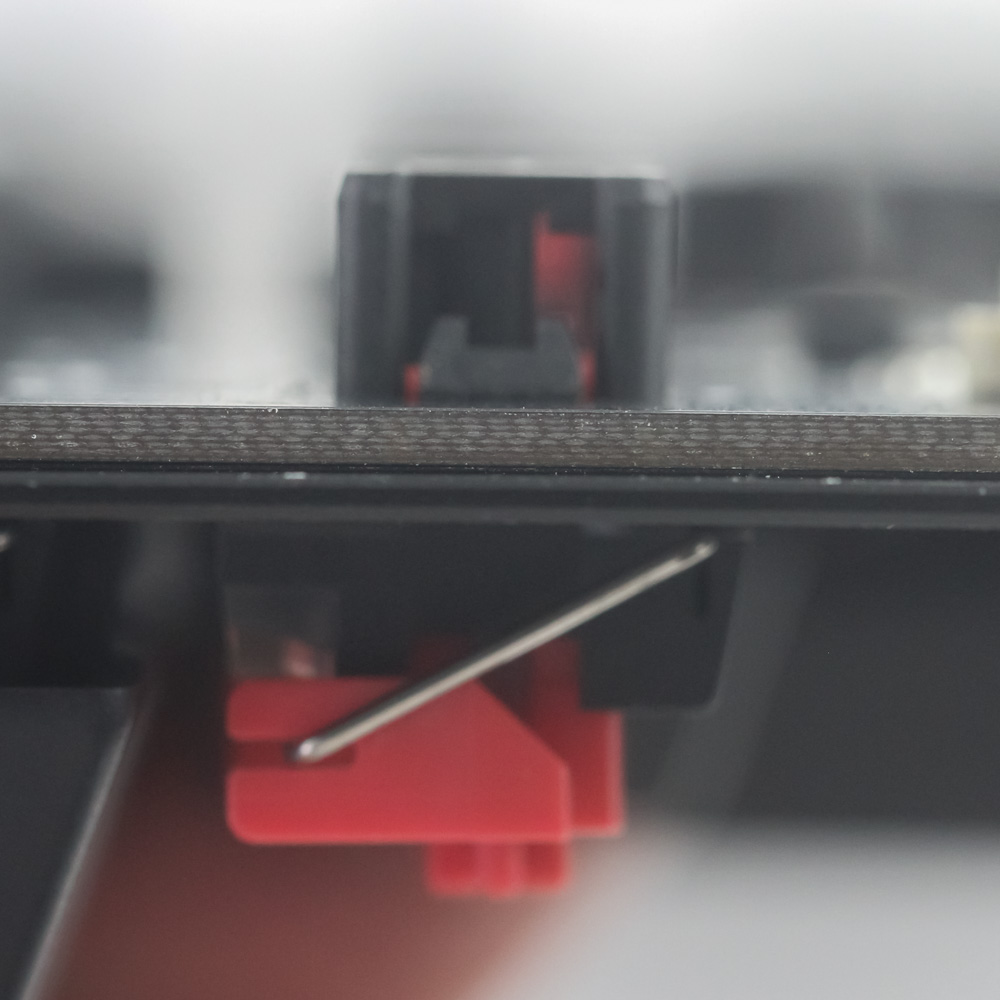
I will now point you to my older review that takes apart the LK Libra Orange. While a tactile and clicky switch, it's the closest in my possession to these Razer switches since those retaining notches have made their way to the switch housing here. This is because these Gen-2 switches have two silicone dampeners inside, which makes disassembly hard without potentially damaging the switches permanently. In the absence of a spare switch, I did not proceed further than the removal of the stabilizer bar and light pillar that diffuses light from the RGB LED underneath. I did note that those older LK switches had lubed stabilizer bars, which these do not. It may well be absent from the specifications Razer gave A4Tech, and they still feel quite smooth to the touch. Seen above is also a GIF showing the switch in action as you press it down, with the central shaft heading down to interrupt what would be the light signal that otherwise goes through the bottom housing.

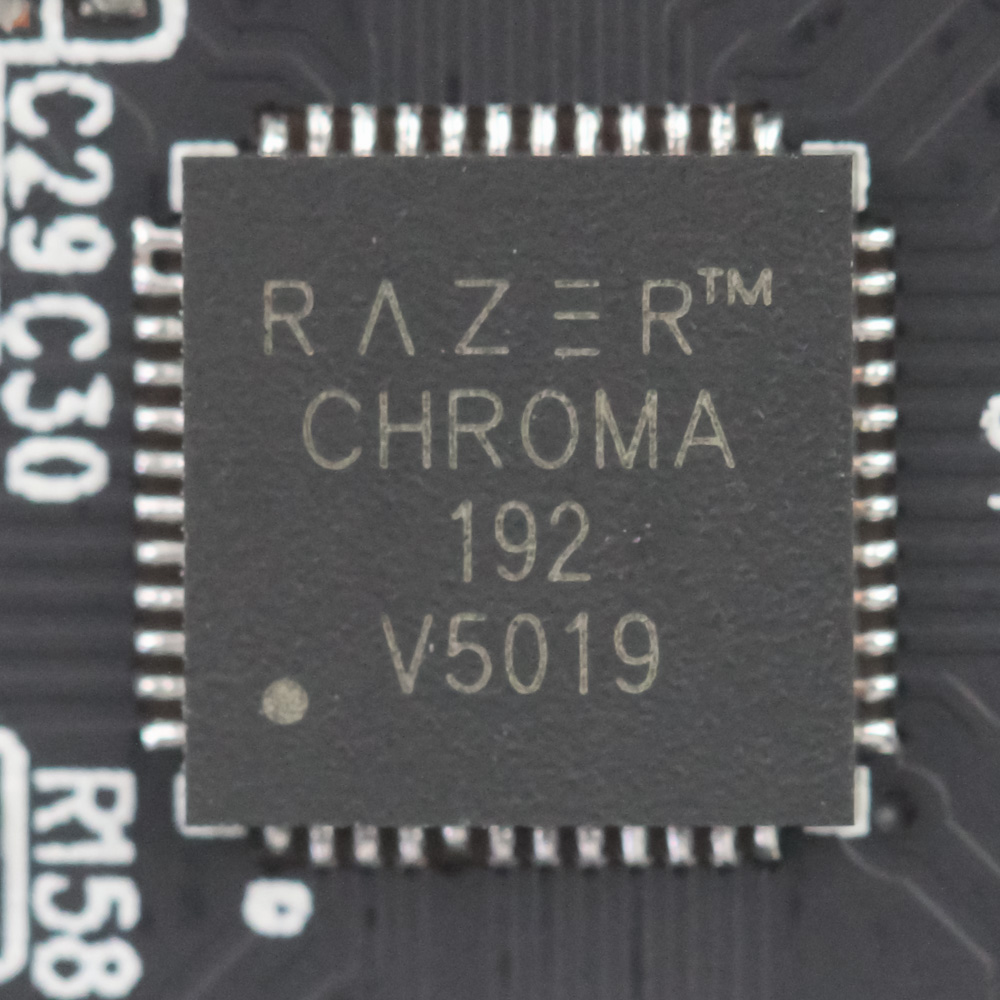

Solder quality is exceptional throughout, and powering the keyboard is an NXP LPC5528 32-bit Arm Cortex®-M33 USB microcontroller with up to 512 KB flash memory and 256 KB SRAM, providing sufficient room for the hybrid onboard/cloud-based customization options boasted by the Huntsman V2 TKL. There are also a couple of Razer Chroma-branded hardware LED drivers, which is a first for me. I can only speculate that the IC manufacturer threw these in to get the bid, and it does the job of preventing me (and competitors) from easily identifying these chips. As is the norm, all the components are soldered onto a multi-layered PCB.
Before we move on, be advised that disassembly may void the warranty and that TechPowerUp is not liable for any damages incurred if you decide to go ahead and do so anyway.
Jul 3rd, 2025 20:57 CDT
change timezone
Latest GPU Drivers
New Forum Posts
- GPU-Z Display Bug via DP 2.1? (3)
- Will you buy a RTX 5090? (609)
- What would you buy? (51)
- A Final Fantasy IX Reminiscence - My love letter and homage to one of the best stories ever told (90)
- GravityMark v1.89 GPU Benchmark (309)
- RTX 5070 discussion (5)
- STAR CITIZEN - RSI POLARIS Project (39)
- Undervolting my i7-9750H (4)
- They're b...a....c....k.... (10)
- TPU's Nostalgic Hardware Club (20471)
Popular Reviews
- ASUS ROG Crosshair X870E Extreme Review
- Crucial T710 2 TB Review - Record-Breaking Gen 5
- Fractal Design Scape Review - Debut Done Right
- PowerColor ALPHYN AM10 Review
- Sapphire Radeon RX 9060 XT Pulse OC 16 GB Review - An Excellent Choice
- Upcoming Hardware Launches 2025 (Updated May 2025)
- AMD Ryzen 7 9800X3D Review - The Best Gaming Processor
- Sapphire Radeon RX 9070 XT Nitro+ Review - Beating NVIDIA
- SCHENKER KEY 18 Pro (E25) Review - Top-Tier Contender
- AVerMedia CamStream 4K Review
TPU on YouTube
Controversial News Posts
- Intel's Core Ultra 7 265K and 265KF CPUs Dip Below $250 (288)
- NVIDIA Grabs Market Share, AMD Loses Ground, and Intel Disappears in Latest dGPU Update (212)
- Some Intel Nova Lake CPUs Rumored to Challenge AMD's 3D V-Cache in Desktop Gaming (140)
- NVIDIA GeForce RTX 5080 SUPER Could Feature 24 GB Memory, Increased Power Limits (115)
- Microsoft Partners with AMD for Next-gen Xbox Hardware (105)
- NVIDIA Launches GeForce RTX 5050 for Desktops and Laptops, Starts at $249 (105)
- Intel "Nova Lake‑S" Series: Seven SKUs, Up to 52 Cores and 150 W TDP (100)
- NVIDIA DLSS Transformer Cuts VRAM Usage by 20% (97)