 4
4
Rosewill Cullinan MX Review
Value & Conclusion »Test System
| System Parts for Case Reviews | |
|---|---|
| Processor: | Intel Core i5-7600K |
| Motherboards: | ATX: MSI Z270 Tomahawk mATX: MSI H270M Mortar Arctic mini-ITX: MSI Z270I Gaming Pro Carbon AC Provided by: MSI |
| Graphic Card: | Long: NVIDIA GeForce GTX 280 OEM Short: HIS Radeon 5350 HD |
| Memory: | 16 GB XPG Dazzle DDR4 2800 MHz CL17-17-17 1.25V 32 GB GB XPG SPECTRIX D40 3000 MHz. CL16-18-18 1.35V 16 GB XPG GAMMIX D10 DDR4 2400 MHz CL16-16-16 1.20V Provided by: ADATA |
| HDD: | Western Digital 320 GB 7200 RPM |
| SSD: | ADATA Ultimate SU900 TLC 256 GB ADATA Ultimate SU800 3D TLC 256 GB ADATA Ultimate SU700 TLC 240 GB Provided by: ADATA |
| Power Supply: | Fractal Design Integra M 450W Provided by: Fractal Design |
| Cooling: | Air Cooling: be quiet! Pure Rock Provided by: be quiet! |
Assembly
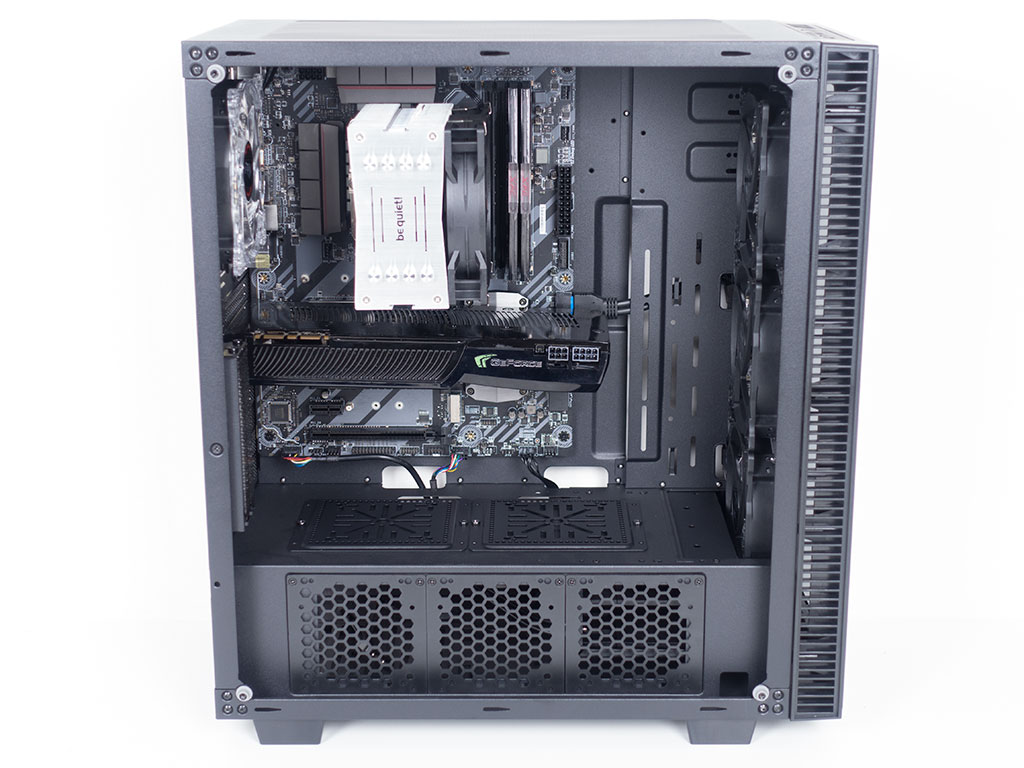
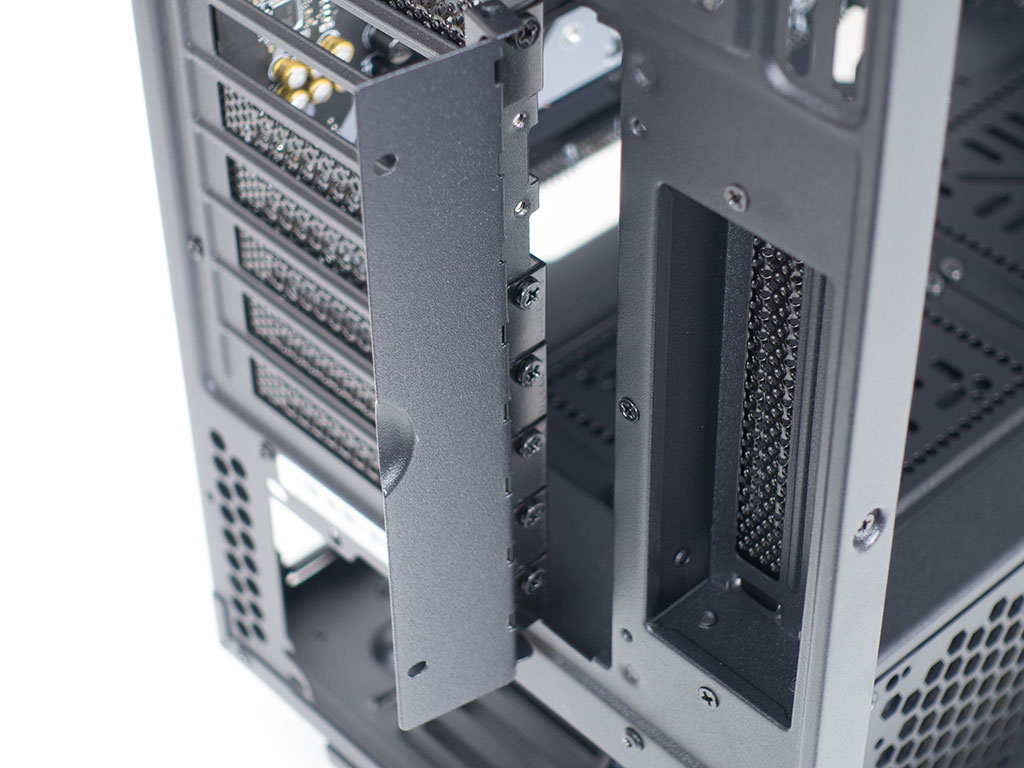
Installing the motherboard is done with the usual means, by utilizing spacers and screws. Rosewill has attached a little door to the outside of the expansion slots to cover the gap there as the mounting screws for the GPUs are on the outside, which shows their attention to detail.
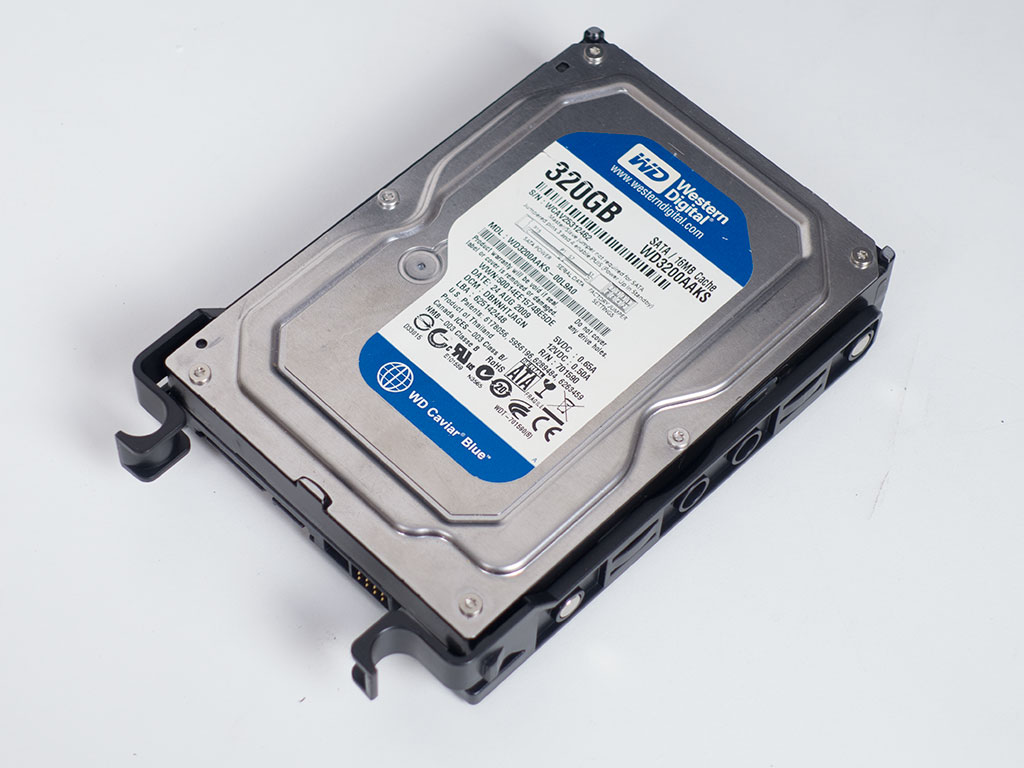
Adding a 3.5" drive is completely tool-less because of plastic drive trays that spread apart. Simply pull one apart, place the drive onto the tray, and squeeze it together. I have seen this tray in a few other cases in the past, and it is by far one of the best you can get.
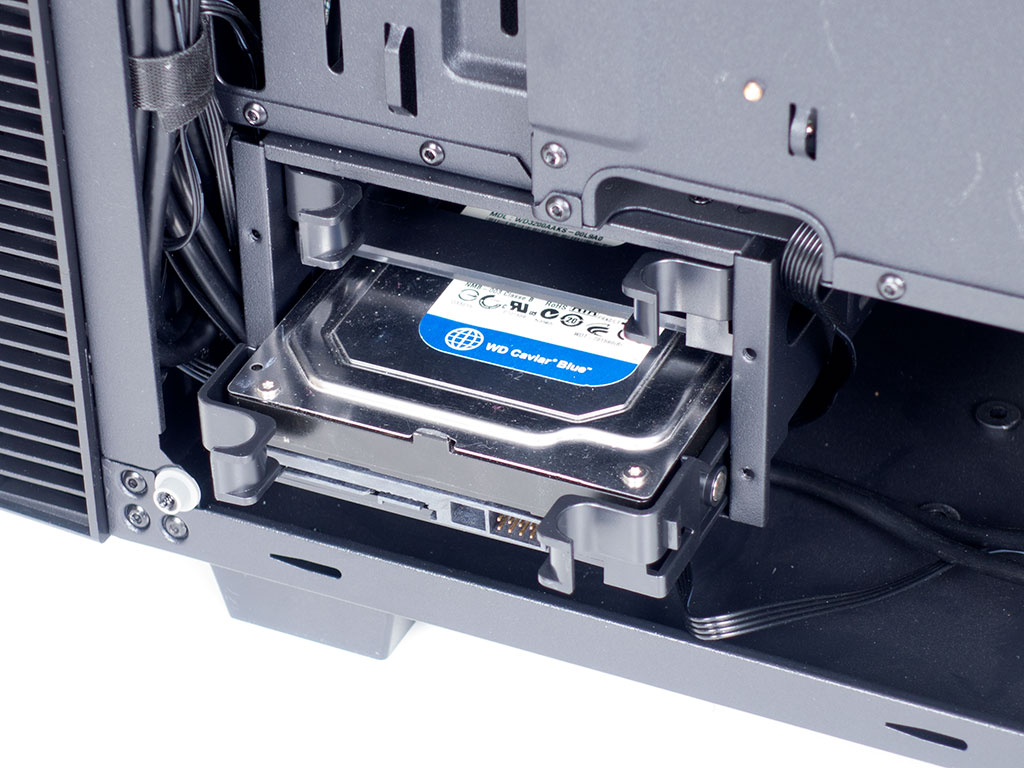
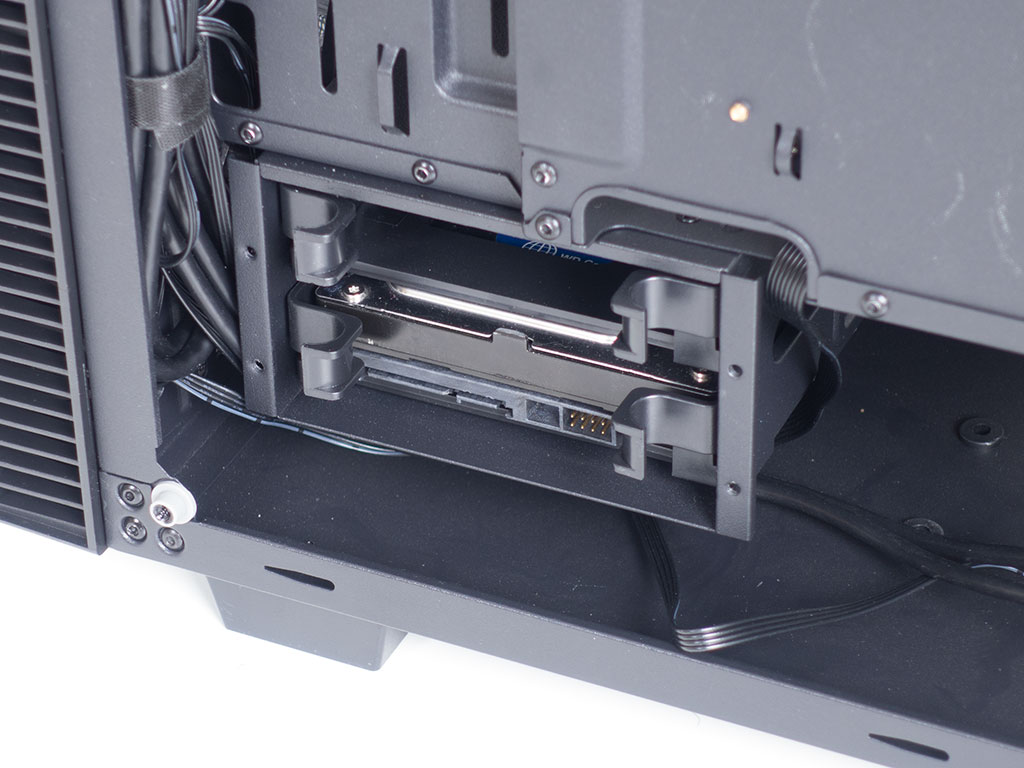
Once filled, simply slide the unit back into one of the two spots until it snaps into place.
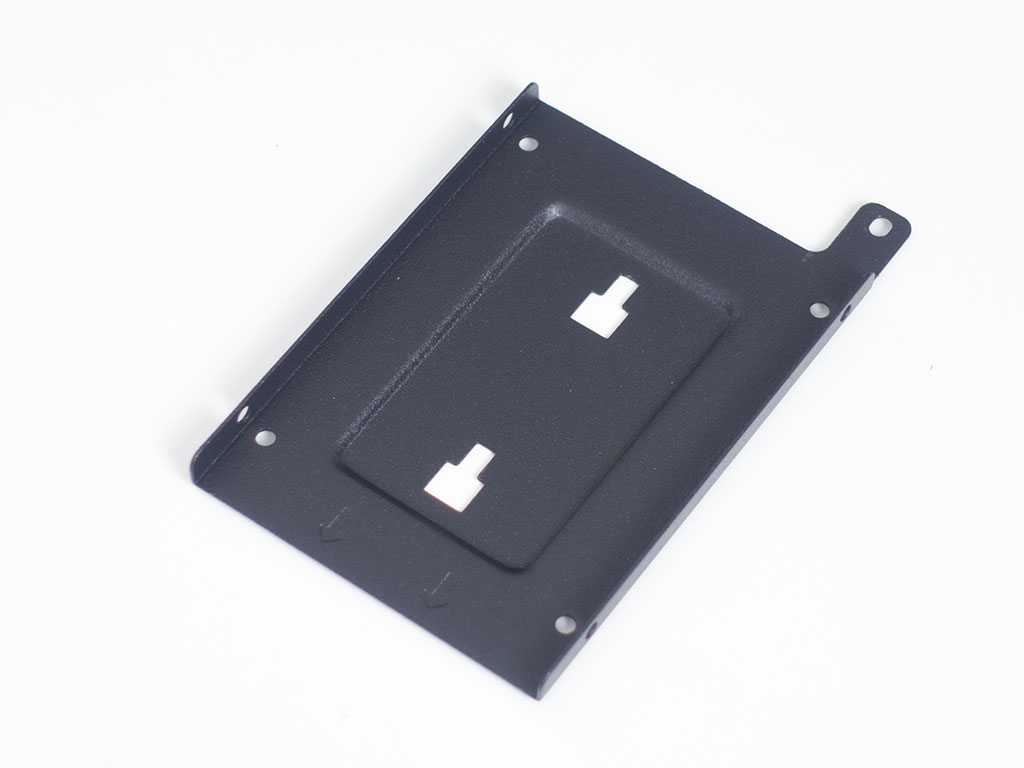
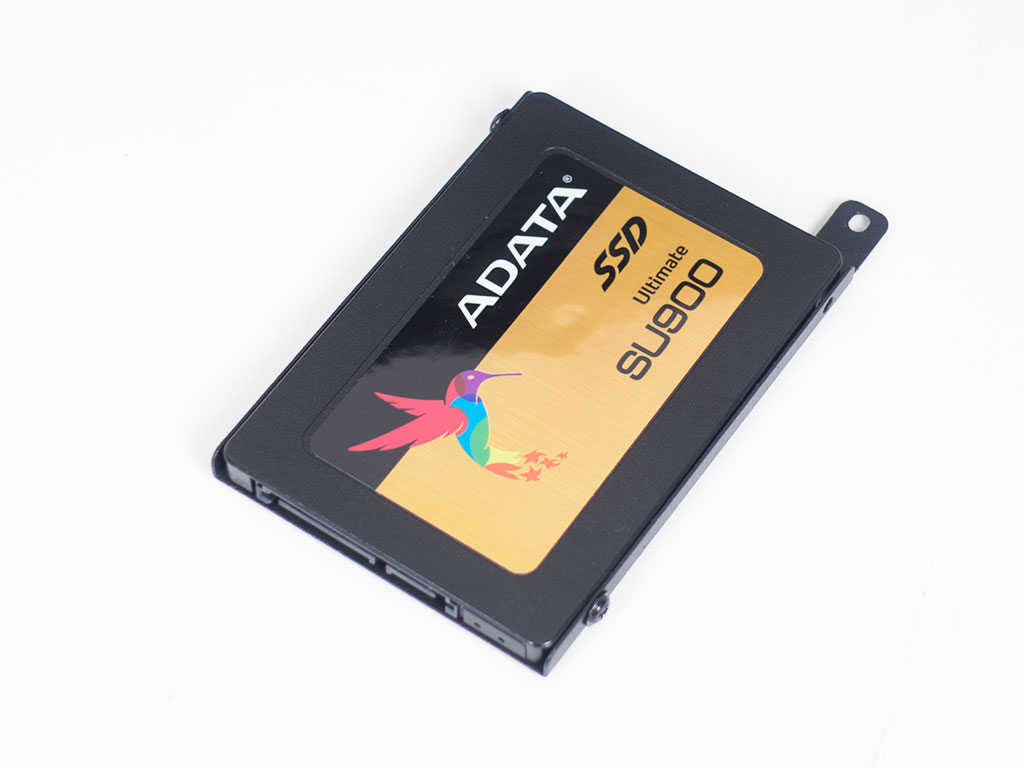
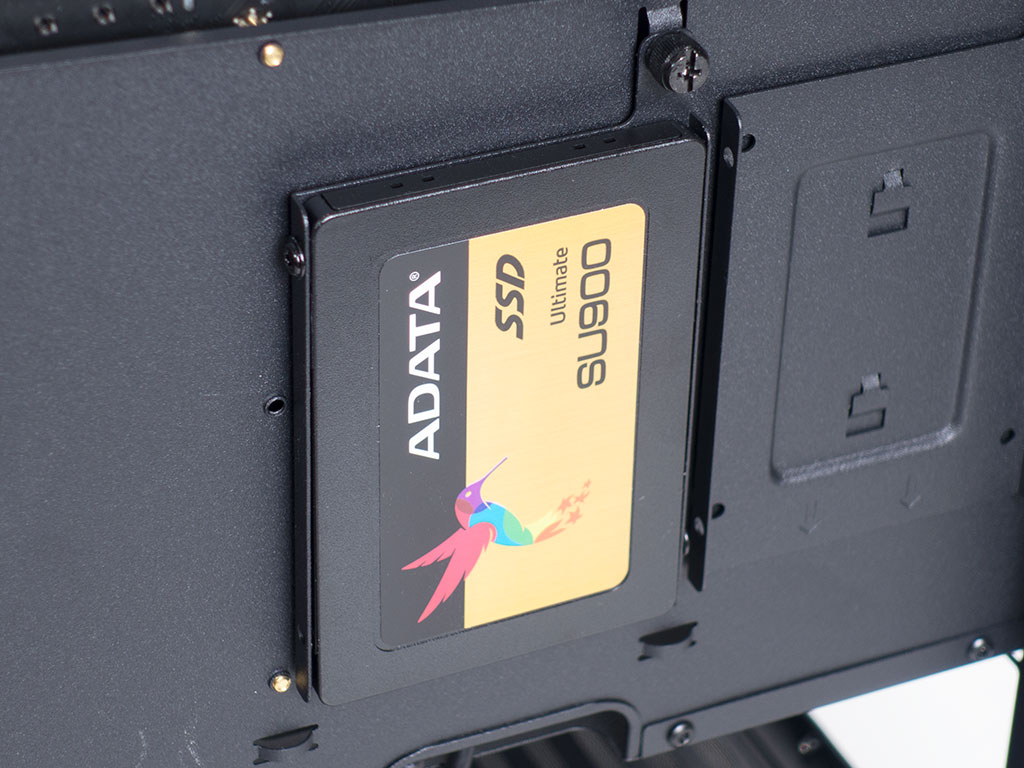
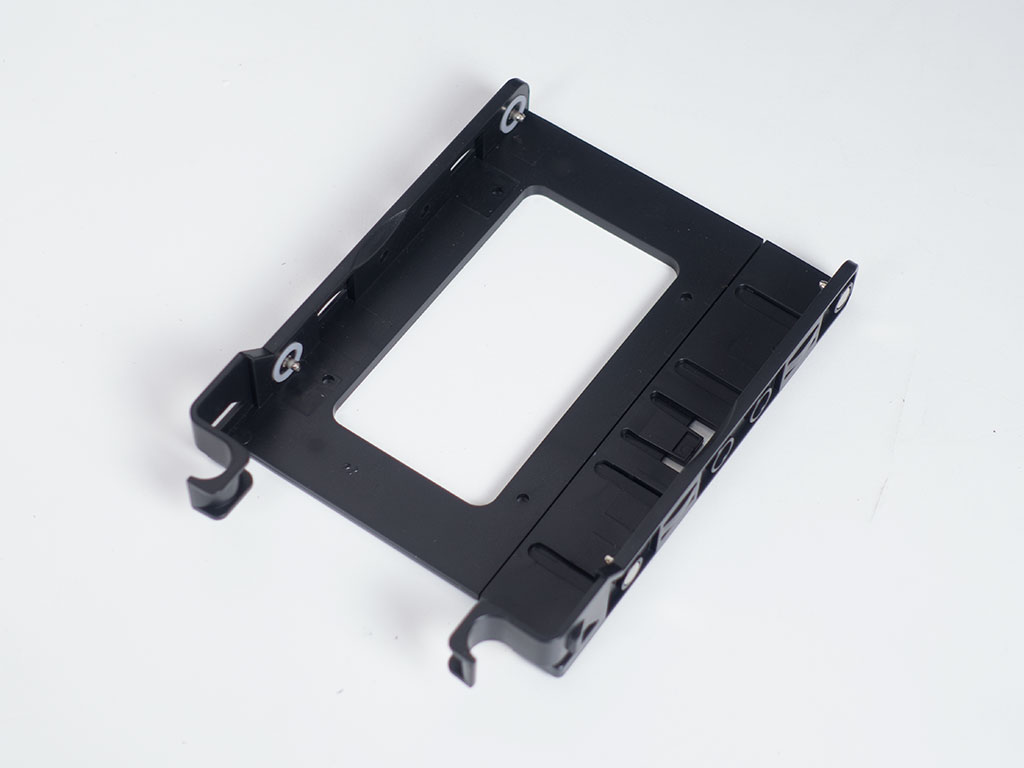
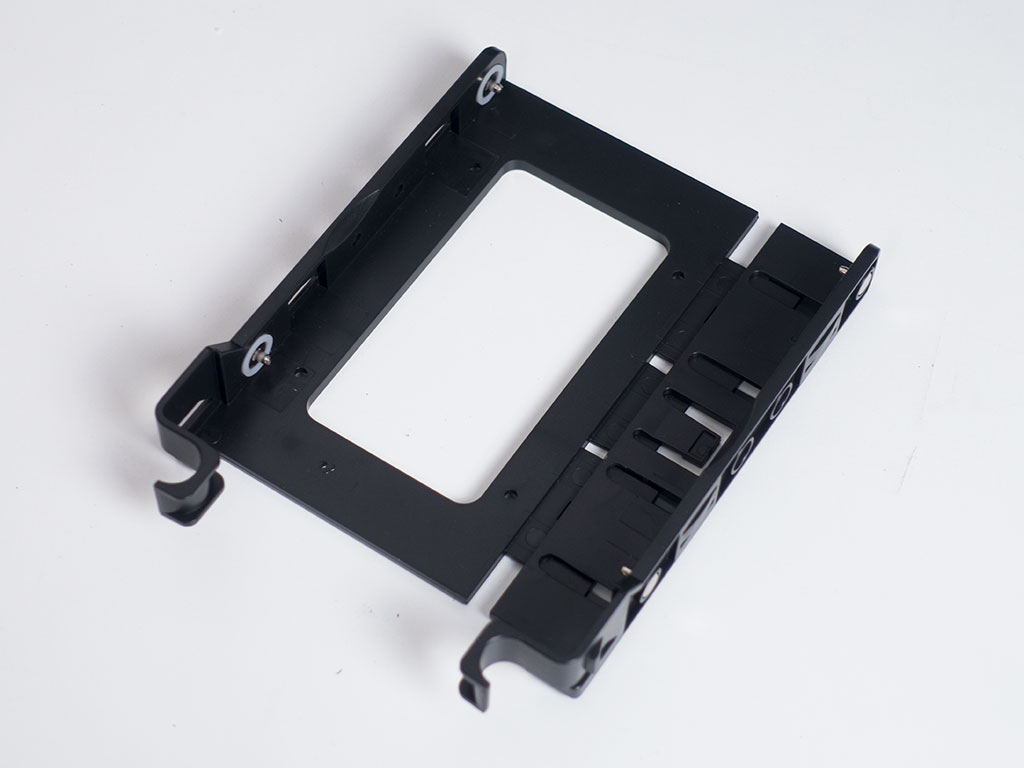
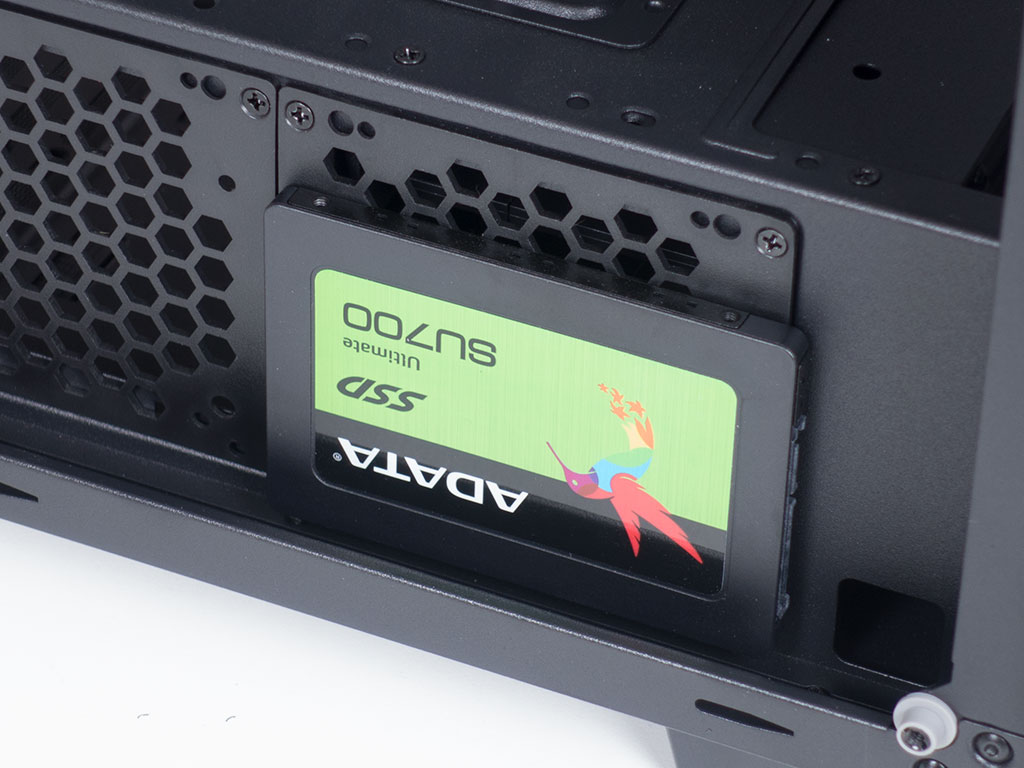
There are a total of three spots for SSDs. The first is the most obvious, consisting of the metal trays behind the motherboard tray. Simply detach one from the chassis, use the provided screws to secure the drive of your choice, and put it back into place.
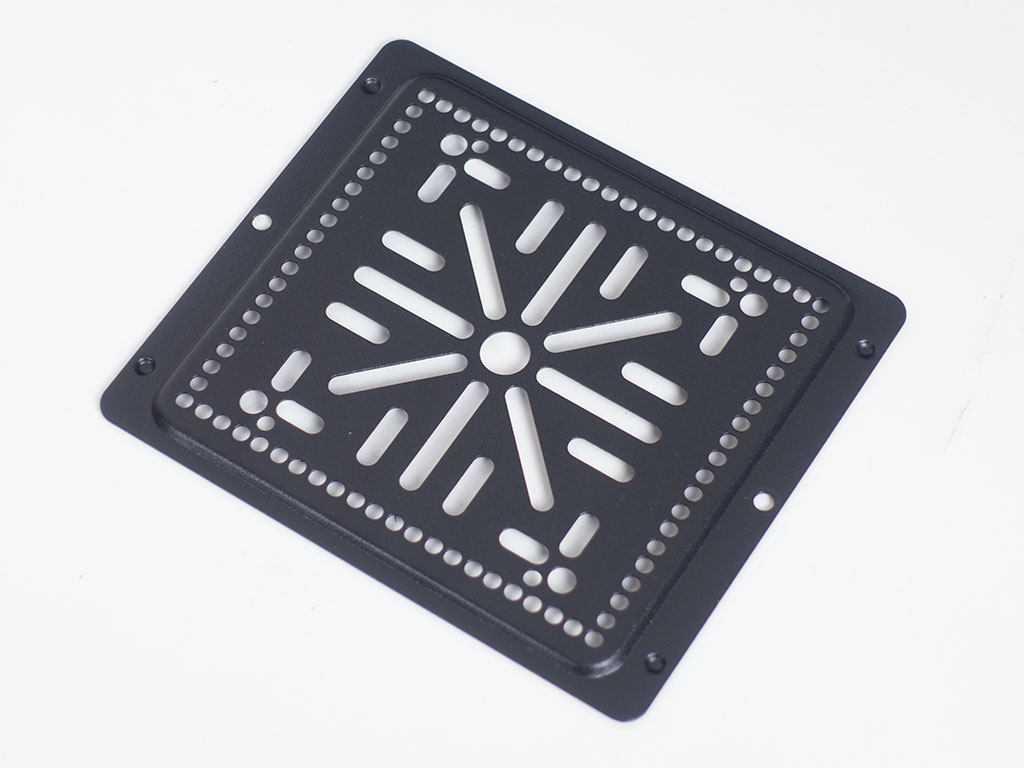
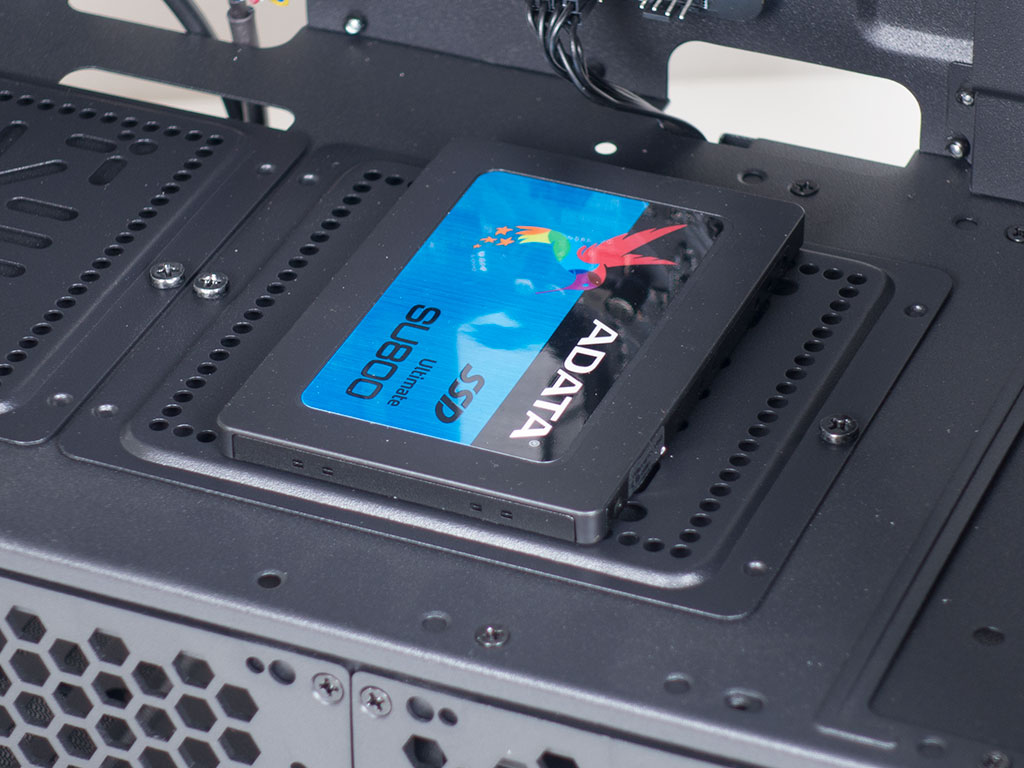
The second option is the multi-purpose metal plate on top of the shroud. Here, simply screw the drive onto the plate and put that whole contraption back in its place. Just be sure to fill this spot first as GPUs and CPU coolers could get in the way of larger screwdrivers.
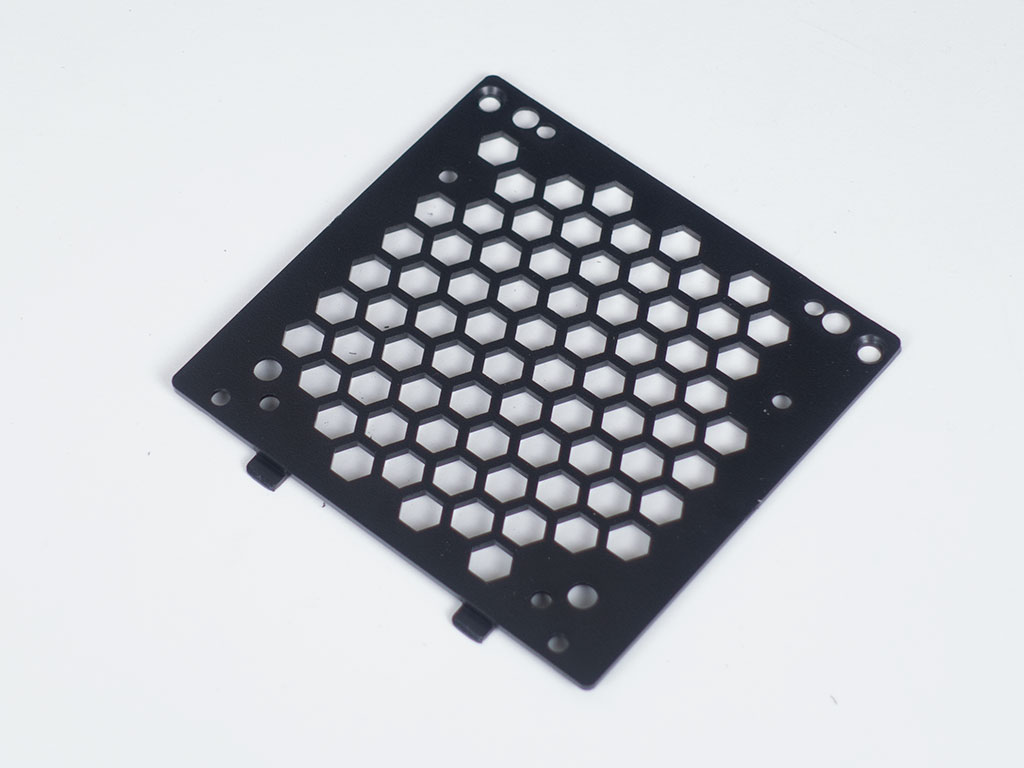

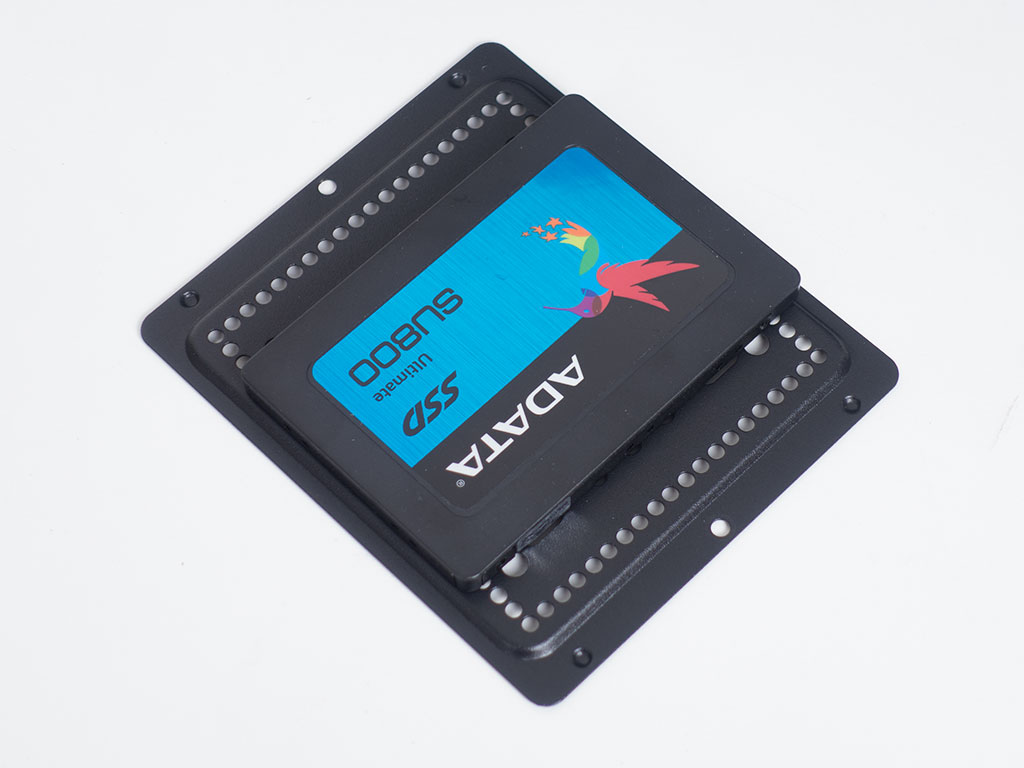
Lastly, you may add drives to the front of the shroud in the same manner. Simply attach them to one of the plastic covers and put that back into place. It should be noted that only two drives will fit at a time, which is still plenty as this brings the total number of possible 2.5" drives to six and the overall storage drive count to nine - more than enough for every scenario.

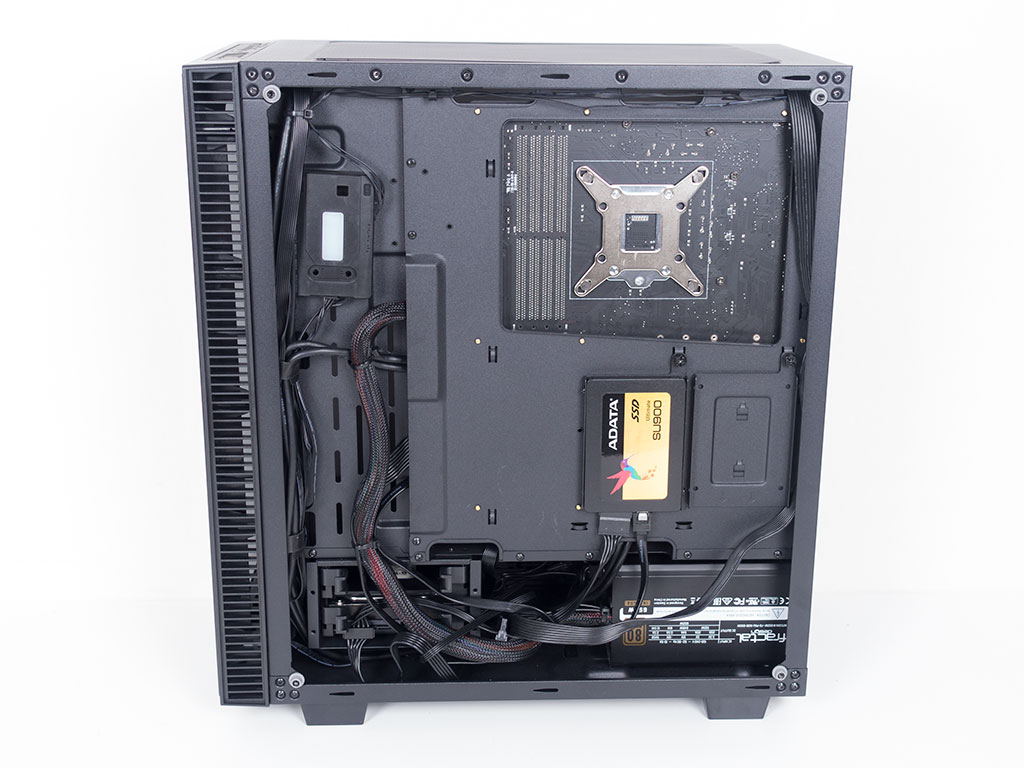
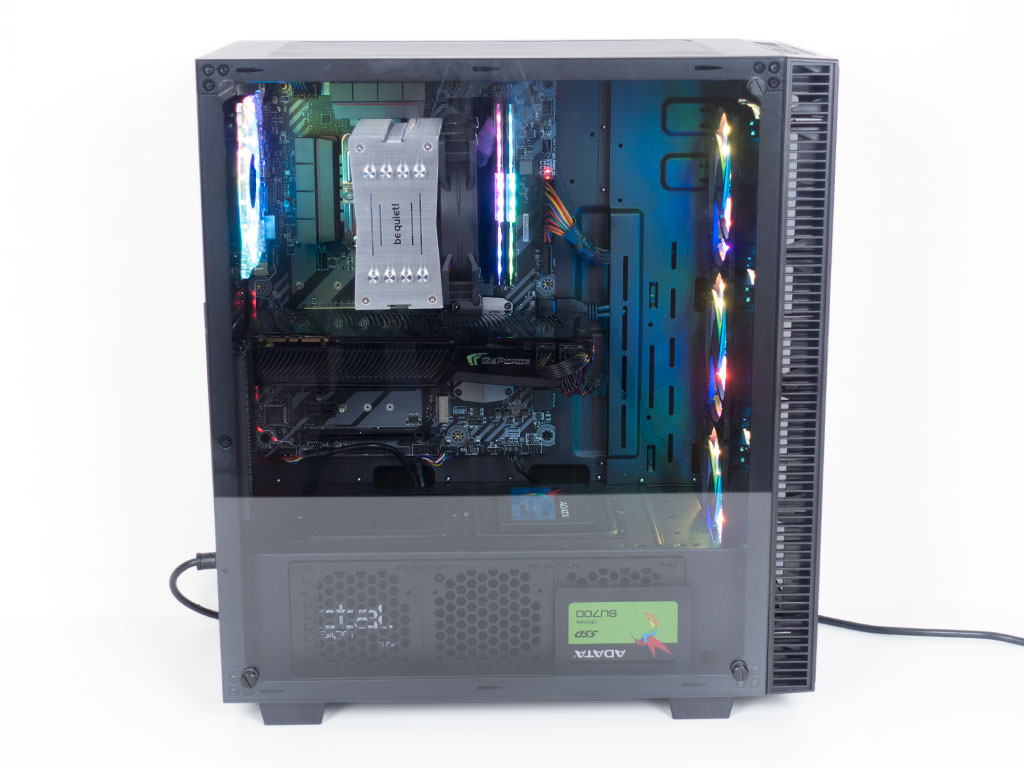
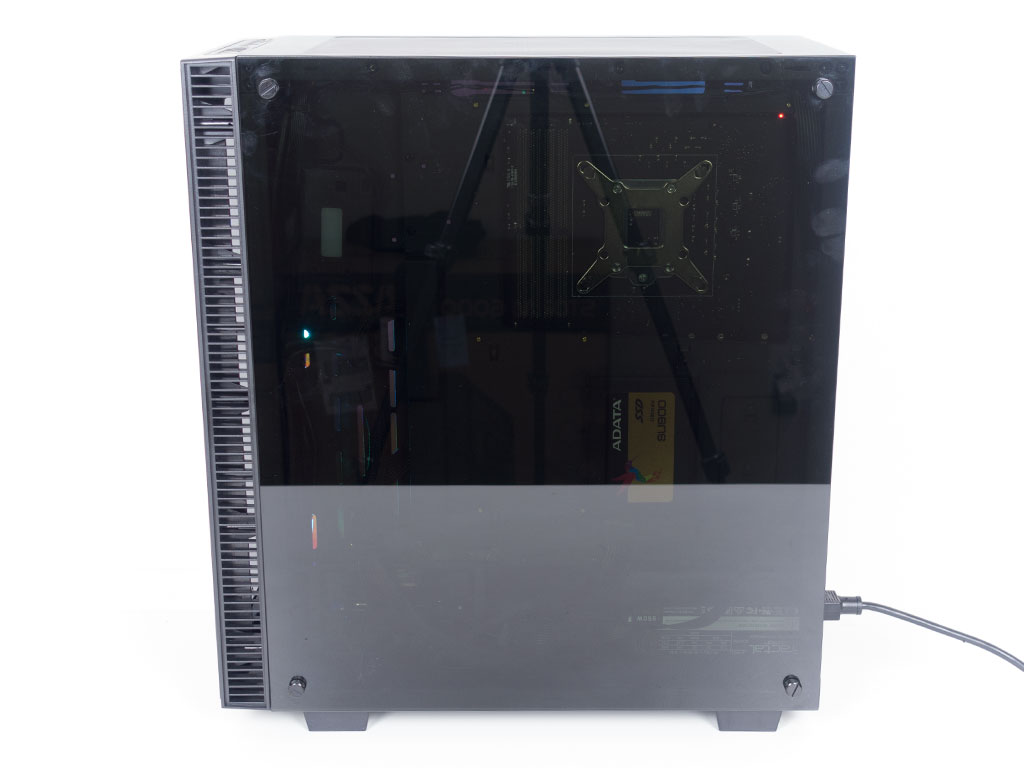
With everything in place, the Rosewill Cullinan MX makes an extremely clean impression on the interior. As you can see, I have moved the RGB controller to the top left of the chassis, which gives me more room to play with for cable routing.
Finished Looks

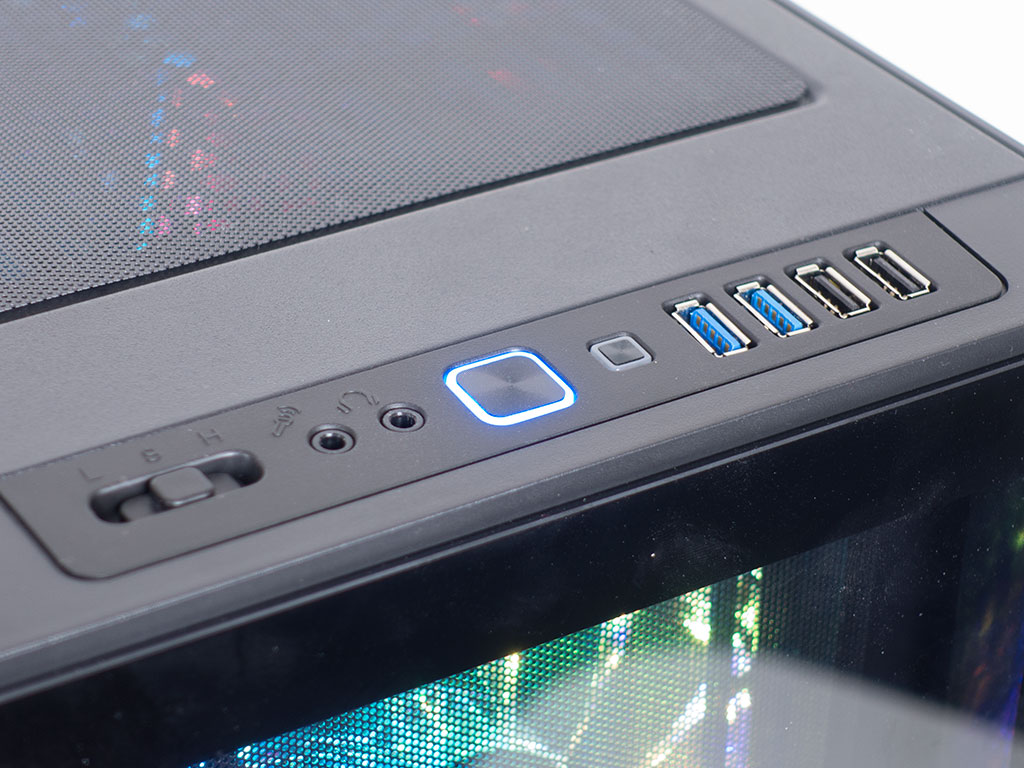
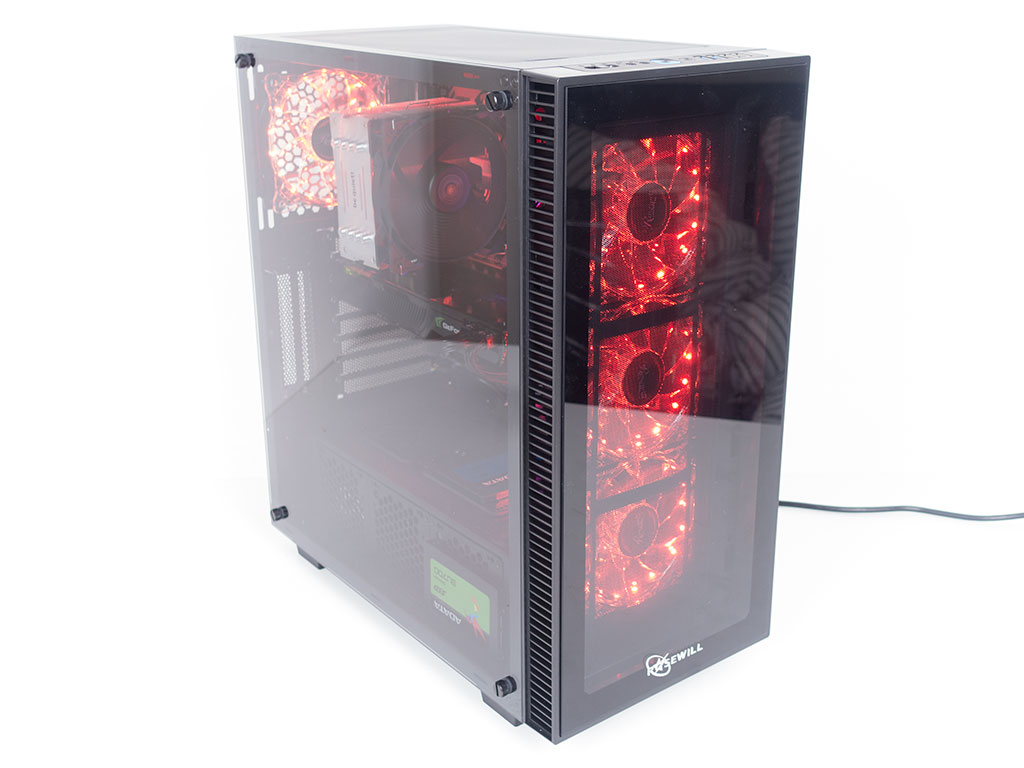
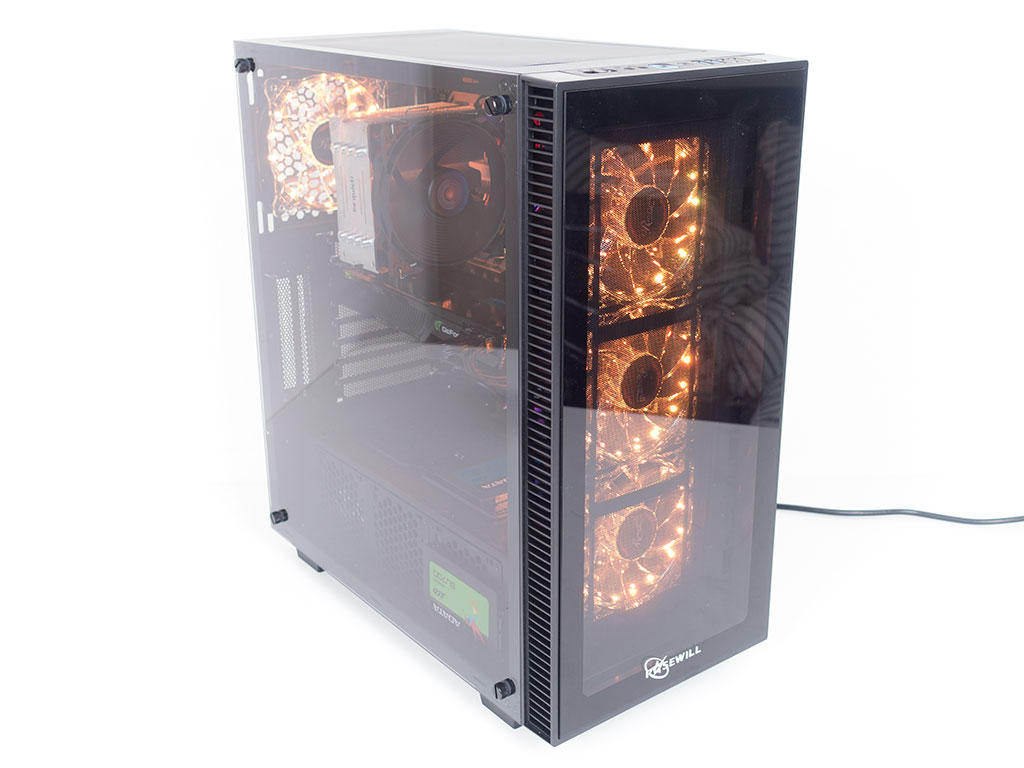
Once you turn the Rosewill Cullinan MX on for the first time, you are greeted by the rainbow color elements within the fans. A blue LED lights up the power button to let you know that the system is up and running, even if you choose to have the fan lighting off.
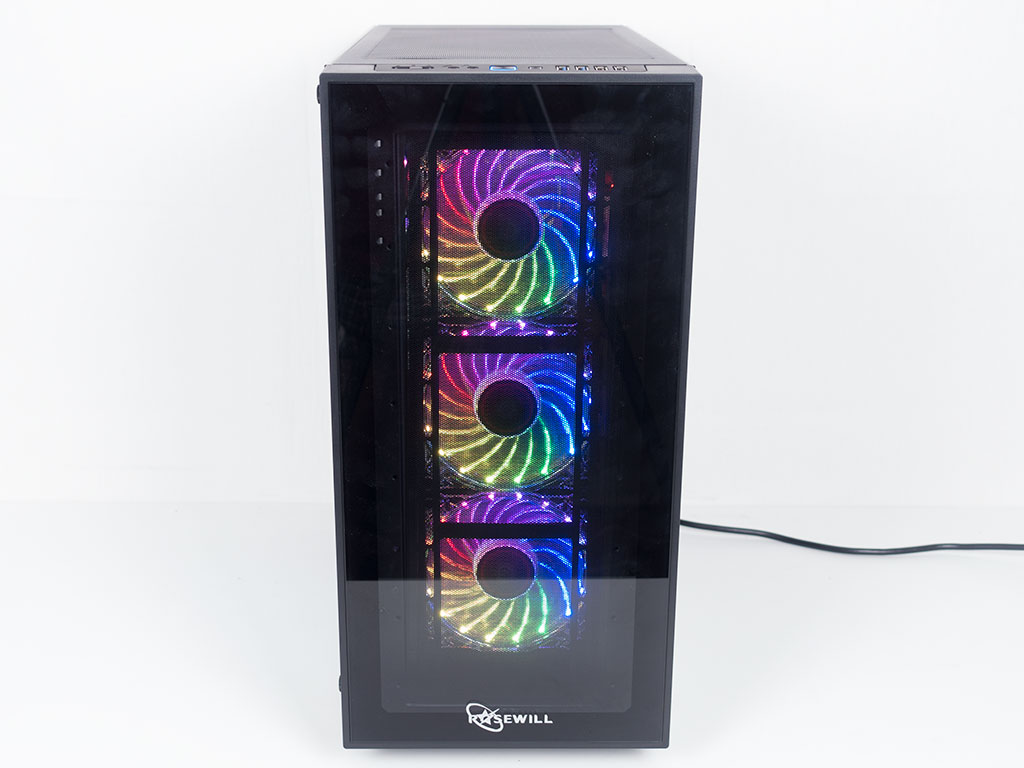
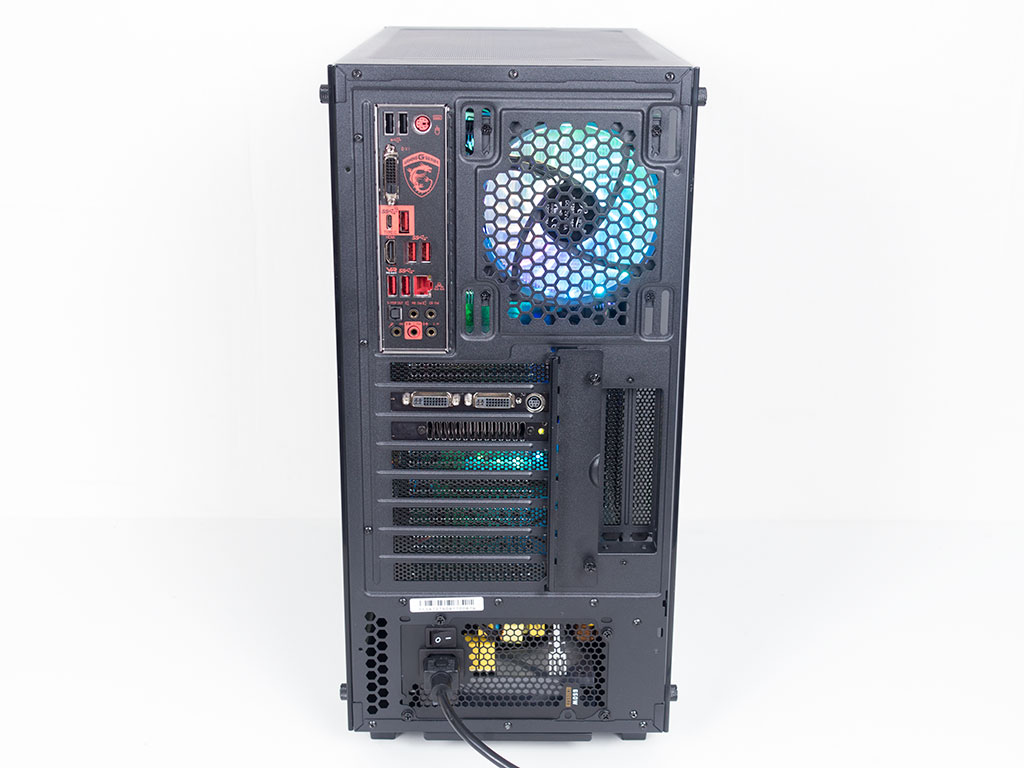
You can clearly see all the fans through the front glass cover, as it basically has no tint. Thanks to the numerous LEDs, the magnetic metal mesh dust filter won't be able to hide all those cool colors. In the rear and the sides, you can see more of the lighting elements. The four fans light the interior up as well, which will show all your hardware off nicely. On top of that, due to the heavier tint of the opposing side panel, all the routed cables are not as visible.
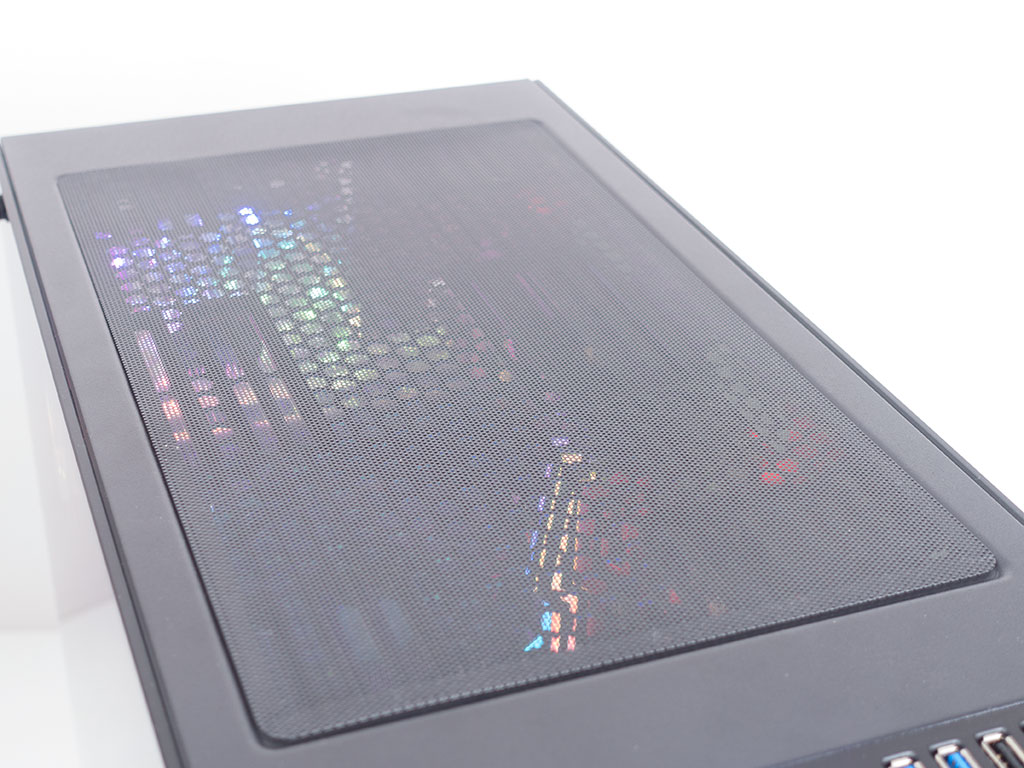
You may also take a peek inside the chassis through the top of the chassis, where you can clearly see the CPU cooler as well as the RGB elements of the ADATA memory.
Color Hues

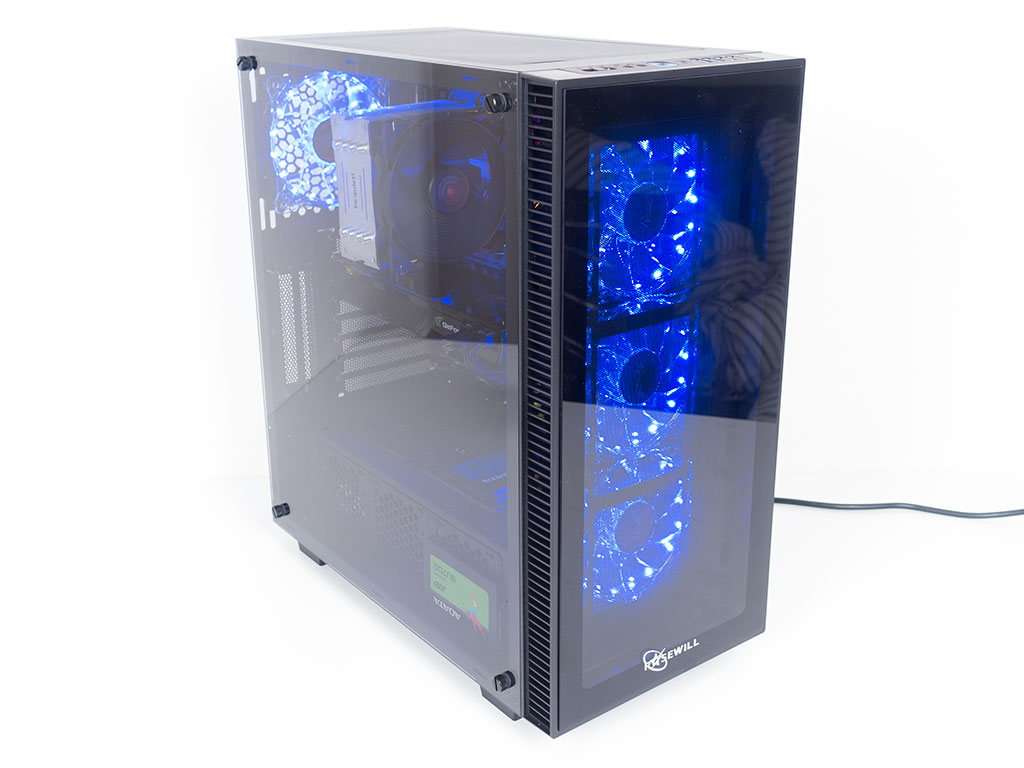
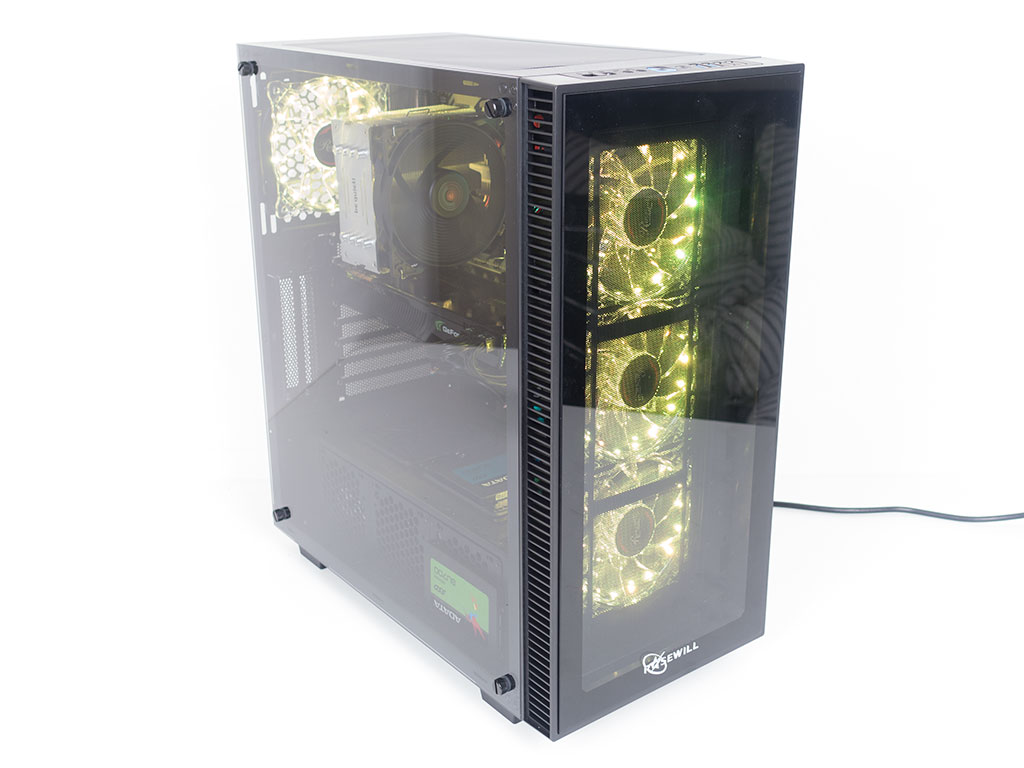


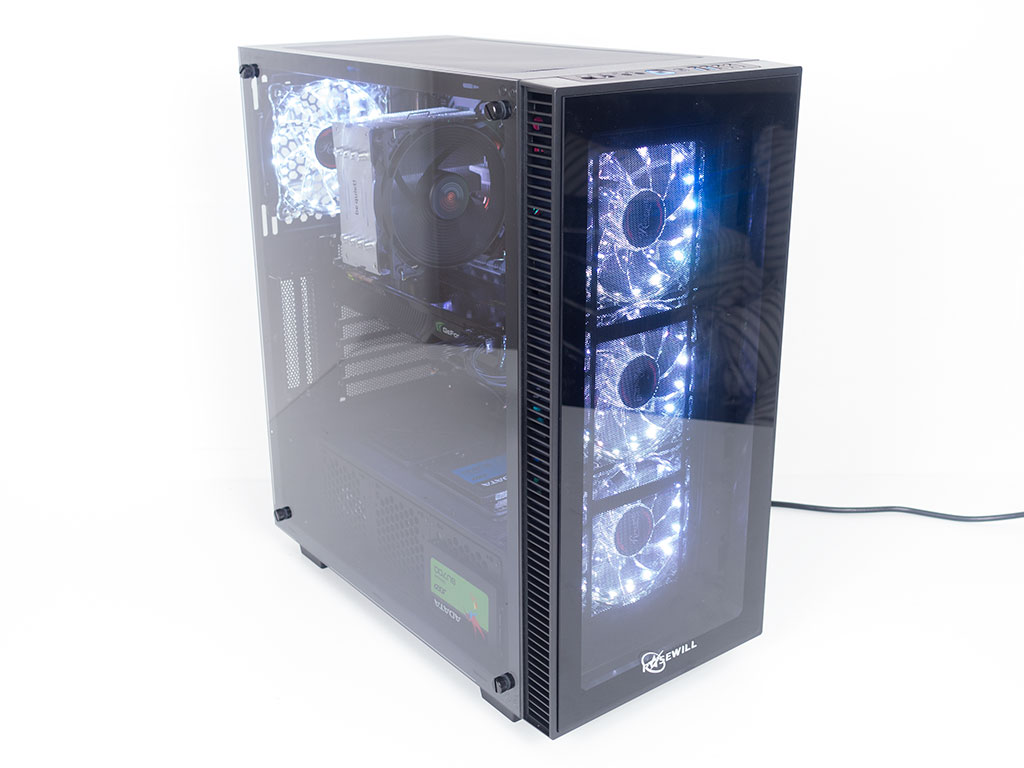
You may control the RGB colors with the included remote. You may cycle through a standard set of colors on one hand, but have the total freedom to choose various hues, brightness levels, and modes on the other. Thanks to the detached RGB elements, reducing the fan speed with the built-in fan controller does not affect the brightness of the LEDs.
Jul 3rd, 2025 21:58 CDT
change timezone
Latest GPU Drivers
New Forum Posts
- [GPU-Z Test Build] New Kernel Driver, Everyone: Please Test (35)
- GPU-Z Display Bug via DP 2.1? (4)
- What Windows is overall the best to you and why? (269)
- How do you view TPU & the internet in general? (With poll) (58)
- HP Zbook 15 G2 GPU Upgrade (12)
- Will you buy a RTX 5090? (610)
- What phone you use as your daily driver? And, a discussion of them. (1756)
- What would you buy? (51)
- A Final Fantasy IX Reminiscence - My love letter and homage to one of the best stories ever told (90)
- GravityMark v1.89 GPU Benchmark (309)
Popular Reviews
- ASUS ROG Crosshair X870E Extreme Review
- Crucial T710 2 TB Review - Record-Breaking Gen 5
- Fractal Design Scape Review - Debut Done Right
- PowerColor ALPHYN AM10 Review
- Sapphire Radeon RX 9060 XT Pulse OC 16 GB Review - An Excellent Choice
- Upcoming Hardware Launches 2025 (Updated May 2025)
- AMD Ryzen 7 9800X3D Review - The Best Gaming Processor
- Sapphire Radeon RX 9070 XT Nitro+ Review - Beating NVIDIA
- SCHENKER KEY 18 Pro (E25) Review - Top-Tier Contender
- AVerMedia CamStream 4K Review
TPU on YouTube
Controversial News Posts
- Intel's Core Ultra 7 265K and 265KF CPUs Dip Below $250 (288)
- NVIDIA Grabs Market Share, AMD Loses Ground, and Intel Disappears in Latest dGPU Update (212)
- Some Intel Nova Lake CPUs Rumored to Challenge AMD's 3D V-Cache in Desktop Gaming (140)
- NVIDIA GeForce RTX 5080 SUPER Could Feature 24 GB Memory, Increased Power Limits (115)
- Microsoft Partners with AMD for Next-gen Xbox Hardware (105)
- NVIDIA Launches GeForce RTX 5050 for Desktops and Laptops, Starts at $249 (105)
- Intel "Nova Lake‑S" Series: Seven SKUs, Up to 52 Cores and 150 W TDP (100)
- NVIDIA DLSS Transformer Cuts VRAM Usage by 20% (97)