 6
6
Rosewill Meteor XR Review
Assembly & Finished Looks »A Closer Look - Inside


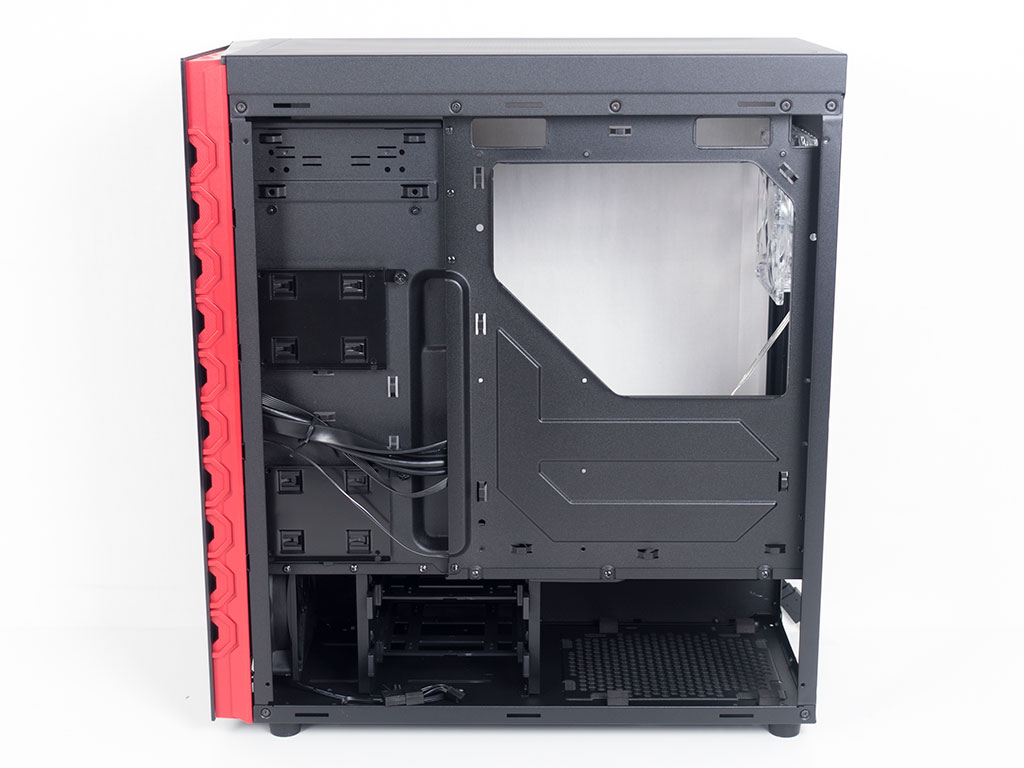
To gain access to the interior, simply remove the thumbscrews holding the glass and steel panels in place. The interior lacks any visible 3.5" drive bays since those are below the metal shroud. You will find a rubber-grommet-equipped opening on the divider and holes for two SSD trays on the other side. Looking at the motherboard tray from behind, there are two simple openings at the top's edge, but only a large, partially covered opening has been put into the left edge of the tray. While this will allow for some interesting cable routing, it also means you will have to route elements like audio all the way across the motherboard.
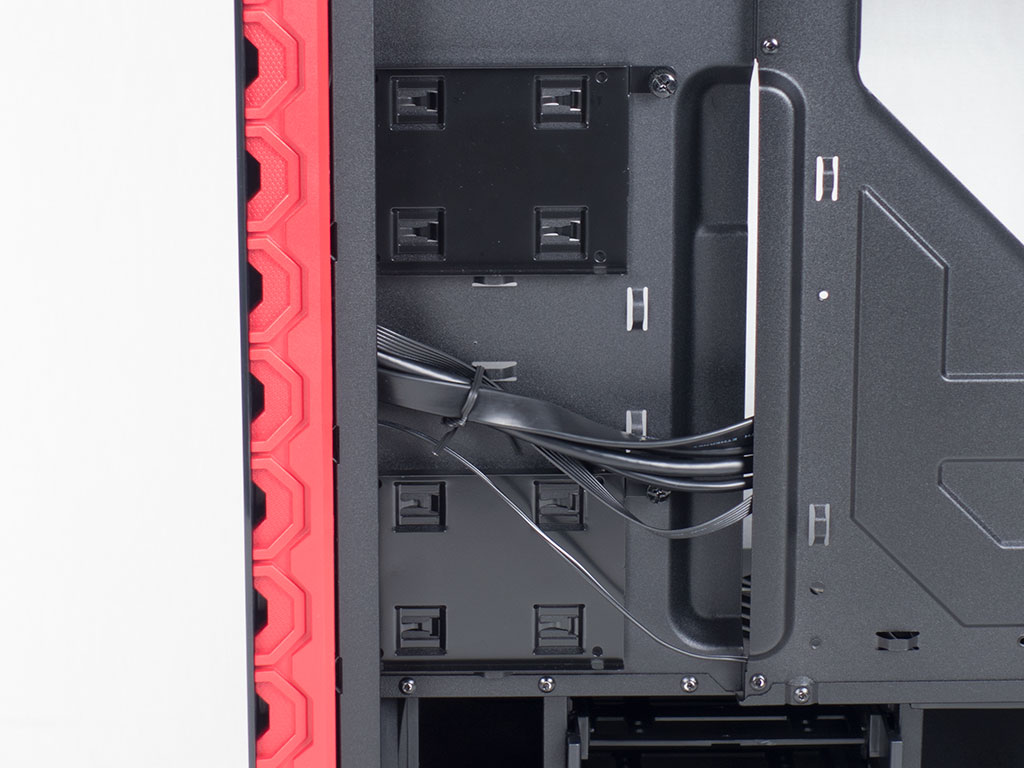
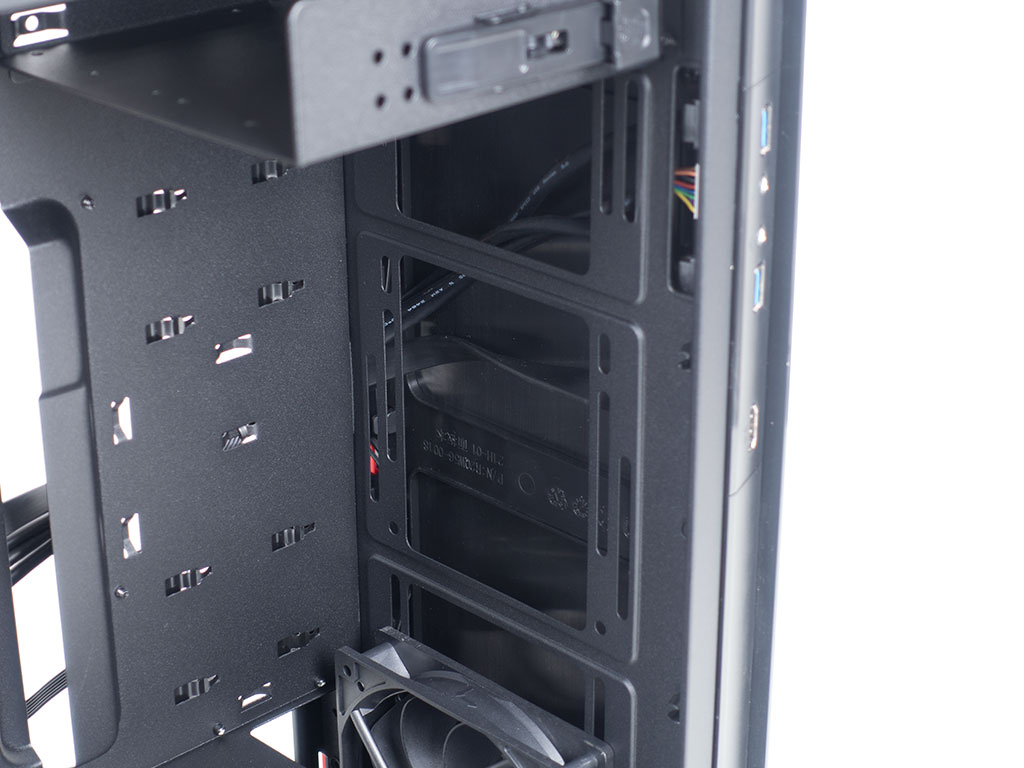
There are two SSD trays on the divider, towards the front of the chassis. You may move these on top of the metal shroud if you want to show your SSDs off. Some brands that use this tooling offer a total of four trays for utmost expandability, which would have been nice to see here as well.
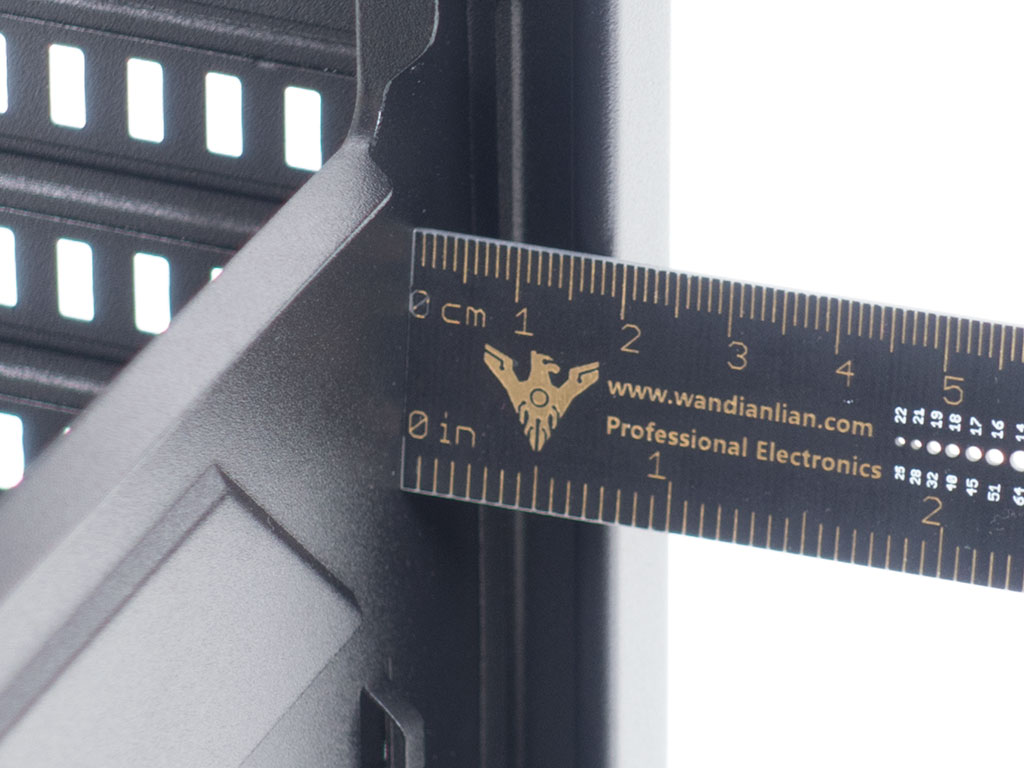
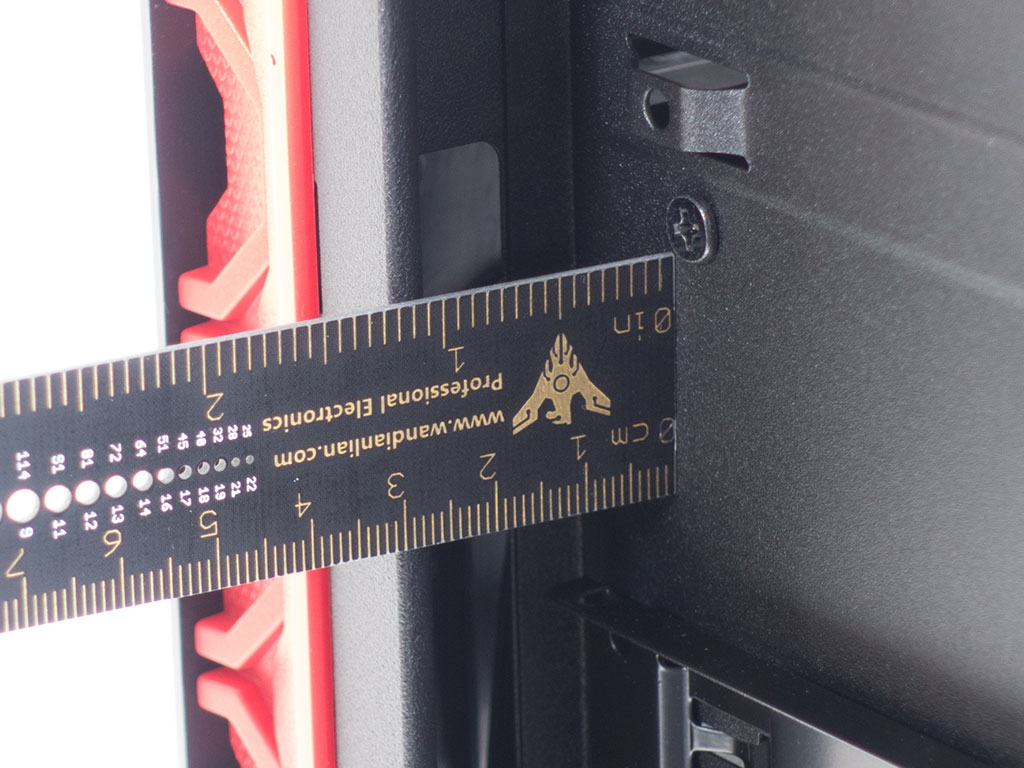
There is a mere 16 mm of space behind the motherboard tray, but thanks to the recessed front, you are given nearly 30 mm to work with. This means that most if not all of your cabling should be routed to and placed into this area of the case.
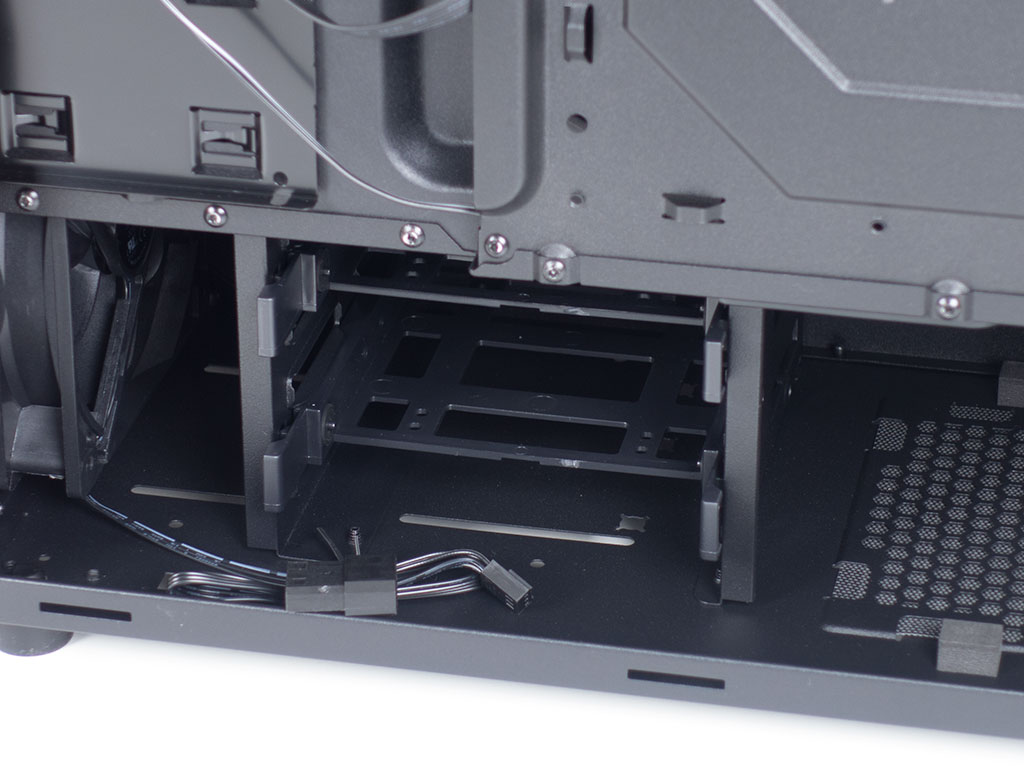
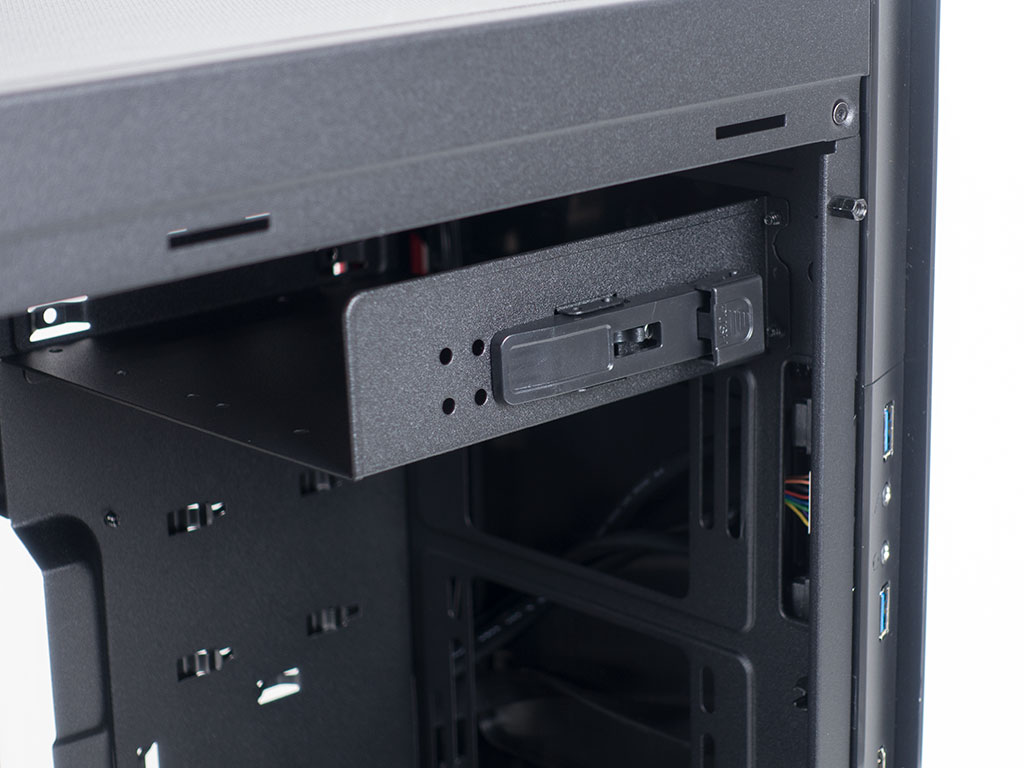
In the front, underneath the shroud, you will find the 3.5" cage, which holds two drive trays. These trays may also be used for 2.5" variants. The cage is far enough away from the fan in front to allow for a thin radiator to be sandwiched in here. The entire front is a big air vent, with the black-bladed fan pre-mounted to blow cool air across the hard drives, leaving the interior with very little active cooling. If you are not using 3.5" drives, be sure to move the fan up for the best thermal performance.
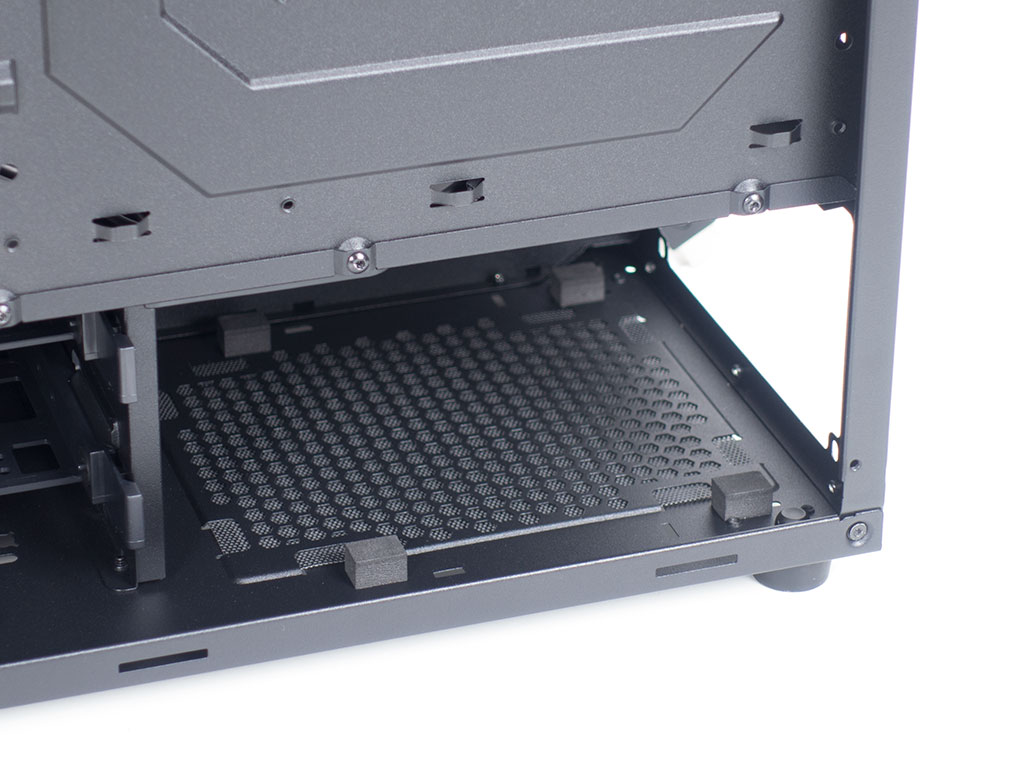
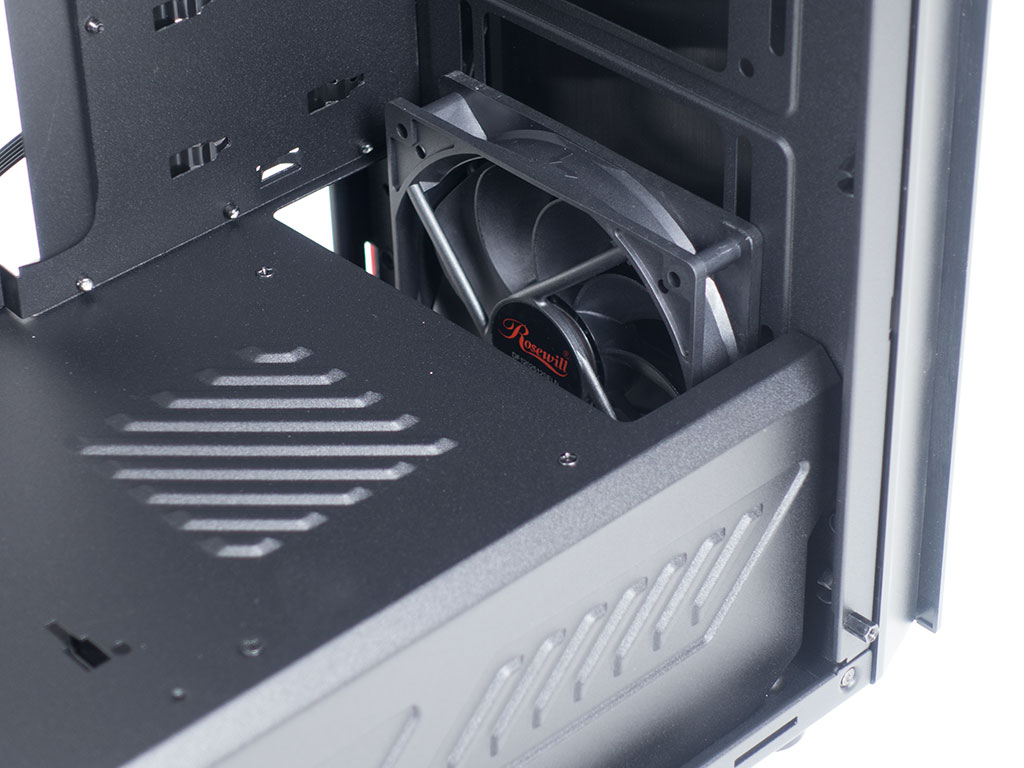
In the rear, once again starting below the shroud, you will find the simple but effective PSU bay. The PSU will rest on four foam spacers as an anti-vibration measure. There is not a lot of space for the PSU due to the way the HDD cage is placed, so you have to make sure to keep it below 150-160 mm in length. Above that are the seven expansion slots and a basic, clear, LED-equipped 120 mm fan set to push air out the back, which brings the total number of fans inside the Meteor XR to two.
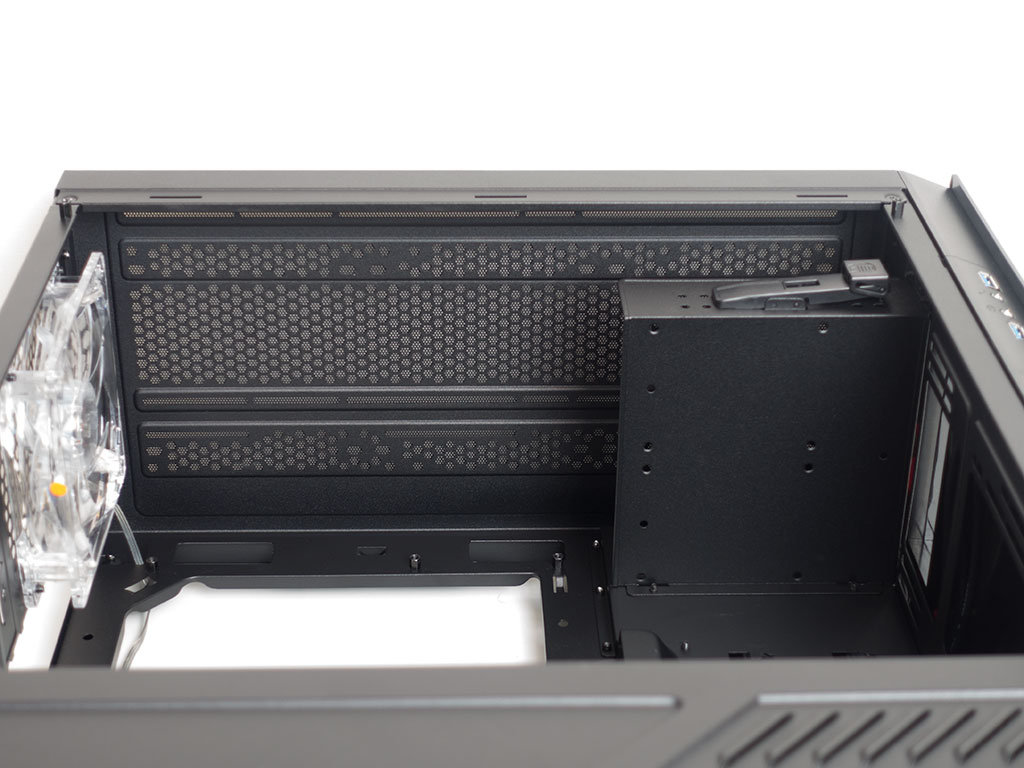
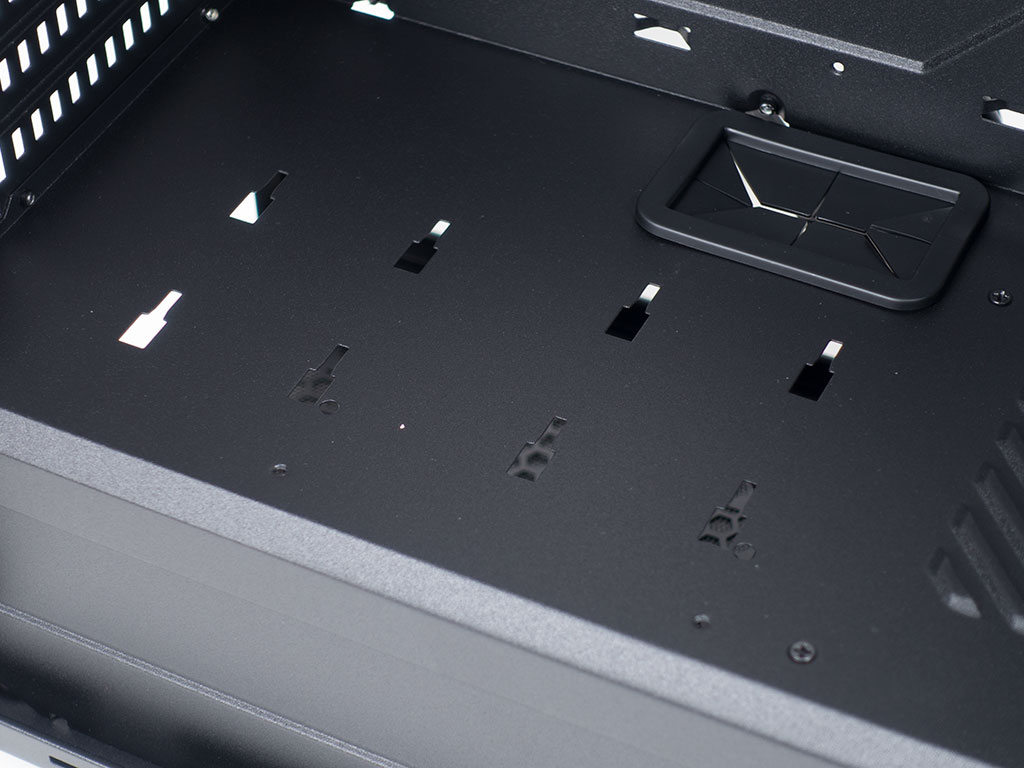
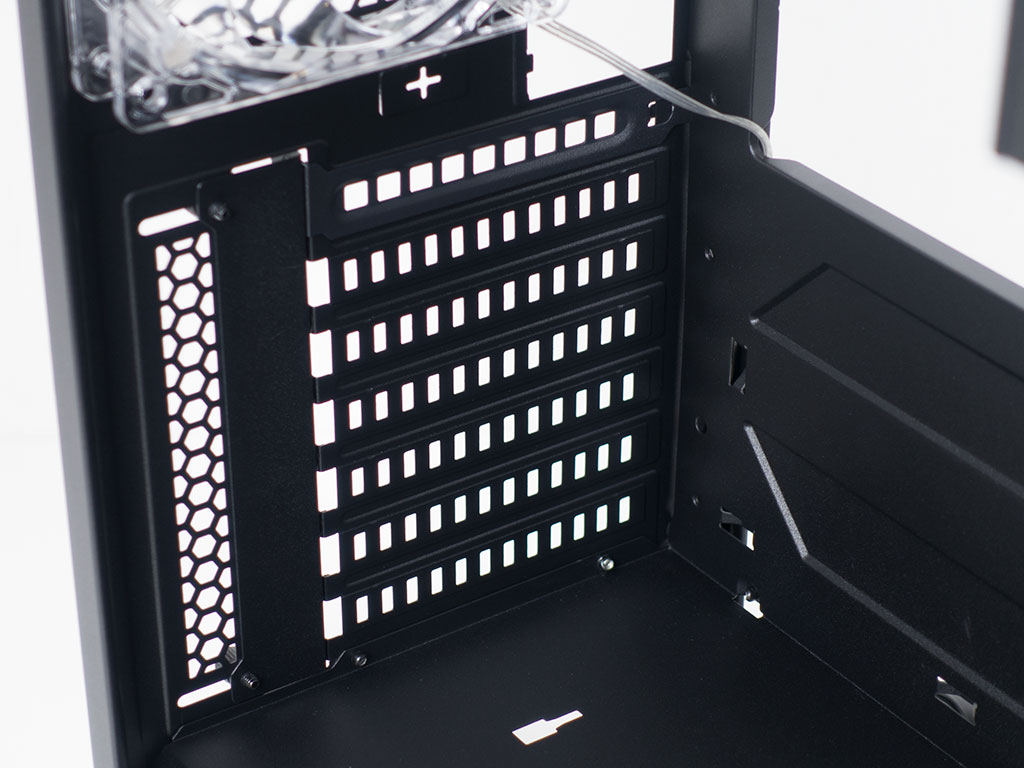
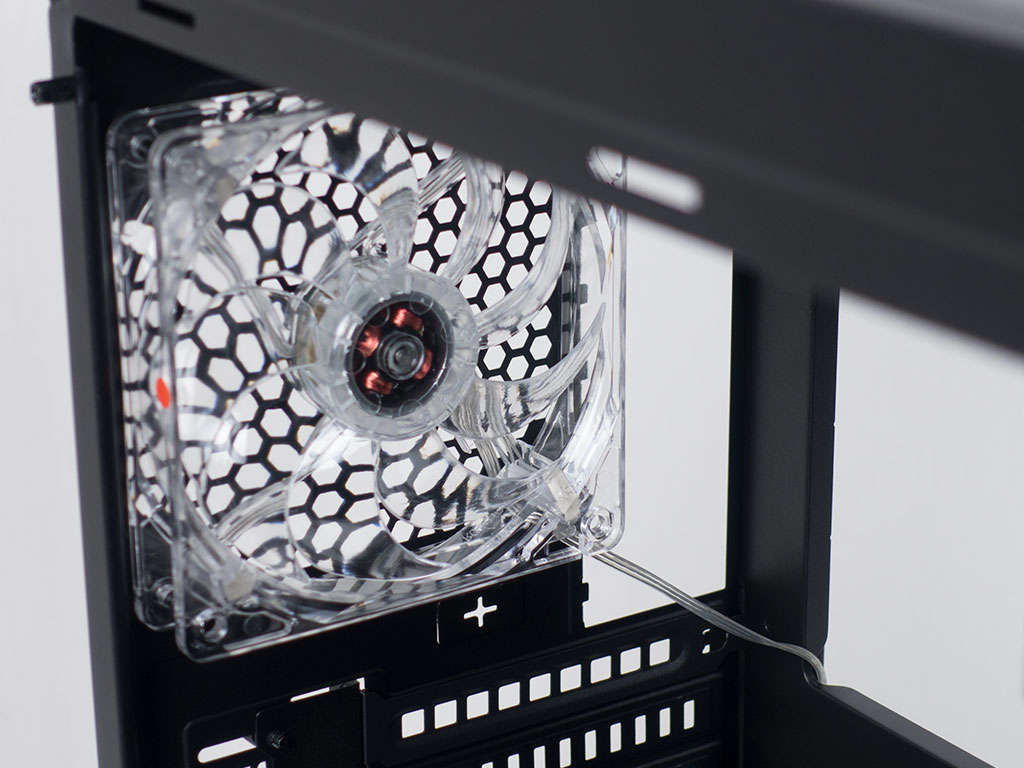
Looking at the ceiling of the Rosewill Meteor XR, you are able to install two 120 mm or 140 mm fans here. Thanks to the offset mounting holes, you should also be able to place a 240 mm radiator assembly into the ceiling instead without having to sacrifice the 5.25" drive bay.
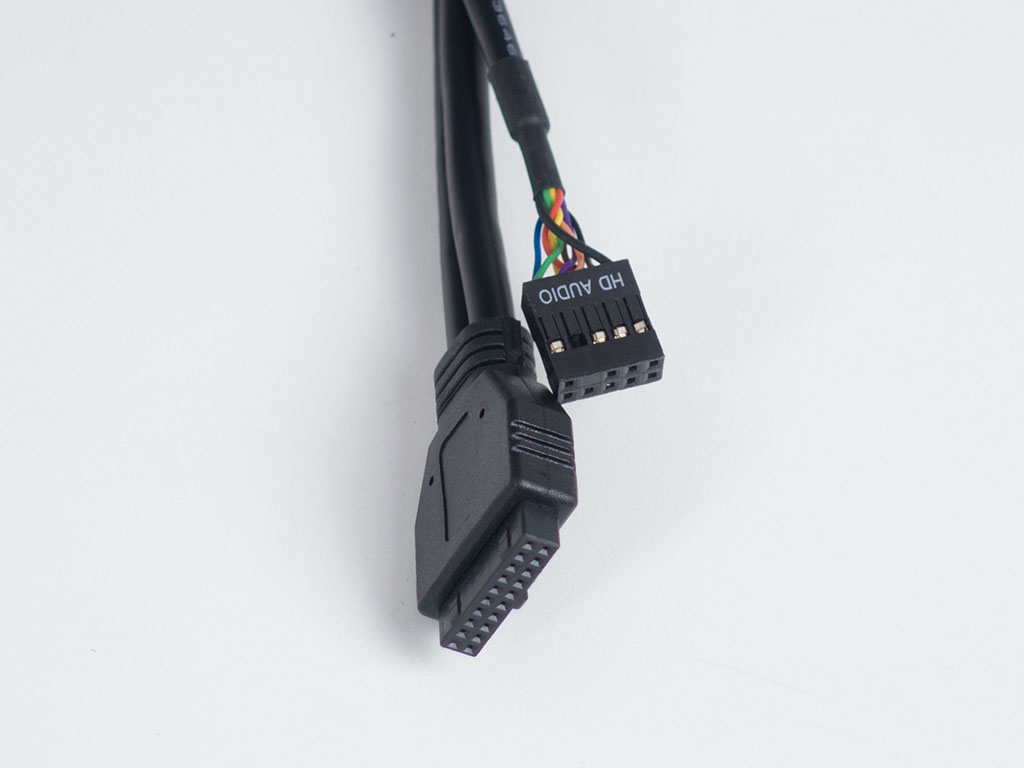
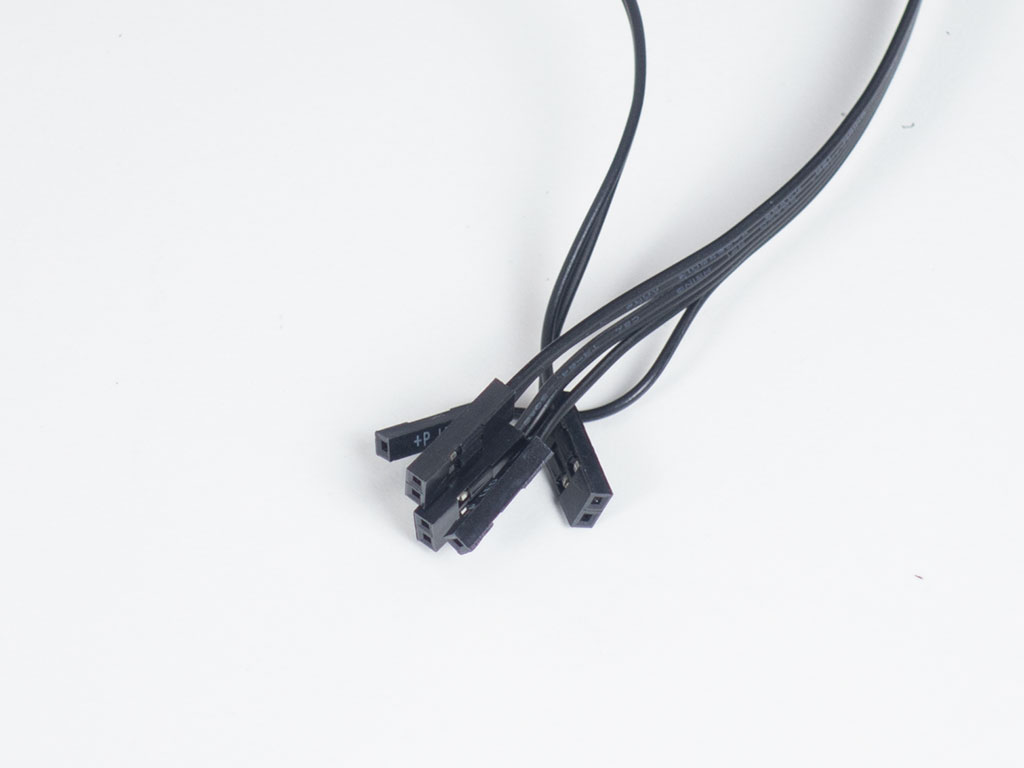
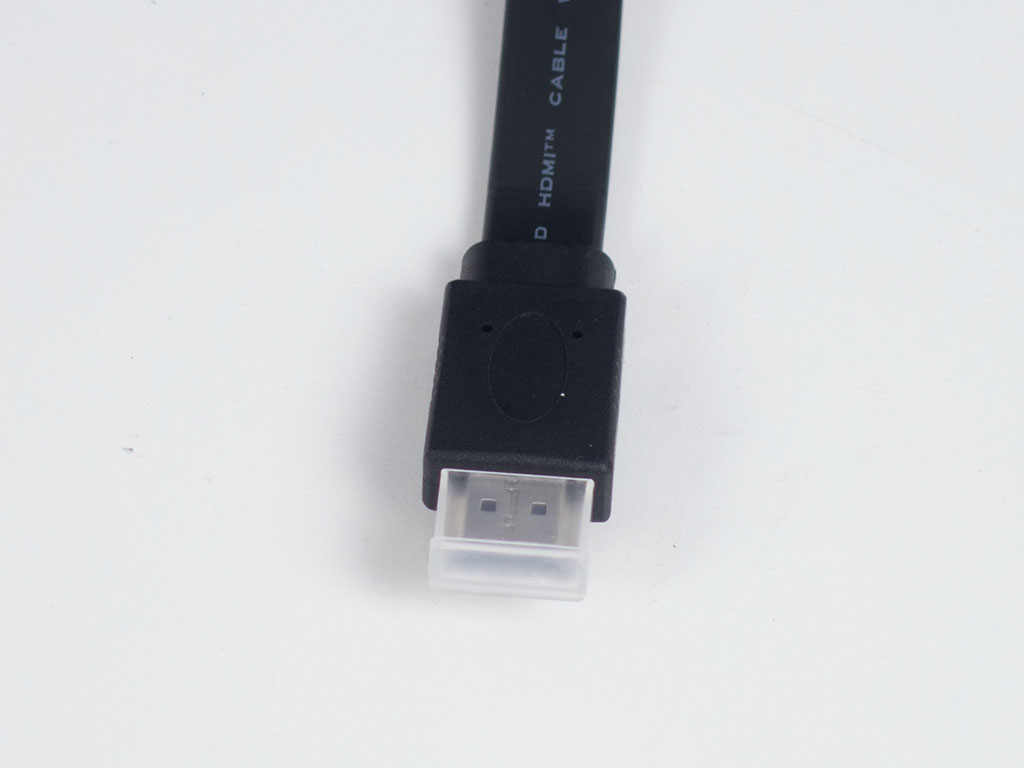
The cables for I/O and case power or reset are quite ordinary - you will easily be able to connect these to the motherboard of your choice. The only unique cable is a flat HDMI lead, which simply routes the signal from the rear of the board to the front.
Mar 10th, 2025 16:16 EDT
change timezone
Latest GPU Drivers
New Forum Posts
- DLSS as antialiasing? (19)
- Please I need help with the poor performance that my PC is giving me (28)
- Company of Heroes 3 (5)
- The TPU Darkroom - Digital SLR and Photography Club (4071)
- Maxsun RX580 graphics card crashes (24)
- A Final Fantasy IX Reminiscence - My love letter and homage to one of the best stories ever told (72)
- Gaming PC instabiliity (20)
- Msi 5090 DOA? (27)
- 3D Printer Club (447)
- Microprose: Falcon 5.0 - Well under development- yeay (1)
Popular Reviews
- Sapphire Radeon RX 9070 XT Nitro+ Review - Beating NVIDIA
- XFX Radeon RX 9070 XT Mercury OC Magnetic Air Review
- ASUS Radeon RX 9070 TUF OC Review
- MSI MAG B850 Tomahawk Max Wi-Fi Review
- NVIDIA GeForce RTX 5080 Founders Edition Review
- NVIDIA GeForce RTX 5070 Founders Edition Review
- Corsair Vengeance RGB CUDIMM DDR5-8800 48 GB CL42 Review
- AMD Ryzen 7 9800X3D Review - The Best Gaming Processor
- ASUS GeForce RTX 5070 Ti TUF OC Review
- MSI GeForce RTX 5070 Ti Gaming Trio OC+ Review
Controversial News Posts
- NVIDIA GeForce RTX 50 Cards Spotted with Missing ROPs, NVIDIA Confirms the Issue, Multiple Vendors Affected (513)
- AMD Plans Aggressive Price Competition with Radeon RX 9000 Series (277)
- AMD Radeon RX 9070 and 9070 XT Listed On Amazon - One Buyer Snags a Unit (261)
- AMD RDNA 4 and Radeon RX 9070 Series Unveiled: $549 & $599 (260)
- AMD Mentions Sub-$700 Pricing for Radeon RX 9070 GPU Series, Looks Like NV Minus $50 Again (248)
- NVIDIA Investigates GeForce RTX 50 Series "Blackwell" Black Screen and BSOD Issues (244)
- AMD Radeon RX 9070 and 9070 XT Official Performance Metrics Leaked, +42% 4K Performance Over Radeon RX 7900 GRE (195)
- AMD Radeon RX 9070-series Pricing Leaks Courtesy of MicroCenter (158)