 6
6
Sharkhan X500 Review
Value & Conclusion »Test System
| System Parts for Case Reviews | |
|---|---|
| Processor: | Intel Core i7-8600K |
| Motherboards: | ATX: MSI Z370 GAMING PRO CARBON AC MATX: Z370M GAMING PRO CARBON Mini-ITX: MSI Z370i GAMING PRO CARBON Provided by: MSI |
| Graphics Card: | Long: ASUS Radeon RX580 Short: HIS Radeon 5350 HD |
| Memory: | 16 GB XPG Dazzle DDR4 2800 MHz CL17-17-17 1.25 V 32 GB GB XPG SPECTRIX D40 3000 MHz. CL16-18-18 1.35 V 16 GB XPG GAMMIX D10 DDR4 2400 MHz CL16-16-16 1.20 V Provided by: ADATA |
| HDD: | Western Digital 320 GB 7200 RPM |
| SSD: | ADATA XPG SX850 256 GB ADATA Ultimate SU800 3D 256 GB ADATA Ultimate SU700 240 GB Provided by: ADATA |
| Power Supply: | Antec HCG High Current Gamer 650 W 80Plus Gold Antec HCG High Current Gamer 850 W 80Plus Bronze Provided by: Antec |
| Cooling: | be quiet! Dark Rock 4 be quiet! Dark Rock Slim be quiet! Shadow Rock LP Provided by: be quiet! |
Assembly
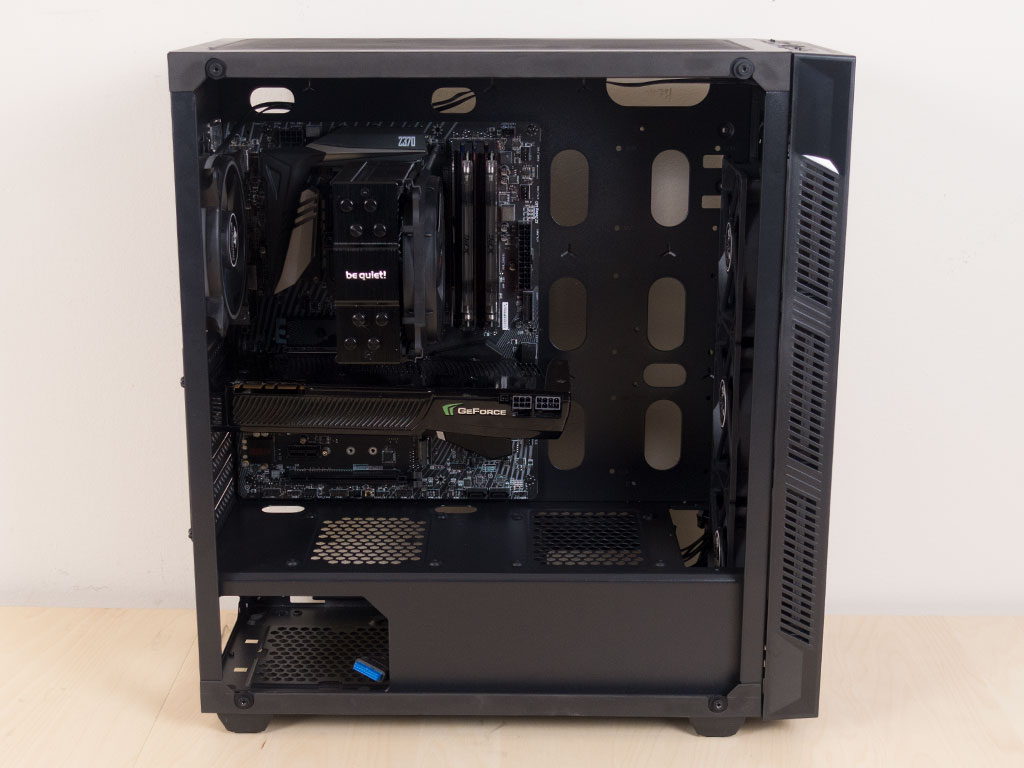
Installing the motherboard is done by traditional means, with the included spacers and screws. As you can see, there is plenty of space above the board for liquid cooling and easy access to connectors like the 8-pin CPU plug, while the bottom edge is right on the metal shroud.
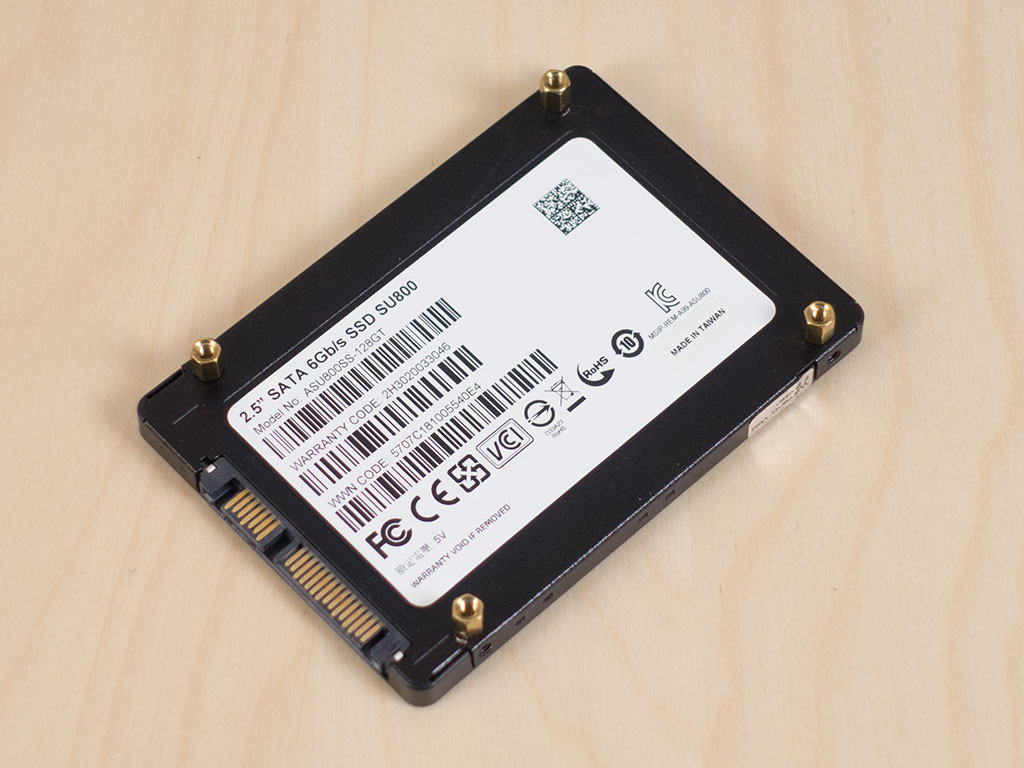
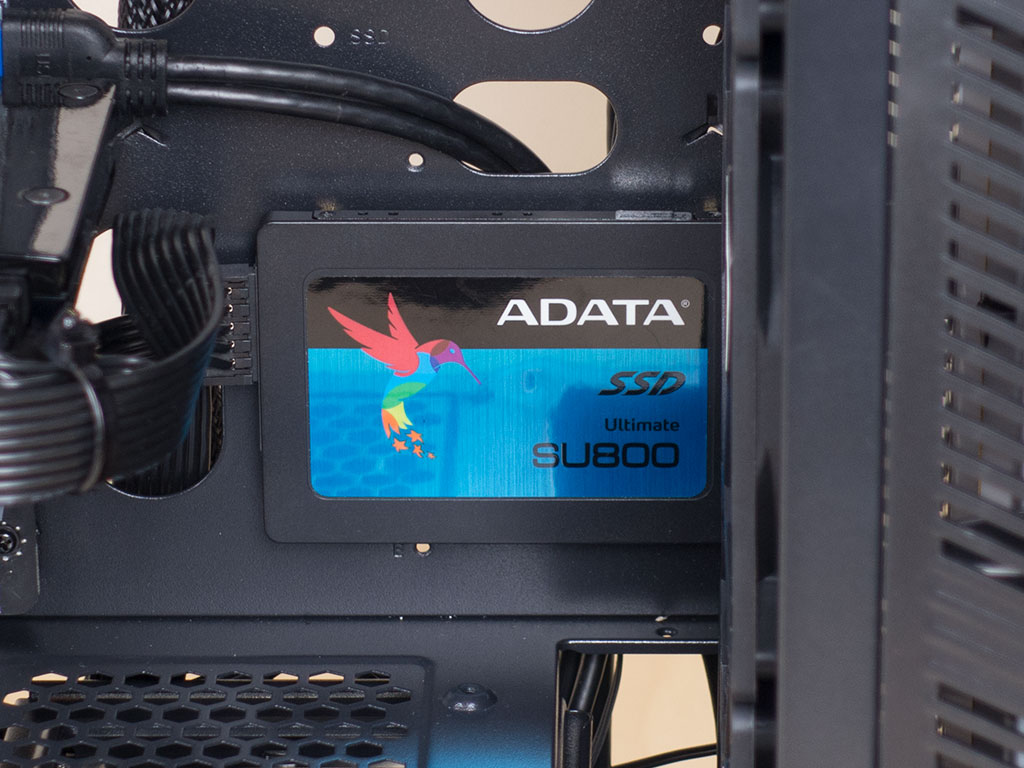
To install an SSD, simply screw it down on to the chassis. With the golden spacers, you get a little bit of clearance, which helps with connecting the SATA power plugs, for example. Once the spacers are in place, simply screw the drive down.
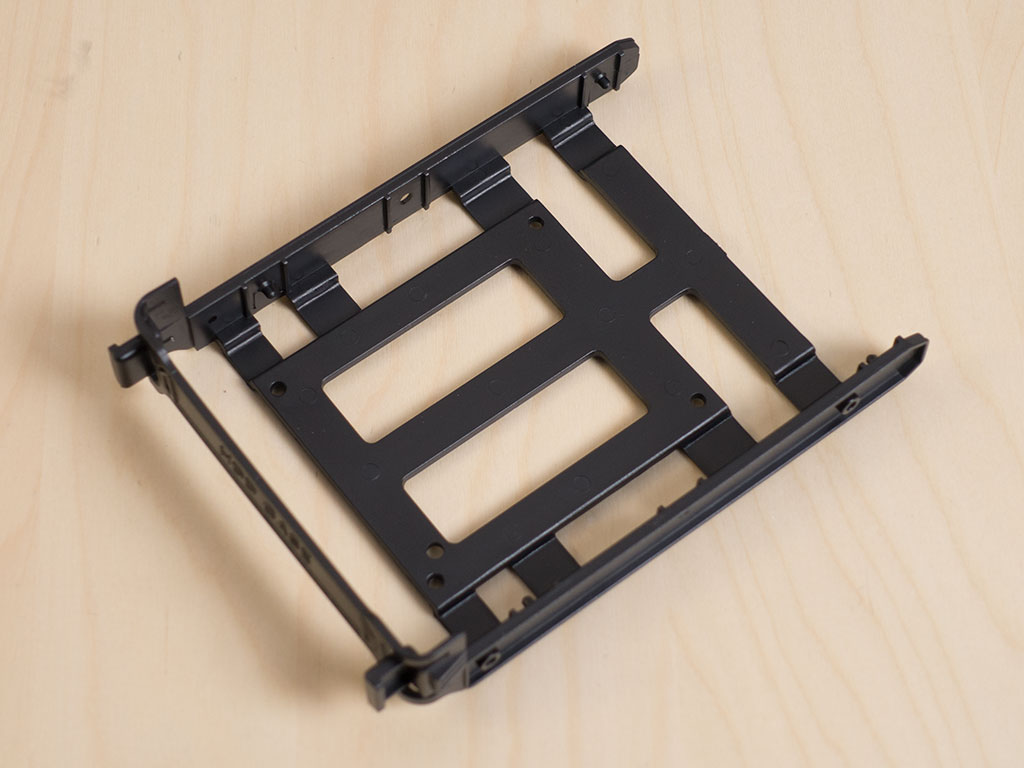

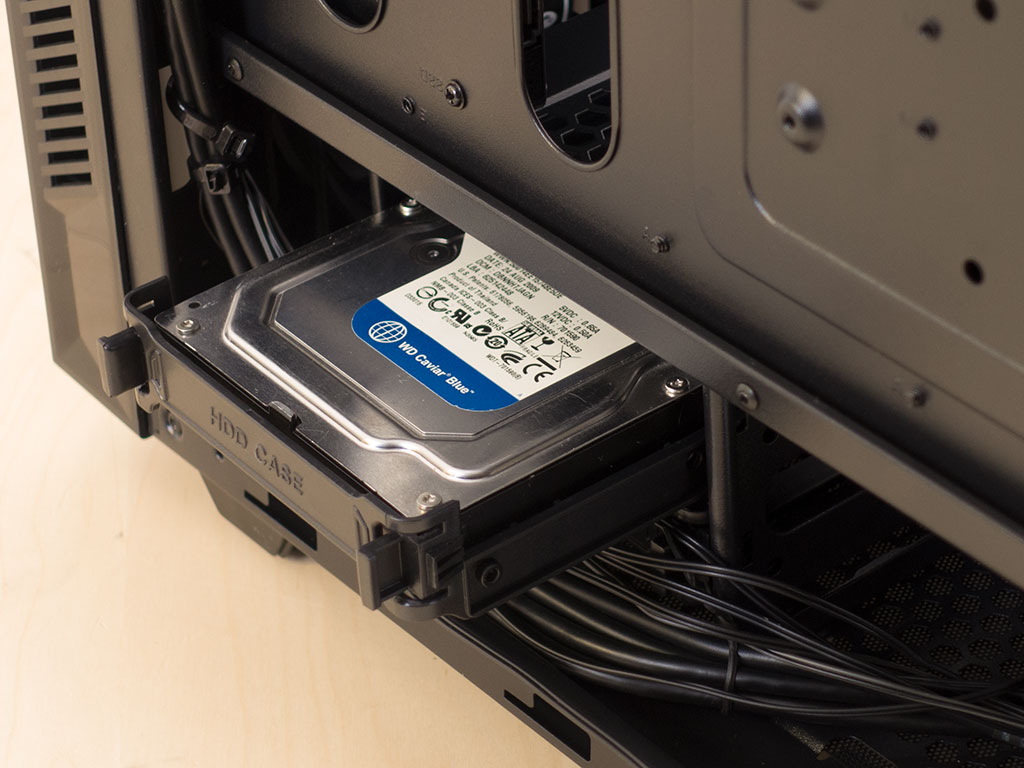
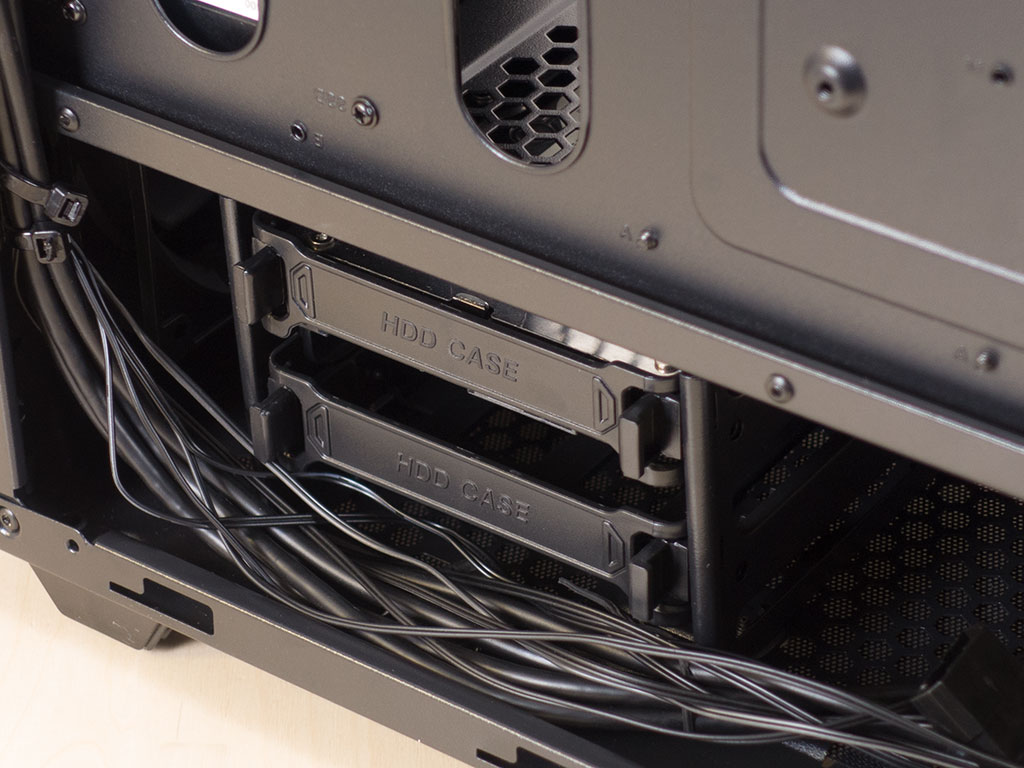
Adding a 3.5" drive is tool-less because of the plastic trays. Just pop them in and slide the filled tray back into the cage underneath the shroud until it clicks into position securely.
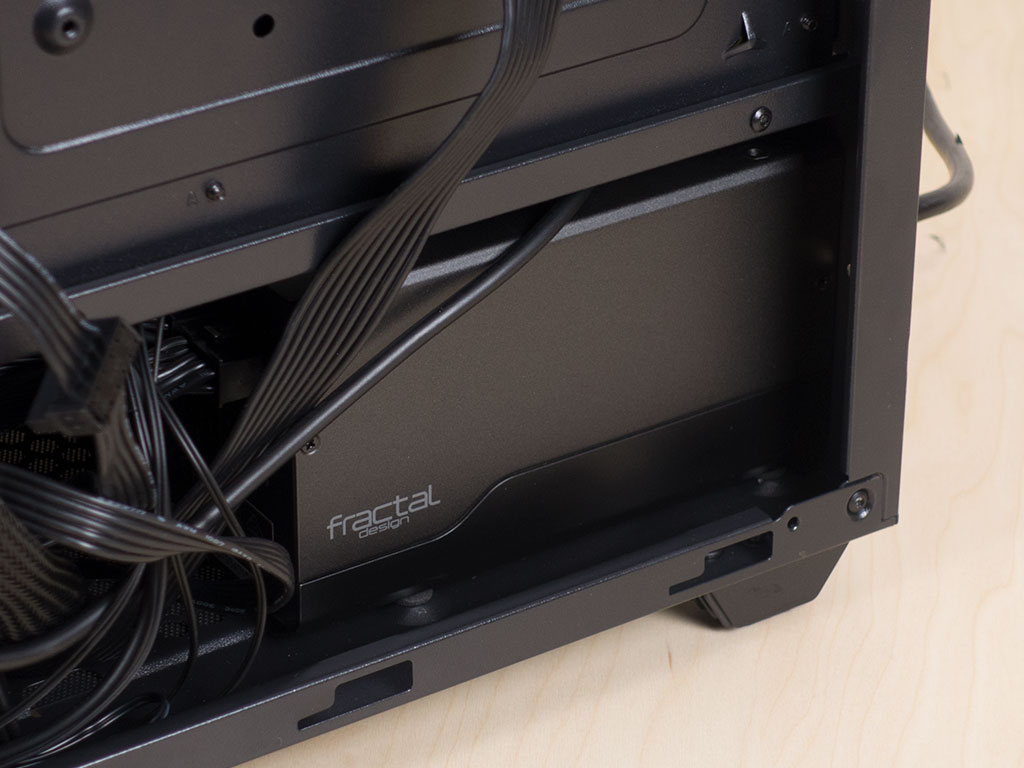
Placing a PSU within the Sharkhan X500 is pretty traditional too, using the included black screws. There is plenty of space, 190 mm to be exact, for you to use larger, higher-capacity units if you like.

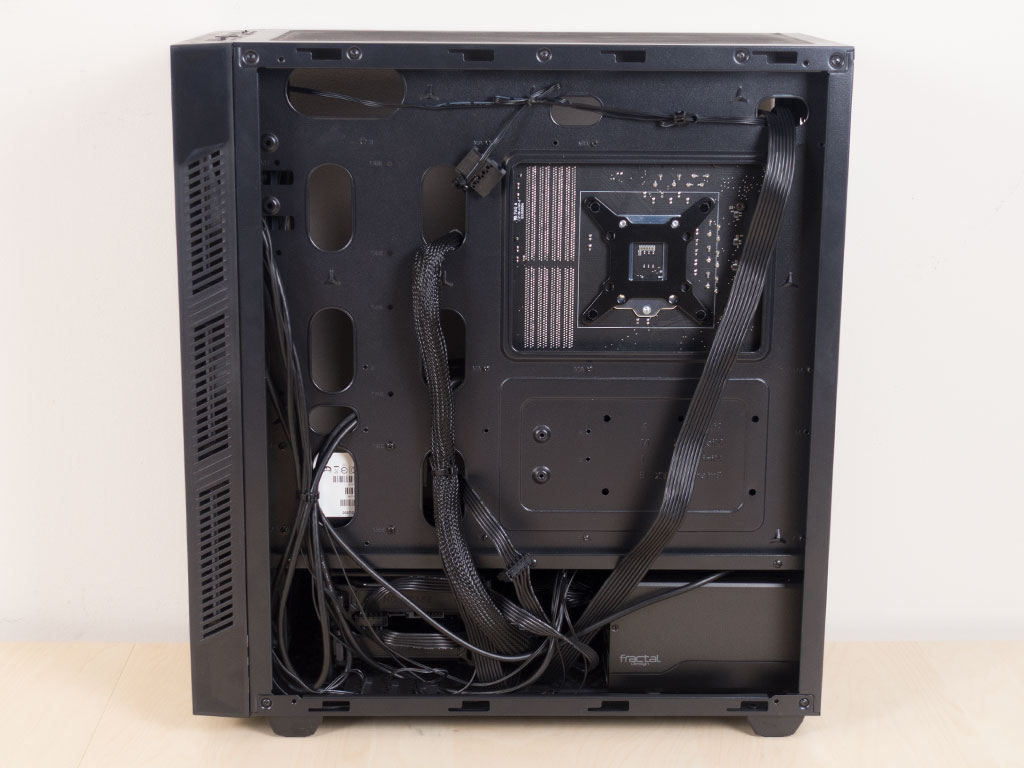
Once everything is installed, the interior looks alright, but the cables should not be as visible by today's pretty high standards. This is simply due to the missing grommets and the lack of well-placed hooks for zip ties. I hid every cable I could behind the SSD or motherboard. That said, I could have probably hidden the 24-pin ATX cable between the two sets of holes in the motherboard tray better. I did, however, reroute all the wiring for the fans from view perfectly. Overall, the result is fine, but requires a bit of extra work.
Finished Looks
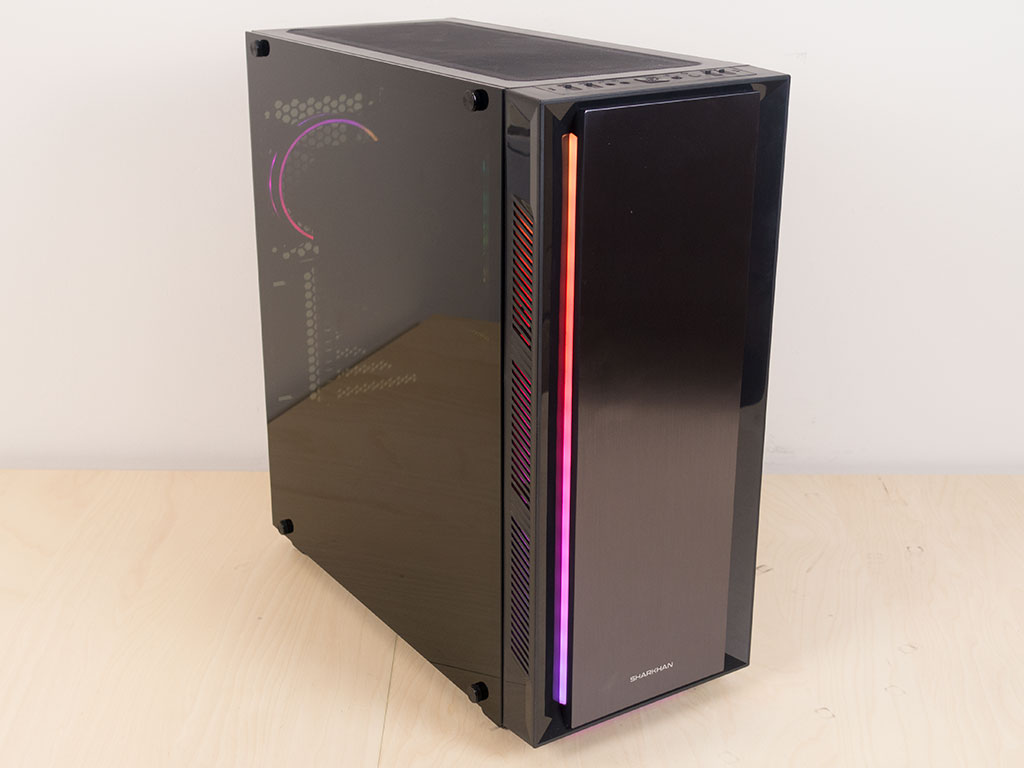
Once turned on, the rainbow effect with the built-in RGBs is still the coolest aspect in my opinion, and the Sharkhan X500 runs a good compromise between the brightness vs. effectiveness of the lighting element in the front of the chassis. On top of that, Sharkhan has done a good job with the diffusion, so the individual LEDs don't pop out too much. However, due to the heavy tint of the side panel, the glow of the rear fan is essentially lost overall.
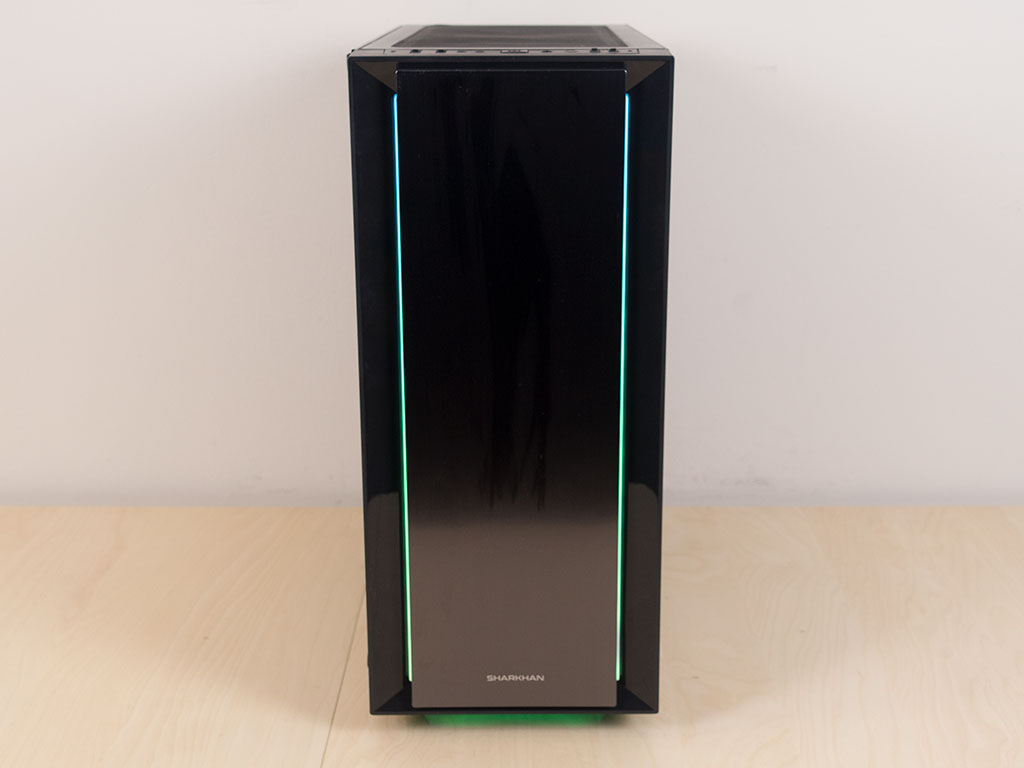
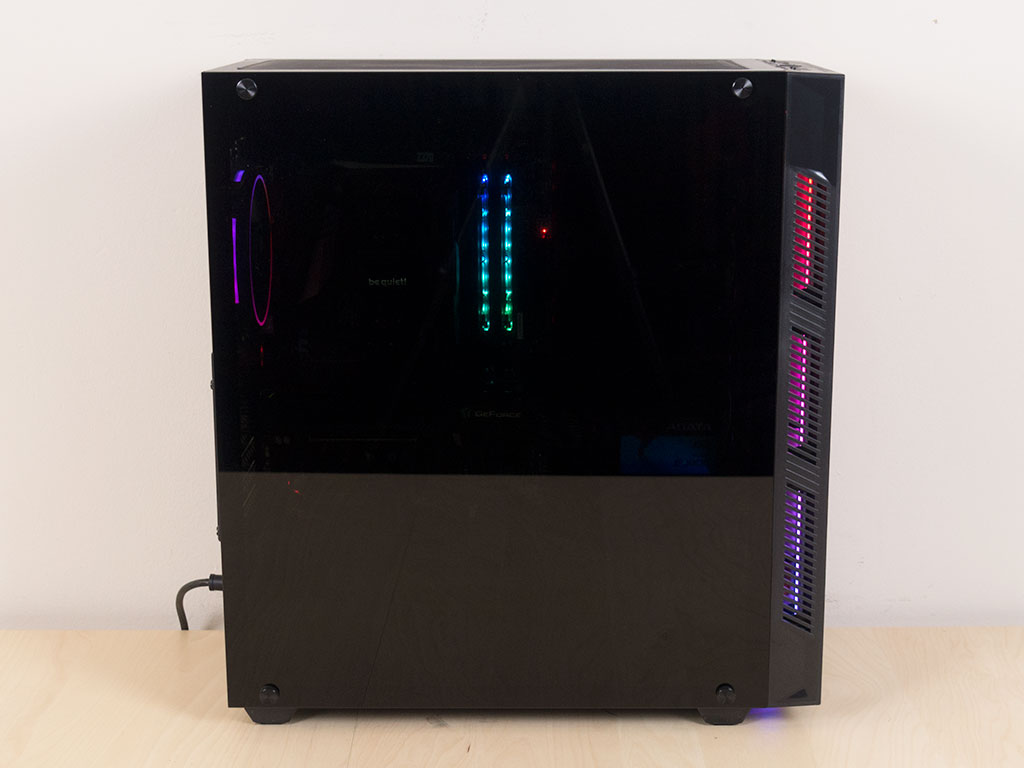
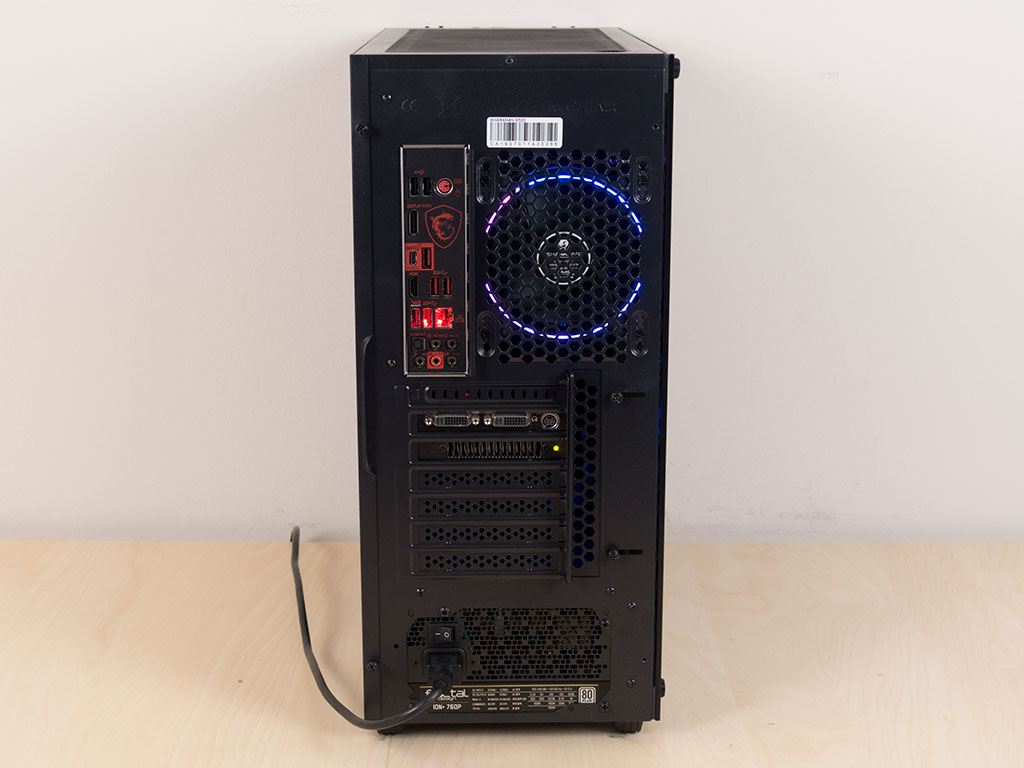
Looking at the X500 straight from the front, you can still see a bit of a glow from the front panel, with more visible through the air vents on the sides of the front panel. As expected, your hardware is essentially not visible, and you would have to place a lot of lighting elements inside to really make anything out, which is too bad as it essentially negates the benefits of the glass panel. In the rear, you can see the glow of the rear fan, and everything is where you would expect it to be with a chassis of this layout.
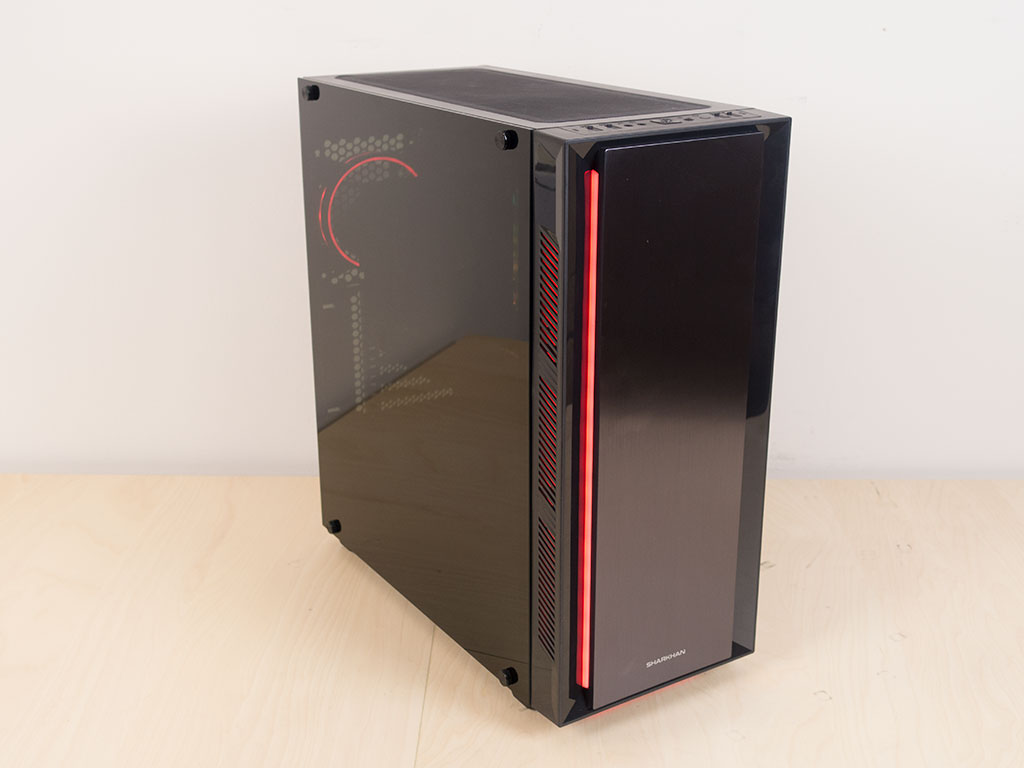
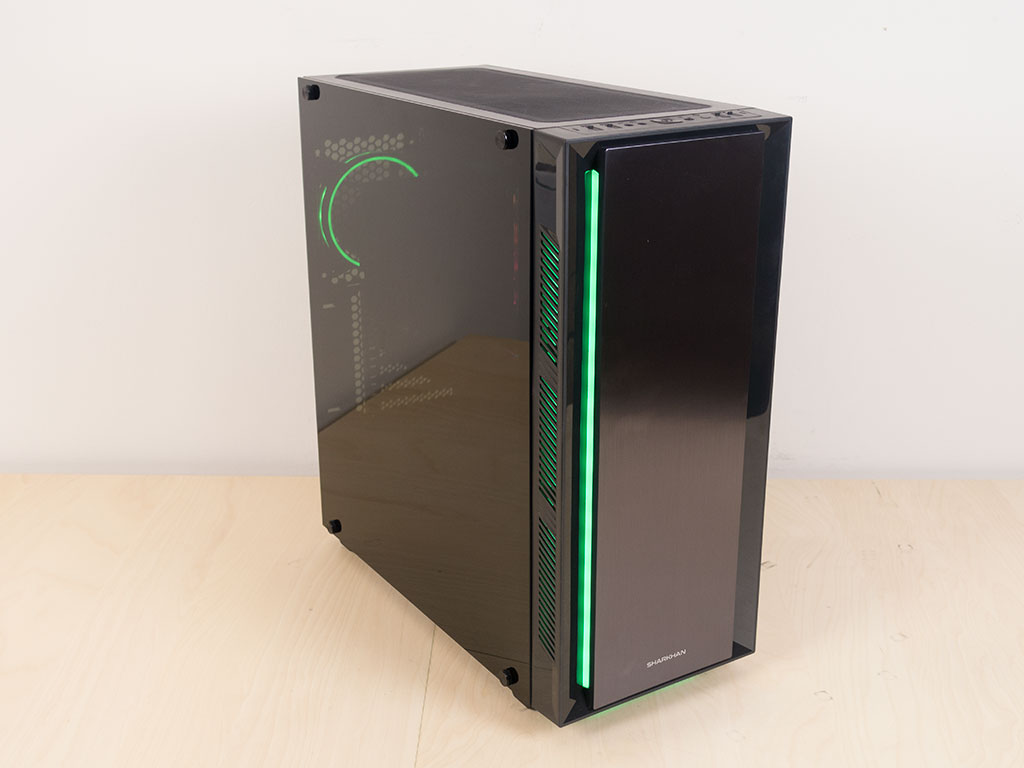
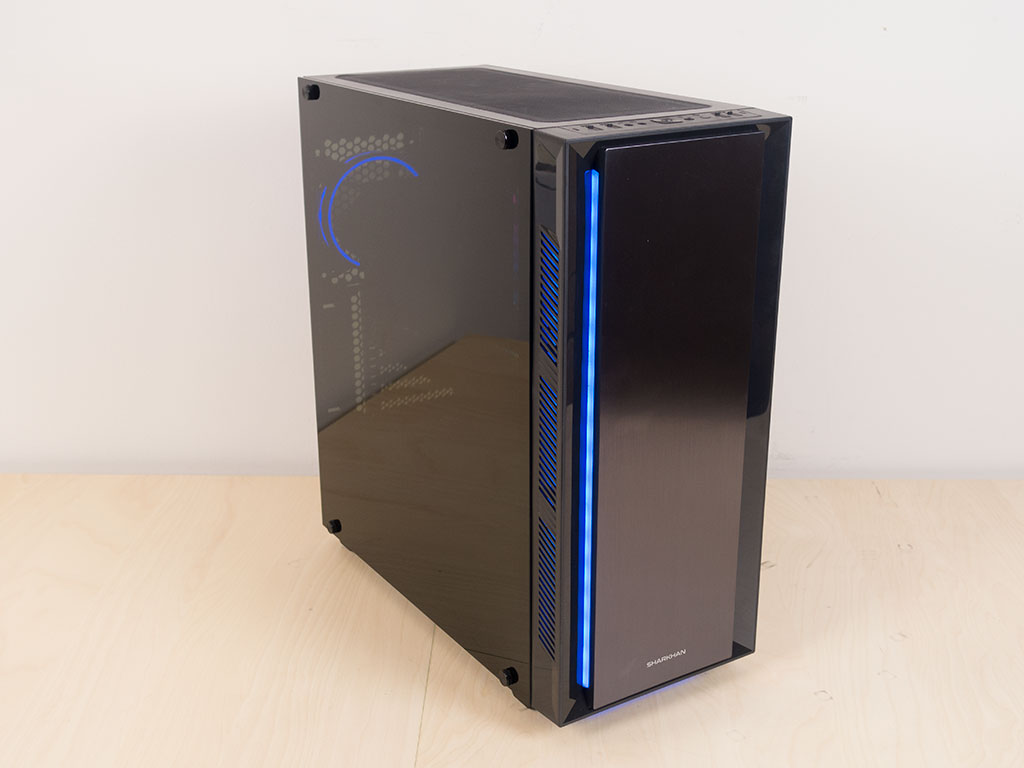
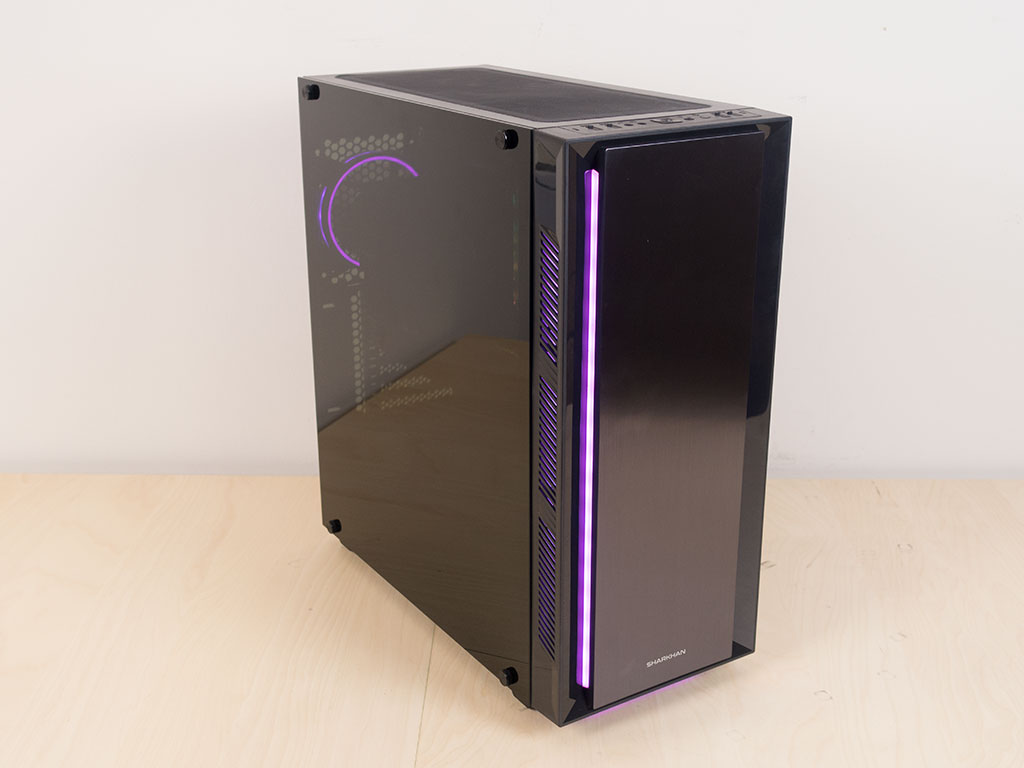

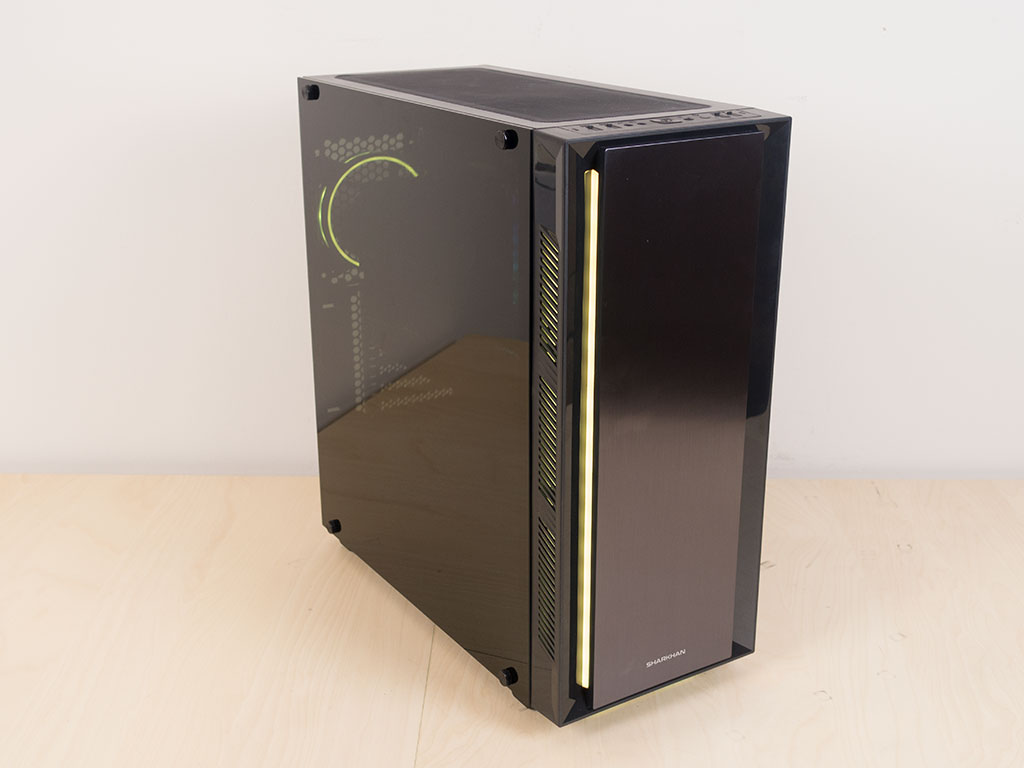
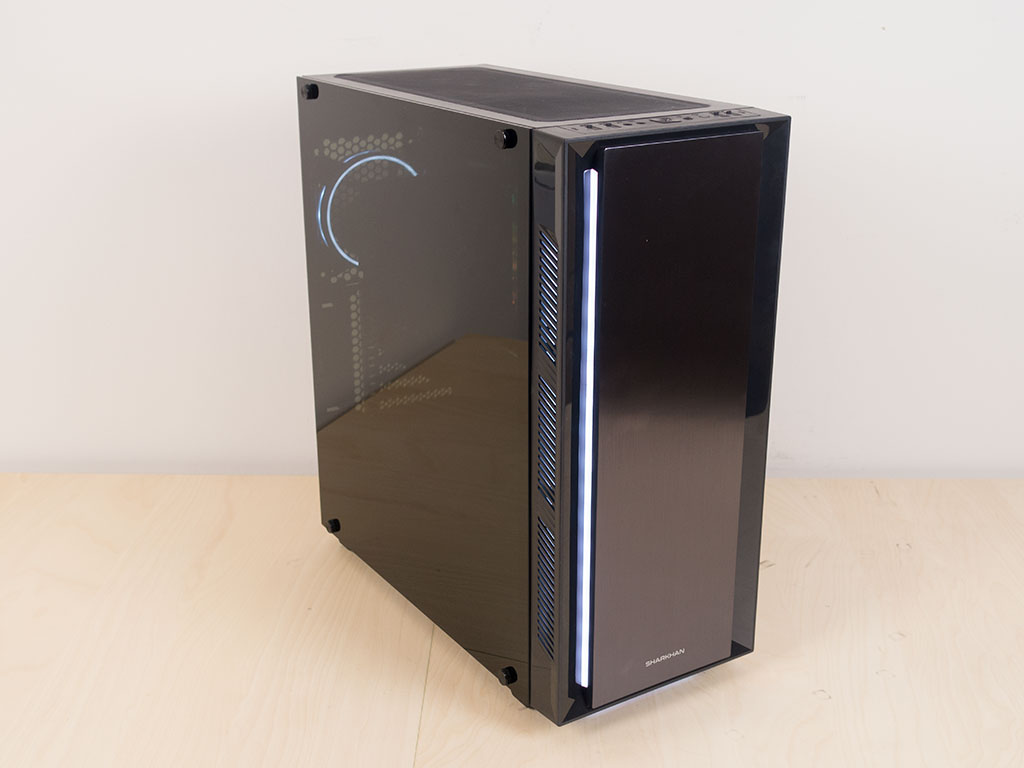
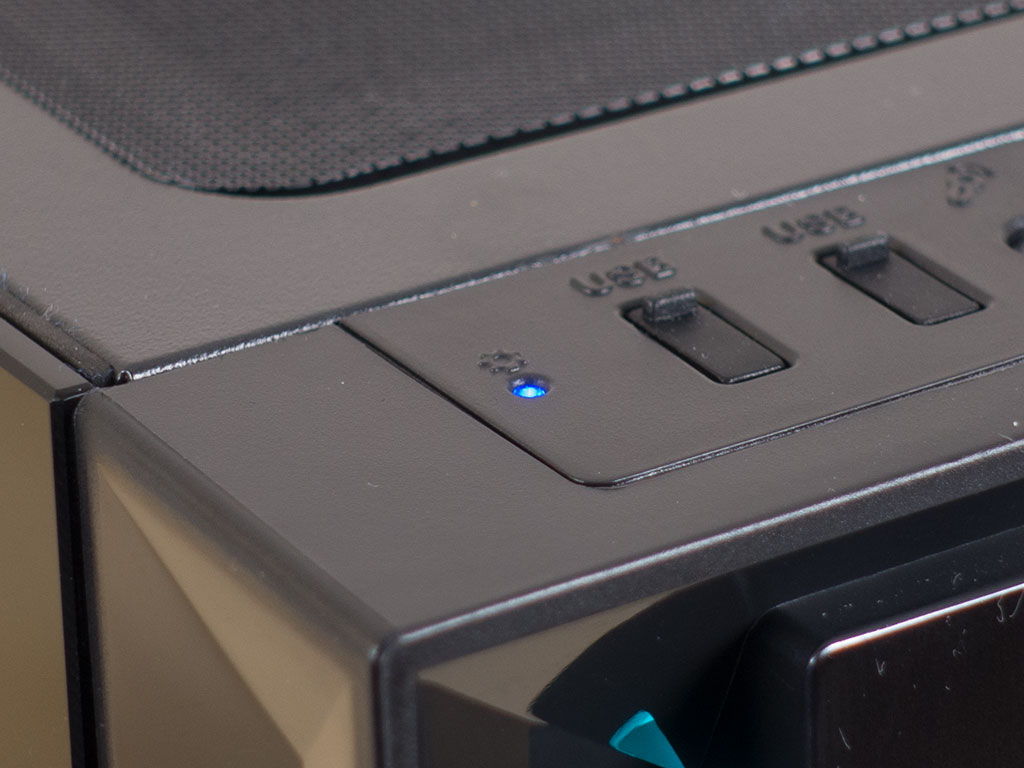
You may toggle through various single and multi-colored animations with the button on top of the case. There are seven solid colors to toggle through to match your interior, or simply your current mood.
Jul 14th, 2025 16:05 CDT
change timezone
Latest GPU Drivers
New Forum Posts
- AAF Optimus Modded Driver For Windows 10 & Windows 11 - Only for Realtek HDAUDIO Chips (578)
- i7 2860QM how to raise power limit? (21)
- AMD 7Ghz? This keeps popping up on my feeds! (6)
- Stupid things one has done with hardware (49)
- No offense, here are some things that bother me about your understanding of fans. (111)
- Choosing the right motherboard (5)
- Best motherboards for XP gaming (151)
- Which CPU to Choose for a 7900 XT? Ryzen 7 7700 or Ryzen 5 9600X? (43)
- Bent pins on an AM5 mobo, any way to test them and also find which ones were on the schematic? (6)
- Arc 770a 16gb money pit (9)
Popular Reviews
- Lexar NM1090 Pro 4 TB Review
- Our Visit to the Hunter Super Computer
- MSI GeForce RTX 5060 Gaming OC Review
- Fractal Design Epoch RGB TG Review
- NVIDIA GeForce RTX 5050 8 GB Review
- Corsair FRAME 5000D RS Review
- Sapphire Radeon RX 9060 XT Pulse OC 16 GB Review - An Excellent Choice
- Chieftec Iceberg 360 Review
- AMD Ryzen 7 9800X3D Review - The Best Gaming Processor
- Upcoming Hardware Launches 2025 (Updated May 2025)
TPU on YouTube
Controversial News Posts
- Intel's Core Ultra 7 265K and 265KF CPUs Dip Below $250 (288)
- Some Intel Nova Lake CPUs Rumored to Challenge AMD's 3D V-Cache in Desktop Gaming (140)
- AMD Radeon RX 9070 XT Gains 9% Performance at 1440p with Latest Driver, Beats RTX 5070 Ti (131)
- NVIDIA Launches GeForce RTX 5050 for Desktops and Laptops, Starts at $249 (122)
- NVIDIA GeForce RTX 5080 SUPER Could Feature 24 GB Memory, Increased Power Limits (115)
- Microsoft Partners with AMD for Next-gen Xbox Hardware (105)
- Intel "Nova Lake‑S" Series: Seven SKUs, Up to 52 Cores and 150 W TDP (100)
- NVIDIA DLSS Transformer Cuts VRAM Usage by 20% (97)