 6
6
Sharkoon MS-Y1000 Review
Assembly & Finished Looks »A Closer Look - Inside
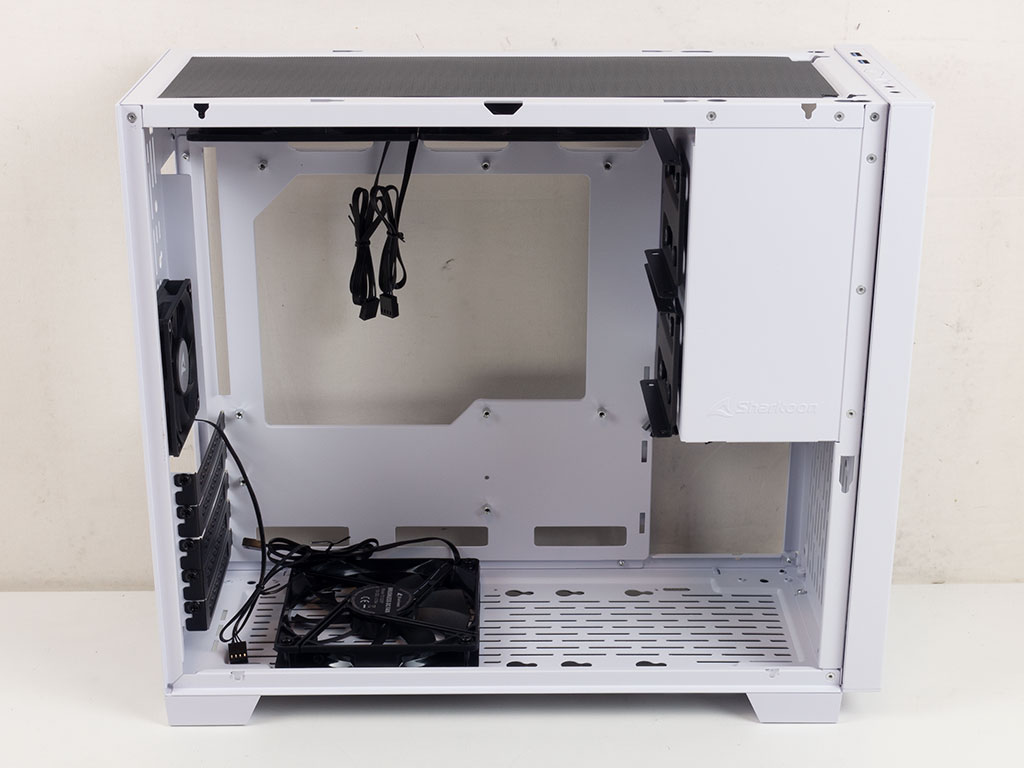
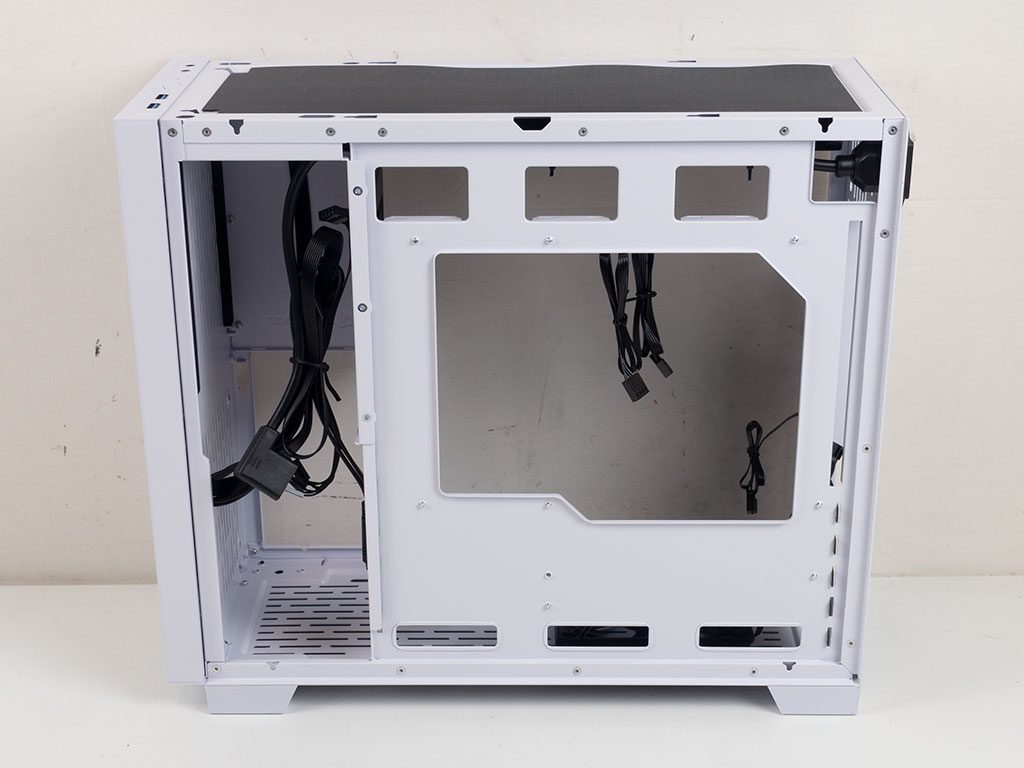
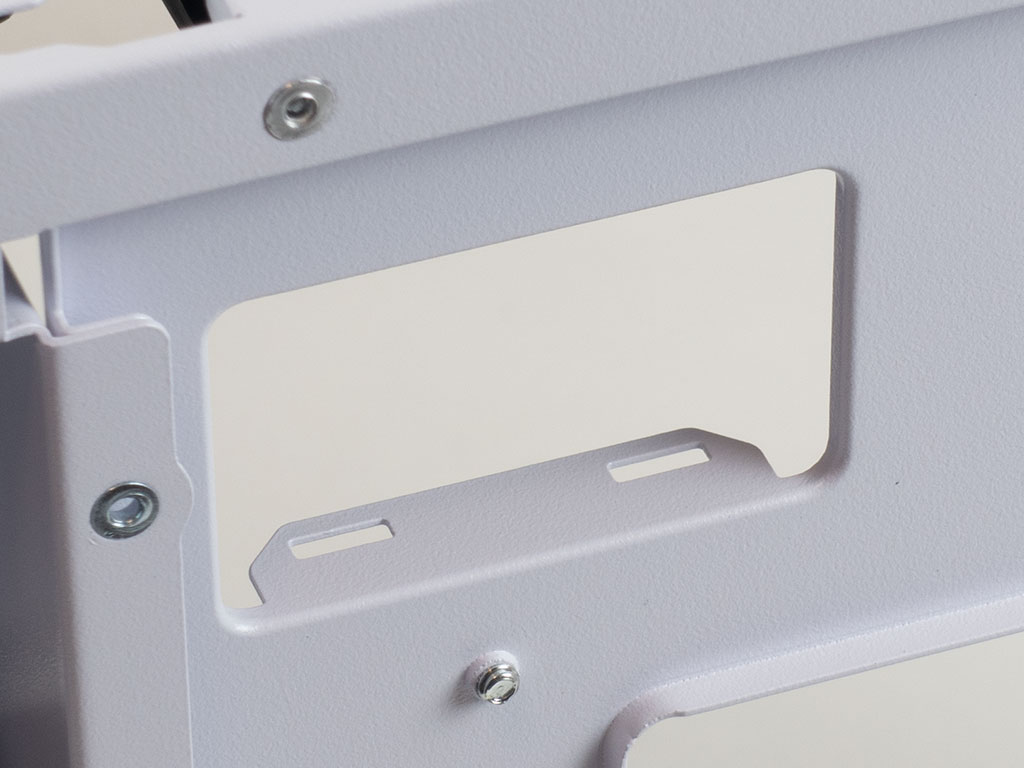
To access the interior, Sharkoon has actually taken a cue from Lian Li, as you have to remove the top cover and lift out the panels. This approach keeps the overall looks of the chassis really clean with just a single thumb screw to detach. On the interior, the PSU has been placed in the front, just above the first PCIe slot. This is why Sharkoon mentions a 160 mm size limit for your power supply. On the backside, there is very little room between the motherboard tray and side panel. Sharkoon did not put any hooks for cable management on the tray itself, but placed some along the edges of the cutouts. While a good call, those should really fold into the other direction to be useful. On top of that, Sharkoon could have placed a few additional openings to the side of the motherboard.

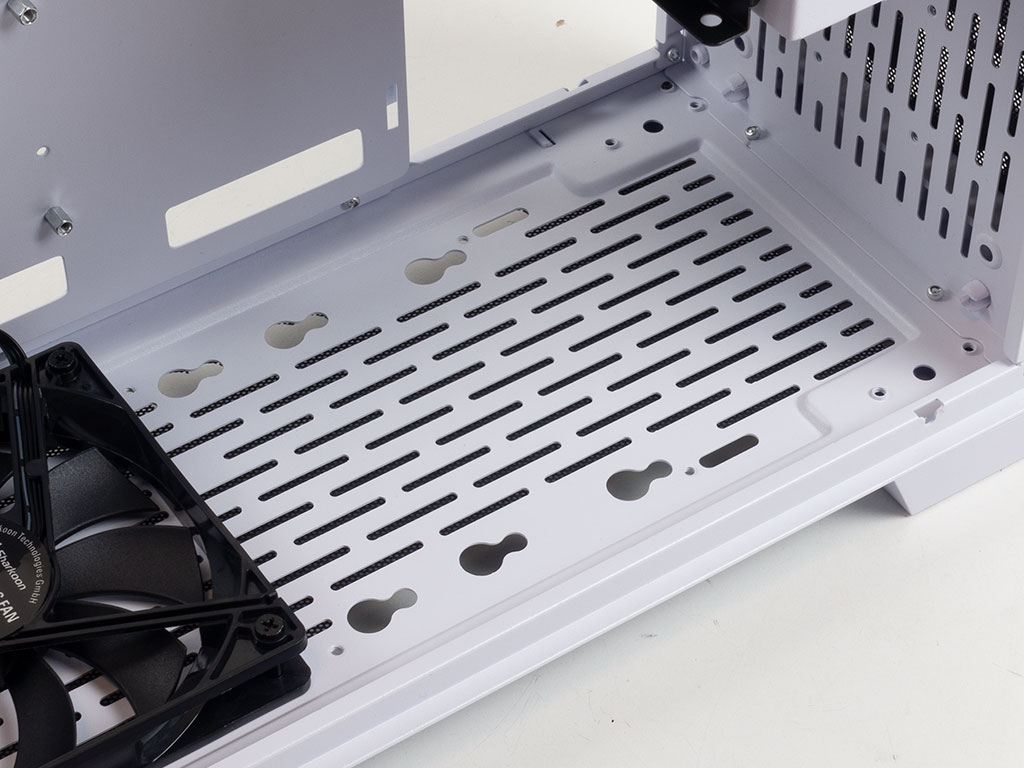
On the floor is another slim 120 mm fan set to pull air in from the underside of the MS-Y1000. It is secured by special, longer screws going in from the top. These only accommodate slim fan designs, and Sharkoon does not include another set, so one of the pre-installed fans can't be moved here, either. Better would have been classic fan screws going in from underneath the chassis, as those are far easier to buy separately. The front half may also be used for a single 3.5" drive with its connector facing forward. The mounting holes are placed nicely, so you may retain the fan alongside any storage drive.
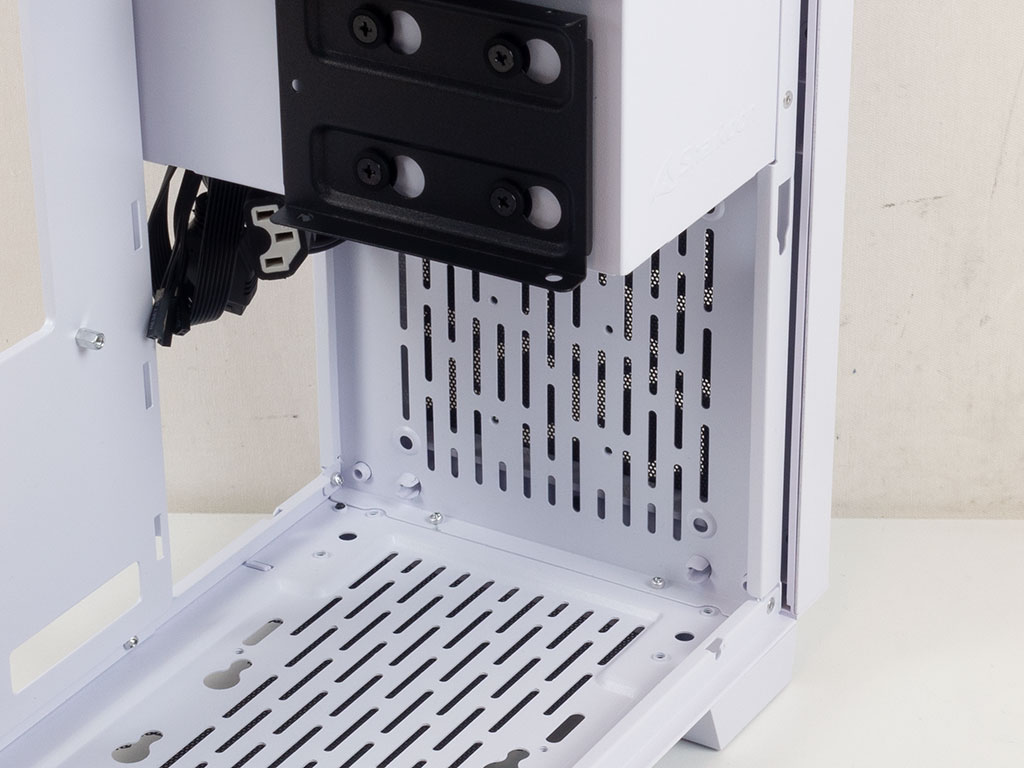
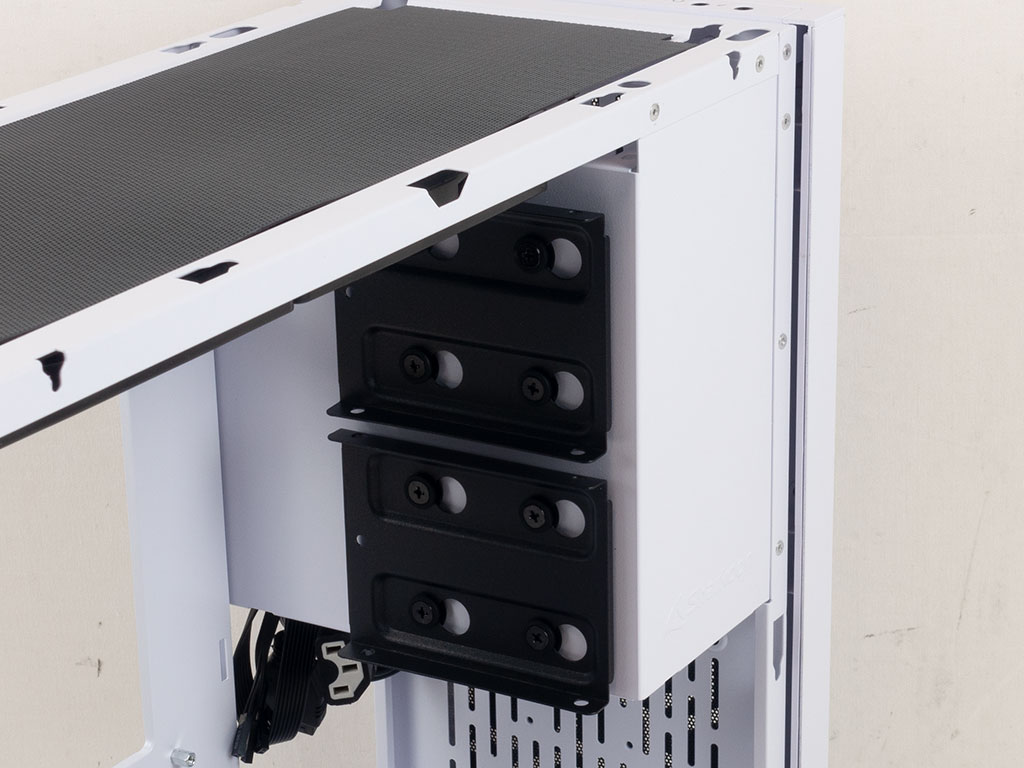
In the front, the section underneath the PSU bay may either hold a fan or watercooling pump. One could also try to squeeze a 120 mm radiator in, but such a device would have to fight for routing space alongside any PSU wiring and a long GPU. Above that is the solid PSU cage with two removable 2.5" drive trays. These connectors would face the motherboard tray, but cutouts there for cable routing of data and power leads would have been nice.
The PSU bay is lined with foam strips on all three closed sides, and its mounting frame is in the ceiling of the Sharkoon MS-Y1000. The fan should really face the front of the chassis for access to a little bit of cool air at least.
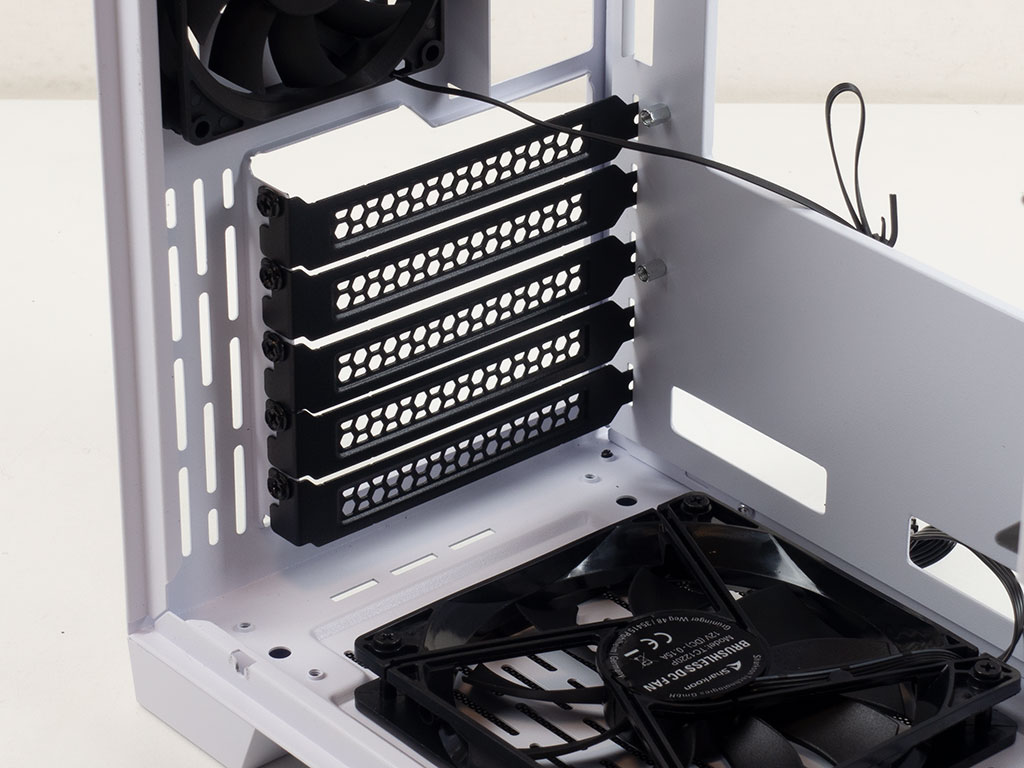
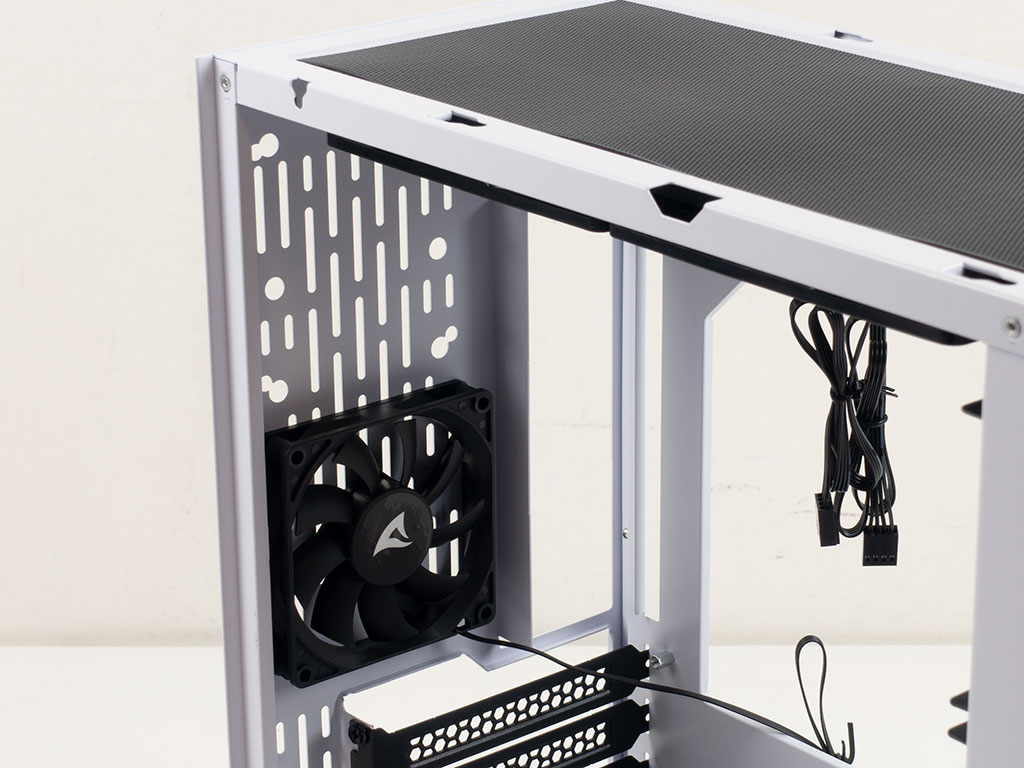
In the rear, the five expansion slot covers are held in place by classic screws. Above that is the 80 mm exhaust fan, which is also of the slim variety. This one feels distinctly sturdier than the 120 mm units, but that could just be due to the smaller size.
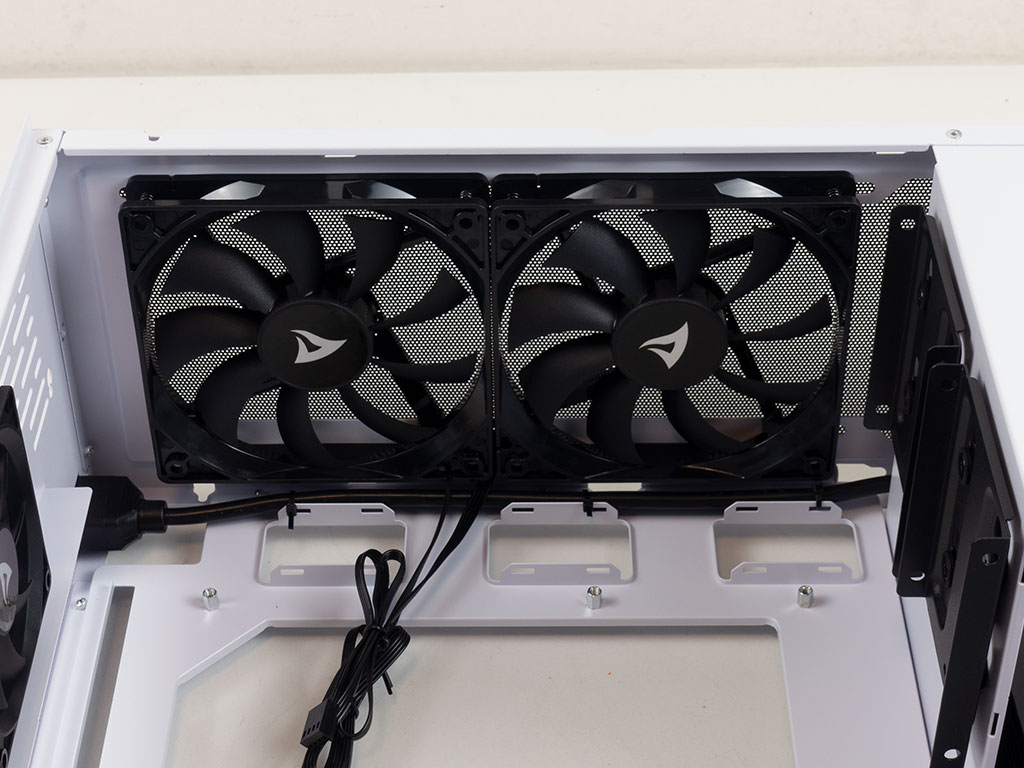
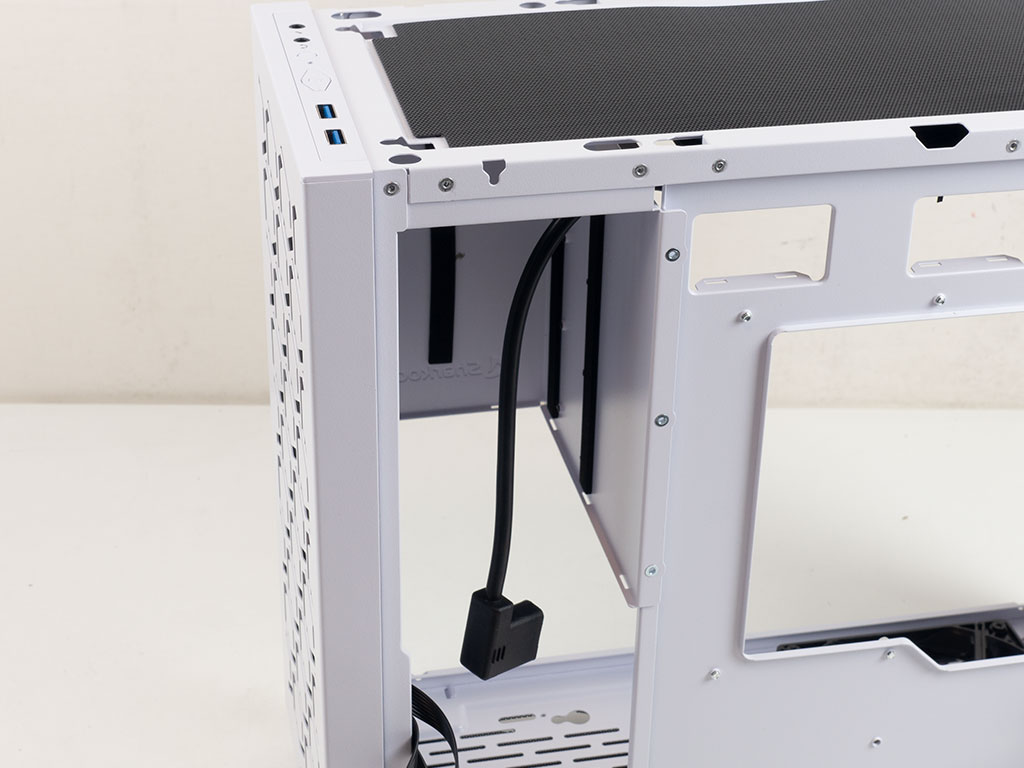
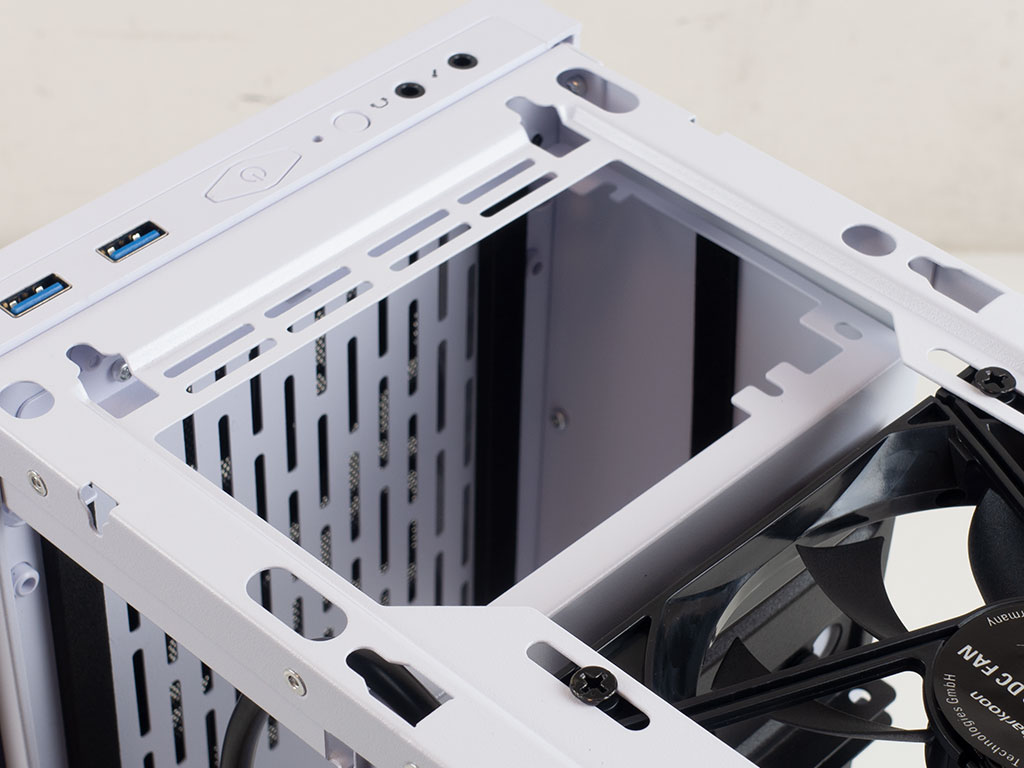
Looking at the ceiling, there is a bit of room above the motherboard, so fitting a classic AIO of up to 240 mm should work just fine. The two pre-installed fans are identical to the one on the floor and push air out the top. Sharkoon also zip-tied the power cable down to the top edge, which is a nice touch.
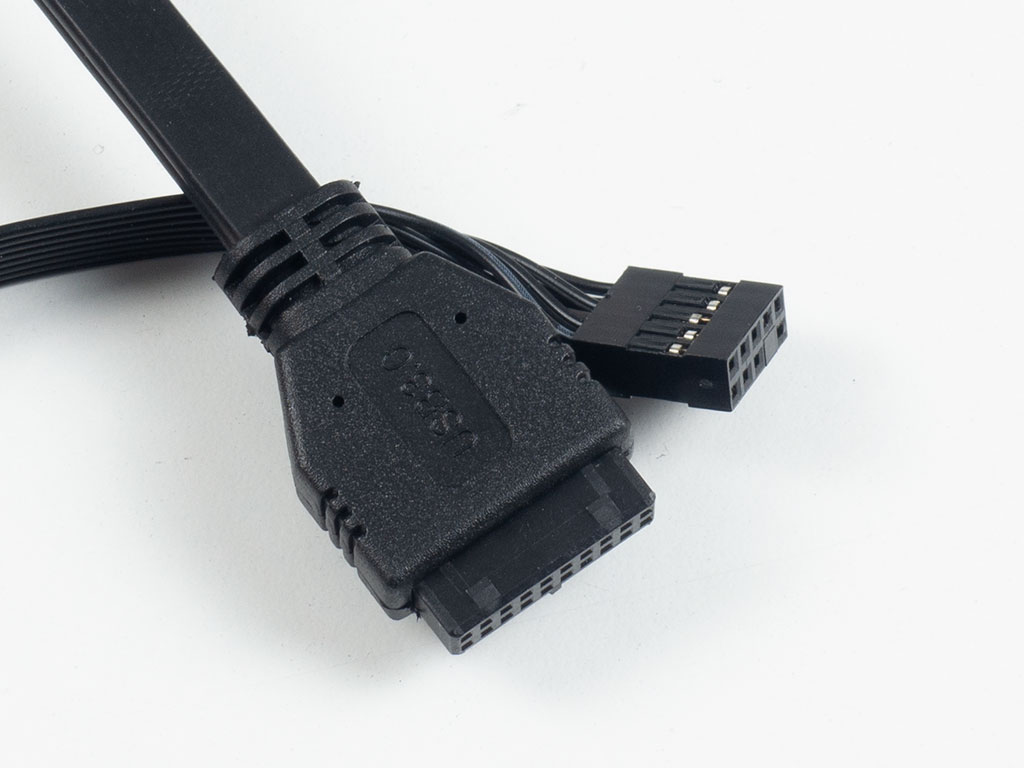

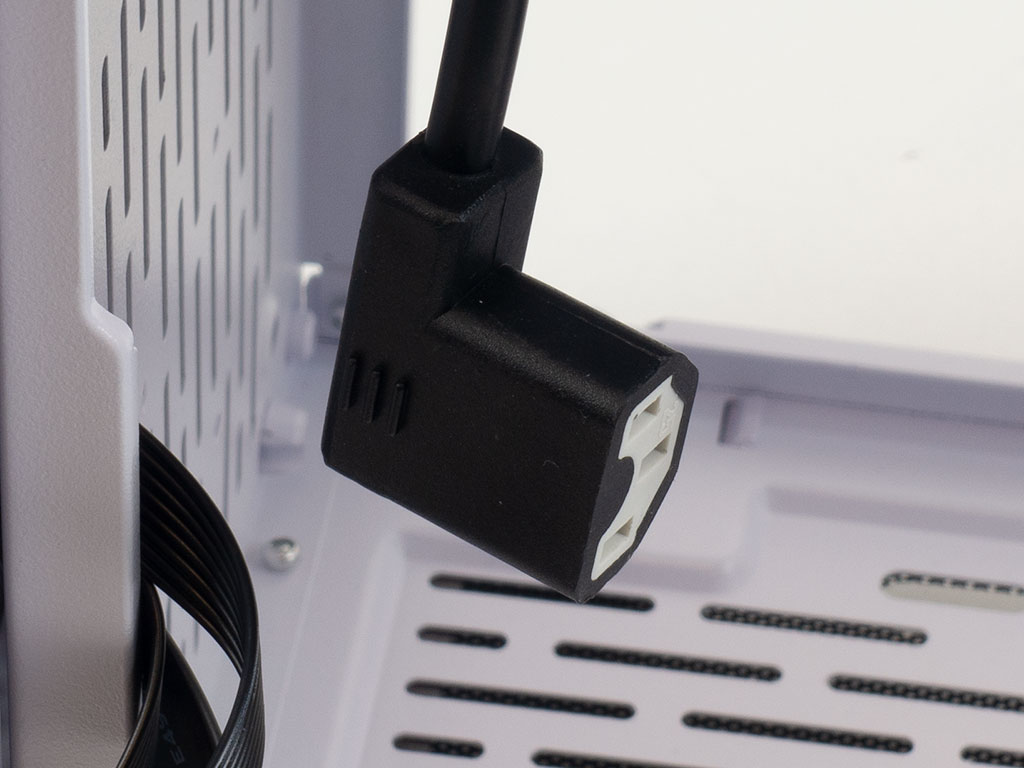
All the wires within the Sharkoon MS-Y1000 are of the default variety and sleeved black. The power lead has a white core and black exterior.
Mar 10th, 2025 16:39 EDT
change timezone
Latest GPU Drivers
New Forum Posts
- Maxsun RX580 graphics card crashes (27)
- DLSS as antialiasing? (20)
- Fix for Vram frequency always at maximum (0)
- Please I need help with the poor performance that my PC is giving me (28)
- Company of Heroes 3 (5)
- The TPU Darkroom - Digital SLR and Photography Club (4071)
- A Final Fantasy IX Reminiscence - My love letter and homage to one of the best stories ever told (72)
- Gaming PC instabiliity (20)
- Msi 5090 DOA? (27)
- 3D Printer Club (447)
Popular Reviews
- Sapphire Radeon RX 9070 XT Nitro+ Review - Beating NVIDIA
- XFX Radeon RX 9070 XT Mercury OC Magnetic Air Review
- ASUS Radeon RX 9070 TUF OC Review
- MSI MAG B850 Tomahawk Max Wi-Fi Review
- NVIDIA GeForce RTX 5080 Founders Edition Review
- NVIDIA GeForce RTX 5070 Founders Edition Review
- Corsair Vengeance RGB CUDIMM DDR5-8800 48 GB CL42 Review
- AMD Ryzen 7 9800X3D Review - The Best Gaming Processor
- ASUS GeForce RTX 5070 Ti TUF OC Review
- MSI GeForce RTX 5070 Ti Gaming Trio OC+ Review
Controversial News Posts
- NVIDIA GeForce RTX 50 Cards Spotted with Missing ROPs, NVIDIA Confirms the Issue, Multiple Vendors Affected (513)
- AMD Plans Aggressive Price Competition with Radeon RX 9000 Series (277)
- AMD Radeon RX 9070 and 9070 XT Listed On Amazon - One Buyer Snags a Unit (261)
- AMD RDNA 4 and Radeon RX 9070 Series Unveiled: $549 & $599 (260)
- AMD Mentions Sub-$700 Pricing for Radeon RX 9070 GPU Series, Looks Like NV Minus $50 Again (248)
- NVIDIA Investigates GeForce RTX 50 Series "Blackwell" Black Screen and BSOD Issues (244)
- AMD Radeon RX 9070 and 9070 XT Official Performance Metrics Leaked, +42% 4K Performance Over Radeon RX 7900 GRE (195)
- AMD Radeon RX 9070-series Pricing Leaks Courtesy of MicroCenter (158)