 2
2
Silverstone Fortress FT04 Review
Value & Conclusion »Assembly
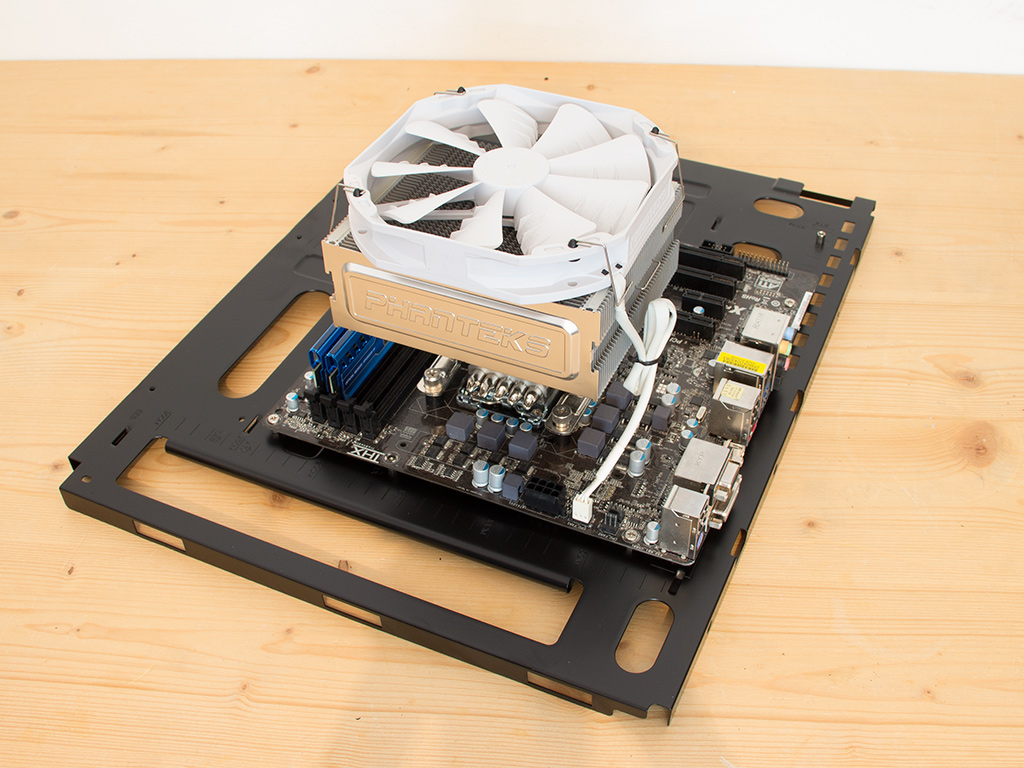
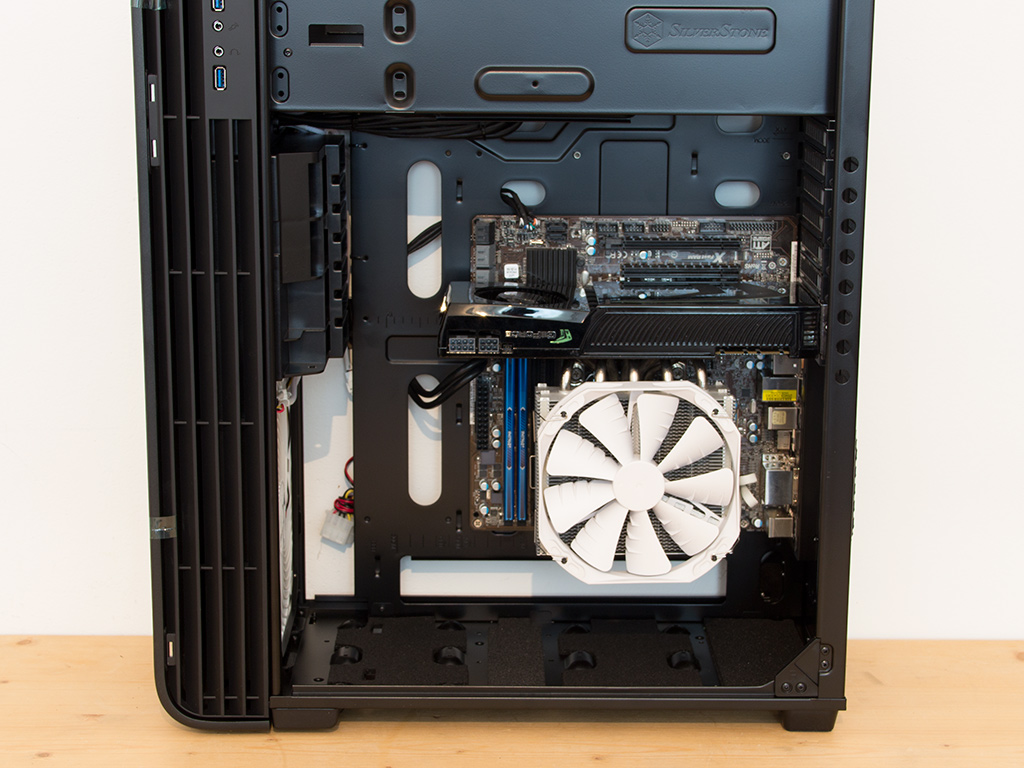
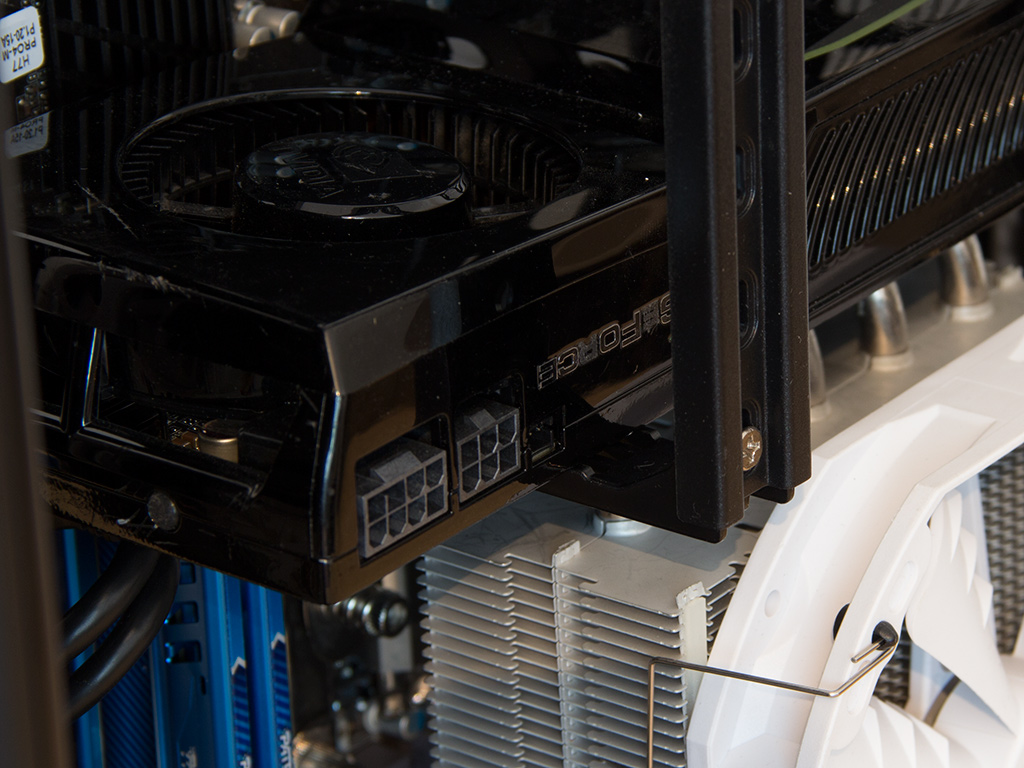
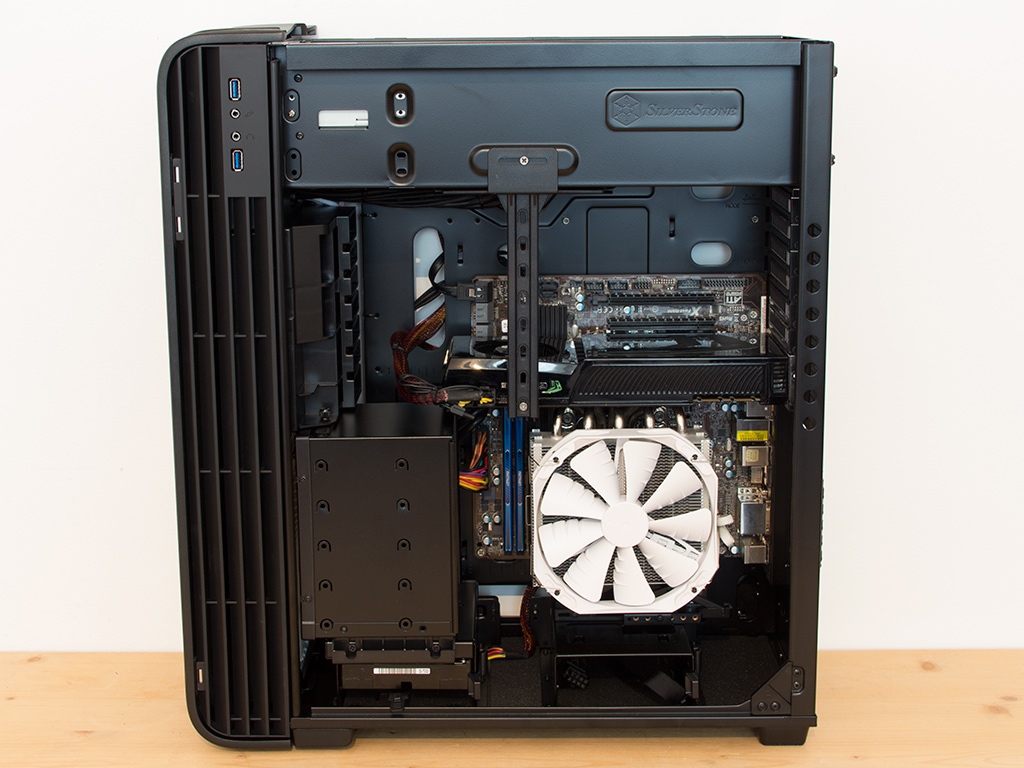
Installing the motherboard on top of the tray is a breeze. We use a mATX motherboard, but those installing larger variants should also be able to appreciate the freedom of this approach. Simply slide the motherboard back into place and secure the whole thing with the provided screws once it has been pinned to the tray. There is loads of space above and below the motherboard, which makes reaching and connecting cables easy. We also put the support beam in place once the graphics cards were installed, but it unfortunately is not strong enough. The tension bends the bar outward and away from all installed cards since it is made out of plastic. Overall, this little feature is not as useful as we would like it to be.
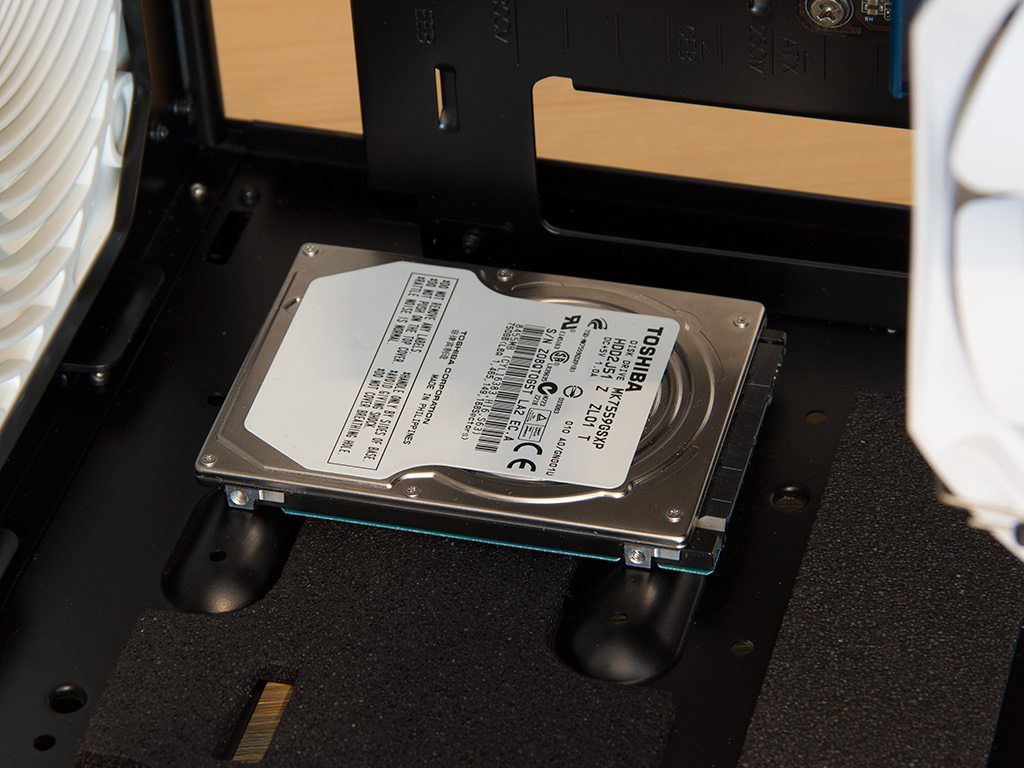
Installing a 2.5" hard drive is quite easy once you work your way through to the bay itself. Install such a drive by putting the case down on its side, and make sure it is facing the right way or you will not be able to connect everything properly.
Placing 3.5" drives into the individual cages is a breeze and does not require any tools at all. Simply slide the drive into place until it snaps down. A cloth pulley allows for easy removal of the drive—much like the system found in battery compartments of remote controls.
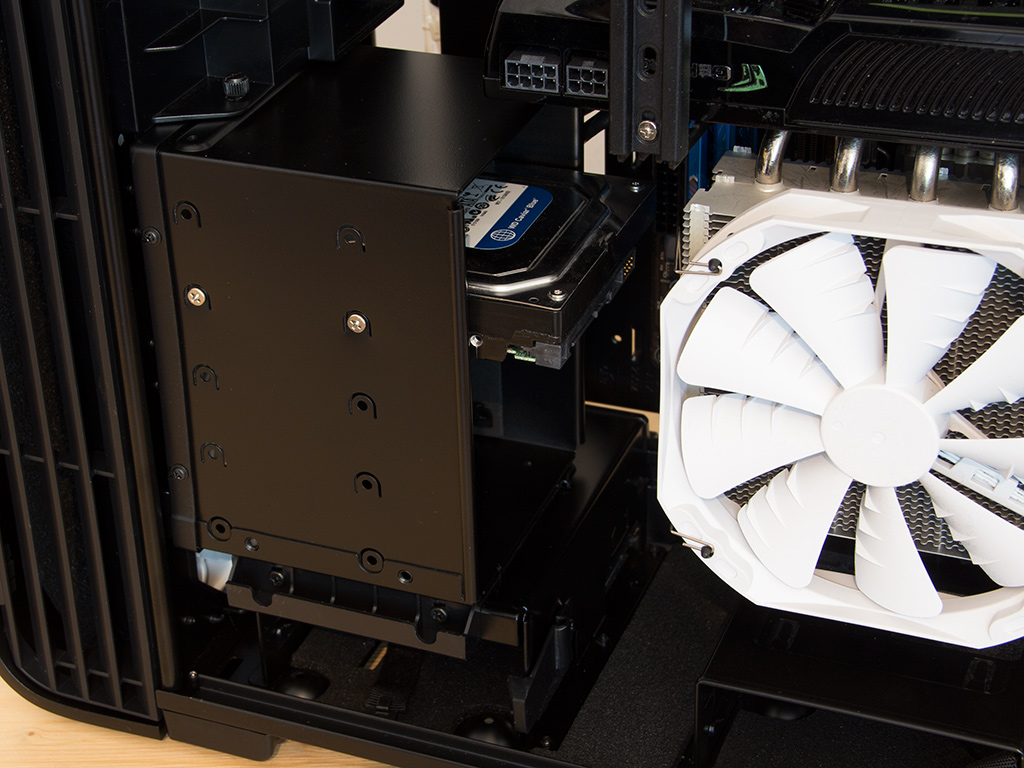
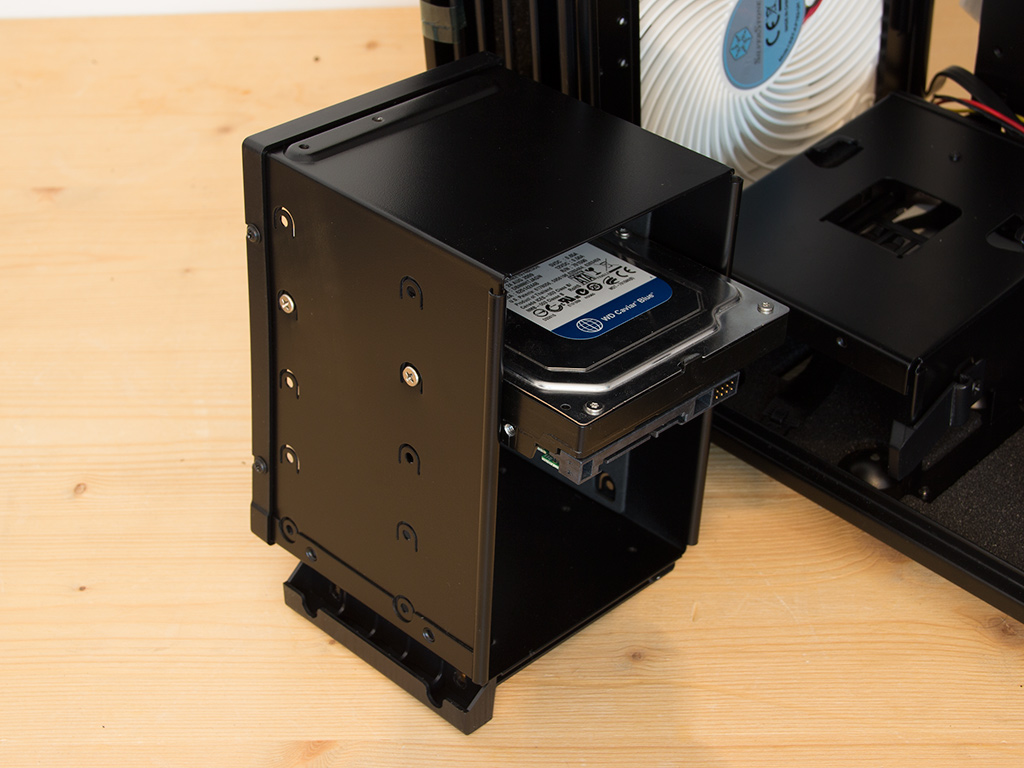
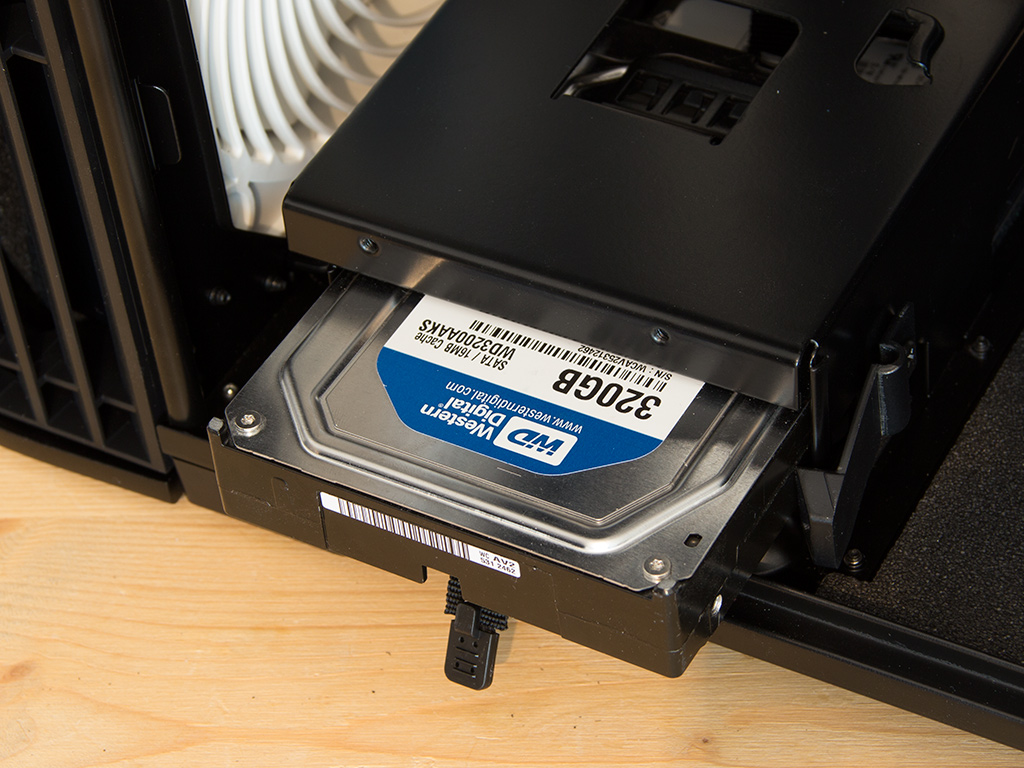
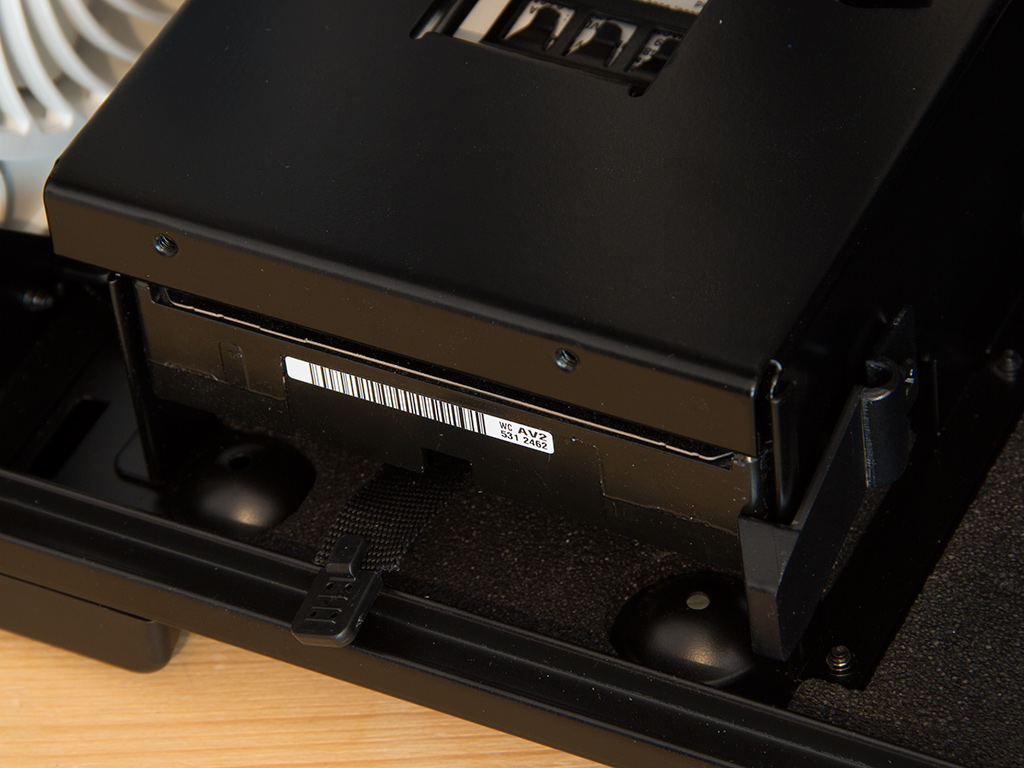
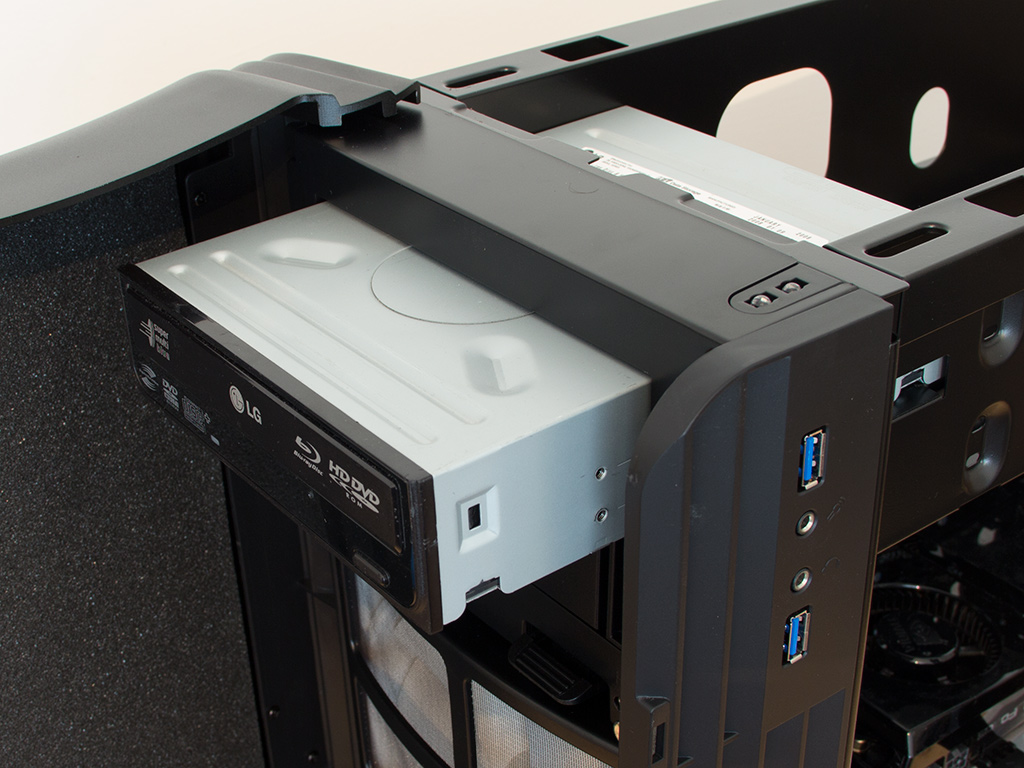
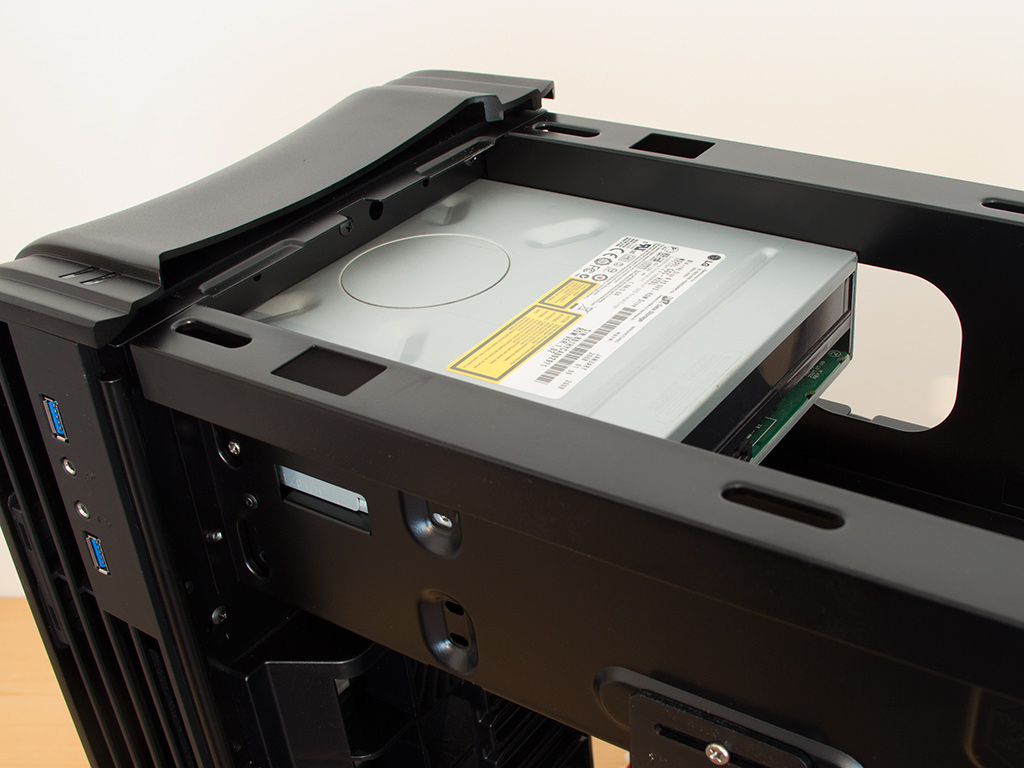
Installing the same type of storage unit into the larger cage takes considerably more work as you need to take out the cage to install each drive with the use of traditional screws. You will take note of two things once the cage is back in its place: It is really close to the CPU cooler and blocks access to some motherboard plugs, so you have to make sure to connect those before installing the cage.
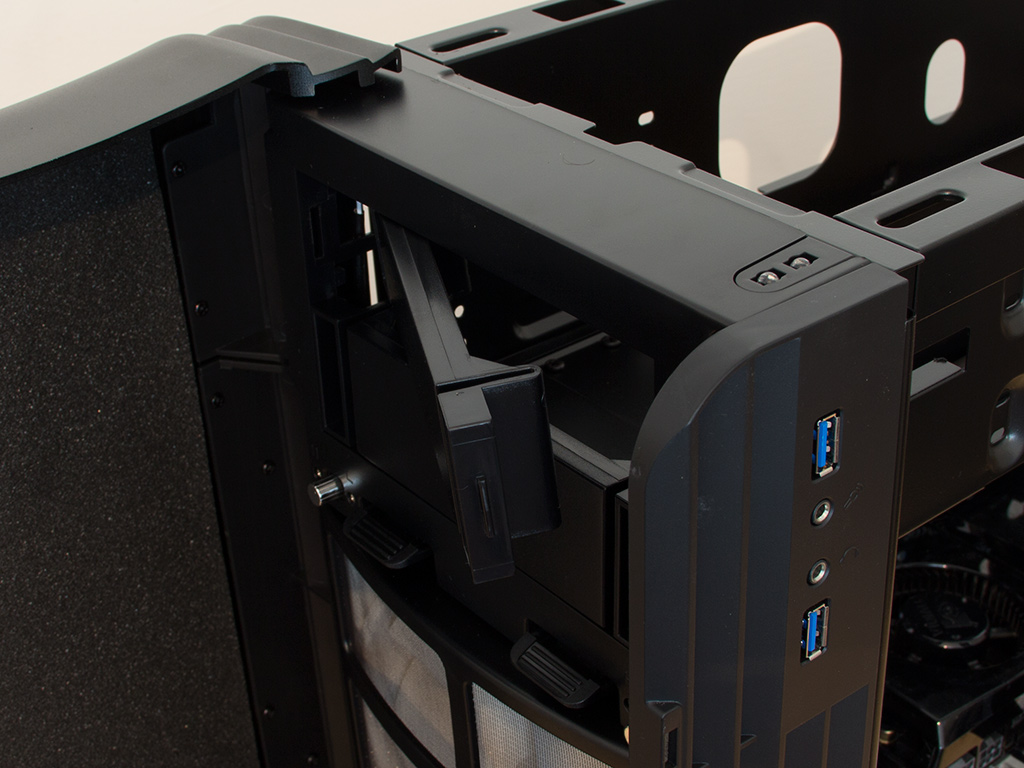
The Fortress FT04 comes with the same tool-free front covers we have seen in the Sugo series. Just squeeze the ends together and pull the cover out of the bay. Once free, slide the drive into place and use the included screws to pin it down properly. You should have no issues getting everything fitted and connected since you can reach the bay on four sides.
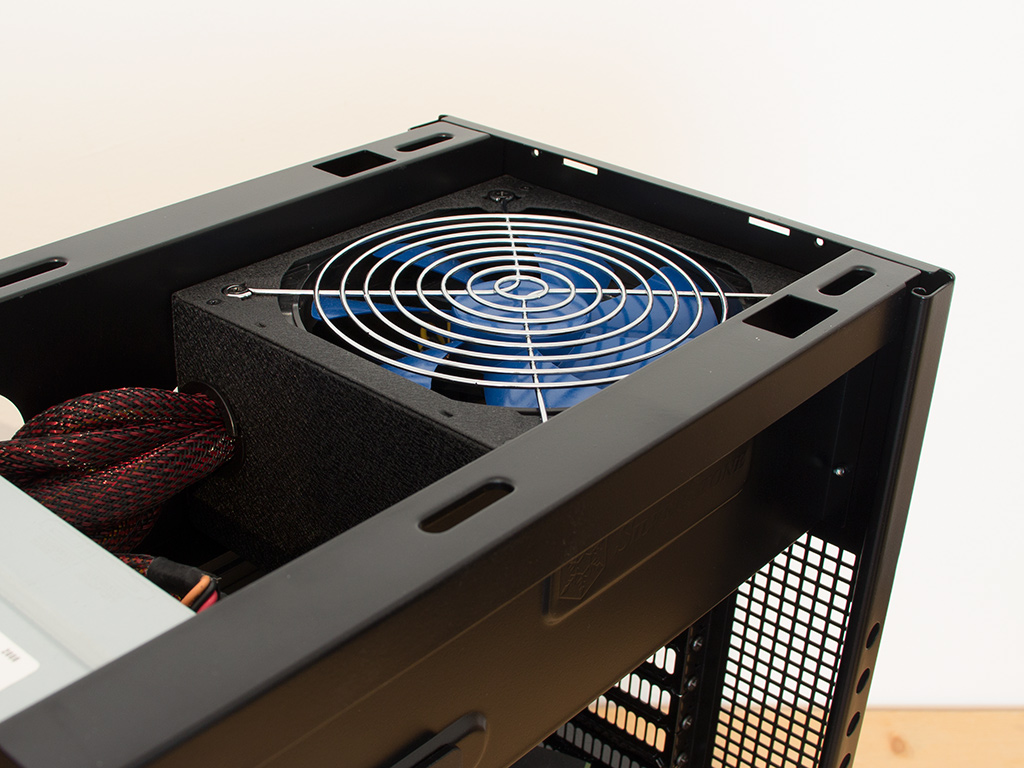
Installing the power supply is done by traditional means as well. Just slide it in and use four screws to secure it properly. We, as you can see, installed our power supply with the fan facing upward—toward the opening in the ceiling.
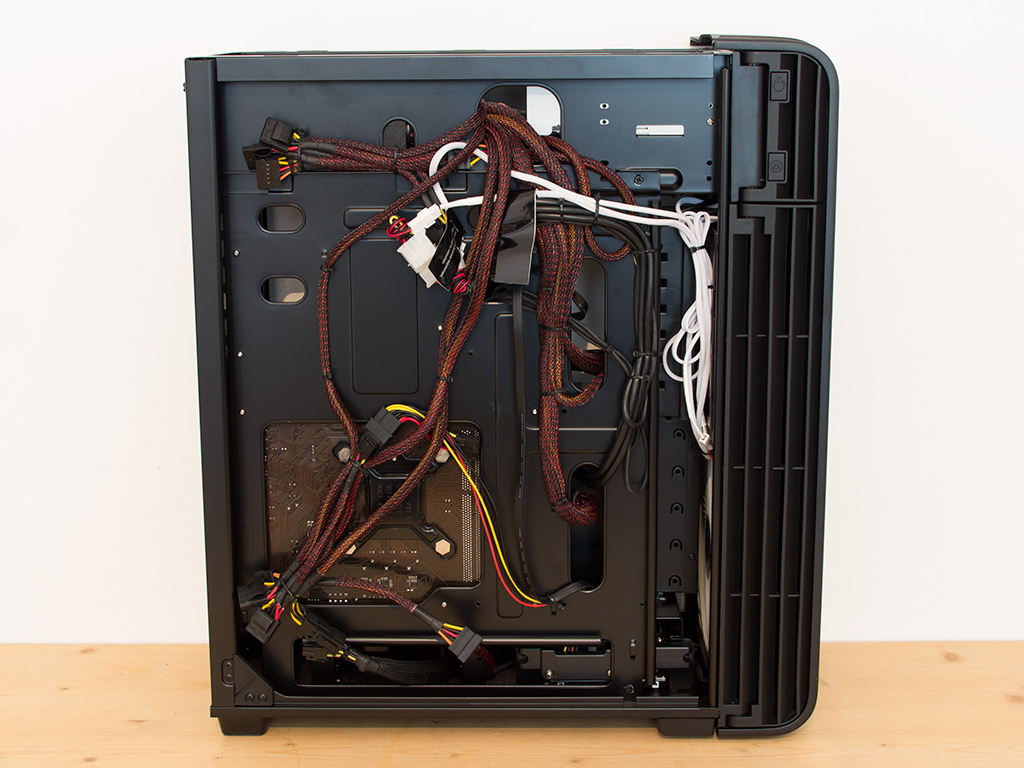
With everything in place, the FT04 still makes a very spacious and clean impression. All cable clutter is, as you can see, well-hidden and routed out of view behind the motherboard tray. I had to use an extension cable to reach the CPU power connector, though. It would have been nice of Silverstone to include such a lead as some users may not be able to use their new build because the PSU cable is too short.
Finished Looks
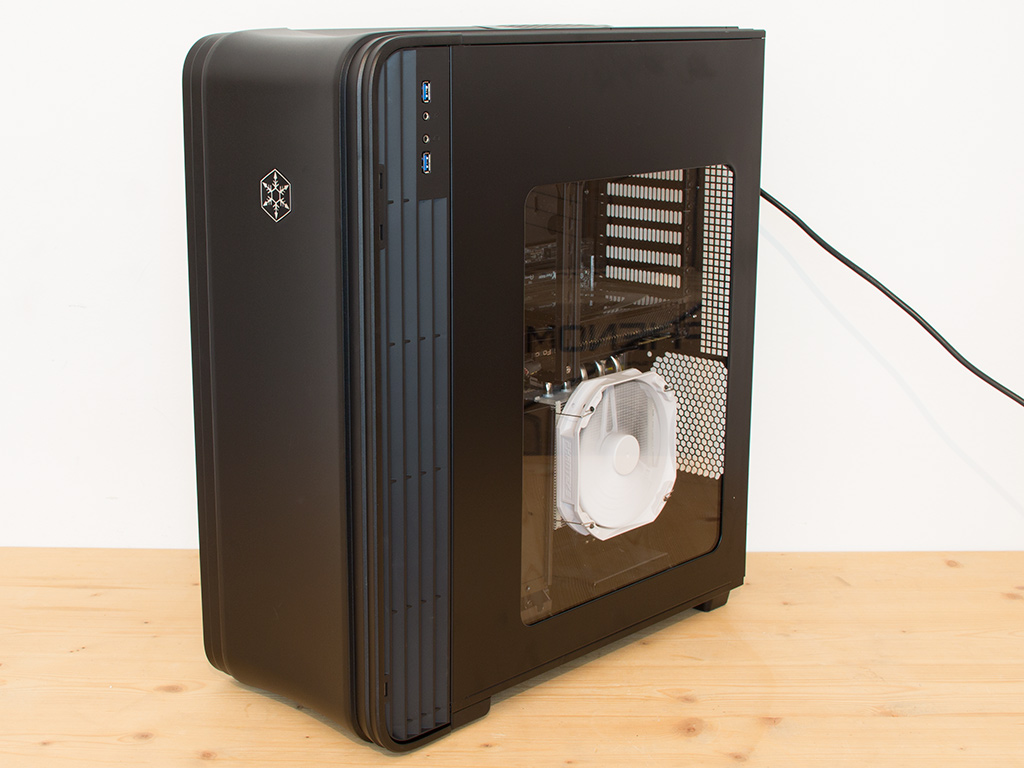
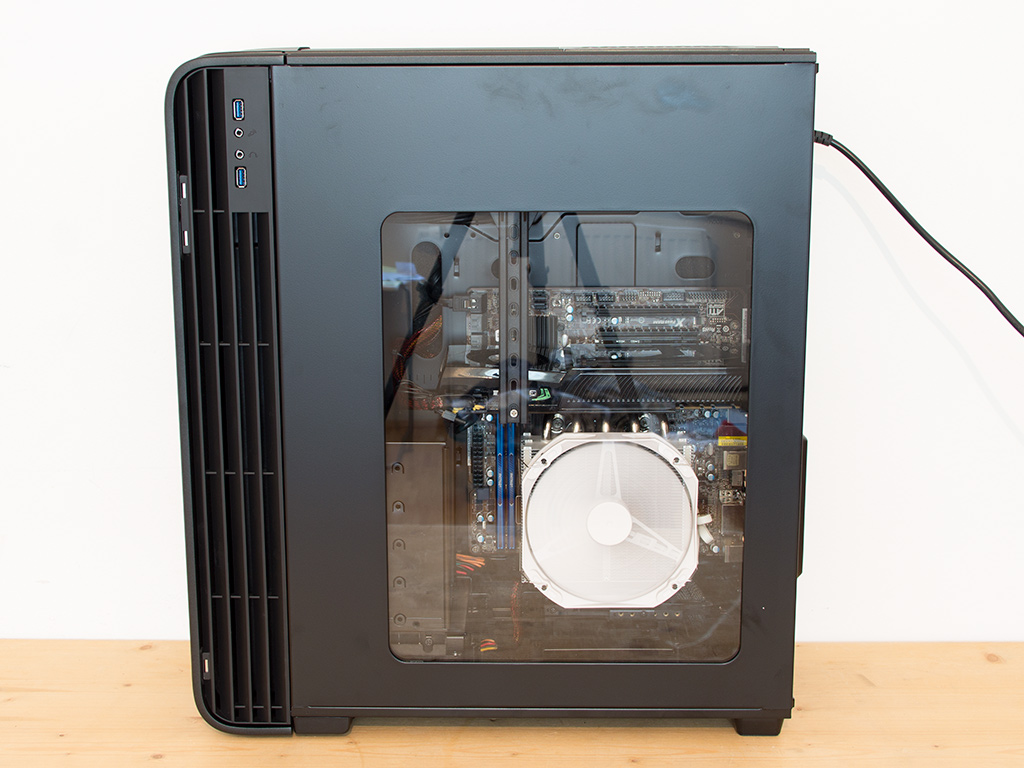
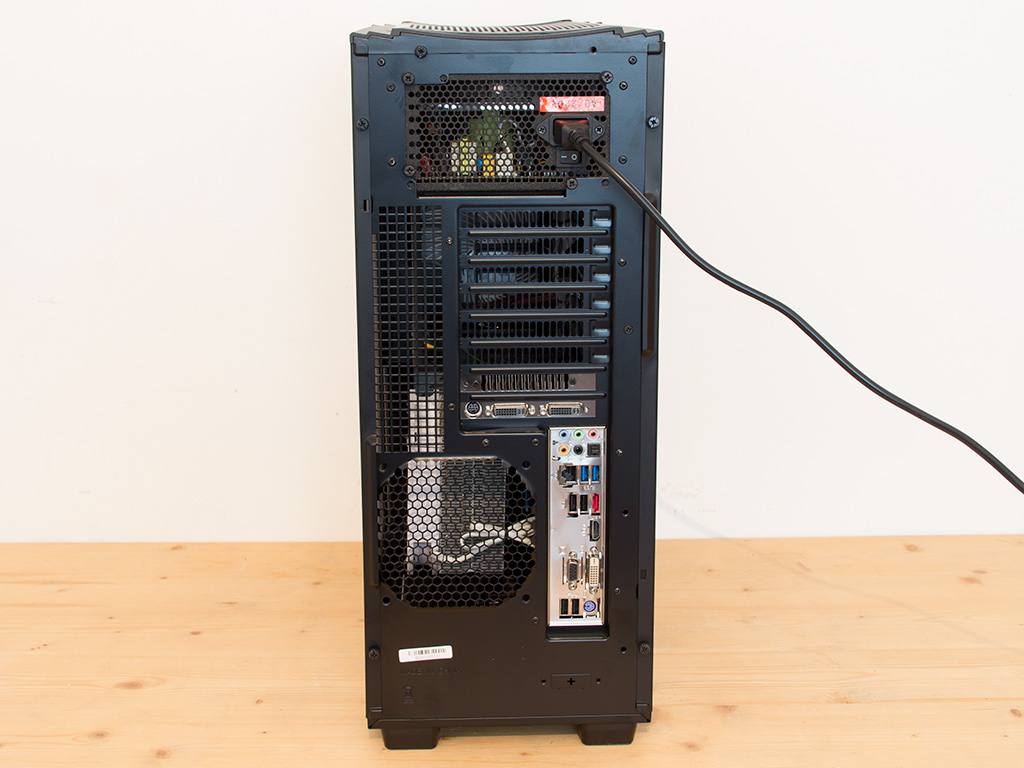
With everything in place, the chassis is surprisingly quiet when the fans are turned all the way down. You may crank them to full throttle if you like, but they are extremely noisy at that point, while pushing loads of air across the interior of the case. We do not do any thermal testing, but our colleagues at Anandtech do, and their FT04 performed extremely well when it comes to cooling. Showing you all the cool parts, but none of the boring ones, the side window is also sized nicely. Everything in the rear is where you would expect it to be, albeit upside down, and every connector there is readily accessible.
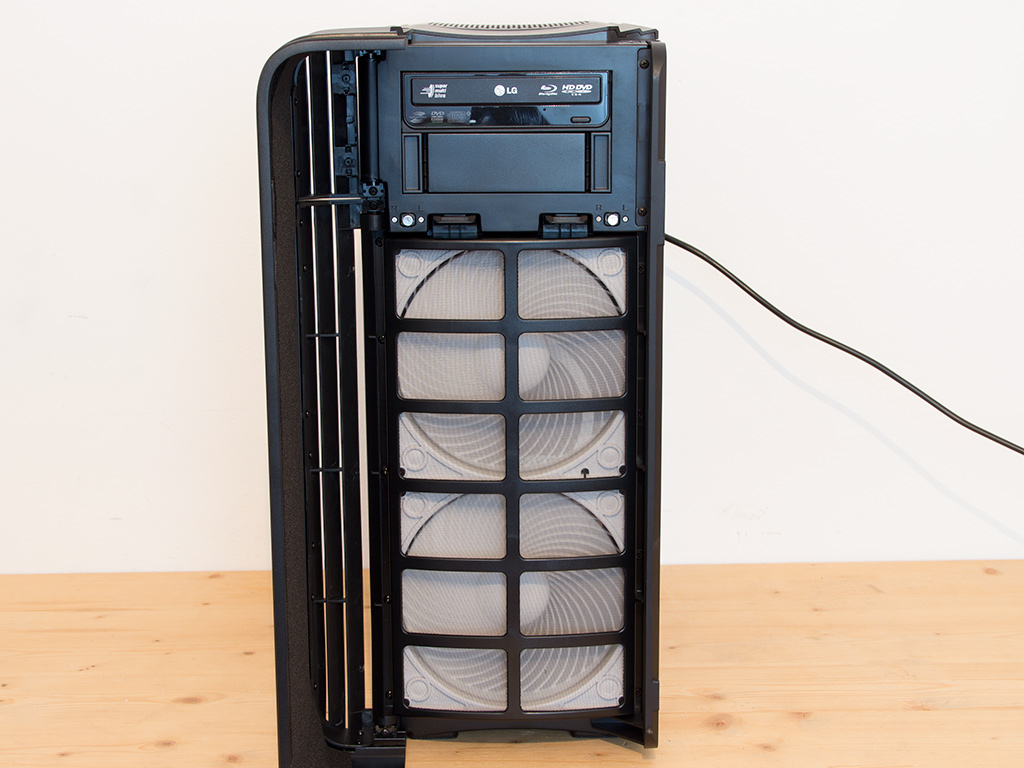
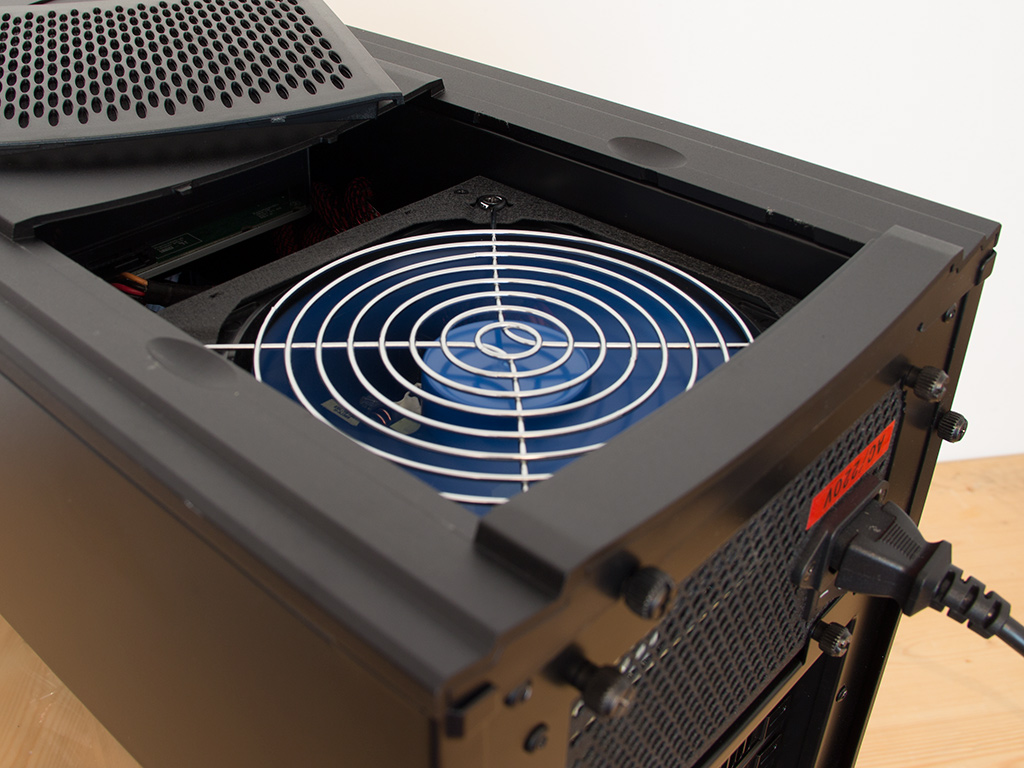
Open the door and you can clearly see the fans turning, and you can easily change their rotational speed due to well-sized silver dials. The power supply in the ceiling can also be inspected or cleaned easily because of the removable panel on top.
Jul 14th, 2025 16:04 CDT
change timezone
Latest GPU Drivers
New Forum Posts
- AAF Optimus Modded Driver For Windows 10 & Windows 11 - Only for Realtek HDAUDIO Chips (578)
- i7 2860QM how to raise power limit? (21)
- AMD 7Ghz? This keeps popping up on my feeds! (6)
- Stupid things one has done with hardware (49)
- No offense, here are some things that bother me about your understanding of fans. (111)
- Choosing the right motherboard (5)
- Best motherboards for XP gaming (151)
- Which CPU to Choose for a 7900 XT? Ryzen 7 7700 or Ryzen 5 9600X? (43)
- Bent pins on an AM5 mobo, any way to test them and also find which ones were on the schematic? (6)
- Arc 770a 16gb money pit (9)
Popular Reviews
- Lexar NM1090 Pro 4 TB Review
- Our Visit to the Hunter Super Computer
- MSI GeForce RTX 5060 Gaming OC Review
- Fractal Design Epoch RGB TG Review
- NVIDIA GeForce RTX 5050 8 GB Review
- Corsair FRAME 5000D RS Review
- Sapphire Radeon RX 9060 XT Pulse OC 16 GB Review - An Excellent Choice
- Chieftec Iceberg 360 Review
- AMD Ryzen 7 9800X3D Review - The Best Gaming Processor
- Upcoming Hardware Launches 2025 (Updated May 2025)
TPU on YouTube
Controversial News Posts
- Intel's Core Ultra 7 265K and 265KF CPUs Dip Below $250 (288)
- Some Intel Nova Lake CPUs Rumored to Challenge AMD's 3D V-Cache in Desktop Gaming (140)
- AMD Radeon RX 9070 XT Gains 9% Performance at 1440p with Latest Driver, Beats RTX 5070 Ti (131)
- NVIDIA Launches GeForce RTX 5050 for Desktops and Laptops, Starts at $249 (122)
- NVIDIA GeForce RTX 5080 SUPER Could Feature 24 GB Memory, Increased Power Limits (115)
- Microsoft Partners with AMD for Next-gen Xbox Hardware (105)
- Intel "Nova Lake‑S" Series: Seven SKUs, Up to 52 Cores and 150 W TDP (100)
- NVIDIA DLSS Transformer Cuts VRAM Usage by 20% (97)