 0
0
Streacom FC5 OD & Streacom ST-150WP Review
Finished Looks & Thermal Performance »Assembly
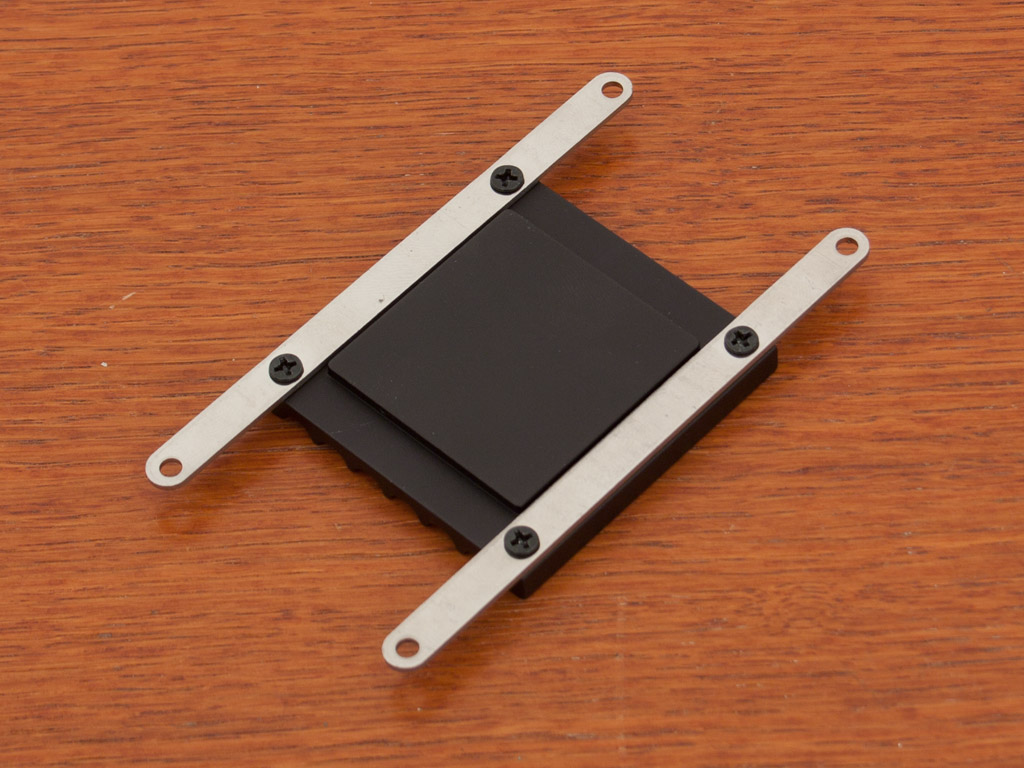
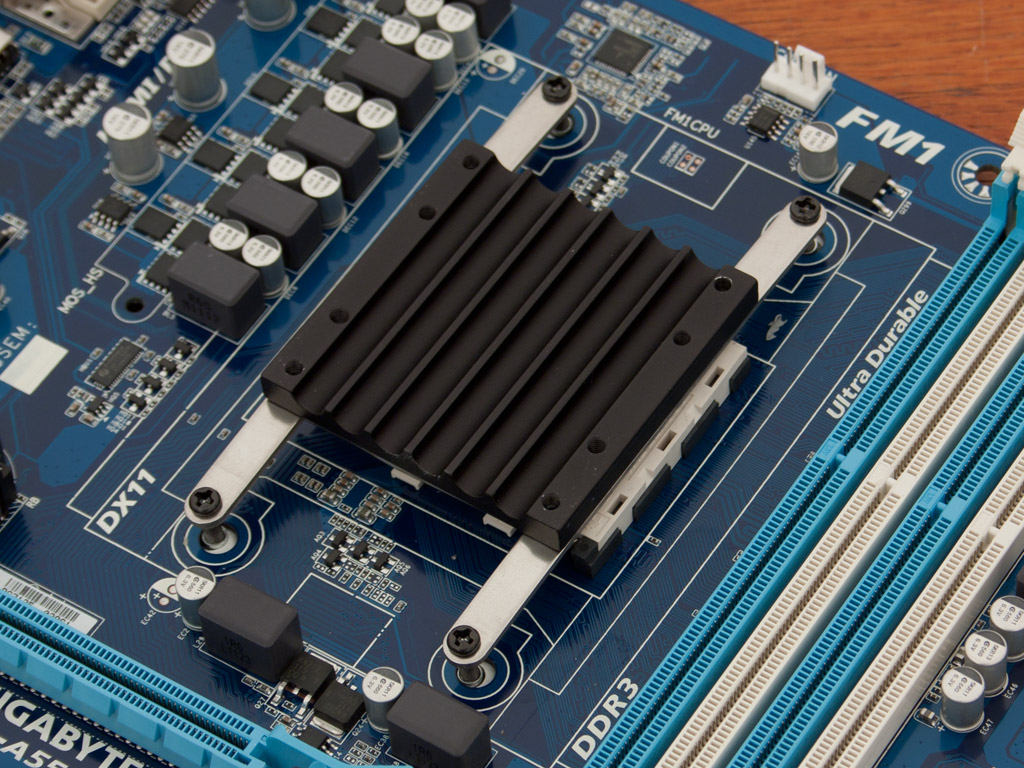
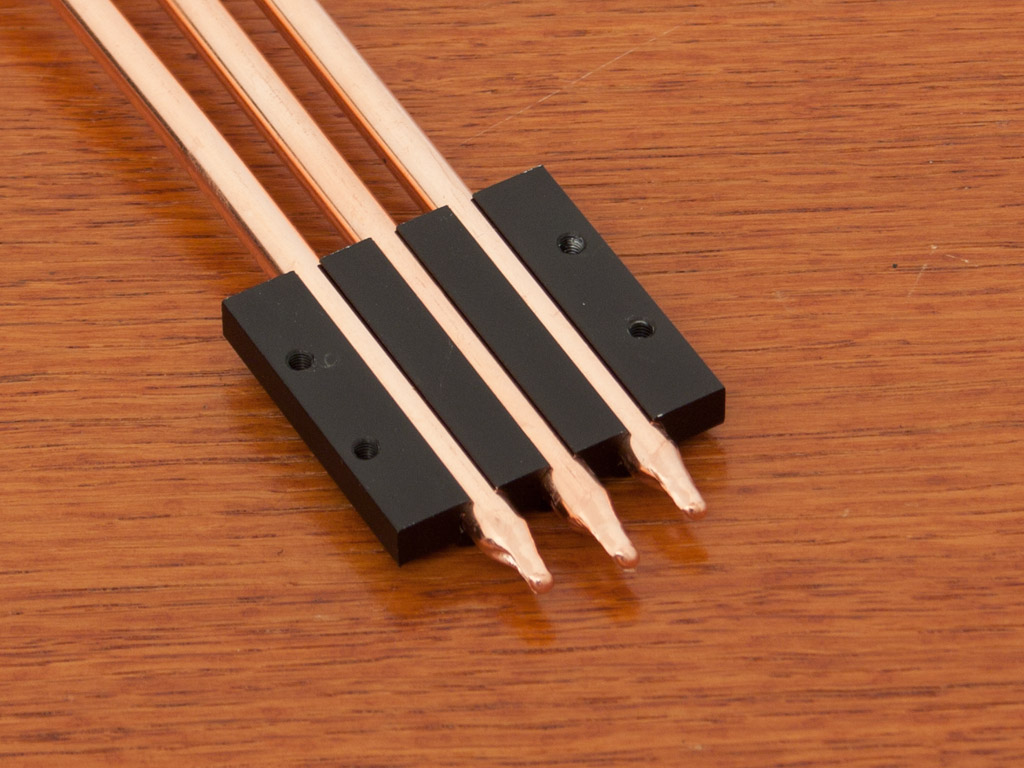
Considering that there was no user-friendly manual included, I had to study all the parts before assembly. To help you understand the process, I have documented each step. First you need to prepare the block which makes direct contact with the CPU. For AMD based systems, install the two straight metal bars unto the Aluminum block. To install it unto the CPU you have to remove the default bracket and backplate. There is no perfect depth for the screws, so you will end up bending the two metal parts holding the block in place if you wind them down too far. It would have been good to have a bit sturdier parts here to avoid such an issue, as you could end up damaging the cooler or applying too much pressure to the socket.
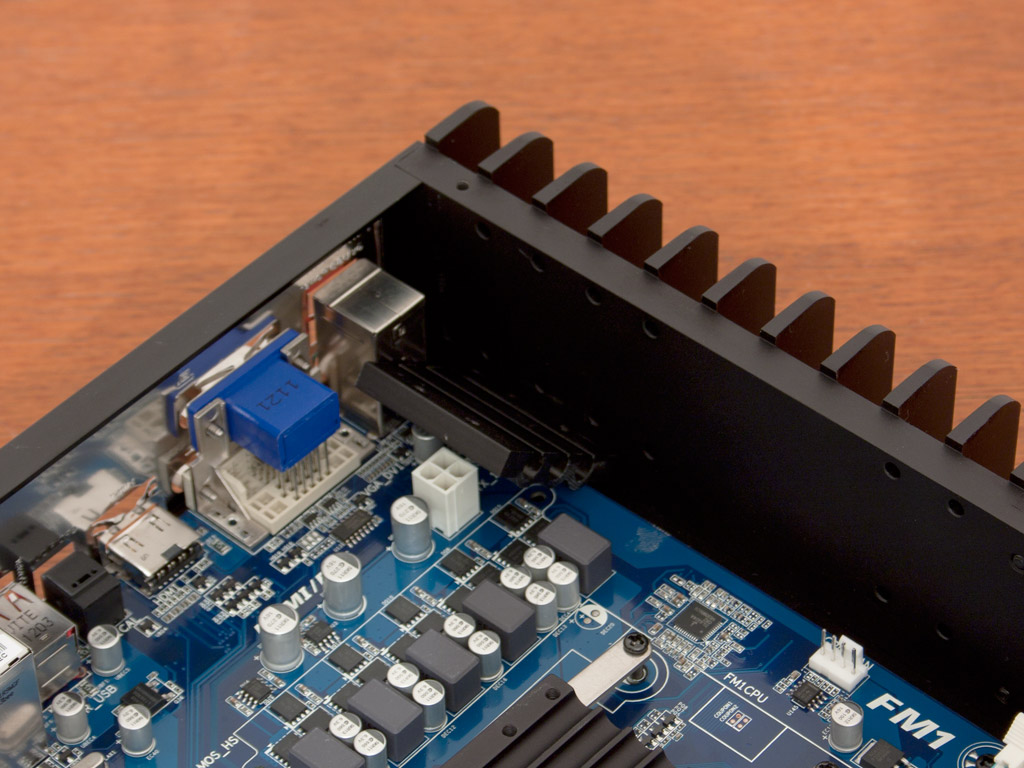
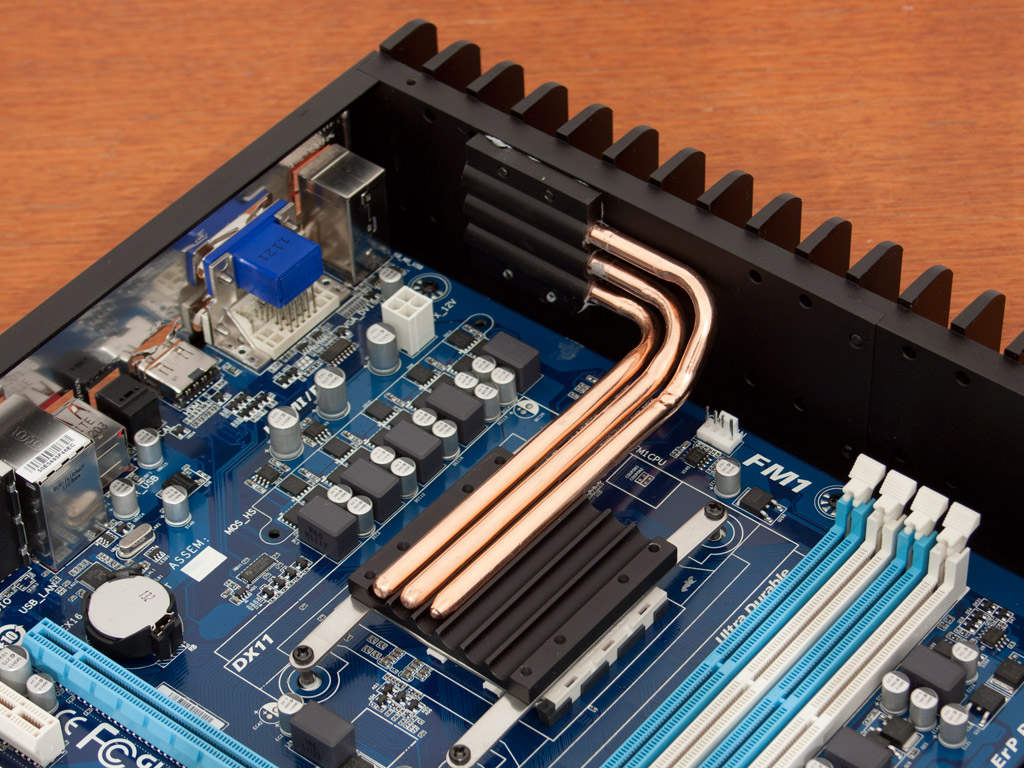

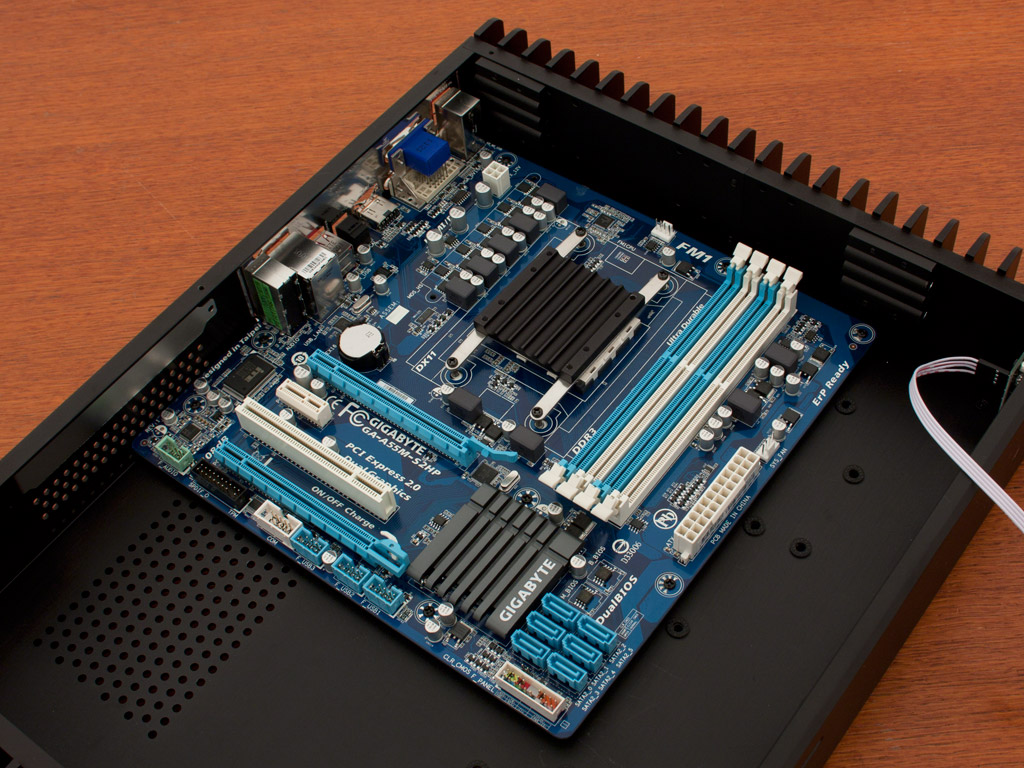
Once the cooler base is in place, the next step requires you to remove the pre-applied cooling blocks on the side of the chassis, and push the heatpipes through them. Interestingly enough this creates a "direct-touch" scenario, in which the pipes make direct contact with the side of the chassis. Even though Streacom mentioned that only four pipes are to be used with AMD based systems, I went ahead and installed all - three bending to the left and the three longer ones bending to the right. On top of that, I used all three available connecting parts to attach the heatpipes to the side of the chassis. Prolimatech PK-1 thermal paste was used for the entire process.
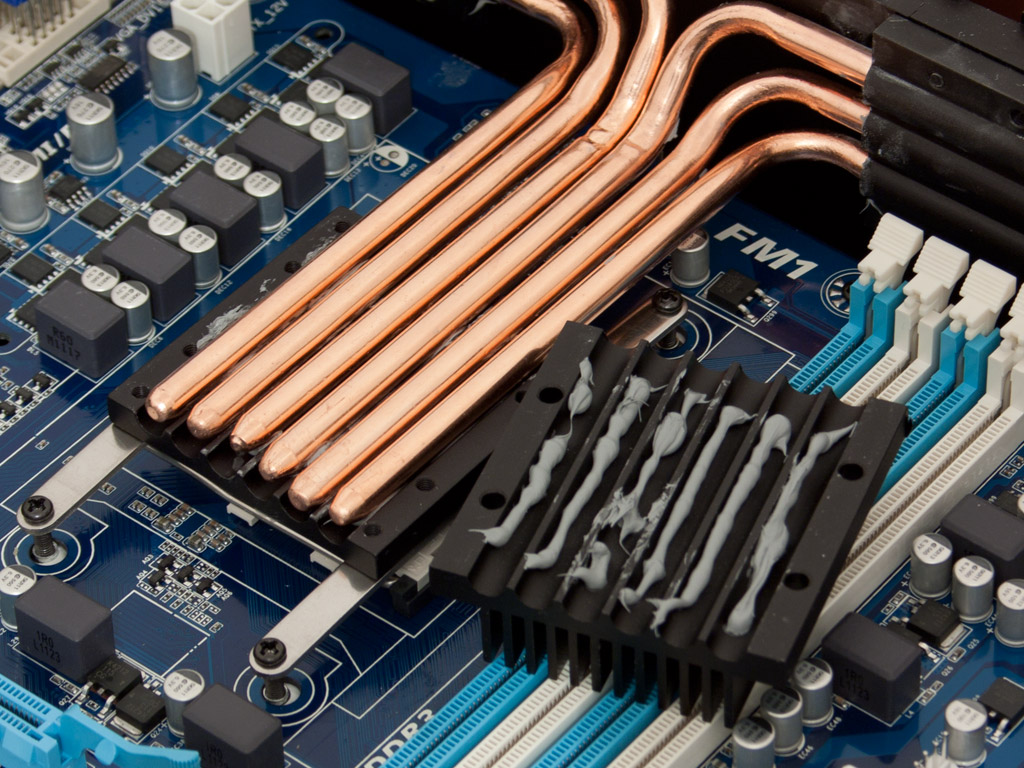
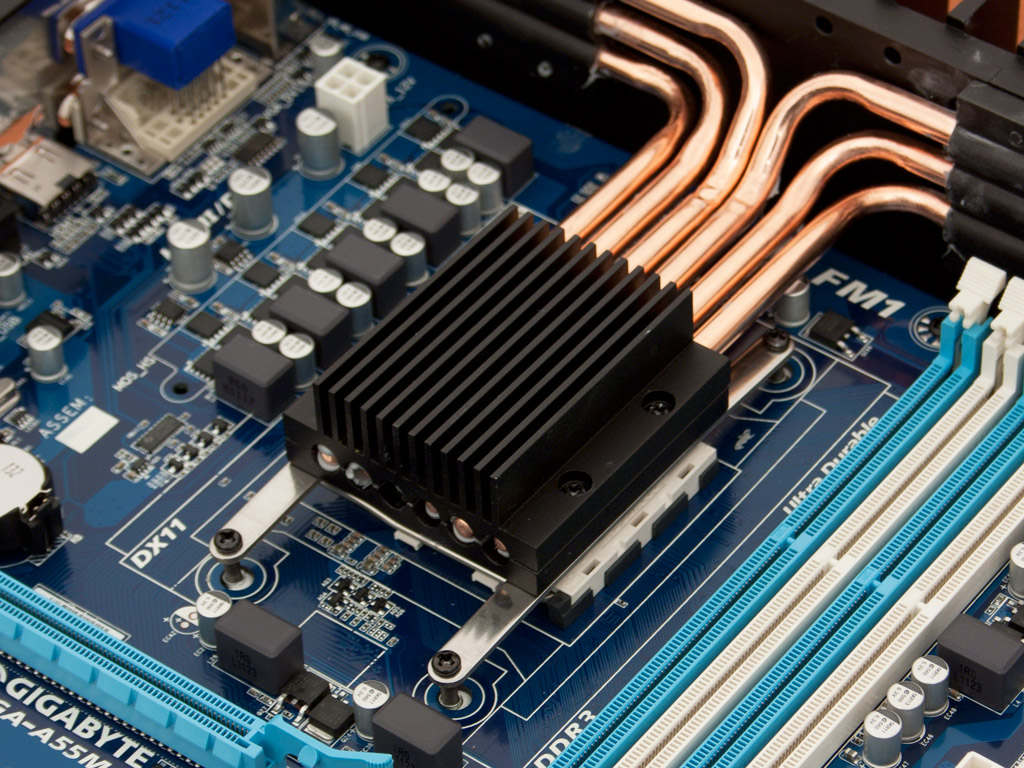
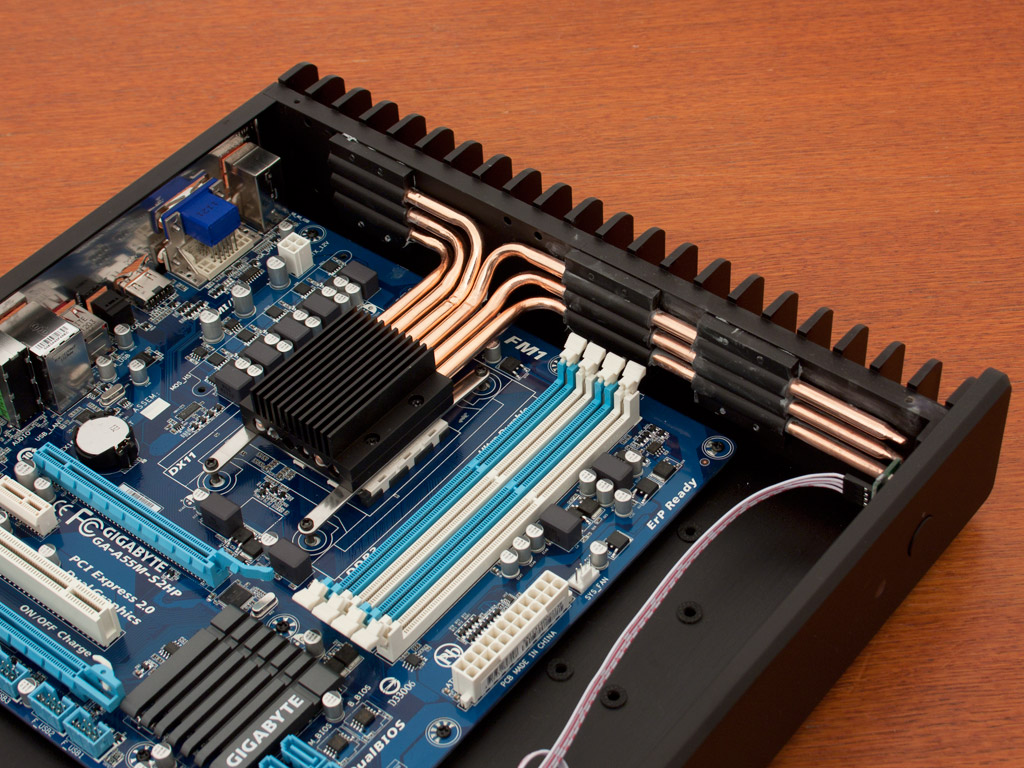
Once all six pipes are in place, the base was lined with thermal paste and the top sink was prepared similarly. The last step consists of screwing the top cooler down on the pipes. This setup should be potent enough to cool the 65W CPU and users of 95W units should have no issues either.
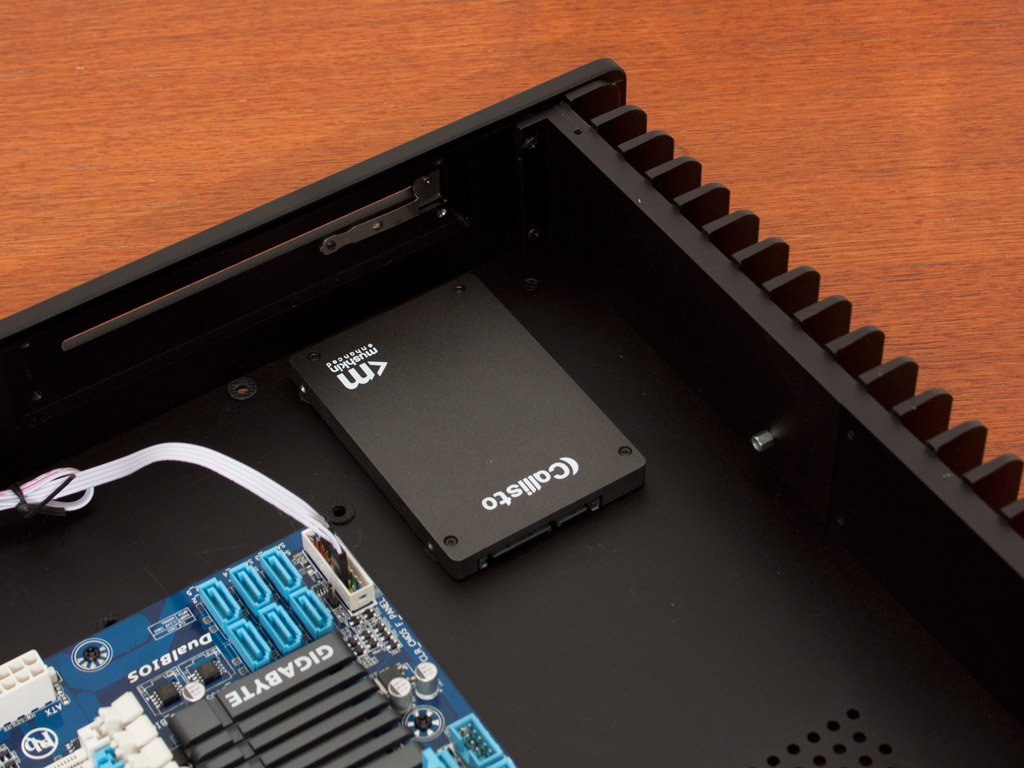
While the chassis can take a single 3.5 inch drive, the appropriate holes are only accessible if you install a Mini-ITX board. When using a mATX one, you may install up to three 2.5 inch variants. I have chosen to use the one under the optical bay.
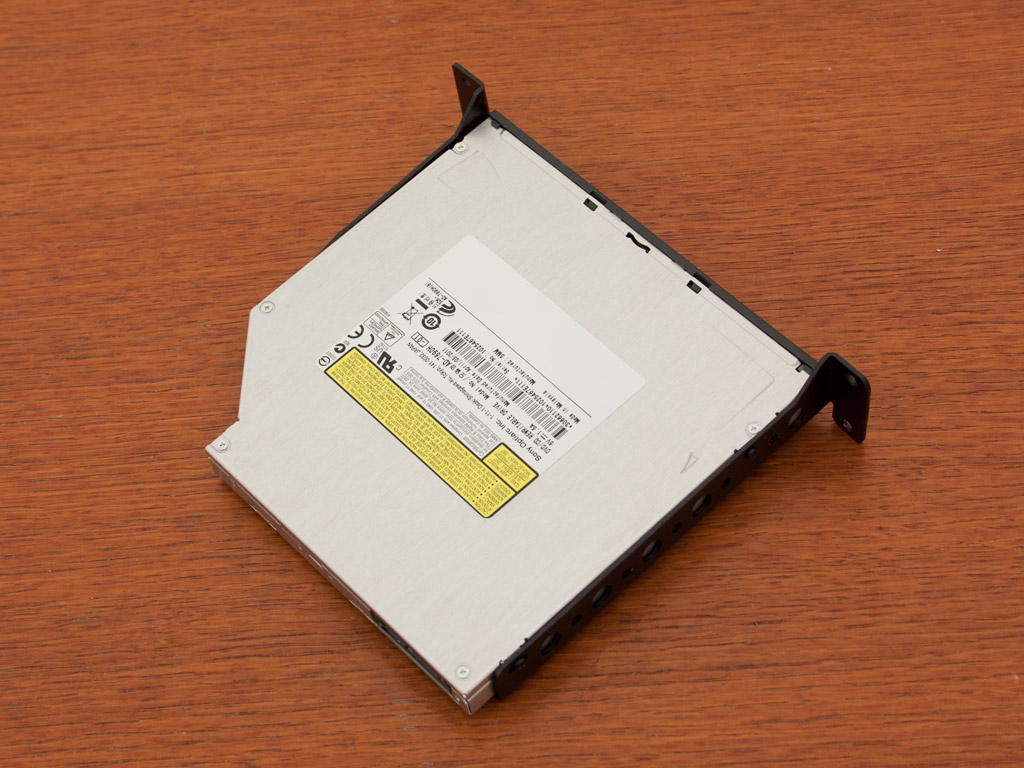

Installing the optical drive bears no real surprises. Simply attach it to the frame of the spot with the four included, tiny screws and then place the entire tray back unto the appropriate location. Make sure to attach any cables in the corner of the mainboard before doing so, as the tray covers the pins for case connectivity and the SATA ports. For the latter, the use of angled connectors is a must.
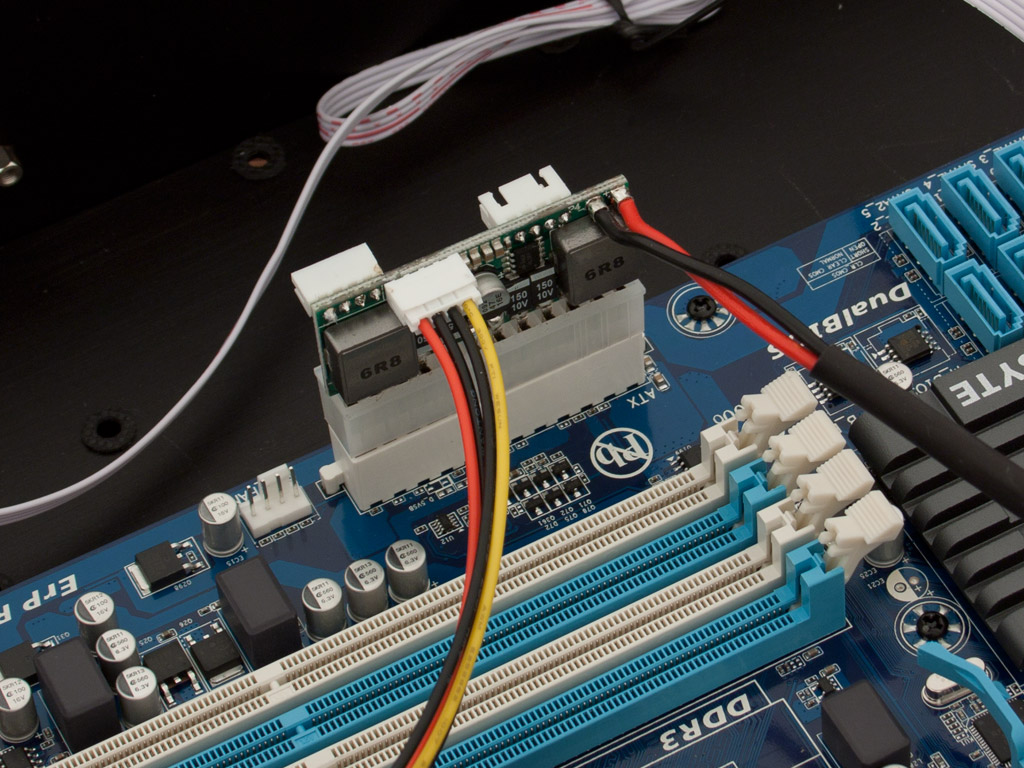
Connecting the PSU is an easy task. Just plug it in and attach the leads - that is it.
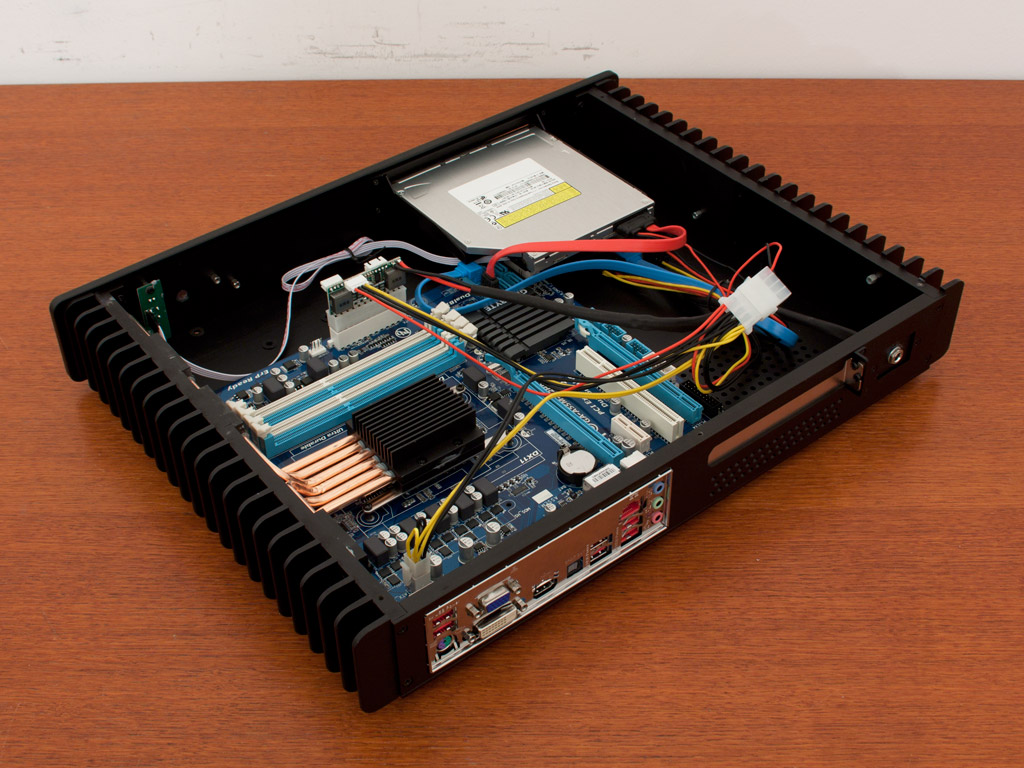
Once everything is installed, the system makes a slightly messy impression. Nothing really wrong with that, as this is due to the fact that the power cables originate from the ATX PicoPSU.
Jul 12th, 2025 01:19 CDT
change timezone
Latest GPU Drivers
New Forum Posts
- Will you buy a RTX 5090? (642)
- 'NVIDIA App' not usable offline? (8)
- Can you guess Which game it is? (222)
- What are you playing? (23920)
- RX 9070 XT freezing/locking up only on desktop, anyone else? (43)
- NVIDIA RTX PRO 6000 Workstation Runs Much Hotter Than 5090 FE (22)
- Quick charging your USB devicesUSB 3.2 Gen 2x2 Type-C® front-panel. (1)
- GTX 1050 GPU Owners Club (12)
- ASUS ProArt GeForce RTX 4060 Ti OC Edition 16GB GDDR6 Gaming - nvflash64 VBIOS mismatch (2)
- No offense, here are some things that bother me about your understanding of fans. (33)
Popular Reviews
- Fractal Design Epoch RGB TG Review
- Corsair FRAME 5000D RS Review
- Lexar NM1090 Pro 4 TB Review
- NVIDIA GeForce RTX 5050 8 GB Review
- NZXT N9 X870E Review
- Sapphire Radeon RX 9060 XT Pulse OC 16 GB Review - An Excellent Choice
- AMD Ryzen 7 9800X3D Review - The Best Gaming Processor
- Upcoming Hardware Launches 2025 (Updated May 2025)
- Our Visit to the Hunter Super Computer
- Chieftec Iceberg 360 Review
TPU on YouTube
Controversial News Posts
- Intel's Core Ultra 7 265K and 265KF CPUs Dip Below $250 (288)
- Some Intel Nova Lake CPUs Rumored to Challenge AMD's 3D V-Cache in Desktop Gaming (140)
- AMD Radeon RX 9070 XT Gains 9% Performance at 1440p with Latest Driver, Beats RTX 5070 Ti (131)
- NVIDIA Launches GeForce RTX 5050 for Desktops and Laptops, Starts at $249 (119)
- NVIDIA GeForce RTX 5080 SUPER Could Feature 24 GB Memory, Increased Power Limits (115)
- Microsoft Partners with AMD for Next-gen Xbox Hardware (105)
- Intel "Nova Lake‑S" Series: Seven SKUs, Up to 52 Cores and 150 W TDP (100)
- NVIDIA DLSS Transformer Cuts VRAM Usage by 20% (97)