 0
0
Synology DS412+ Review
DiskStation Manager 4 Tour »DiskStation Manager 4
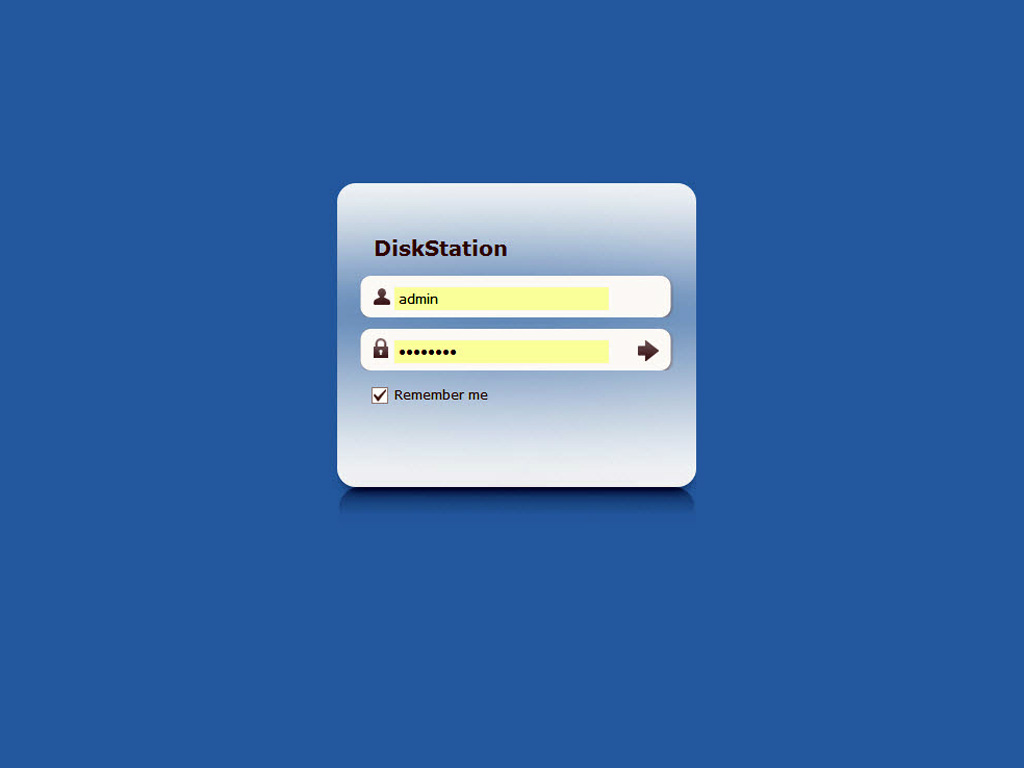
Once you finish the quick setup through the Synology Assistant and installed the newest available version of the DiskStation Manager operating system to the NAS, it is time to open your favorite browser and type the address that you selected for the NAS (or find the one that was automatically assigned by DHCP). Once you give the correct administrator password you are ready to interact with the windowed interface of the DSM.
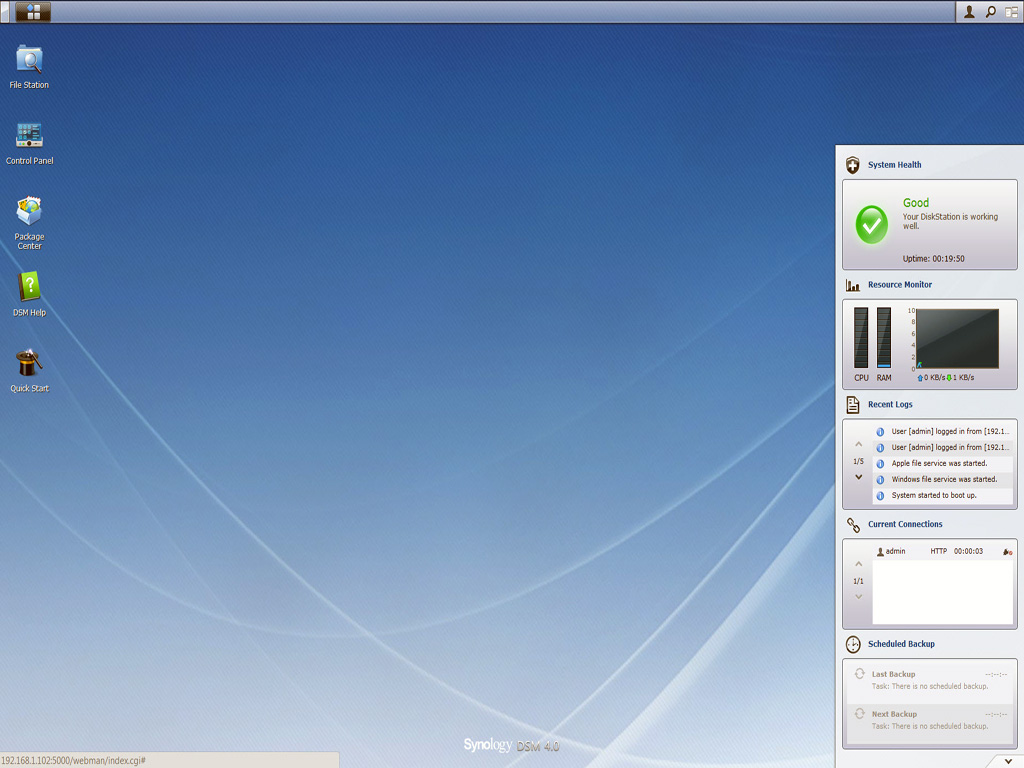
As we already mentioned DSM is a windowed operating system based on Linux so it is very light and fits like a glove to the hardware of the DS412+, using as little system resources as possible. The second and more interesting thing about it is that it is stored across all installed disks so that you can boot and use the DiskStation when you remove any of the hard drives, including the first disk. This provides extra safety since all the crucial system files are stored on multiple disks and only if they all fail you will lose your configuration files. Nevertheless in such a worst case scenario you will, most likely, worry less about the configuration files of the DSM.
Quick Start Wizard
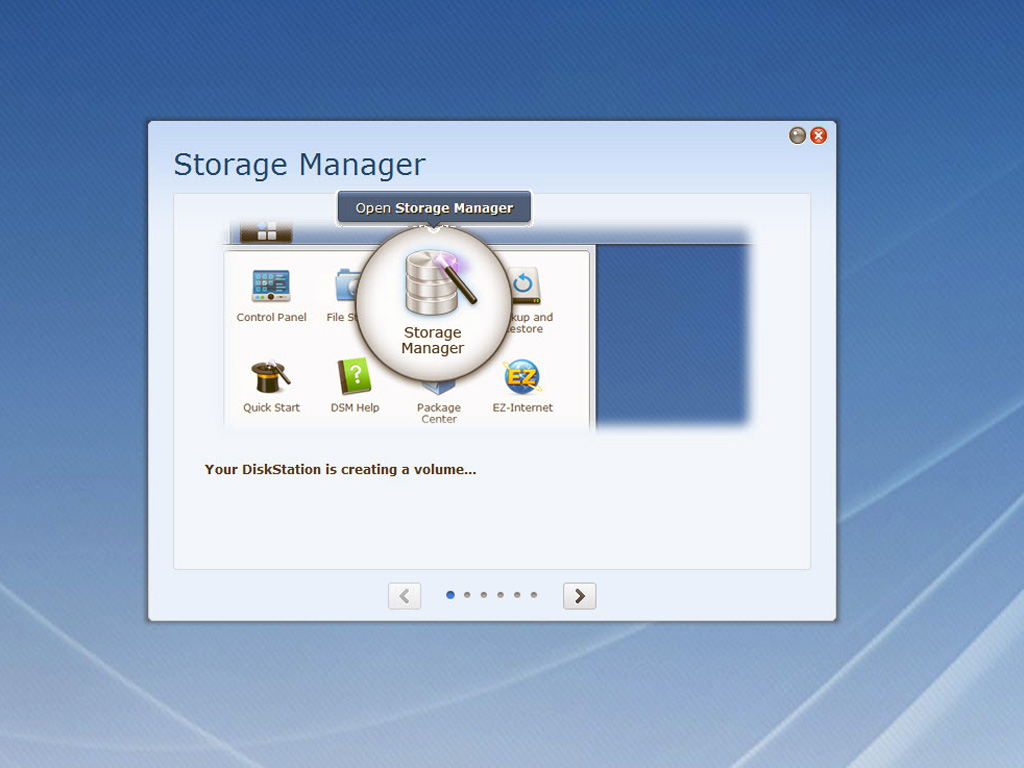
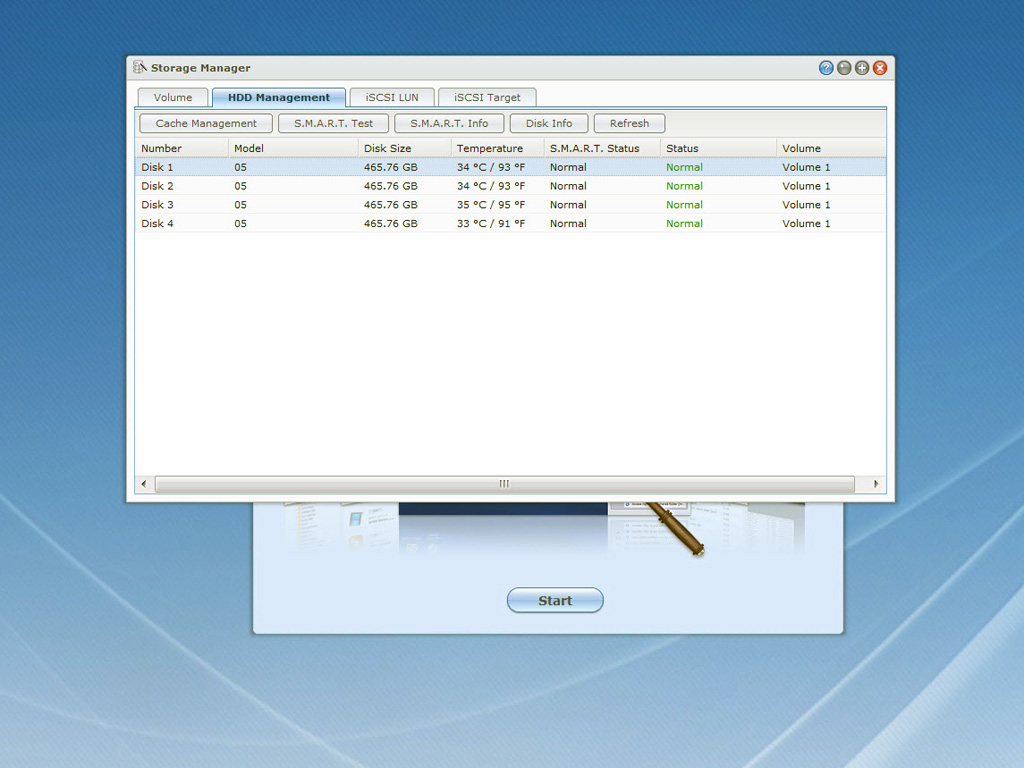
The first time you start the DSM you will be greeted by the Quick Start Wizard which will walk you through the first steps you should follow, to quickly configure your NAS server. First of all you have to open the Storage Manager and create a single or multiple volumes.
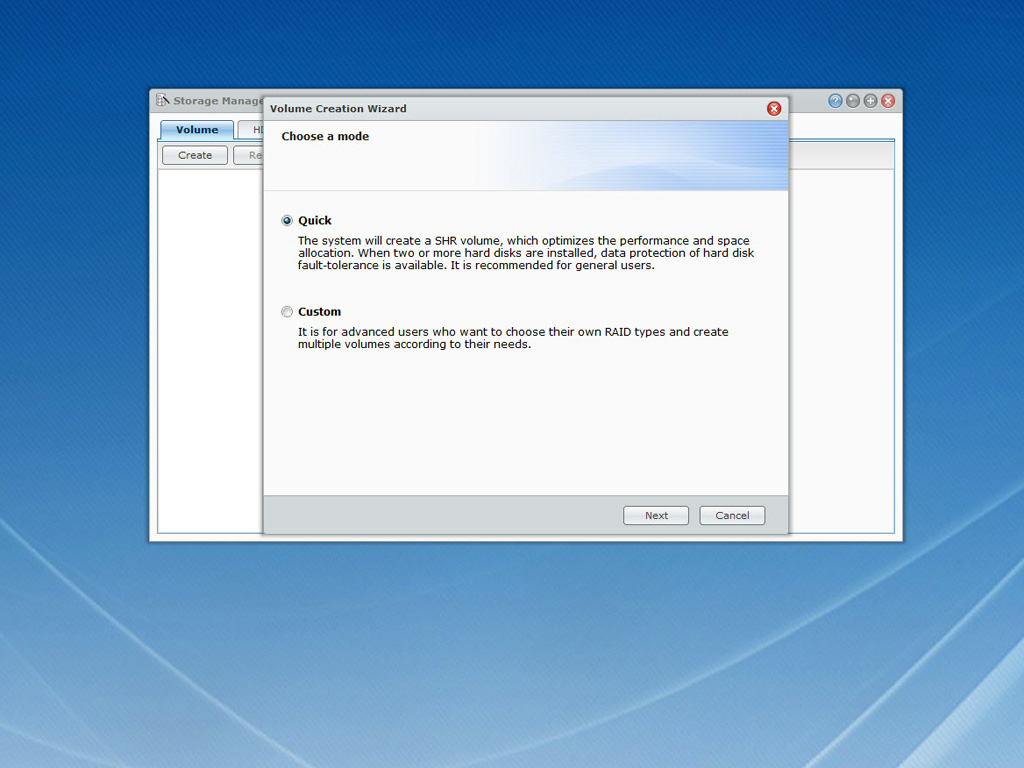
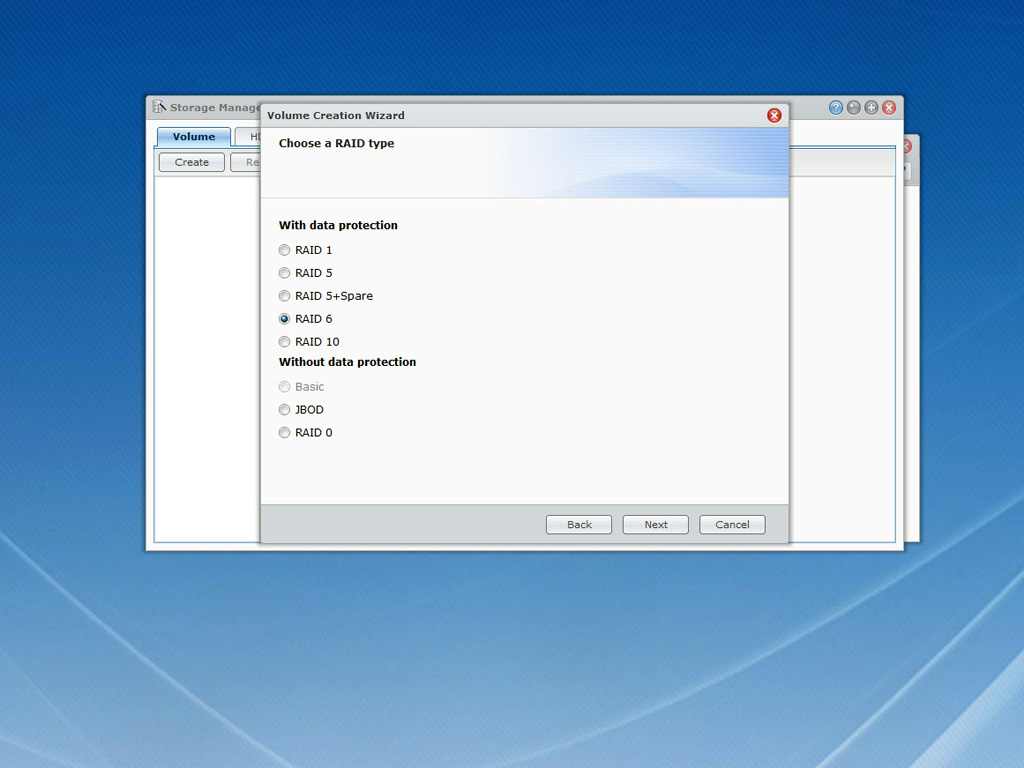
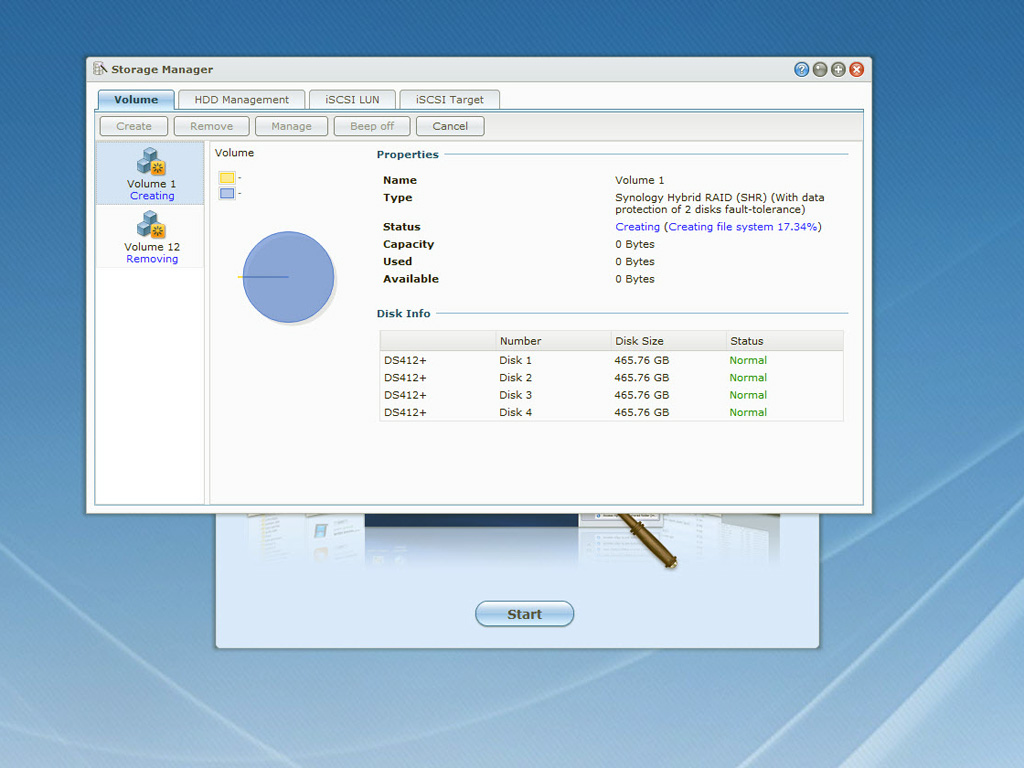
Besides the standard RAID levels that most NAS boxes support, Synology also offers a Hybrid RAID level (SHR) which is accessible through the "quick" option of the Volume Creation Wizard. SHR is an automated RAID Management system and addresses users who do not care or do not want to know what the finer aspects of the various RAID-levels are. The SHR level in DS412+ allows for up to two disks worth of redundancy - meaning that the SHR volume can suffer the loss of up to two disks. Finally SHR is the best option if you plan on installing different sized disks in the NAS, since it creates the ideal partitions in order to exploit the full capacity of all disks. So not a single byte of disk space is left unused. More info about SHR is available here.

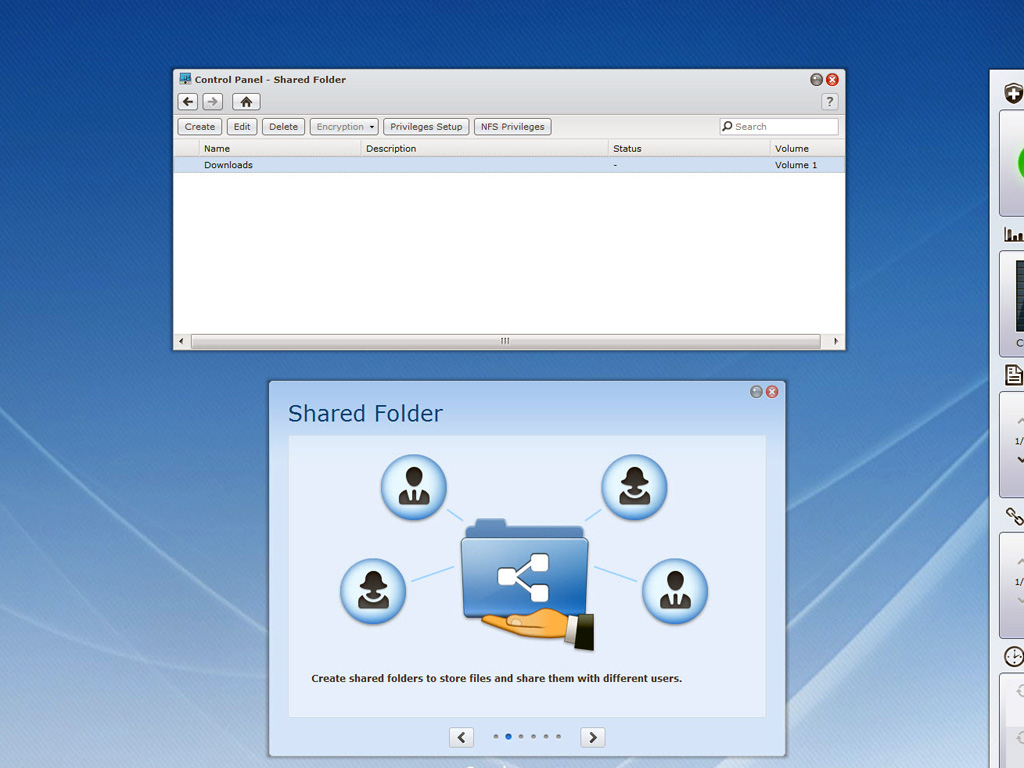
The second step of the Quick Start Wizard is to help you share some folders of your NAS server and make them accessible to users through the network. Once you create your shared folders you can set the access rights for all users or groups. The whole process is quite easy to follow even for inexperienced users.
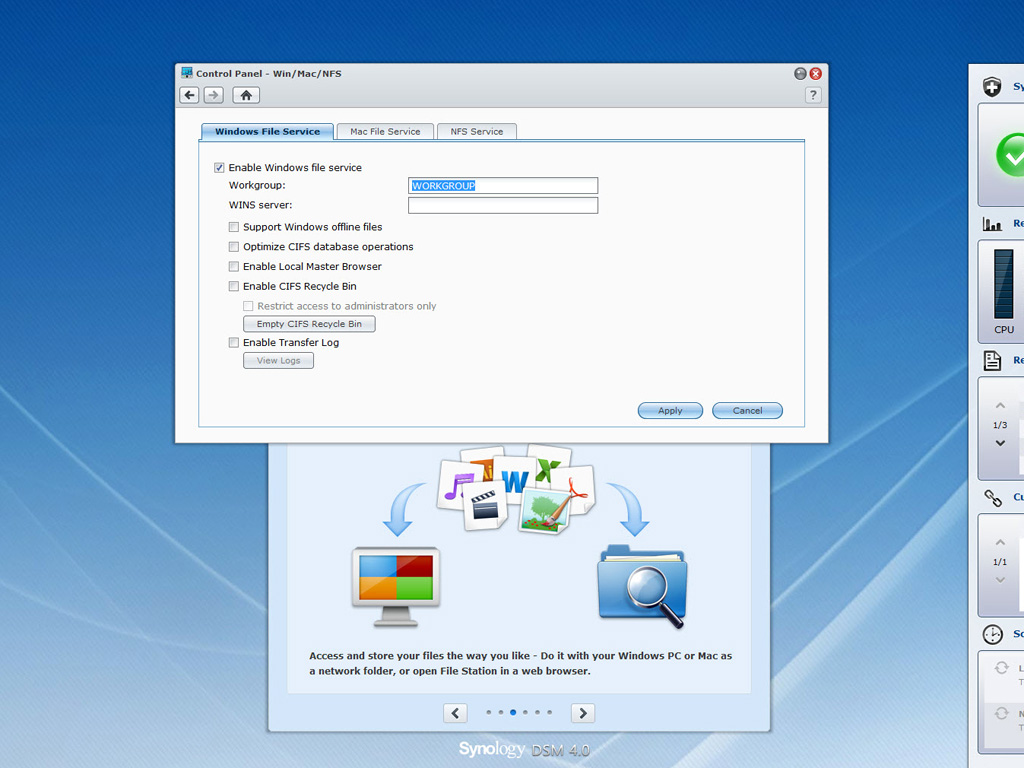
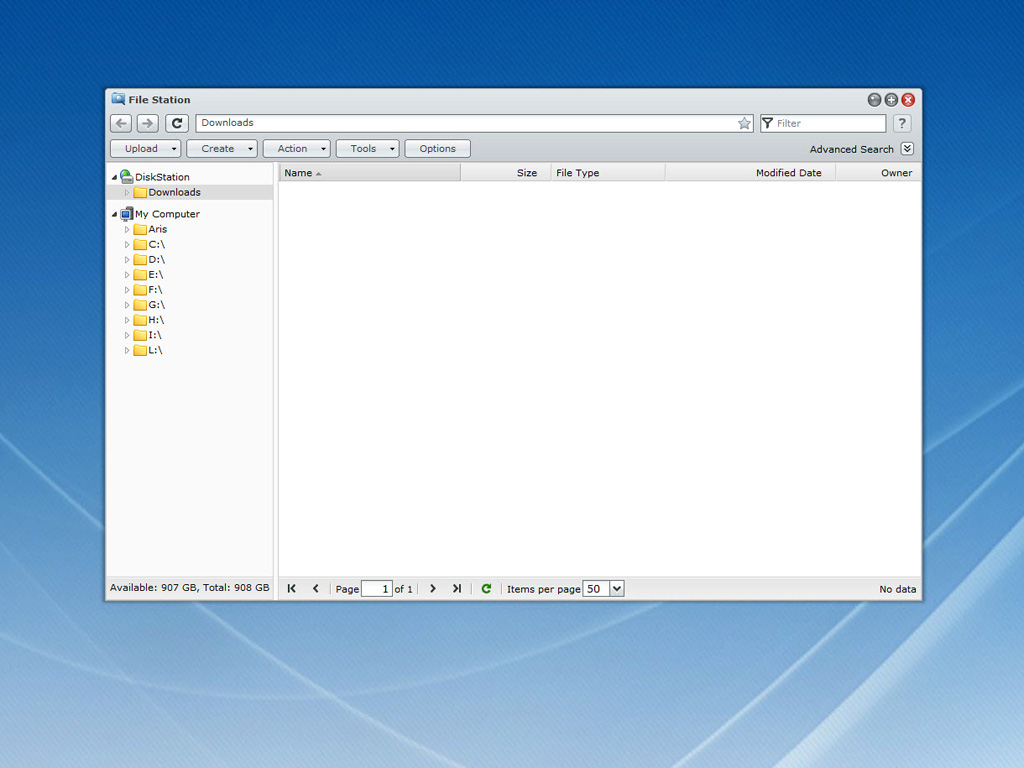
The third step guides you through the process of enabling Windows, MAC or NFS networking and into the use of the File Station through which you can move files between your workstation and the NAS server.
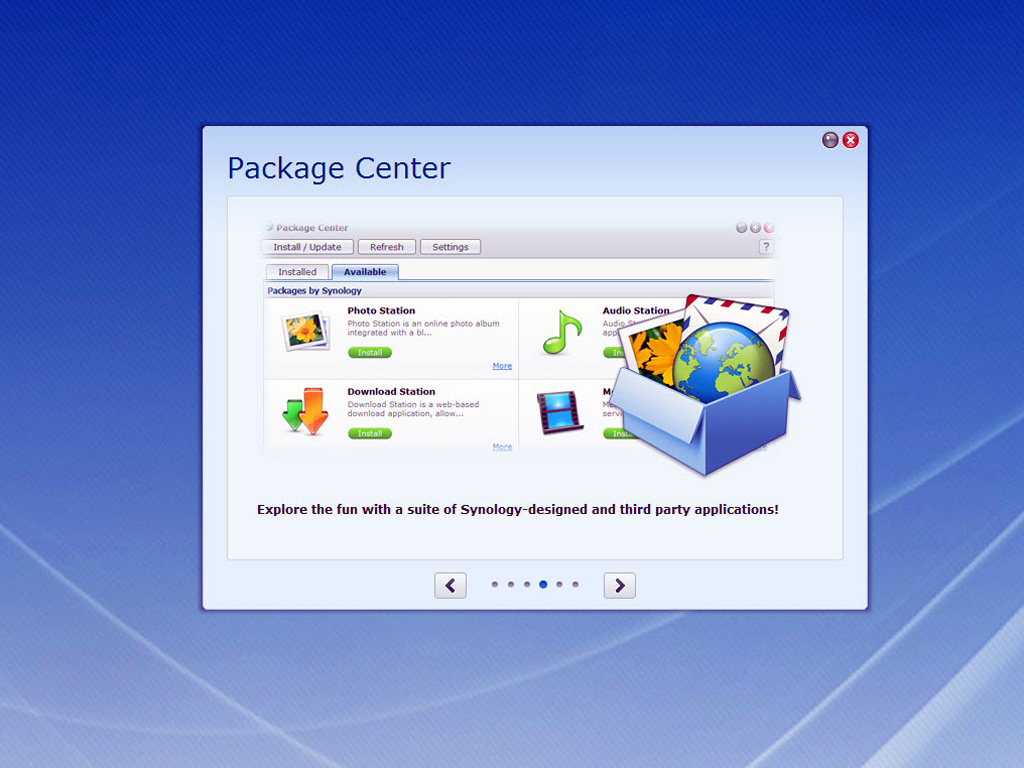
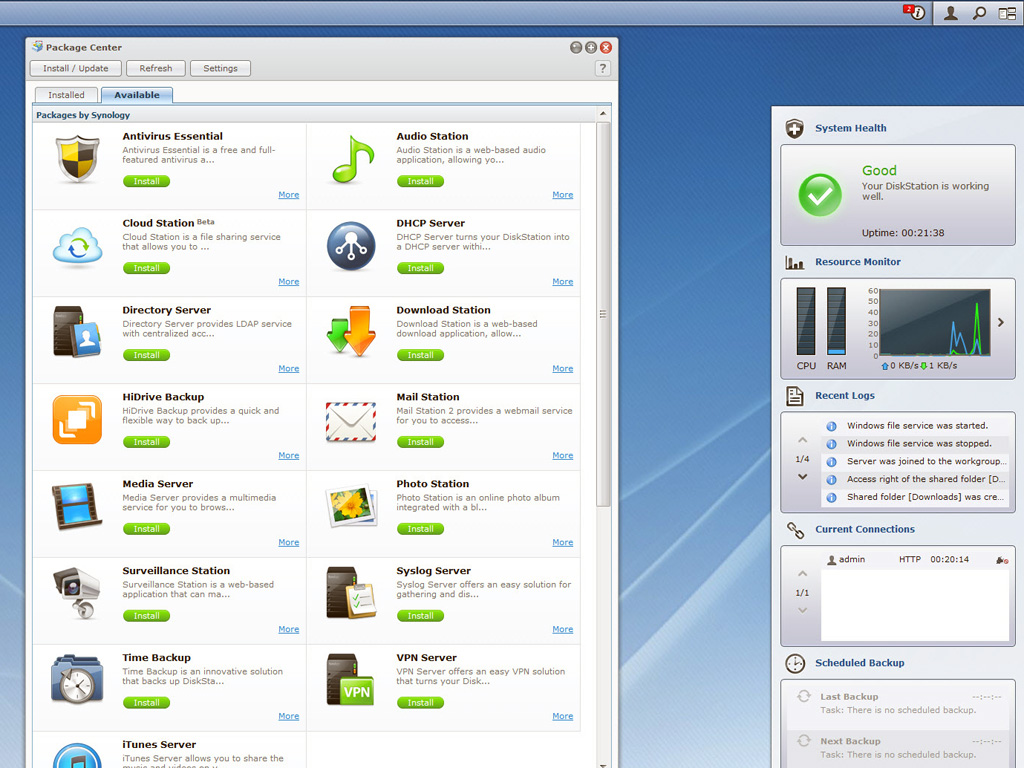
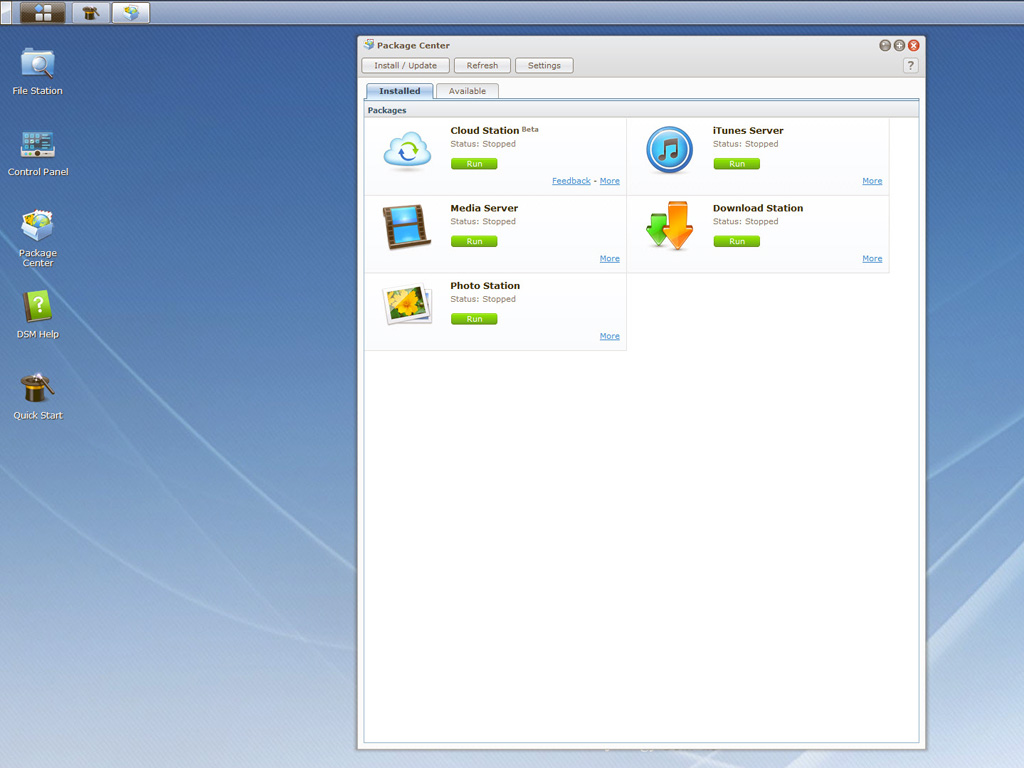
Package center is the next step and through the Package Manager you can take a look at the available packages/applications for your NAS and install them with the press of a button. Some of the more interesting packages are: antivirus, audio station, cloud station, download station, media server, photo station, surveillance station, time back up and iTuners server. There are of course many more available packages for you to download and enhance the functionality of your NAS.
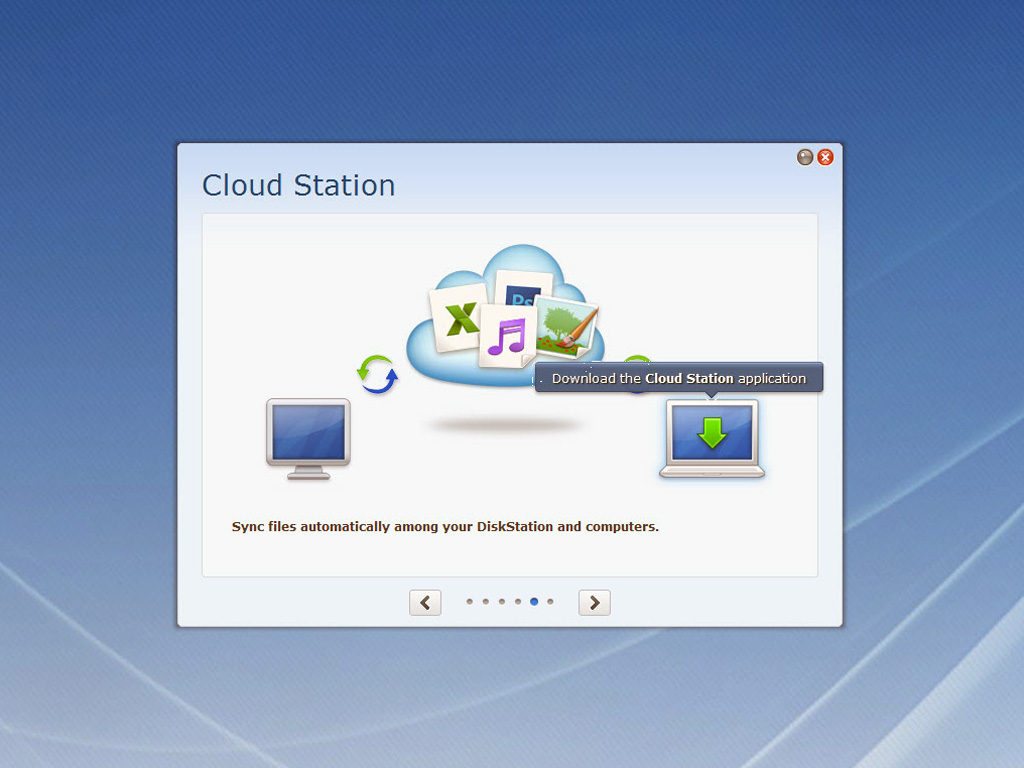
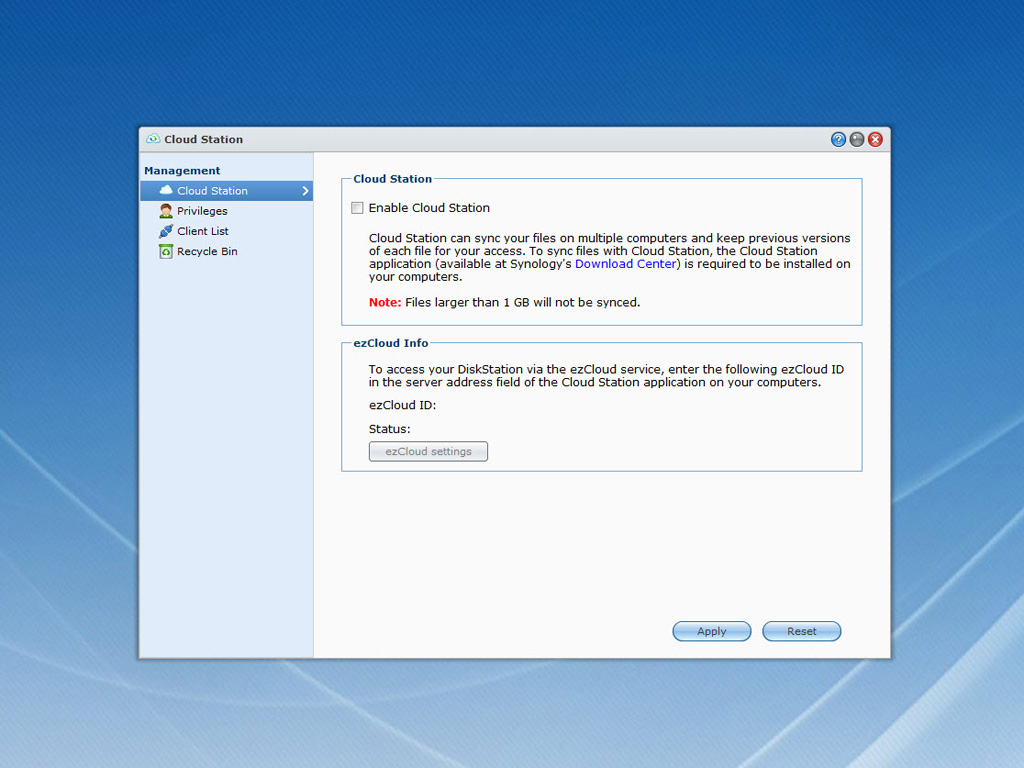
Once you finish with Package Manager in case you haven't yet installed the Cloud Station package you are prompted to do so into this step. There is also the corresponding application for the client PCs which can be downloaded from the Synology Download center (the link is given by the corresponding icons). Through the Cloud Station application you can sync files between your Synology NAS and computers; however files with over 1 GB size won't be synced.
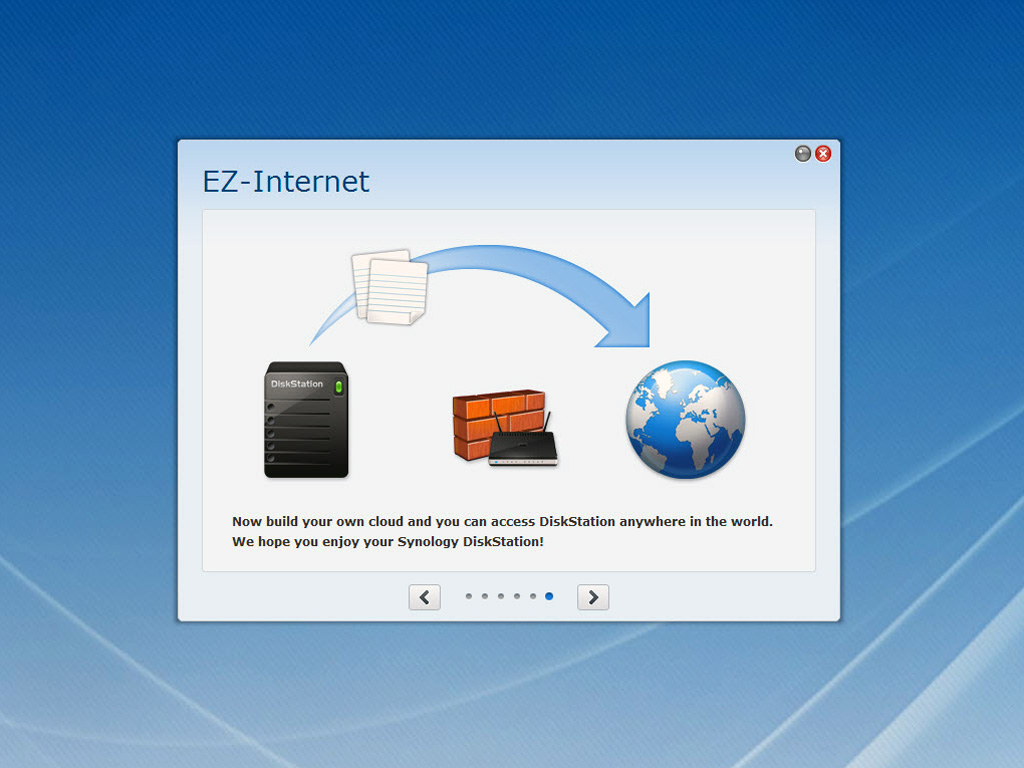
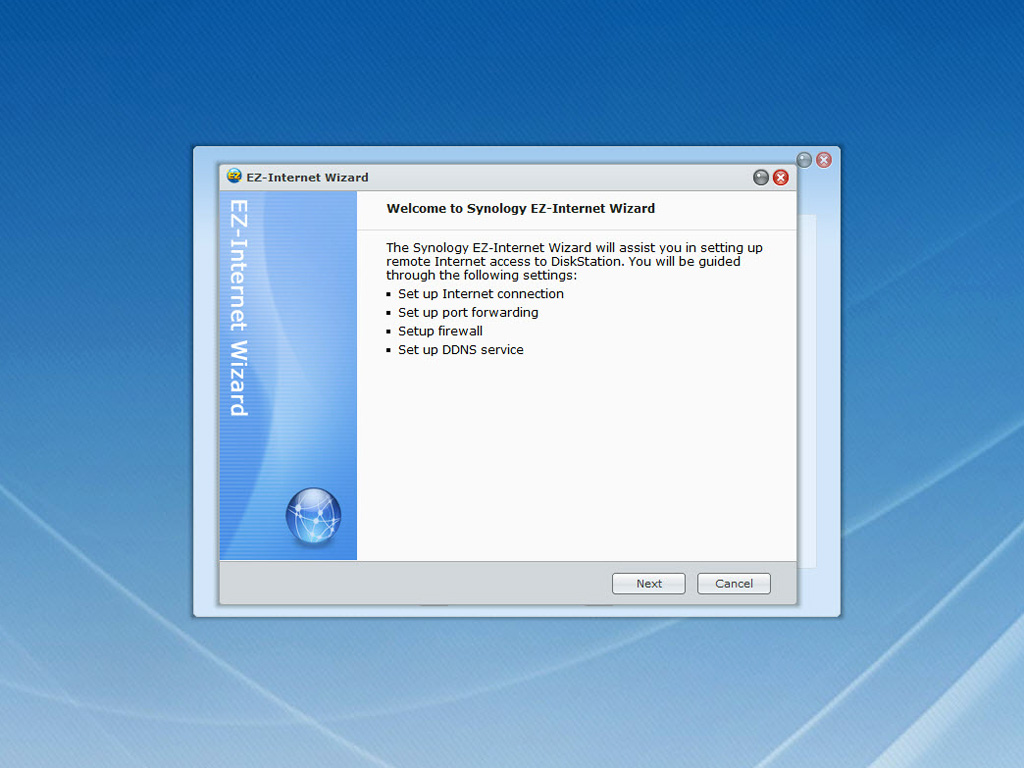
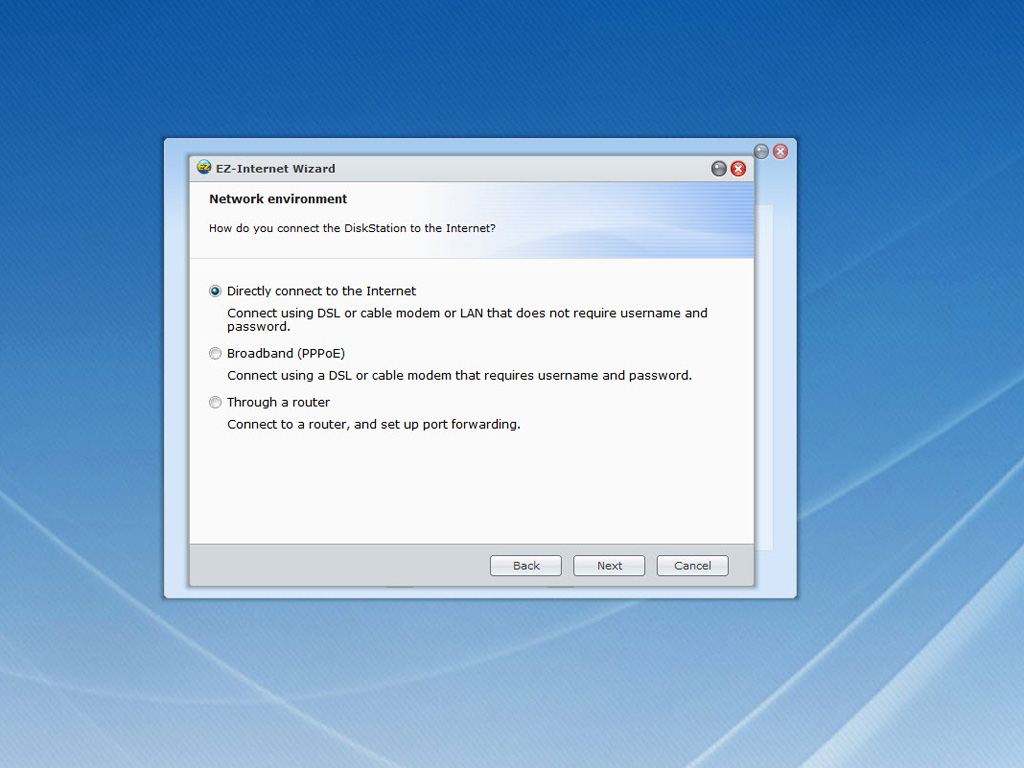

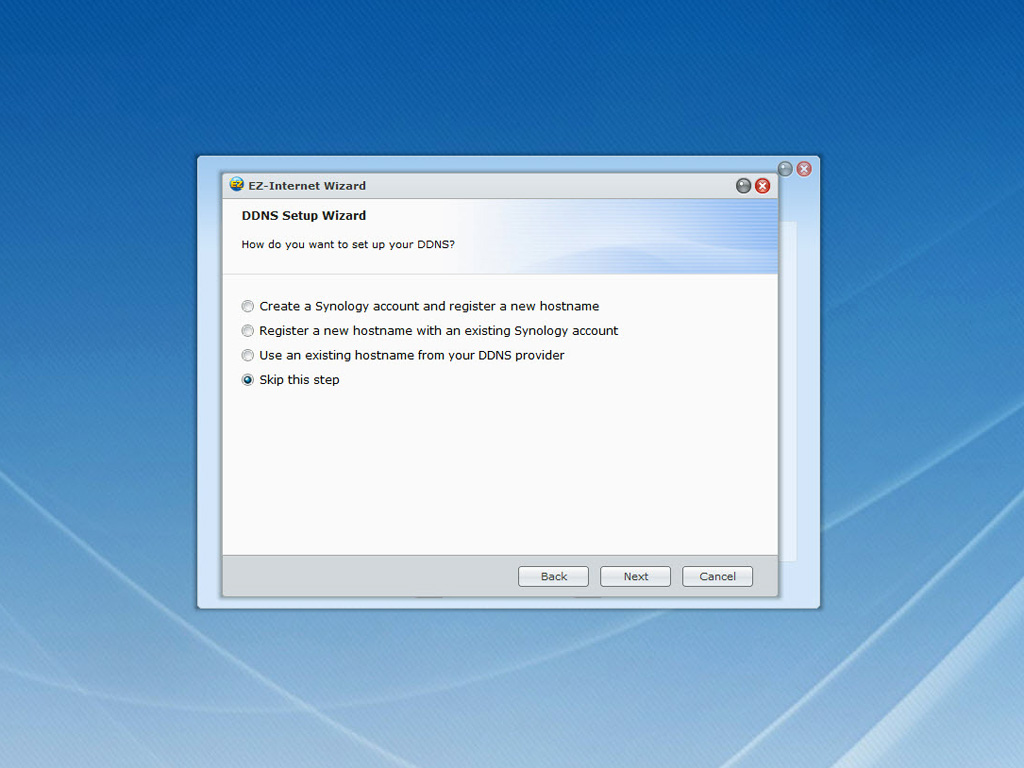
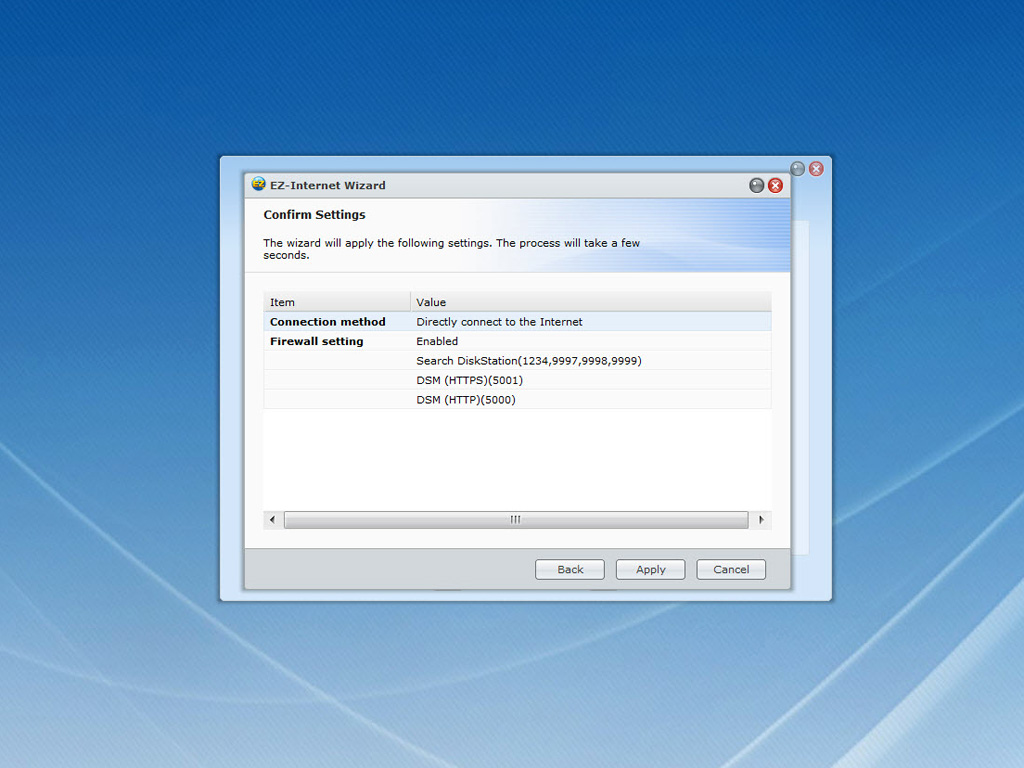
The last step of the Quick Start Wizard helps you build your own cloud on the Internet and access DiskStation from anywhere in the world. All the above are enabled through the EZ-Internet Wizard which guides you through the entire process of setting up your Internet connection, doing the appropriate port forwarding in your router, setting up the firewall and finally setting up the DDNS service, in order to be able to locate your NAS server IP even when this changes (if you have an Internet connection with dynamic IP like most home users).
Jul 5th, 2025 18:23 CDT
change timezone
Latest GPU Drivers
New Forum Posts
- [GPU-Z Test Build] New Kernel Driver, Everyone: Please Test (69)
- How do you view TPU & the internet in general? (With poll) (80)
- EVGA XC GTX 1660 Ti 8GB ROM (11)
- Rx580 subsystem id (0)
- What are you playing? (23893)
- Do you use Linux? (677)
- Optane performance on AMD vs Intel (58)
- Frametime spikes and stuttering after switching to AMD CPU? (521)
- Stalker 2 is looking great. (187)
- b550m aorus elite not posting with new ram (7)
Popular Reviews
- NVIDIA GeForce RTX 5050 8 GB Review
- Fractal Design Scape Review - Debut Done Right
- Crucial T710 2 TB Review - Record-Breaking Gen 5
- ASUS ROG Crosshair X870E Extreme Review
- PowerColor ALPHYN AM10 Review
- Sapphire Radeon RX 9060 XT Pulse OC 16 GB Review - An Excellent Choice
- Upcoming Hardware Launches 2025 (Updated May 2025)
- AMD Ryzen 7 9800X3D Review - The Best Gaming Processor
- Sapphire Radeon RX 9070 XT Nitro+ Review - Beating NVIDIA
- NVIDIA GeForce RTX 5060 8 GB Review
TPU on YouTube
Controversial News Posts
- Intel's Core Ultra 7 265K and 265KF CPUs Dip Below $250 (288)
- NVIDIA Grabs Market Share, AMD Loses Ground, and Intel Disappears in Latest dGPU Update (212)
- Some Intel Nova Lake CPUs Rumored to Challenge AMD's 3D V-Cache in Desktop Gaming (140)
- NVIDIA GeForce RTX 5080 SUPER Could Feature 24 GB Memory, Increased Power Limits (115)
- Microsoft Partners with AMD for Next-gen Xbox Hardware (105)
- NVIDIA Launches GeForce RTX 5050 for Desktops and Laptops, Starts at $249 (105)
- AMD Radeon RX 9070 XT Gains 9% Performance at 1440p with Latest Driver, Beats RTX 5070 Ti (102)
- Intel "Nova Lake‑S" Series: Seven SKUs, Up to 52 Cores and 150 W TDP (100)