 13
13
teenage engineering computer–1 Review
Finished Looks & Turned On »Review System
| System Parts for Case Reviews | |
|---|---|
| Processor: | Intel Core i5-9600K |
| Motherboards: | ASRock B365M-ITX/ac LGA 1151 Provided by: ASRock |
| Graphics Card: | EVGA GeForce 1050 Ti 4GB |
| SSD: | ADATA Swordfish 256 GB M.2 NVMe SSD Provided by: ADATA |
| Memory: | 16 GB XPG GAMMIX D20 DDR4 3200 MHz Provided by: ADATA |
| Cooling: | Noctua NH-L9x65 Low-Profile CPU Cooler Provided by: Noctua |
| Thermal Paste: | Arctic MX-5 Thermal Compound Provided by: Arctic |
| Fan: | Arctic F8 80 mm PWM fan Provided by: Arctic |
| PSU: | Fractal Design Ion SFX-L 650 Watt 80 Plus Gold Provided by: Fractal Design |
Building the computer-1
While we usually dive into the interior and exterior of a chassis before the assembly process, this won't be possible with the teenage engineering computer-1. The chassis is meant to be married with parts as you bend and build it up. This once again puts a spotlight on the forward-thinking process of creating something to function, with the chassis not being a separate element of a product you get to simply replace on a whim. Instead, the final result will be a holistic product, as the computer-1 naming already implies. teenage engineering provides a small tool for the included hex screws, which in itself is already a departure of what we are used to using. This adds to the delicate way you perceive and build the computer-1.
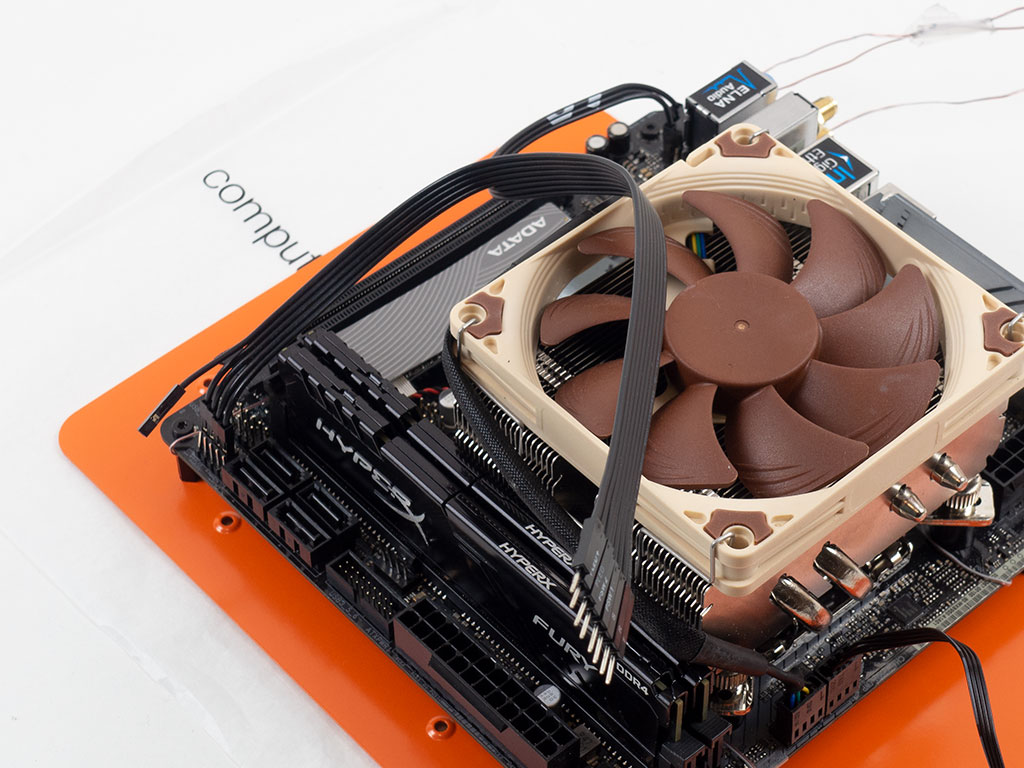
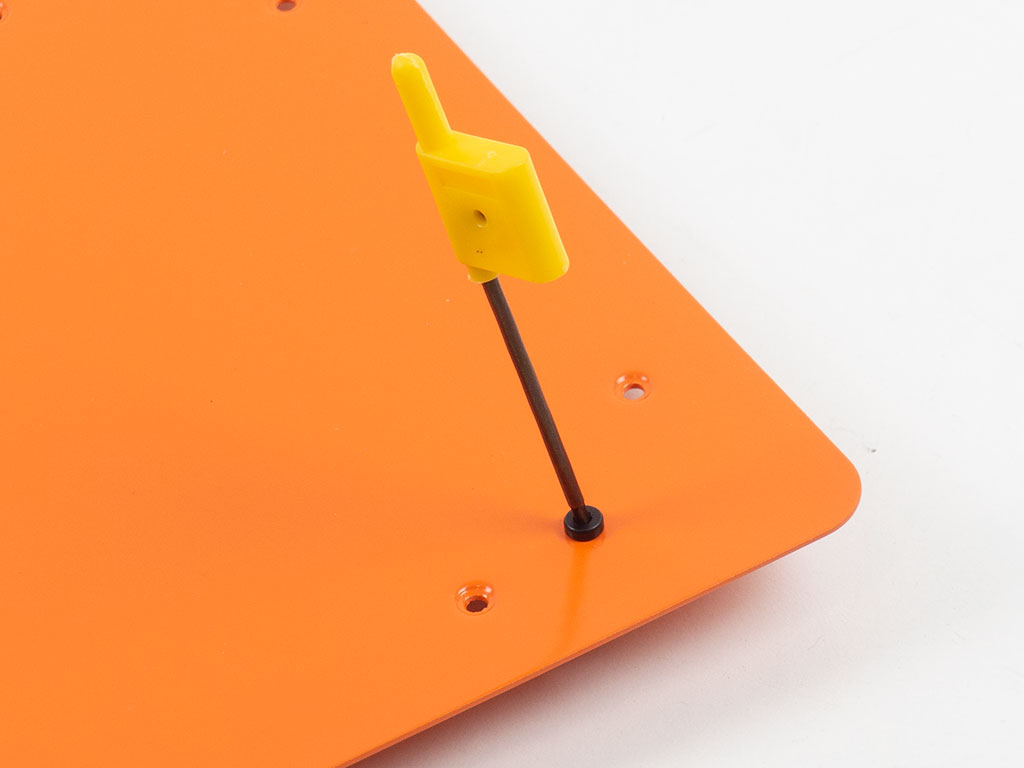
The first step in the process is to attach the slightly taller than usual spacers and secure the ITX motherboard to the chassis. teenage engineering also recommends you connect the fan at this point, and we went ahead and attached the case cable as well. This branded wire is meant to be pulled apart and comes with individual pins, including an unlabeled one as a reserve. While straightforward for both the power switch and LED, the audio cables are labeled S, R, and T, which stands for the sleeve, ring, and tip of the 3.5" audio jack.
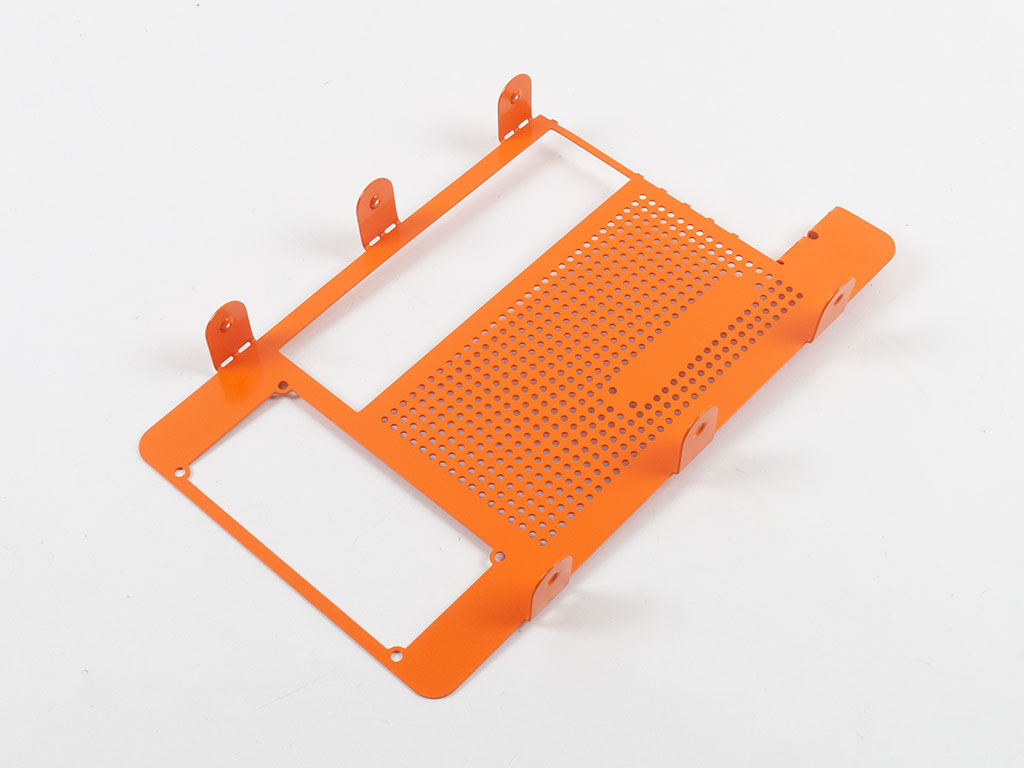
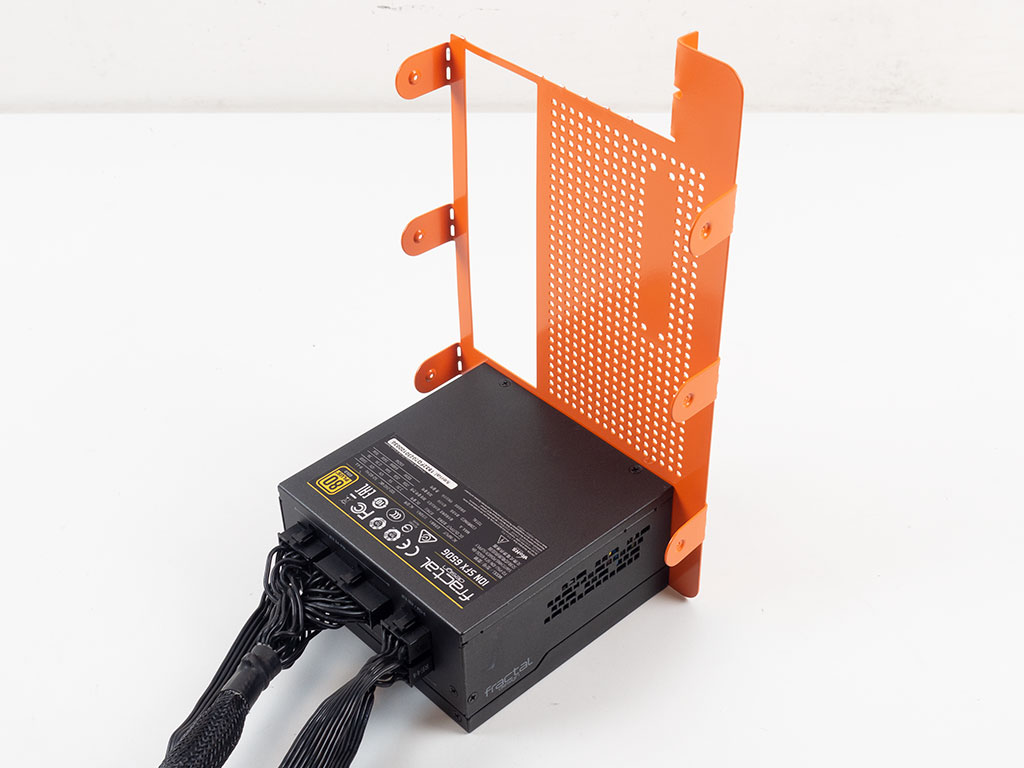

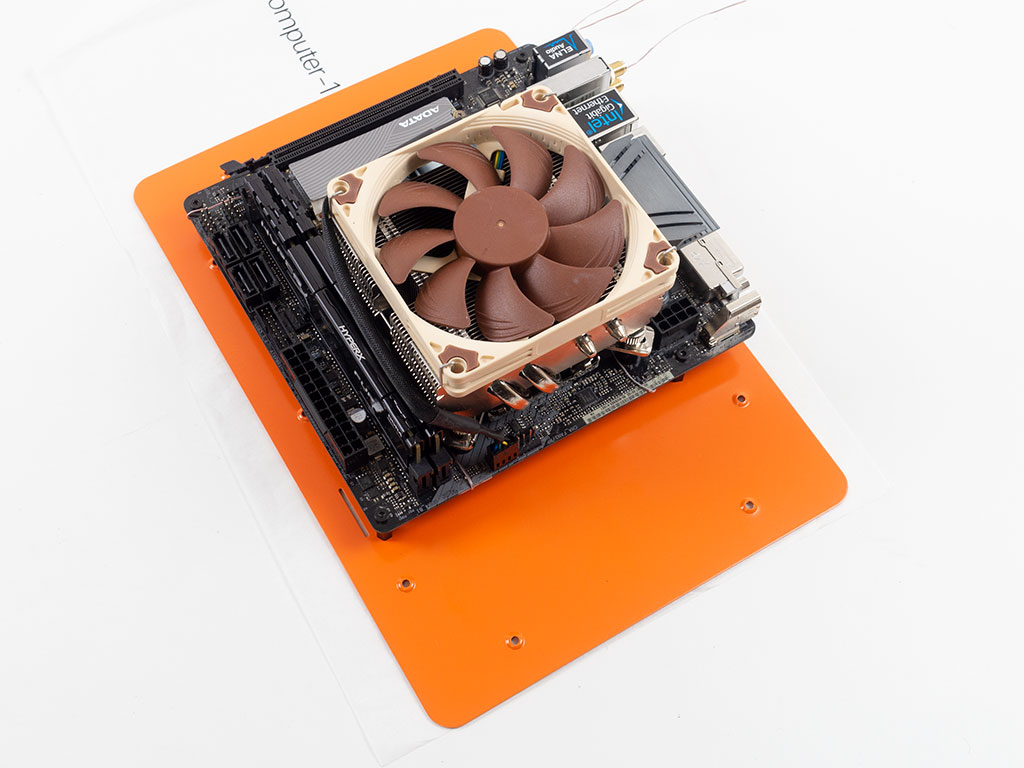
The rear panel is the first you will have to bend and break to fit your needs. As we will be equipping the computer-1 with a GPU, that panel was broken out and the lip to secure such a device bent outward. In addition to this, the pieces acting as connections to other metal sheets have been bent 90° in preparation. Once ready, you may add the SFX or SFX-L power supply. Interestingly enough, teenage engineering only mentions SFX as being compatible, but there is plenty of room for an SFX-L unit as well. You may then marry the solid side panel to which the motherboard is attached to the rear piece. As you can see, with the PCIe slot being at the top edge, that means the board sits upside down within the computer-1.
Folding the aluminium sheet that constitutes the floor and lower half of the front of the computer-1 is the most elaborate step during the whole process. teenage engineering reminds you to "think twice and bend once" at this point of the process. Once the five bends are in place, you may once again bend the connecting elements 90° and apply both the feet as well as the power switch and audio port. teenage engineering has envisioned the power switch to be an old-school tactile experience by using a flip lever. It is covered by a circular paper layer, so the final product has no unsightly gap here.

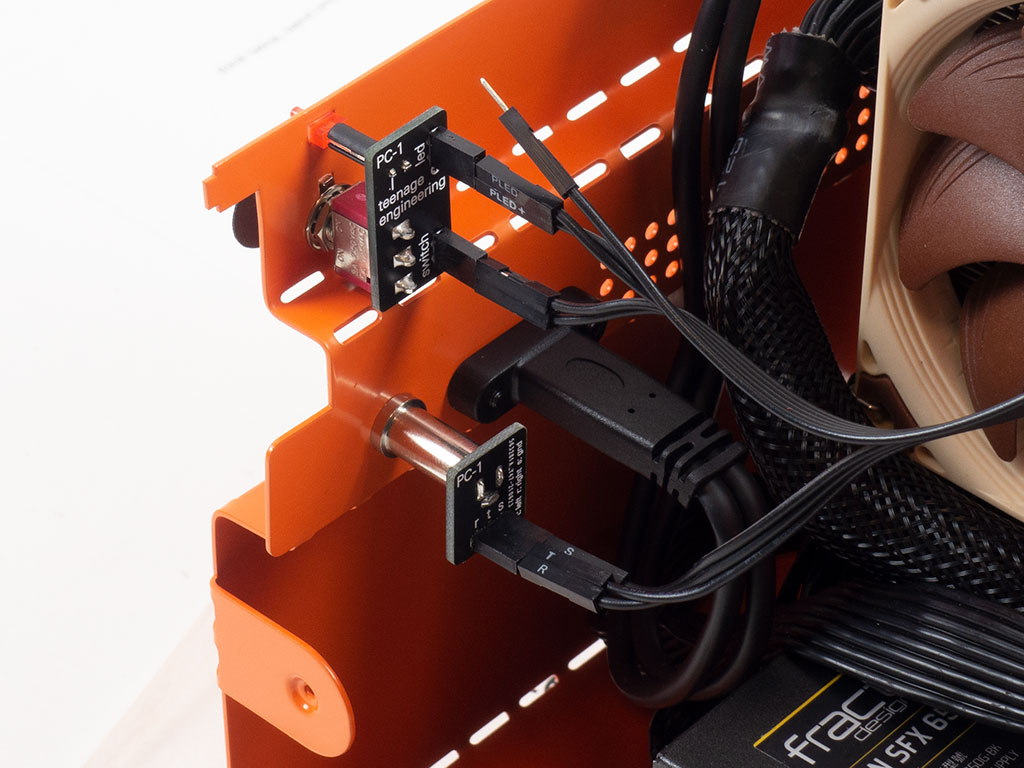
Once this part is fully prepared, you may add it to the computer-1, attach the cables accordingly, and screw down the USB-C port.

The computer-1 may include a dual-slot graphics card of up to 180 mm comfortably. This means you should be able to fit an ultra-short GeForce GTX 3060, for example, making for a potent gaming unit. Being upside down, the GPU will draw cool air in through the vented top panel of the computer-1.
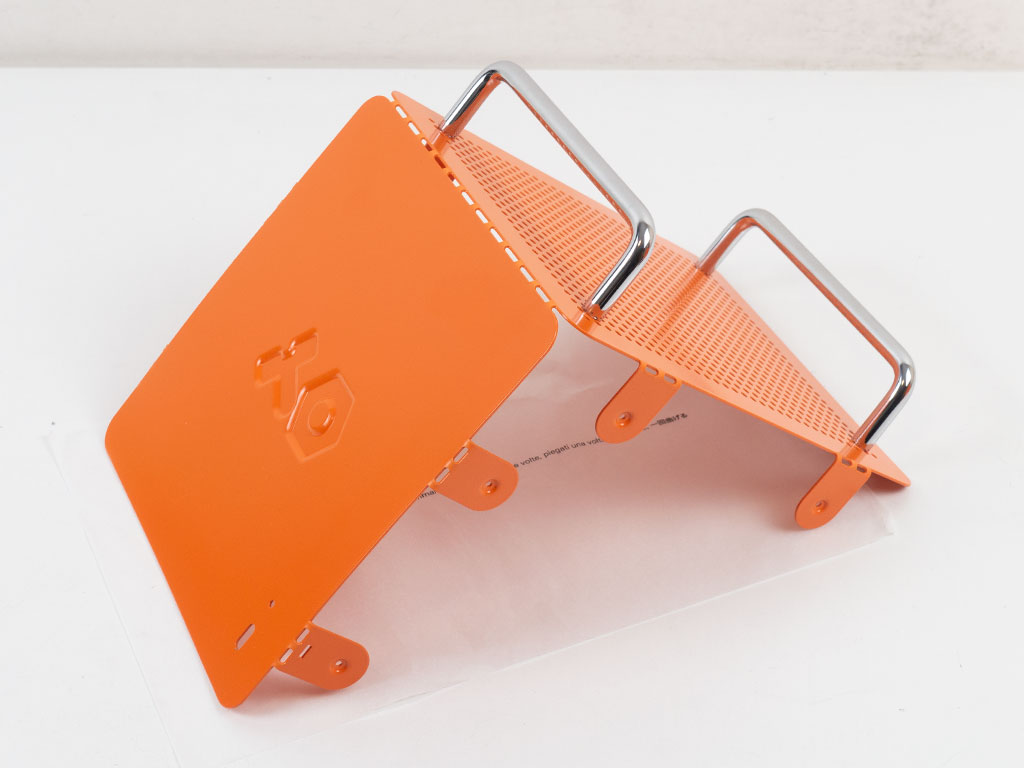

Before placing the top sheet of the teenage engineering computer-1, you have to first attach the hefty metal handles in the right holes. Once they are in place and the panel is folded, it may be attached to the rest of the build.
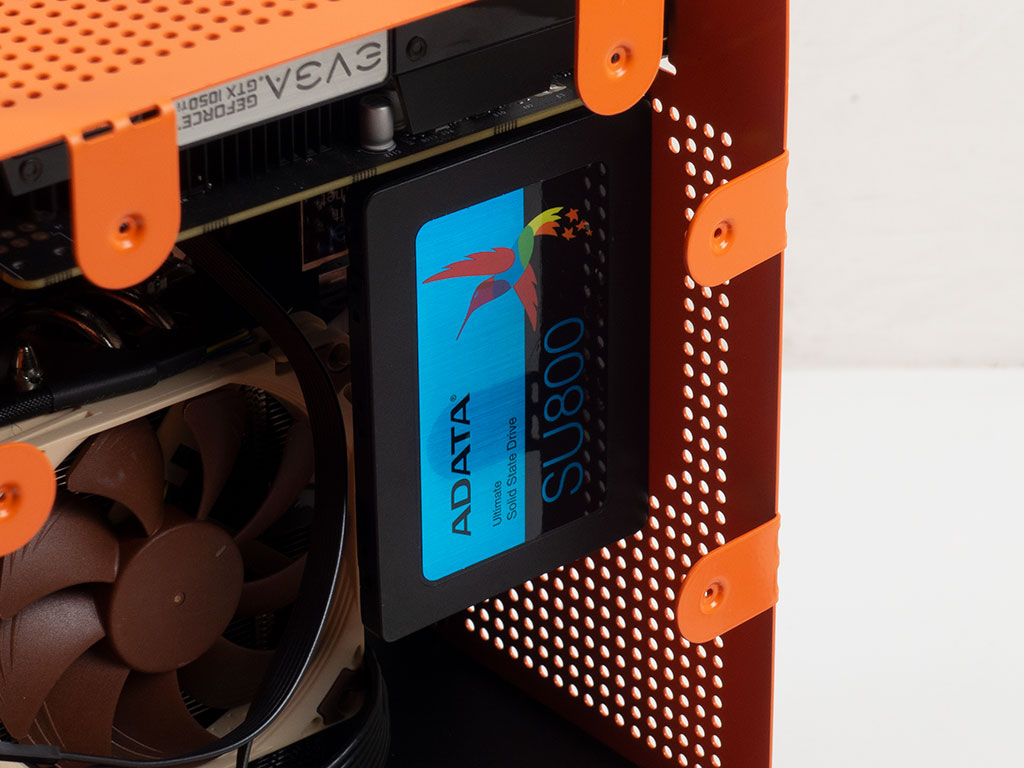
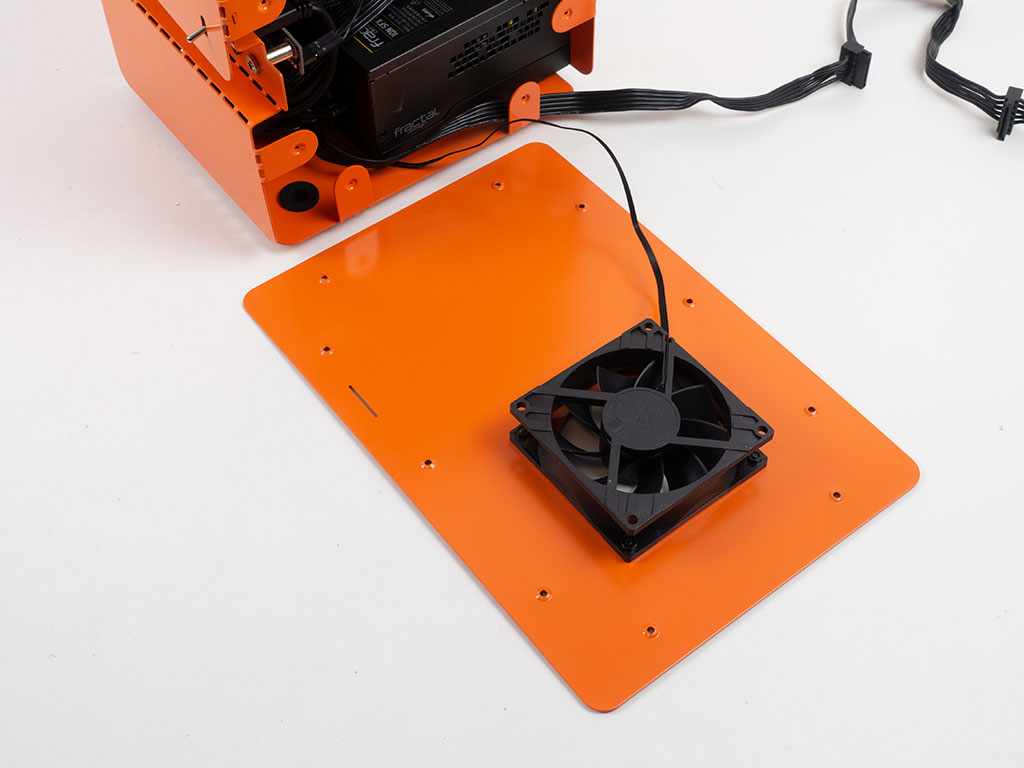
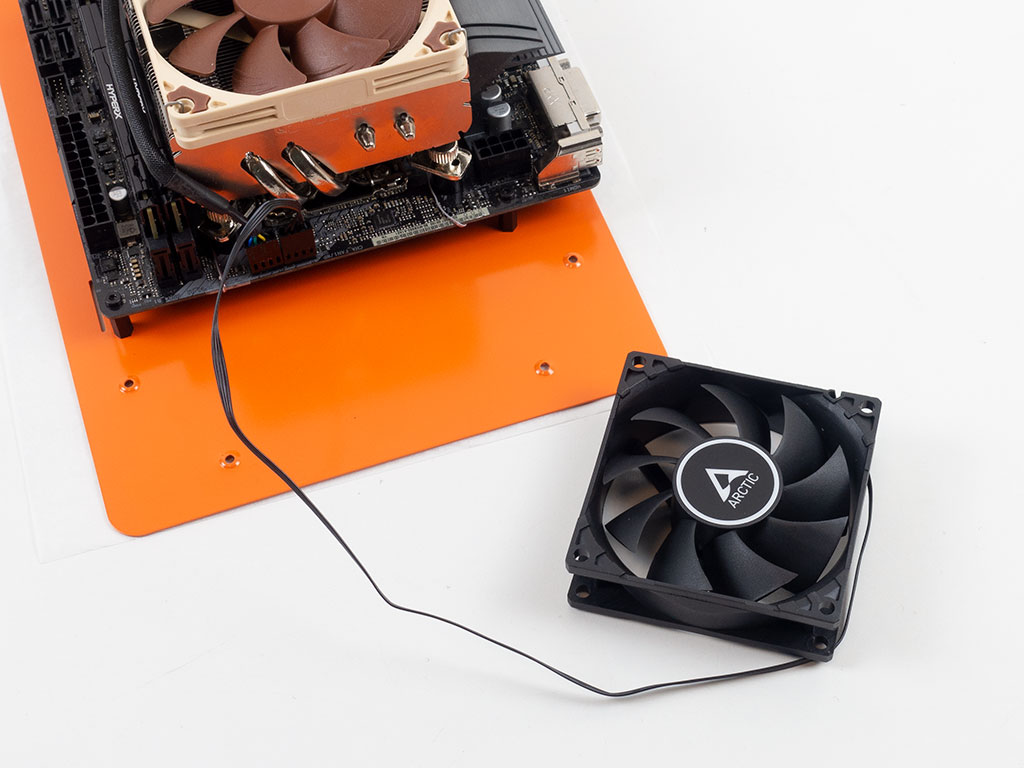
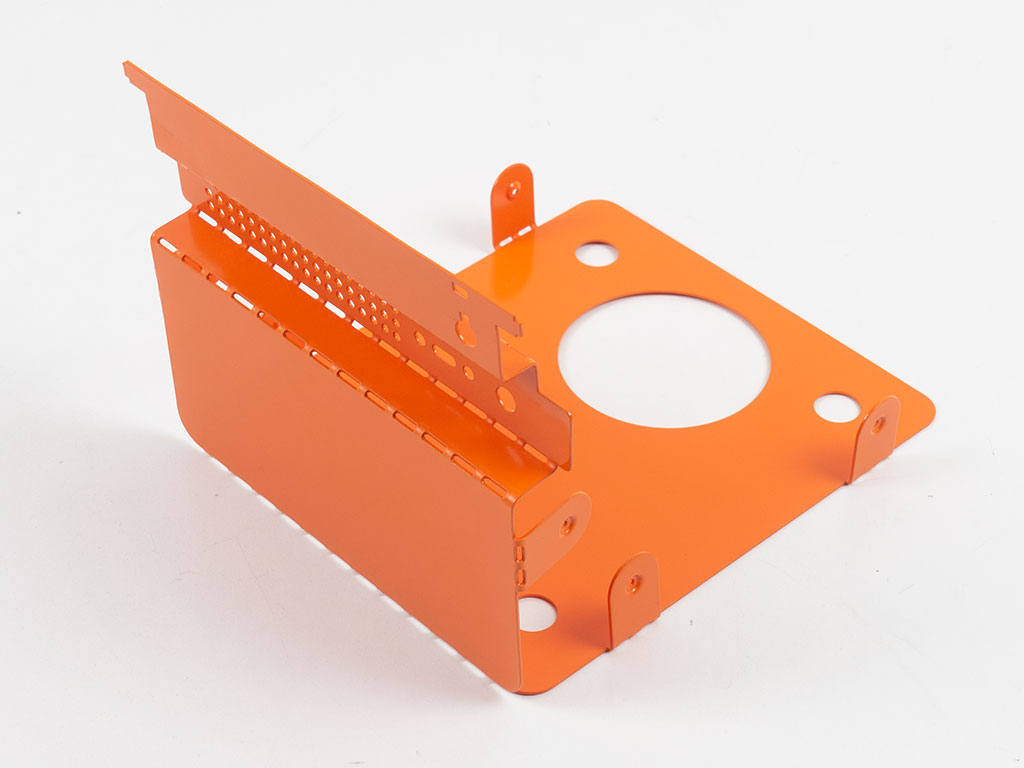
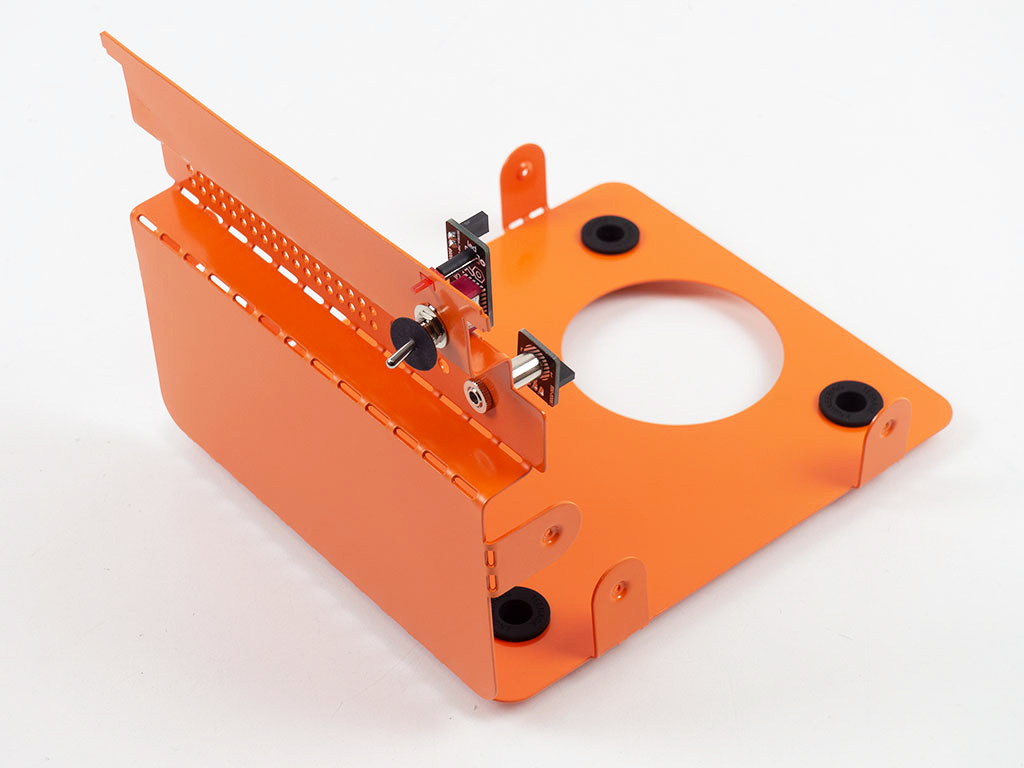
While teenage engineering does not mention it in their product specifications, you may actually install two 2.5" drives within the computer-1, which is the reason why we included the SATA power cable of the power supply. Before being able to complete the computer-1, the already attached 80 mm fan is secured on the side panel. It will provide direct cool airflow over the CPU and SSD.
Jul 12th, 2025 09:20 CDT
change timezone
Latest GPU Drivers
New Forum Posts
- No offense, here are some things that bother me about your understanding of fans. (36)
- Stupid buggy POS Realtek WiFi RTL8852BE (11)
- Swapping existing router w/ a replacement; any issues? (14)
- 'NVIDIA App' not usable offline? (13)
- Chrome has removed uBlock Origin 1.64.0 (remove google search suggestions) (12)
- Share your AIDA 64 cache and memory benchmark here (3097)
- The Official Linux/Unix Desktop Screenshots Megathread (778)
- [GPU-Z Test Build] New Kernel Driver, Everyone: Please Test (90)
- Gigabyte graphic cards - TIM gel SLIPPAGE problem (150)
- NVIDIA App (55)
Popular Reviews
- Fractal Design Epoch RGB TG Review
- Lexar NM1090 Pro 4 TB Review
- Corsair FRAME 5000D RS Review
- NVIDIA GeForce RTX 5050 8 GB Review
- NZXT N9 X870E Review
- Our Visit to the Hunter Super Computer
- Sapphire Radeon RX 9060 XT Pulse OC 16 GB Review - An Excellent Choice
- AMD Ryzen 7 9800X3D Review - The Best Gaming Processor
- Upcoming Hardware Launches 2025 (Updated May 2025)
- Chieftec Iceberg 360 Review
TPU on YouTube
Controversial News Posts
- Intel's Core Ultra 7 265K and 265KF CPUs Dip Below $250 (288)
- Some Intel Nova Lake CPUs Rumored to Challenge AMD's 3D V-Cache in Desktop Gaming (140)
- AMD Radeon RX 9070 XT Gains 9% Performance at 1440p with Latest Driver, Beats RTX 5070 Ti (131)
- NVIDIA Launches GeForce RTX 5050 for Desktops and Laptops, Starts at $249 (119)
- NVIDIA GeForce RTX 5080 SUPER Could Feature 24 GB Memory, Increased Power Limits (115)
- Microsoft Partners with AMD for Next-gen Xbox Hardware (105)
- Intel "Nova Lake‑S" Series: Seven SKUs, Up to 52 Cores and 150 W TDP (100)
- NVIDIA DLSS Transformer Cuts VRAM Usage by 20% (97)