 8
8
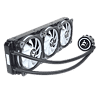
Thermaltake Floe DX 360 TT Premium Edition AIO Review
Finished Looks »Installation
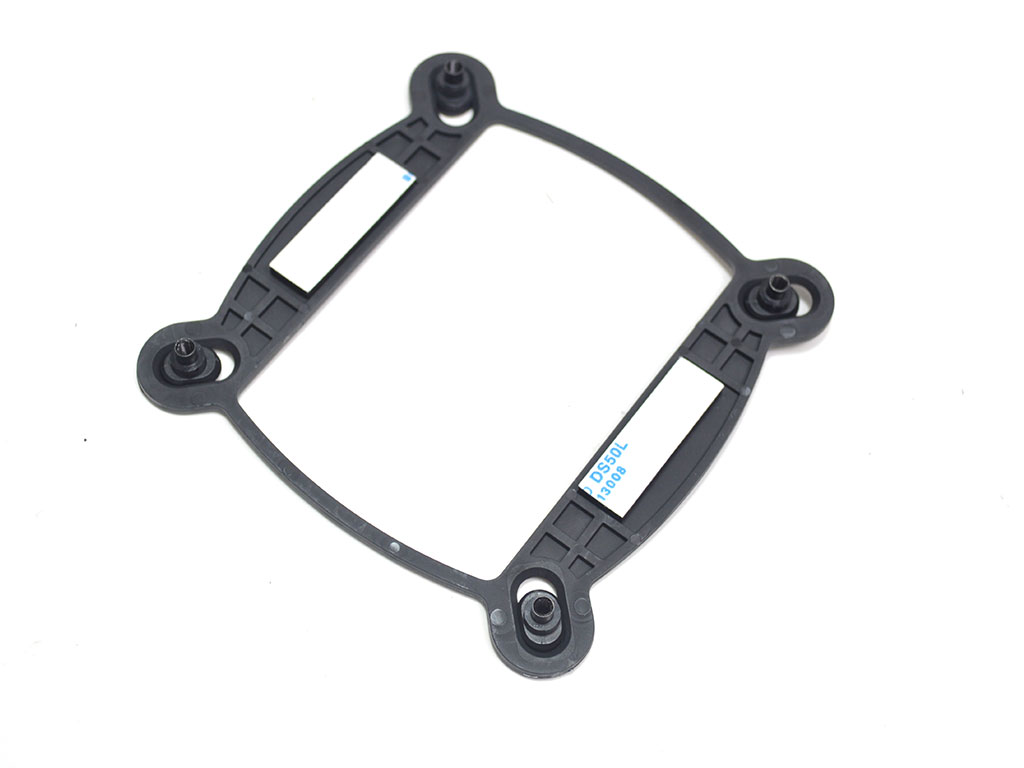
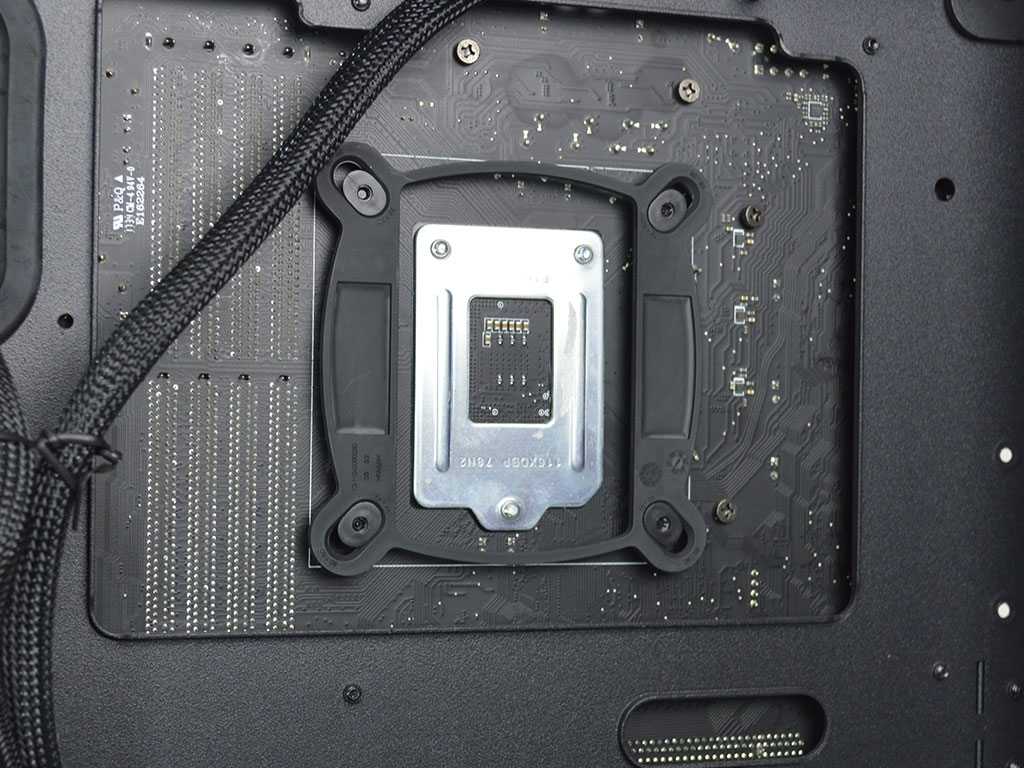
To install the Floe DX 360, you first need to prepare the backplate. Thermaltake includes two spacers that need to be attached to the backplate. With the backing removed, the opposite side's adhesive will secure the backplate to the motherboard. At this point, you can fully secure the backplate with the standoffs.
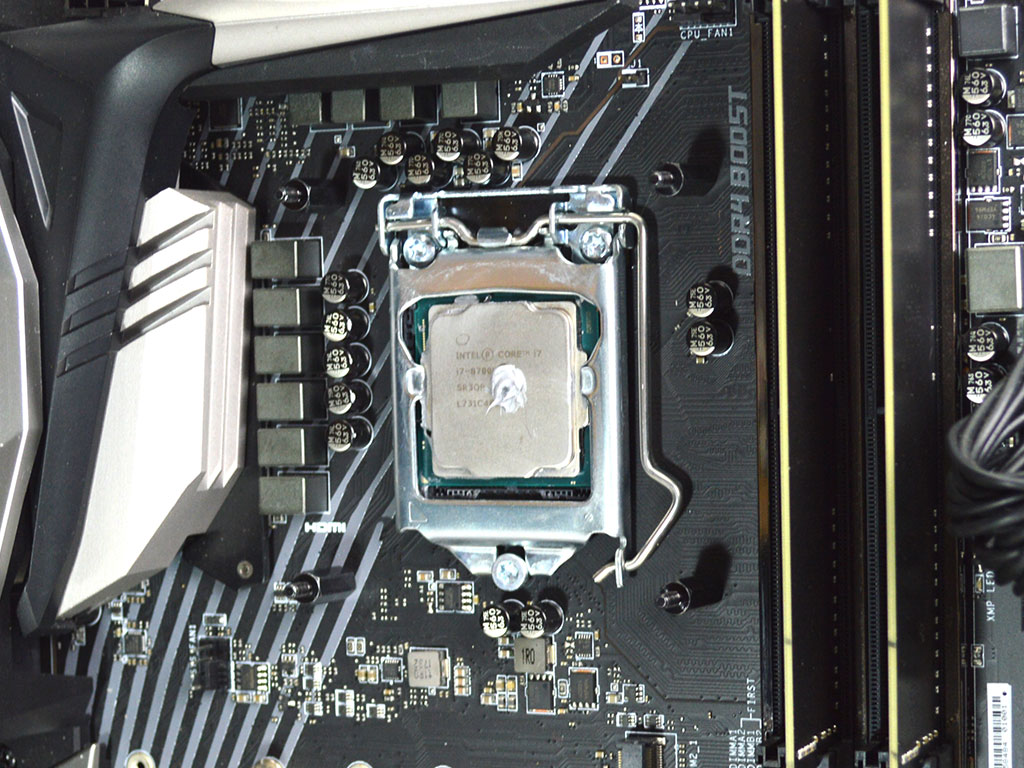
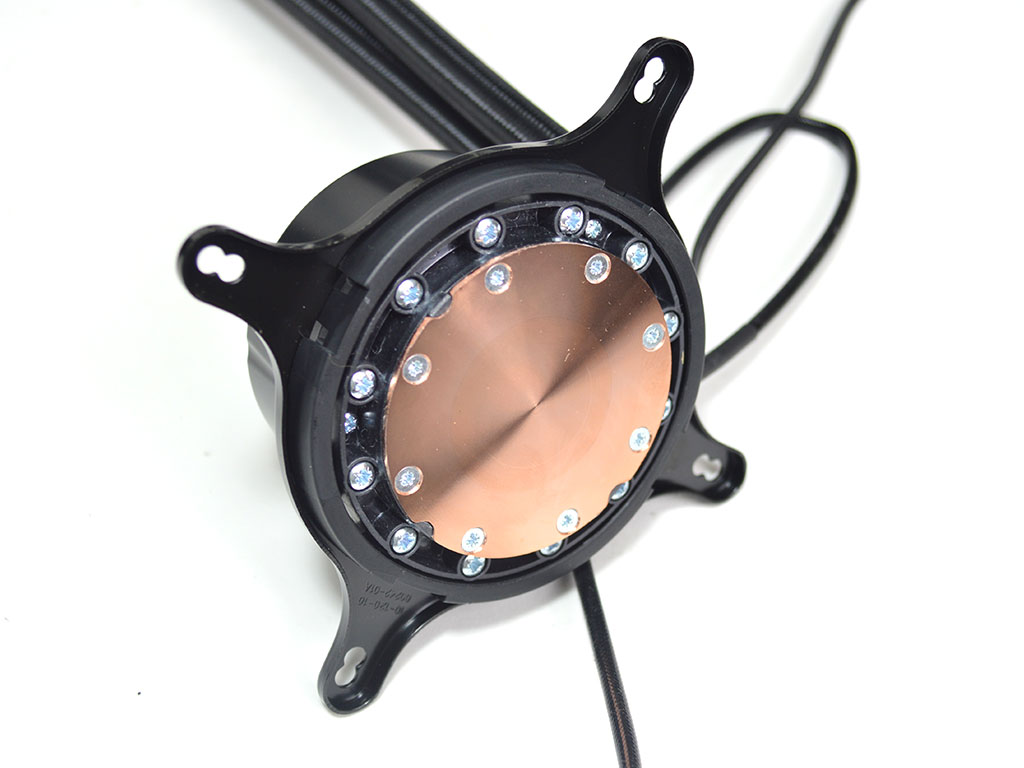
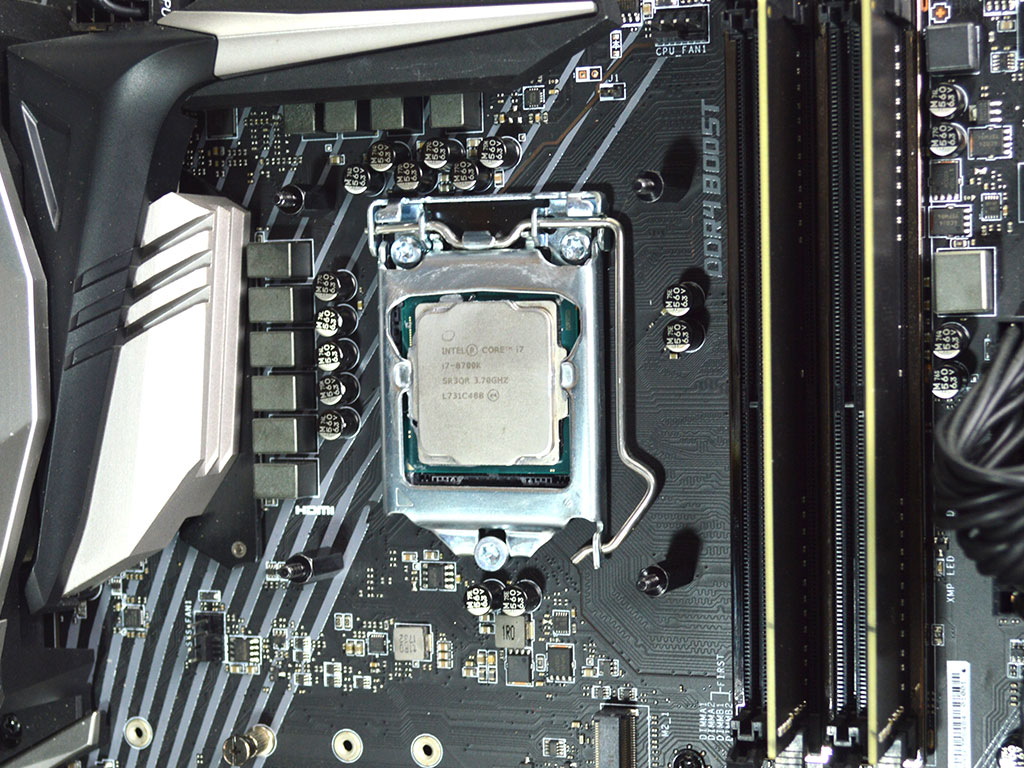
While the pump does come with thermal paste pre-applied, if you opt to use your own, you will want to clean the base off and then apply your preferred paste to the CPU. Next, secure the proper mounting bracket to the pump with the retention ring. With that done, you can now slide the pump down on to the CPU and secure it with the included thumbscrews.

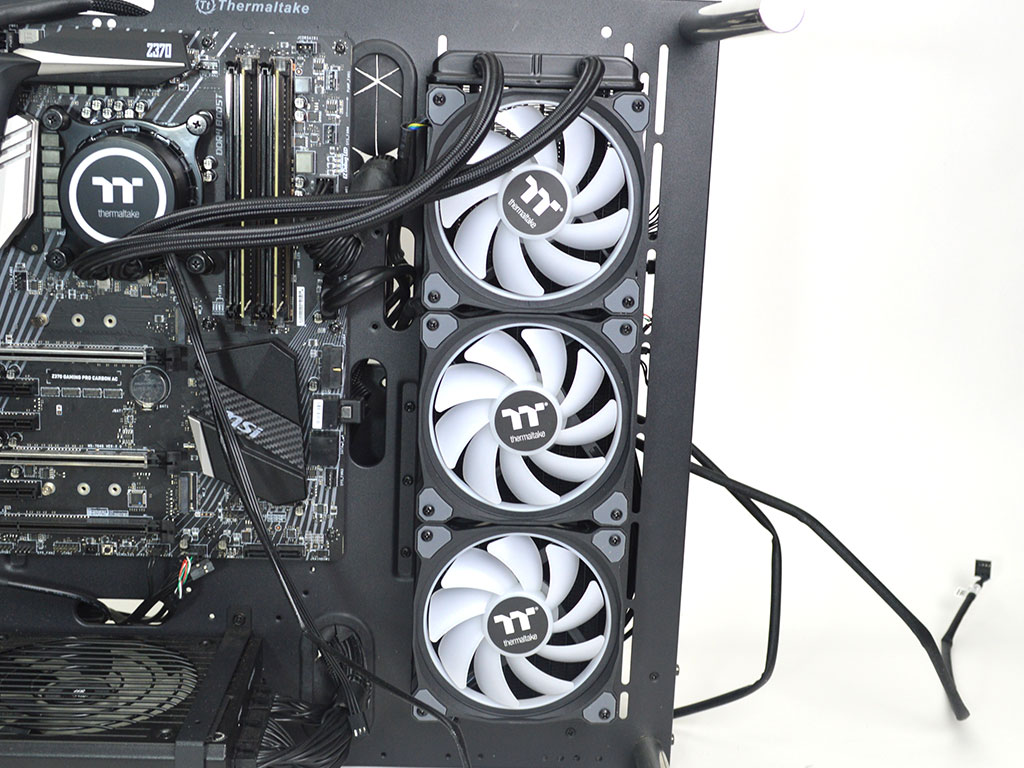
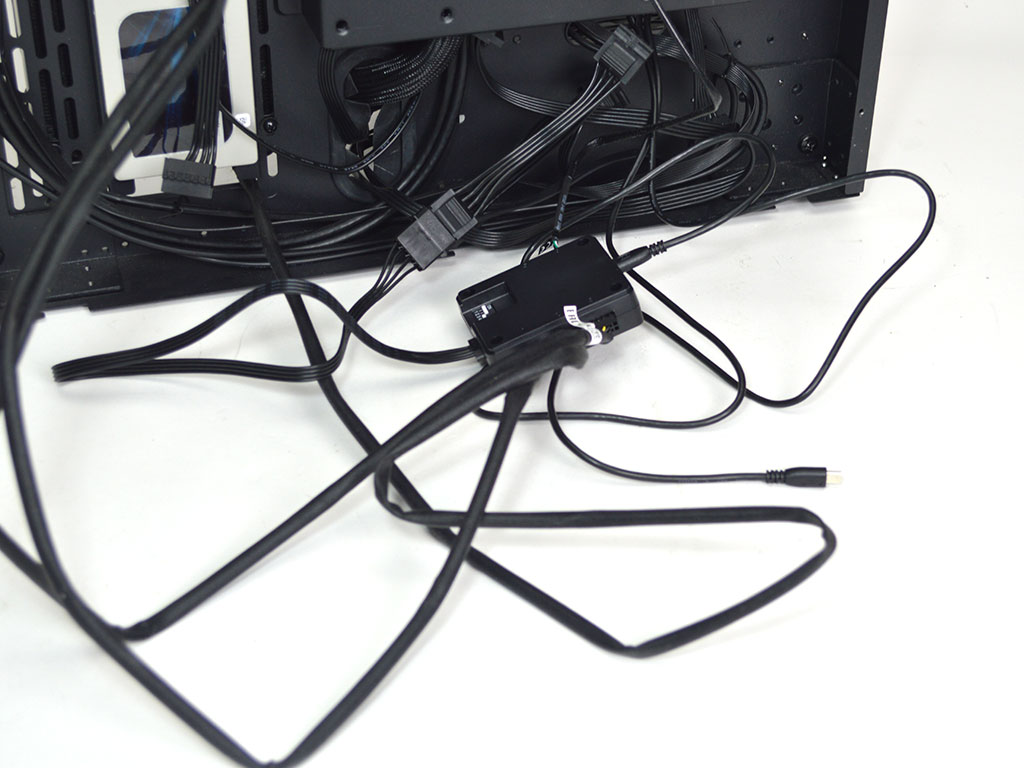
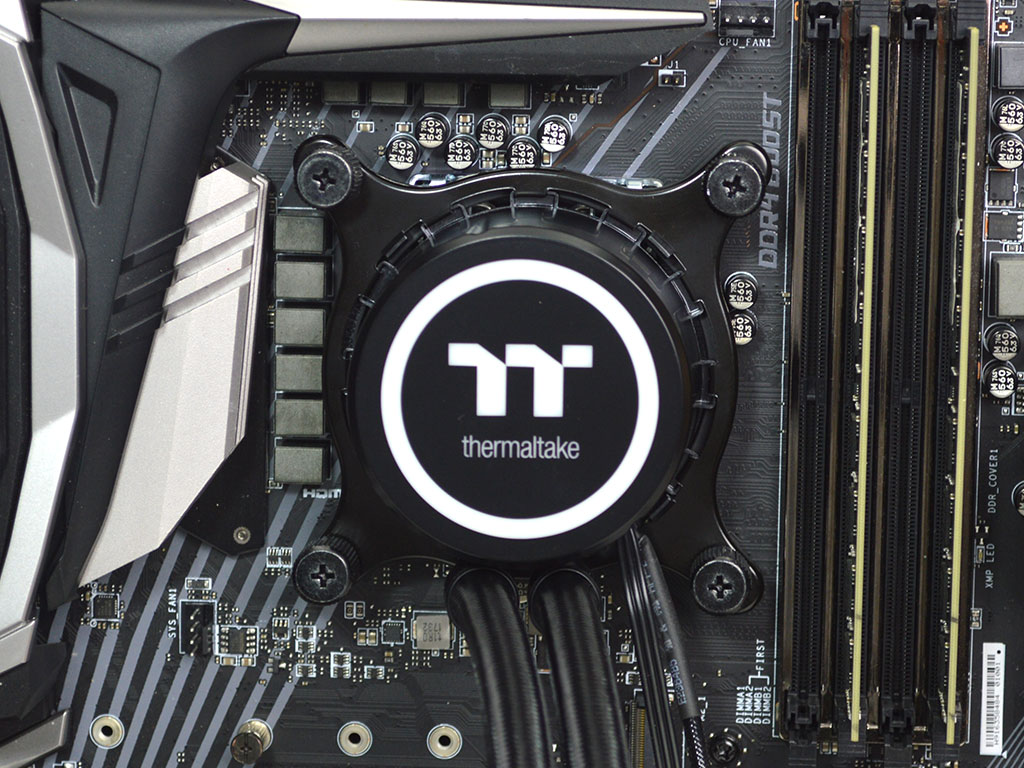
With the pump secure, it is time to mount the radiator and fans. Once done, all that remains is to plug in all the various wires to get everything operational. A key thing to keep in mind here is the wiring for the fans; both RGB and RPM use a proprietary connector with the entire unit being controlled via software you will need to download from Thermaltake.
Overall, I would rate my installation of the Floe DX 360 a 9 on a scale of 1 (hardest) to 10 (easiest). In general, mounting the cooler is straightforward, and the simple download for the software is easy enough. While the proprietary connectors leave a bad taste in my mouth as they attempt to lock you into a specific ecosystem, it is the software that really did nothing for me. I used it because it was required, and yes, it did work. It just didn't deliver a pleasant user experience.
Jul 15th, 2025 16:24 CDT
change timezone
Latest GPU Drivers
New Forum Posts
- Stupid things one has done with hardware (65)
- No offense, here are some things that bother me about your understanding of fans. (144)
- RTX 5070 discussion (11)
- I would give anything for Valve's Steam to have an option to disable the Big Picture Mode button. How many times have I accidently clicked it, fml (52)
- Choosing the right motherboard (6)
- Solidigm NVMe Custom Modded Driver for All NVMe Brands SSDs & Any NVMe SSDs (229)
- Recommend me a decent budget card :) (33)
- What's your latest tech purchase? (24278)
- TOS 6 on Ugreen NAS (0)
- Folding Pie and Milestones!! (9620)
Popular Reviews
- MSI GeForce RTX 5060 Gaming OC Review
- Our Visit to the Hunter Super Computer
- Lexar NM1090 Pro 4 TB Review
- SilverStone SETA H2 Review
- NVIDIA GeForce RTX 5050 8 GB Review
- Fractal Design Epoch RGB TG Review
- Sapphire Radeon RX 9060 XT Pulse OC 16 GB Review - An Excellent Choice
- AMD Ryzen 7 9800X3D Review - The Best Gaming Processor
- Upcoming Hardware Launches 2025 (Updated May 2025)
- Corsair FRAME 5000D RS Review
TPU on YouTube
Controversial News Posts
- Intel's Core Ultra 7 265K and 265KF CPUs Dip Below $250 (288)
- Some Intel Nova Lake CPUs Rumored to Challenge AMD's 3D V-Cache in Desktop Gaming (140)
- AMD Radeon RX 9070 XT Gains 9% Performance at 1440p with Latest Driver, Beats RTX 5070 Ti (131)
- NVIDIA Launches GeForce RTX 5050 for Desktops and Laptops, Starts at $249 (122)
- NVIDIA GeForce RTX 5080 SUPER Could Feature 24 GB Memory, Increased Power Limits (115)
- Microsoft Partners with AMD for Next-gen Xbox Hardware (105)
- Intel "Nova Lake‑S" Series: Seven SKUs, Up to 52 Cores and 150 W TDP (100)
- NVIDIA DLSS Transformer Cuts VRAM Usage by 20% (99)