 51
51
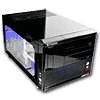
Thermaltake LANBOX Lite Review
Value & Conclusion »Installation

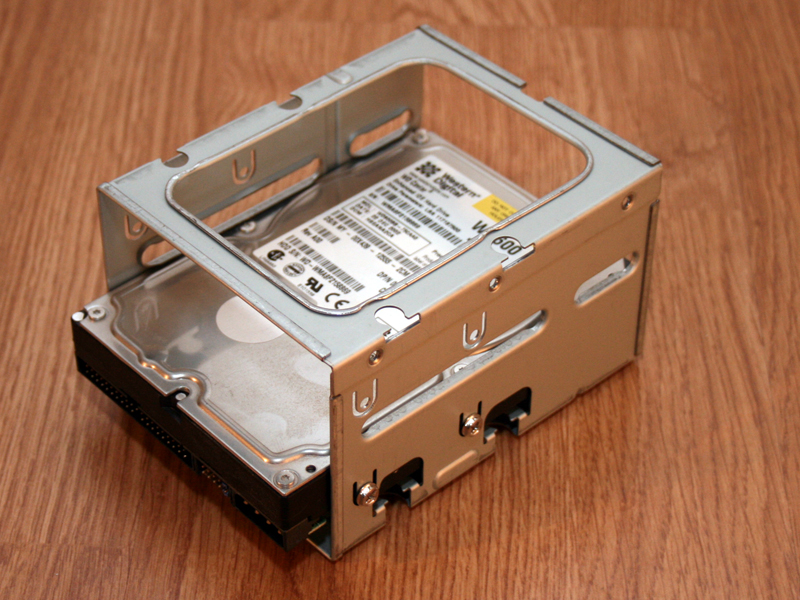
The first thing that was installed, is the mATX mainboard. In our first Lanbox review, we used the Thermaltake Blue Orb 2, which fit perfectly. This time we try out another CPU cooler, from a different manufacturer to see if such variants will fit inside the Lanbox Lite. The second step is done by installing the hard drive into the appropriate cage.
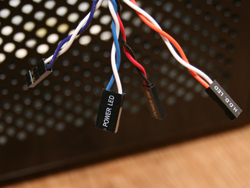

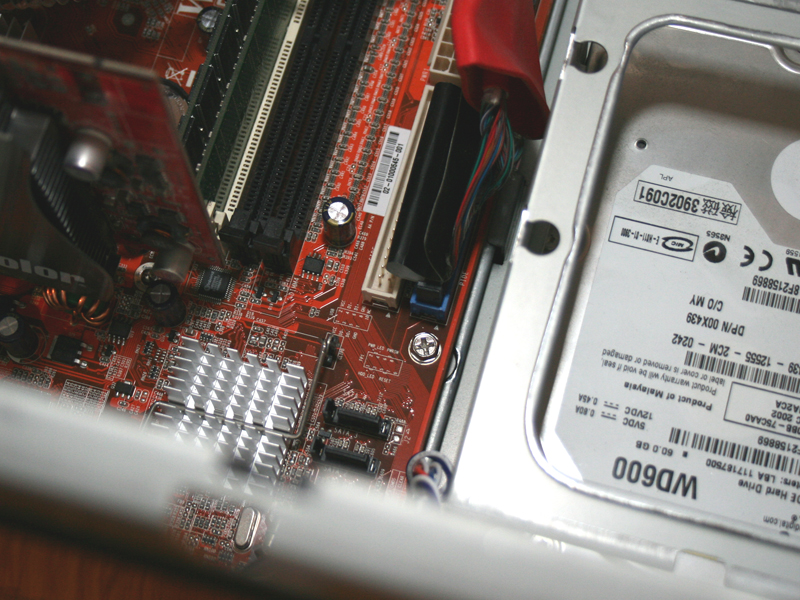
The mainboard connectors are all completely standard. The one problem lies with the Power LED connector. The Foxconn mainboard uses a 2 pin design, without any dummy pin in-between the two, which means that I had to snap the connector in half to be able to connect it. Using two single pin connectors for each cable of the power LED would solve such a problem in the future. The first thing installed were the mainboard and the hard drive cage, as these both lie beneath the PSU and front drives respectively. As you can see, the IDE cable has already been installed. You will not be able to reach it once the optical drives are inserted into the case.
As was to be expected by such a small case, installing a larger graphic card is not possible, when the hard drive cage is used. Thermaltake does include instructions on how to fit a GeForce 8800GTX inside the case, but you will have to sacrifice the hard drive cage and thus can only install a single drive where the floppy drive usually goes.
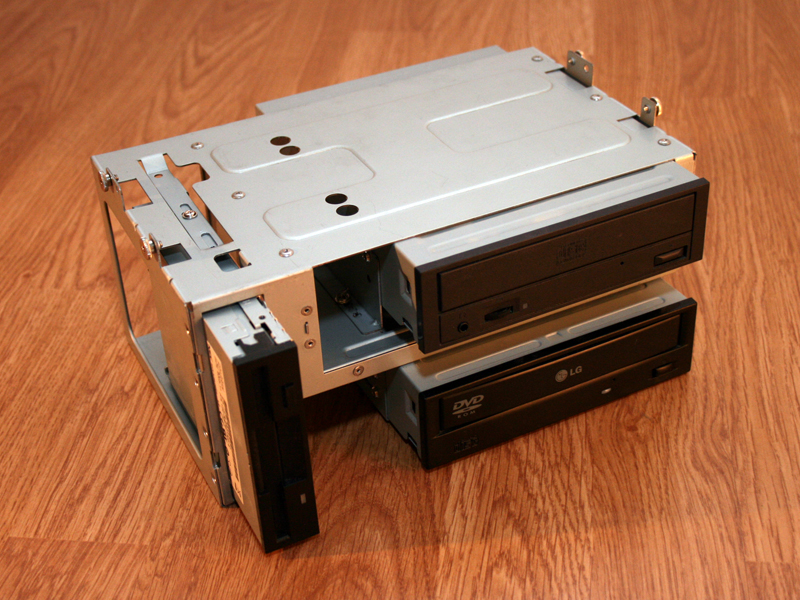
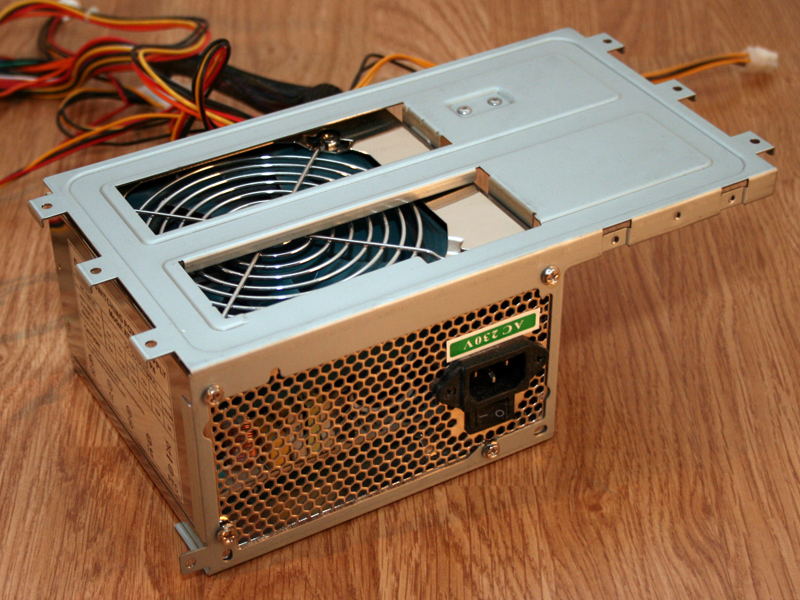
The next step consists of filling the remaining cages before installation. The original Lanbox has a curved aluminum front, which means that the drive installation consisted of some "trial and error" before the alignment was right. The Lanbox Lite features a straight front, so once one drive was lined up correctly the others could just be installed without any further testing. The power supply can be installed traditionally or upside down. I chose upside down, as it would pull fresh air in from the top and blow it out the back.
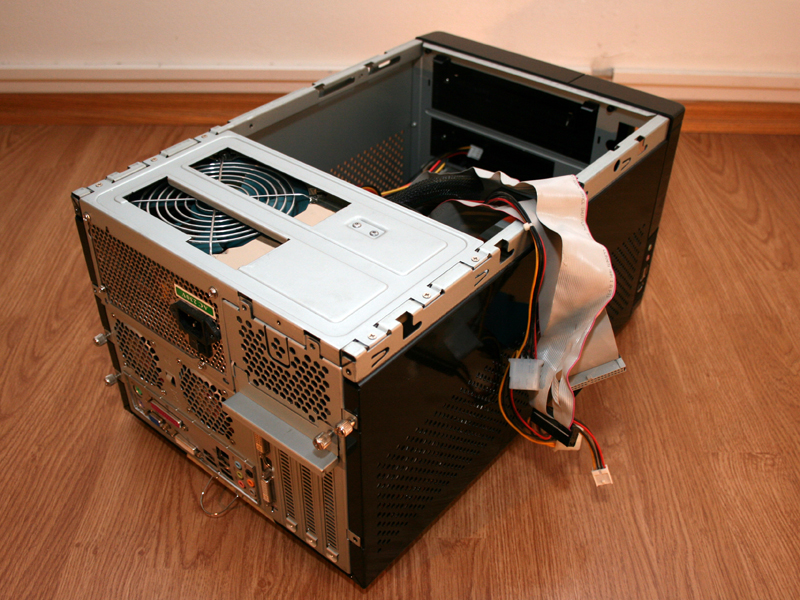
Once the PSU has been secured inside the case, the IDE cables for the optical drives were connected to the mainboard and hung out of the case. You should install them before placing the front drives into the case, as you will have very little space to work with.
Once the drive cage was installed, the top was replaced. As you can see, the power supply fan is placed right under the air holes.
Finished Look


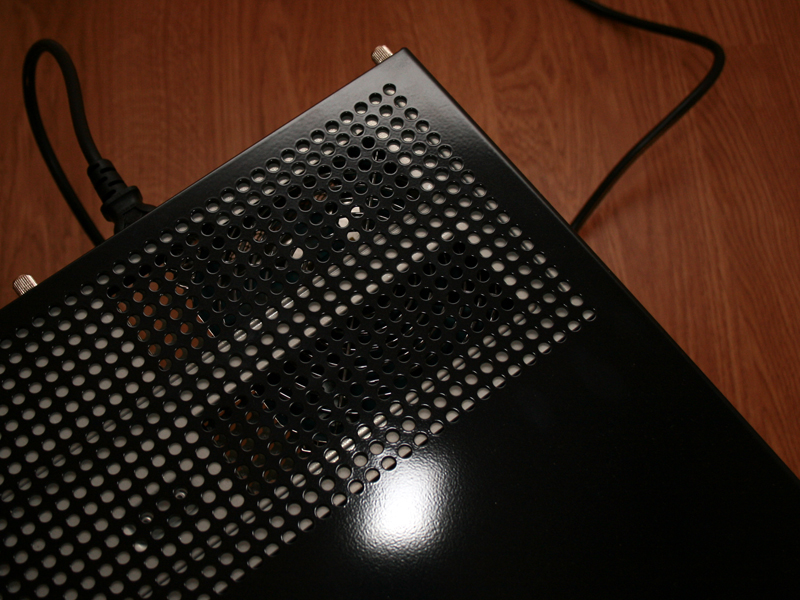
Once everything was installed, power was connected. As you can see, everything fits fine and the back looks clean with everything installed. The front looks great as well, as Thermaltake has incorporated black drive doors into the front. This means that you will be able to use your beige or silver drives without having to sacrifice the entire look of the case.
Jul 15th, 2025 16:25 CDT
change timezone
Latest GPU Drivers
New Forum Posts
- No offense, here are some things that bother me about your understanding of fans. (145)
- Stupid things one has done with hardware (65)
- RTX 5070 discussion (11)
- I would give anything for Valve's Steam to have an option to disable the Big Picture Mode button. How many times have I accidently clicked it, fml (52)
- Choosing the right motherboard (6)
- Solidigm NVMe Custom Modded Driver for All NVMe Brands SSDs & Any NVMe SSDs (229)
- Recommend me a decent budget card :) (33)
- What's your latest tech purchase? (24278)
- TOS 6 on Ugreen NAS (0)
- Folding Pie and Milestones!! (9620)
Popular Reviews
- MSI GeForce RTX 5060 Gaming OC Review
- Our Visit to the Hunter Super Computer
- Lexar NM1090 Pro 4 TB Review
- SilverStone SETA H2 Review
- NVIDIA GeForce RTX 5050 8 GB Review
- Fractal Design Epoch RGB TG Review
- Sapphire Radeon RX 9060 XT Pulse OC 16 GB Review - An Excellent Choice
- AMD Ryzen 7 9800X3D Review - The Best Gaming Processor
- Upcoming Hardware Launches 2025 (Updated May 2025)
- Corsair FRAME 5000D RS Review
TPU on YouTube
Controversial News Posts
- Intel's Core Ultra 7 265K and 265KF CPUs Dip Below $250 (288)
- Some Intel Nova Lake CPUs Rumored to Challenge AMD's 3D V-Cache in Desktop Gaming (140)
- AMD Radeon RX 9070 XT Gains 9% Performance at 1440p with Latest Driver, Beats RTX 5070 Ti (131)
- NVIDIA Launches GeForce RTX 5050 for Desktops and Laptops, Starts at $249 (122)
- NVIDIA GeForce RTX 5080 SUPER Could Feature 24 GB Memory, Increased Power Limits (115)
- Microsoft Partners with AMD for Next-gen Xbox Hardware (105)
- Intel "Nova Lake‑S" Series: Seven SKUs, Up to 52 Cores and 150 W TDP (100)
- NVIDIA DLSS Transformer Cuts VRAM Usage by 20% (99)