 9
9
Thermaltake S500 TG Review
Value & Conclusion »Test System
| System Parts for Case Reviews | |
|---|---|
| Processor: | Intel Core i7-8600K |
| Motherboards: | ATX: MSI Z370 GAMING PRO CARBON AC MATX: Z370M GAMING PRO CARBON Mini-ITX: MSI Z370i GAMING PRO CARBON Provided by: MSI |
| Graphics Card: | Long: ASUS Radeon RX580 Short: HIS Radeon 5350 HD |
| Memory: | 16 GB XPG Dazzle DDR4 2800 MHz CL17-17-17 1.25 V 32 GB GB XPG SPECTRIX D40 3000 MHz. CL16-18-18 1.35 V 16 GB XPG GAMMIX D10 DDR4 2400 MHz CL16-16-16 1.20 V Provided by: ADATA |
| HDD: | Western Digital 320 GB 7200 RPM |
| SSD: | ADATA XPG SX850 256 GB ADATA Ultimate SU800 3D 256 GB ADATA Ultimate SU700 240 GB Provided by: ADATA |
| Power Supply: | Antec HCG High Current Gamer 650 W 80Plus Gold Antec HCG High Current Gamer 850 W 80Plus Bronze Provided by: Antec |
| Cooling: | Thermaltake Floe 360 Flex Pro Provided by: Thermaltake |
Assembly

Installing a motherboard within the Thermaltake S500 TG is done by traditional means, with the use of spacers and the supplied screws. There is lots of space around the edges of the board, so you should have no issues connecting everything. You may install a CPU cooler of up to 172 mm in height, which means even the bigger units will fit. On top of that, GPUs of up to 400 mm without taking the HDD cages into consideration will also easily fit.
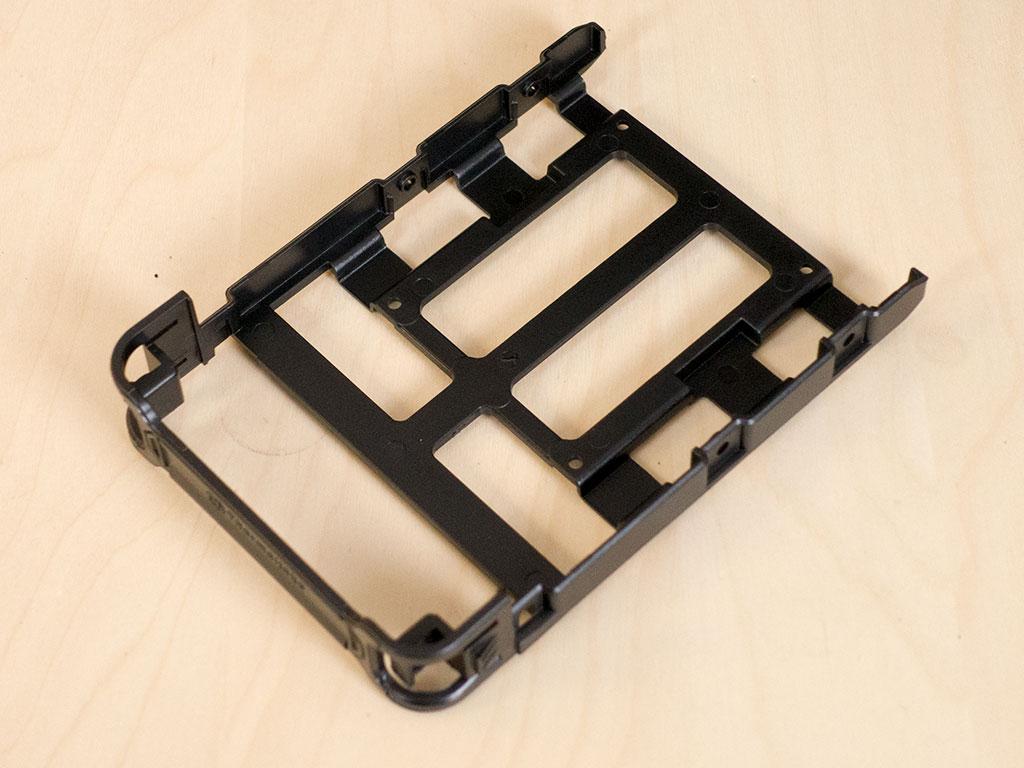

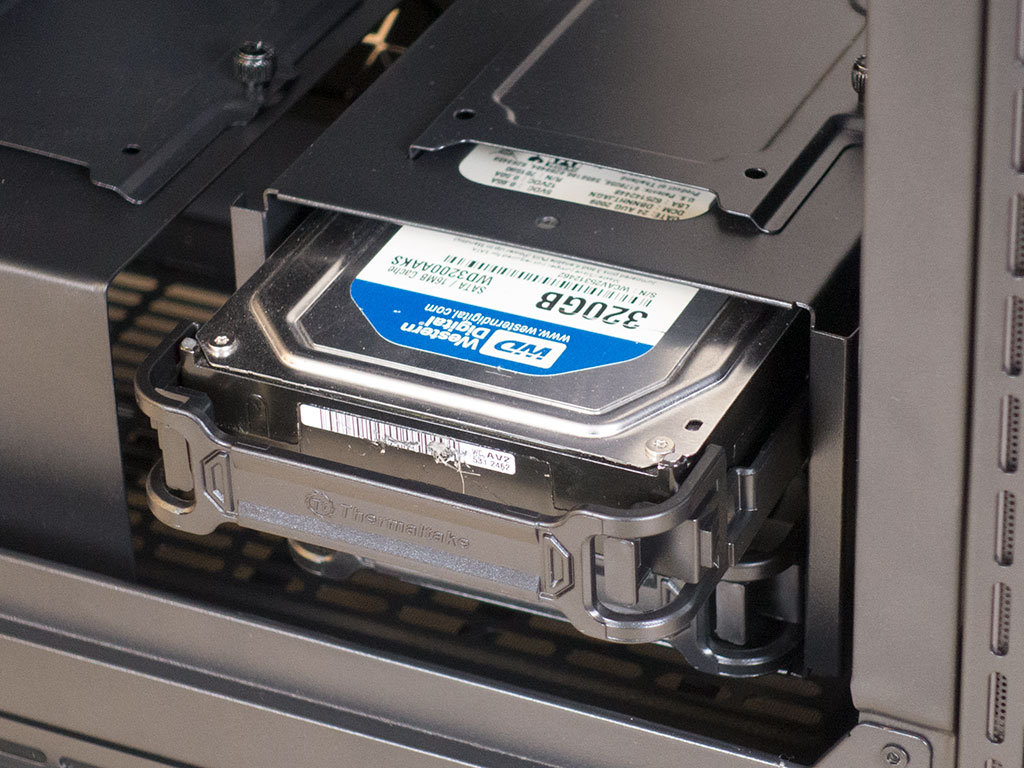
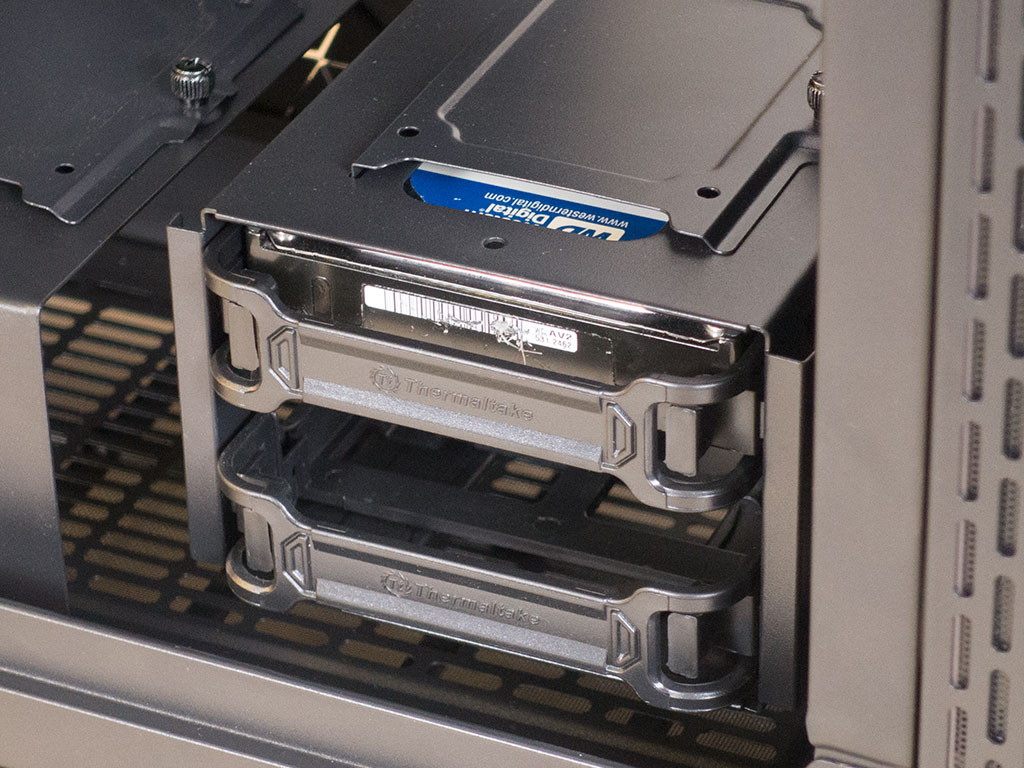
Adding 3.5" drives does not take any tools or screws. Simply pull the plastic trays out and snap a drive down. With that done, slide it back in until the filled unit clicks into place.
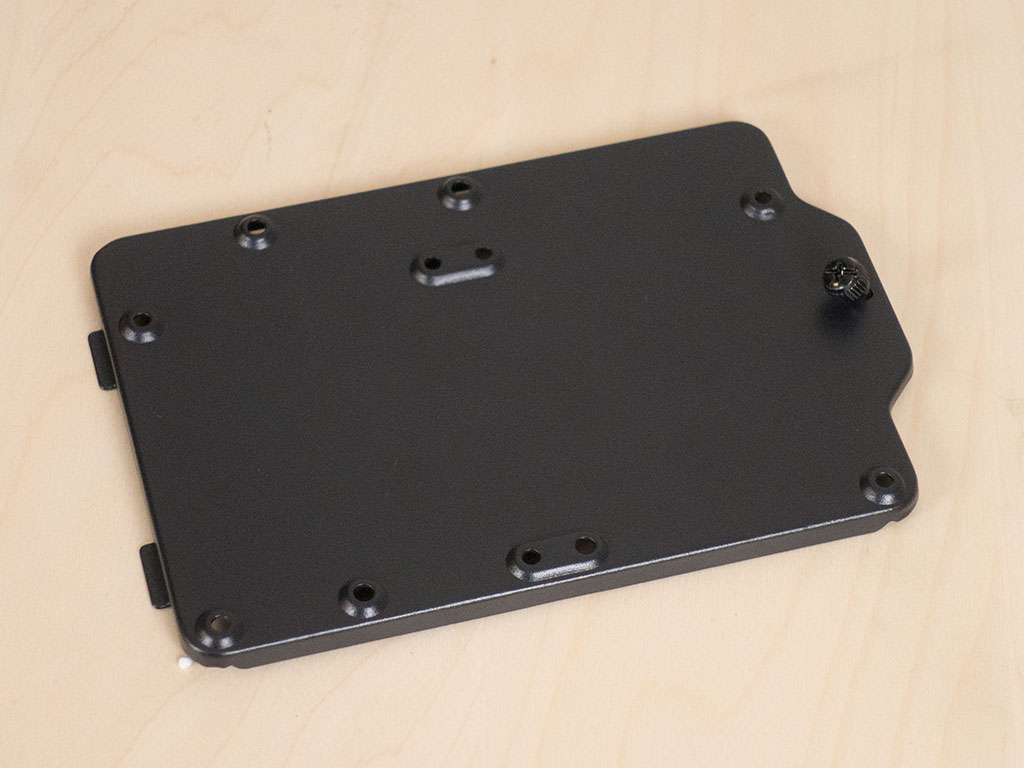
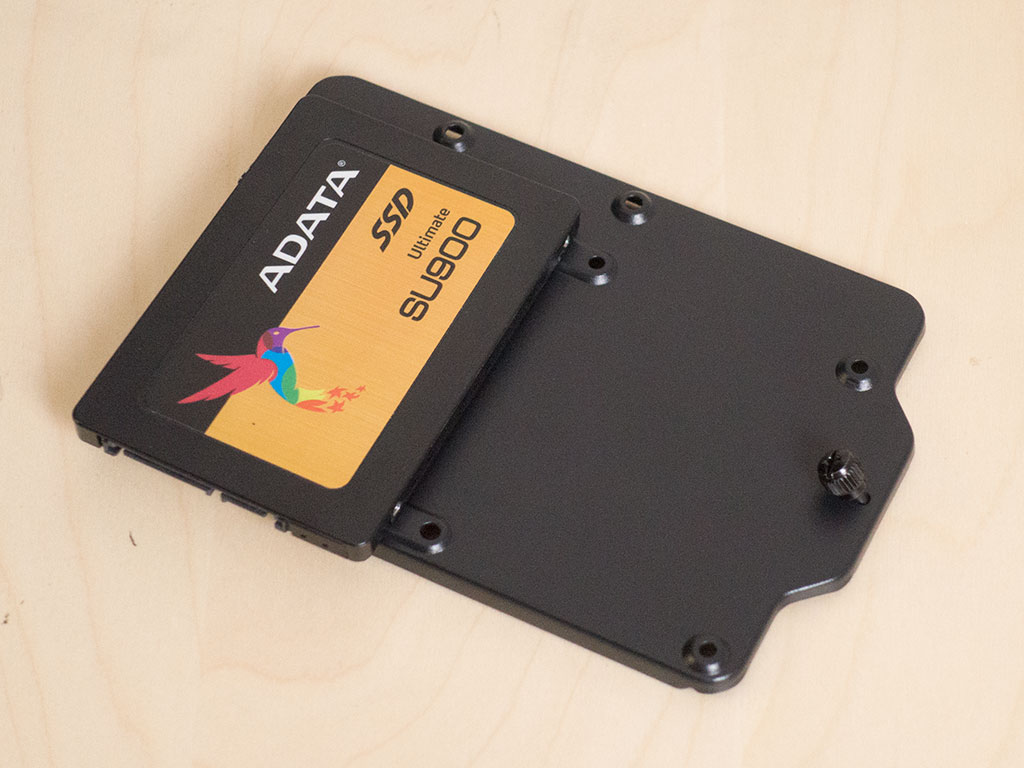
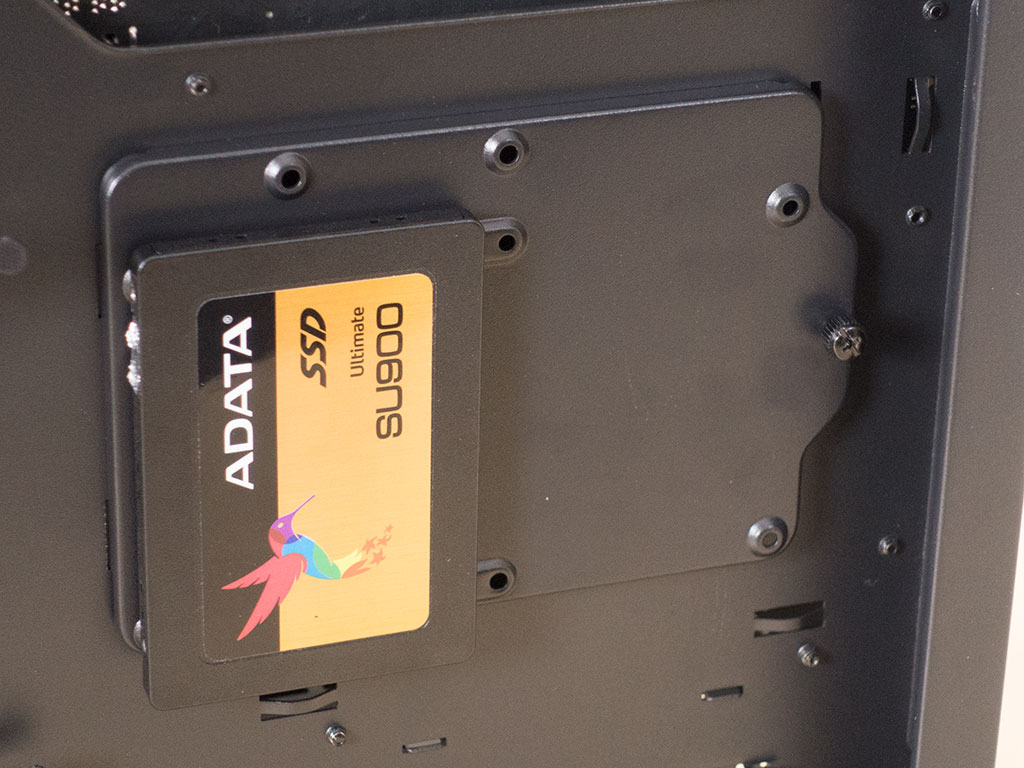
To install an SSD, pick between the plastic tray, single metal plate or the larger dual plate on the rear of the case. You will use the same screws to secure it in place regardless of which option you pick. In our review, we used the rear plate—it can simply be removed for assembly and put right back once filled.
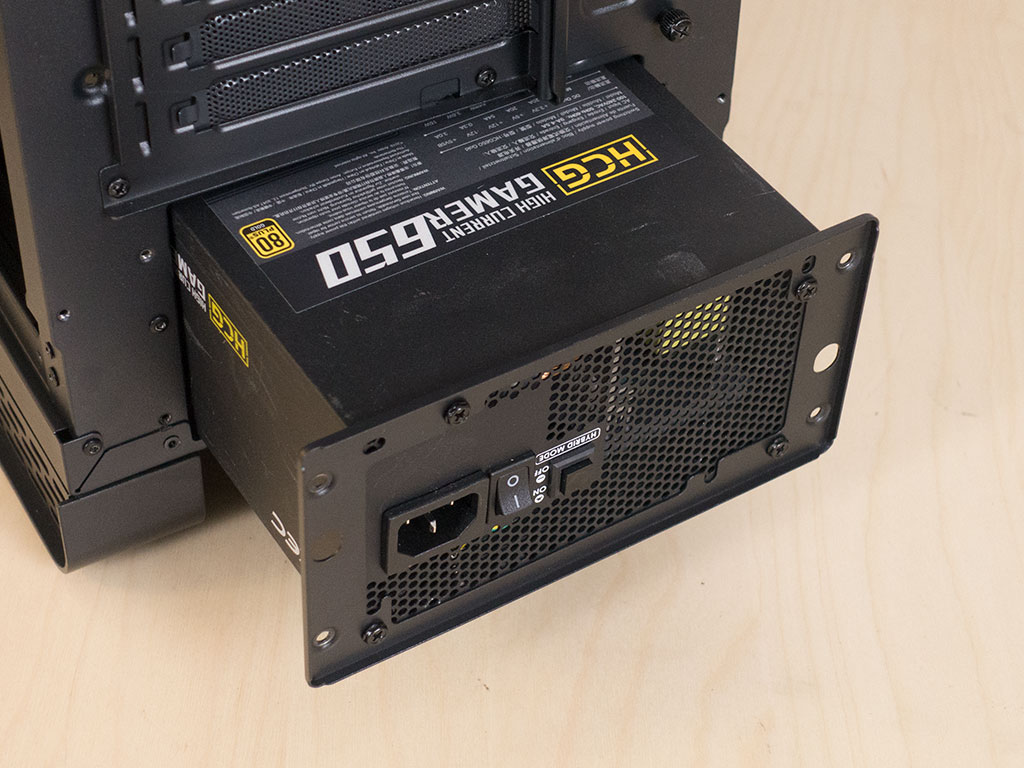
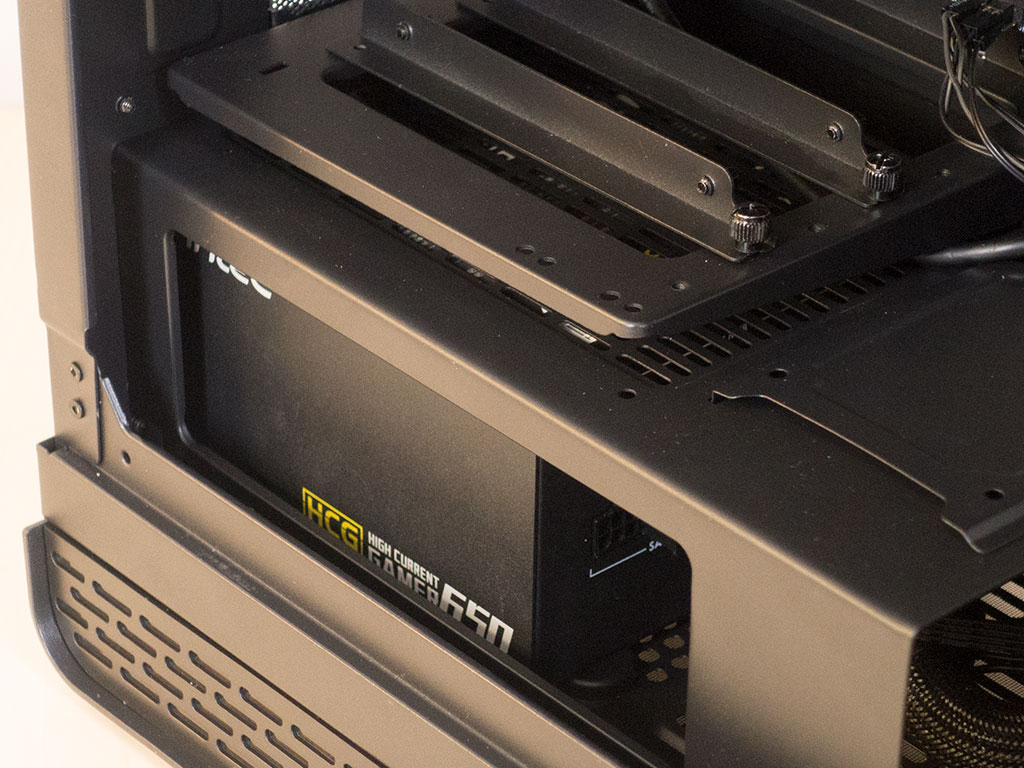
Thanks to the large opening in the back, you may easily slide your PSU into the case by mounting it on the frame first. Thermaltake allows for units of up to 220 mm without issue, which is more than enough for even the most powerful variants.
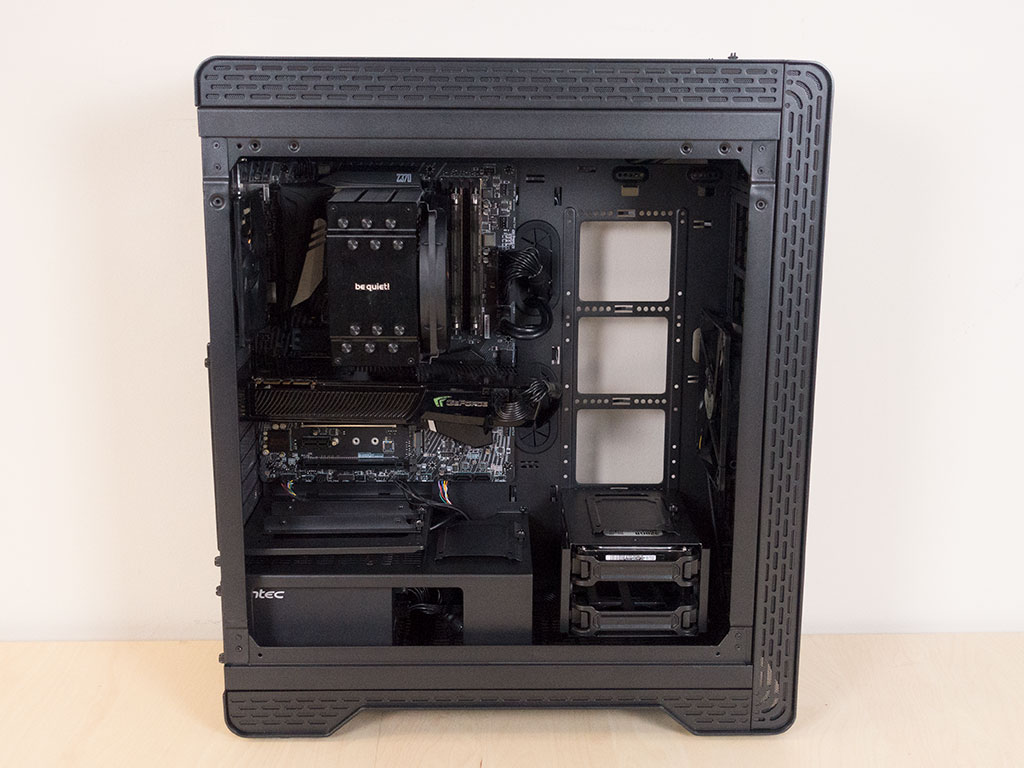
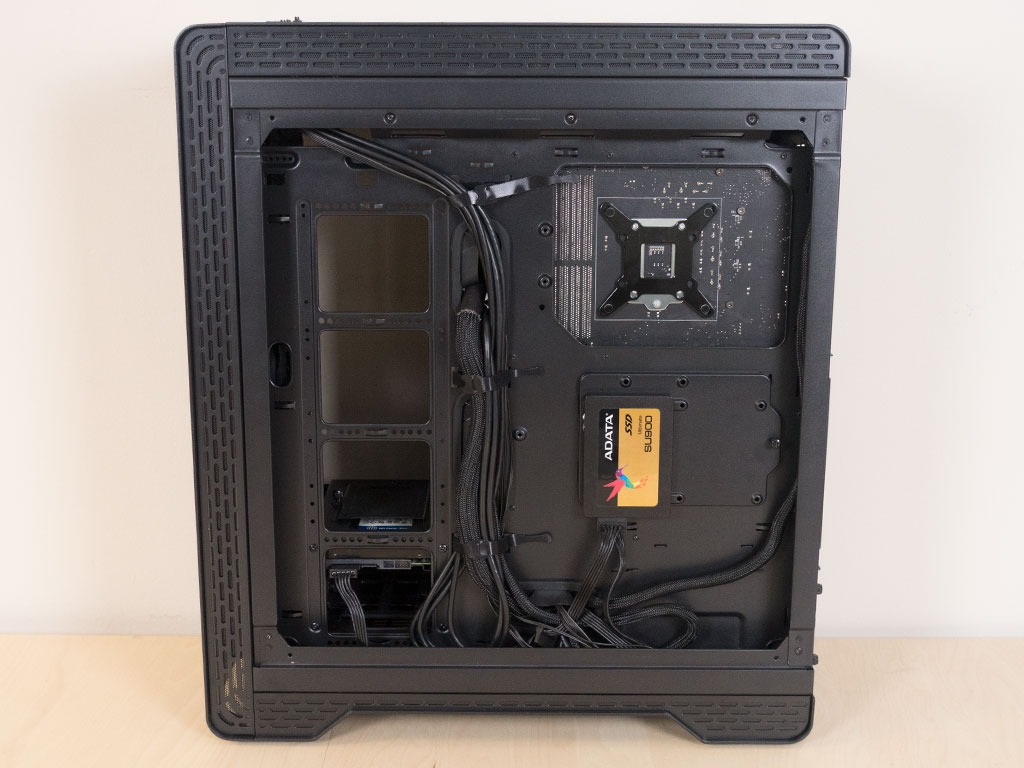
Once everything is assembled, the interior looks nice and clean because of well-placed cable-routing holes. As you can see, I made sure no cables are visible across the openings above the hard-drive cage. Even the rear looks rather clean due to the pre-installed Velcro strips. Even with a bit of a cable mess, you should run into no issues with closing the side panel as there is plenty of space.
Finished Looks

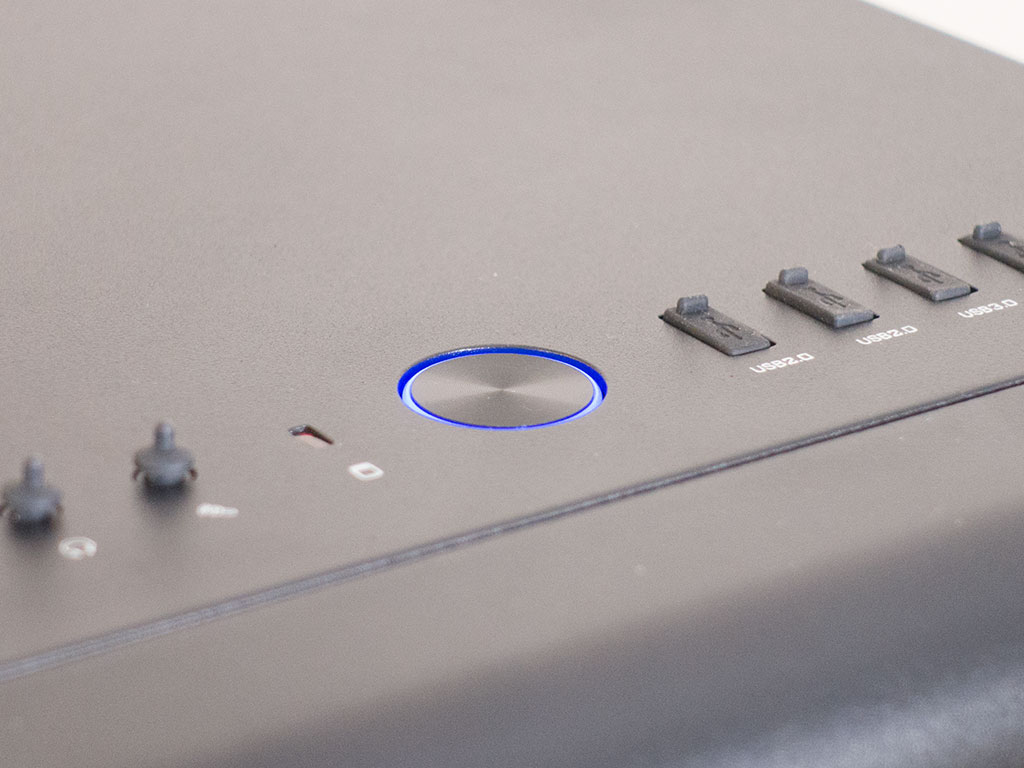
Once the system is turned on, the Thermaltake S500 TG pulls off that understated, clean exterior look beautifully. There is a blue ring of light around the power button that lights up, while a red activity LED lets you know if the hard drives are in use. I would have loved to see all white LEDs instead as the blue and red combo is somewhat outdated by today's standards.
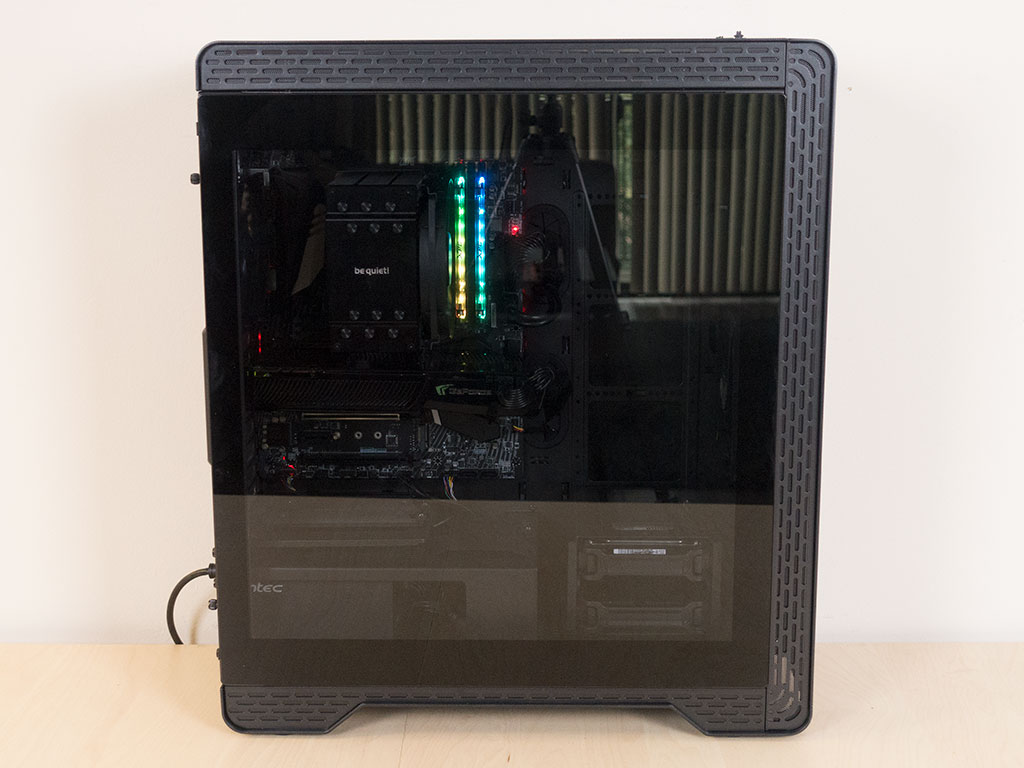
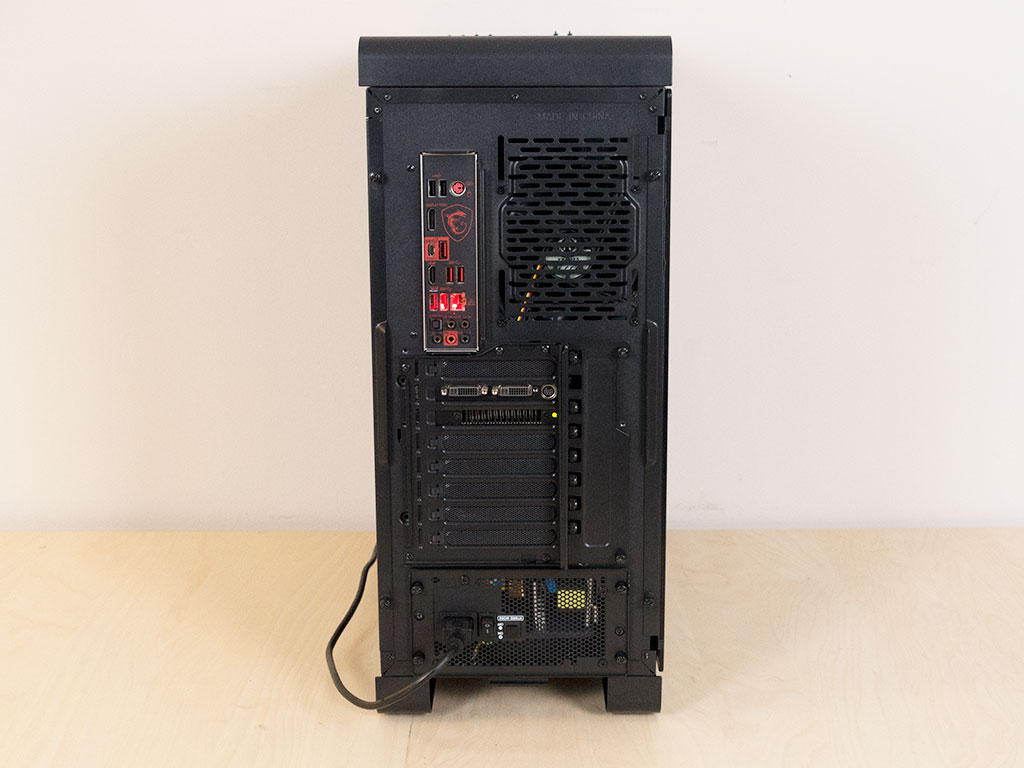
Thanks to the clear glass window, all your cool hardware will be clearly visible, so you should have no issues showing everything off. As there are no LEDs within the case, odds are you will want to invest into some. I am sure some could argue that Thermaltake could have included LED-equipped fans, but considering the solid front and top panels I see no issue in omitting them inside the S500 TG. In the rear, everything is where you would expect it, and all the connector can easily be reached—there should be no surprises even if you rotate the expansion slots.
Jul 14th, 2025 16:09 CDT
change timezone
Latest GPU Drivers
New Forum Posts
- Share your AIDA 64 cache and memory benchmark here (3099)
- Frametime spikes and stuttering after switching to AMD CPU? (573)
- AAF Optimus Modded Driver For Windows 10 & Windows 11 - Only for Realtek HDAUDIO Chips (578)
- i7 2860QM how to raise power limit? (21)
- AMD 7Ghz? This keeps popping up on my feeds! (6)
- Stupid things one has done with hardware (49)
- No offense, here are some things that bother me about your understanding of fans. (111)
- Choosing the right motherboard (5)
- Best motherboards for XP gaming (151)
- Which CPU to Choose for a 7900 XT? Ryzen 7 7700 or Ryzen 5 9600X? (43)
Popular Reviews
- Lexar NM1090 Pro 4 TB Review
- Our Visit to the Hunter Super Computer
- MSI GeForce RTX 5060 Gaming OC Review
- Fractal Design Epoch RGB TG Review
- NVIDIA GeForce RTX 5050 8 GB Review
- Corsair FRAME 5000D RS Review
- Sapphire Radeon RX 9060 XT Pulse OC 16 GB Review - An Excellent Choice
- Chieftec Iceberg 360 Review
- AMD Ryzen 7 9800X3D Review - The Best Gaming Processor
- Upcoming Hardware Launches 2025 (Updated May 2025)
TPU on YouTube
Controversial News Posts
- Intel's Core Ultra 7 265K and 265KF CPUs Dip Below $250 (288)
- Some Intel Nova Lake CPUs Rumored to Challenge AMD's 3D V-Cache in Desktop Gaming (140)
- AMD Radeon RX 9070 XT Gains 9% Performance at 1440p with Latest Driver, Beats RTX 5070 Ti (131)
- NVIDIA Launches GeForce RTX 5050 for Desktops and Laptops, Starts at $249 (122)
- NVIDIA GeForce RTX 5080 SUPER Could Feature 24 GB Memory, Increased Power Limits (115)
- Microsoft Partners with AMD for Next-gen Xbox Hardware (105)
- Intel "Nova Lake‑S" Series: Seven SKUs, Up to 52 Cores and 150 W TDP (100)
- NVIDIA DLSS Transformer Cuts VRAM Usage by 20% (97)