 5
5
Velocifire TKL02WS Wireless Mechanical Keyboard Review
Driver & Performance »Disassembly
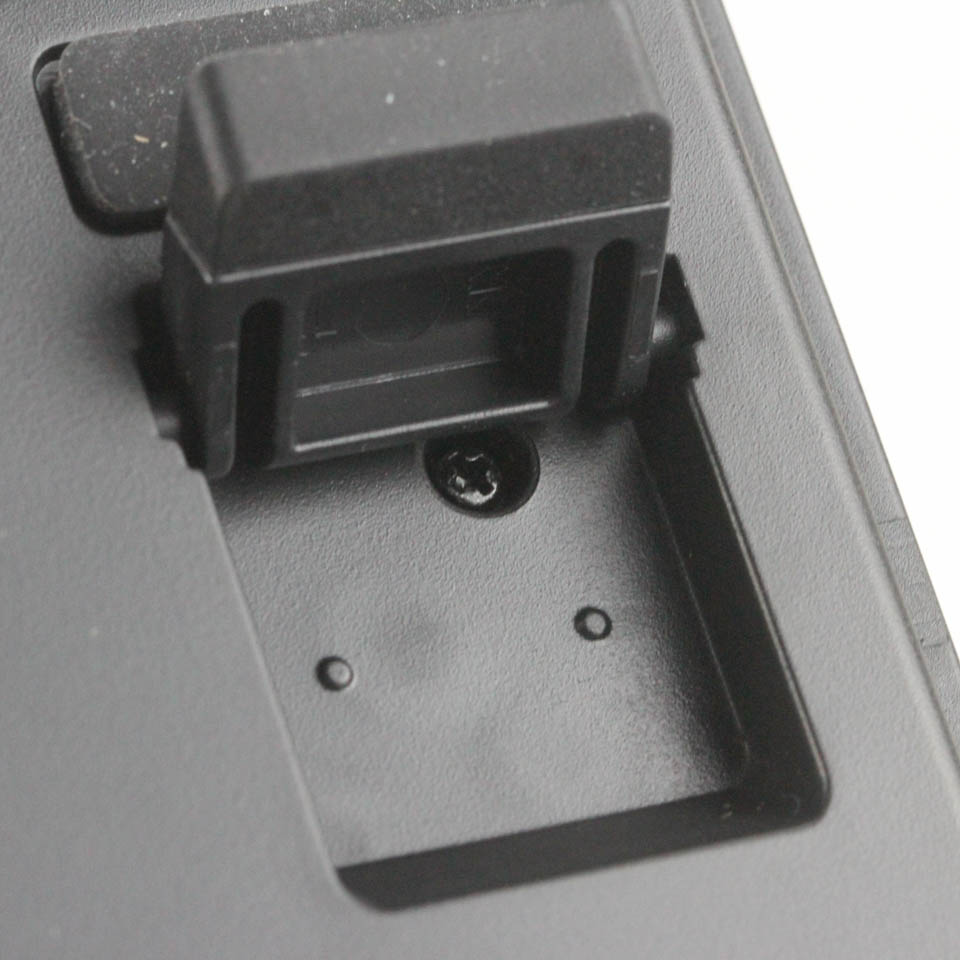
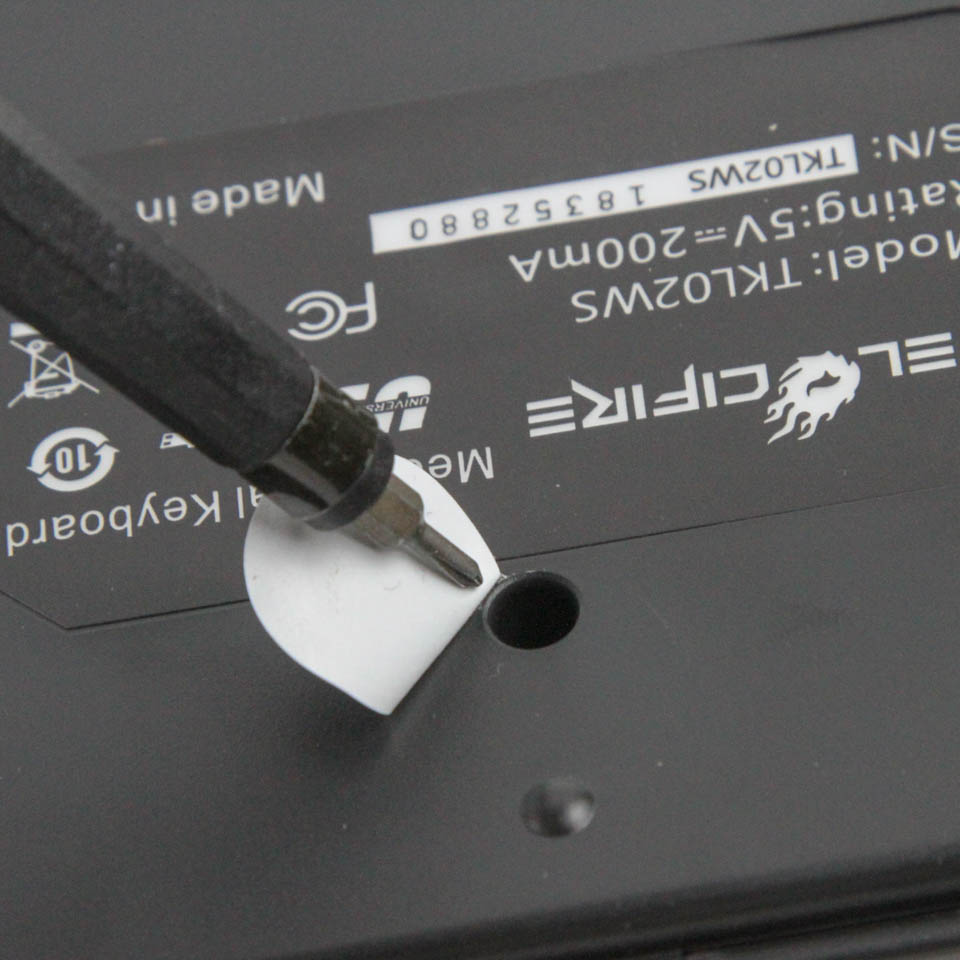
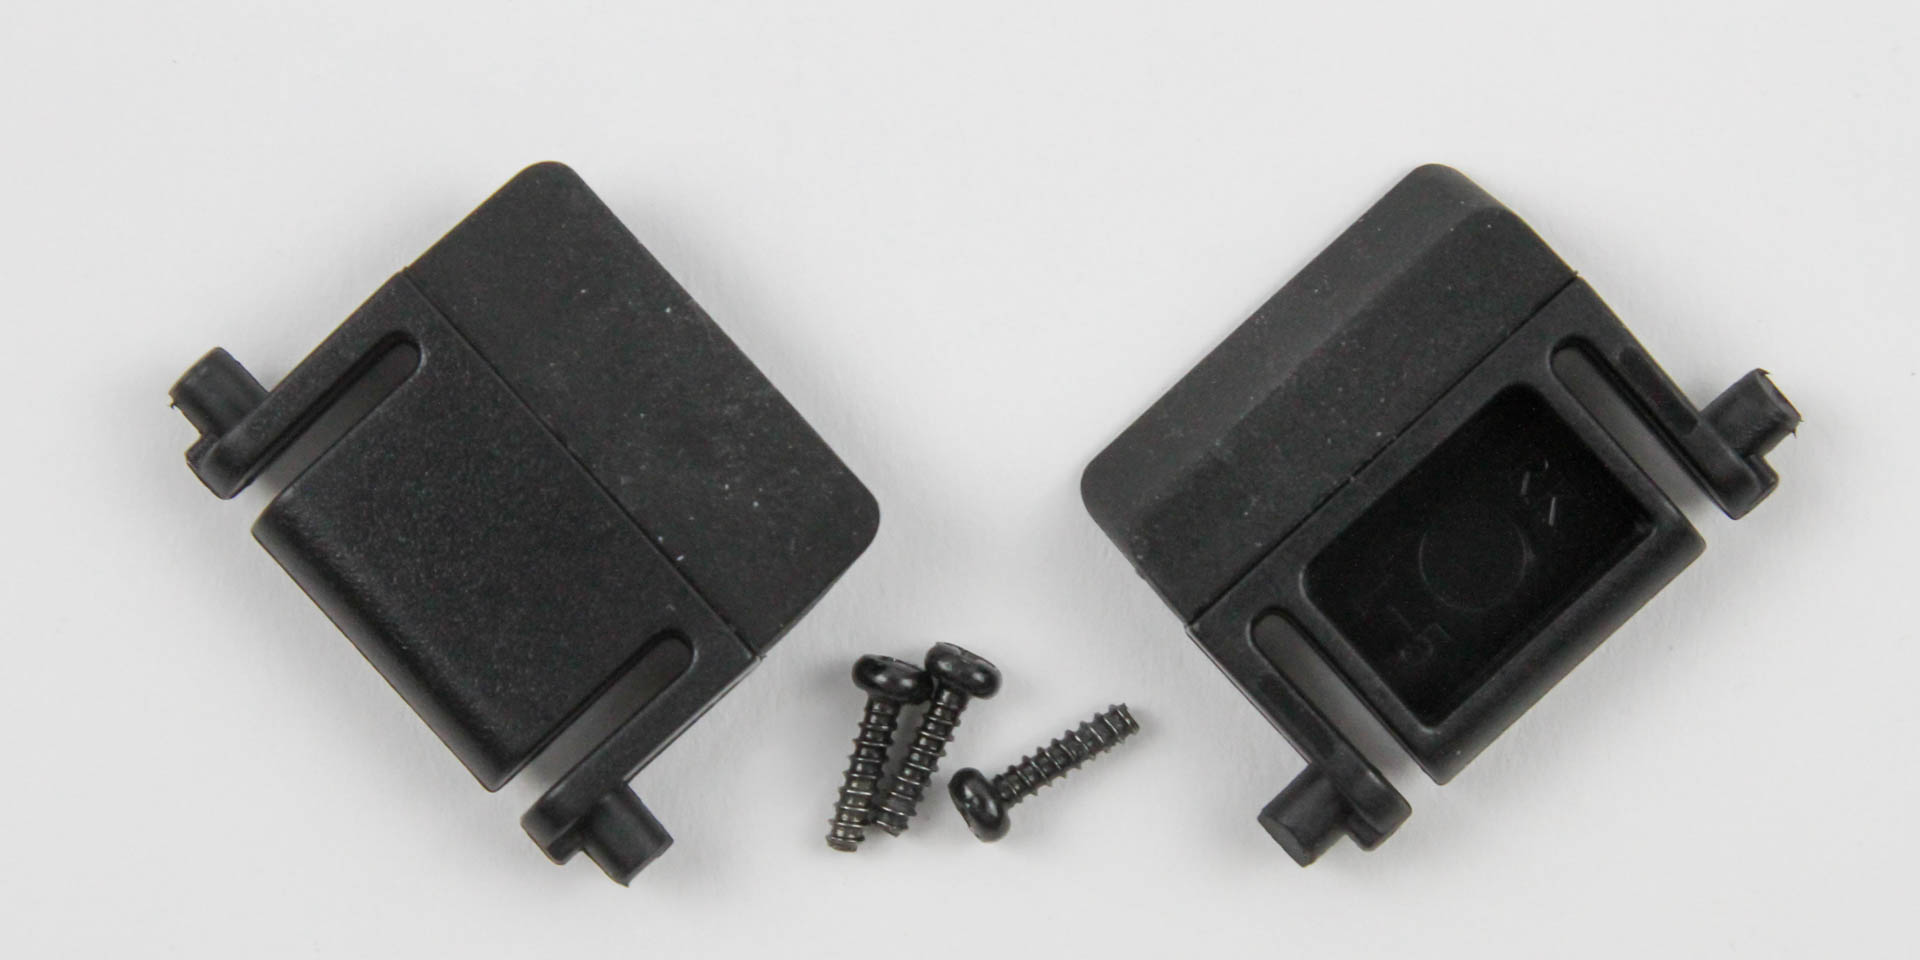

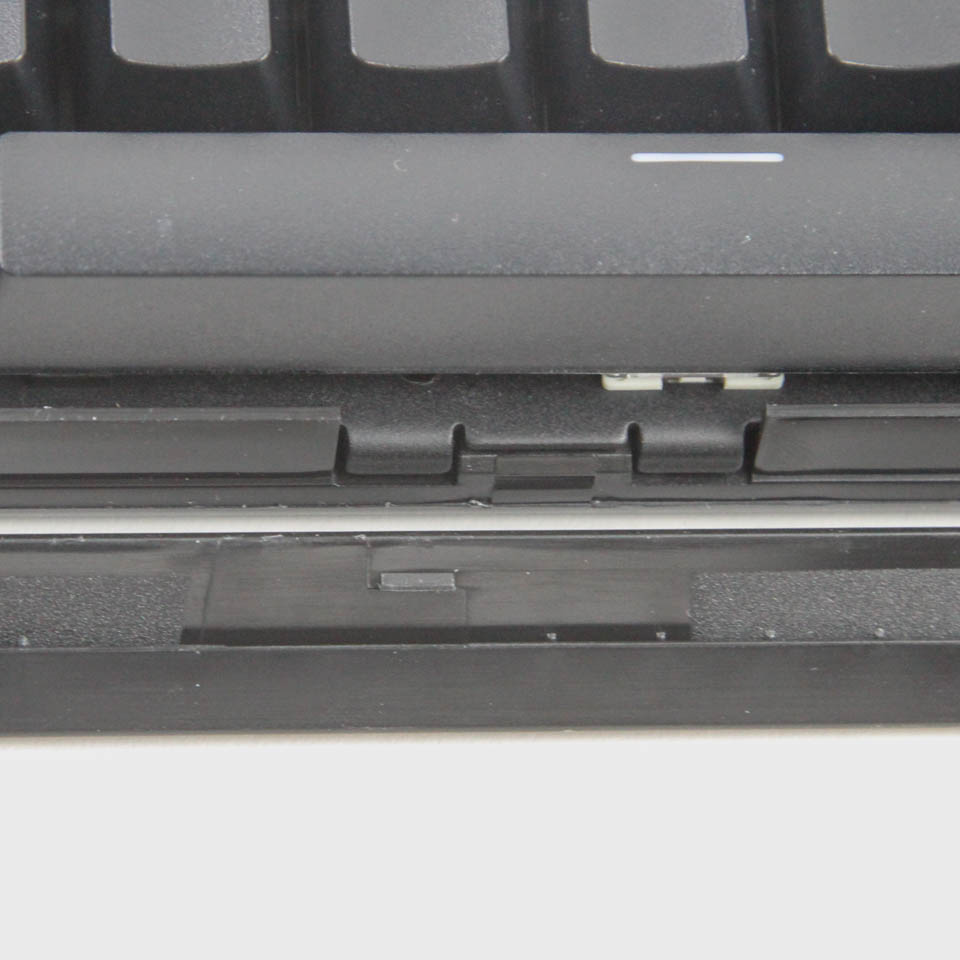
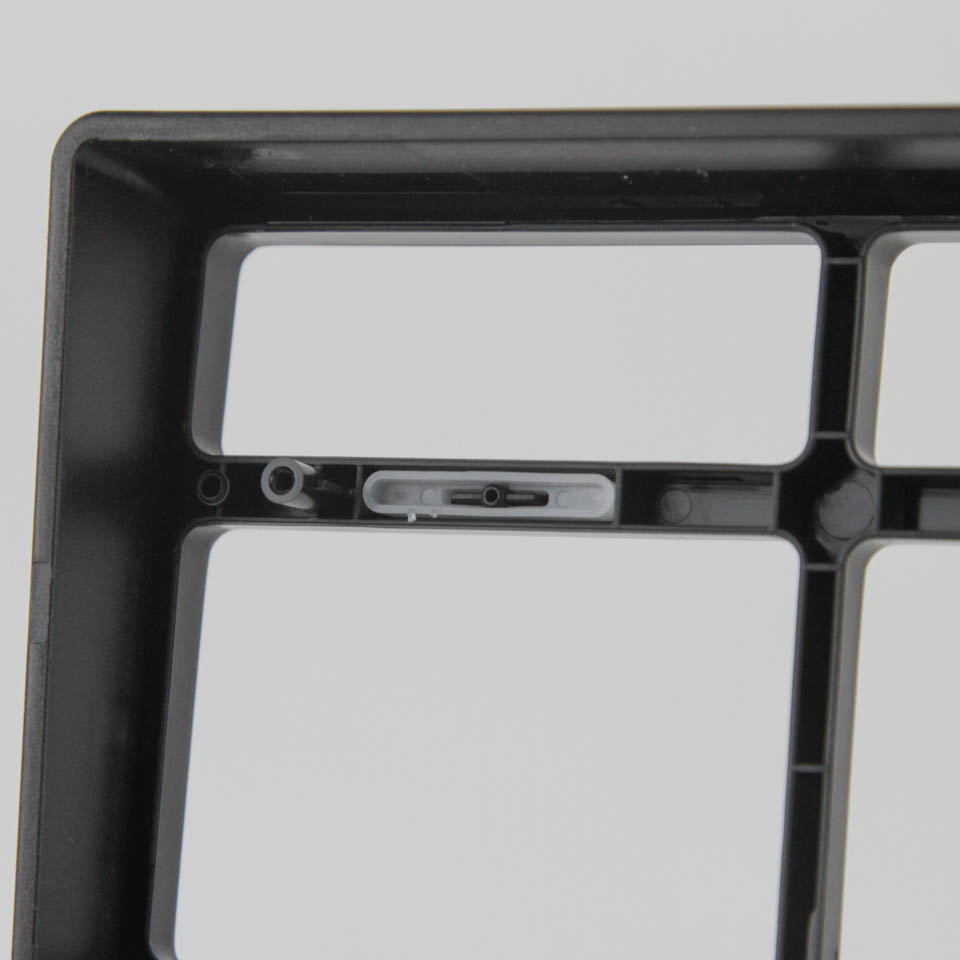
Disassembly of the Velocifire TKL02WS is a fairly involved process. Begin by first removing the top plastic case panel, which is held in place not only by interlocking plastic tabs all over, but three hidden screws on the back; two under the keyboard feet and the other underneath the QC sticker. You will need a precision Phillips screwdriver and a flat object to pry apart the plastic tabs carefully. We can now see a white plastic piece that helps diffuse light for the indicator LEDs on the PCB underneath.
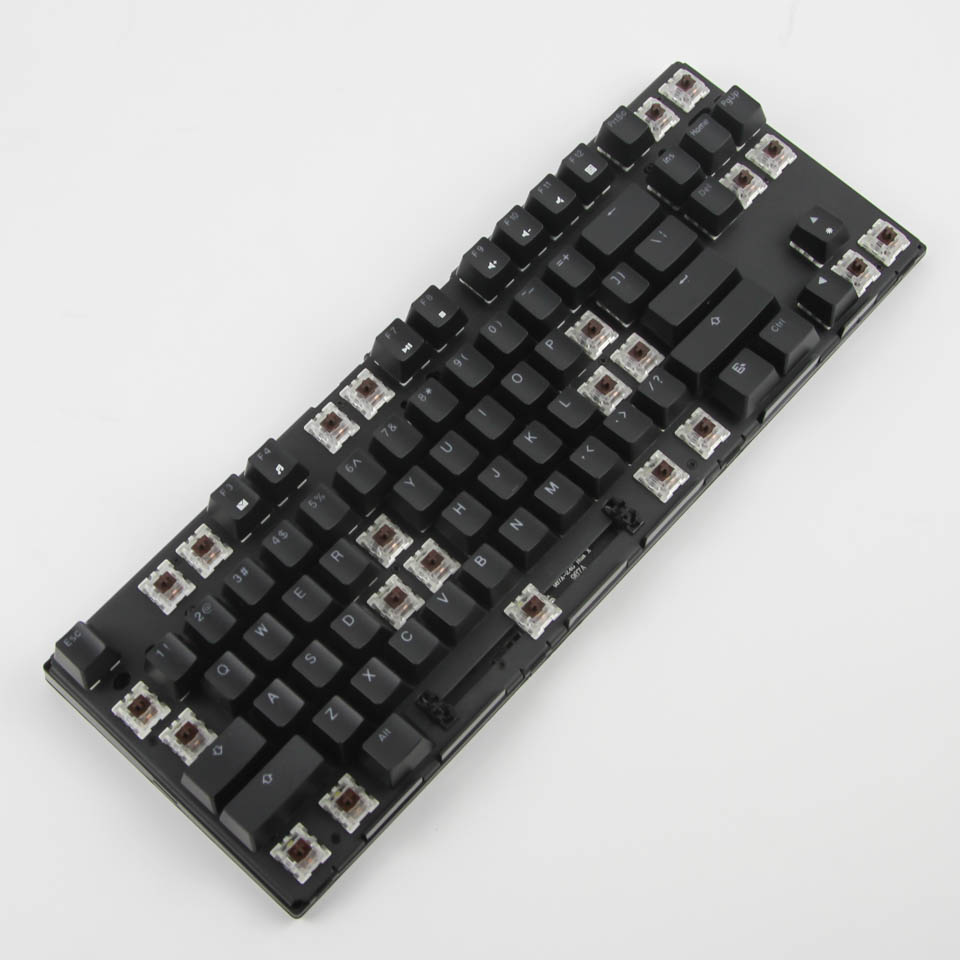


Eleven more screws now greet us on the front, and while these can be accessed with the top case panel in place, it is just easier to do so now, with some keycaps that need to be removed to be able to get a screwdriver on these. These are countersunk and silver in color, which helps distinguish them from the first three. No more plastic tabs to deal with, and you can simply lift off this PCB for enough room to then separate the two internal cables connecting the primary PCB to the daughter PCB on the bottom case panel.
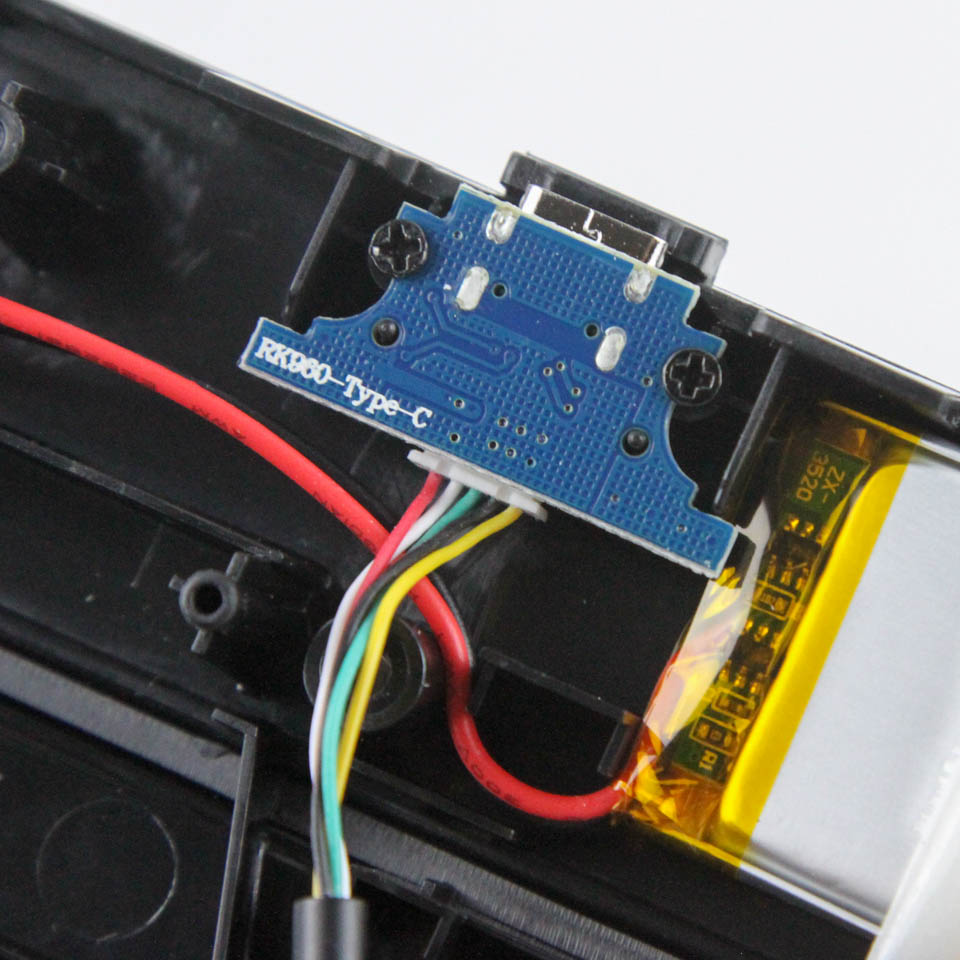
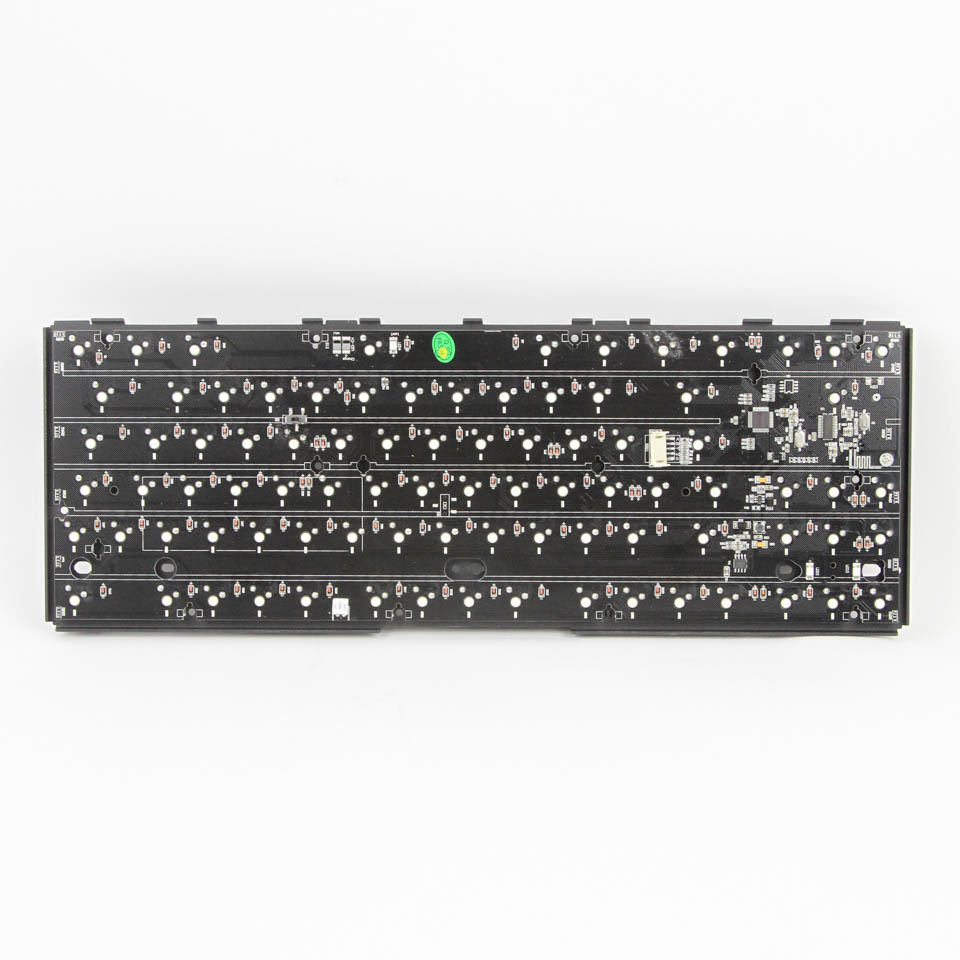
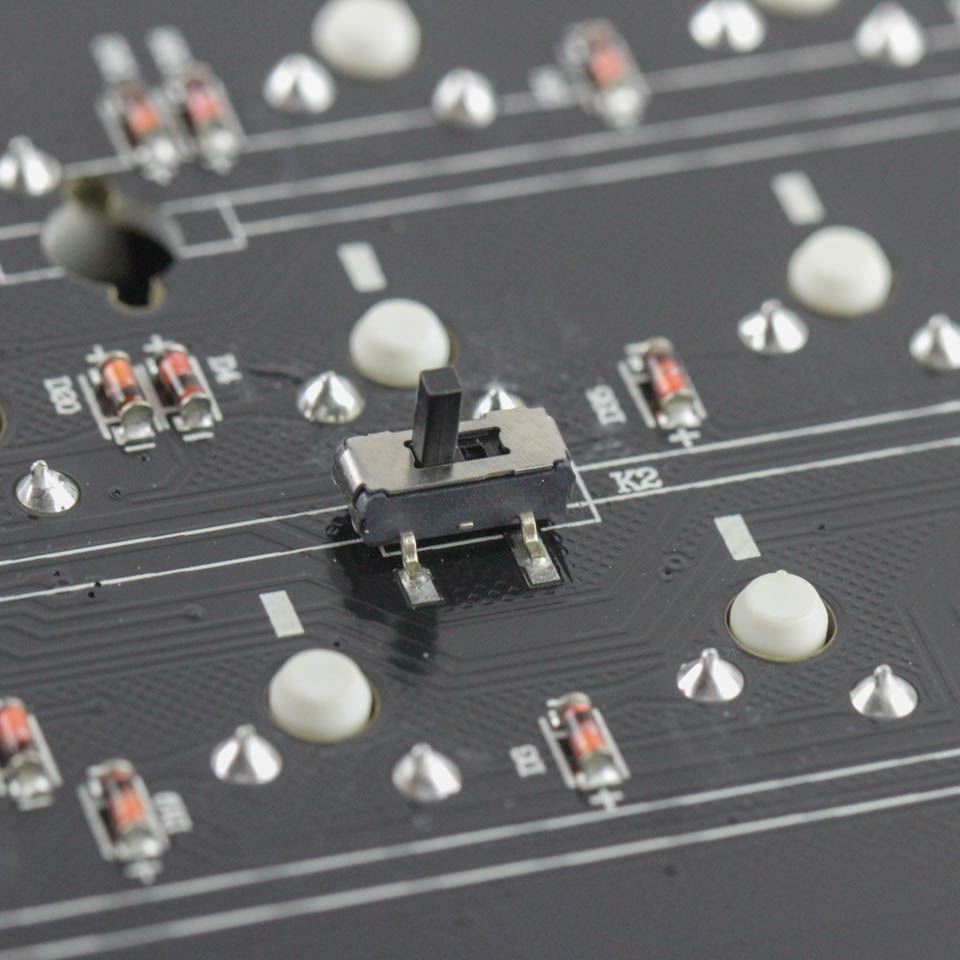
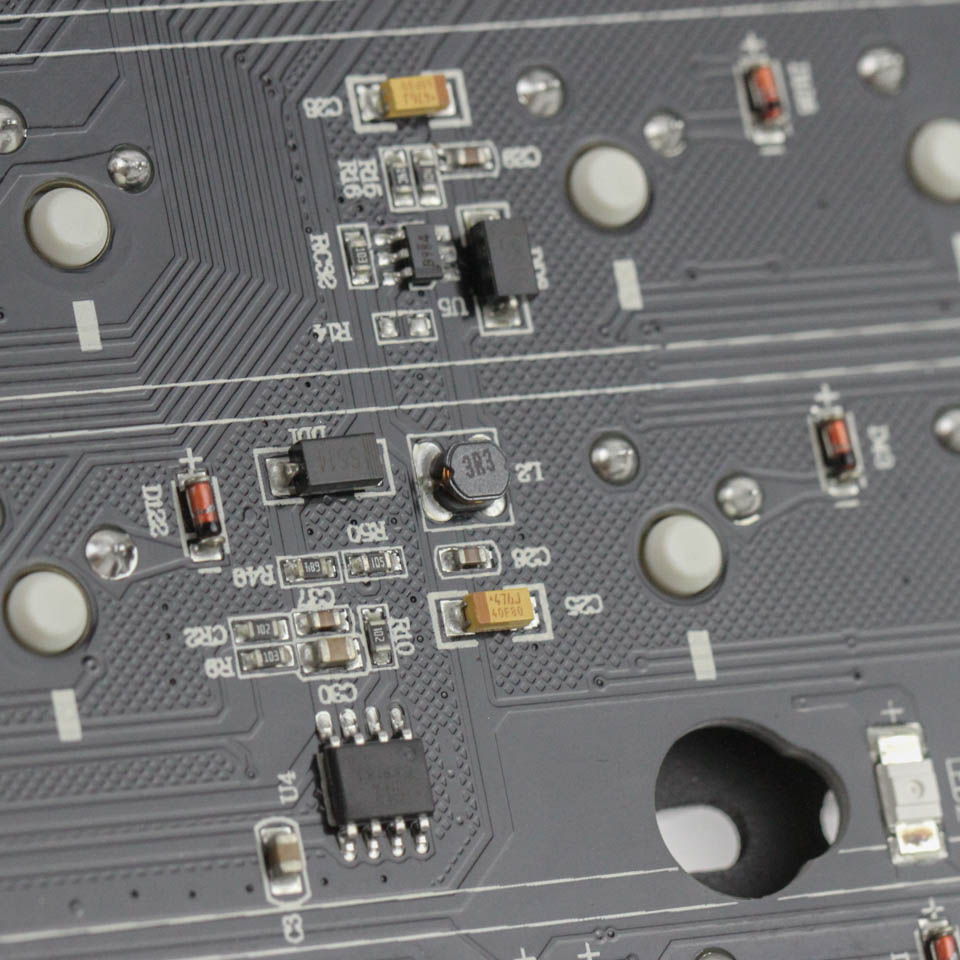
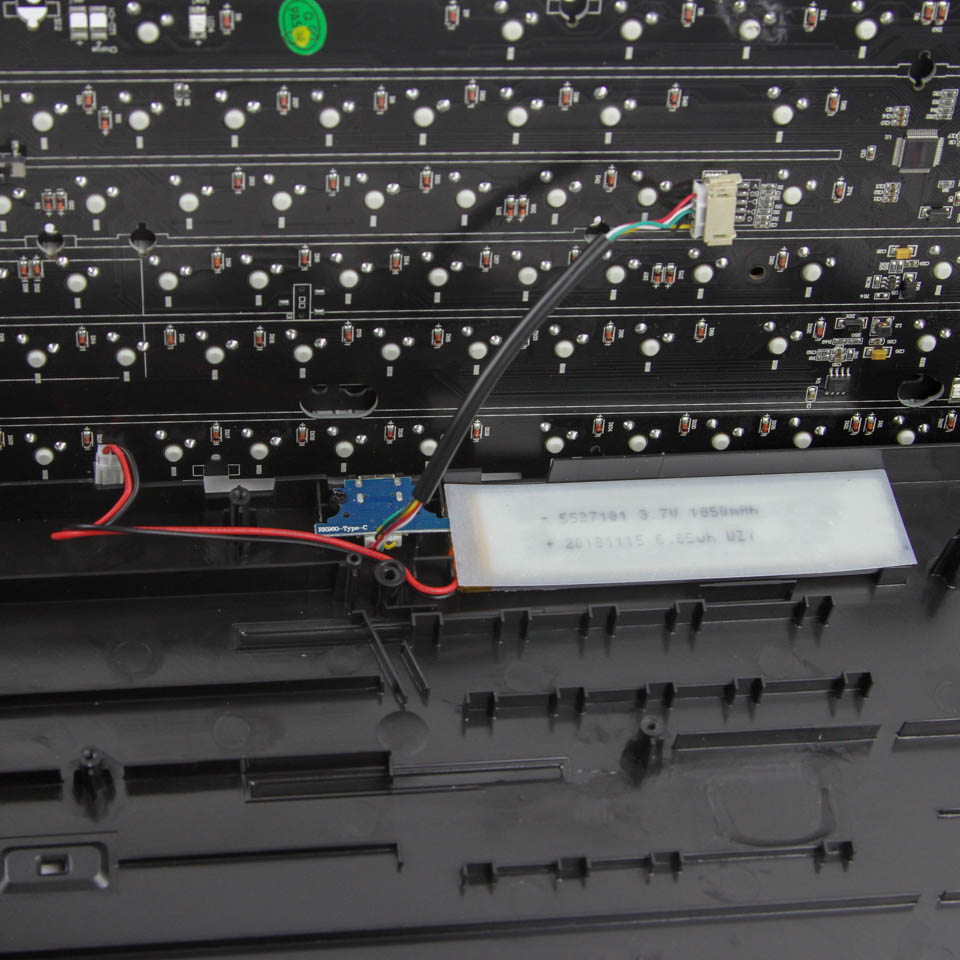
The daughter PCB here contains the USB Type-C port and has a cable going to the primary PCB for data and power alike. Given the wireless nature of this keyboard, there is also a 1850 mAh-rated battery (3.7 V, 6.85 Wh) which provides power via another cable and also contributes to the higher-than-average mass for this plastic case TKL form factor keyboard. The primary PCB is black in color, and all soldering is done well even though it does seem to mostly be hand-assembled.
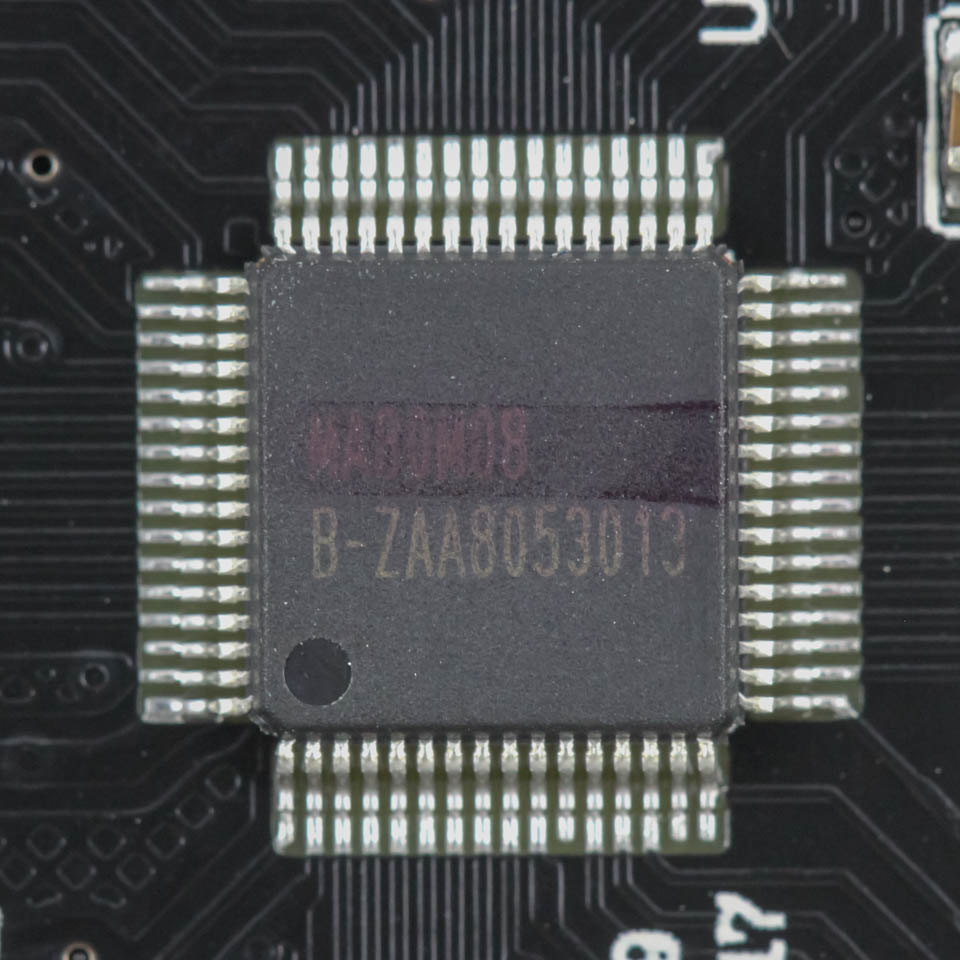
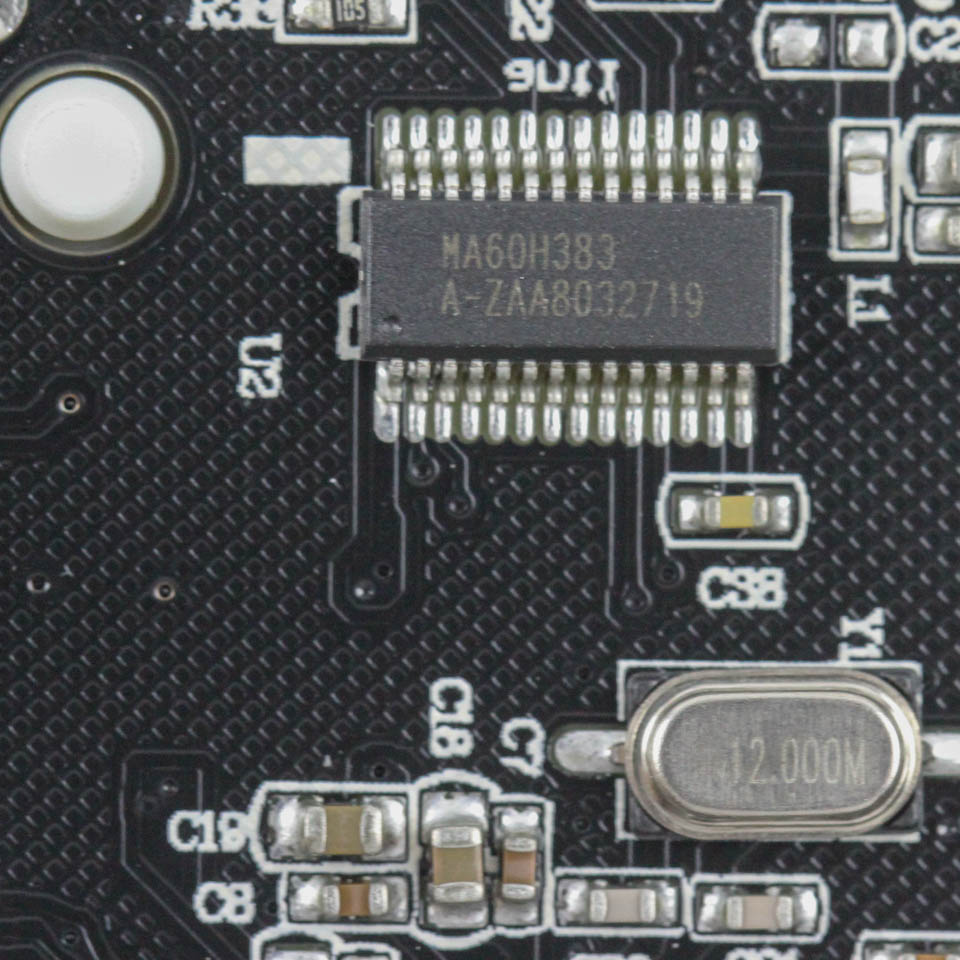
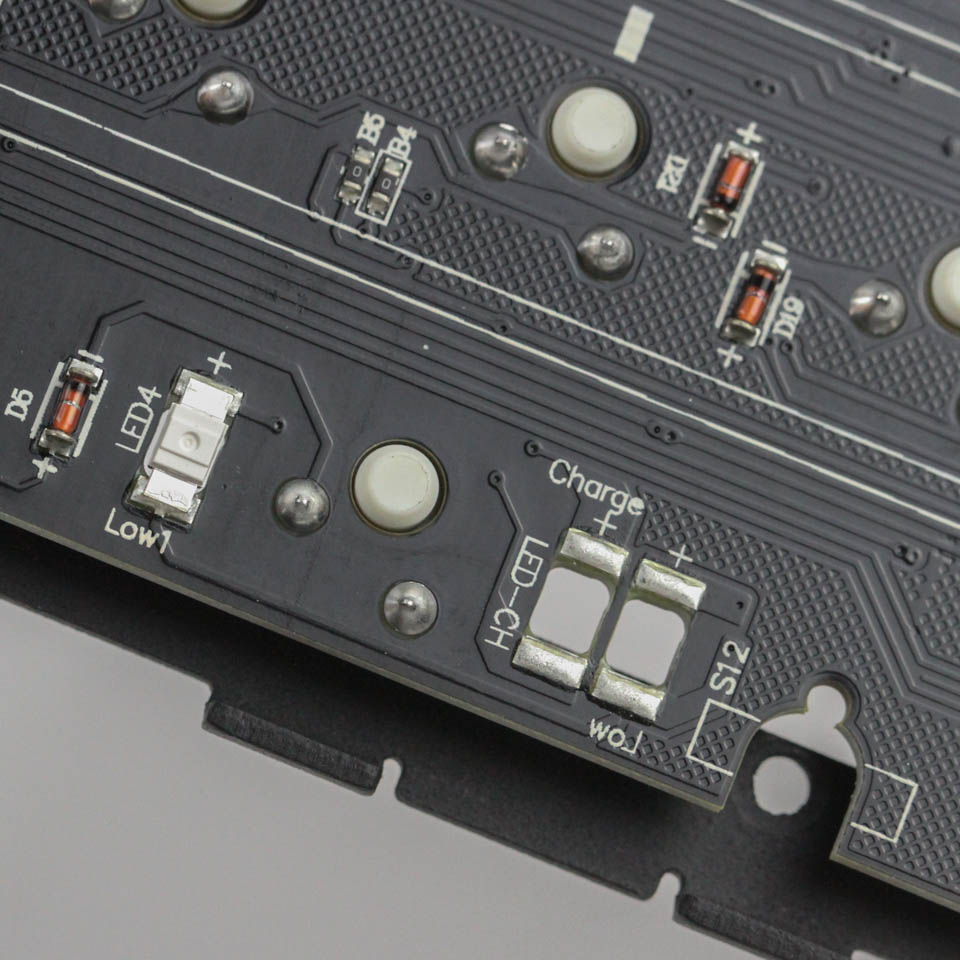
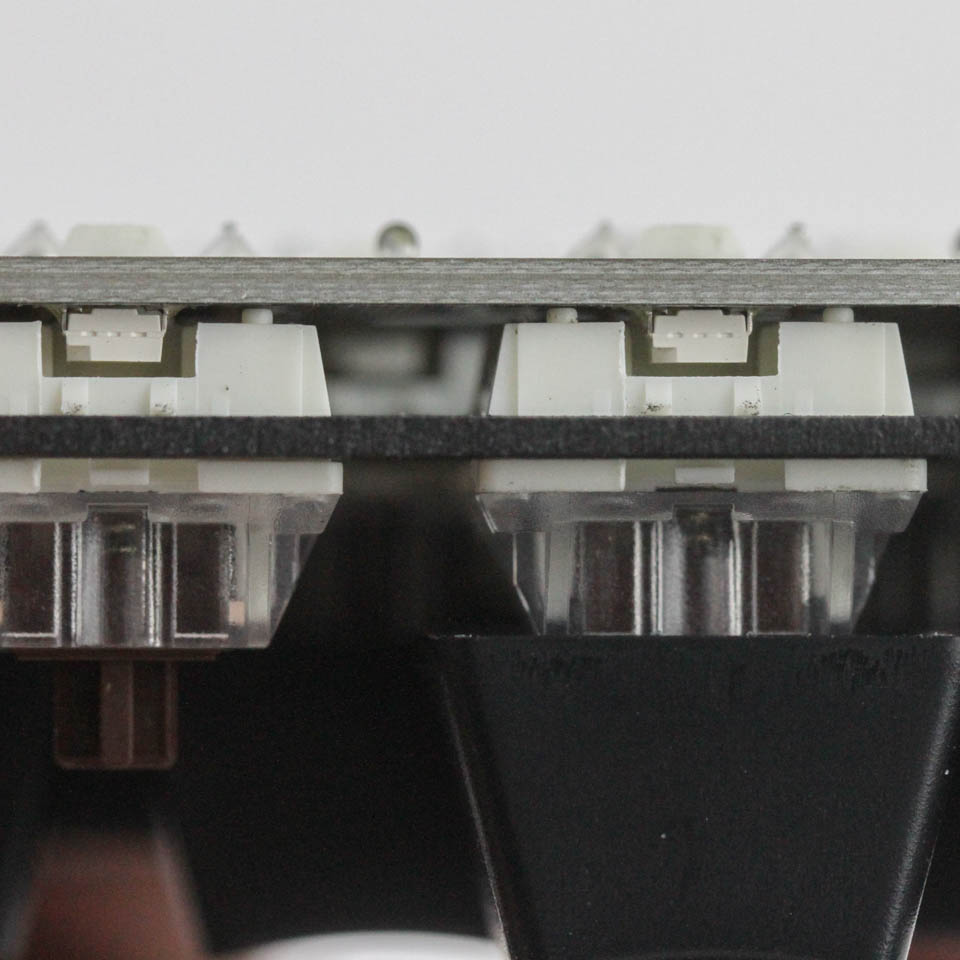
Powering the Velocifire TKL02WS are two unidentified ICs, one of which is hard to even distinguish, but is presumably the USB microcontroller which also handles lighting, and the other, marked MA60H383, might well be the 2.4 GHz controller based on other references to this IC on a few Chinese forums discussing similar wireless mechanical keyboards. We can also see here the charging circuitry, including a dedicated LED just for this application. All the components, including the switches, LEDs, and capacitors, are soldered to a multi-layered PCB.
Before we move on, be advised that disassembly may void the warranty and that TechPowerUp is not liable for any damages incurred if you decide to go ahead and do so anyway.
Jul 12th, 2025 09:33 CDT
change timezone
Latest GPU Drivers
New Forum Posts
- Gigabyte graphic cards - TIM gel SLIPPAGE problem (151)
- No offense, here are some things that bother me about your understanding of fans. (36)
- Stupid buggy POS Realtek WiFi RTL8852BE (11)
- Swapping existing router w/ a replacement; any issues? (14)
- 'NVIDIA App' not usable offline? (13)
- Chrome has removed uBlock Origin 1.64.0 (remove google search suggestions) (12)
- Share your AIDA 64 cache and memory benchmark here (3097)
- The Official Linux/Unix Desktop Screenshots Megathread (778)
- [GPU-Z Test Build] New Kernel Driver, Everyone: Please Test (90)
- NVIDIA App (55)
Popular Reviews
- Fractal Design Epoch RGB TG Review
- Lexar NM1090 Pro 4 TB Review
- Corsair FRAME 5000D RS Review
- NVIDIA GeForce RTX 5050 8 GB Review
- NZXT N9 X870E Review
- Our Visit to the Hunter Super Computer
- Sapphire Radeon RX 9060 XT Pulse OC 16 GB Review - An Excellent Choice
- AMD Ryzen 7 9800X3D Review - The Best Gaming Processor
- Upcoming Hardware Launches 2025 (Updated May 2025)
- Chieftec Iceberg 360 Review
TPU on YouTube
Controversial News Posts
- Intel's Core Ultra 7 265K and 265KF CPUs Dip Below $250 (288)
- Some Intel Nova Lake CPUs Rumored to Challenge AMD's 3D V-Cache in Desktop Gaming (140)
- AMD Radeon RX 9070 XT Gains 9% Performance at 1440p with Latest Driver, Beats RTX 5070 Ti (131)
- NVIDIA Launches GeForce RTX 5050 for Desktops and Laptops, Starts at $249 (119)
- NVIDIA GeForce RTX 5080 SUPER Could Feature 24 GB Memory, Increased Power Limits (115)
- Microsoft Partners with AMD for Next-gen Xbox Hardware (105)
- Intel "Nova Lake‑S" Series: Seven SKUs, Up to 52 Cores and 150 W TDP (100)
- NVIDIA DLSS Transformer Cuts VRAM Usage by 20% (97)