 12
12
Xigmatek Pantheon Review
Assembly & Finished Looks »A Closer Look - Inside
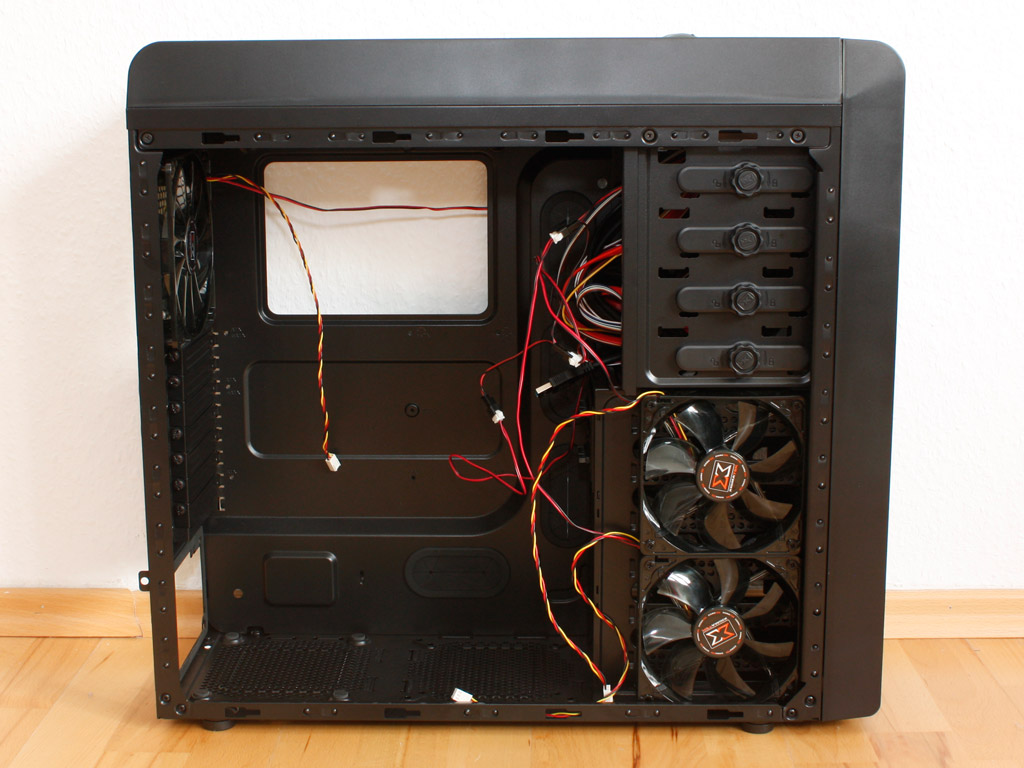
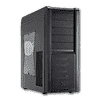
To gain access to the interior, simply remove a pair of thumbscrews holding each side panel in place. As with all the other Xigmatek enclosures, the Pantheon is all black on the inside as well. The two aspects that caught my eyes are the two fans on the hard drive cage and the very large opening of the mainboard tray. It will be interesting to see the latter when a mainboard has been installed. Turning the Pantheon around, there is a groove running along the openings in the mainboard tray. This should allow you to run cables around this lane and also store unwanted ones, so that the interior of the chassis stays clean and clutter-free.

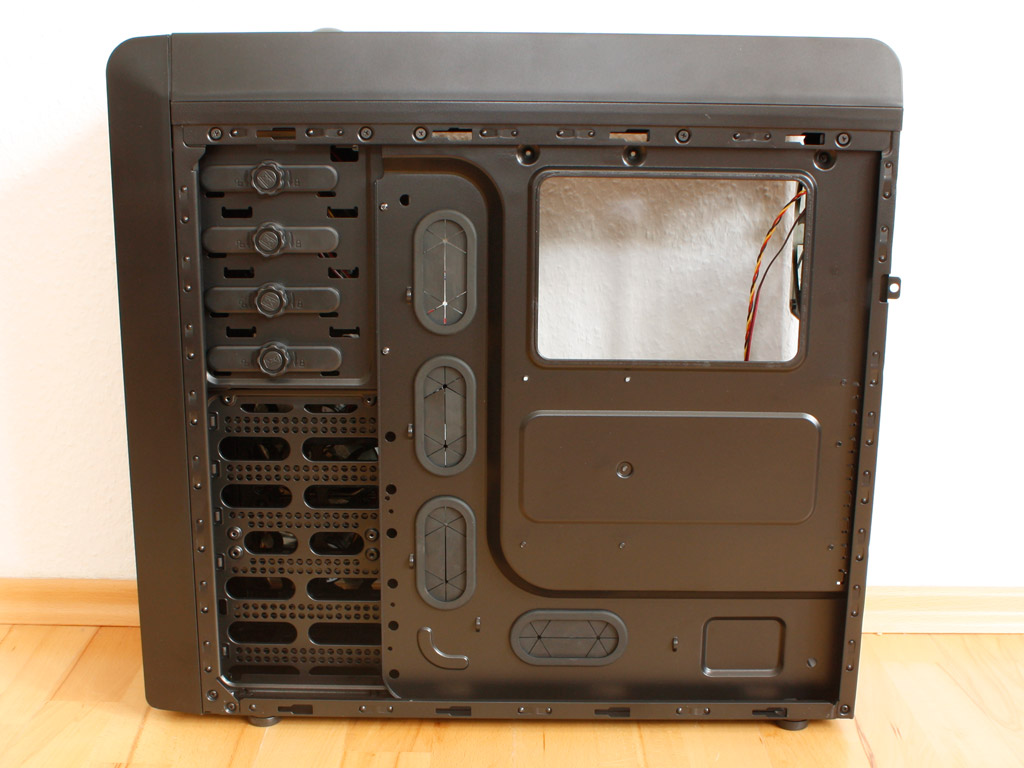
As mentioned before, the hard drive bay has two fans pre-installed to cool the drives directly. The only downside of this configuration is that the Pantheon does not have a pull/push configuration from the front to the rear of the case, but this should not be a big issue in reality. From this side, one can also see the two hot-swap equipped drive bays, with the plastic connectors. I was a bit worried about the overall build quality, as they do not seem so strong, but everything should be fine, as long as you do not install a drive wrong and then push it into the bay. While I understand that Xigmatek is once again trying to redefine the price/performance factor and it is certainly very positive to have this functionality for cases of this price class, it would have been nice to see a sturdier mechanism in this area.
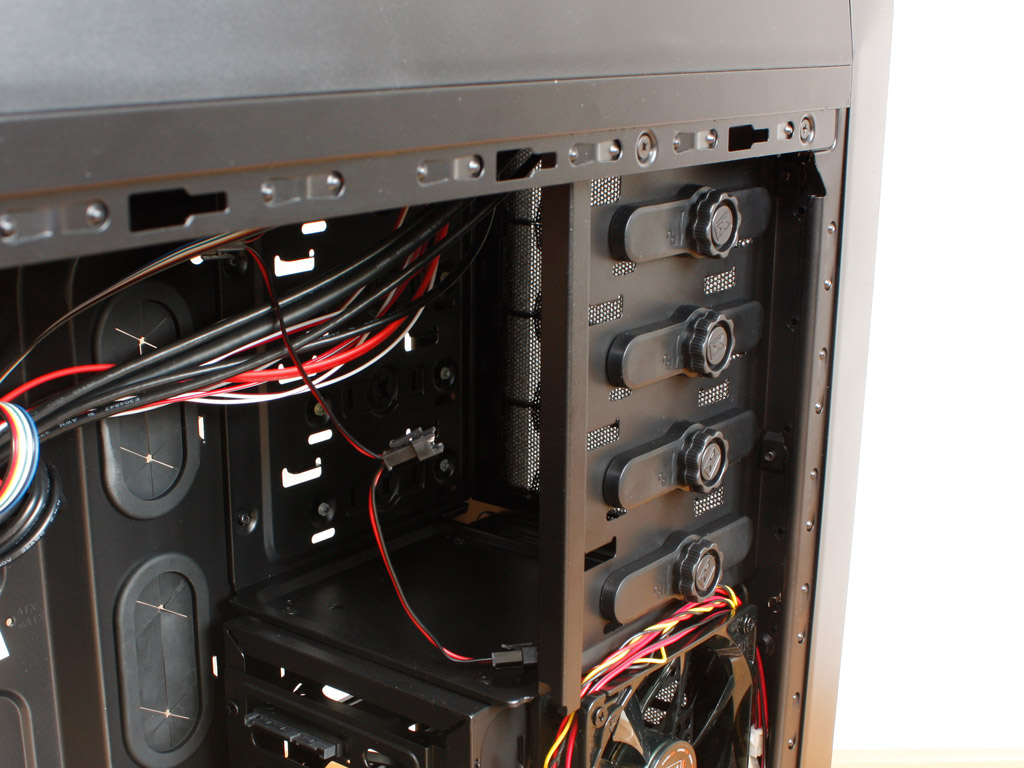
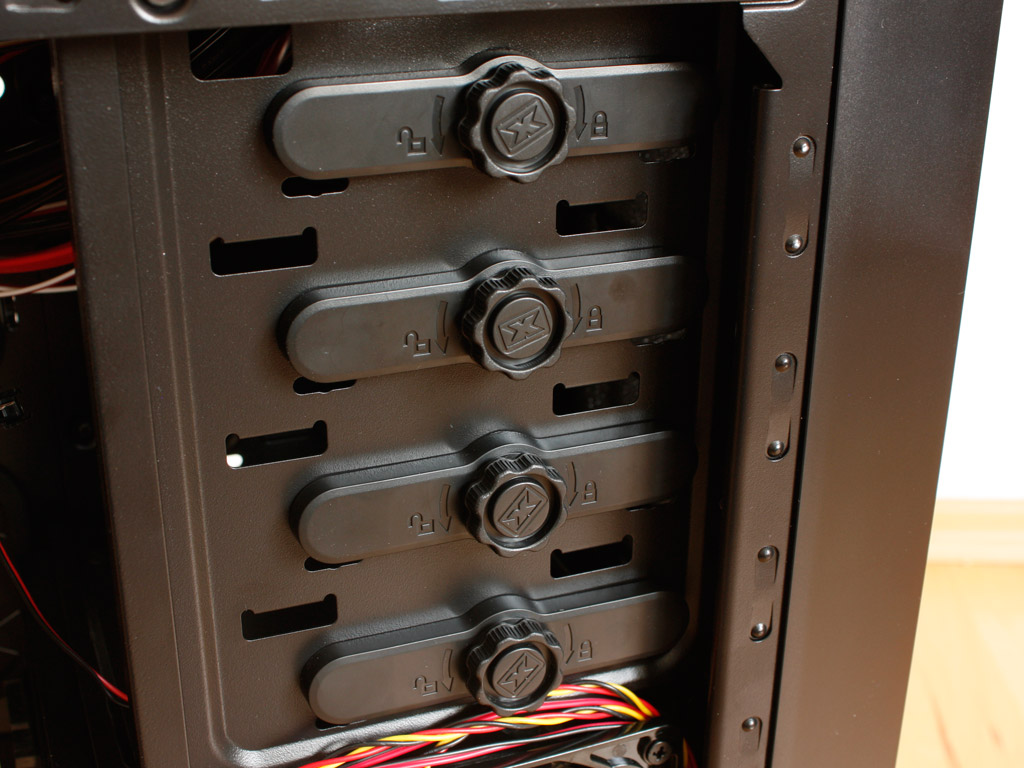
Moving on up in the front area of the chassis, we can clearly the four external 5.25 inch bays. Each of them comes with a screw-less "twist & lock" system made of plastic. I am a bit skeptical about the clamping capability of these but we will get to the bottom of this on the next page.
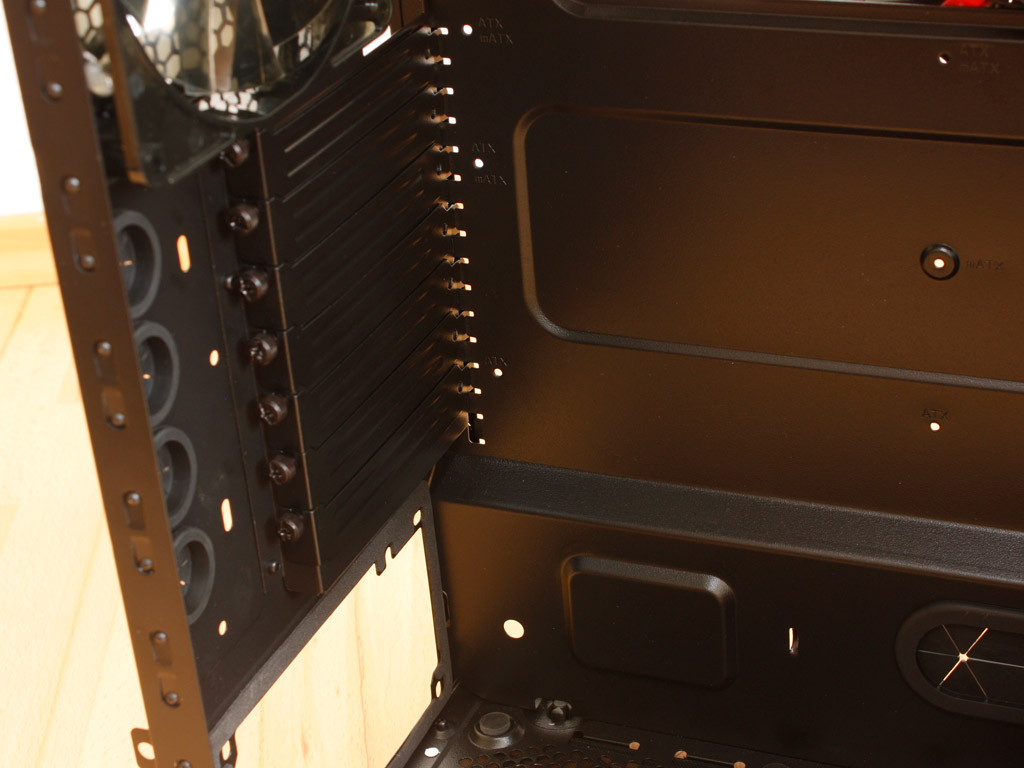
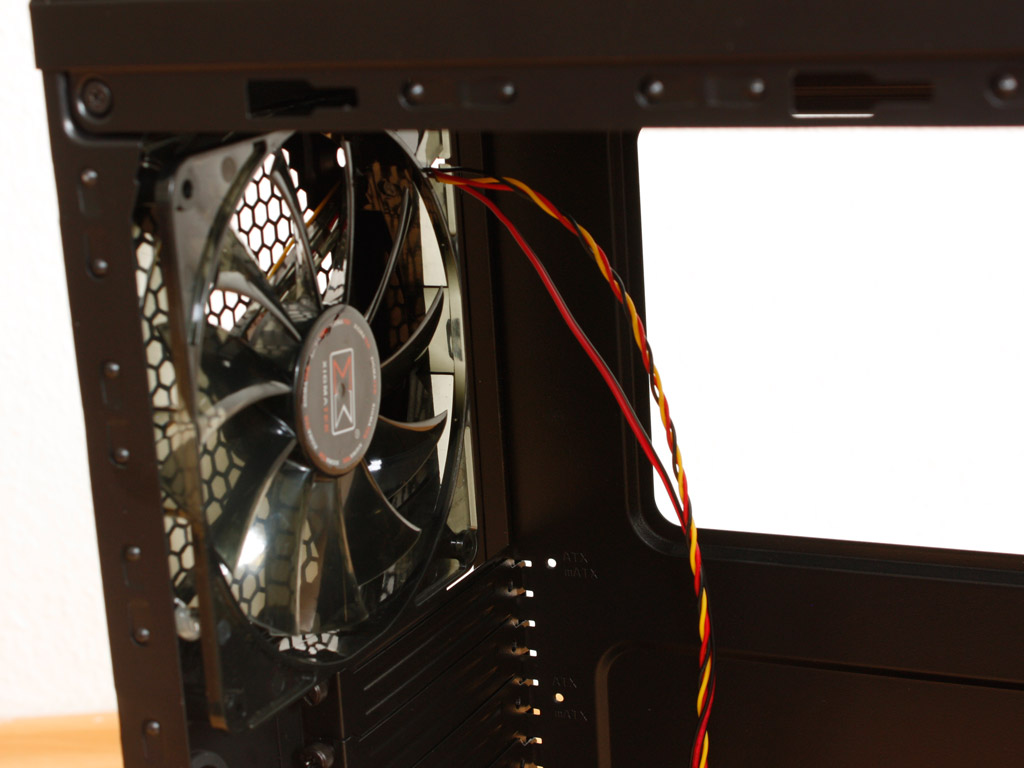
Turning our focus to the rear of the chassis, the PSU bay is lined with a thin layer of foam and an installed power supply rests on four similar foam dots to reduce any vibrations in this area. Above that are the seven expansion slots, each secured by thumb screws. I am glad that Xigmatek has chosen not to use their signature orange plastic locks, as they do not hold things so well. The rear fan is also equipped with white LEDs which are powered by a separate cable and connector, so that you can toggle the lighting theme on or off, while running the fans at the speed you wish.
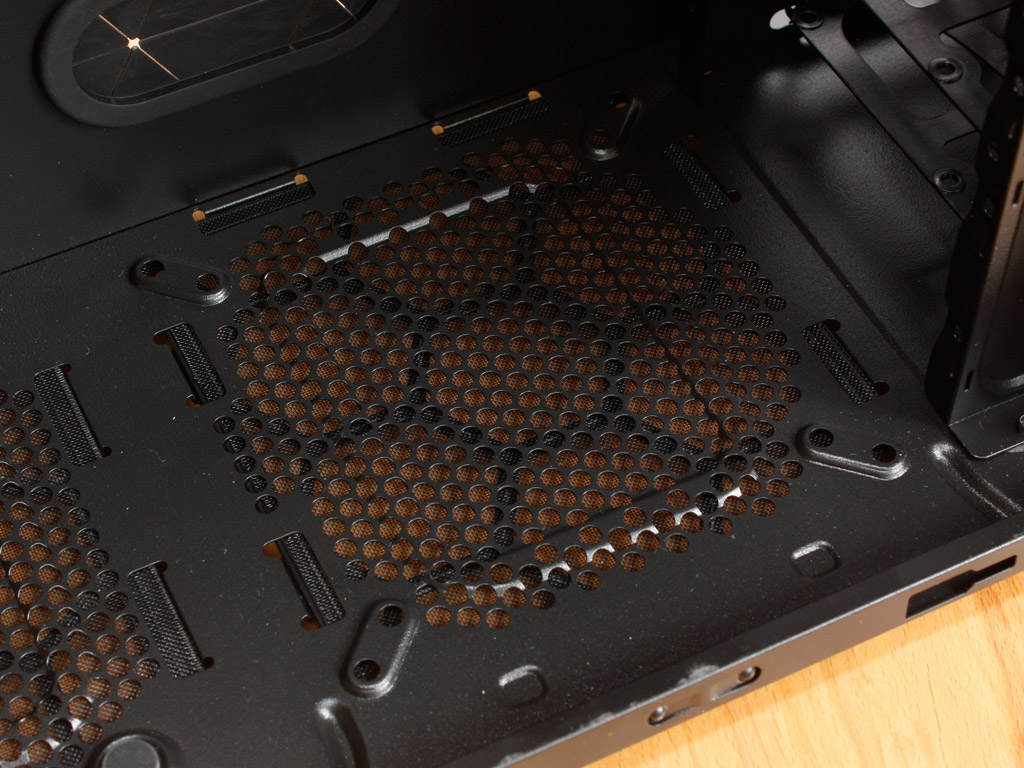
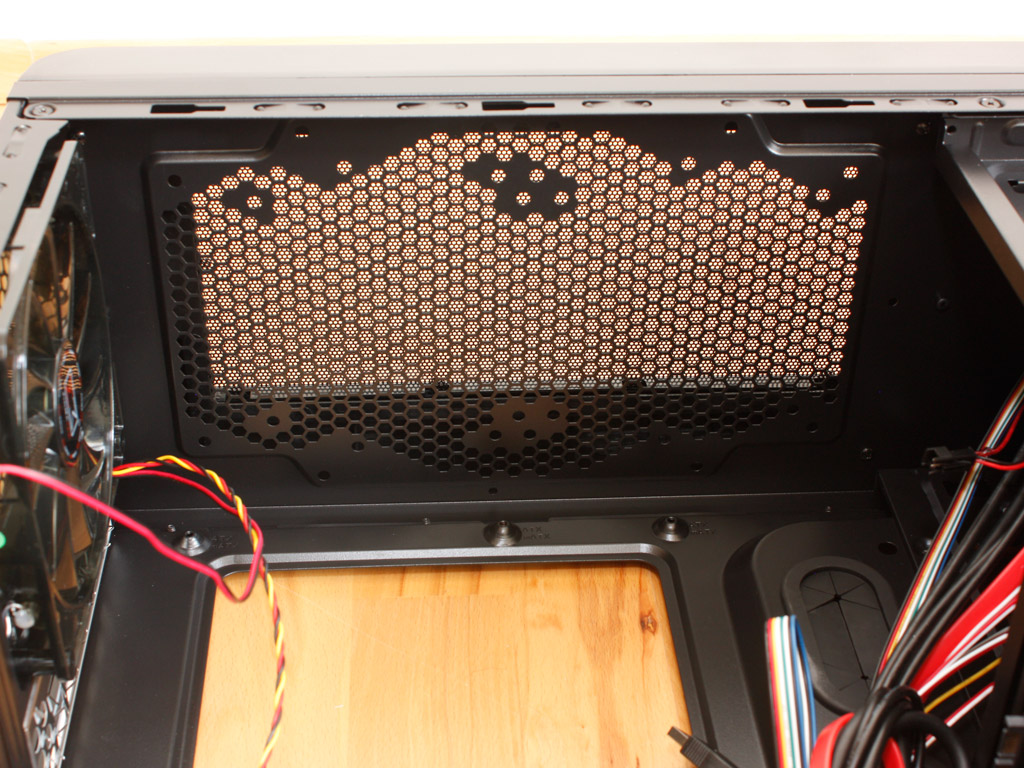
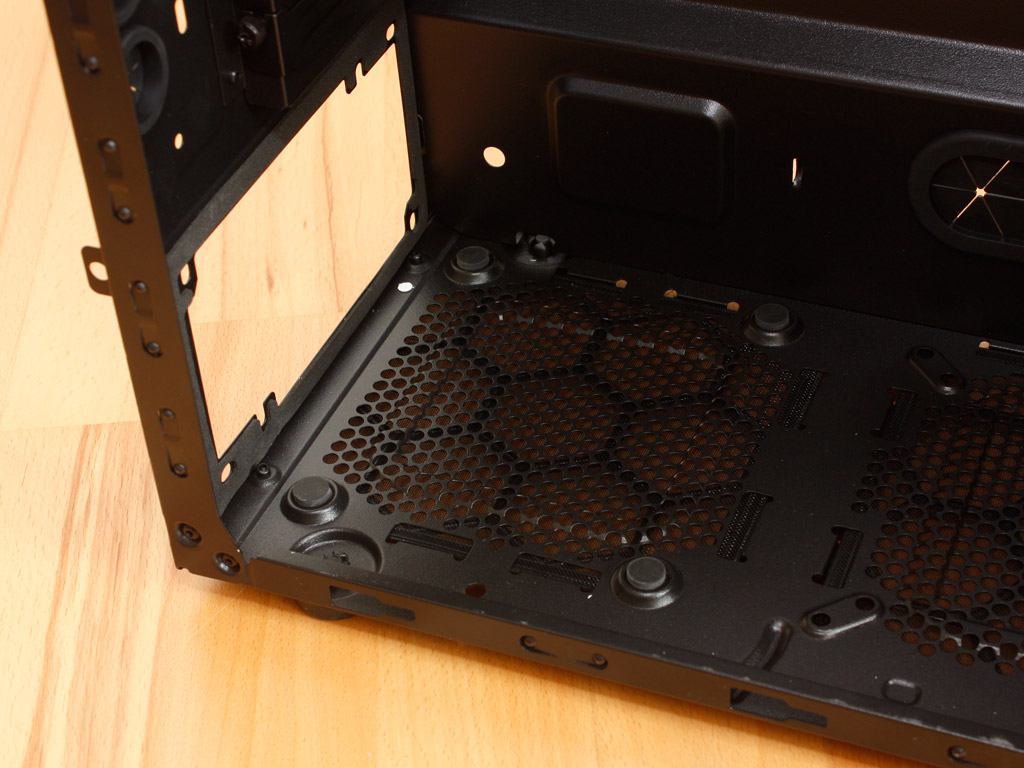
There are a few additional openings inside the chassis, one being in the floor of the Pantheon. It comes equipped with a dust filter as well and you may install a 120 or 140 mm fan in this spot. Then there are the large openings in the ceiling of the enclosure with various holes for fans of all dimensions to be installed. As far as I can tell anything between 120 mm and 200 mm should be possible here.
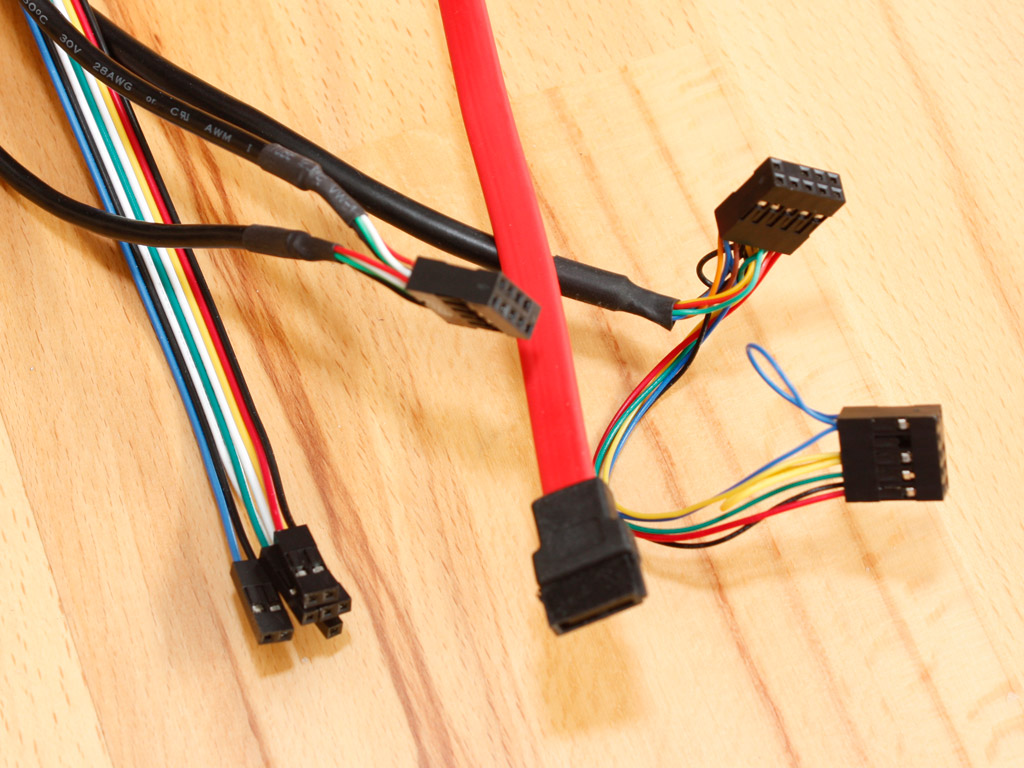
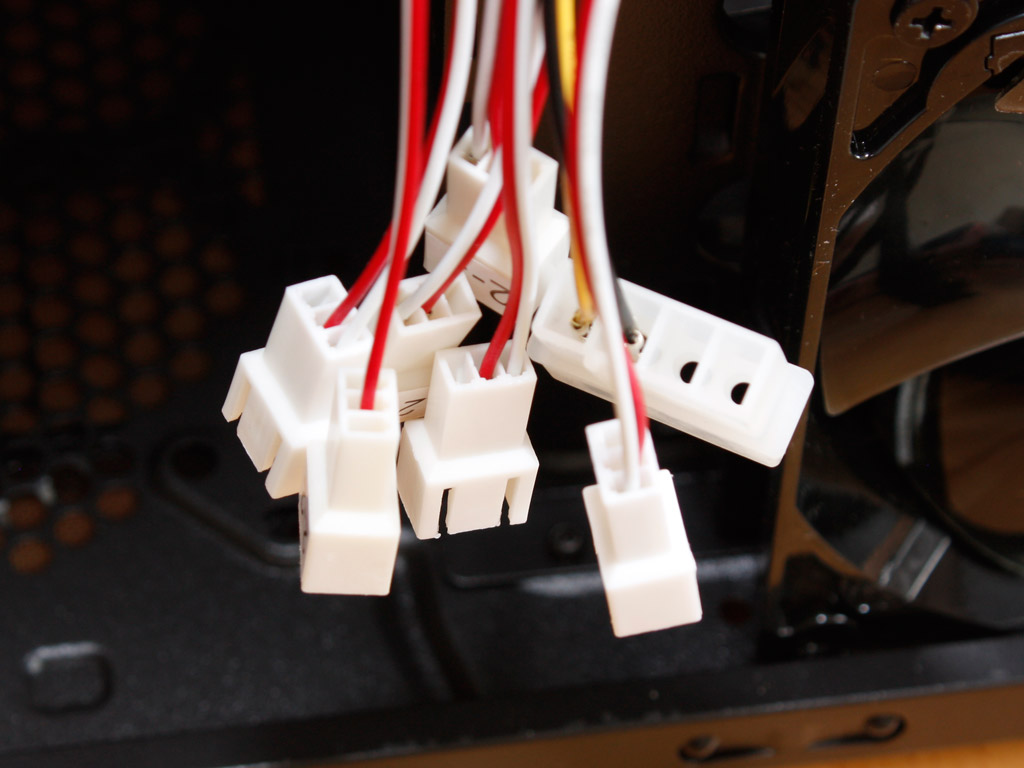
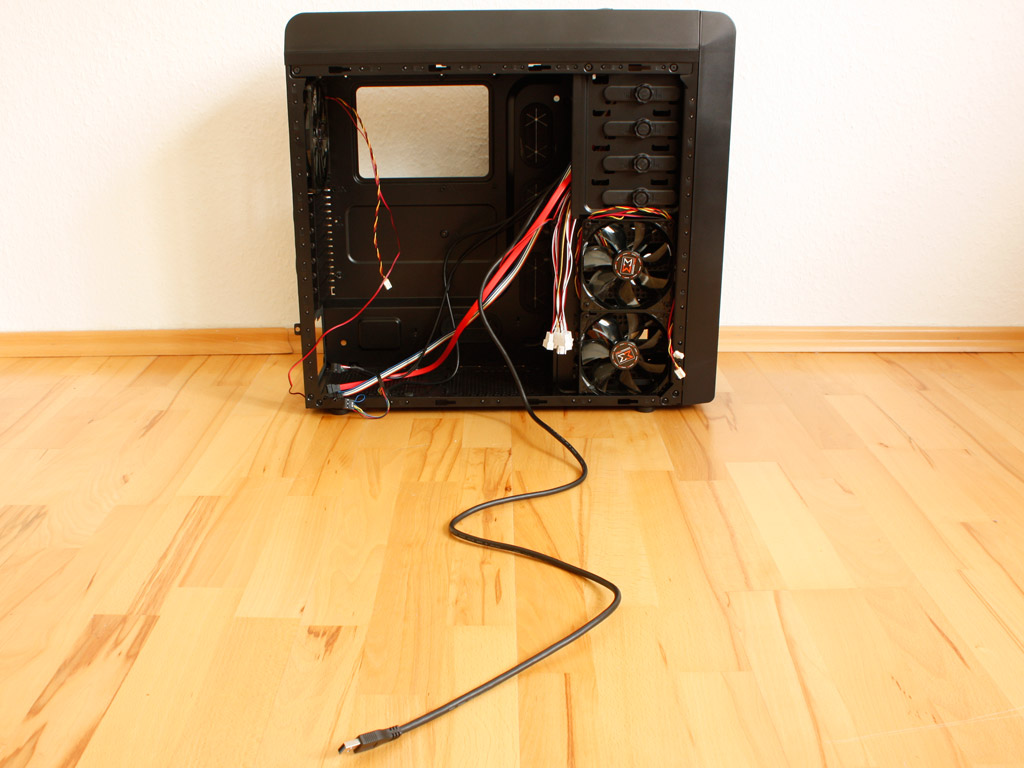
Before we dive into the assembly, let us take a quick look at all the cables. While the I/O bares no surprises, with generic plugs for everything, you will also have the option to connect six fans to the two big dials and thus adjust the rotational speed of them manually. Then there is the simple USB extension cable, which you are to connect to the rear plug of the mainboard. Notice the length, I think it would be even too long for a full tower chassis. Xigmatek could save some money by reducing the overall length by half. As it is here, it will only add to the cable mess - especially if you install a water cooling rig and cannot route the long cable through that area of the case.
Apr 3rd, 2025 23:22 EDT
change timezone
Latest GPU Drivers
New Forum Posts
- 4x16gb how are these? (21)
- AAF Optimus Modded Driver For Windows 10 & Windows 11 - Only for Realtek HDAUDIO Chips (386)
- Is RX 9070 VRAM temperature regular value or hotspot? (309)
- Windows 11 General Discussion (5921)
- What's your latest tech purchase? (23462)
- RX 9000 series GPU Owners Club (128)
- Someone knowledable on memory voltages want to chime in? (also what is PMIC and should I be worried) (31)
- Mllse 6600s that are locked at 500 mhz. (6)
- A Final Fantasy IX Reminiscence - My love letter and homage to one of the best stories ever told (87)
- ROG-STRIX-LC-RX6900XT-O16G-GAMING (7)
Popular Reviews
- DDR5 CUDIMM Explained & Benched - The New Memory Standard
- PowerColor Radeon RX 9070 Hellhound Review
- Sapphire Radeon RX 9070 XT Pulse Review
- Pwnage Trinity CF Review
- Corsair RM750x Shift 750 W Review
- Sapphire Radeon RX 9070 XT Nitro+ Review - Beating NVIDIA
- SilverStone Lucid 04 Review
- Upcoming Hardware Launches 2025 (Updated Apr 2025)
- Palit GeForce RTX 5070 GamingPro OC Review
- AMD Ryzen 7 9800X3D Review - The Best Gaming Processor
Controversial News Posts
- MSI Doesn't Plan Radeon RX 9000 Series GPUs, Skips AMD RDNA 4 Generation Entirely (146)
- Microsoft Introduces Copilot for Gaming (124)
- AMD Radeon RX 9070 XT Reportedly Outperforms RTX 5080 Through Undervolting (119)
- NVIDIA Reportedly Prepares GeForce RTX 5060 and RTX 5060 Ti Unveil Tomorrow (115)
- Over 200,000 Sold Radeon RX 9070 and RX 9070 XT GPUs? AMD Says No Number was Given (100)
- NVIDIA GeForce RTX 5050, RTX 5060, and RTX 5060 Ti Specifications Leak (96)
- Retailers Anticipate Increased Radeon RX 9070 Series Prices, After Initial Shipments of "MSRP" Models (90)
- Nintendo Switch 2 Launches June 5 at $449.99 with New Hardware and Games (89)