 12
12
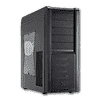
Xigmatek Pantheon Review
Value & Conclusion »Assembly
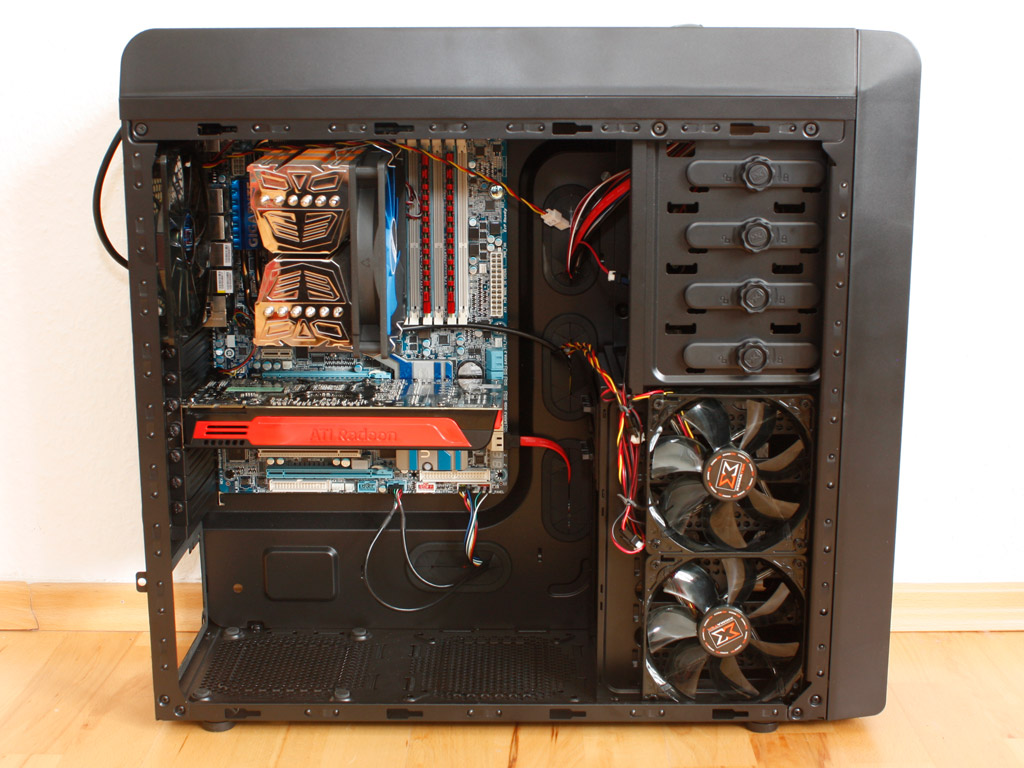
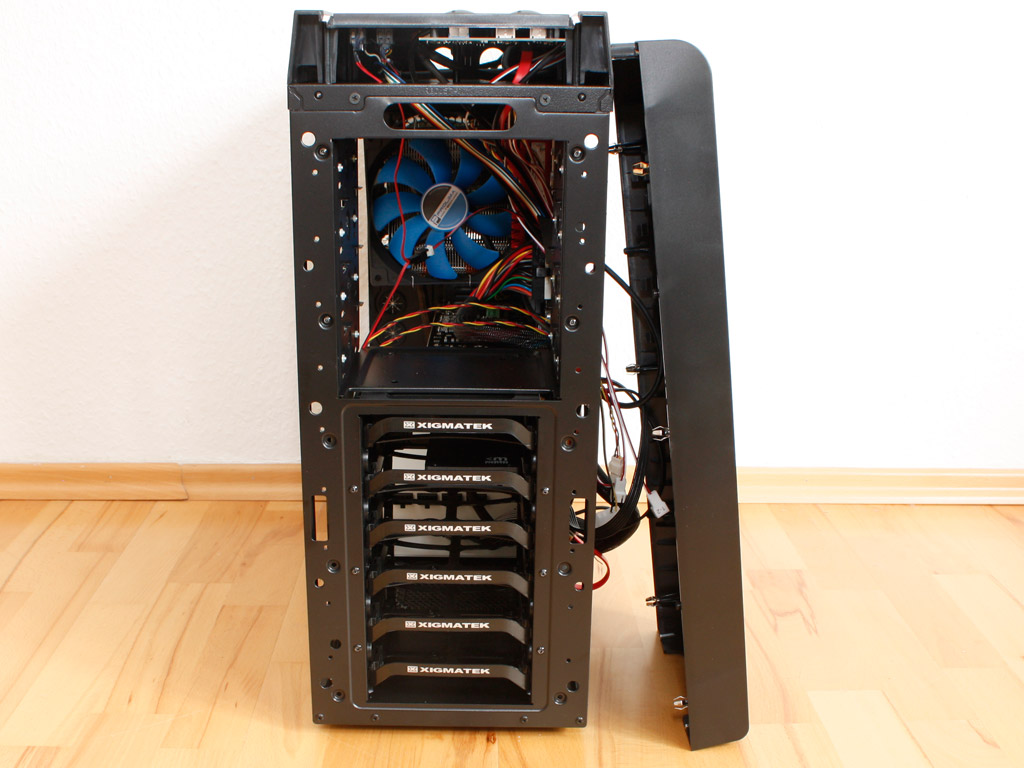
Installing the mainboard is an easy task and is achieved by simply adding the required mainboard spacers and then mounting the mainboard on them. As you can see there is plenty of space around the CPU even for the biggest coolers and the openings around the mainboard are well placed, allowing for excellent cable management.
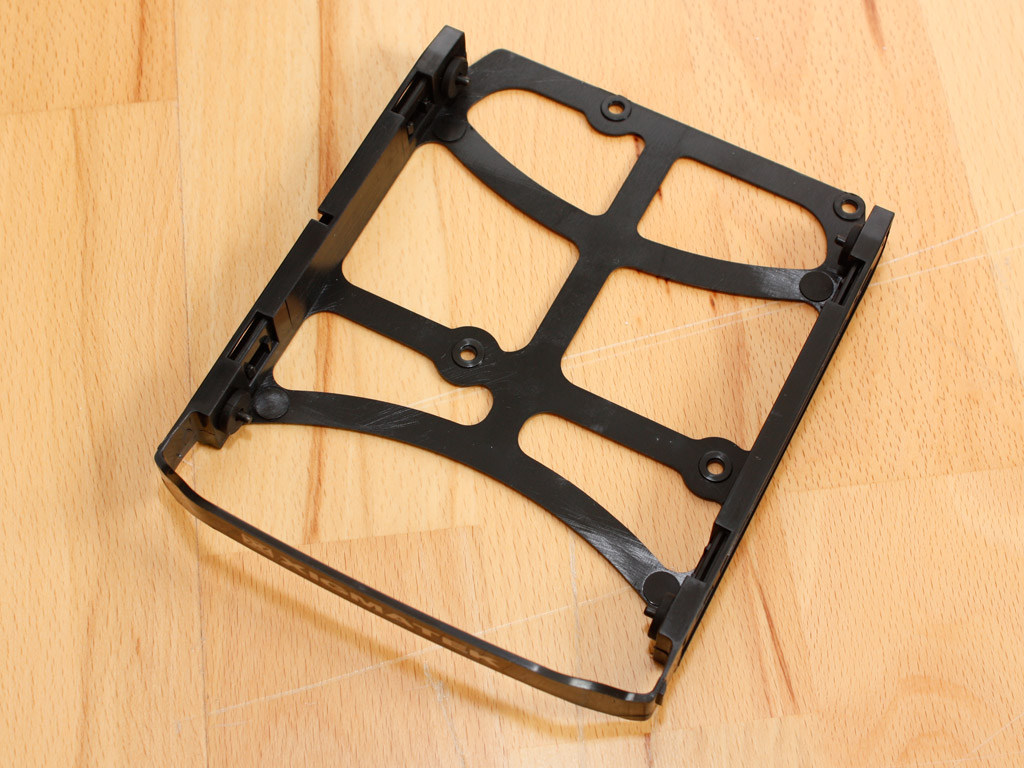
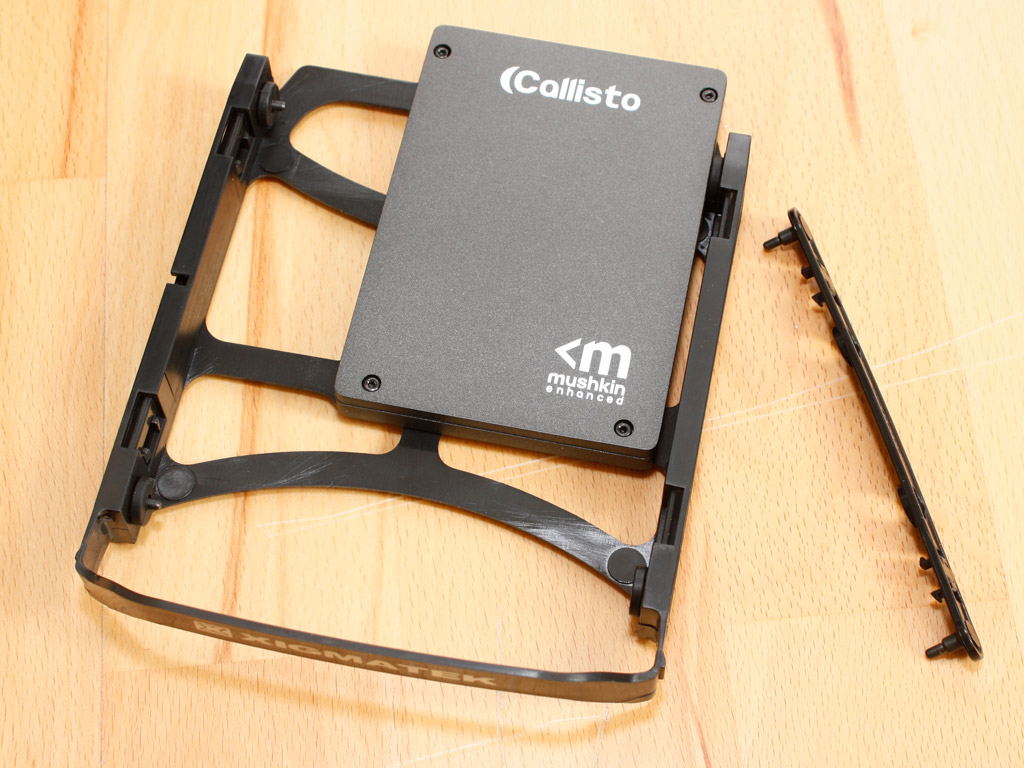

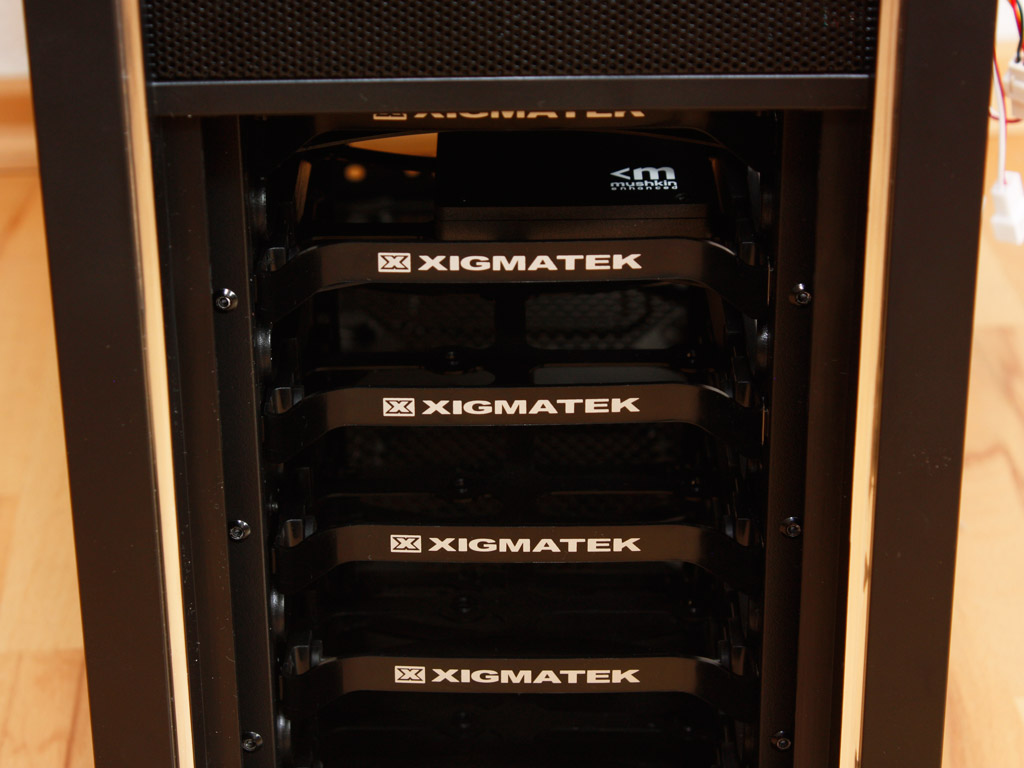
Inserting the hard drive is very simple and generally completely screw-less as long as you use a 3.5 inch drive. With such a unit you just need to snap the tray unto the drive. In our reviews I will be starting to focus on the 2.5 inch drives, as SSD are becoming more and more popular. With such a scenario, you need to remove a plastic part from the tray, so that the unit can be screwed unto the tray. After that, the rest of the installation is identical to that of its bigger brethren and the SATA power and data connectors fit perfectly even with the small SSD.
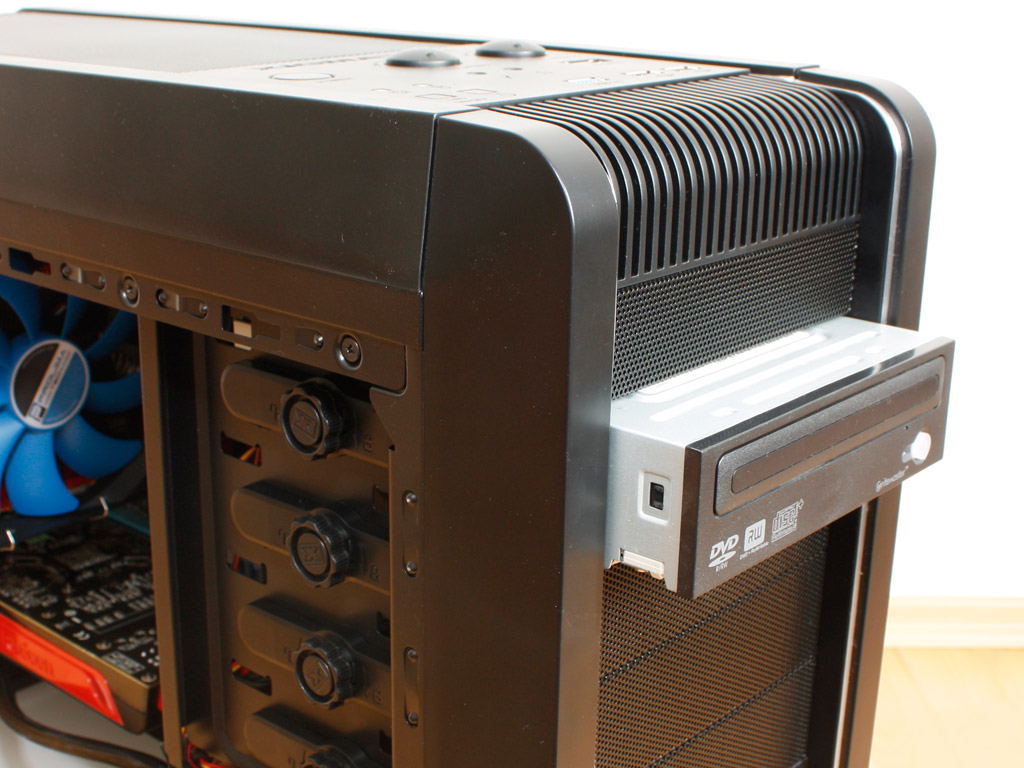
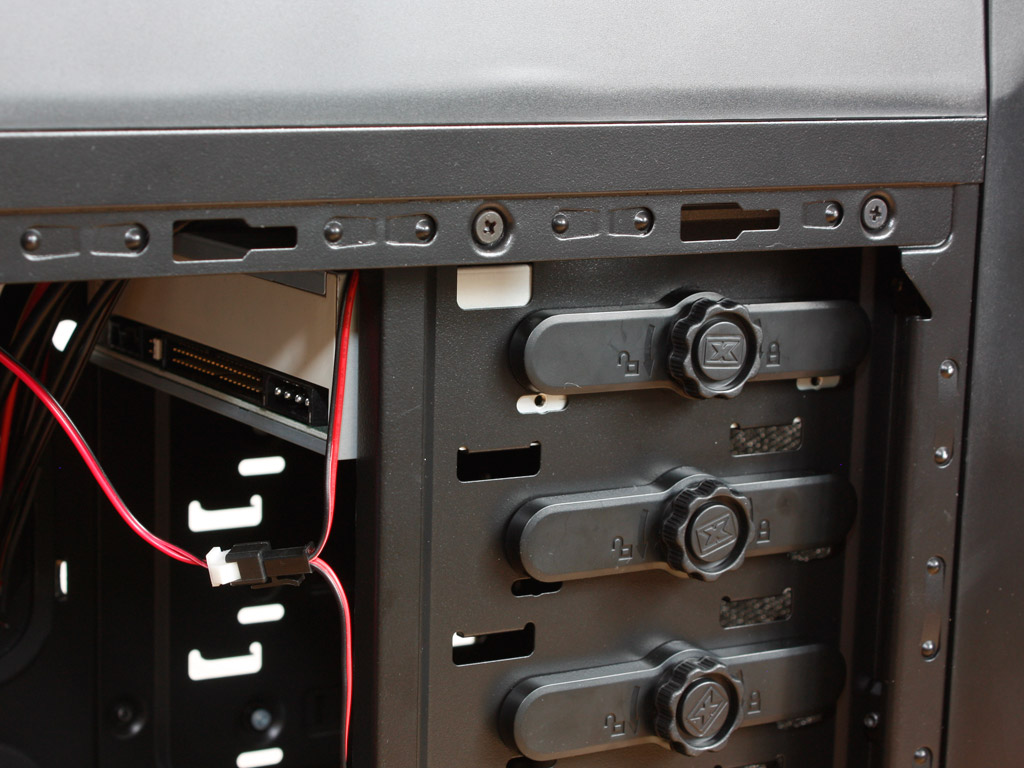
The optical drive installation requires you to pull the front off the chassis to remove one of the covers. Once the bay is open, simply slide the drive into place and twist the knob of the plastic lock. This system holds quite well and I do not see a reason for additional measures as long as you do not move the system around much. If you do plan to take it to a LAN party an extra screw would not hurt and give you the peace of mind, that nothing can go wrong.
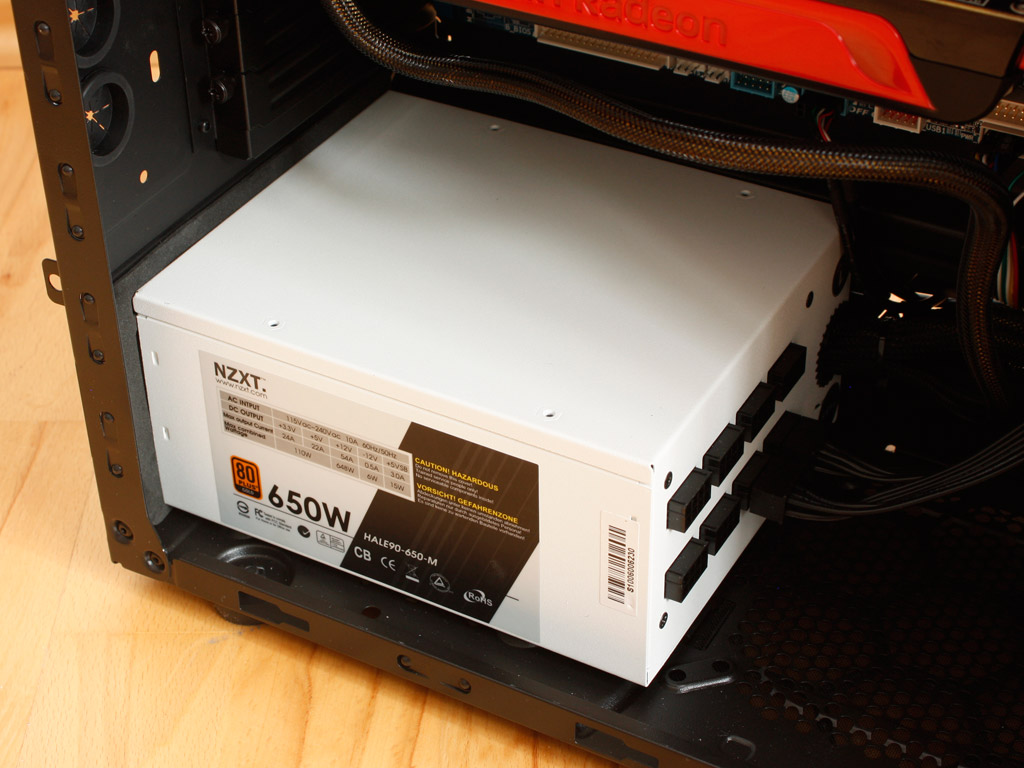
Installing the power supply is done by traditional means. Just place the unit in the designated area and then screw it down.
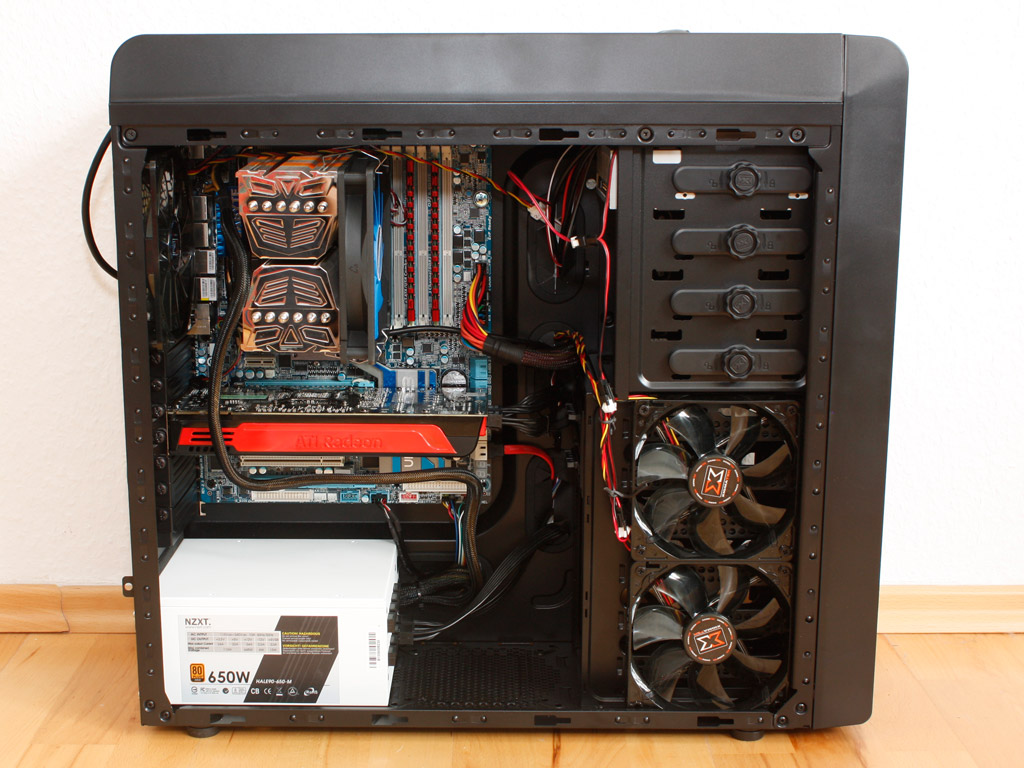
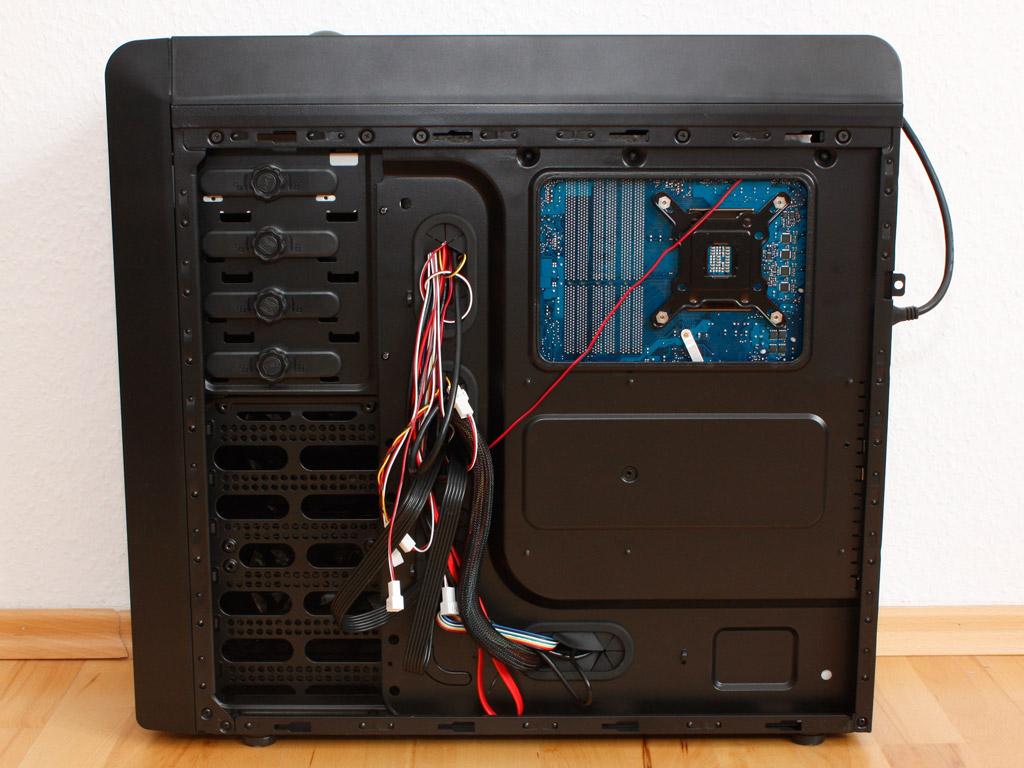
Once all the cable are connected we are left with a very clean interior, as all the cables are disappearing under the mainboard tray. Turning the Pantheon around, we can see that the groove for these cables comes in quite handy and that the large opening in the mainboard tray is truly large enough to give you quick and easy access to any backplates your CPU cooler may require.
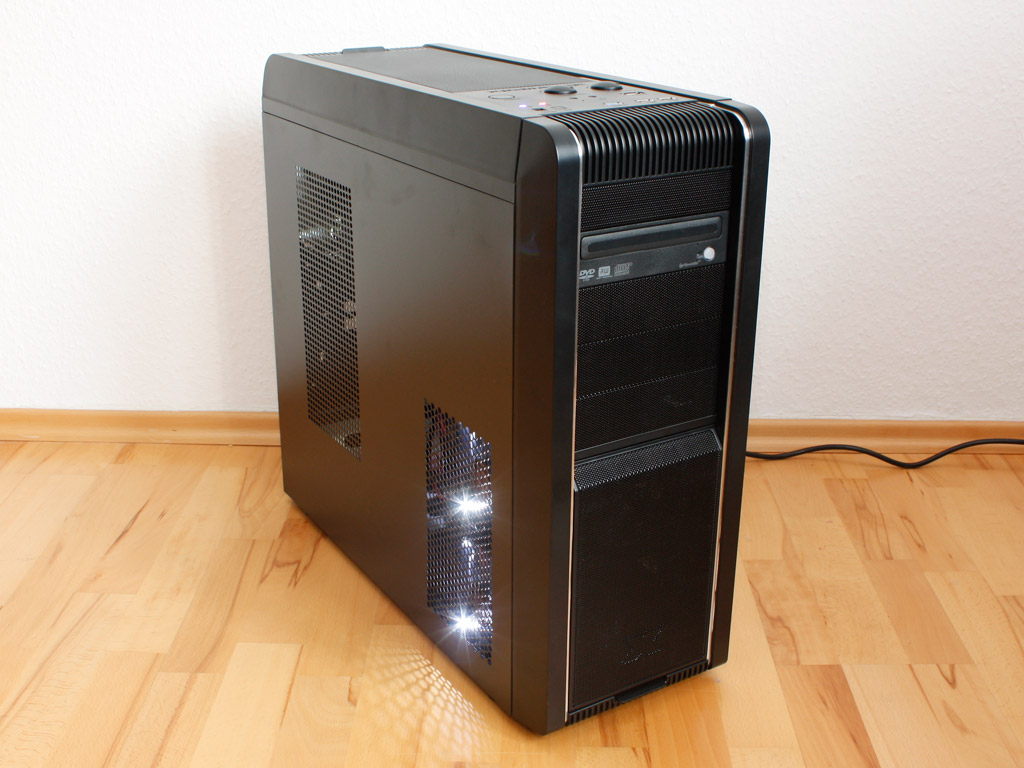
Finished Looks
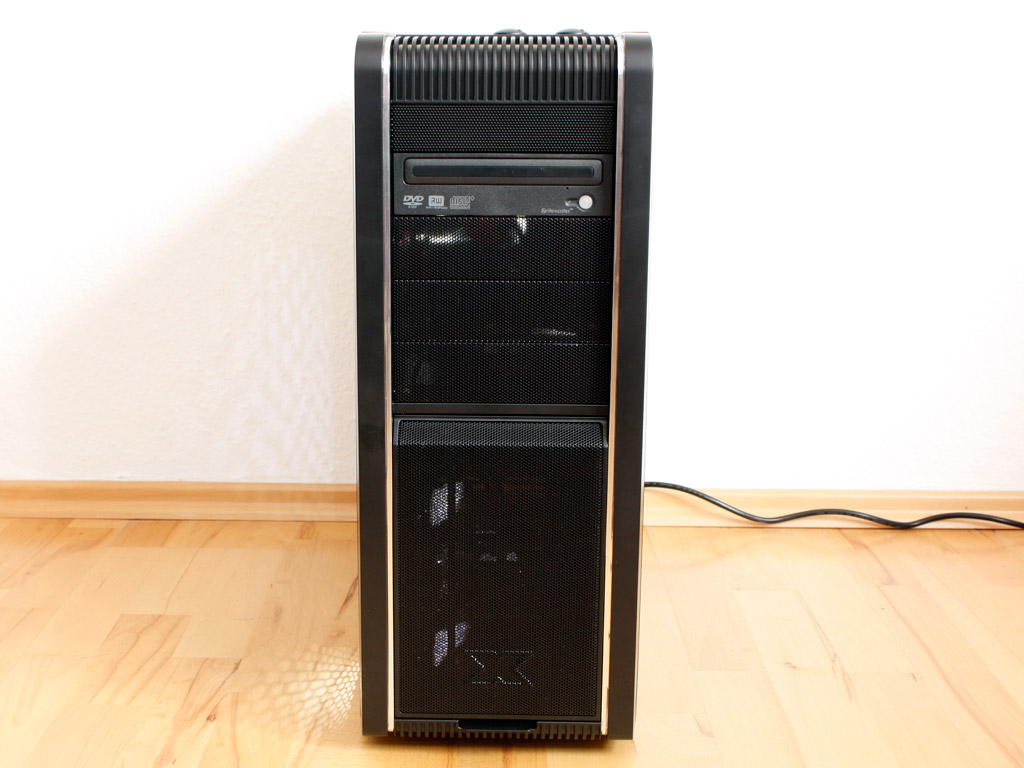
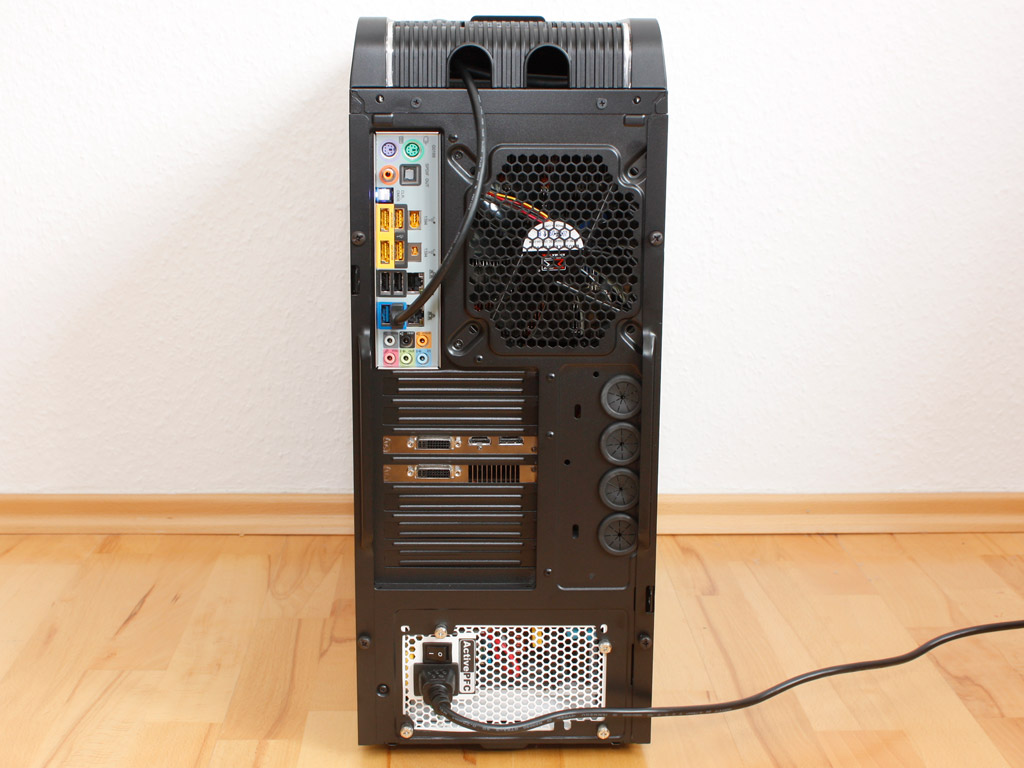
After placing the side panels back on the chassis, the Pantheon makes a very good and solid impression, everything in the rear is easily reachable and as you can see, I have routed the USB 3.0 cable through the unused opening of the top water cooling compartment down to the mainboard.
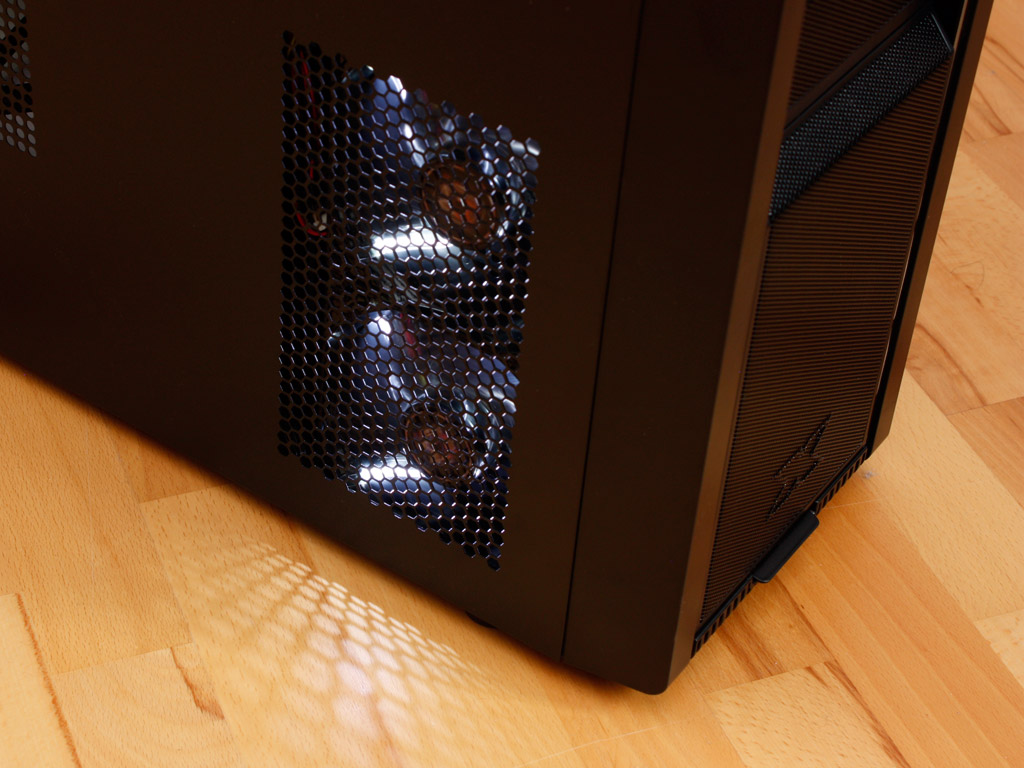
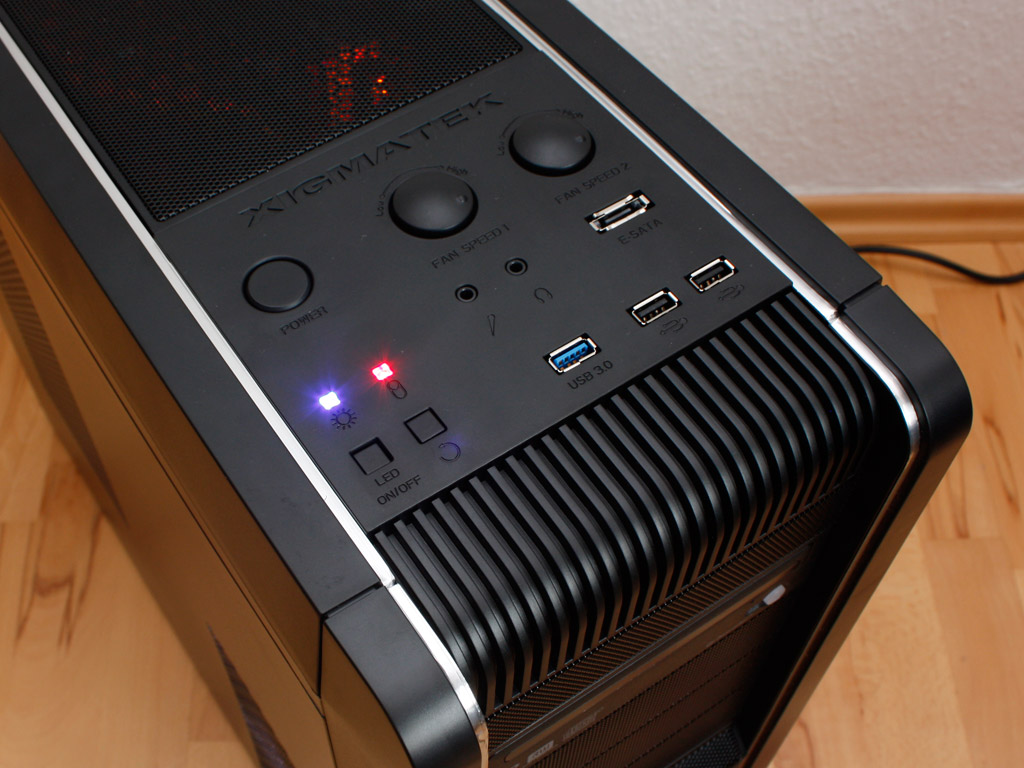
Once turned on all the white LEDs of the three included fans light up fairly brightly. While I really like the choice of white lighting, it would have been interesting to see the signature orange color, but Xigmatek seems to be moving to white LEDs, as their newest CPU cooler, the Aegir also comes equipped with a fan with white lighting aspects.
Jul 14th, 2025 19:20 CDT
change timezone
Latest GPU Drivers
New Forum Posts
- No offense, here are some things that bother me about your understanding of fans. (123)
- AMD 7Ghz? This keeps popping up on my feeds! (27)
- Cryptocoin Value and Market Trend Discussion (1657)
- System stutters with Ryzen 7 9800X3D. (1)
- Dual GPU Motherboard for home VFX (1)
- i7 2860QM how to raise power limit? (24)
- Large Format Plotter WiFi / LAN issue on Laptop (2)
- Is there a WIFI chip I should get? (3)
- How about AMD instead of Intel? (40)
- AI Job Losses: let's count the losses up, total losses to AI so far 94,000 and counting (7)
Popular Reviews
- MSI GeForce RTX 5060 Gaming OC Review
- Our Visit to the Hunter Super Computer
- Lexar NM1090 Pro 4 TB Review
- NVIDIA GeForce RTX 5050 8 GB Review
- Fractal Design Epoch RGB TG Review
- Sapphire Radeon RX 9060 XT Pulse OC 16 GB Review - An Excellent Choice
- AMD Ryzen 7 9800X3D Review - The Best Gaming Processor
- Upcoming Hardware Launches 2025 (Updated May 2025)
- Corsair FRAME 5000D RS Review
- Chieftec Iceberg 360 Review
TPU on YouTube
Controversial News Posts
- Intel's Core Ultra 7 265K and 265KF CPUs Dip Below $250 (288)
- Some Intel Nova Lake CPUs Rumored to Challenge AMD's 3D V-Cache in Desktop Gaming (140)
- AMD Radeon RX 9070 XT Gains 9% Performance at 1440p with Latest Driver, Beats RTX 5070 Ti (131)
- NVIDIA Launches GeForce RTX 5050 for Desktops and Laptops, Starts at $249 (122)
- NVIDIA GeForce RTX 5080 SUPER Could Feature 24 GB Memory, Increased Power Limits (115)
- Microsoft Partners with AMD for Next-gen Xbox Hardware (105)
- Intel "Nova Lake‑S" Series: Seven SKUs, Up to 52 Cores and 150 W TDP (100)
- NVIDIA DLSS Transformer Cuts VRAM Usage by 20% (97)