 10
10
Antec DF700 Flux Review
Assembly & Finished Looks »A Closer Look - Inside


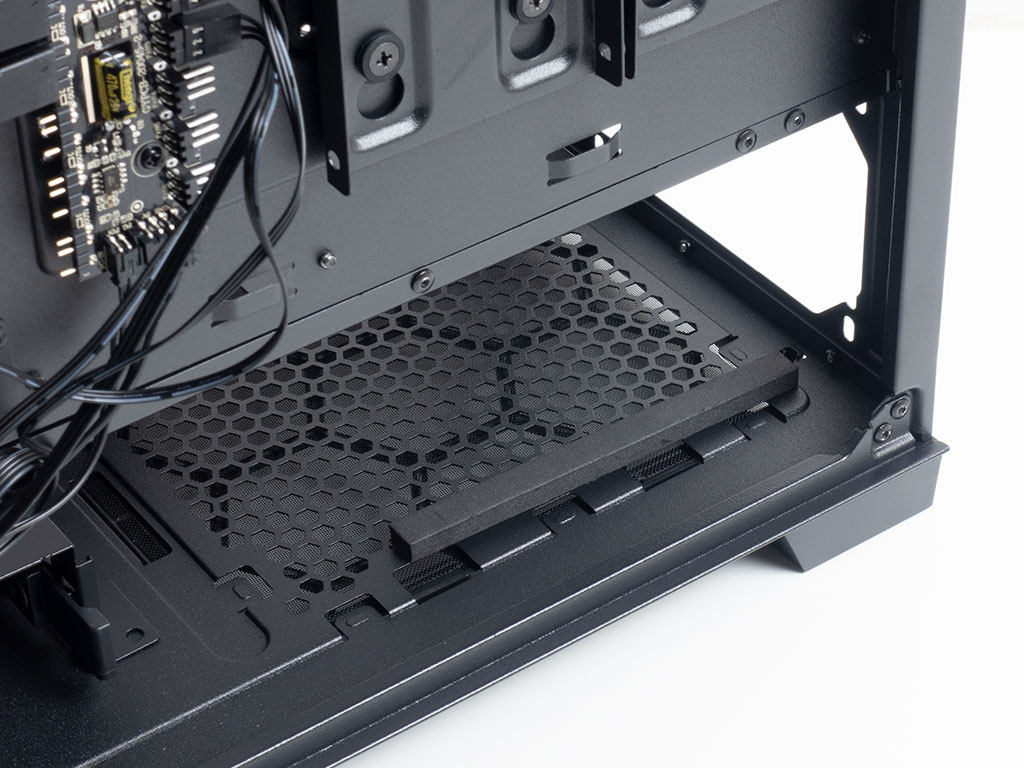
To access the interior, simply remove the two side panels by releasing both thumb screws on each. The interior of the DF700 Flux is pretty simple but effective overall, as the layout is exactly as expected for a modern enclosure. Antec did not try to re-invent the wheel here, but did well with the general design for a case of this price class. A metal shroud hides the PSU and 3.5" drive bays, but also offers two possible 120 mm fan mounts. According to the provided documentation, the mount in the middle should be used for the reverse fan, which makes sense as the one on the left would mostly be blocked off by the power supply.

On the opposite side are several openings around the motherboard area for cable routing, which seem well-placed but lack grommets. Towards the front of the chassis are two hard-drive mounts, with the top mount for a 3.5" drive and the bottom mount for a smaller 2.5" variant. While this is fine, Antec could have included mounting holes for a 2.5" drive in the same area as for a 3.5" one for more flexibility at essentially no further cost. There are two more Antec-branded Velcro strips to hold cables in place, which is also something you don't see in cases that go for around $75.
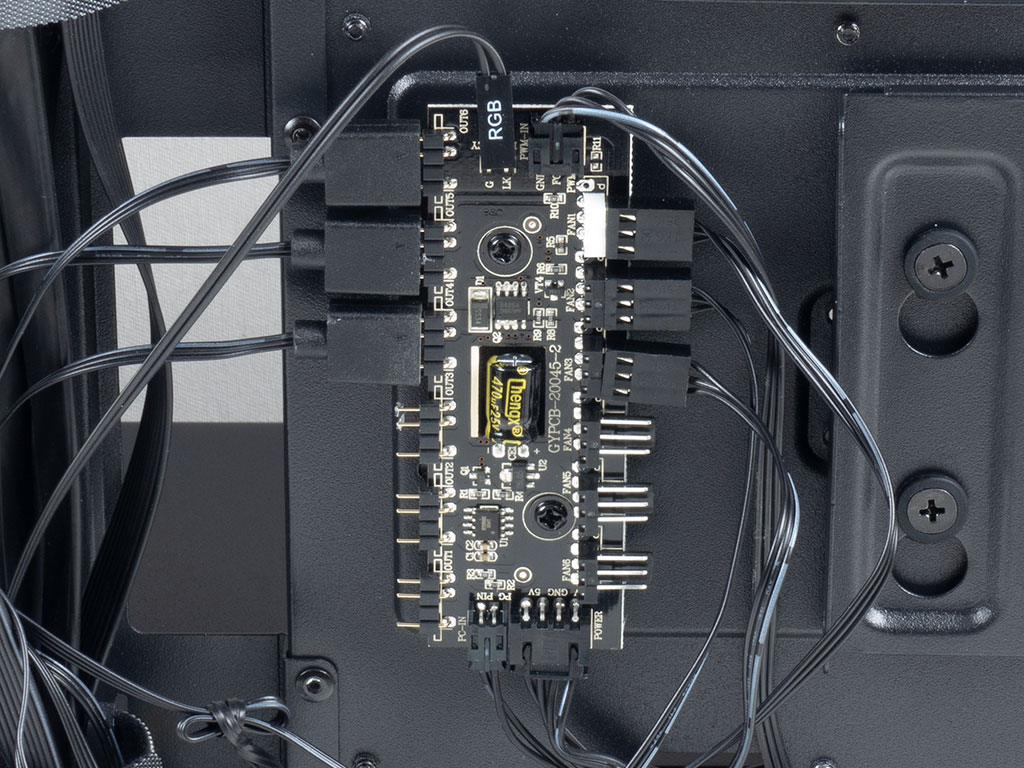
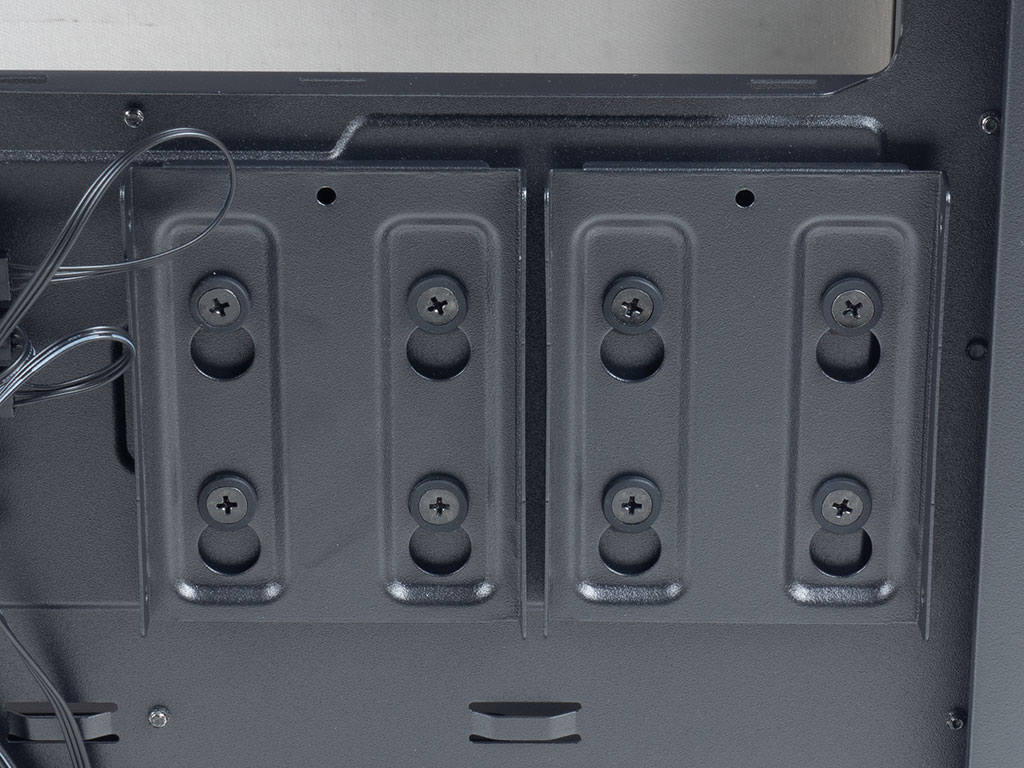
Towards the rear of the case, underneath the large opening for the mounting bracket of the CPU cooler, Antec has once again placed an RGB and fan controller. Unlike the generic one without the capability for motherboard fan-speed control in the DF600 Flux, this one may be connected to the motherboard, but also feels and looks of higher quality. It is great to see that this issue has been rectified. Next to it are two more 2.5" hard-drive trays made out of metal.
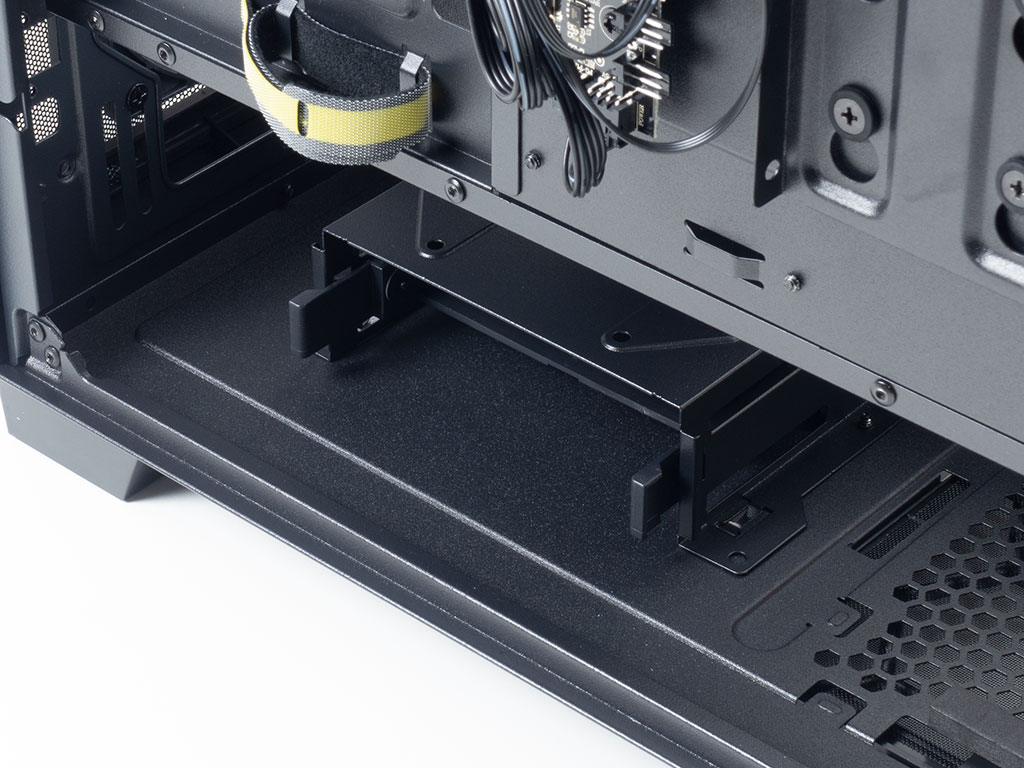
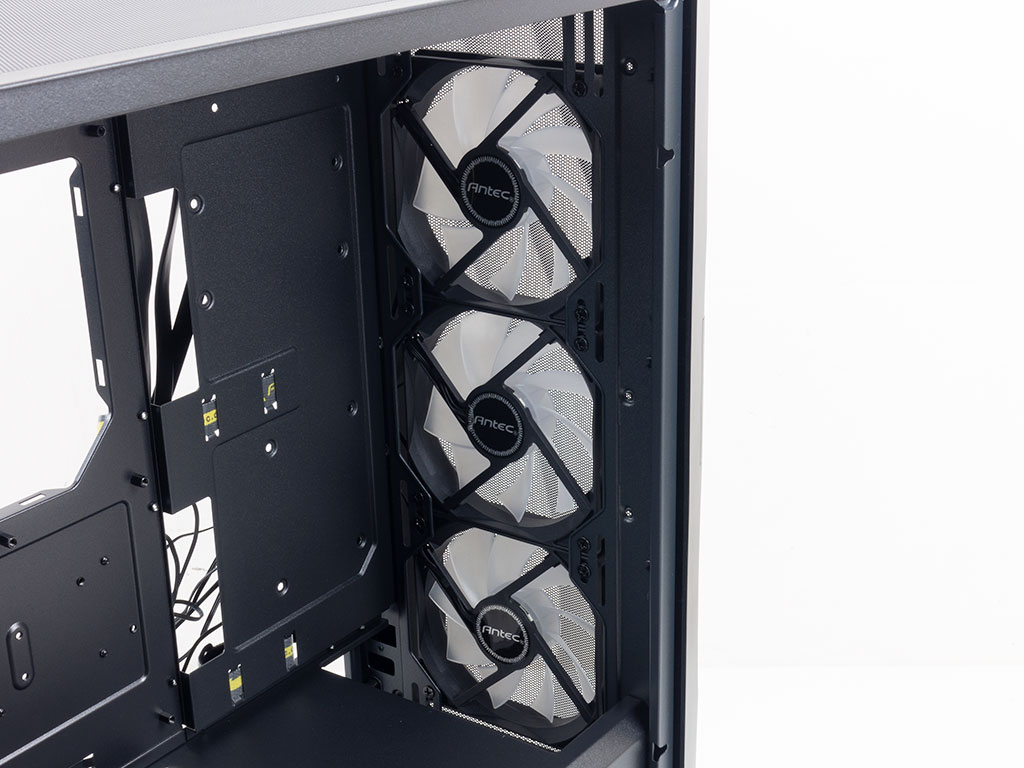
Underneath the shroud in the front is a single-bay cage for a 2.5" or 3.5" drive, with the optional ability to firmly screw another such unit to the top of the cage if the whole contraption is removed from the chassis. This brings the total number of storage placement options to a very respectable six within the chassis. The front above that is essentially just for cooling and also allows for a radiator of up to 360 mm without issue. Unlike the DF600 Flux, there is no magnetic dust filter here, as the whole front mesh acts as one anyways.
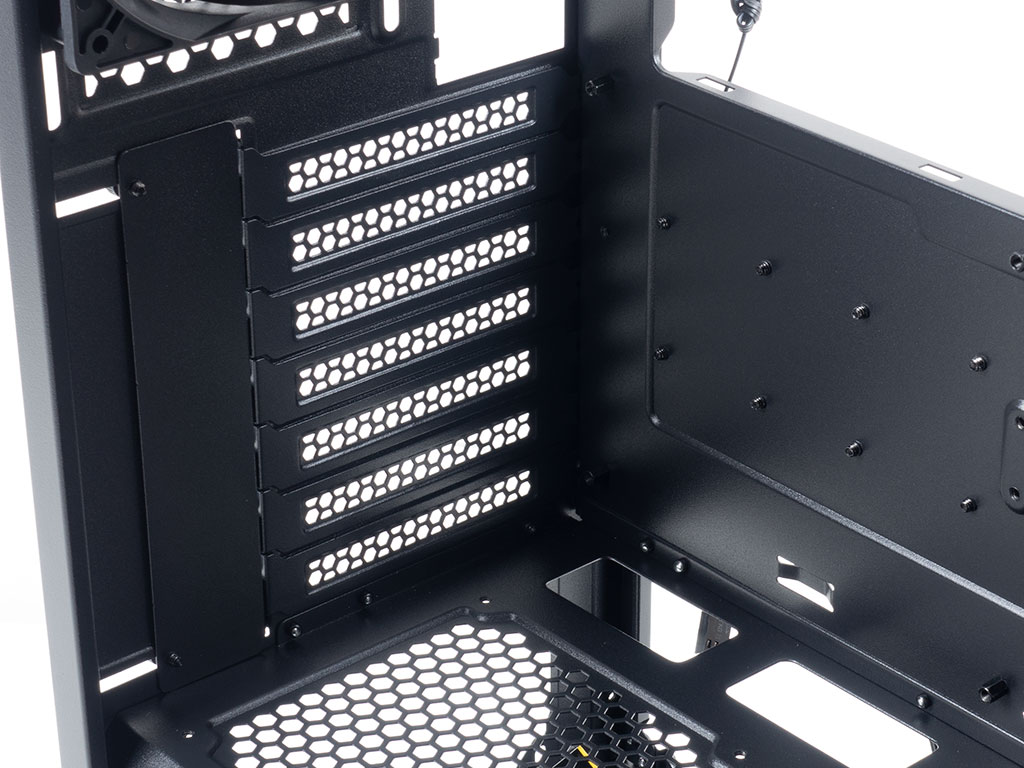
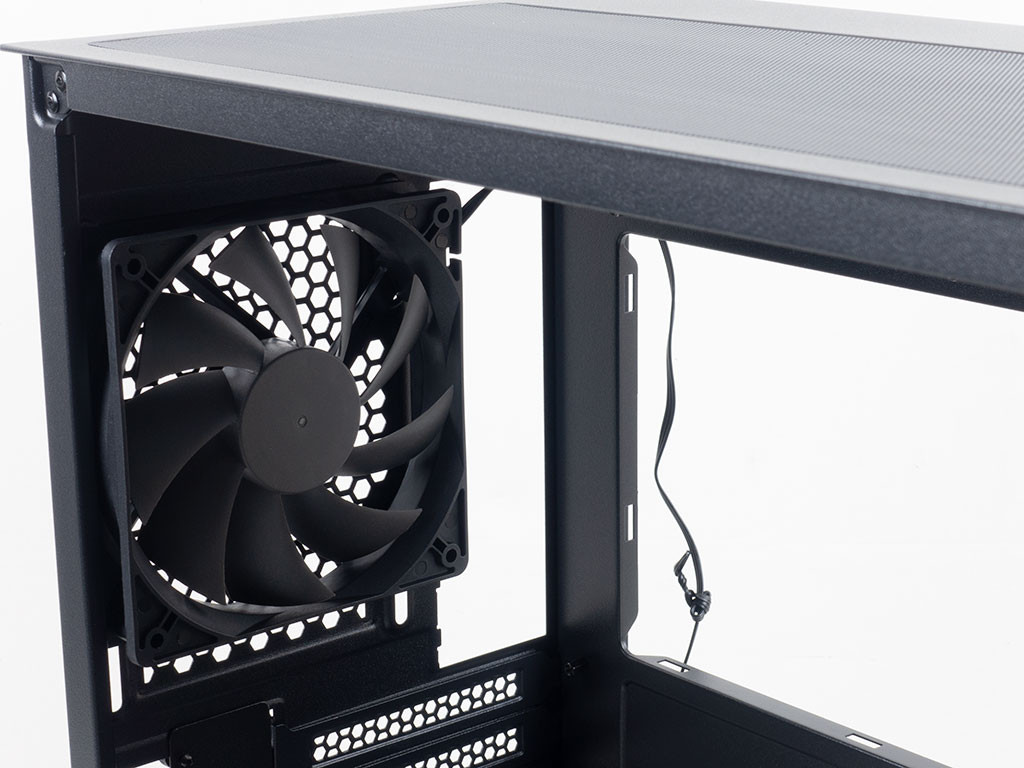
In the rear, once again underneath the shroud, the PSU bay comes lined with two long, soft strips of foam as an anti-vibration measure. Above that, in the interior, things are pretty traditional with the horizontal expansion slots and 120 mm exhaust fan in the very top.
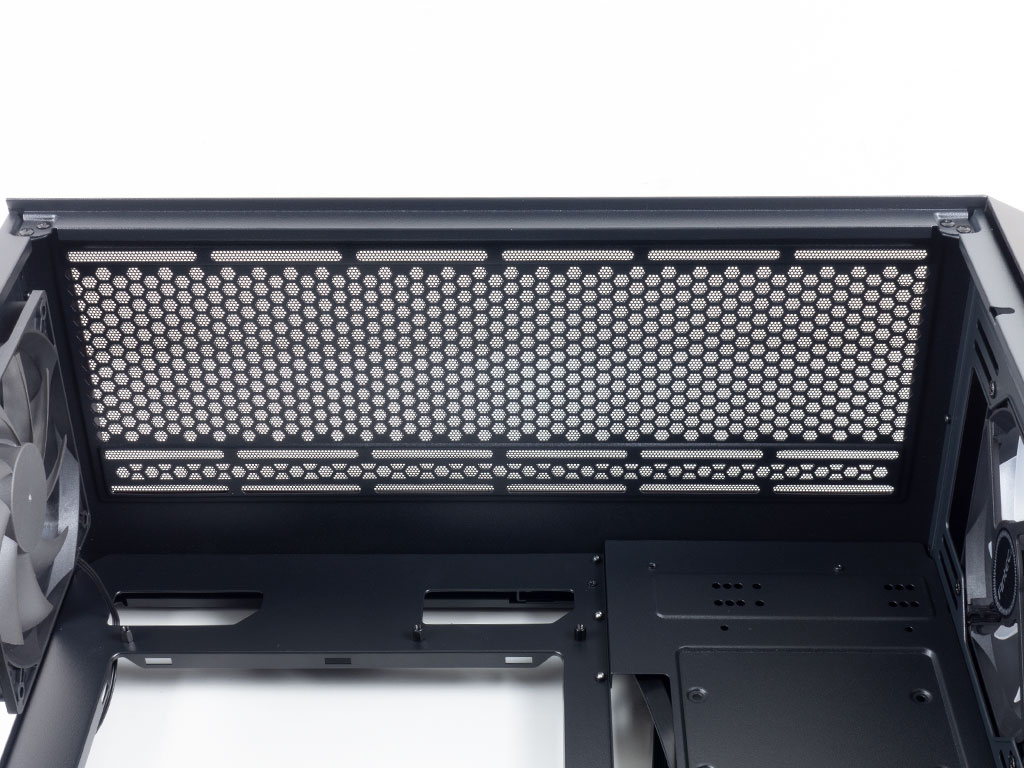
Taking a quick look at the ceiling, you can see that the fan/radiator placement holes are fairly far away from the motherboard—as such, you should run into no issues with 120 mm wide setups, but 140 mm wide ones do get a bit close to things because of the limited width of the chassis. Antec has already done the best they can with little room to spare on the upper edge.

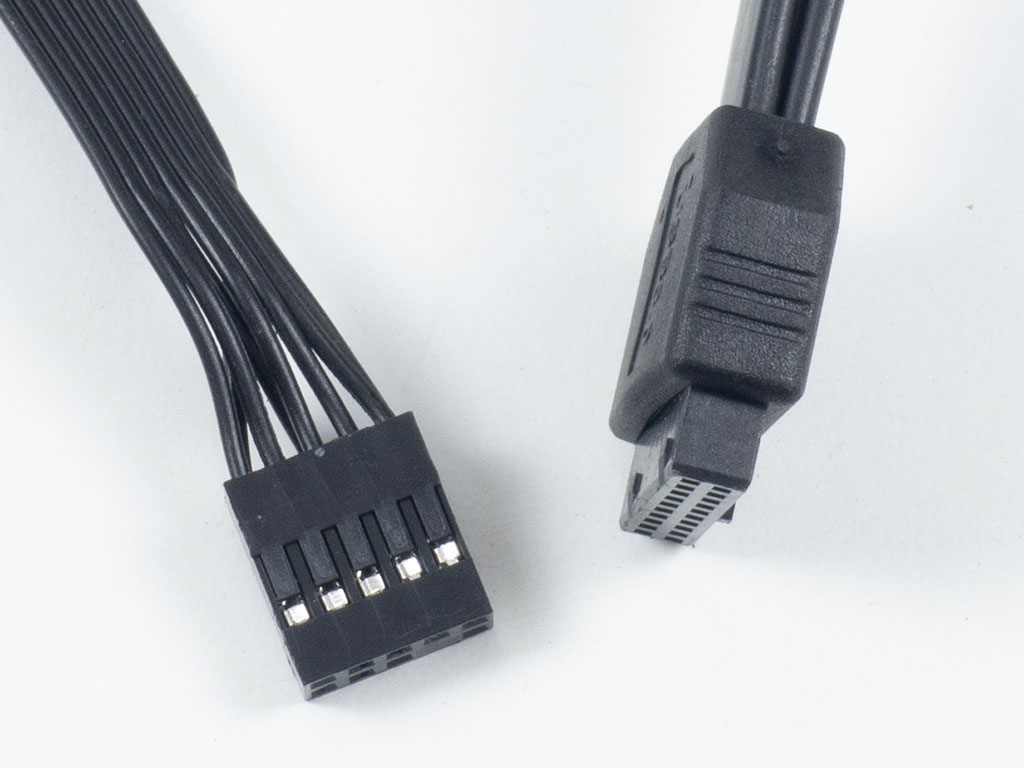
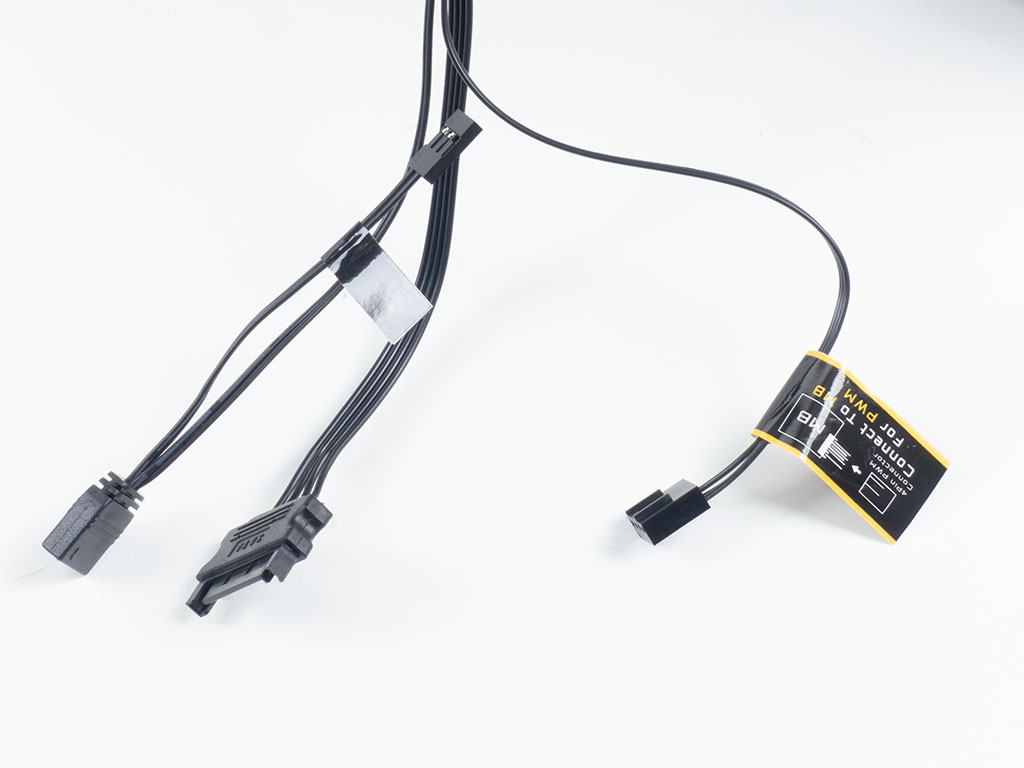
All the cables within the Antec DF700 Flux are of the default variety, but the reset cable is now explicitly labeled "RGB," which may be an indication that we will have to bid the reset function goodbye eventually as more and more cases re-purposing that lead for RGB control. The fan/RGB controller is powered by a SATA connector and offers the ability to control the fan LEDs via any 3 or 4-pin RGB header on the motherboard. Fan speed is controlled by interfacing the fan signal through a PWM header on the motherboard.
Jul 12th, 2025 03:23 CDT
change timezone
Latest GPU Drivers
New Forum Posts
- What are you playing? (23921)
- Can you guess Which game it is? (226)
- Gigabyte graphic cards - TIM gel SLIPPAGE problem (144)
- [Intel AX1xx/AX2xx/AX4xx/AX16xx/BE2xx/BE17xx] Intel Modded Wi-Fi Driver with Intel® Killer™ Features (367)
- NVIDIA RTX PRO 6000 Workstation Runs Much Hotter Than 5090 FE (22)
- 3D Printer Club (539)
- Will you buy a RTX 5090? (644)
- [GPU-Z Test Build] New Kernel Driver, Everyone: Please Test (89)
- No offense, here are some things that bother me about your understanding of fans. (34)
- [Windows X-Lite] Ultimate 11 Neon 24H2 v3 (1)
Popular Reviews
- Fractal Design Epoch RGB TG Review
- Corsair FRAME 5000D RS Review
- Lexar NM1090 Pro 4 TB Review
- NVIDIA GeForce RTX 5050 8 GB Review
- NZXT N9 X870E Review
- Sapphire Radeon RX 9060 XT Pulse OC 16 GB Review - An Excellent Choice
- AMD Ryzen 7 9800X3D Review - The Best Gaming Processor
- Upcoming Hardware Launches 2025 (Updated May 2025)
- Our Visit to the Hunter Super Computer
- Chieftec Iceberg 360 Review
TPU on YouTube
Controversial News Posts
- Intel's Core Ultra 7 265K and 265KF CPUs Dip Below $250 (288)
- Some Intel Nova Lake CPUs Rumored to Challenge AMD's 3D V-Cache in Desktop Gaming (140)
- AMD Radeon RX 9070 XT Gains 9% Performance at 1440p with Latest Driver, Beats RTX 5070 Ti (131)
- NVIDIA Launches GeForce RTX 5050 for Desktops and Laptops, Starts at $249 (119)
- NVIDIA GeForce RTX 5080 SUPER Could Feature 24 GB Memory, Increased Power Limits (115)
- Microsoft Partners with AMD for Next-gen Xbox Hardware (105)
- Intel "Nova Lake‑S" Series: Seven SKUs, Up to 52 Cores and 150 W TDP (100)
- NVIDIA DLSS Transformer Cuts VRAM Usage by 20% (97)